Hi everyone,
This is my first post in projects so please be kind!
I've been working on snooker cues for what must add up to about 2 weeks here and there, its something I wanted to have a bash at for a long while but never quite got round to.
To date I've one almost finished cue and two more in various states of undress, the whole things been a steep learning curve and my approaches / techniques have kind of evolved along the way. All of this is not helped by a serious lack of tools though - going to have to start saving for some shiny new kit .
.
I start with rough sawn 1.5'' ash boards from which I cut 1.5'' square blank on my trusty ( and exceedingly rubbish) 10'' Clarke tablesaw.
From there I plane down the blank to an oversize square taper, then bevel the edges to form an octagonal, tapered, oversized 'cue'.
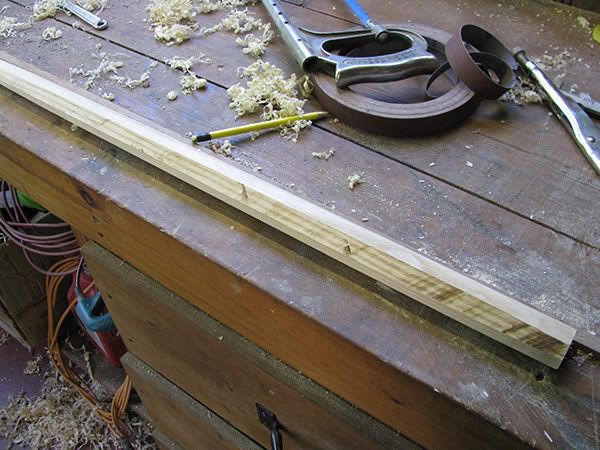
The above image shows the remaining octagonal section, the shaft above it has been reduced to round - a combination of planing and sanding, while watching and feeling for any developing high/low spots.
Once I've got a round oversized blank I plane out flats from the butt to accept the splices which will form the butt of the cue.
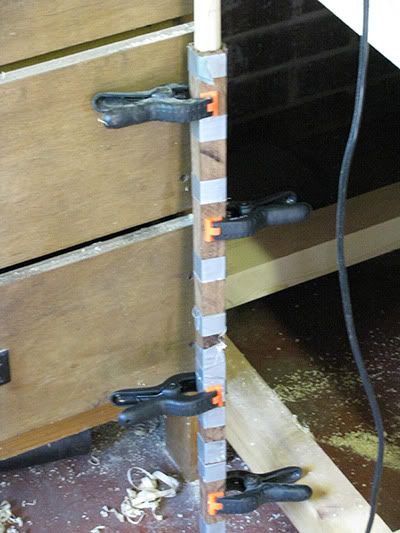
These are glued into place. The wood I'm using is some old naff ugly stuff I got for free - once I've got it right I'll splash out on some expensive exotic stuff.
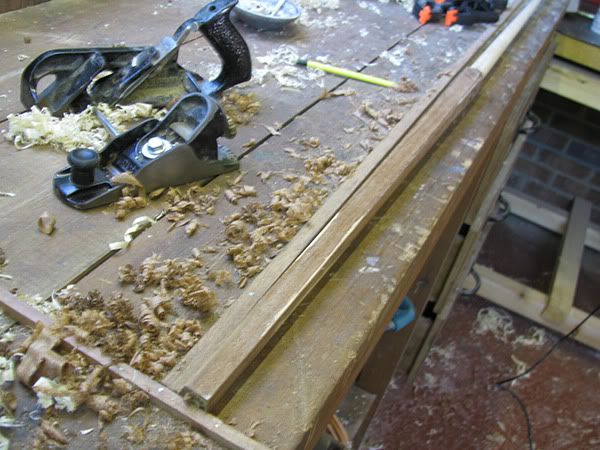
If the primary splices are thick enough you can just go ahead and plane / sand the butt back to round to finish. Or you can plane down the primary splices ready to add further layers, shown below.
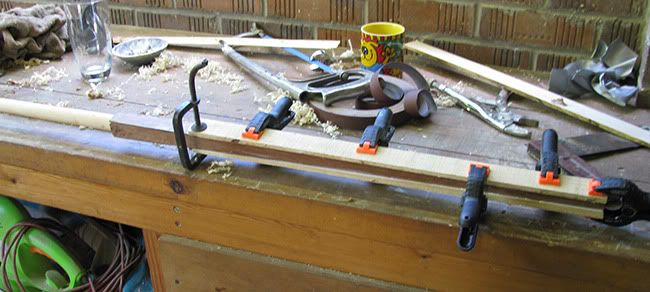
With that done the secondary splices can be glued up.
Again from there further plaing / sanding takes the butt back to round. Below is the first cue I produced. Splices didn't come out quite even and the butt's a little thin, otherwise I was pretty happy for a first attempt (it is at least straight! )..

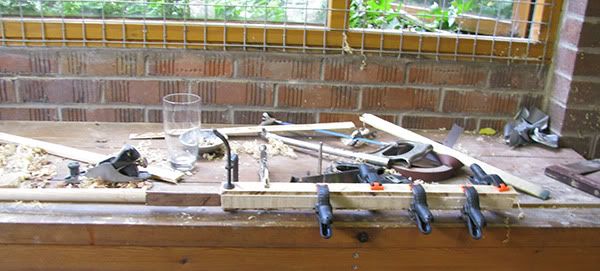
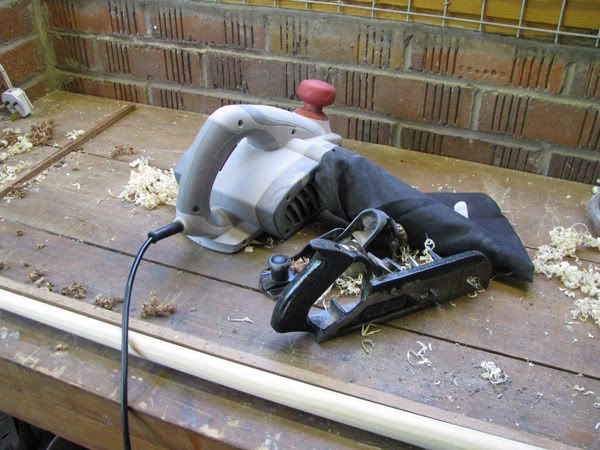
Also, a quick pic of my trusty tools... a cheapo power plane and a couple of old and knackered Stanleys. The block plane hiding in the middle is a 220A, which I've been told by my father is intended for cutting across grain which is why the iron is up-side-down to normal....
Steve.
This is my first post in projects so please be kind!
I've been working on snooker cues for what must add up to about 2 weeks here and there, its something I wanted to have a bash at for a long while but never quite got round to.
To date I've one almost finished cue and two more in various states of undress, the whole things been a steep learning curve and my approaches / techniques have kind of evolved along the way. All of this is not helped by a serious lack of tools though - going to have to start saving for some shiny new kit
I start with rough sawn 1.5'' ash boards from which I cut 1.5'' square blank on my trusty ( and exceedingly rubbish) 10'' Clarke tablesaw.
From there I plane down the blank to an oversize square taper, then bevel the edges to form an octagonal, tapered, oversized 'cue'.

The above image shows the remaining octagonal section, the shaft above it has been reduced to round - a combination of planing and sanding, while watching and feeling for any developing high/low spots.
Once I've got a round oversized blank I plane out flats from the butt to accept the splices which will form the butt of the cue.

These are glued into place. The wood I'm using is some old naff ugly stuff I got for free - once I've got it right I'll splash out on some expensive exotic stuff.
If the primary splices are thick enough you can just go ahead and plane / sand the butt back to round to finish. Or you can plane down the primary splices ready to add further layers, shown below.

With that done the secondary splices can be glued up.


Again from there further plaing / sanding takes the butt back to round. Below is the first cue I produced. Splices didn't come out quite even and the butt's a little thin, otherwise I was pretty happy for a first attempt (it is at least straight! )..

Also, a quick pic of my trusty tools... a cheapo power plane and a couple of old and knackered Stanleys. The block plane hiding in the middle is a 220A, which I've been told by my father is intended for cutting across grain which is why the iron is up-side-down to normal....

Steve.


