Sip 01446 12" Table saw details, repairs and review

UKworkshop.co.uk

Help Support UKworkshop.co.uk:

This site may earn a commission from merchant affiliate links, including eBay, Amazon, and others.

DBT85

Established Member
Joined
19 Dec 2015
Messages
1,853
Reaction score
654
Location
Pershore, Worcester
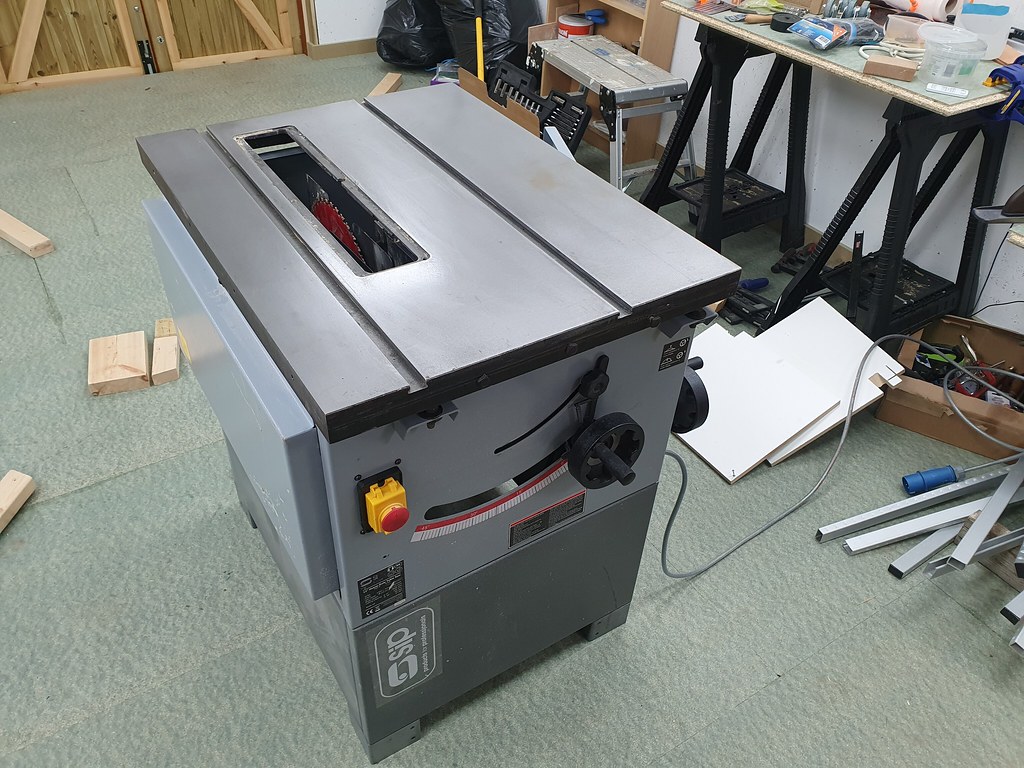
I've just won a Sip 01446 12" saw on ebay and am due to collect on Tuesday. Just looking to see if anyone has info on how easily the top comes off the cabinet and better yet how much of the weight of the saw is the 3 cast iron tops. I'm hoping to collect in my Skoda Superb estate but that's going to be more of a pain if the top doesn't come off readily. Sip list the whole saw at 177kg so a fair chunk of that must be the tables.

Not muych info out about these saws as the 10" is a lot more common.
 
Brilliant Lons thank you, when I looked on sipuk.co.uk the manual for the saw was actually the manual for the sliding table.

Looks like It'll come apart easily enough. The seller is taking the wings off for me which will save a bit of time at least.
 
Brilliant Lons thank you, when I looked on sipuk.co.uk the manual for the saw was actually the manual for the sliding table.

Looks like It'll come apart easily enough. The seller is taking the wings off for me which will save a bit of time at least.
Don't give yourself a hernia, I have the smaller 01332 and that's heavy enough. :)
 
Yeah it looks to be a chunky one. I'll do a bit of a writeup on it when I get it home as there's so little info out there on it. That manual has printed out lovely on works A3 printer so thanks for that ;) It's actually a PDF done correctly so all the text is actually scalable depending on print size. The images look fine printed this big too.

I'm already wary of the fence locking at both the front and back so I might need to ask to see more of mr @Steve Maskery's fence (you got any nice pics Steve?).

Also the dust port on top of the guard looks like it might as well not be there! What's that, a 35mm hose? 😆
 
It looks like a nice saw, I did look when I bought mine but couldn't justify the price difference at the time though I've been perfectly happy with the little one which I've had for many years now.

I don't have issues with the fence personally though it might not be the best. I fitted an adjustable, removable fence to it made from Corian as in pic and yest the extraction take off the guard is pathetic so I just tape it up.

I'm likely saying what you already know but check out the rise and fall worm gear as if it's the same as the 01332 it gets clogged and worst scenario can strip the threads as mine did o_O. The parts were't expensive but it was a damned awkward to fit.
 

Attachments

  • IMG_0549.JPG
    IMG_0549.JPG
    106.6 KB
I didn't know that about the worm gear so I'll have a good look while it's in smaller bits. Thanks for the details.

I honestly wasn't even looking for this saw. There is the 10" for sale in the market and I was umming and ahhing about making an offer. I did a quick ebay search for sip saws and up this popped with 12 hours to go. I've ended up getting it for 2
£200 less than the 6 month old 10" is on the marketplace for so I'm happy with that for such a chunky saw.
 
I'm interested - I have a ten inch SIP 1332, needing checking and some restoration. I guess many parts from your saw are common to mine, and despite several members having the ten inch one, there isn't much written or available on restoration projects....
 
I assume there must be some commonality in parts. I don't think this one needs restoring at all, just a bit of a clean. @Lons probably had his in bits before so might be of use.
 
Well that was one heavy tabelsaw. Basically dismantled it entirely to get it into the car as there was no way we were lifting it in with the top and motor still attached. I'm guessing he must have at some point to get it in there!

Since it's in bits I can clean it up, check things and re assemble. Glad to have the manual as now I know where all the screws go back!

EDIT: And I managed to leave the fence and the insert plate behind!

If you're looking to upgrade the fence on your saw, I highly recommend these plans : PDF plan for Table saw fence | Etsy
I was just about to say "that looks like one from a video I watched" when I realised it is in fact the one from that video! I still can't beleive he marked the scale by hand despite video evidence!

If I recall his one involved welding and I don't have what is needed, though I might watch again to see how much was actually required and could be swapped out for non welding options. I know that @Steve Maskery has one that uses no welding and plans are in his dvd collection but I've not actually seen one of those yet.
 
Last edited:
We'll today I eventually managed to lump it all round to the workshop on my own. I spent a bit of time with a brush and the vacuum to get the remnants of sawdust off and started to take stock of what I had.

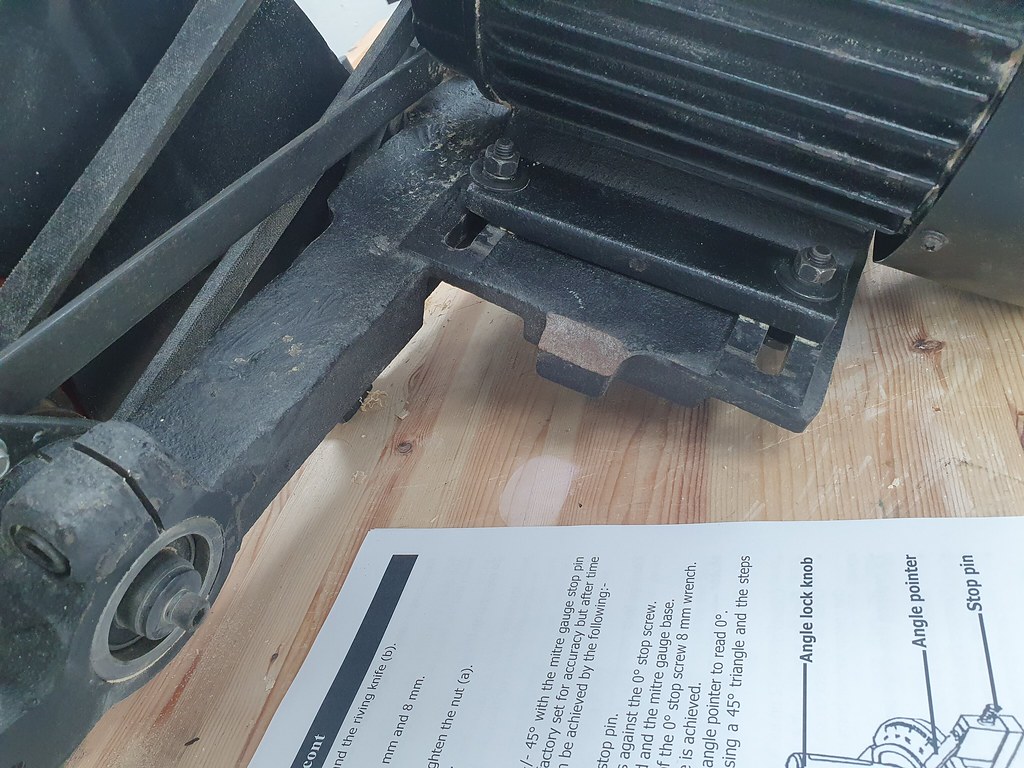
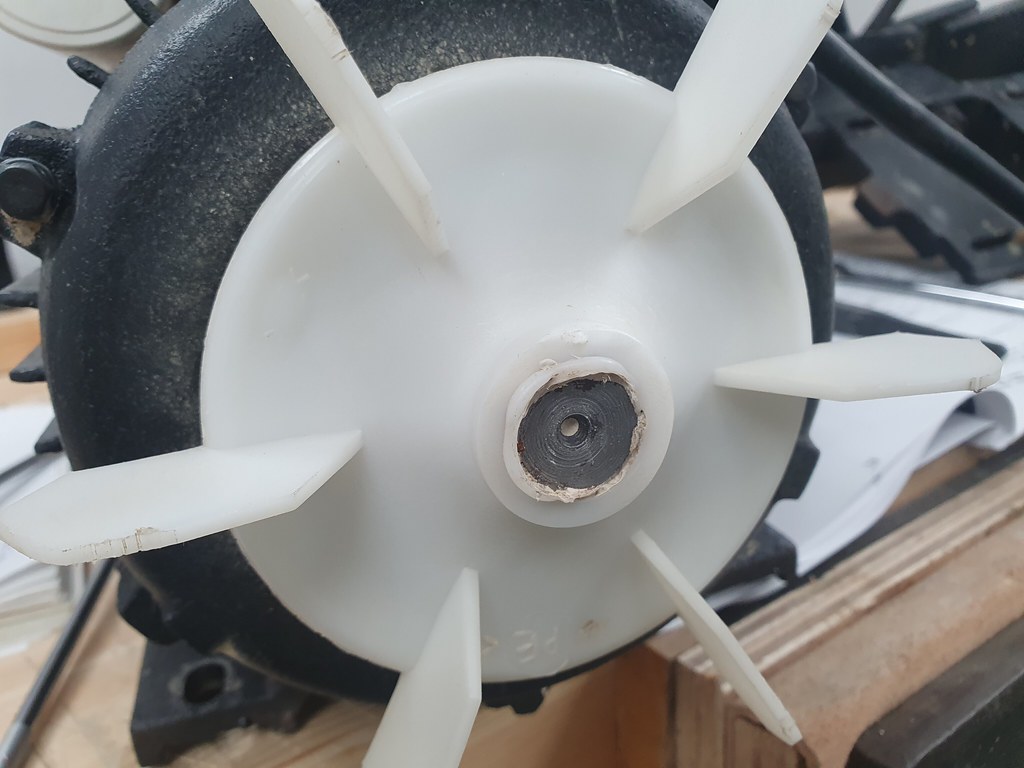
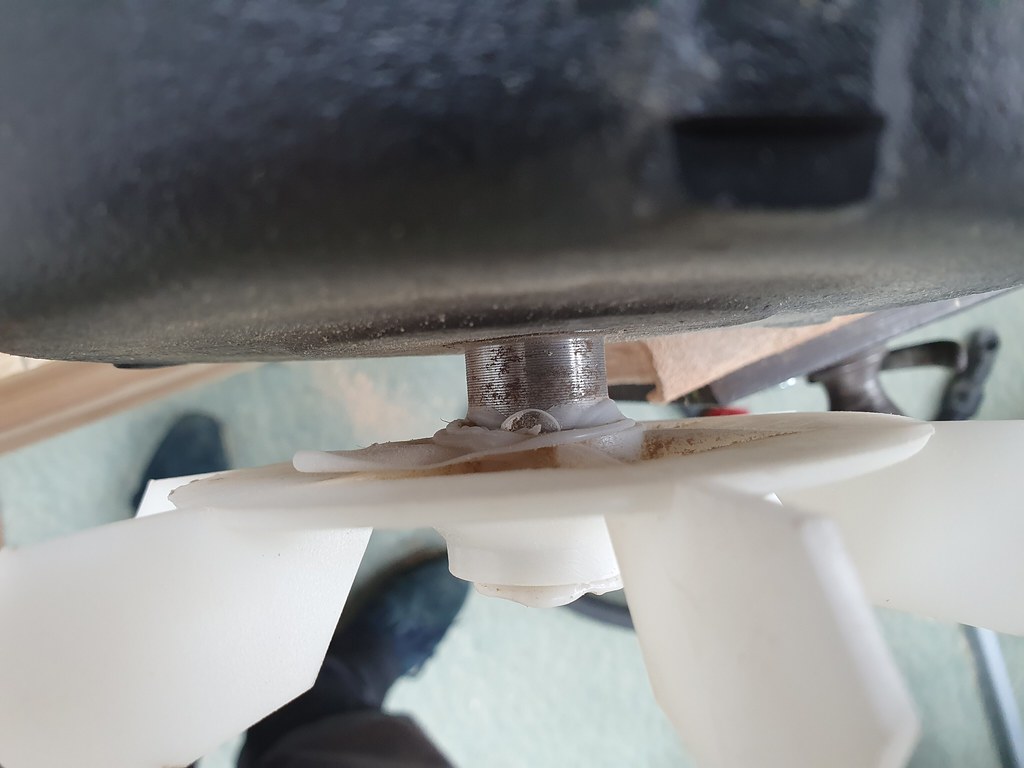
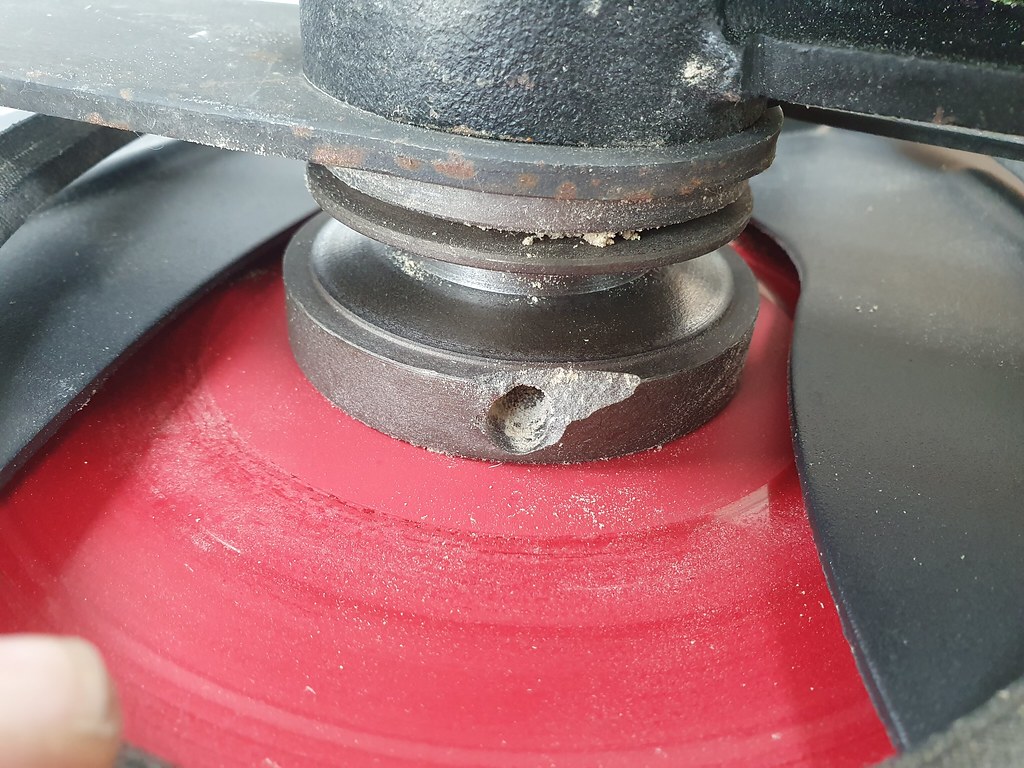
I know when we unhooked everything that there was a bolt missing for the motor where it mounts to the mount, and on subsequent poking around I've found that the tension screw and casting have broken off of the mount, the motor fan seems to have been replaced and is wonky and one of the locking holes on the arbour pulley is broken out, but still useable. The micro adjust on the fence is also missing. I'm not overly worried about any of those. The tensioning bolt looked like a weak point on the design and should be easy enough to remedy (or buy a whole new mount for £80), the fan is a small amount of weight to be off balance, and the other hole in the pulley thing is fine I also can't see a part number for it to buy a replacment anyway.

The riving knife has been filed down so now can't take a guard (which I don't have) and the flange that holds the knife in place is also missing. The flange and a new knife can be bought as spares easily enough.

I did take the liberty of weighing a few bits. I can't recall all of the weights off the top of my head bar the main table. On its own it weighs 50kg exactly. I think the motor alone was about 30 but I'll double check. I'm sure most don't care, but it's of interest to me and maybe it'll help someone before they go dismantling one and having a heavier than expected part pin them to the floor!

At work now for a few days but I can get on with it again next week and get a few spares ordered like the riving knife, riving knife securing plate, new belt. The sipuk site lists the motor replacement at £150,000 so I'm guessing they don't sell many of those. Not perfect to have a few bits missing but this is at least a 3rd hand saw now and it ended up only actually costing me £700. They are £1750 at a minimum new now.

Some pics in the meantime.

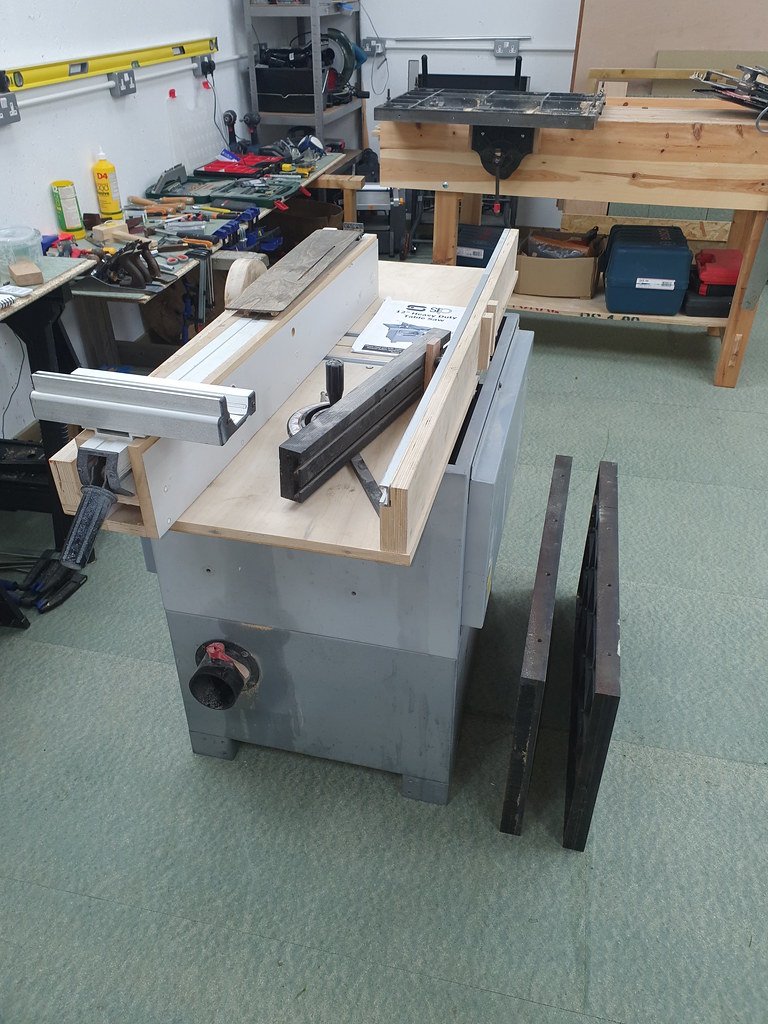
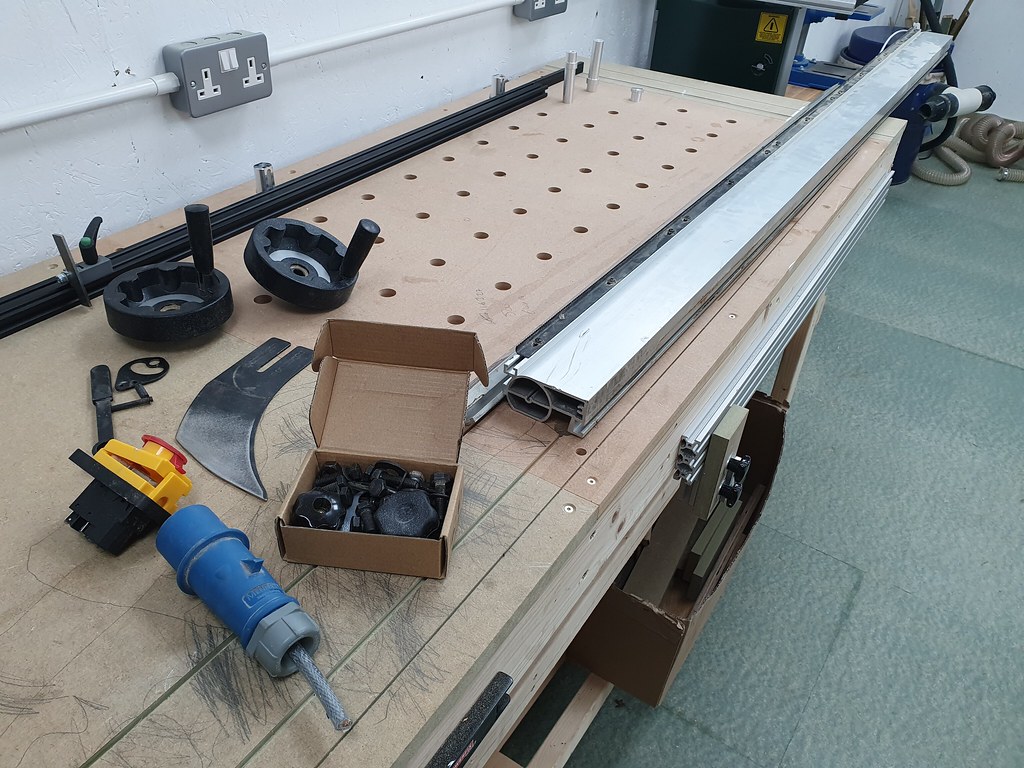
Parts all over the shop
50541002823_d2e29344f4_b.jpg


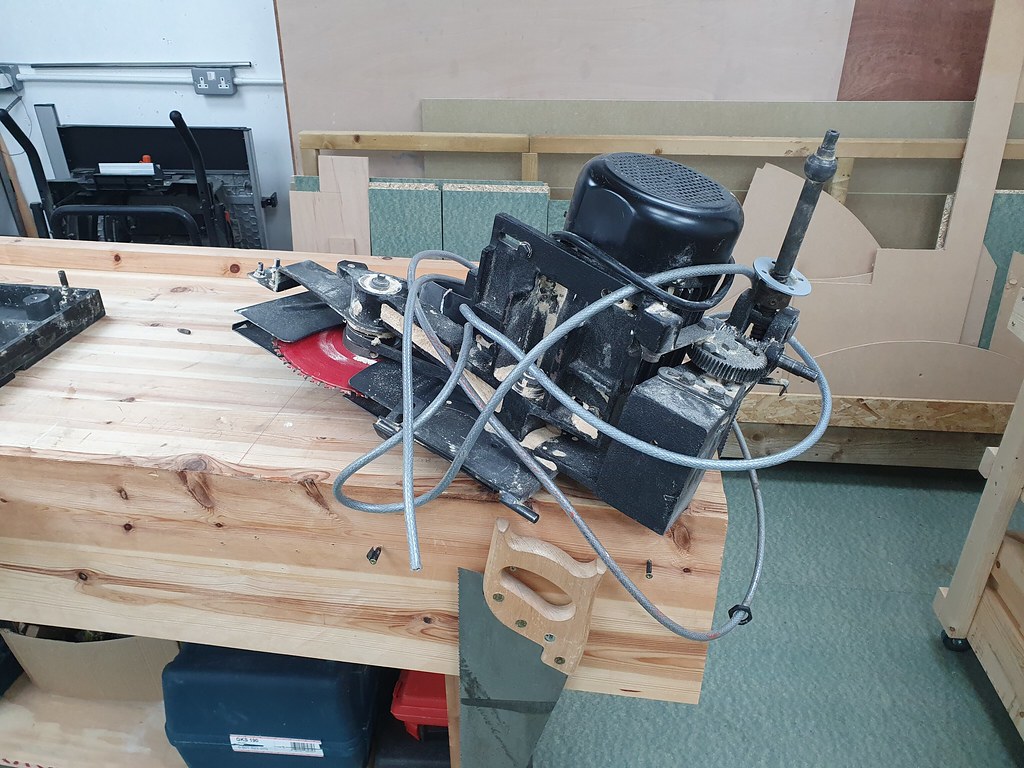
Motor, mount and blade
50541002483_3847cced6d_b.jpg


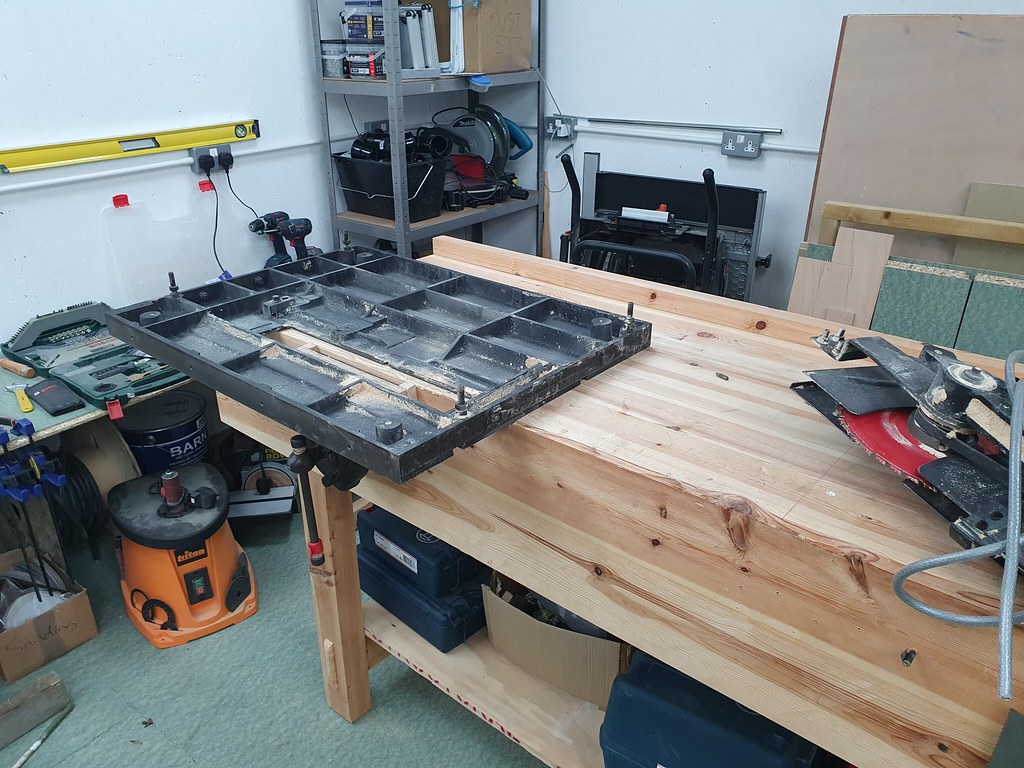
A 50kg main cast iron top
50541869902_d65079e43b_b.jpg


rails, odds and sods
50541869667_3600f74a14_b.jpg


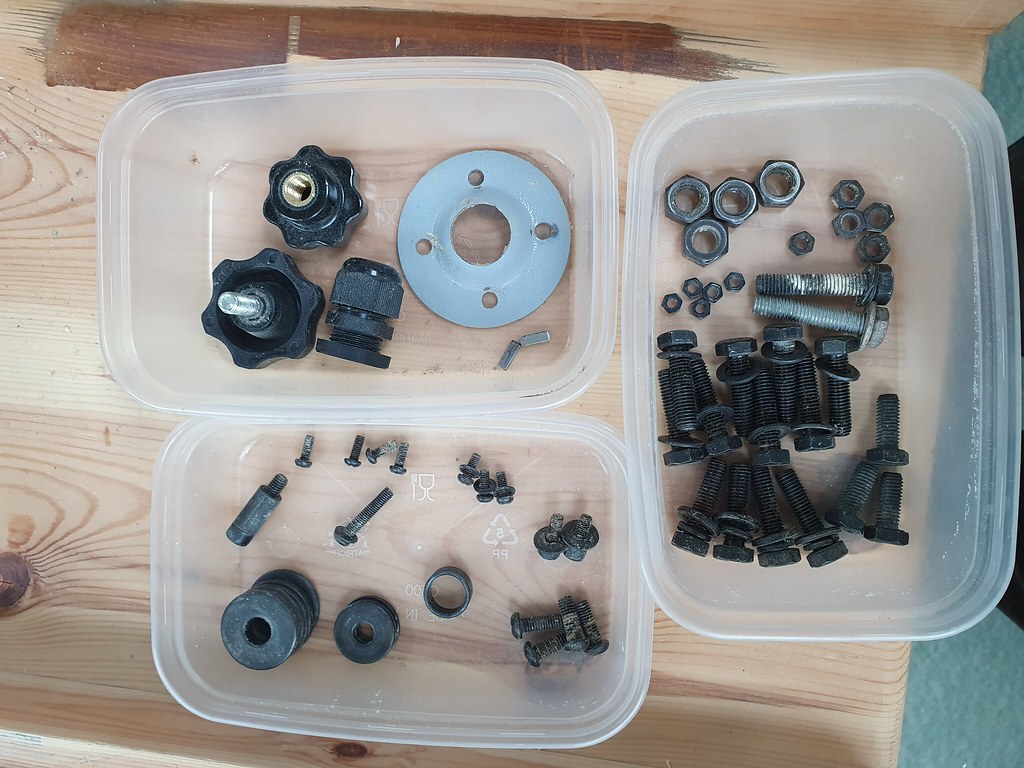
All the nuts and bolts from the initial dismantling
50541727391_bc7c509066_b.jpg


Broken off tension screw area. You can see the mark on the motor base where the screw would have acted, easy to see why that part has broken from the mount
50541727076_0583f78001_b.jpg


Goopy fan that looks like it might have been added to replace the original?
50541001013_a7440dcd09_b.jpg

50541726681_15669c1b4e_b.jpg


Busted out arbour lock hole on the pulley. No idea why they used this design, maybe its common on saws like this?
50541868512_77c8529925_b.jpg
 
Emails sent off for some parts, most should be covered by the £45 the guy knocked off of the price. Blade guard, riving knife and securing plate, all the parts for the micro adjust (bar the actual handle which is discontinued for reasons), new belt, and finally the "spanner shaft" that is used to lock the arbor.

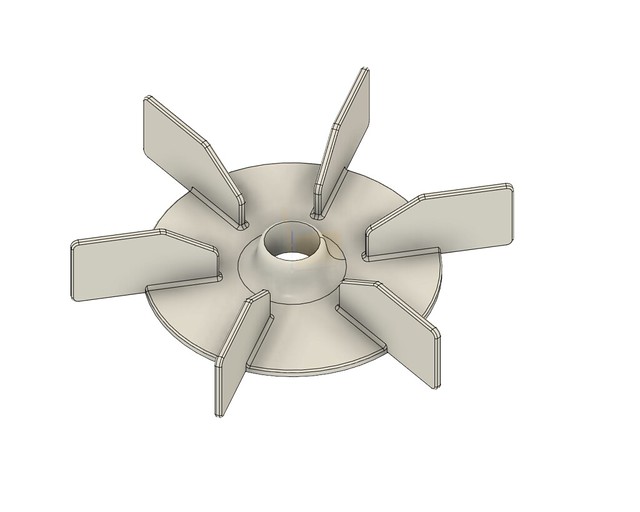
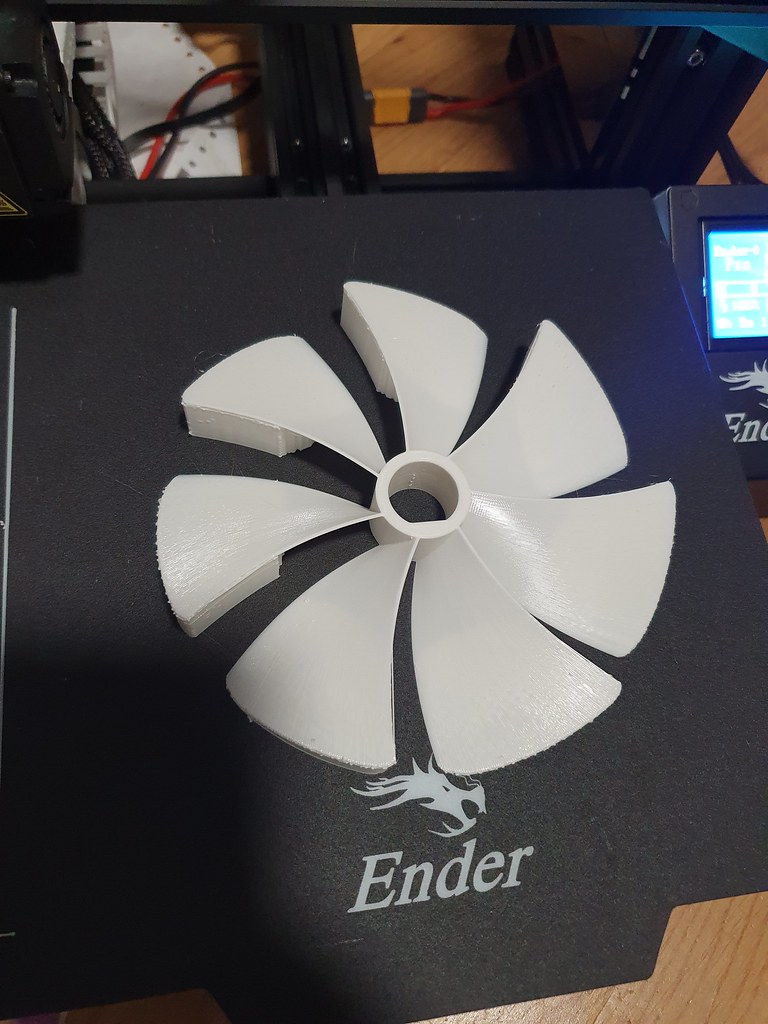
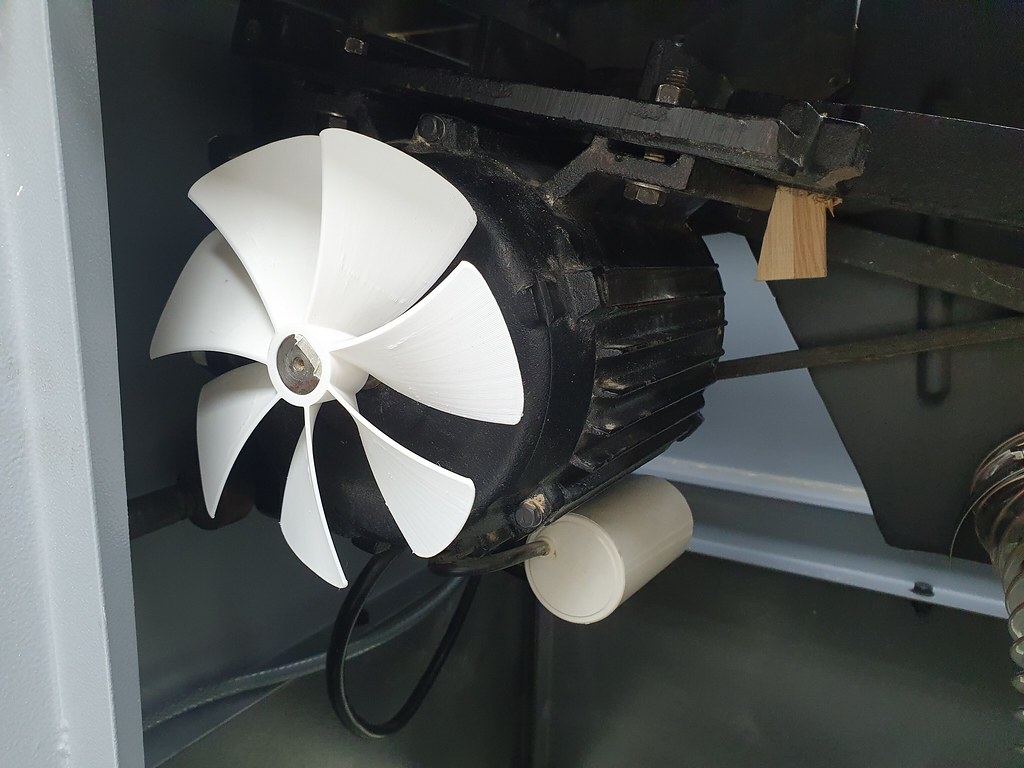
I also figured since I have a 3d printer I might as well make a new fan as the one fitted absolutely feels like it was not the orginal one. It wobbles and as you can see in the photos looks a bit melty.

Had a play in Fusion to just replace the one on there, though I need to check the dimensions but that's easy to update. I'm assuming that these fans are usually made with straight fins because the motor manufacturer doesn't know which way the motor is going to be turning until its delivered to the tool manufacturer?
50546188676_b38a6d72a6_z.jpg


The whole machine has obviously been used in a workshop that was spraying so there are tiny specks of paint all over it, not sure on the best way to remove all that.
 
Well today I finally got the saw back up on its legs. First up was to print the new fan for the motor. I got fancy and made a proper one but I made the blades a bit to thin so I printed it a second time.

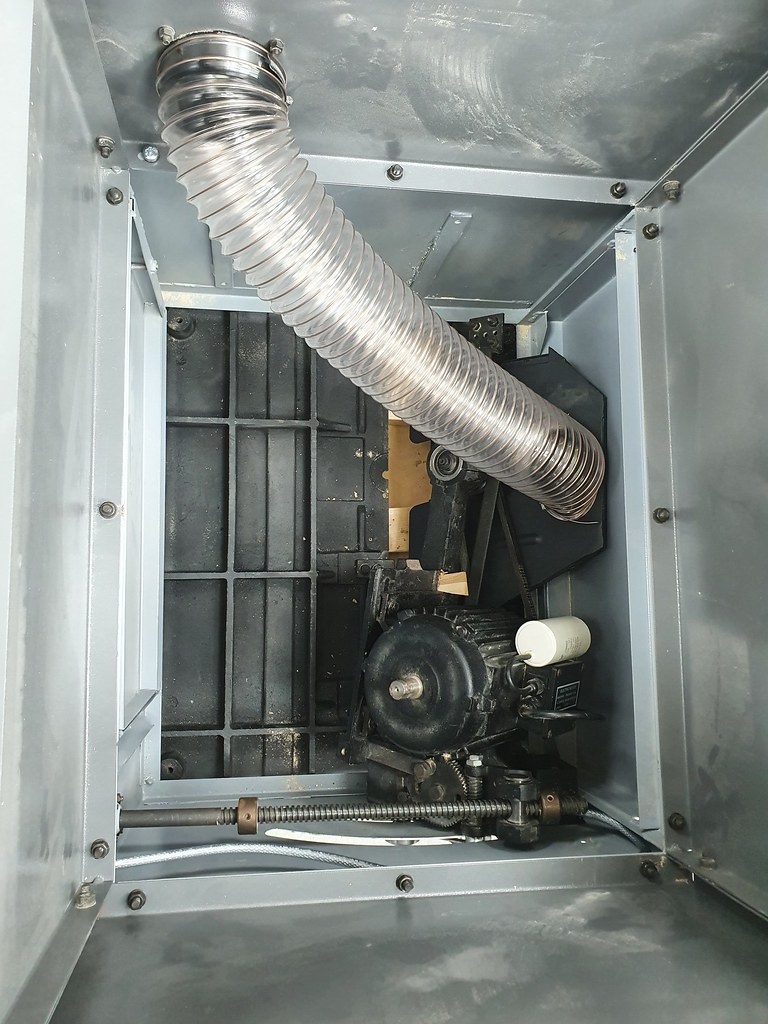
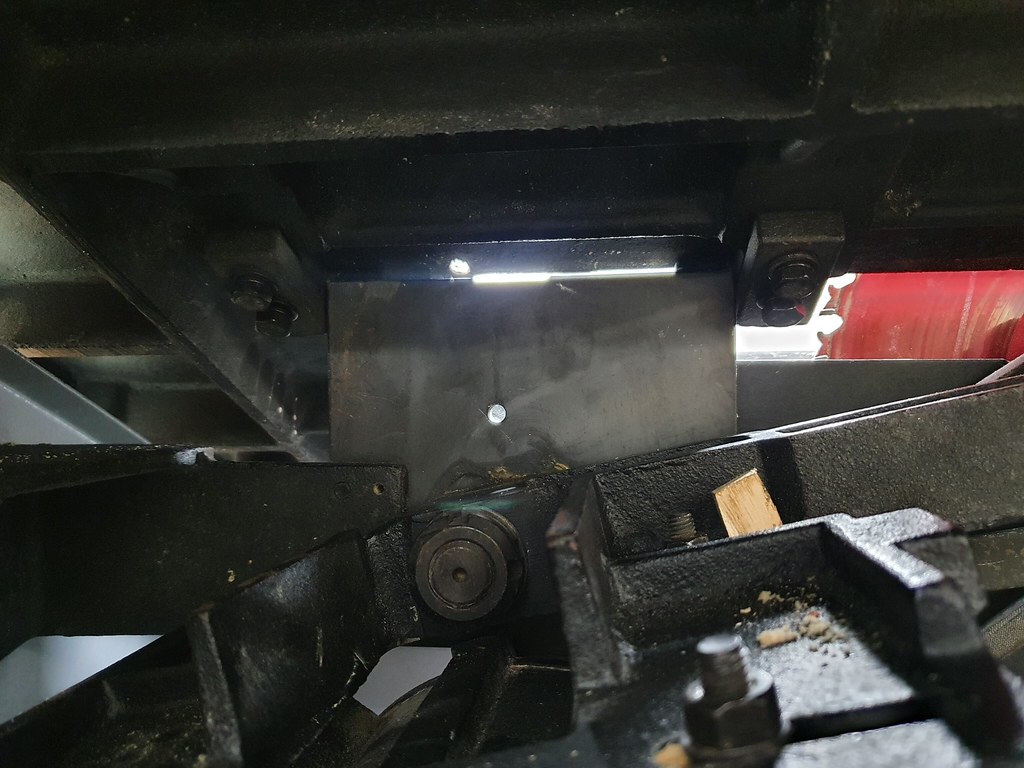
While that was going (8 hours) I took the cabinet apart further, it was the only way I was going to be able to get it all back together properly as it comes assembled from the factory with the top face down and the first half of the cabinet installed. As you can see the entire weight of the motor and its mount are suspended from the table itself, not like some models that have cabinet mounted trunnions. That's a fair heft to have dangling from the middle there.

50567438812_c268cdbc51_b.jpg


With the tensioner missing from the casting I used a little oak wedge to tension the belt and it seems to be ok. I also fitted some 100mm hose from the blade cowl to the cabinet to be further ducted outside the cabinet. For now It'll just be going into a 2kw HPLV DX4000 as that's all I've got. The cabinet as a whole is not close to sealed up so perhaps in time I'll attempt to enclose it further.

50567438692_c2da4dda7e_b.jpg

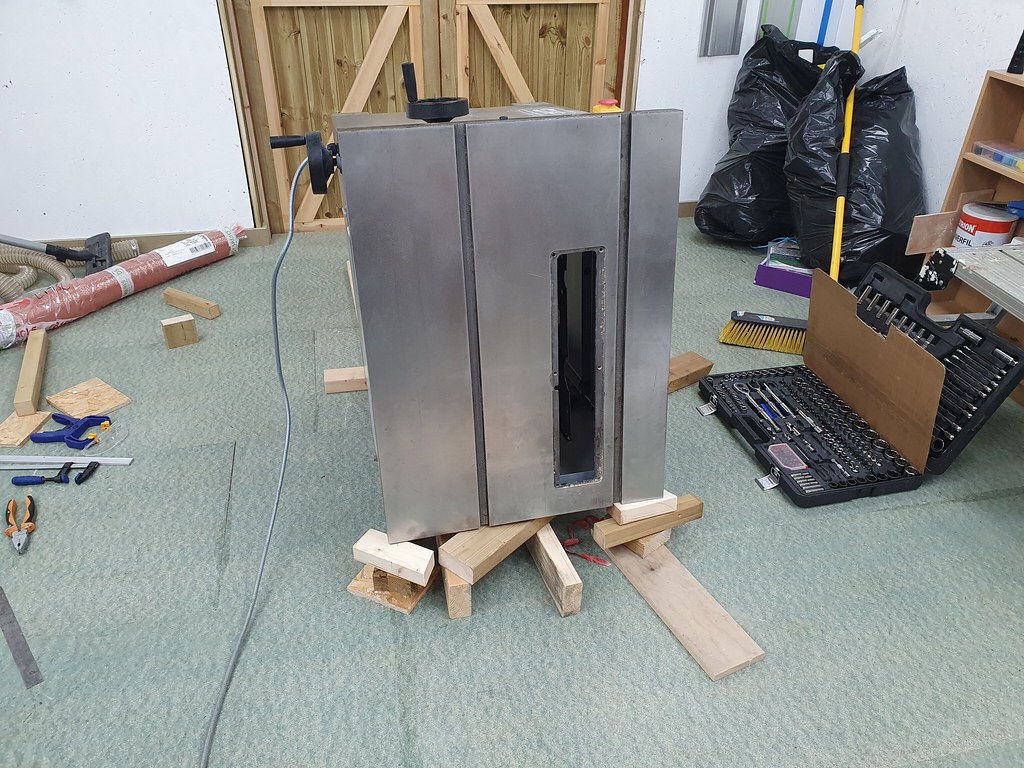
With the table flipped onto it's side I started to lift it up a block at a time. Remember the top alone is 50kgs, plus 18 for the motor and however much the mount weighs (at a guess another 8kg), and then the cabinet itself. Eventually it was righted and then I could shuffle it around into position.

50566551028_d988f56702_b.jpg


The blade is considerably out of alignment to the slots, but that's a job for tomorrow. The slots themselves are at least parallel. Once I'm happy with that I can get on with fitting the side tables and the fence rails. Come Friday evening power will be installed!

Here's the first draft of the fan. A perfect fit, just a bit too flimsy. As the blades were so thin there's also a little seperation on them where the PLA hasn't joined too well. No such problem on 2.0.

50567302241_ea5db57cd9_b.jpg
 
Bravo DBT85
That's some proper use and skills of those 3d printer things in the workshop.
You may be interested and probably have seen this thread by Baja king since you mentioned DC.

Harvey table saw refurbishment

Looks like your ready to make use of your new saw.
Good luck with it

Tom
 
Ohh thats a much nicer saw than this one Tom, it's got trunnions and everything!

Home made fan printed and fitted. A 10x15mm strip of masking tape was used to just thicken the spindle enough to be a nice friction fit. I probably could have designed something into the fan to help with that.

50570803517_91a77feca3_b.jpg


Next up was sorting the blade alignment out, the 4 bolts for that are really easy to get to, seen here.

50570670056_9eebe9c6f0_b.jpg


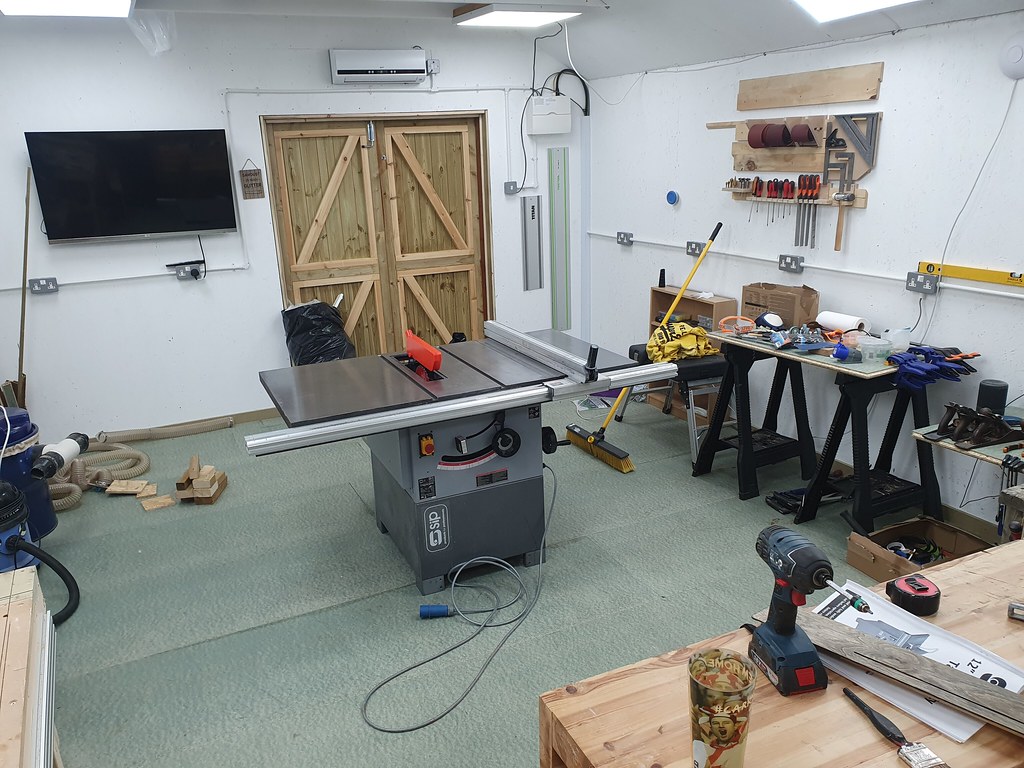
And finally the sides and rails are on, brande new guard and riving knife fitted and calibrated. Just waiting on power which might be tomorrow, might be Monday. I have other jobs to be getting on with anyway.

50569923388_35e5982d24_b.jpg
 
If you're looking to upgrade the fence on your saw, I highly recommend these plans : PDF plan for Table saw fence | Etsy
Siggy_7 have you built one? I have one for my table saw which is good. A friend helped with the welding. It’s not absolutely to the design but it is very solid and square. I would also recommend the design. If you are going to build one I could suggest some tweaks.
 
List your tweaks, I'm not certain on this fence as I'm able to lock it out of square easier than I'd like. Why they persist with fences that lock front and back I don't know.
 
"List your tweaks, I'm not certain on this fence as I'm able to lock it out of square easier than I'd like. Why they persist with fences that lock front and back I don't know."
I had a look at the home made fence referred to above. Definitely a well thought out and neat item but I think beyond my skills - I don't know how to weld and very rarely do any metal work etc. The only tapping I know is on windows or doors .....I guess I'll stick with the standard SIP fence for mine.
DBT, you say it doesn't lock square, or rather you can lock it out of square. Hmmm, not ideal. I'd hope that any fence is a slide and lock, forget it about it set up, and would always be square. And I'm guessing that the fence on yours is the same on the ten inch SIP model ??
 
List your tweaks, I'm not certain on this fence as I'm able to lock it out of square easier than I'd like. Why they persist with fences that lock front and back I don't know.
I can't see how you would lock it out of square unless you deliberately move the far end after locking the front. My Kity fence has a lock at the back which locks it in exactly the position it ends up after locking the front - so no worse than a front-locking-only fence. I usually lock the front then lift the back end up a couple of mm and let it drop so I know that the back end hasn't lagged behind as I moved the fence.
 

Latest posts

Back
Top