OPJ
Established Member
Hi guys,
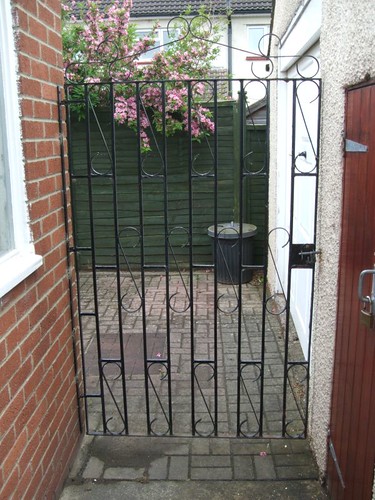
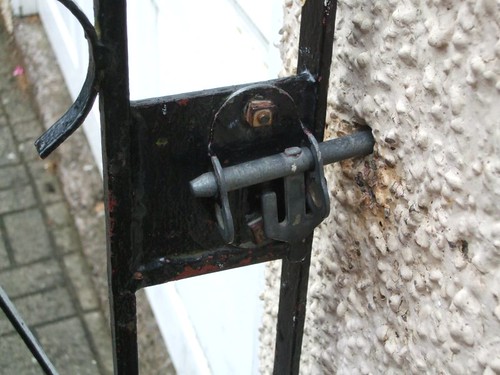
Mum's now started asking me about a new side gate :roll: to replace the steel one we have now. Biggest problem is it lets through a lot of wind and she wants to try and prevent that.
Oak will probably be the timber of choice, as I will have to replace the back door at some point as well, which will most likely be oak and she would like to to match. I was thinking along the lines of what I know as a Palisade-style gate (I used to make gates, lots of gates... :shock , where you have a slight gap in between each board. As opposed to a more traditional T&G gate, where we could encounter problems with the boards expanding and contracting. Plus, I would have to machine all those oak edges myself!! :?
These are my first thoughts and rough dimensions. One has 25mm gaps, the other 20mm. Board widths are sized accordingly.
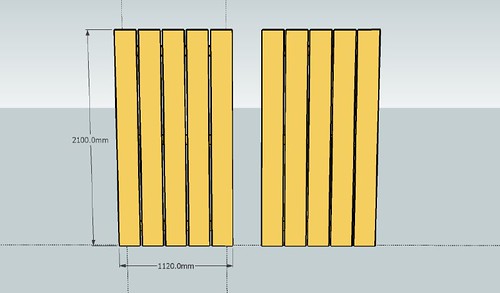
Chances are, she'll ask for a round-topped gate - in which case, I'll redraw and lower the top rail later.
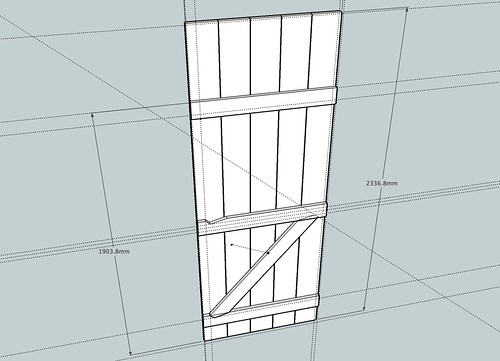
This is one idea I had for fixing the boards in place... I'm sure I've seen something just like this somewhere?
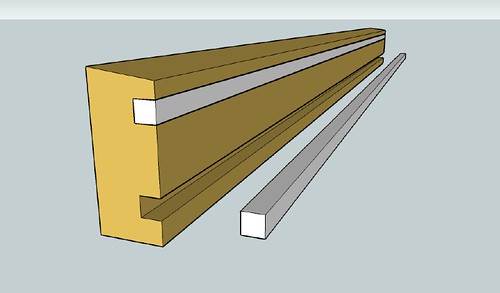
Basically, the boards would be fixed with stainless steel screws through the back of the rails (no visible fixings from the front). I would have to elongate the clearance holes to allow for movement and, I reckon I could then hide all this with a fillet strip, as illustrated (this one's drawn at 12mmx12mm). What do you think?
One each rail, you'll also note the top edge will be bevelled [not chamfered! :wink:] to allow rainwater to run off. Rails are currently drawn at 89mmx38mm (what we used to use...). If I can get wider boards from the available timber then I will try and do that.
I would appreciate a little SketchUp advice... (DaveR, you about? )
)
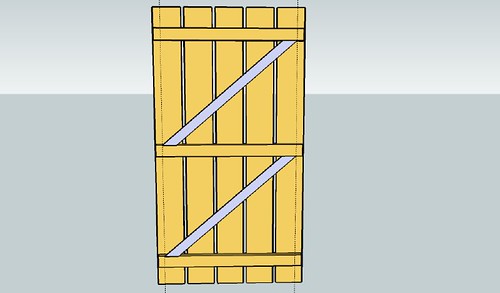
With the real job, yes, I'd just lay the braces over the rails and mark accordingly. How do you that in SketchUp? Is there a guide or trick to accurately drawing braces at the correct angle? (I've only drawn them very roughly here to illustrate.)
It's something I've often wondered as I usually end up drawing the brace and then rotating it for a bout half an hour!
Although, I used to make gates, fitting wasn't part of my job. So, once I've taken some photos and uploaded them later, I would also appreciate some ideas on that.
Thanks for looking,
Olly.
Mum's now started asking me about a new side gate :roll: to replace the steel one we have now. Biggest problem is it lets through a lot of wind and she wants to try and prevent that.
Oak will probably be the timber of choice, as I will have to replace the back door at some point as well, which will most likely be oak and she would like to to match. I was thinking along the lines of what I know as a Palisade-style gate (I used to make gates, lots of gates... :shock
These are my first thoughts and rough dimensions. One has 25mm gaps, the other 20mm. Board widths are sized accordingly.

Chances are, she'll ask for a round-topped gate - in which case, I'll redraw and lower the top rail later.
This is one idea I had for fixing the boards in place... I'm sure I've seen something just like this somewhere?

Basically, the boards would be fixed with stainless steel screws through the back of the rails (no visible fixings from the front). I would have to elongate the clearance holes to allow for movement and, I reckon I could then hide all this with a fillet strip, as illustrated (this one's drawn at 12mmx12mm). What do you think?
One each rail, you'll also note the top edge will be bevelled [not chamfered! :wink:] to allow rainwater to run off. Rails are currently drawn at 89mmx38mm (what we used to use...). If I can get wider boards from the available timber then I will try and do that.
I would appreciate a little SketchUp advice... (DaveR, you about?

With the real job, yes, I'd just lay the braces over the rails and mark accordingly. How do you that in SketchUp? Is there a guide or trick to accurately drawing braces at the correct angle? (I've only drawn them very roughly here to illustrate.)
It's something I've often wondered as I usually end up drawing the brace and then rotating it for a bout half an hour!
Although, I used to make gates, fitting wasn't part of my job. So, once I've taken some photos and uploaded them later, I would also appreciate some ideas on that.
Thanks for looking,
Olly.


