Shultzy
Established Member
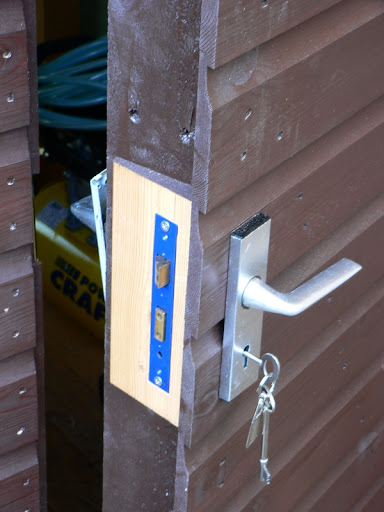
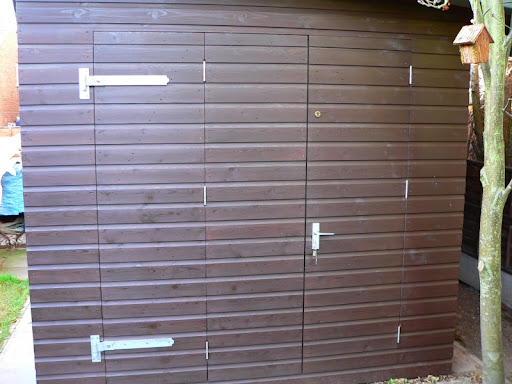
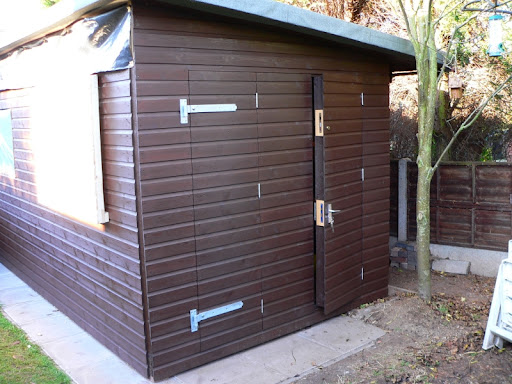
Hi all, thanks for your comments OLD, I think its due to my engineering background, I did try to make it on a "production-line" basis so perhaps that's why it looks so neat.
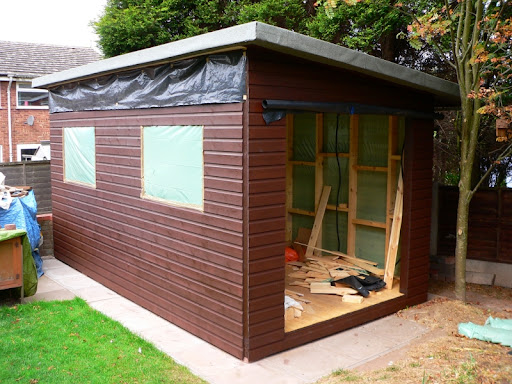
After such lousy weather this summer the sun came back with a vengeance just as I started work on the roof. It took me four days of sweat to complete :evil: . The roof is covered with ¾" ply and Wickes's "Easyseal". My neighbour helped me to get five of the 8x4 sheets up onto the trusses, where I had to cut two lengthways (not so easy freehand) and the others were cut on the ground and hauled up (ten cuts in all).
As the joists are covered I used masking tape to mark the centre lines of the trusses to position the ply, I also used a string line along the length of the roof to take out any inaccuracies in the "squareness" of the roof. before nailing. After all the ply was in position I ran the router around the edge using a bearing guided trim cutter.
After painting with primer I again used a string line and masking tape to provide a visual reference for the first layer of "Easyseal" underlay. After cutting to length the backing sheet is removed while rolling out the underlay and smoothing down with a paint roller. The "Easyseal" capsheet is put on in the same way. All of the sheets went down without any problems, except I had to use three tubes of mastic to glue down the edges and underneath as the start of the rolls seemed to have lost their "stickyness". I allowed 3" to fold underneath and then nailed with clout nails to make sure it remained in position.
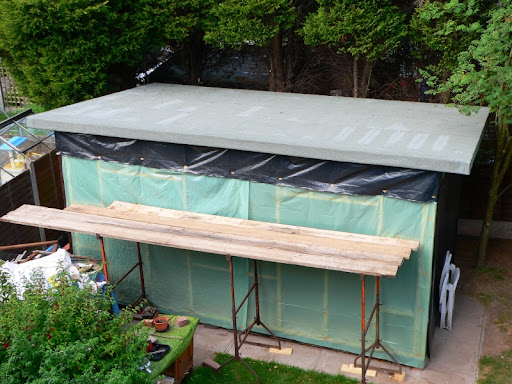
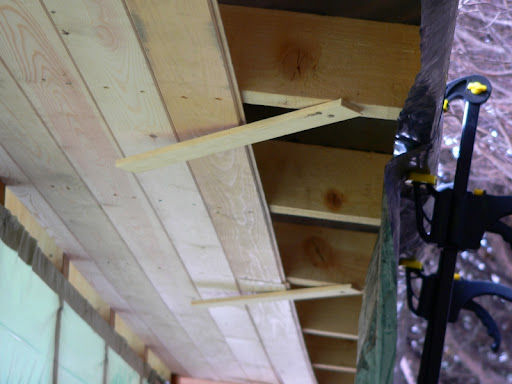
I though you might like to see how I managed to put the long under roof planks on my own. I screwed four battens loosely to the trusses and twisted them into position to allow me to mark the saw cut line without having to hold the planks in place.
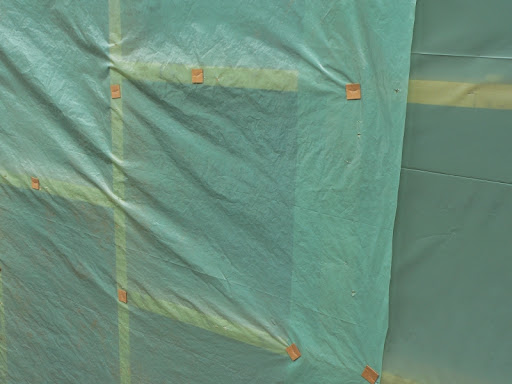
Another tip is to use 1" square pieces of cardboard to staple the sheeting on. This stops it from tearing in strong wind.
After such lousy weather this summer the sun came back with a vengeance just as I started work on the roof. It took me four days of sweat to complete :evil: . The roof is covered with ¾" ply and Wickes's "Easyseal". My neighbour helped me to get five of the 8x4 sheets up onto the trusses, where I had to cut two lengthways (not so easy freehand) and the others were cut on the ground and hauled up (ten cuts in all).
As the joists are covered I used masking tape to mark the centre lines of the trusses to position the ply, I also used a string line along the length of the roof to take out any inaccuracies in the "squareness" of the roof. before nailing. After all the ply was in position I ran the router around the edge using a bearing guided trim cutter.
After painting with primer I again used a string line and masking tape to provide a visual reference for the first layer of "Easyseal" underlay. After cutting to length the backing sheet is removed while rolling out the underlay and smoothing down with a paint roller. The "Easyseal" capsheet is put on in the same way. All of the sheets went down without any problems, except I had to use three tubes of mastic to glue down the edges and underneath as the start of the rolls seemed to have lost their "stickyness". I allowed 3" to fold underneath and then nailed with clout nails to make sure it remained in position.

I though you might like to see how I managed to put the long under roof planks on my own. I screwed four battens loosely to the trusses and twisted them into position to allow me to mark the saw cut line without having to hold the planks in place.

Another tip is to use 1" square pieces of cardboard to staple the sheeting on. This stops it from tearing in strong wind.


