Sharpening hollow mortice chisels.

UKworkshop.co.uk

Help Support UKworkshop.co.uk:

This site may earn a commission from merchant affiliate links, including eBay, Amazon, and others.

chaoticbob

Established Member
Joined
14 Nov 2012
Messages
487
Reaction score
75
Location
Wirksworth
I need to sharpen some second-hand hollow mortice chisels. I've had a look, and there seem to be two types of tool on offer to do the internal bevel - diamond encrusted cones and things which look like countersinks with a pilot. Some say 'suitable for most Taiwanese chisels'. Mine are old British things (marked Wm Ridgway Sheffield).
I had a look at a video from Fine Woodworking demonstrating the diamond cones, but no mention of the provenance of the chisels - from what I could see, there was no secondary bevel on the chisels the guy was sharpening, and no mention of angles. The Ridgway chisels certainly have primary and secondary bevels.
So I'm confused! Any enlightenment would be welcome - especially as to angles. Maybe it's the same as with flat chisels, but I just don't know.
Hoping the forum software doesn't immediately blackball me for using the S-word in the subject line...
Bob.
 
I think most if not all tools on offer for sharpening mortice chisels at this time are for "Japanese" pattern chisels which have a sharper angle than the English pattern chisels such as the Clicos, mainly because there's reckoned to be only two factories in the whole world that make morticer chisels, one in Japan and one in China/Taiwan which both make the Japanese pattern.

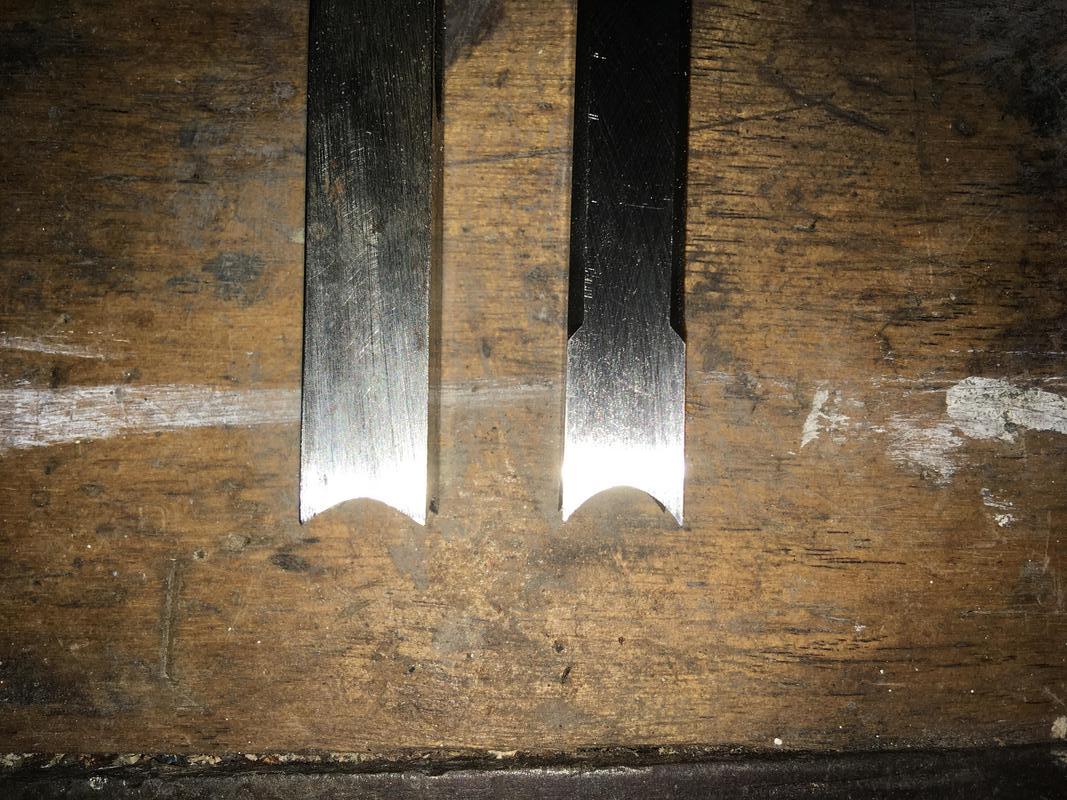
Barely used English Clico on the left, Brand new Japanese Nakahashi (NH) chisel on the right:

95NB9eJ.jpg


The Clico has a much shallower cutting angle than the NH chisel shown by the lower arc between the points. I'm not certain what the exact angles are respectively, but I remember having a very stern telling off after sharpening an English pattern chisel with a Japanese reamer when I was an apprentice :lol: "You do a mortice with that you'll split the chisel!" So I guess it's kind of stuck with me. I've only ever split a chisel open once but it wasn't really in the best condition anyway and had been in use for years, I've still got it somewhere as a bit of a momento. Finding an English Pattern Reamer is like finding rocking horse dung though and when they do pop up the command a very heavy premium of upwards of £60 for an original Clico one, bear in mind though that quite often back ye olden days these chisels were actually very carefully sharpened with a small file and the operator may have decided to put on a secondary bevel at some point. I have seen people shape those conical stones that fit in a drill to the right angle with a devil stone and then use that for sharpening it.


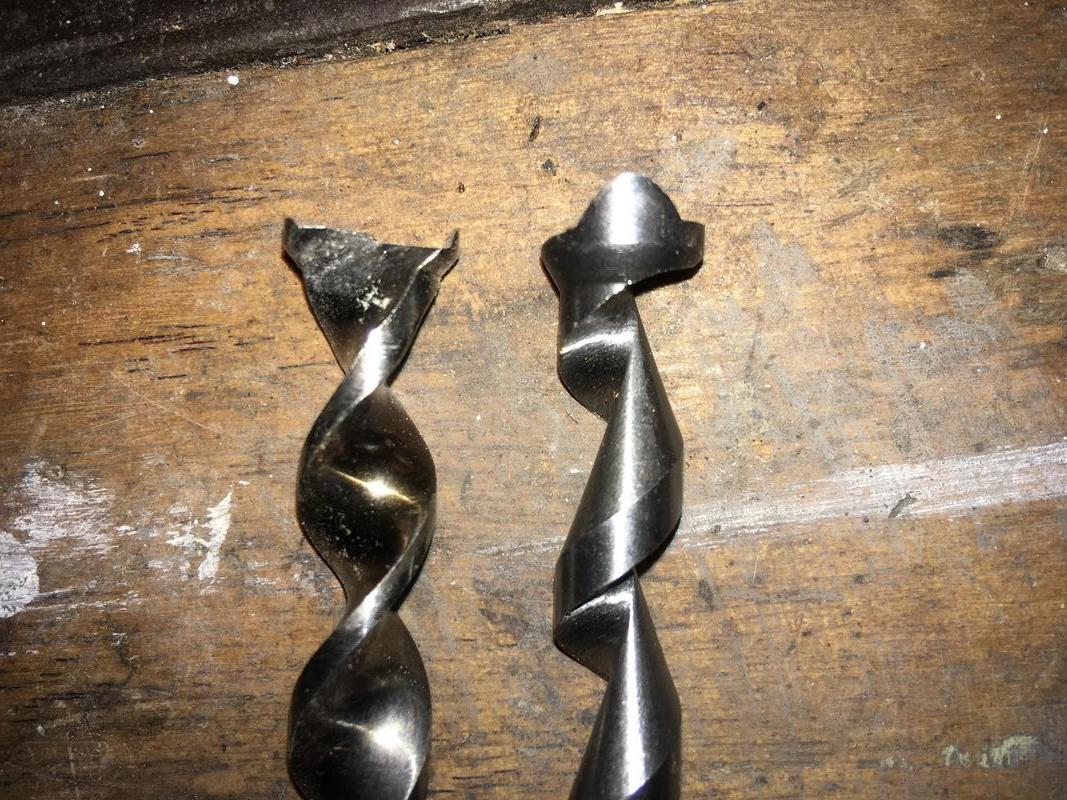
A Clico Auger on the left and a Nakahashi Auger on the right:

vrBjOML.jpg


Keeping the auger in good shape is just as important as keeping the chisel sharp as the auger does the brunt of the work. With a new auger, I like to take all the burrs off the flutes with some sandpaper which really makes a day and night difference with ejection out of the box. Even when the NH chisels cost £50+ starting, they're relatively rough out of the packaging and need a little fettling with a file and sandpaper to get them cutting perfectly, but even if you don't fettle them they'd eventually wear off the burrs and work well.


For a machine that's the staple of the joinery trade, there's very little written and published about them and what is available is written or shown by people that have very little actual experience of the machines. I guess hollow chisels are perhaps looked down upon as a bit "old fashioned" compared to the high-speed slot morticers, oscillating chisel machines and Festool Dominos of the world.
 
I have a set of british reamers for mortice chisels and will be putting them in the for sale section in the next couple of days.
 
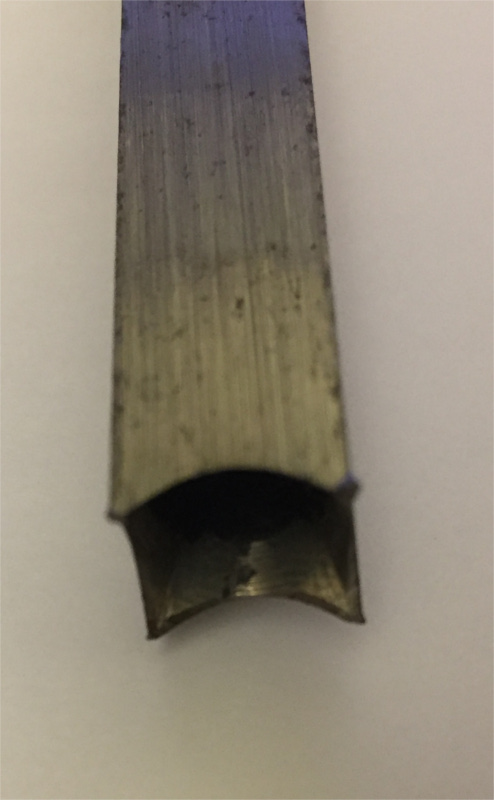
Thanks for your detailed reply Trevanion. This is one of the chisels I have:

MorticeChisel01Small.JPG


Crappy pic, but you can see the secondary bevel, and the arc looks much more like your pic of the Clico than the Japanese tool.

The chisels came with an ex-school Multico K1 morticer - I paid £75 for the lot, seemed a bargain so I snapped it up. I'm very much a 'weekend warrior', can chop mortices by hand when I need to, so don't want to spend a lot of money on this. I'm certainly nowhere near the point where I could justify splashing out on a domino machine!

Given that the English pattern reamers are rare and expensive I'll probably go back to ye olde days and carefully file - or make my own reamers and see how it goes.

Ace - I'll keep an eye on the 'for sale' section.
Bob.
 

Attachments

  • MorticeChisel01Small.JPG
    MorticeChisel01Small.JPG
    92.1 KB
chaoticbob":1yacwq8n said:
The chisels came with an ex-school Multico K1 morticer - I paid £75 for the lot, seemed a bargain so I snapped it up.

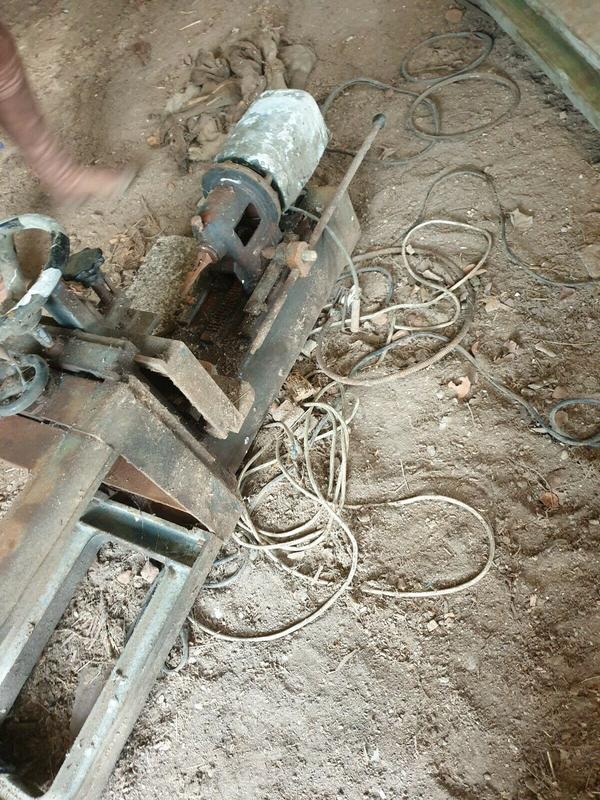
That is a bargain, I paid £57 for this one:

Zm6WnqH.jpg


It is beginning to look half decent now though...

f6RS9Ny.png
 
Wow, that's an impressive rescue! Mine had been standing in a shed for five years, rusty but nothing like yours! Just paraffin, Scotchbrite, rewire and a bit of elbow grease:
MulticoK1.JPG


You don't happen to know what the screw on the front of the casting which takes the chisel collar is there for?
MulticoMysteryScrew.JPG


Bob.
 

Attachments

  • MulticoK1.JPG
    MulticoK1.JPG
    237 KB
  • MulticoMysteryScrew.JPG
    MulticoMysteryScrew.JPG
    168.9 KB
Bob, this any good? As it's a #1, I think it's for English chisels whereas #2 was for Japanese. No charge.
Clico Mortice Chisels Sharpening Set.jpg


PM me your address if you want it.
 

Attachments

  • Clico Mortice Chisels Sharpening Set.jpg
    Clico Mortice Chisels Sharpening Set.jpg
    228.4 KB
chaoticbob":27bvd327 said:
You don't happen to know what the screw on the front of the casting which takes the chisel collar is there for?

Weird, that’s definitely not on mine and I wouldn’t have a clue what it was for if someone did it after the fact! :?

Robbo3":27bvd327 said:
As it's a #1, I think it's for English chisels whereas #2 was for Japanese.

#1 was small for the much smaller chisels less than 3/8”, #2 was bigger and could do up to a 25mm chisel I think, and then I think there was a #3 for even larger chisels. Reamers for Japanese chisels had the letter ‘J’ affixed at the end of the number :)
 
The Axminster kit I had came with central guides for both imperial and metric sizes. But to be honest they aren't all that critical as the cone should self-centre. If you have a pillar drill with a central hole in the table you can clamp the chisel in a machine vice (don't clamp the vice - it needs to move), to keep it on-axis to the reamer. I got best results using cutting compound (Trefolex, but other brands, etc.).

From the picture, yours has overheated rather a lot. It might be worth trying to re-harden & temper before sharpening (don't sharpen first!). I have some Marples blue-handle hand chisels which were really hard to keep sharp until I did this - no clever stuff, just watching for colour changes on the surface of the steel.
 
Robbo3":29e5f0mg said:
Bob, this any good? As it's a #1, I think it's for English chisels whereas #2 was for Japanese. No charge.


PM me your address if you want it.

Thanks for your incredibly generous offer Robbo - looks like what I need. PM sent!

Trevanion - thanks for your reply. The screw will have to remain one of life's many mysteries, along with Multico's decision to use a left handed thread on the star wheel which tightens the lever...

Andy - pic of chip ejection slot:

RidgwayChisel01.JPG


Eric - thanks for your advice on re-hardening. Any idea what sort hardness I should be aiming for? I have a set of hardness testing files and it looks like the business end of the chisel pictured is around HRC 40, which does seem a bit soft, but I don't know how hard they should be.
Bob
 

Attachments

  • RidgwayChisel01.JPG
    RidgwayChisel01.JPG
    104.1 KB
chaoticbob":2xh0pg1l said:
Trevanion - thanks for your reply. The screw will have to remain one of life's many mysteries, along with Multico's decision to use a left handed thread on the star wheel which tightens the lever...

Ah, that one I can explain (I think)! Although I reckon it's really unlikely with the gear teeth meshed together, if it were right hand threaded it could possibly come work loose and come undone over many plunges of the handle. Probably overthinking on Multico's part more than anything, I had to replace my hand wheels as the plastic had gone brittle and disintegrated which seems to be a common fault on them, a left-handed 1/2" BSF tap wasn't the easiest thing to find! :lol:

oQZCCm1.jpg

PuMp2os.jpg


As far as hardness goes, new Clico chisels and augers were never that hard as they needed to be reamed and filed so if they go a little blue it's not the end of the world as some may think, they're not a bench chisel after all and they would probably be more likely to burst whilst plunging through the timber if they were especially hard.
 
Bob, no PM in my inbox.
I'll PM you & see if you can reply.
Failing that email me via the forum.
 
Can't comment on actual hardness, and I take Trevanion's point above about hand sharpening in a commercial shop, but if you find the edge is rolling over in use, I would try hardening it.

It looked like the corners had rolled over in the picture you posted earlier.

Also, don't forget the sides should be very slightly tapering, in towards the top, so it doesn't get deflected when cutting.
 
Thanks for further replies.
Re hardness, I was thinking the chisels couldn't be very hard if they can be reamed with the type of tool Robbo pictured. Eric is right that the corners of the chisel in my pic have rolled over - when I've got it sharpened I'll give it a workout and, if it happens again, re-harden.

Trevanion - I'll buy your explanation of the LH thread. Just. I think you'd have to have an exceptionally vigorous morticing action to work a RH thread loose - but maybe! As you say, perhaps Multico overthinking.
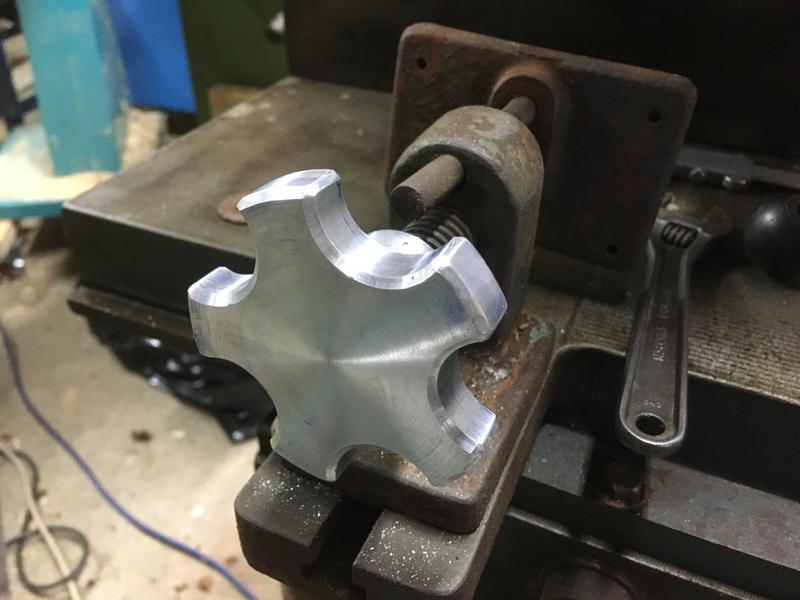
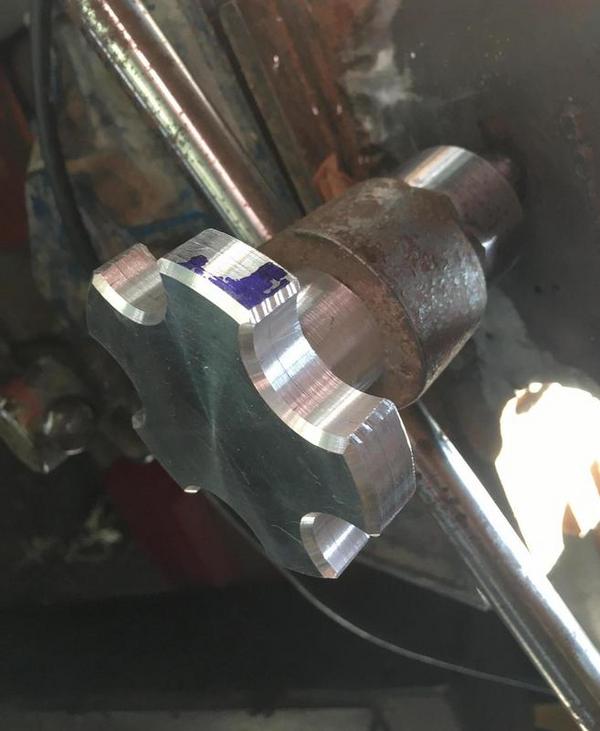
Drifting off topic (hey, it's my thread!) how did you do those handwheels? I was thinking of putting some scallops (if that's the word) on a wheel I made for a forum member's Kity TS, but not having a big enough mill to whack a big cutter in the only way I could see was to use a boring head, which would have taken ages.
Bob.
 
chaoticbob":uuxvezp7 said:
how did you do those handwheels? I was thinking of putting some scallops (if that's the word) on a wheel I made for a forum member's Kity TS, but not having a big enough mill to whack a big cutter in the only way I could see was to use a boring head, which would have taken ages.

The old fashioned and hard way, Bob! Marked out five equal points on the diameter, on those five points mark a 25mm diameter circle, get the hacksaw out and rough out the shape and then get the 10mm round file to refine it some more and then use a 25mm sanding wheel in a drill to get it looking tidy.

They're fairly crude really but they work and should last, that's the main thing :)
 
chaoticbob":1maijlfq said:
Thanks for your incredibly generous offer Robbo - looks like what I need. PM sent!
Posted today, first class as it was only 30p more than 2nd class.
 
Trevanion":8vua0ico said:
]
The old fashioned and hard way, Bob! Marked out five equal points on the diameter, on those five points mark a 25mm diameter circle, get the hacksaw out and rough out the shape and then get the 10mm round file to refine it some more and then use a 25mm sanding wheel in a drill to get it looking tidy.
They're fairly crude really but they work and should last, that's the main thing :)
If you started with oversized material you could drill five holes then cut the circumference of the wheel through them.
 
Robbo3":sjgjs192 said:
chaoticbob":sjgjs192 said:
Thanks for your incredibly generous offer Robbo - looks like what I need. PM sent!
Posted today, first class as it was only 30p more than 2nd class.

Arrived this morning. As I no longer have a brace to drive the square tang I had to lash something up:

ClicoReamer.JPG


Light pressure with the tailstock, a couple of turns of the chuck (by hand!), nice little curls of swarf, job done.

Concerning chisel sizes, the pilots that came with the reamer cover 1/4" to 1/2" in 1/16" increments. I reckon with a suitable pilot it would cope up to 5/8", but as the biggest I have is 1/2" the tool is absolutely spot-on for my needs as is :D
Thanks again Robbo.

Bob
 

Attachments

  • ClicoReamer.JPG
    ClicoReamer.JPG
    203.9 KB
Back
Top