Scribing a frame?

UKworkshop.co.uk

Help Support UKworkshop.co.uk:

This site may earn a commission from merchant affiliate links, including eBay, Amazon, and others.

Chems

Established Member
Joined
23 Apr 2008
Messages
4,065
Reaction score
0
Location
A Wood Haven
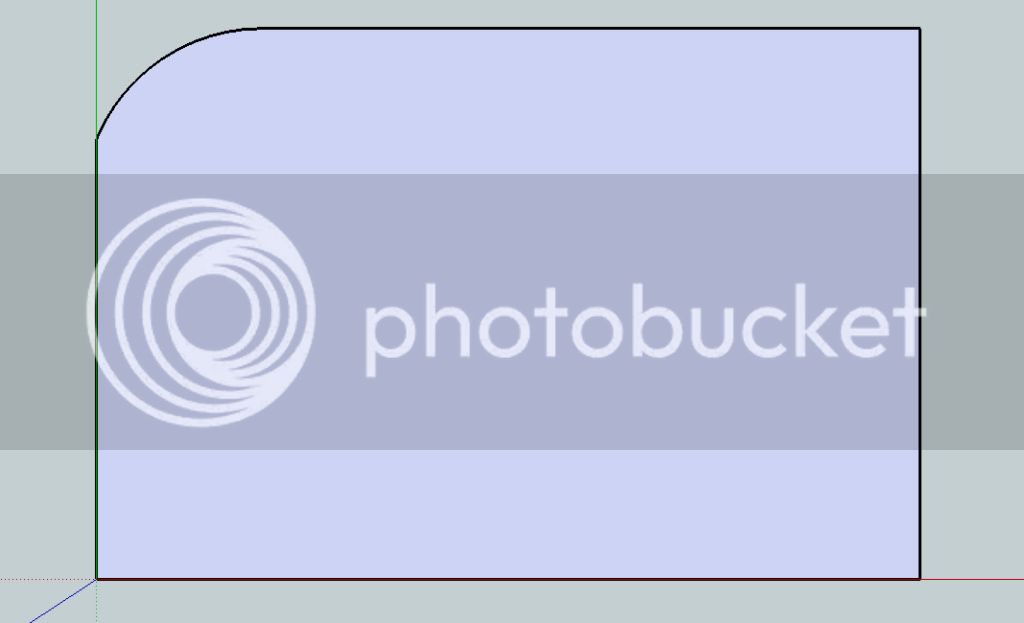
I've got to scribe a frame into a large opening. I've got a few ideas how I want to do it but how would the rest of you do it? Its 3.6m across by 2.43m high with a slight arc at one end top corner. I'd like to make an MDF mock up, scribe it in and then work back from their with the real frame.

Frame.jpg
 
What is the frame work made up of that will be going in? And yes, I would do the same as you make up a piece first as a template for the final piece.
 
Sliding doors. Its almost to long for a single MDF run template, as longest MDF boards are 2.4 and this is 3.3 on the longest run.
 
Last time I made a frame for sliding doors I fitted each side independantly and packed out until it square. I then fitted scribed thin panels to the front to conceal the packing pieces. If you levelled top and bottom pieces then cut the side to length you could then do the scribed side pieces first to overlap the frame joints to add strength, before fitting the top and base scribed sections.

An alternative approach is to make a frame that fits all the smallest dimensions, fit it square, fix scribed panels on top of the frame, fix some braces to keep it square, remove and use as the template for the real frame. You could check squareness again before finally marking the final frame using the 3,4,5 rule.
 
Tick stick it.
A technique used by boat builders for over 1000years.

In brief,
stand a board smaller than the opening, in it, in a fixed position(B&D workmate does well)
Take a length of stick with a pointed end, lay it against the board with the point end in bottom corner, mark a line against it as long as possible and at some point midway mark both board and stick with coinciding lines.
Continue at various positions around the opening, as many as practicable on curved edges, if needed make a second or third reference line on the stick but mark them accordingly.
Back in the shop layout sheet material to use as a full size template, on the floor if need be. Lay the site reference board on top and using the stick aligned with the reference marks layout each point of contact.
Join the dots. Just like the old comic books dot to dot. For curves panel pins and string help.
Cut out the shape, it will be as near as dammit the shape required.
On boats it can be too accurate in that it is too tight to get into place. :lol:

And yes! that is the brief description.
 
JoinerySolutions":bb6to8i9 said:
Tick stick it.
A technique used by boat builders for over 1000years.

In brief,
stand a board smaller than the opening, in it, in a fixed position(B&D workmate does well)
Take a length of stick with a pointed end, lay it against the board with the point end in bottom corner, mark a line against it as long as possible and at some point midway mark both board and stick with coinciding lines.
Continue at various positions around the opening, as many as practicable on curved edges, if needed make a second or third reference line on the stick but mark them accordingly.
Back in the shop layout sheet material to use as a full size template, on the floor if need be. Lay the site reference board on top and using the stick aligned with the reference marks layout each point of contact.
Join the dots. Just like the old comic books dot to dot. For curves panel pins and string help.
Cut out the shape, it will be as near as dammit the shape required.
On boats it can be too accurate in that it is too tight to get into place. :lol:

And yes! that is the brief description.

That's the technique I use too.

I didn't know it had a name, though!
 
That does sound good! The opening is pretty big, 3.5m by standard roof height, does the size of the board have to correspond in some relation?
 
Thanks for that guys, such a time saver over what I was going to do. Never heard of it so UKW to the rescue again. My stick will be 2.2m long which I should be able to manage ok I hope, I'll try and get a few pictures of the process for others to see.
 
I appreciate it, a little google search for some extra pictures and it became crystal clear!
 
Chems":1cjsq632 said:
I appreciate it, a little google search for some extra pictures and it became crystal clear!

It's not clear to me :oops: :lol:

I'm not very good at following written instructions and find pictures a great help, so if anybody has found some or wants to take the trouble to post some up it would be greatly appreciated, otherwise I'll try a bit of googling later !

Cheers, Paul :D
 
The technique described is also known as 'spiling'.
It's used extensively in boat building as you can fit planking accurately where you need to follow the line of the frames and also introduce the curvature.
Great for other stuff as well, bulkheads, knees etc.
If anyone has Modern Practical Joinery by George Ellis, there's a small piece on it - pages 64 & 65.

This pic is a good example of how it can prove useful.
I fitted all the knees (the triangular curved pieces in the corners) by using a spiling template.

cheers,
Andy
BOAT256.jpg
 
Well I've made my stick and board, I will be doing it tomorrow and hopefully transferring it back in the workshop later this week.
 
Hi

the method I use to scribe a template for an enclosed opening such as this is to use a number of thin strips (say 4-6") that I individually scribe to the various sections of the opening and then fix together with hot-melt glue which gives an instant and reliable fix.

I use whatever scrap material I have around - 4mm or 6mm ply or mdf or even cardboard.

I would add a few braces across the corners and length and width ways and you will have a very strong and light template.

The hot glue gun really is a very useful tool.

Cheers
 
scholar":1iw483il said:
Hi

the method I use to scribe a template for an enclosed opening such as this is to use a number of thin strips (say 4-6") that I individually scribe to the various sections of the opening and then fix together with hot-melt glue which gives an instant and reliable fix.

I use whatever scrap material I have around - 4mm or 6mm ply or mdf or even cardboard.

I would add a few braces across the corners and length and width ways and you will have a very strong and light template.


Cheers

I've used both methods, still do occasionally.The method scholar uses is the most accurate, (for me) of course it depends on what you're scribing into!
mack
 

Latest posts

Back
Top