scratch building

UKworkshop.co.uk

Help Support UKworkshop.co.uk:

This site may earn a commission from merchant affiliate links, including eBay, Amazon, and others.

devonwoody

Established Member
Joined
11 Apr 2004
Messages
13,493
Reaction score
25
Location
Paignton Devon
I was going out of the back door towards the workshop and the wife said
" I could do with something better to hold those kitchen spatulas"

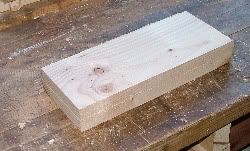
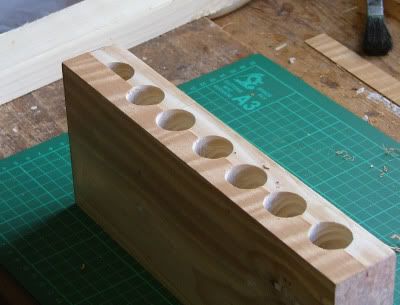
So I went to my offcut box and pulled out a length of 5x2 (straight away like a good boy),
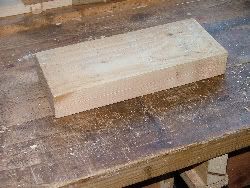
spat1a.jpg


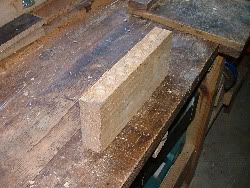
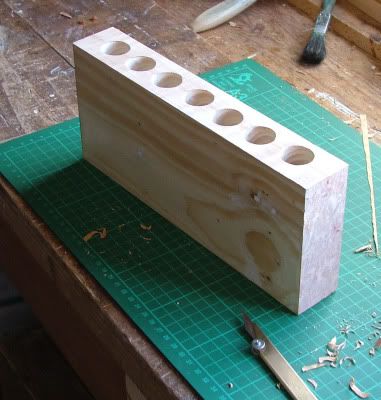
cleaned up two sides:-
spat2a.jpg


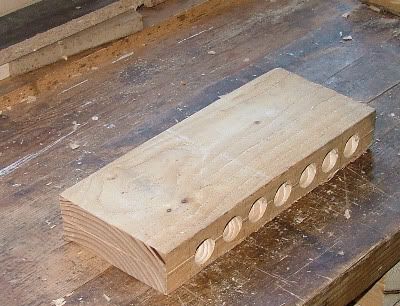
drilled six holes:-
spat3a.jpg


Put the timber through the bandsaw and then chiseled out the rest of the tool holder slots:
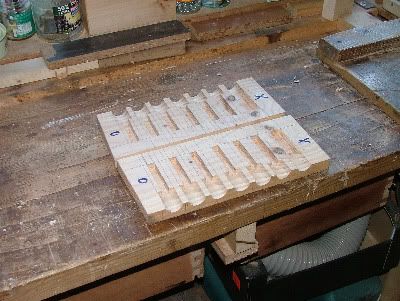
spat4a.jpg


Reassembled the 5 x 2
spat5a.jpg


And reglued back together
spat6a.jpg


Now I want to clean up the other 4 sides and place a triangular section at bottom to add stability.

But can member advise me how to proceed and do a veneer job on this creation. I have some sycamore, black walnut or teak available.
 
Hi DW,

Neat idea!

I would first square and smooth the surfaces that get veneer. I would make sure the corners do not get rounded at all. So I would first smooth the two larger sides and then recut the ends, just a smidge to ensure the corners at nice and sharp.

I would cut veneer for the ends a little over-sized and as the glue will seep into the ends more than the faces, I would thin a little regular glue with water and lightly brush it onto the ends and let it dry until it is no longer tacky. Shouldn't take long.

Clamping cauls. If you do not have some scrap a little larger already, I would cut a couple pieces from 18 mm plywood. Cut some wax paper to place between these cauls. Have clamps ready that will fit the length of the holder and the cauls.

Once the ends are dry to the touch (but don't let it fully cure. It doesn't take long here) and the cauls are ready, I would put more glue onto the ends and take the slightly over-sized veneer for the ends and put them in place. Place the wax paper and cauls against both ends (wax paper between the veneer and cauls) and lightly clamp into place. You want enough pressure to hold the veneer firmly without squeezing all the glue out.

Once this has set for a few hours, remove from the clamps and trim the overhang of the veneer. I usually use a block plane set for a very light cut. Flush is what you're after.

Now do the same process on the faces. You'll need cauls large enough to cover the entire face. As it is a larger area, you'll want to make sure your clamps will provide enough even force against the clamping cauls.

I would put a painter's type of tape on the ends right at the edges on the ends to stop most/all of the glue squeeze out from getting onto the veneer on the ends. You just want to use a tape that is very low tack so the adhesive of the tape doesn't transfer onto the end veneer.

After a few hours, remove the clamps and tape and let it set for more time. Resist the urge to start sanding at this point. The heat from sanding can debond the veneer. Trim the overhang, being very careful to only approach the veneer on the ends. You'll sand it the remainder of the way. As you'll be trimming end-grain this time, either you'll need to use a very sharp, lightly set block plane and use a downward-angled (skewed) motion across the end grain veneer or use a fine veneer or othe hand saw.

Mike
 
You're welcome DW.

It probably should be noted it might have taken me longer to write what I did than to do it. It is easier and quicker than it sounds.

Other than watching the glue dry... :wink:
 
more progress.

Burr maple veneers on ends attached OK

Silky Maple attached to top at palette holes in two pieces so that apertures
could be cut, went OK.

Too hot in workshop this afternoon to complete sides, they will have to wait until evening (around 30c at the moment)

ven2.jpg


ven3.jpg


.
 
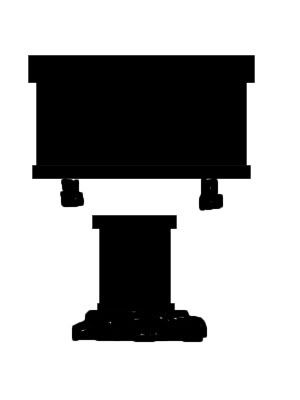
Face sides are on but it is too hot in the workshop today (90far) so working on Mark2 design as follows:-

newpaletteholderweb.jpg


The veneers can then lay inside rebated design and top veneers will not be needed , also at the early stages the cut slots inside block can be cut through on the tablesaw like dado cuts and base piece when added will cover insdide work.
 
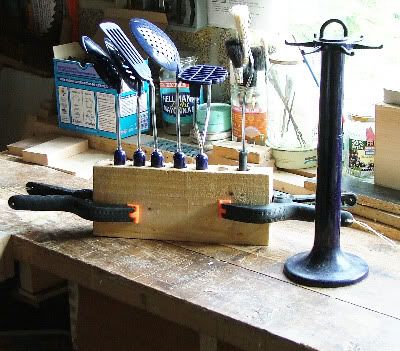
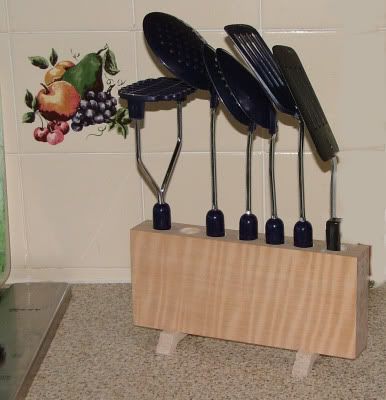
Woodwork finished on first palette tool holder as per picture below.

As mentioned earlier another model is being considered as sketch and I have some banding generously given me by Lynx which I am looking forward to using.

Have a problem again today though,the wife wants to go shopping past the motor caravan shop :roll: :roll: :roll:

spatfiniw.jpg
 
Back
Top