MikeG.
Established Member
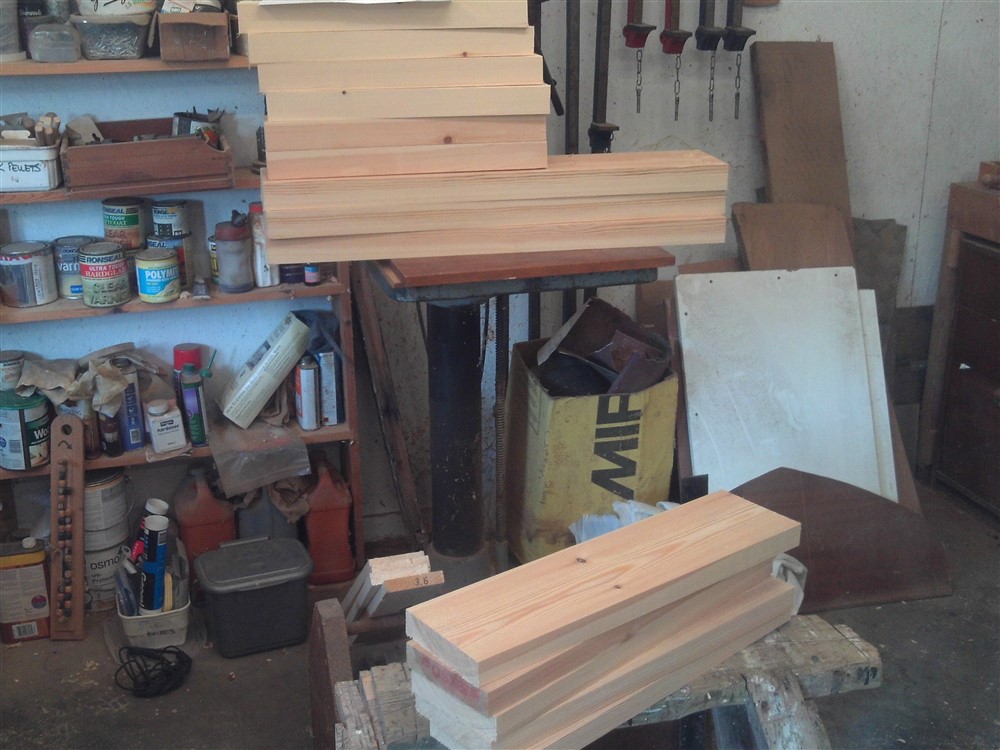
This is something I've been meaning to do for a while. My son in law was over for a few days and wanted some workshop time, so this little project seemed like an ideal hand-tool teaching project for him. We started with a pile of wood (all "redwood".........PAR pine):
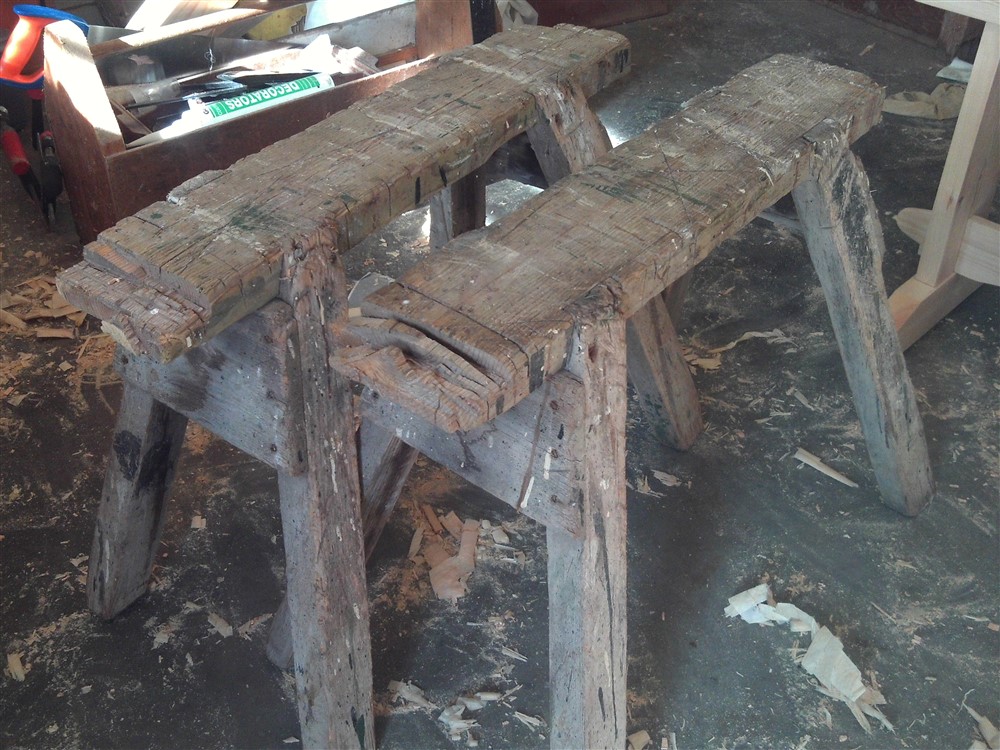
This is why I need new saw horses:
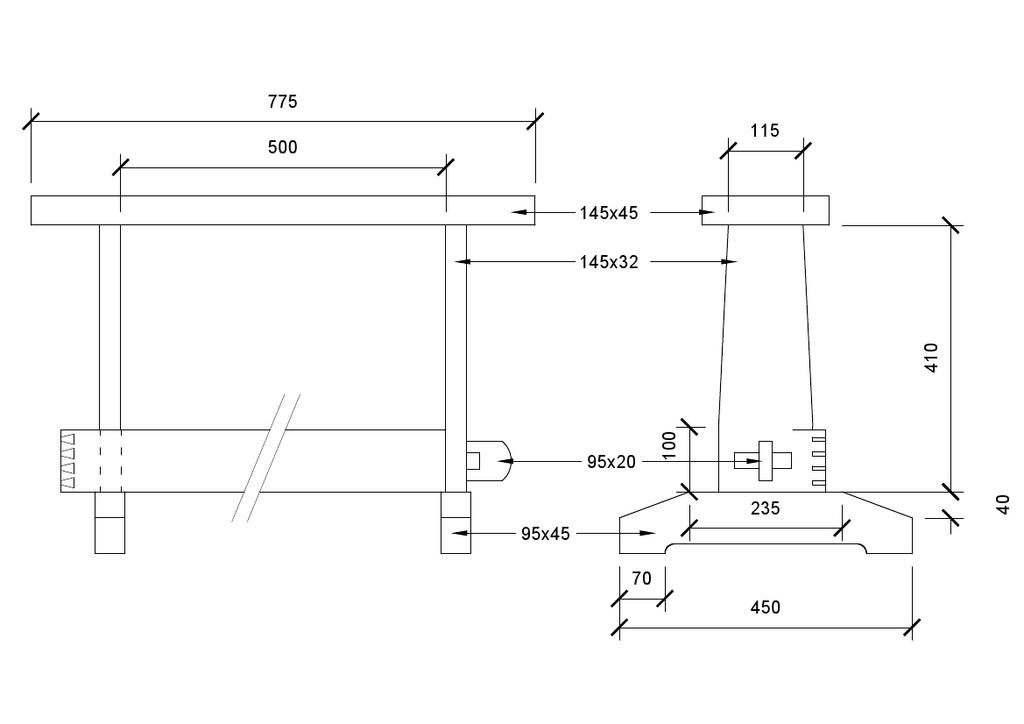
I decided on a new design because the splayed legs are always getting in the way of the saw, both hand saws and the circular saw, so I came up with a tee-shaped foot and leg.
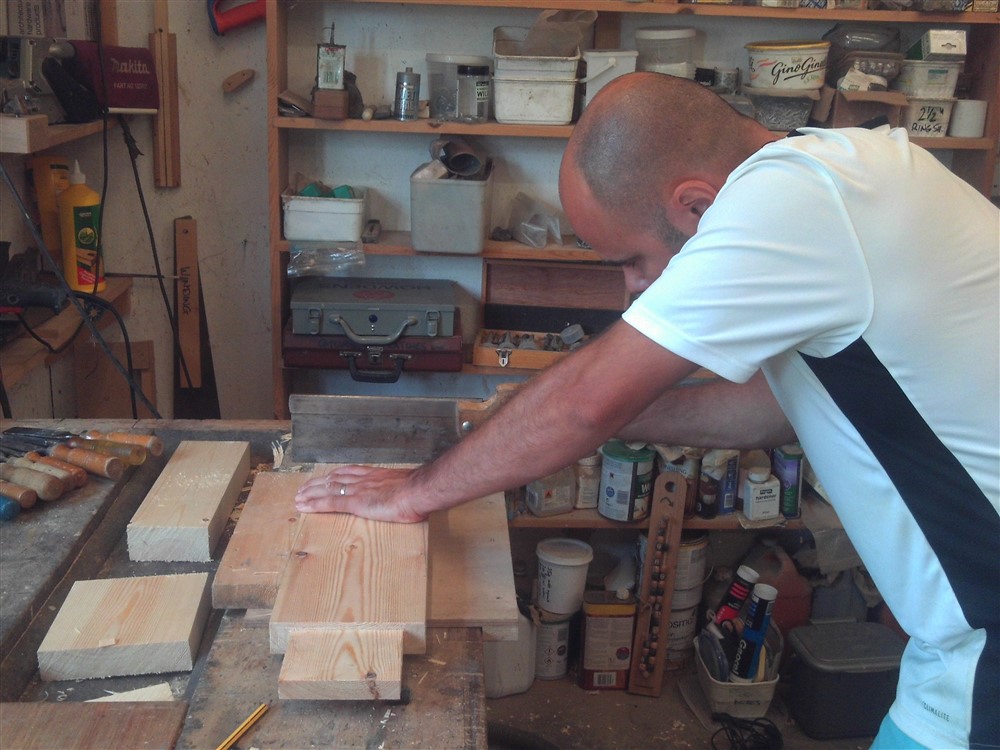
These big tenons are great chisel practise:
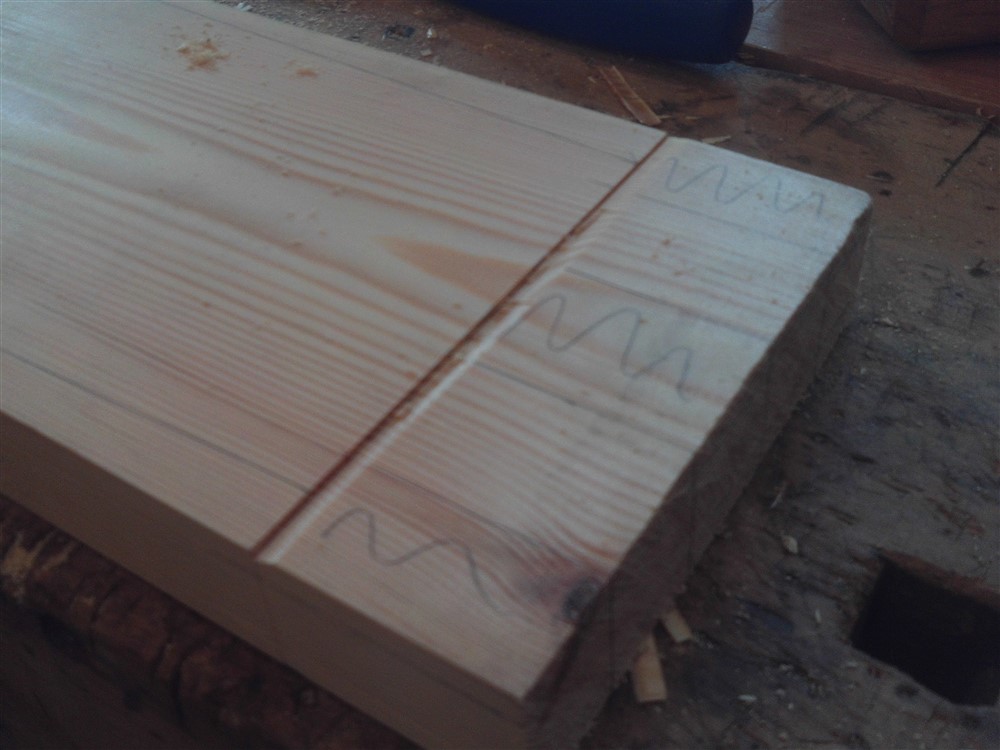
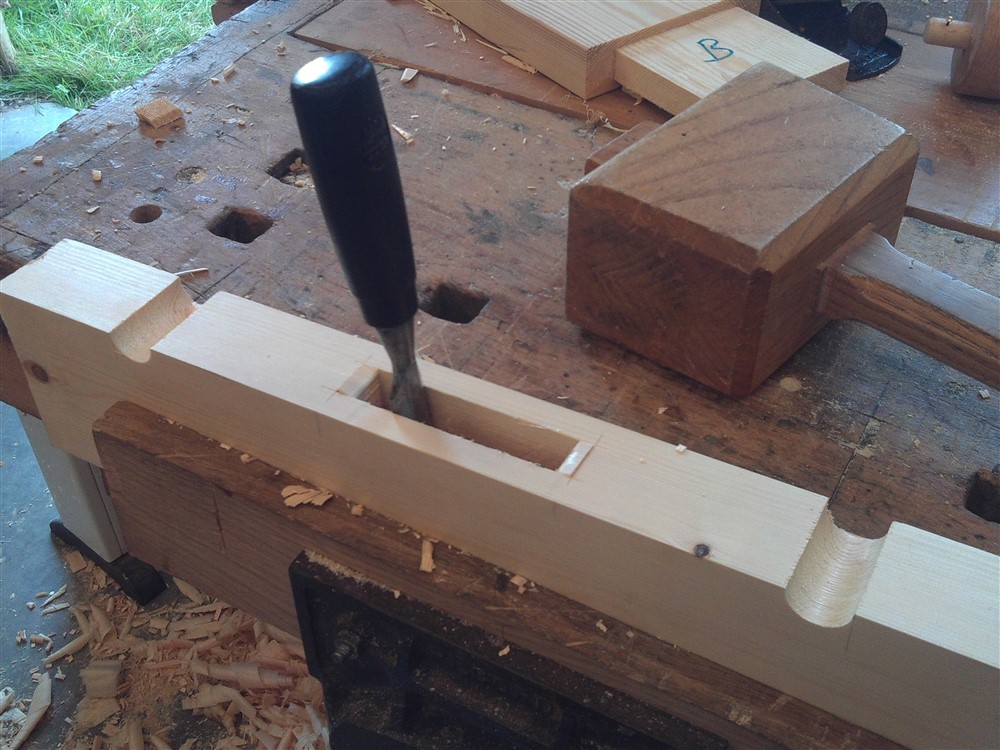
The huge mortise also is good chiseling practise:
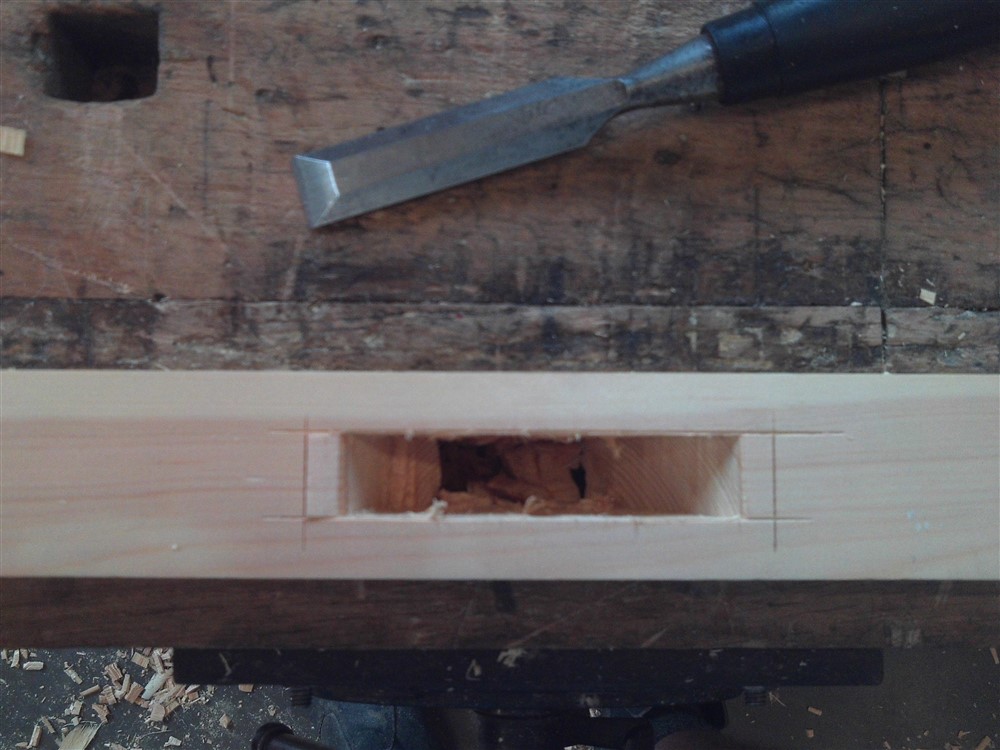
Here;s how I advocate chopping out mortises, leaving a good bit of wood inside the end line until right at the last minute so that you can lever the waste out with a chisel without denting the wood just outside the end lines:
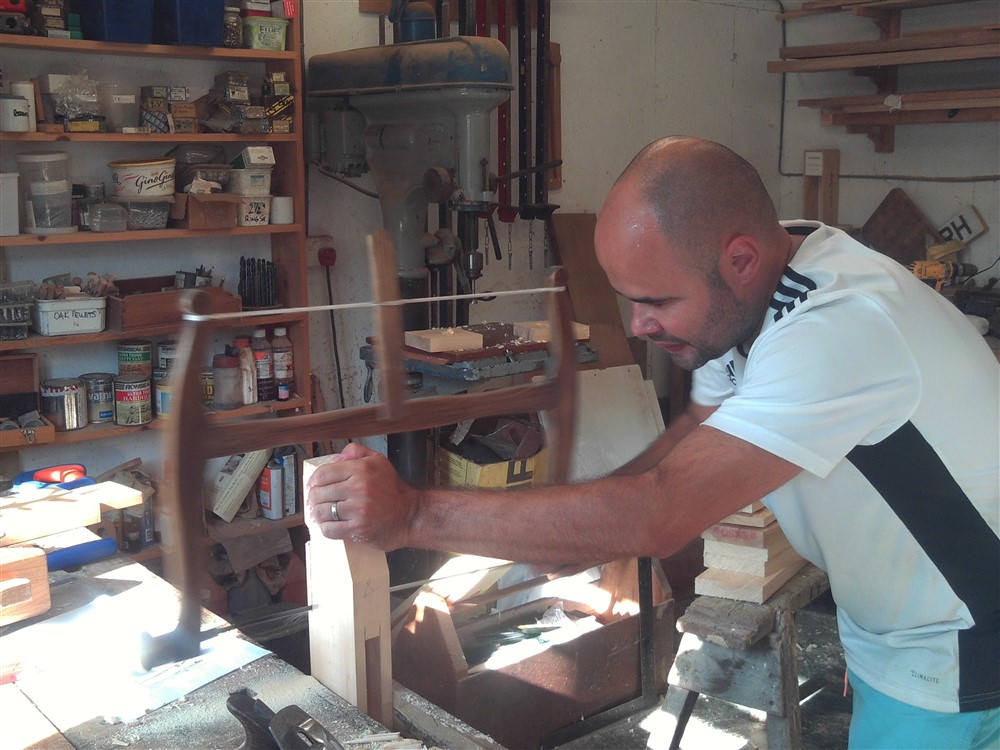
The feet needed shaping:
Dry fit:
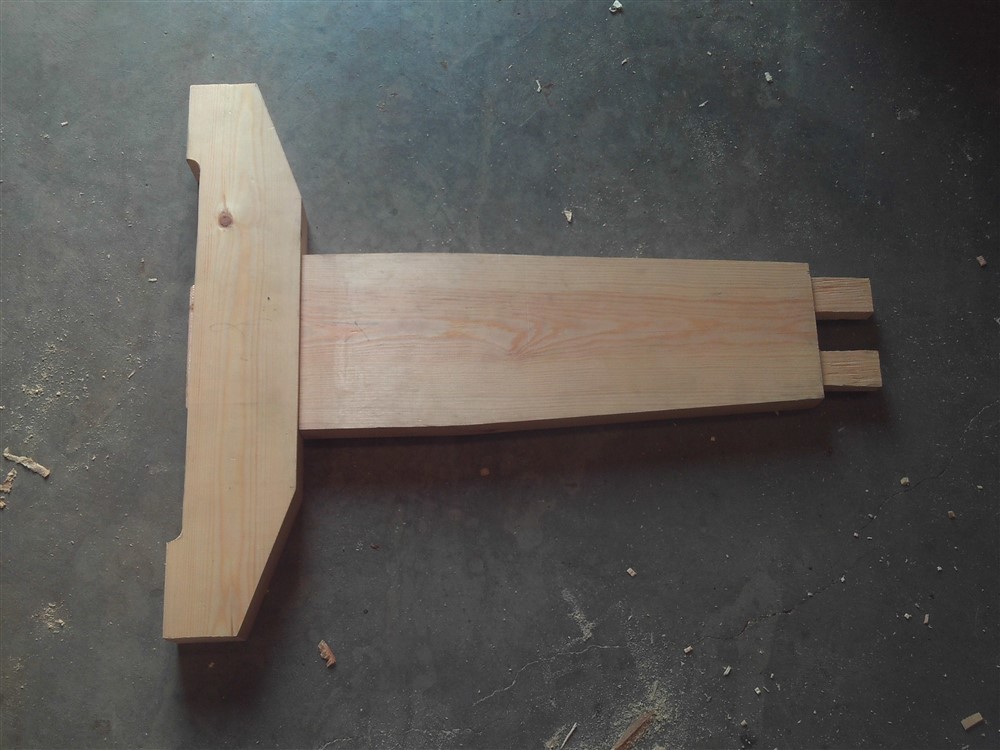
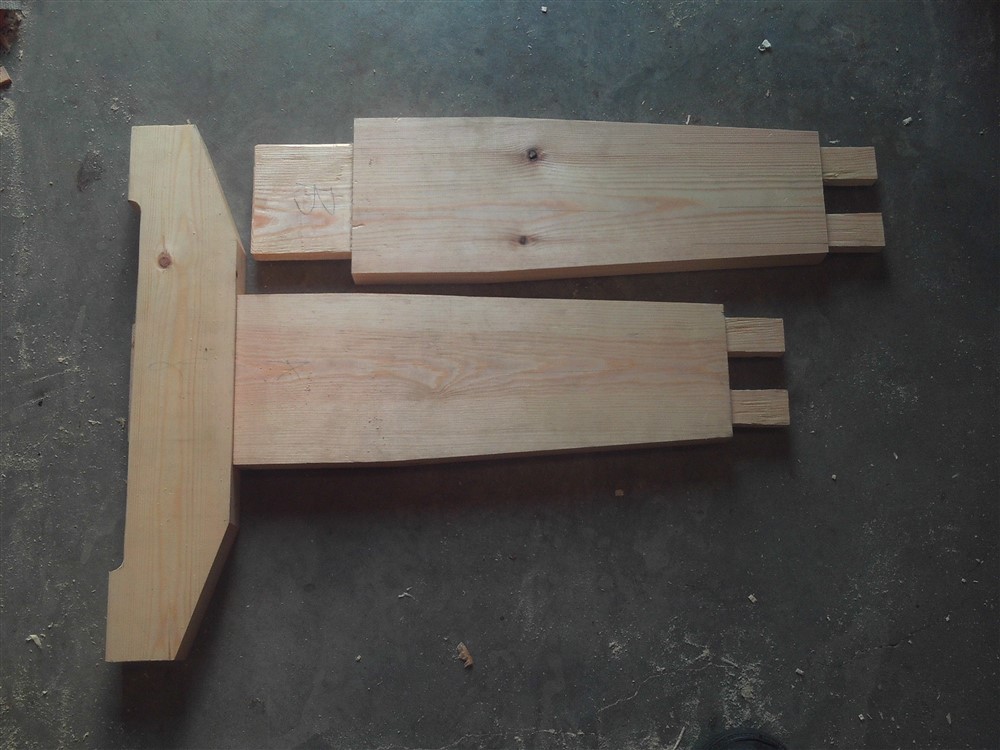
Wedged through-tenons, preparation thereof:
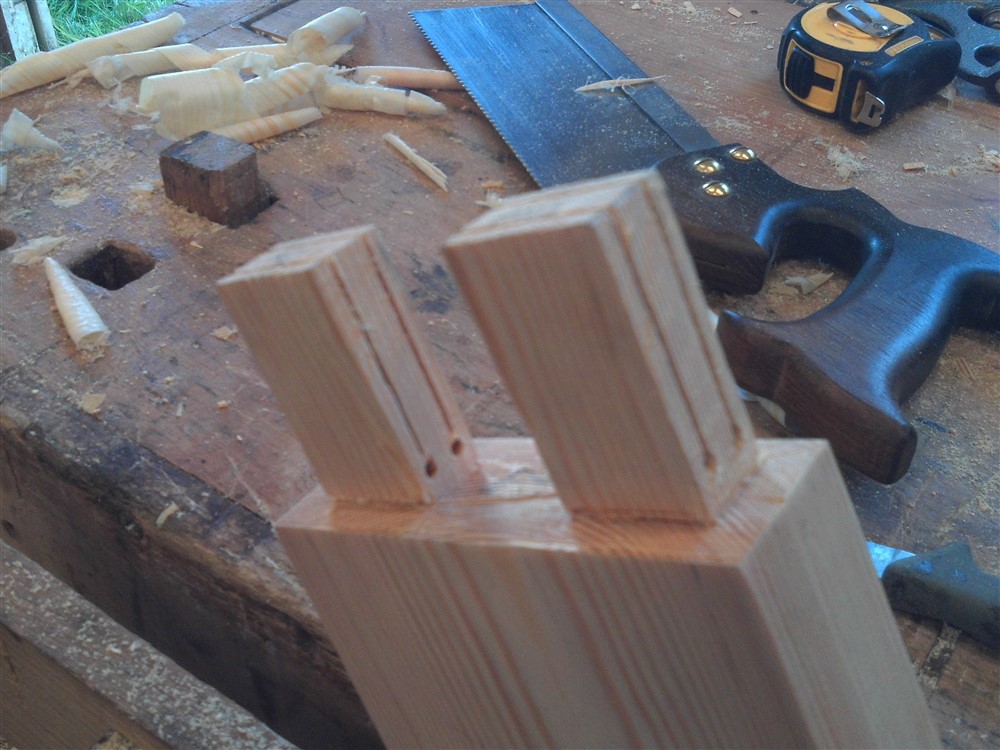
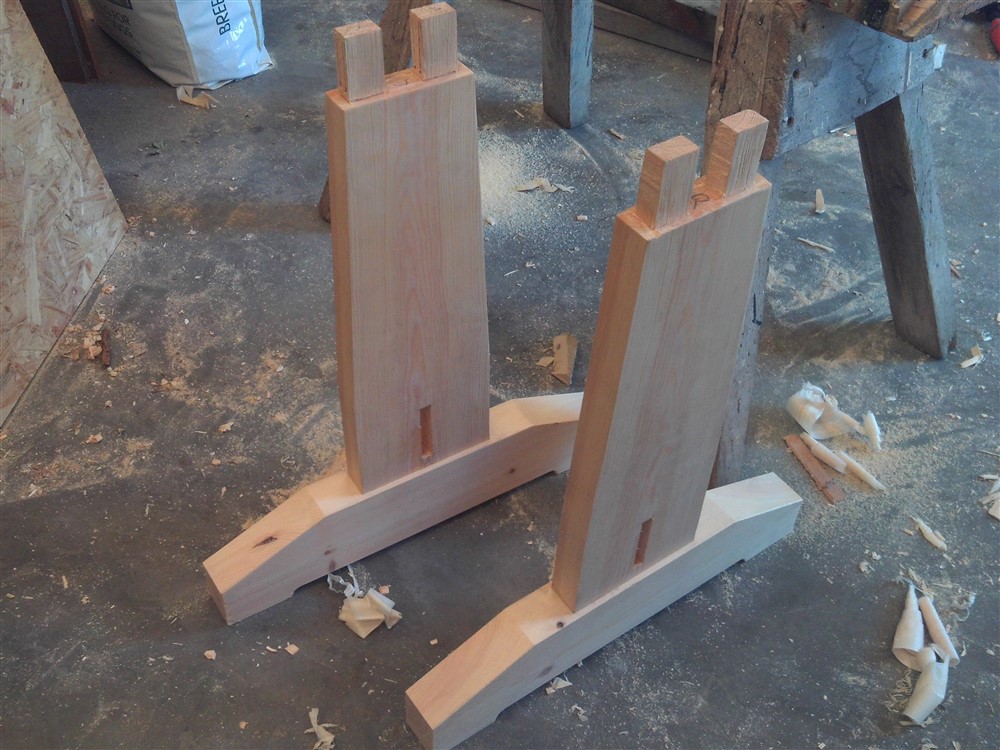
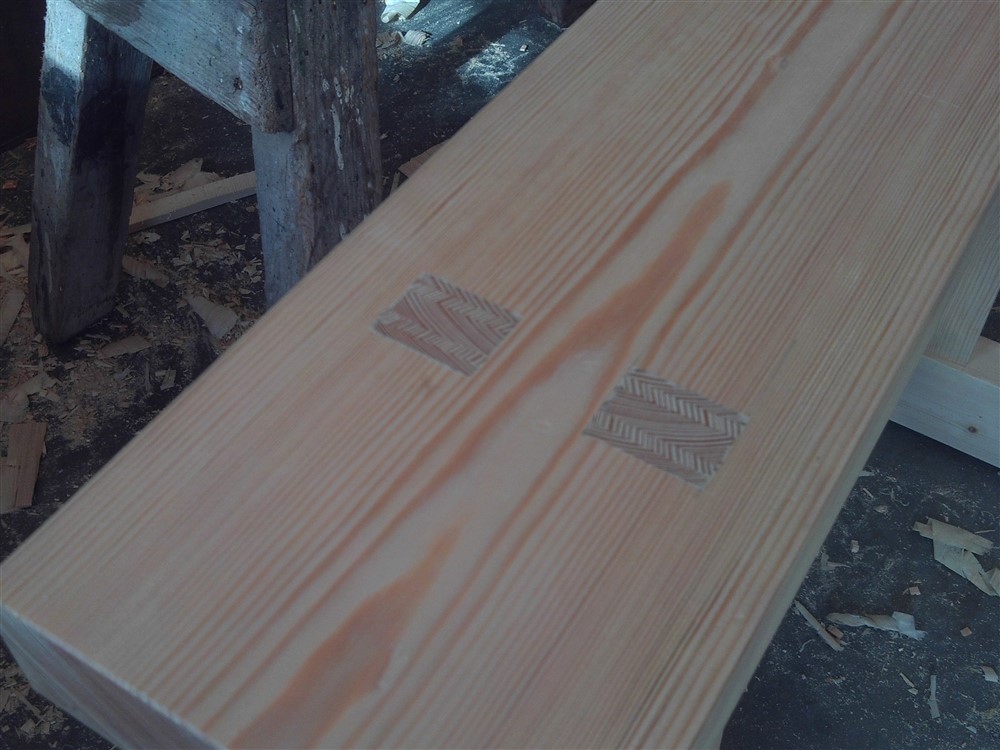
I missed a really nasty ding in the edge of one of the stretchers:
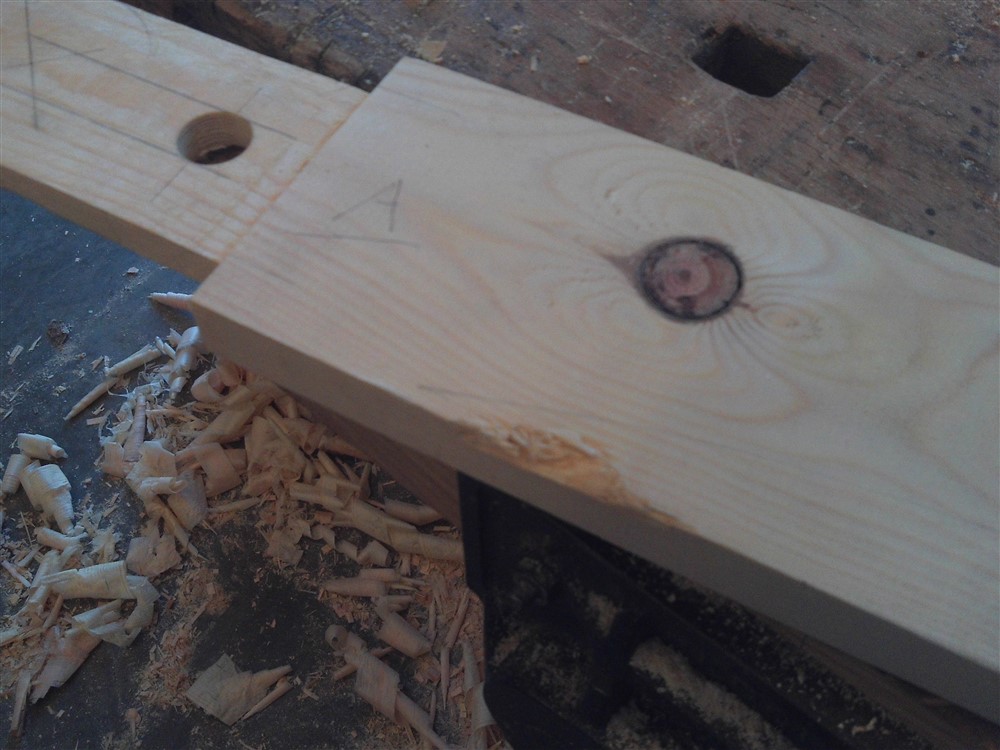
This forced a change in the design, and we put in a curved bottom edge to cut away the problem You'll see this in the "After" photos right at the end.
There were just 4 small mortises to chop out in the top, and some wedges to make, and that was the bulk of the assembly done:
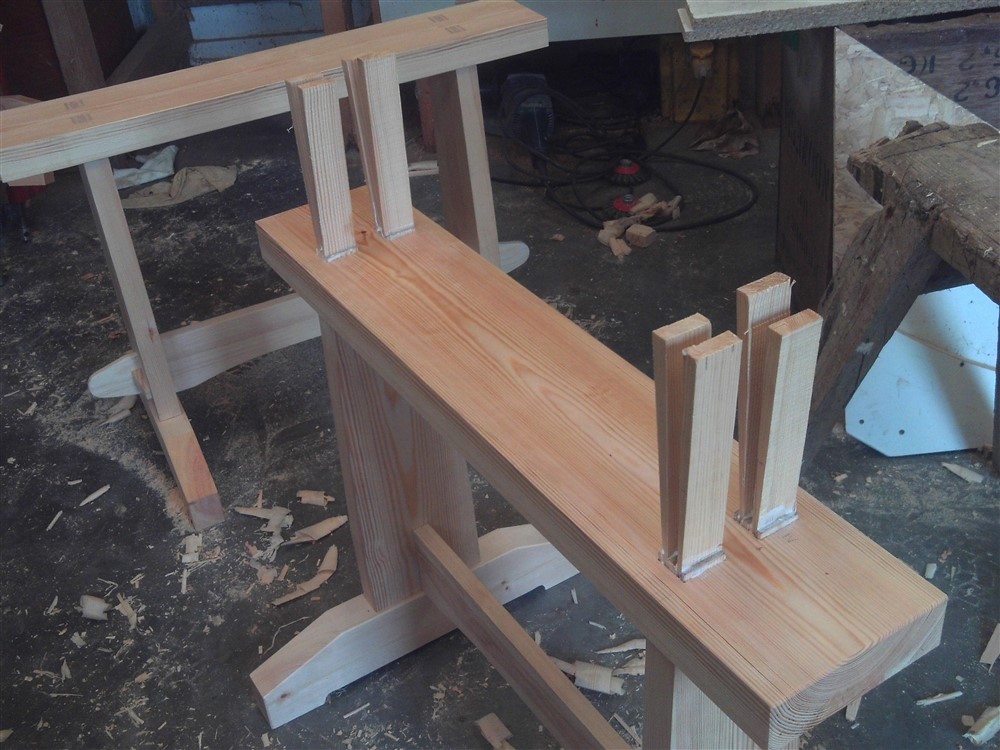
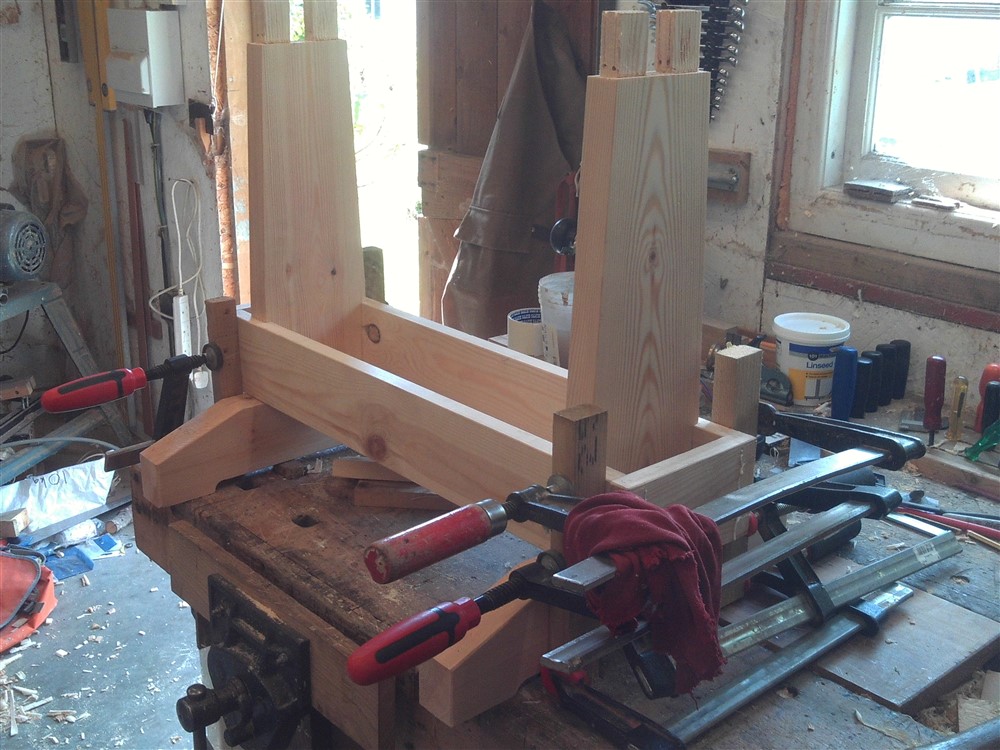
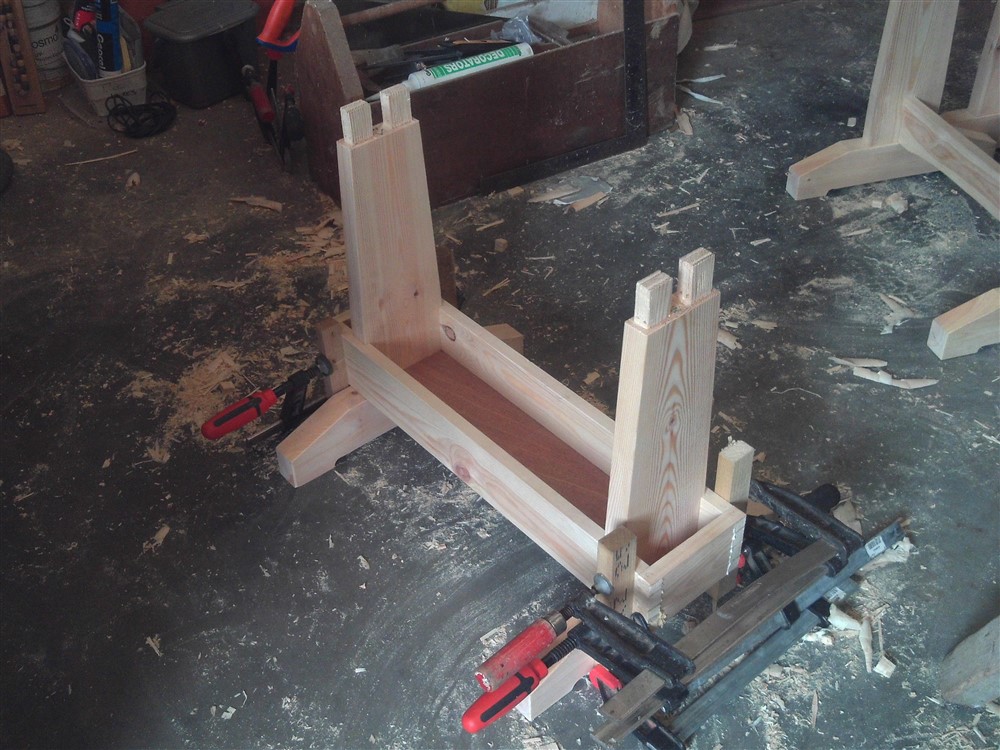
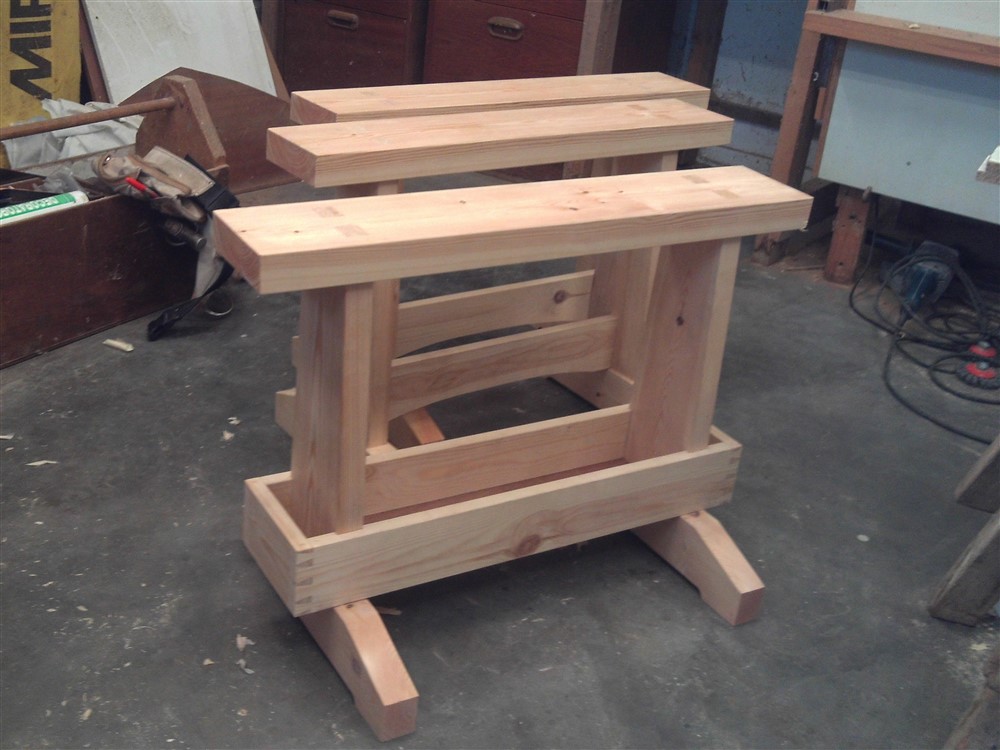
Two of the three horses are the same, but for the third I wanted a tool tray/ box instead of a wedged stretcher. With a rather tight set of dovetails, a base-board, and a housing joint to hold the legs stable, this made for a damned awkward glue-up against the clock:
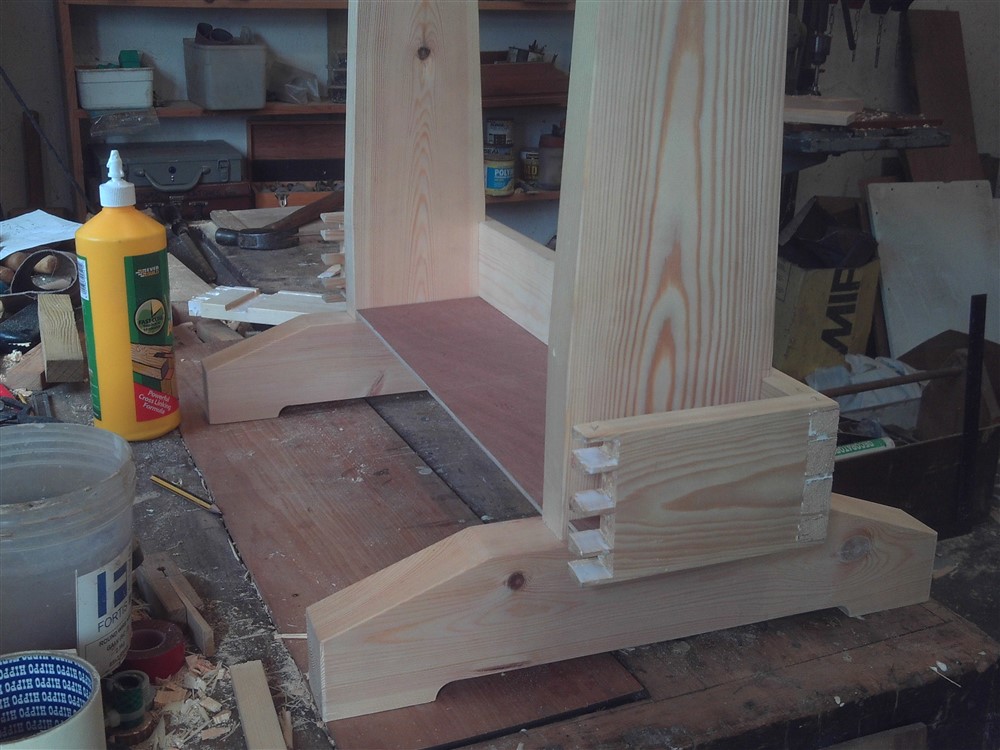
If anyone plans on copying this design, I'd think very carefully about this detail. It really isn't easy. With the glue starting to go off, and without being able to bash the dovetails home with a mallet, it took 4 clamps on one end to get everything into place:
I designed these horses to stack as much as possible:
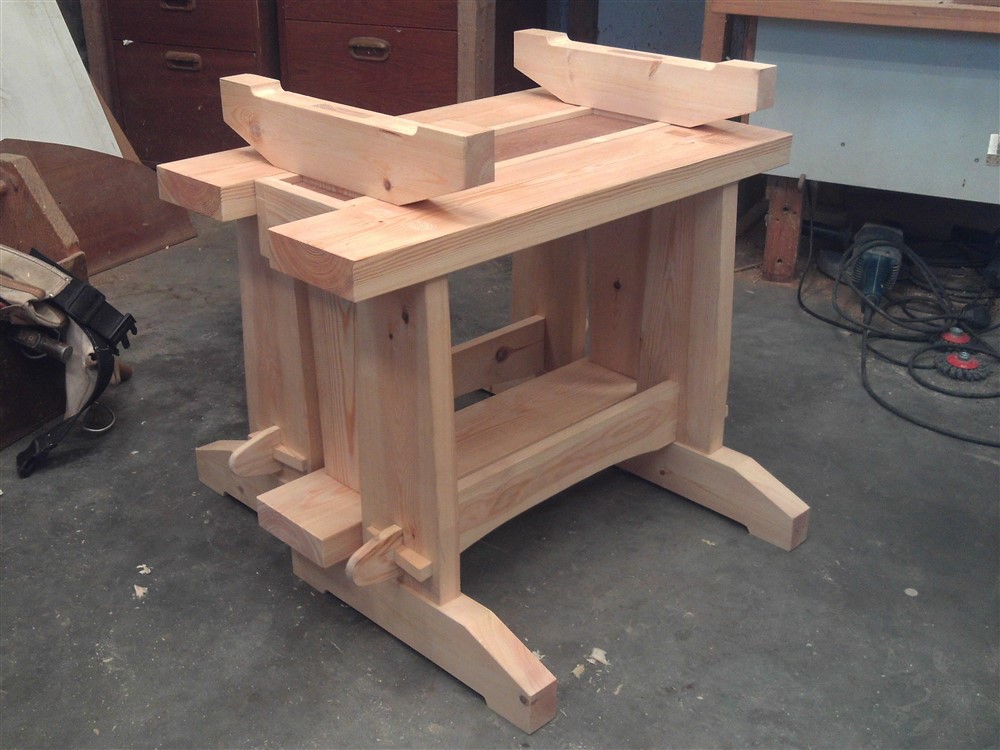
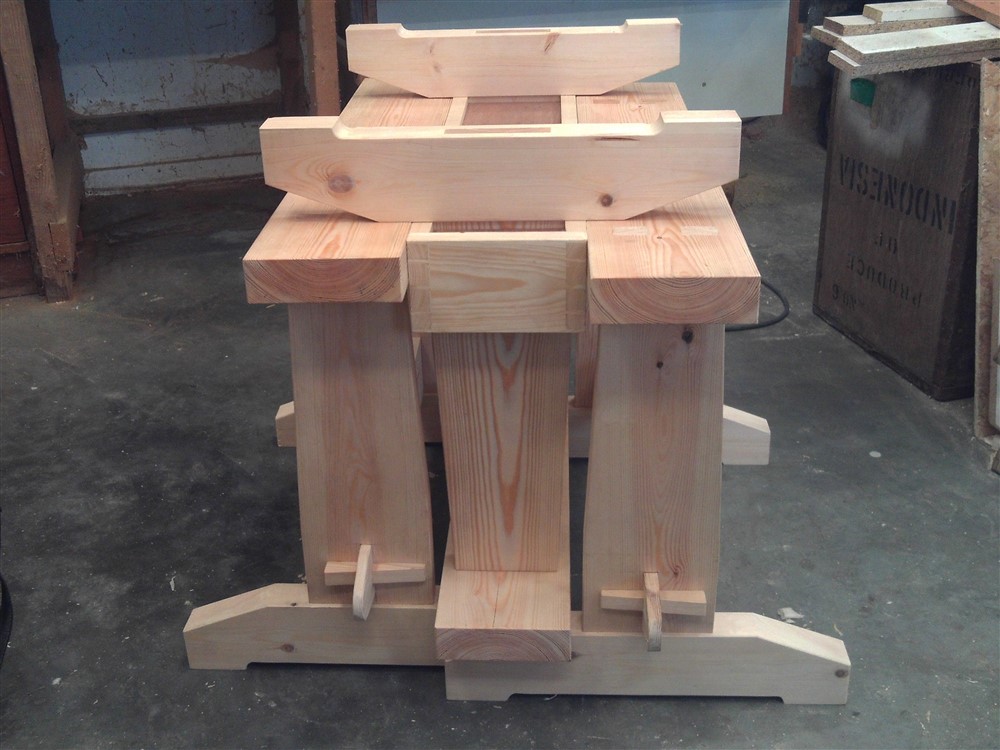
I had to sweep the floor carefully to check that they all sat perfectly level:
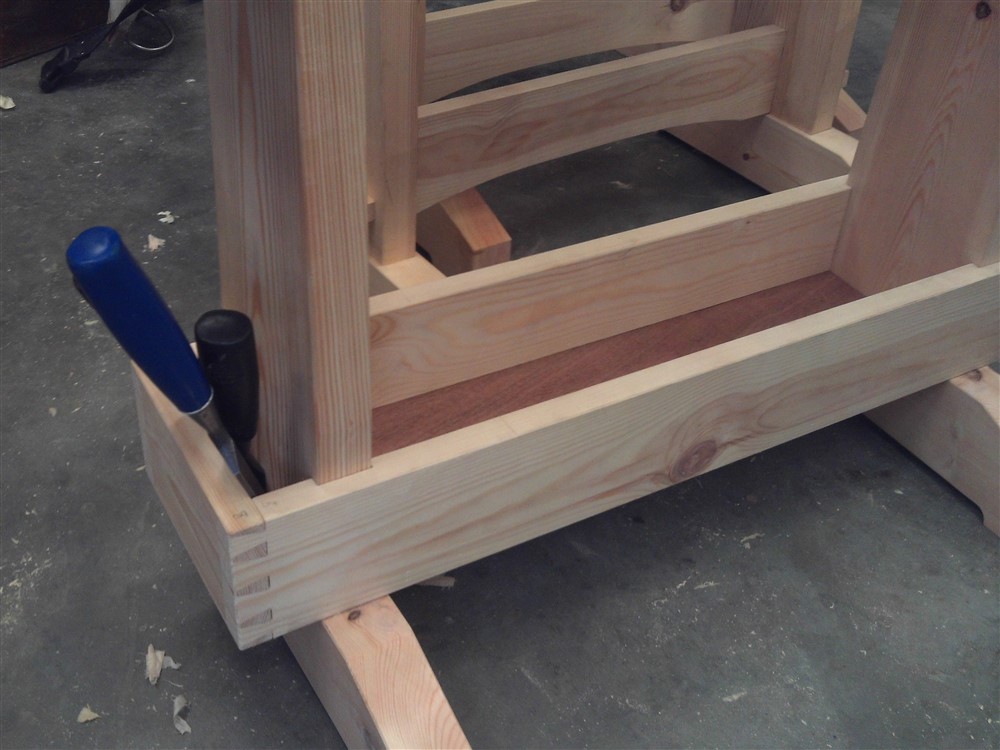
The little compartment at each end of the tool-box version is for chisels and pencils etc. If I take a horse into the house it will be this one, enabling me to keep my tools off the floor, and to help carry everything back out to the workshop afterwards:
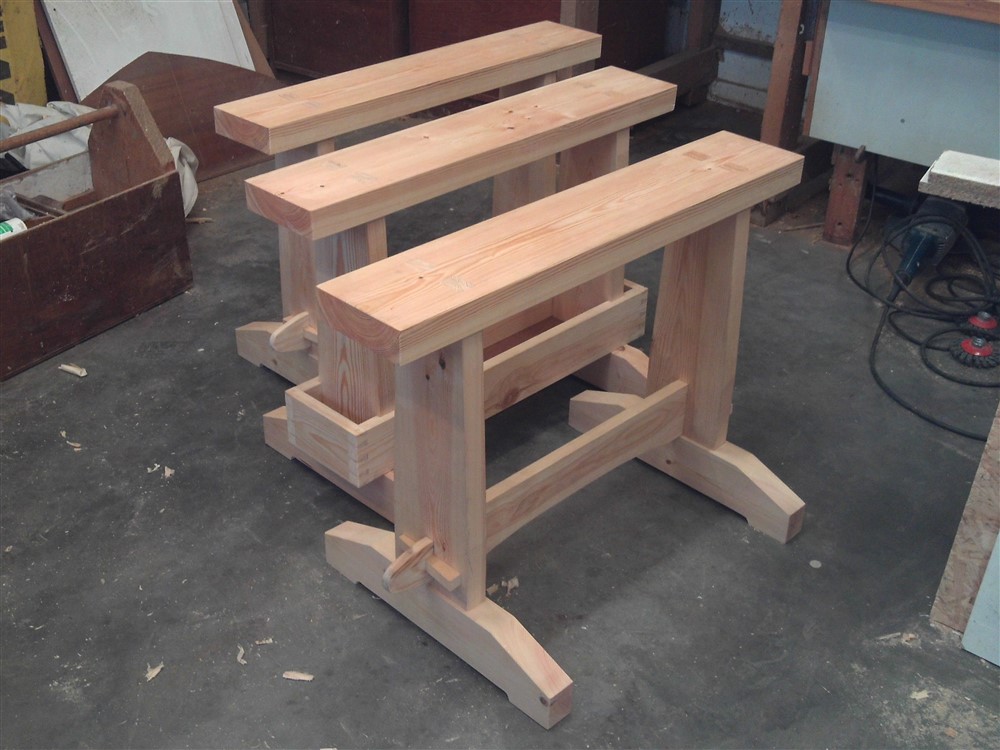

This is why I need new saw horses:

I decided on a new design because the splayed legs are always getting in the way of the saw, both hand saws and the circular saw, so I came up with a tee-shaped foot and leg.
These big tenons are great chisel practise:


The huge mortise also is good chiseling practise:

Here;s how I advocate chopping out mortises, leaving a good bit of wood inside the end line until right at the last minute so that you can lever the waste out with a chisel without denting the wood just outside the end lines:

The feet needed shaping:

Dry fit:


Wedged through-tenons, preparation thereof:


I missed a really nasty ding in the edge of one of the stretchers:

This forced a change in the design, and we put in a curved bottom edge to cut away the problem You'll see this in the "After" photos right at the end.
There were just 4 small mortises to chop out in the top, and some wedges to make, and that was the bulk of the assembly done:

Two of the three horses are the same, but for the third I wanted a tool tray/ box instead of a wedged stretcher. With a rather tight set of dovetails, a base-board, and a housing joint to hold the legs stable, this made for a damned awkward glue-up against the clock:

If anyone plans on copying this design, I'd think very carefully about this detail. It really isn't easy. With the glue starting to go off, and without being able to bash the dovetails home with a mallet, it took 4 clamps on one end to get everything into place:


I designed these horses to stack as much as possible:


I had to sweep the floor carefully to check that they all sat perfectly level:

The little compartment at each end of the tool-box version is for chisels and pencils etc. If I take a horse into the house it will be this one, enabling me to keep my tools off the floor, and to help carry everything back out to the workshop afterwards:


