noddy67
Established Member
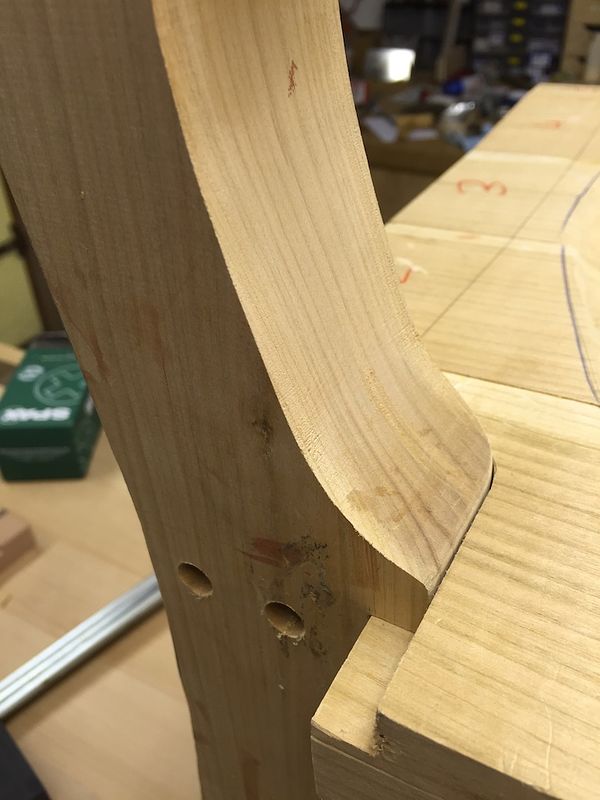
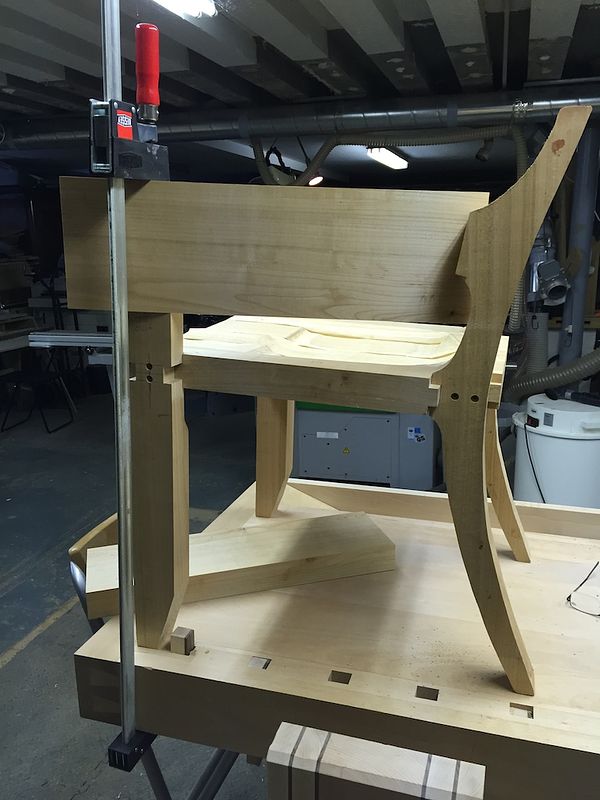
I have long been a massive fan of Sam Maloof's furniture (I imagine like a number of people on this site) and have been particularly enamoured with his low back chair design.
I remember a number of years ago watching with great interest as Phil from Philsville hand plane fame (lovely planes by the way) as he made one. A stunning chair in my opinion. From memory Phil did it just by looking at photographs and working out his plans. Sadly my skill levels are a long way short of that.
A little while ago I stumbled across a couple of chaps in the US who sell plans for something similar and ended up buying them. The two that I bought are by Scott Morrison and Charles Brock. They each have a slightly different style but both include a video and some paper plans. Brock's also includes a booklet with some additional info.
I also managed to track down some 2" Cherry from Scawton sawmill which was recently delivered.
Time to build a chair.
Having enjoyed looking at many WIP builds on this site over the last few years I've decided it was time to give something back and I'm hoping to post a full build of this chair if anyone is interested.
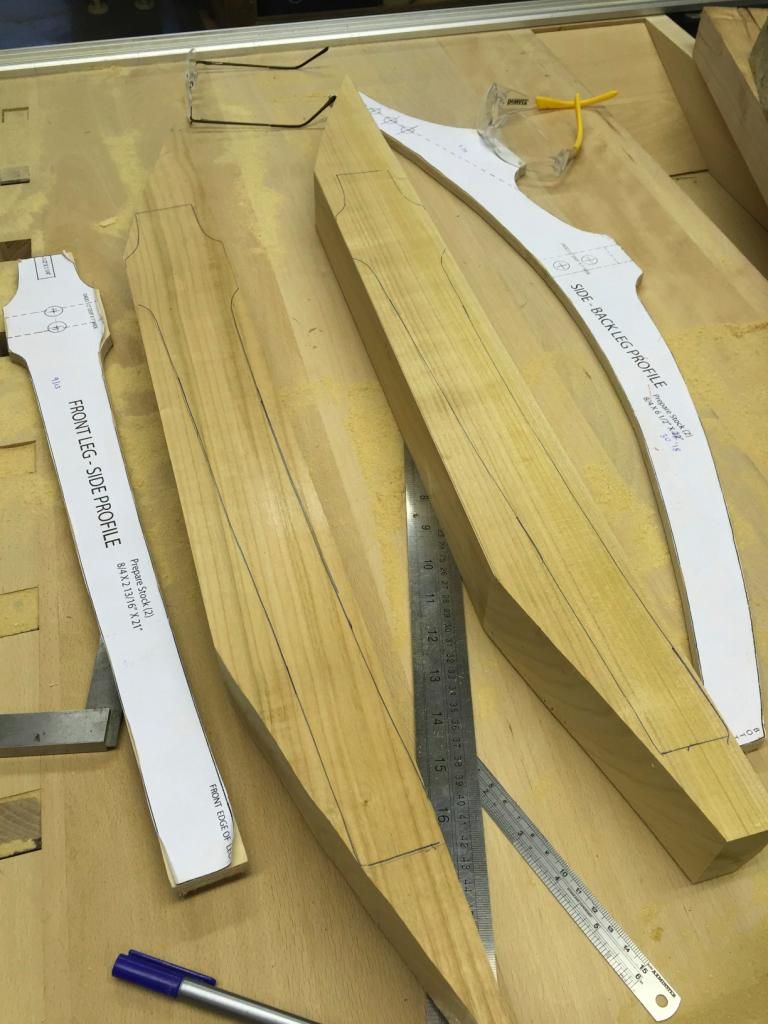
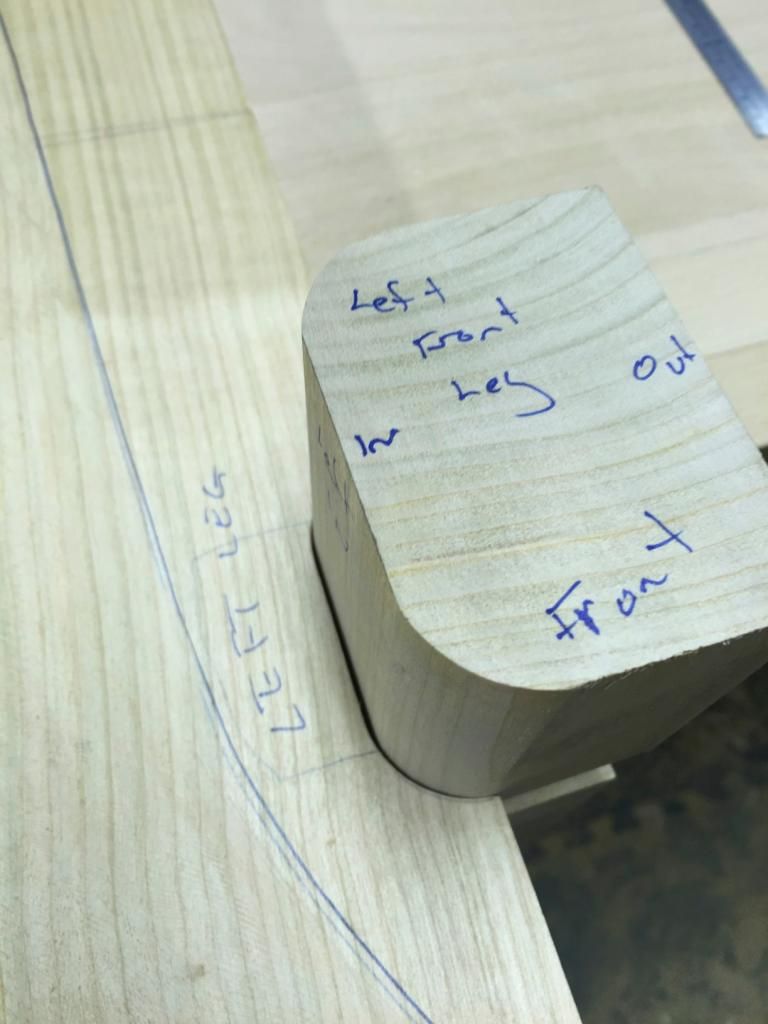
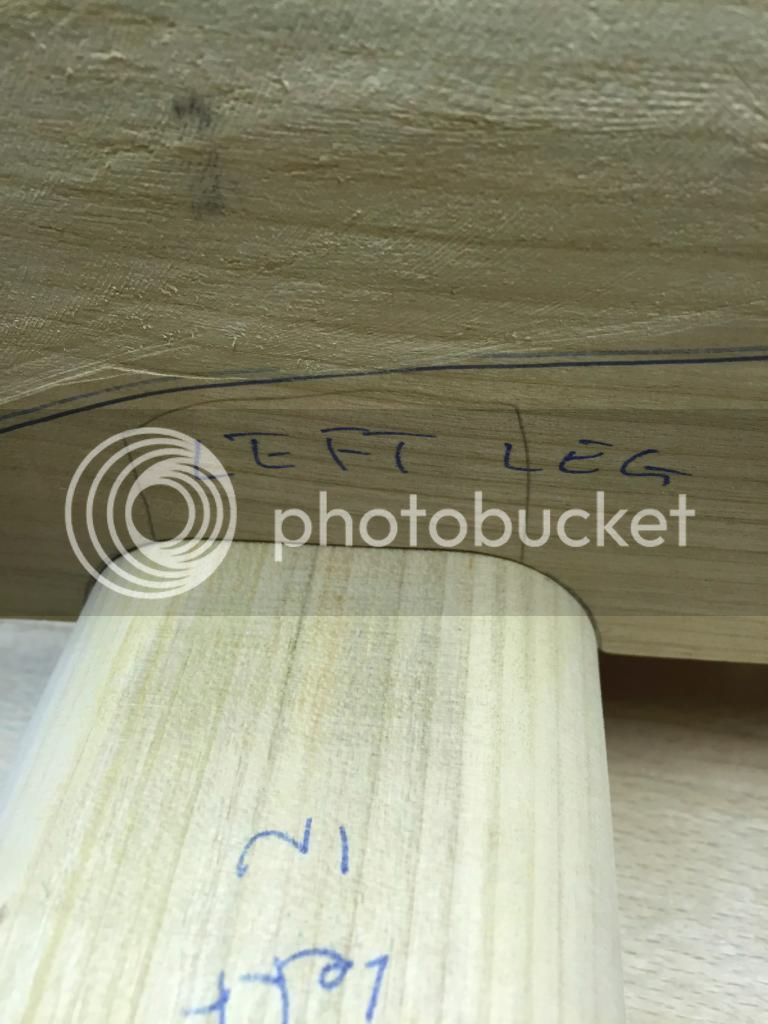
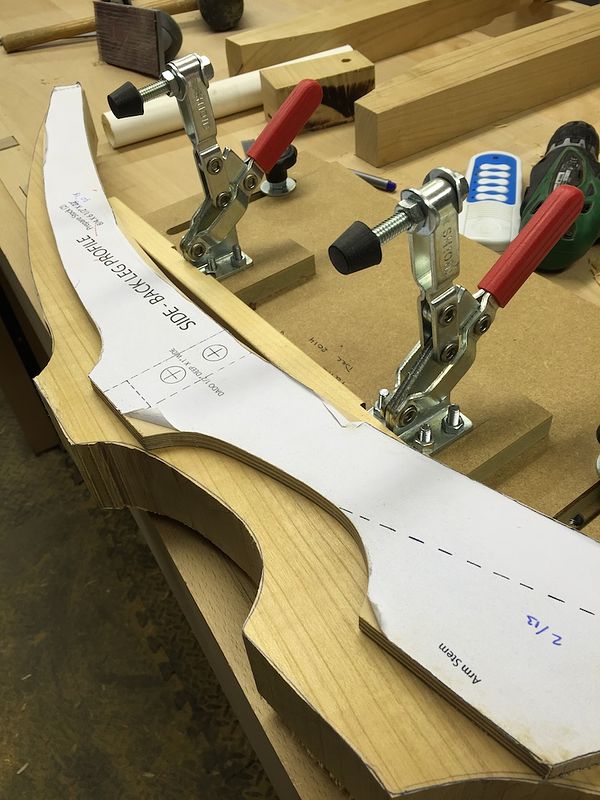
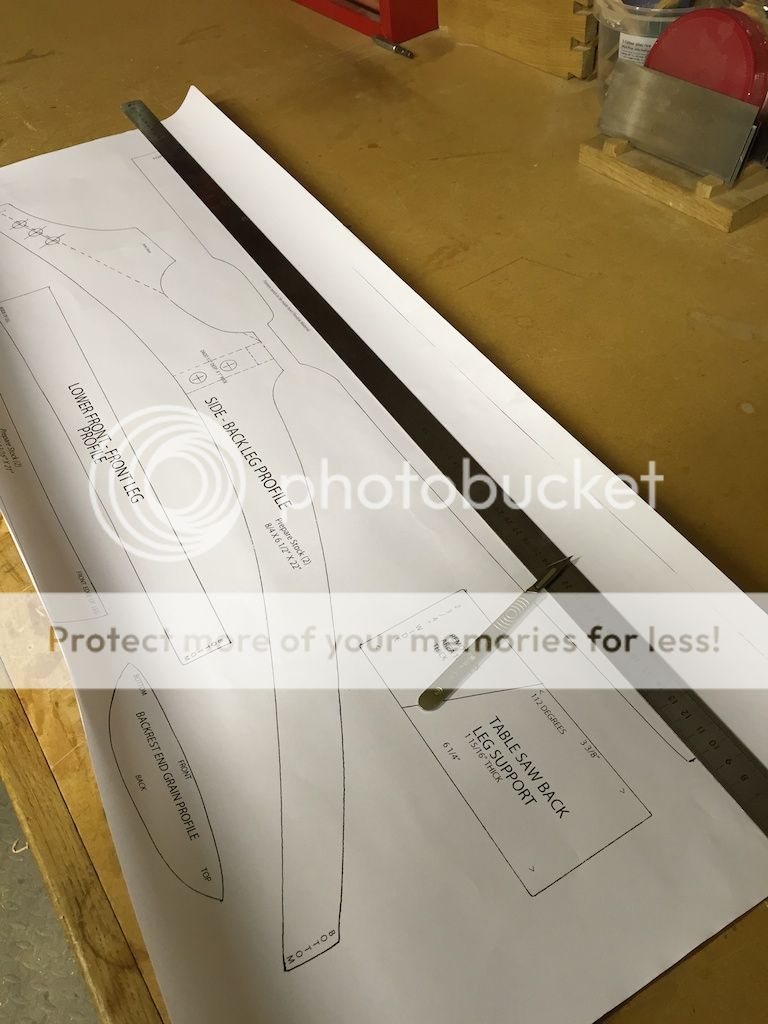
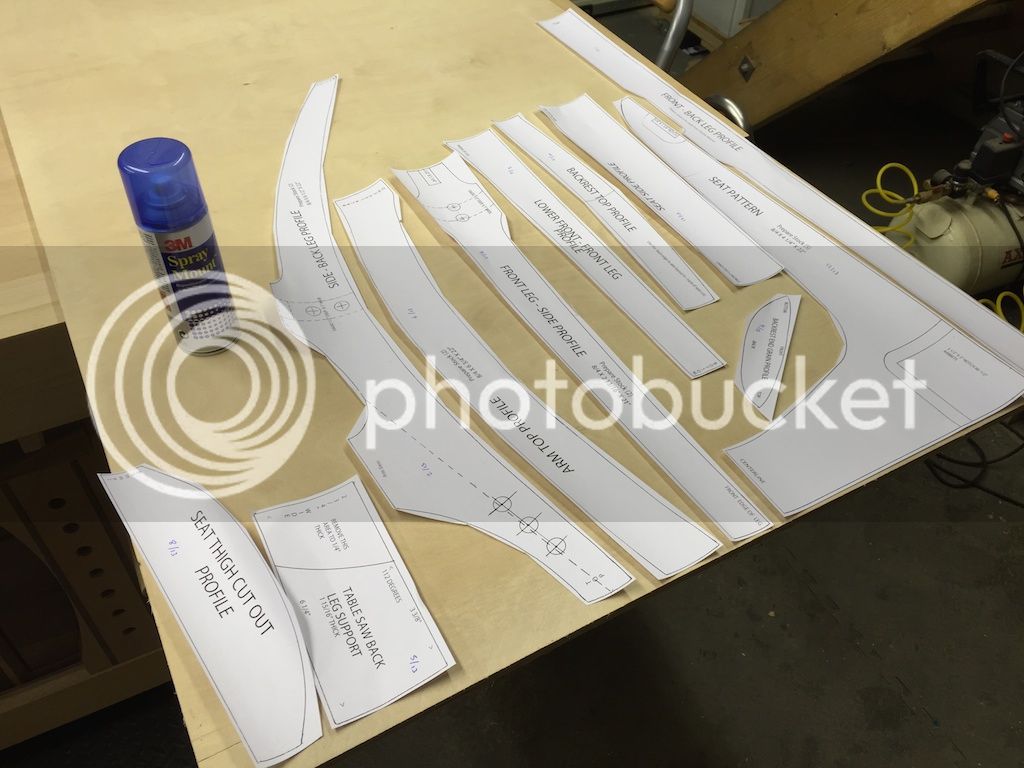
The first step was to cut out the paper templates and stick them onto some ply. Most went onto 6mm ply that I had around but a few needed to be flexible so I stuck those to a couple of bits of hardboard.
 [/URL]
 [/URL]
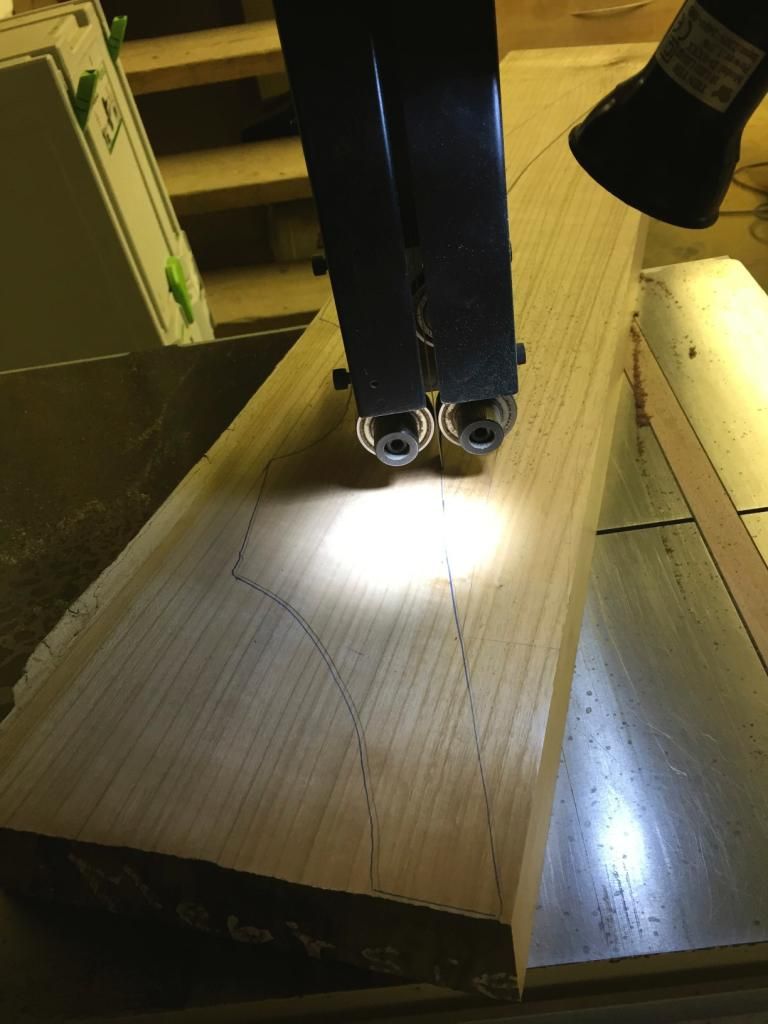
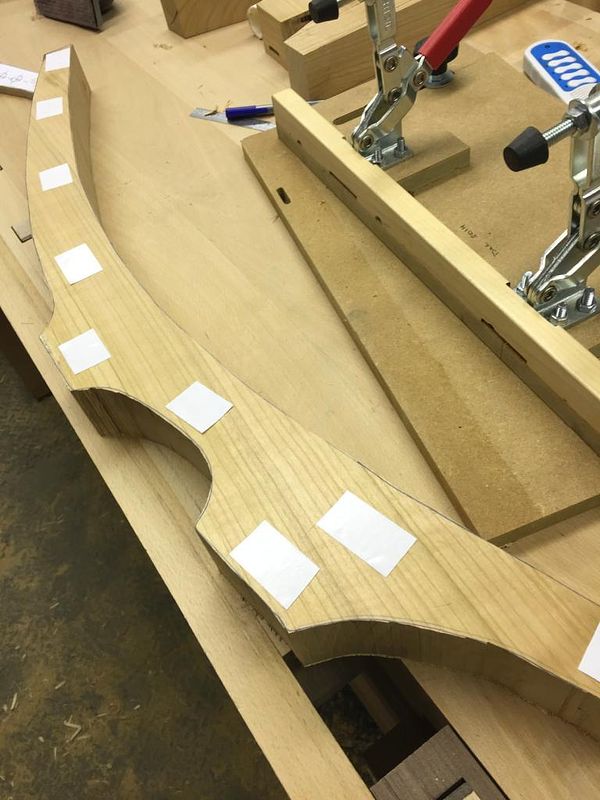
I then cut these out on the bandsaw and cleaned them up on the drum sander.
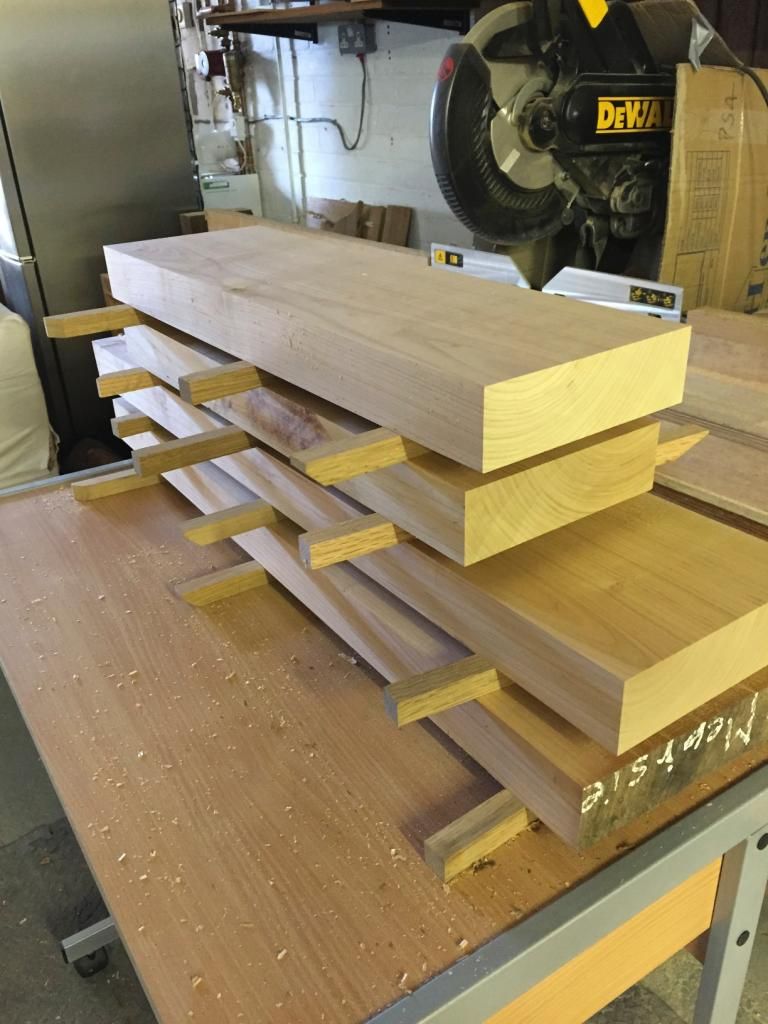
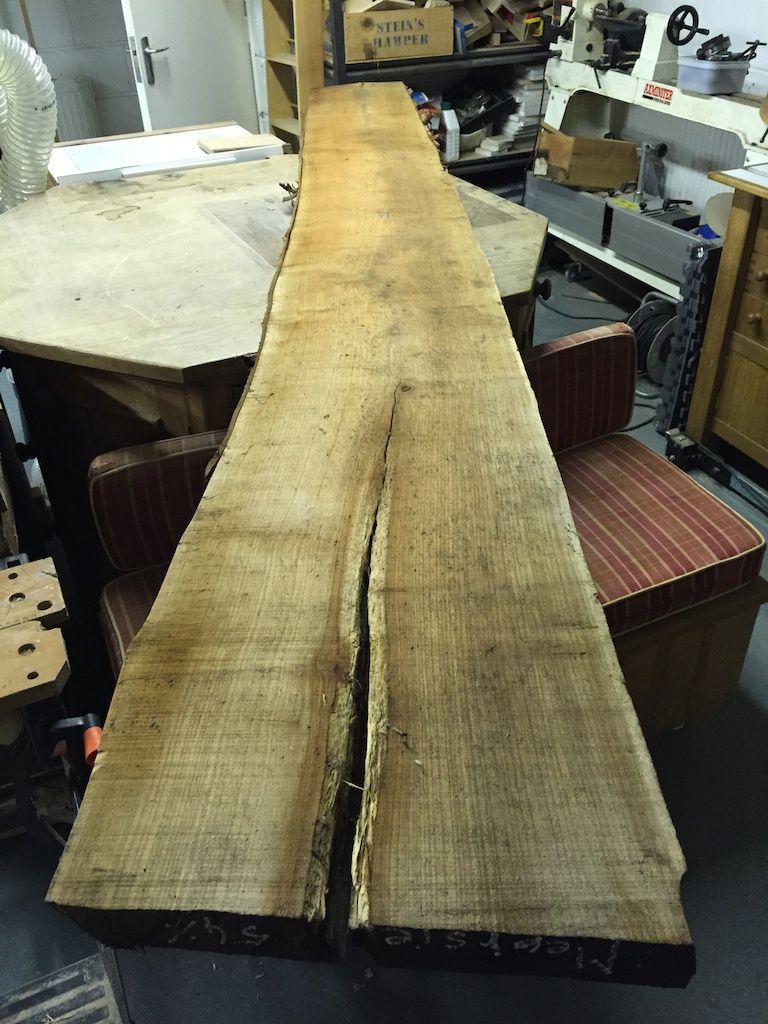
The four boards of cherry I'd bought all looking like this:
 [/URL]
Just moving them on my own was pretty hard work.
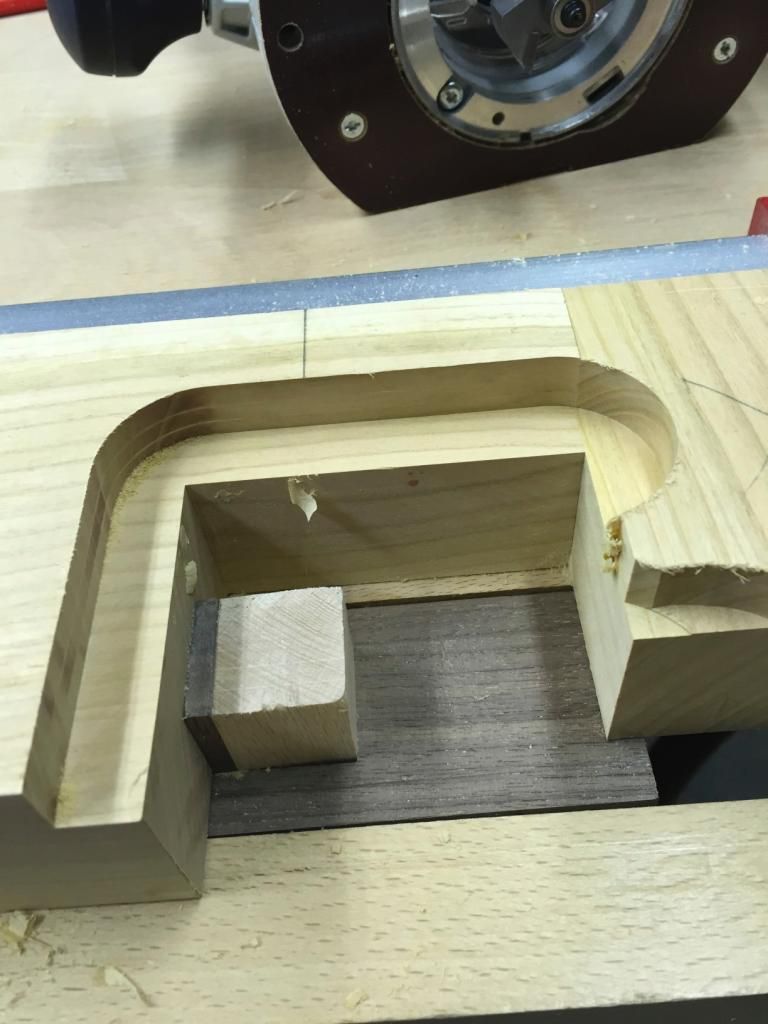
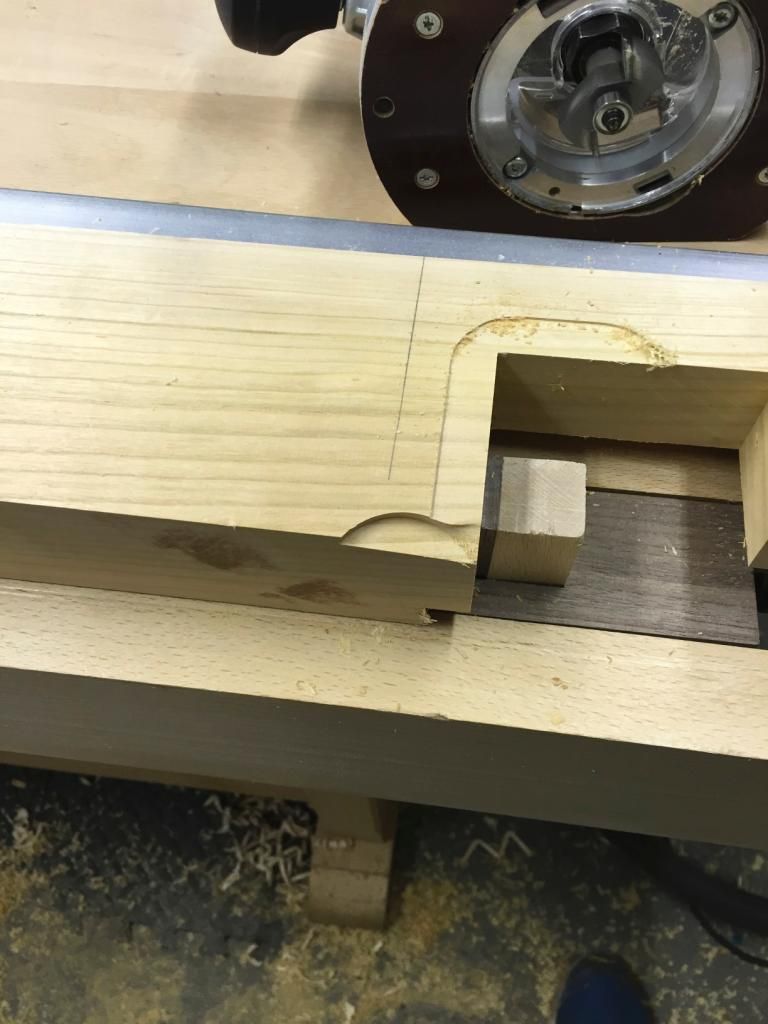
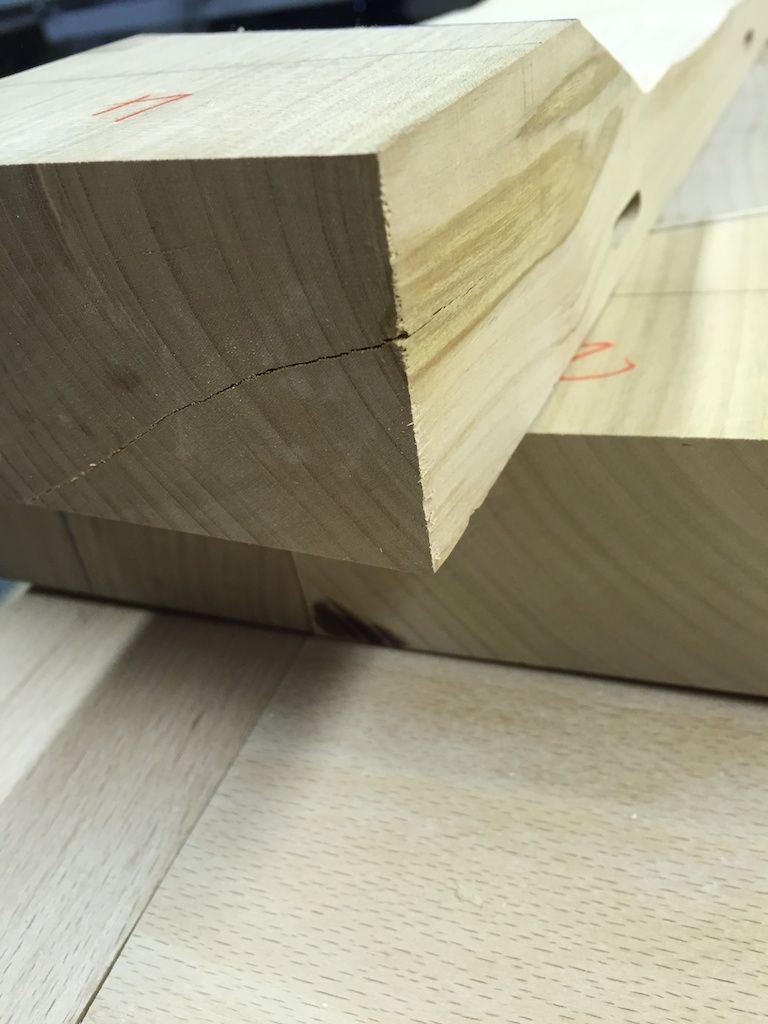
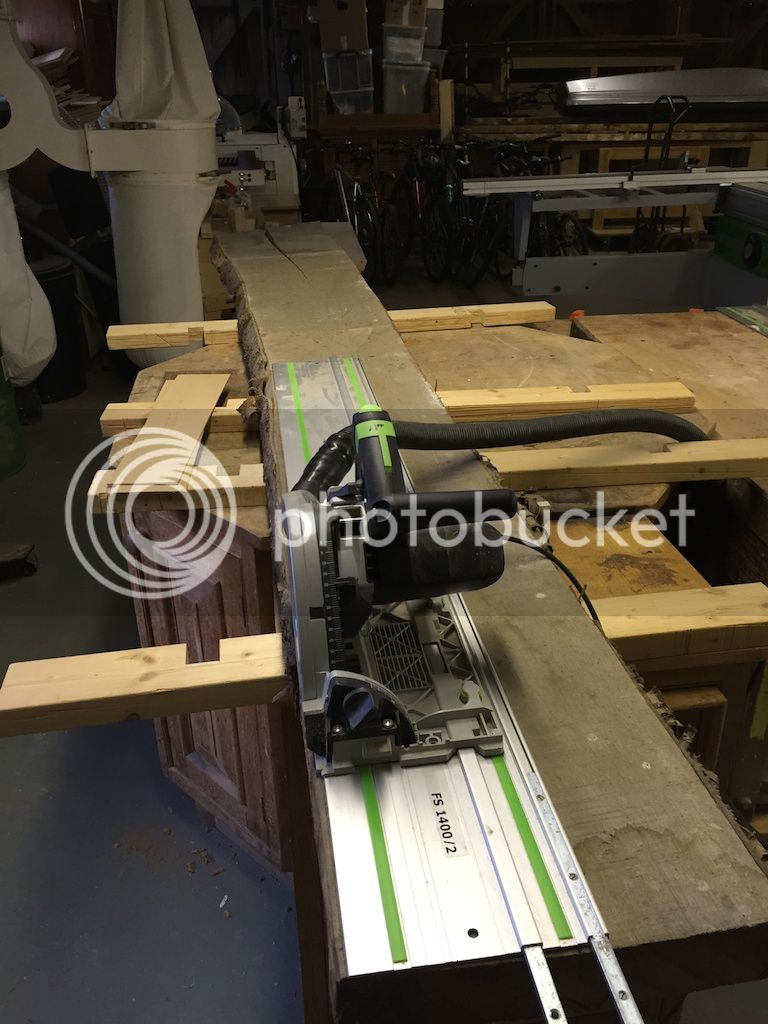
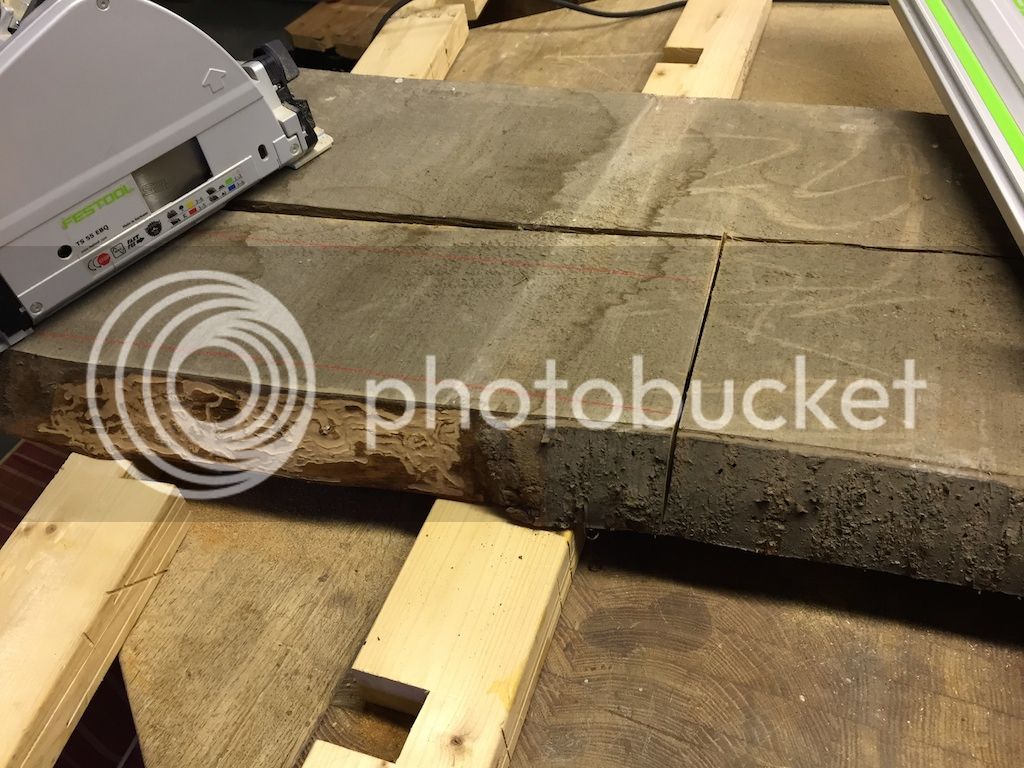
Given the split in the first board I tried to salvage as much timber as possible and used my track saw to start to portion up the wood.
 [/URL]
 [/URL]
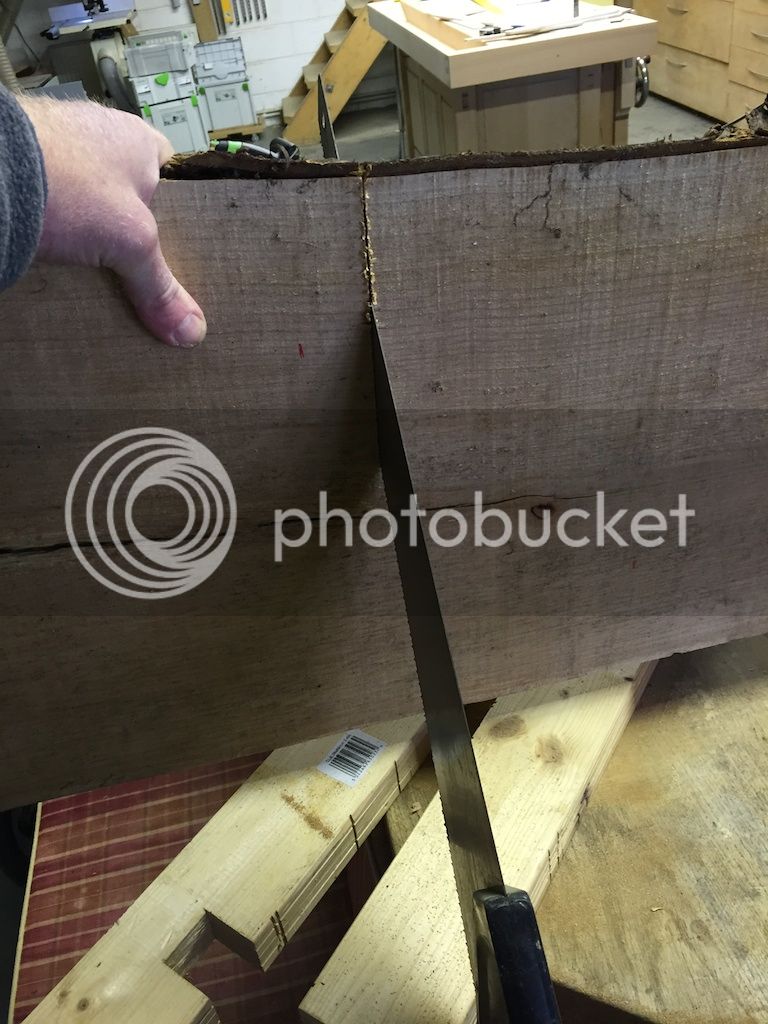
Sadly my saw blade wasn't quite large enough to make it all the way through which left me using a handsaw to finish the cut
 [/URL]
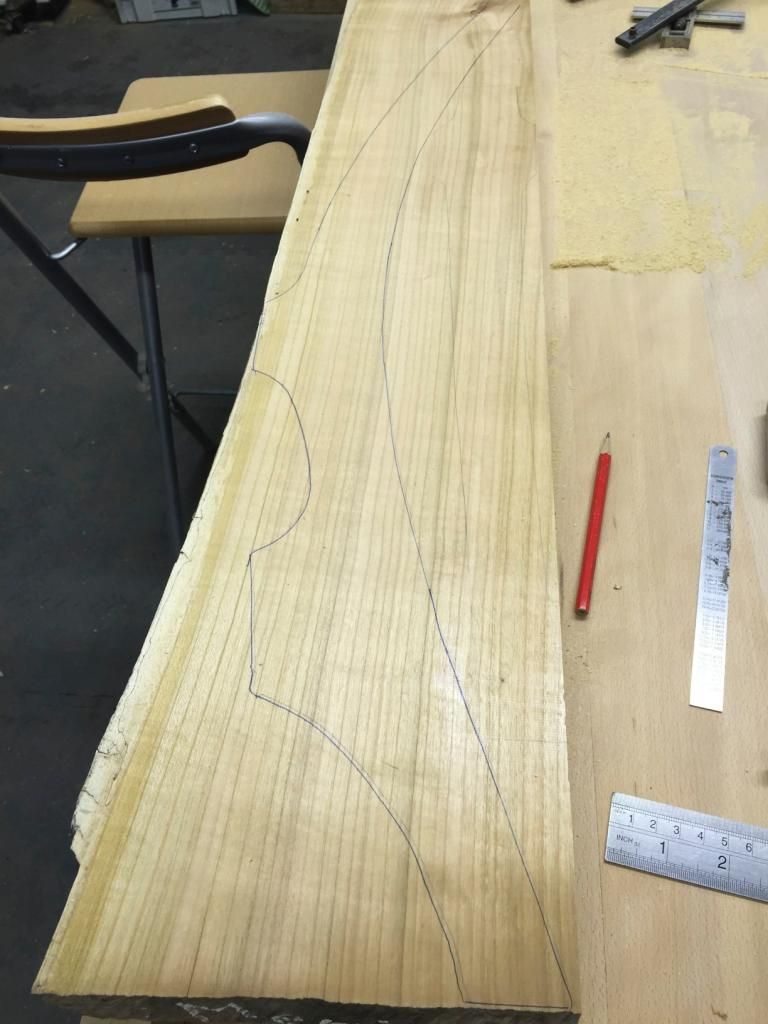
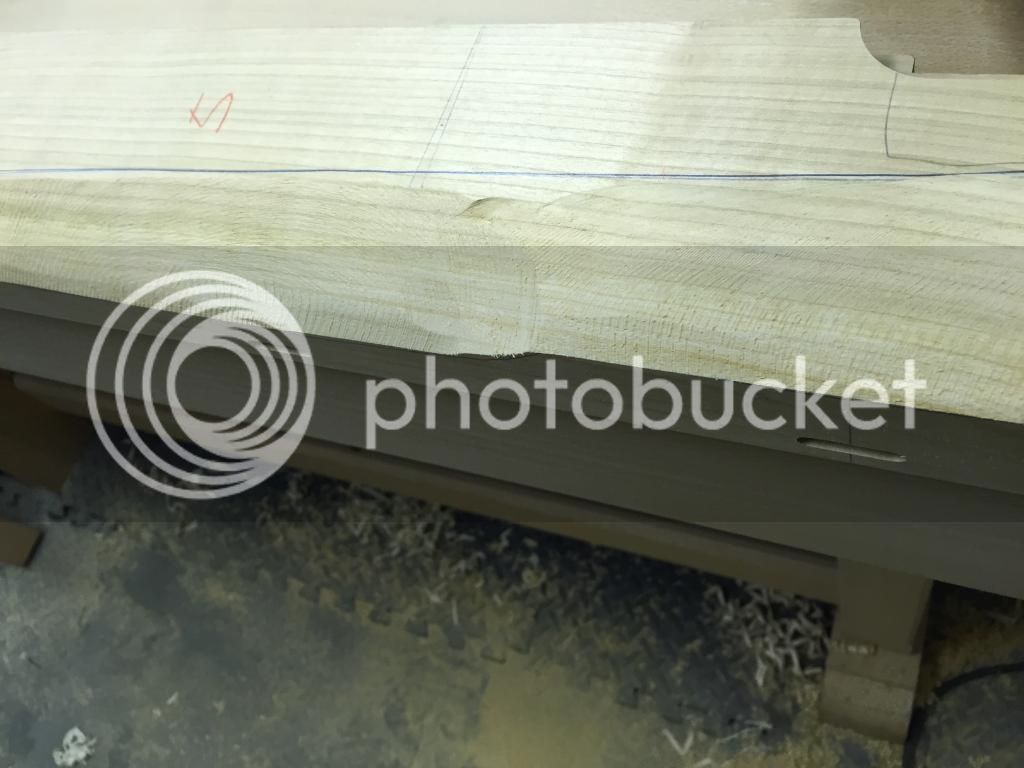
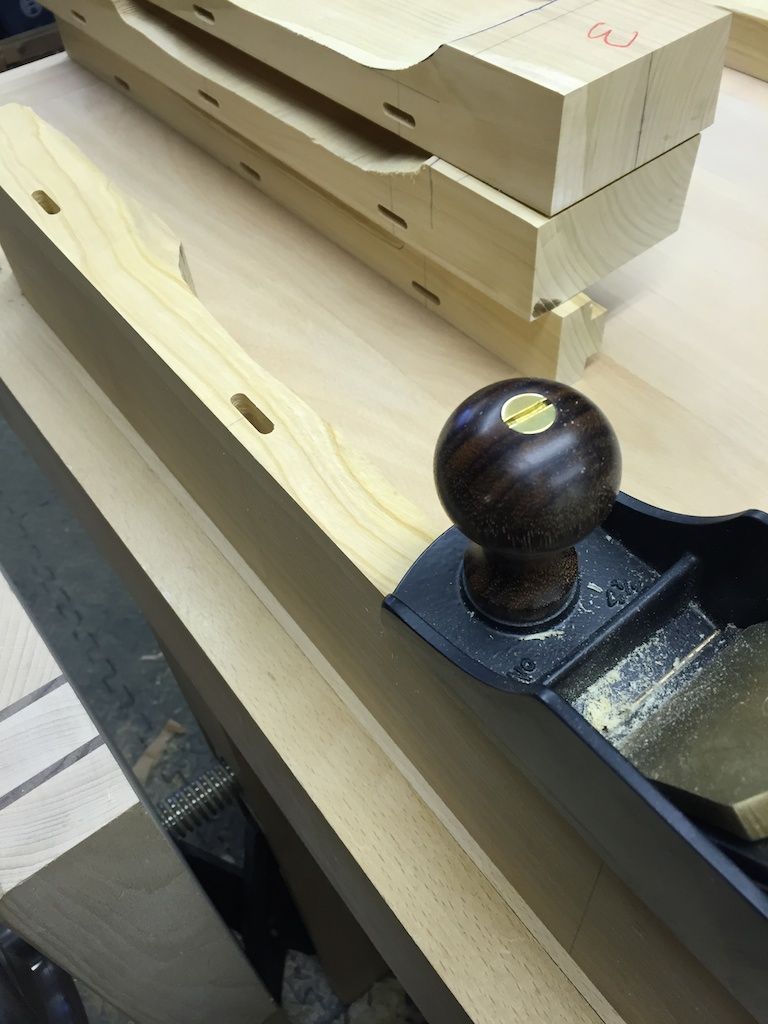
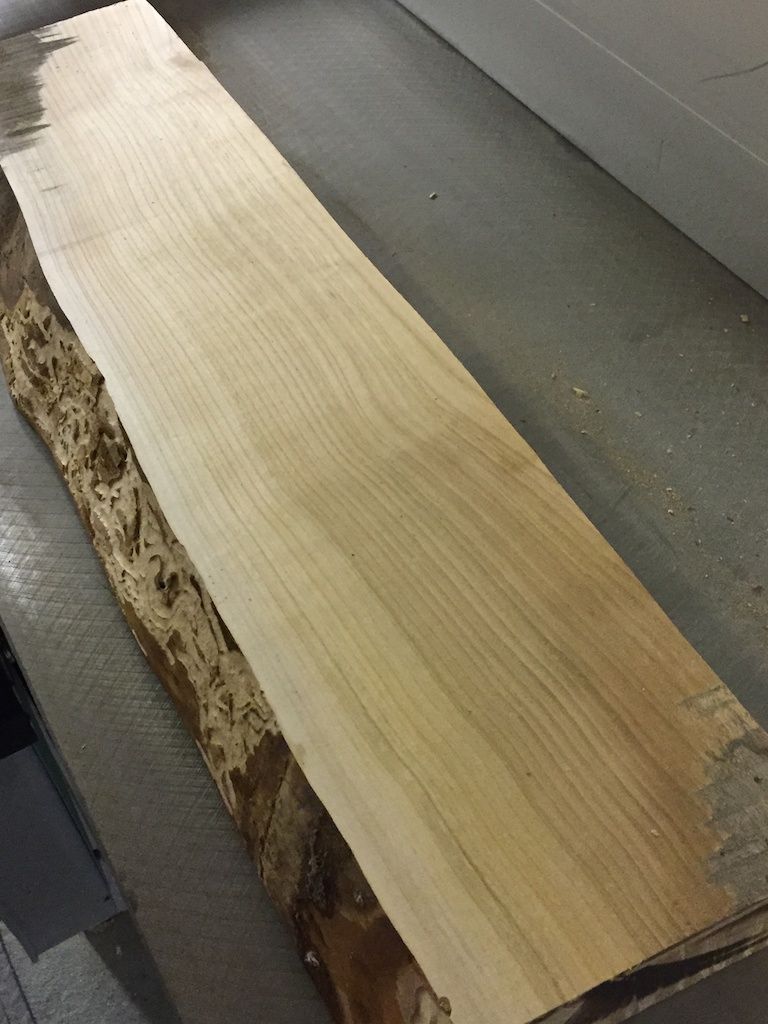
I couldn't stop myself and had to plane up a little of the timber just to see what it looked like. Lovely grain:
 [/URL]
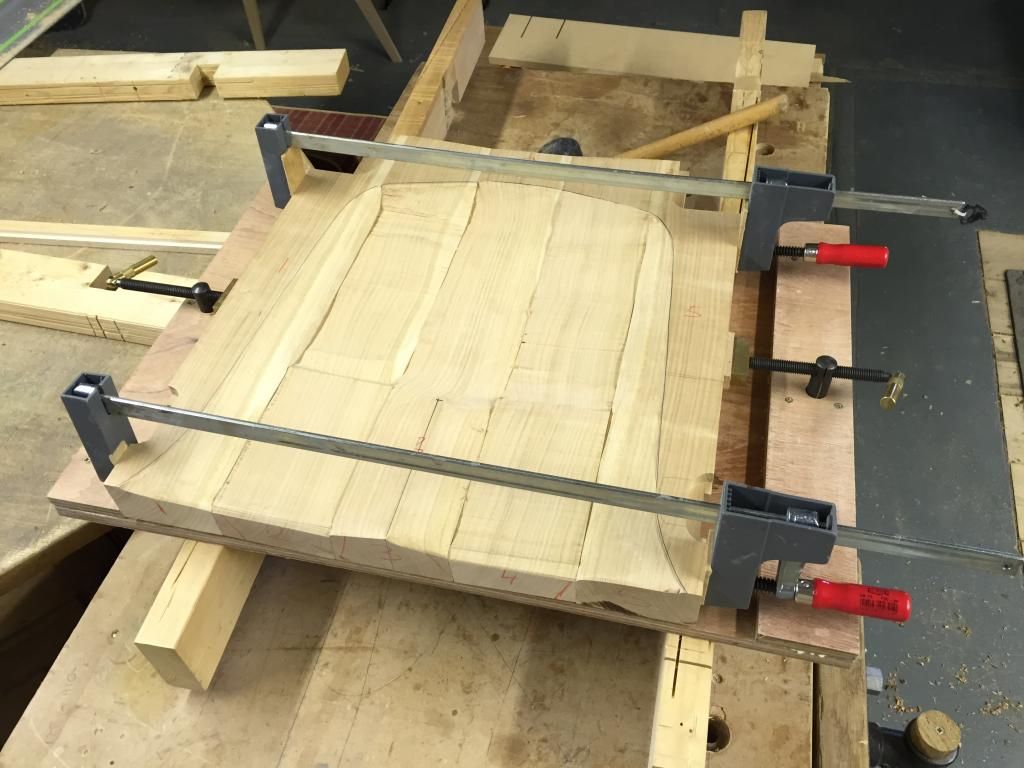
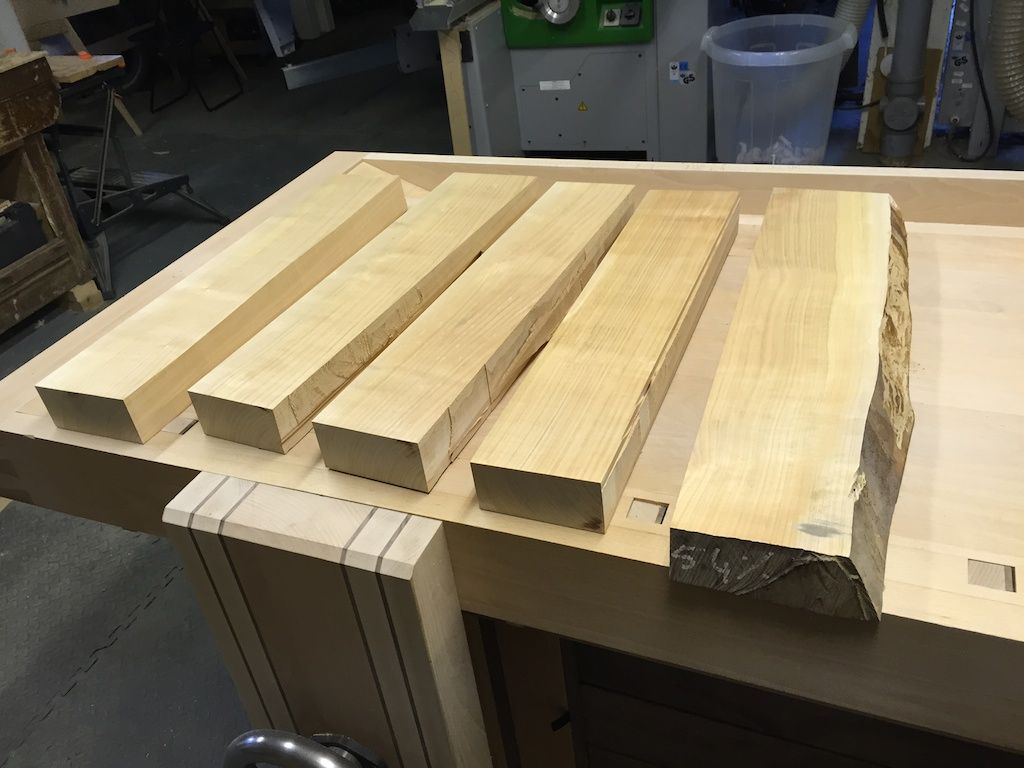
The first part to make is the seat. This requires 5 boards
 [/URL]
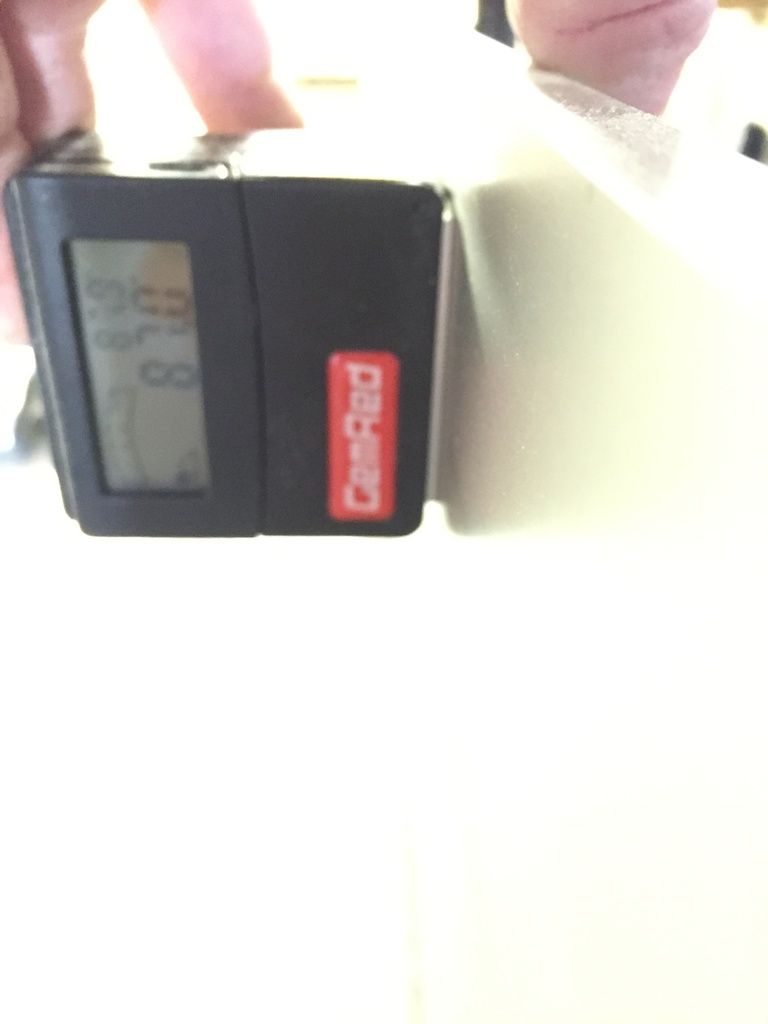
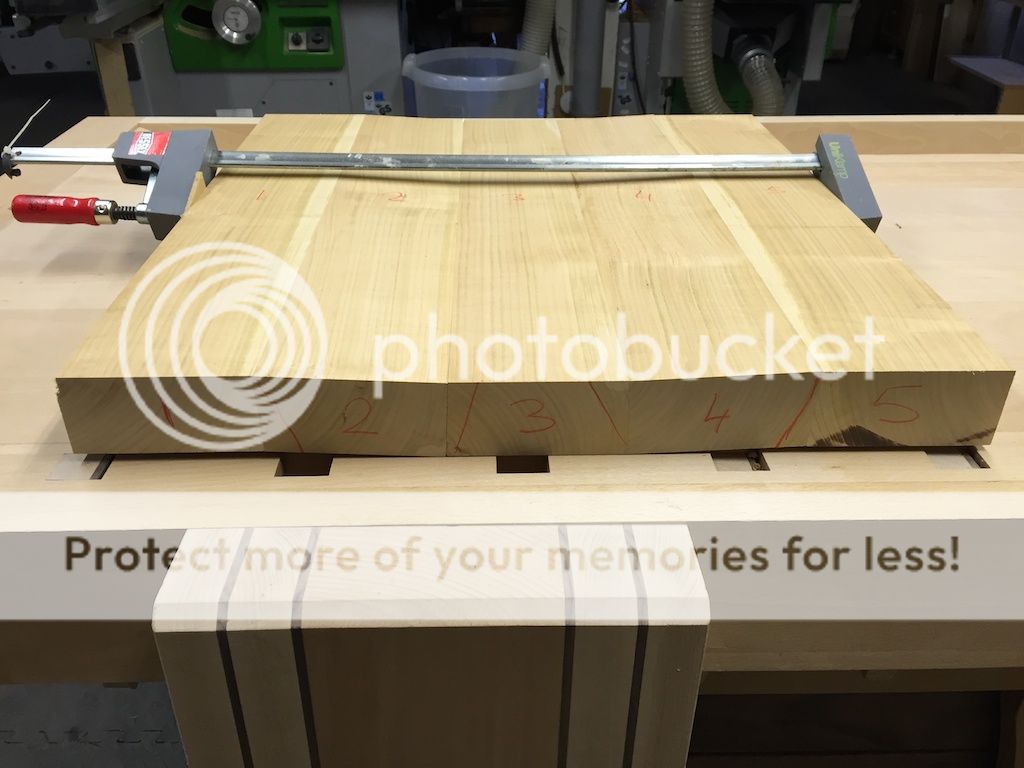
These get numbered 1 through 5 and then a 3 degree bevel is cut onto the sides of a few of them as seen below. I used my planar to do this setting the angle:
 [/URL]
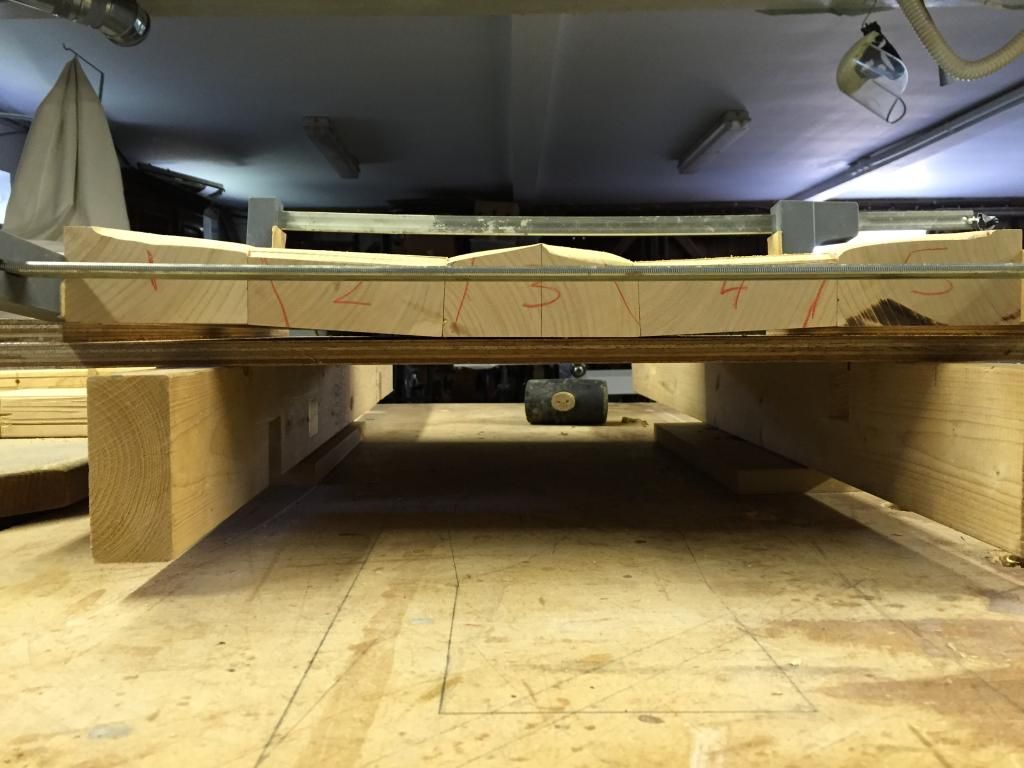
You end up with the 5 boards forming a "smile":
 [/URL]
Thats the first instalment. More to follow.
I remember a number of years ago watching with great interest as Phil from Philsville hand plane fame (lovely planes by the way) as he made one. A stunning chair in my opinion. From memory Phil did it just by looking at photographs and working out his plans. Sadly my skill levels are a long way short of that.
A little while ago I stumbled across a couple of chaps in the US who sell plans for something similar and ended up buying them. The two that I bought are by Scott Morrison and Charles Brock. They each have a slightly different style but both include a video and some paper plans. Brock's also includes a booklet with some additional info.
I also managed to track down some 2" Cherry from Scawton sawmill which was recently delivered.
Time to build a chair.
Having enjoyed looking at many WIP builds on this site over the last few years I've decided it was time to give something back and I'm hoping to post a full build of this chair if anyone is interested.
The first step was to cut out the paper templates and stick them onto some ply. Most went onto 6mm ply that I had around but a few needed to be flexible so I stuck those to a couple of bits of hardboard.


I then cut these out on the bandsaw and cleaned them up on the drum sander.
The four boards of cherry I'd bought all looking like this:

Just moving them on my own was pretty hard work.
Given the split in the first board I tried to salvage as much timber as possible and used my track saw to start to portion up the wood.


Sadly my saw blade wasn't quite large enough to make it all the way through which left me using a handsaw to finish the cut

I couldn't stop myself and had to plane up a little of the timber just to see what it looked like. Lovely grain:

The first part to make is the seat. This requires 5 boards

These get numbered 1 through 5 and then a 3 degree bevel is cut onto the sides of a few of them as seen below. I used my planar to do this setting the angle:

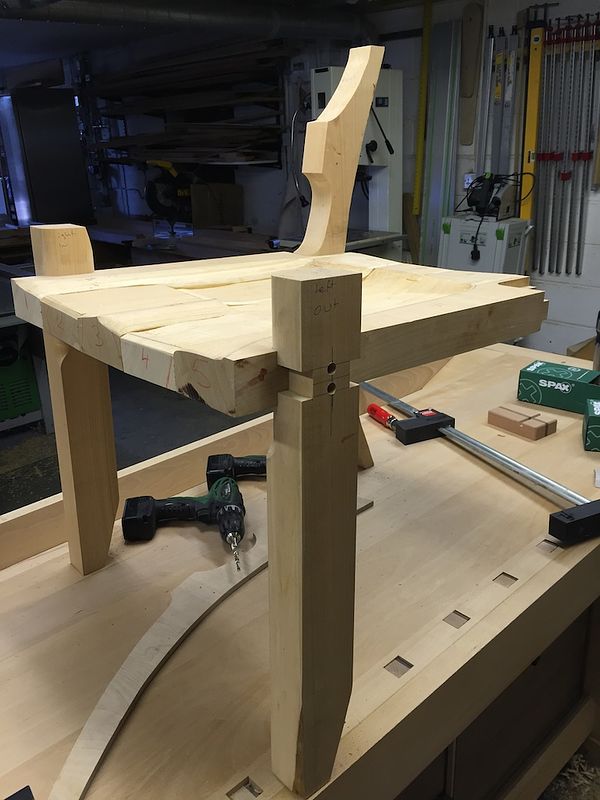
You end up with the 5 boards forming a "smile":

Thats the first instalment. More to follow.


