Well fellas here is a further, much anticipated, instalment on the Roubo bench project, work undertaken last spring and summer.
Picking up the thread from the previous post;
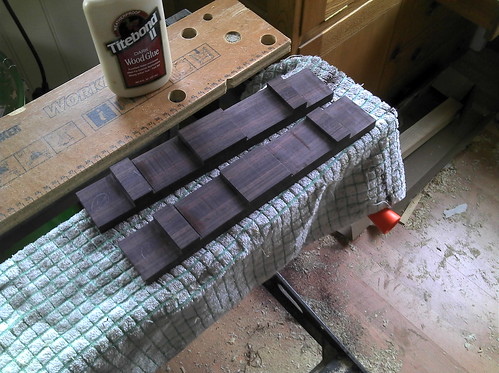
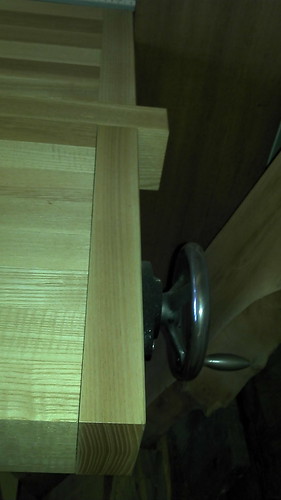
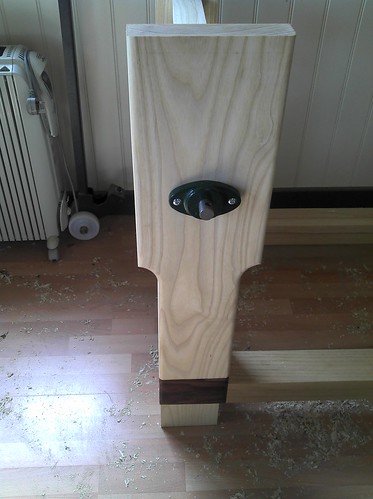
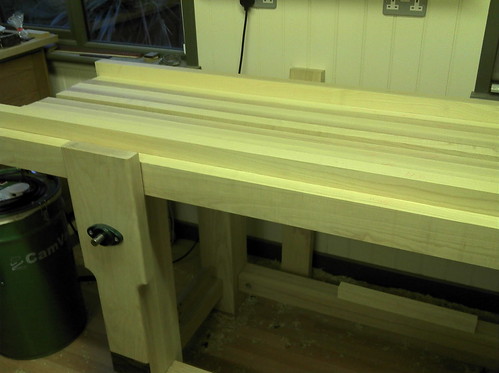
I completed work on the leg vice front inlaying a piece of Rosewood at the bottom to cover the tenon for the guide, here is a picture of the leg vice in position. The leg vice was made to be a little taller than needed, final adjustments to be made once the top had been made.
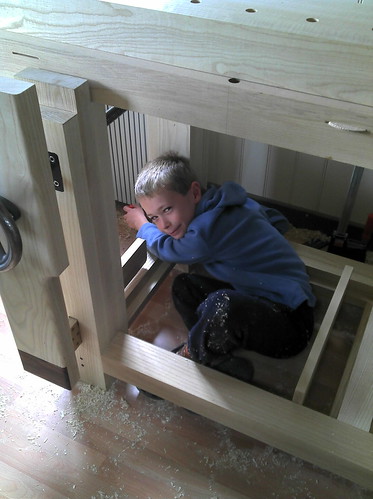
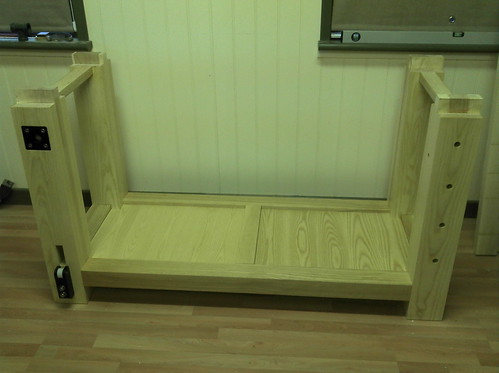
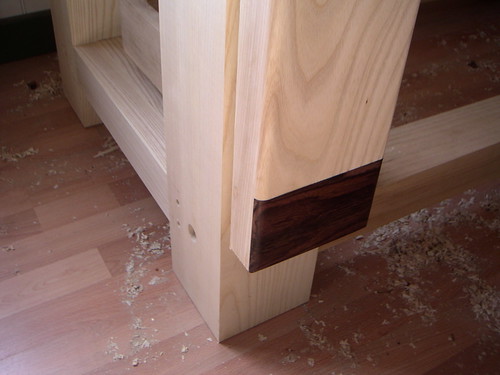
A view from the side which shows the legs glued at the sides and holes ready for two dowels, and the larger hole for the long bolt to hold the frame together, this approach means the bench can be knocked down if needed to be moved.
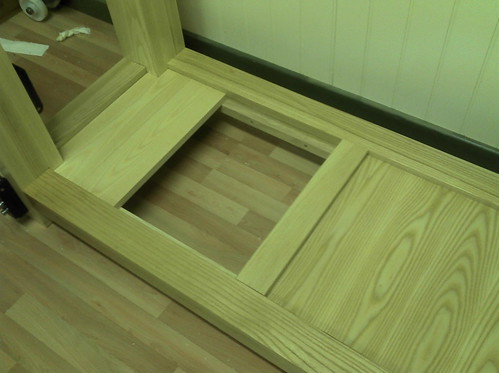
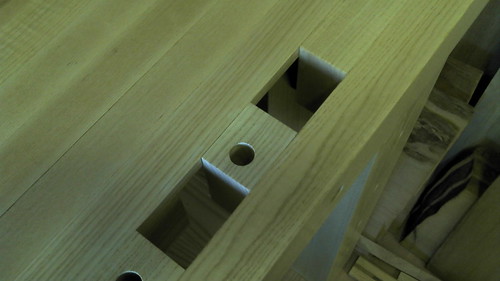
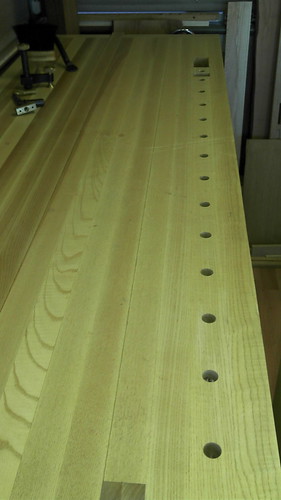
Here is a picture of the opposite side showing the leg with holes already drilled for dogs, holdfasts etc. You can also see a large hole in the long stretcher (bottom corner) this is for access to position the nut for the long bolt, coming from the other side.
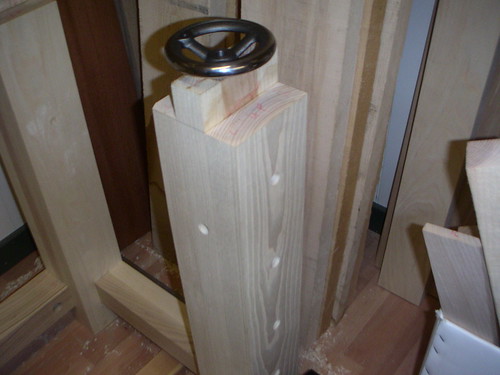
It was a good strategy to drill holes and cut mortices etc before gluing the legs together. They were so heavy it would be difficult to manage this afterwards. Also if a **** was made a component could be remade without too much trouble.
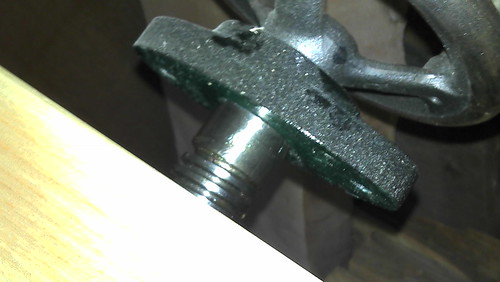
The frame was completed at this stage. Although, further work was required to complete the leg vice leg. The inlay of the acetal plate, and installation of the guide runners more on this later.
The next job was to start work on top. Here you can see the big job of splitting the 8" boards in half. Some of the boards were a little shy of this measurement and I seem to remember working to the smallest width which gave me 3 3/4" widths.
Here is a picture of the operation in progress using my trusty bandsaw.
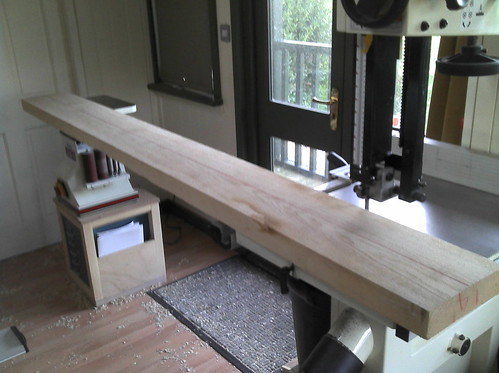
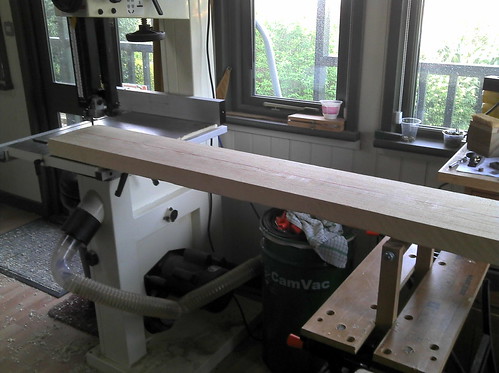
When I made the little stand for my bobbin sander I made sure the finished height matched that of my bandsaw. A very handy support for this job. I did not have a roller stand so made one which clamped into my workmate. This was also an effective solution on the outfeed side.
Once I had cut the boards I used my PT to square these up. I was not to worried about the thickness which varied a little from one length to the next. Although, it was important to ensure I had six pieces the same thickness as the leg laminations as this would make fitting the top easy. I selected the best pieces for the front and back and tried to match the grain where possible. Any grotty pieces were made good with a thick veneer. An approach I used earlier on the leg construction.
The width of the top was now just over 3 1/2" the lengths were odd but all 7ft +. Here is a first picture of the top coming together.
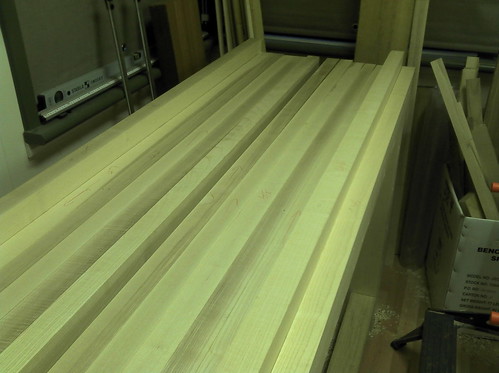
You can see two lengths sticking up in the above picture, well they were sitting on the leg mortices. The next job was to cut the mortices for these. Very easy as the thicknesses were the same just a simple cut out on the bandsaw.
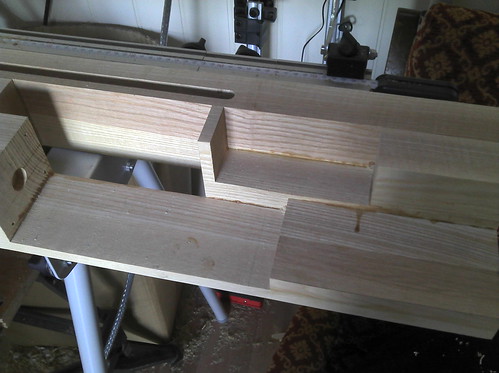
I had plans for a stop near the leg vice and this was easy to create just by cutting a length and leaving a gap when gluing together.
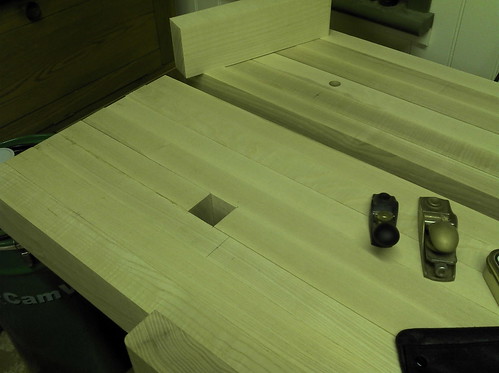
I glued the top together in stages. Glue everywhere, the most nerve racking part trying to get all the clamps on and keep things level. I decided at this stage to keep the top in four sections, approx width 8". This meant I could run the glued board through the PT and also meant I could handle lifting these heavy chunks around. The picture above shows a gap in the top this was to accommodate a removable section. An idea I had seen on one of Richard Maguire's benches.
The removable piece enables clamps to be passed through the top for clamping and also to create a long stop the length of the bench, another useful feature.
Here is a good place to stop on update number two. More to follow, including;
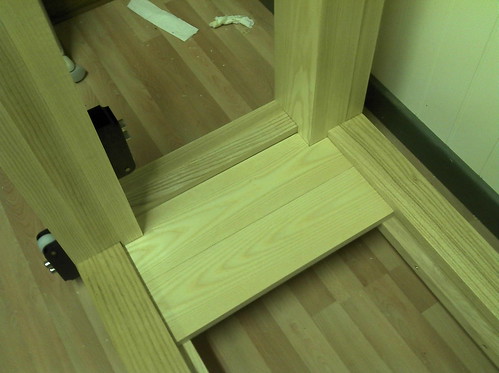
The fitting of the bottom shelf.
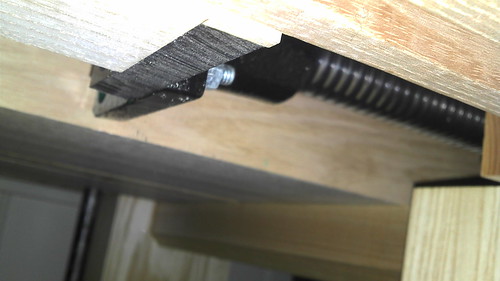
The issues with the wagon vice. leg and top.
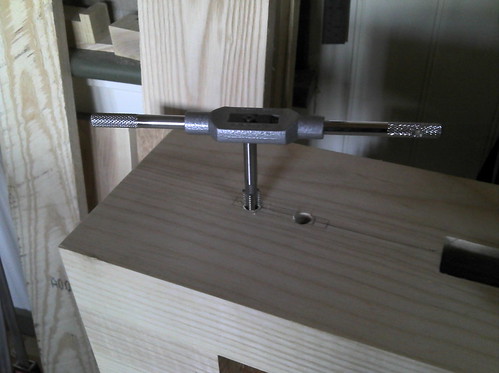
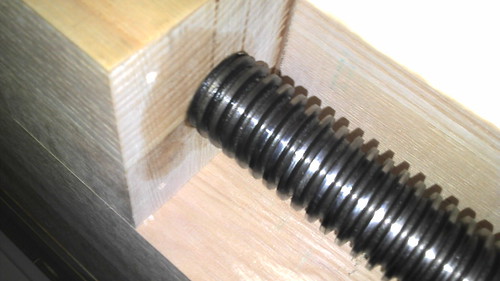
The metalwork for the vice screws and wheels.
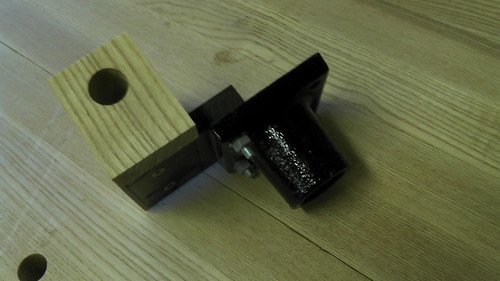
Making the little guides for the leg vice and fitting the acetal plate.
Thanks for continued interest. If I can be of any help with my experience of making this bench please give me a shout.
Cheers, Tony.


