reverse mitre tissue box

UKworkshop.co.uk

Help Support UKworkshop.co.uk:

This site may earn a commission from merchant affiliate links, including eBay, Amazon, and others.

devonwoody

Established Member
Joined
11 Apr 2004
Messages
13,493
Reaction score
25
Location
Paignton Devon
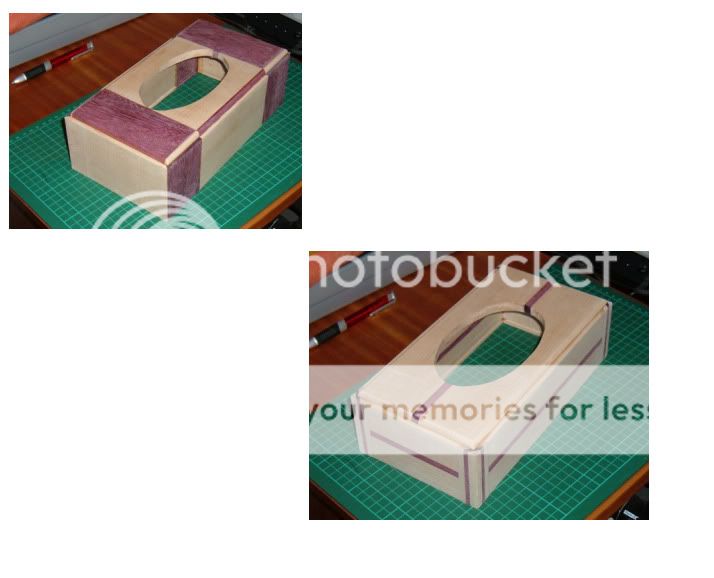
I have never seen one of these joints used on the forums but I suspect others have used this idea.

The mitres instead of forming their only 90% corner face outwards and a corner block is going to be used to compensate.

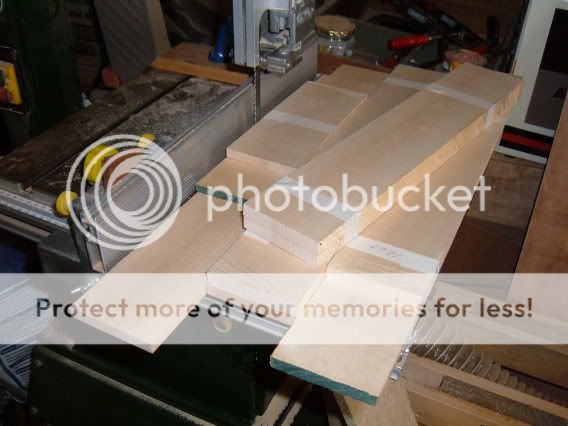
A nice piece of maple to be resawn.
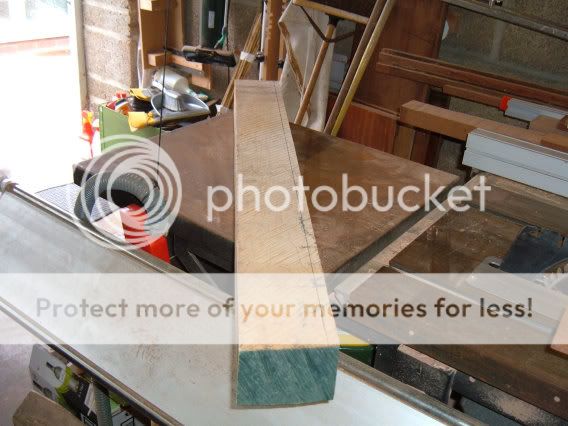
1w-21.jpg


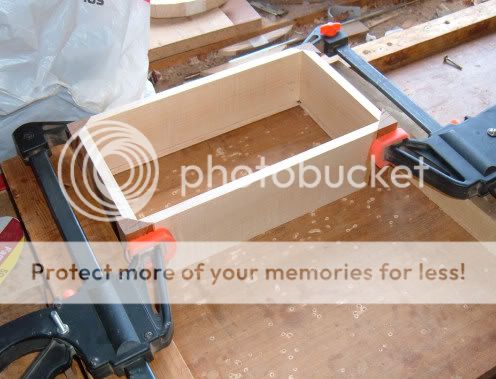
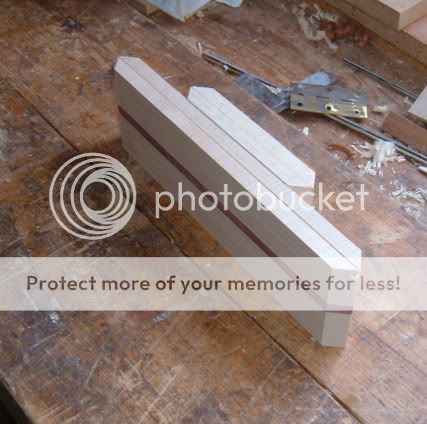
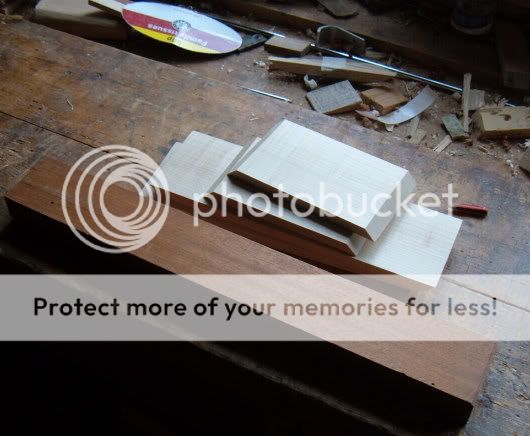
Maple machined up and normal mitres made on my jig. Also found a length of I think is Utile from 40 years ago.
2w-16.jpg


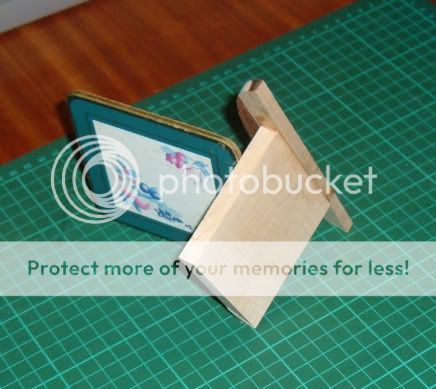
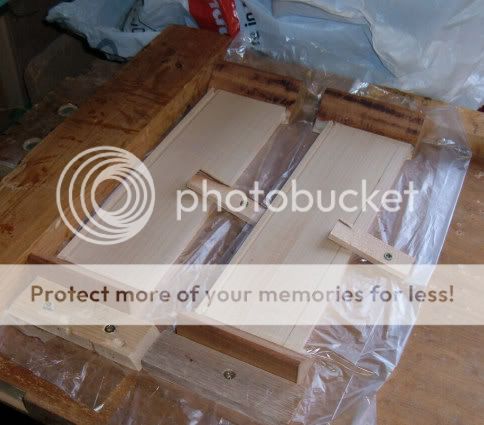
The utile was cut to shape on the tablesaw with a 45% rip cut and cut to length then glued to reverse the mitres.
3w-15.jpg


Did a bit of overtime last evening

4w-15.jpg
 
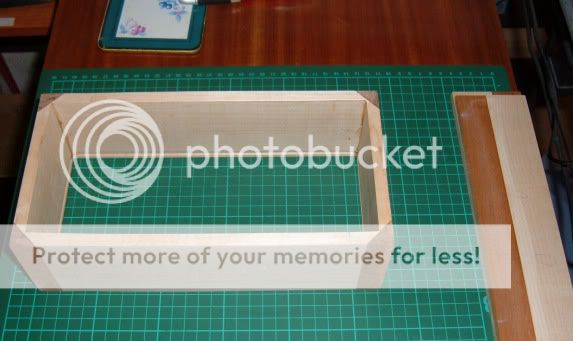
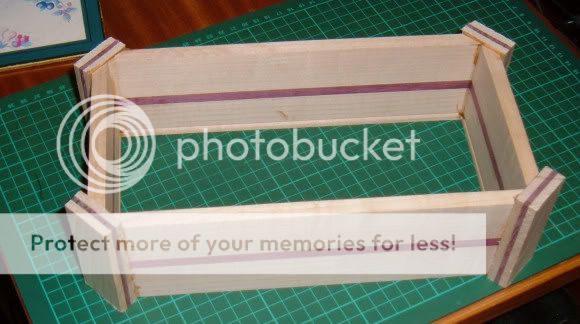
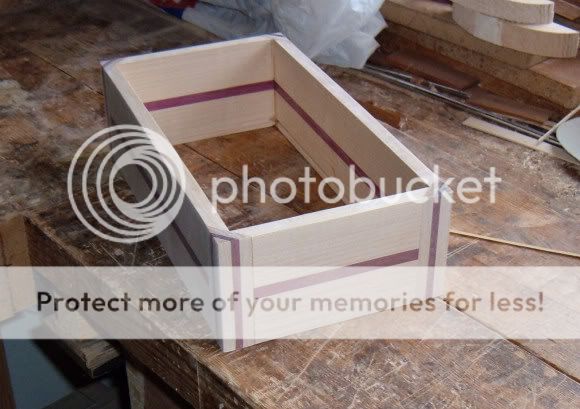
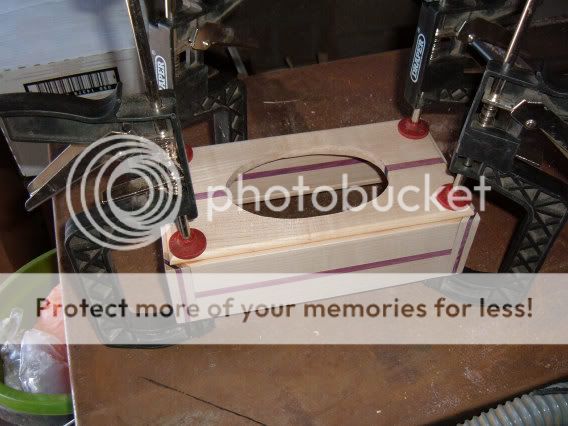
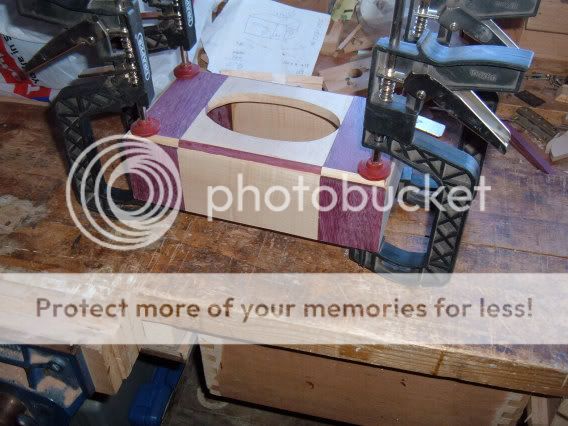
Got the whole carcass together, I was surprised how easily the corners held their position with wet glue. I thought there would be slippage but the corner posts held the shape, I suppose because some ends had already set from previous glue up.

5w-15.jpg
 
Interesting idea with the corners devonwoody. Should look good when its finished ! Whats the groove around the inside bit for :-k

Cheers, Simon
 
Simon, that accomodates the sliding slats to hold the tissue box in place, (I do have to cut part away eventually).


Project delayed for a while, doing a bit of hand planing and it has upset my back, or perhaps it was the cold wind this last week.
 
Pleased to report back in the W.S later in the day, exercising the back.

I tidied up the corners and prepared some more timber for the lid.

8w-11.jpg


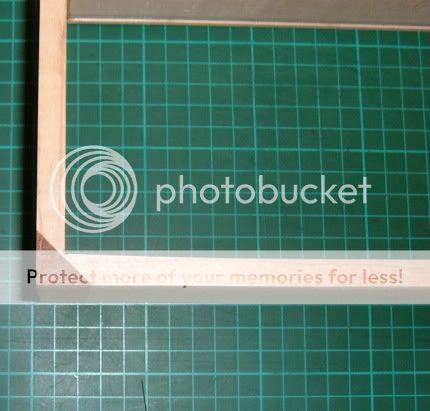
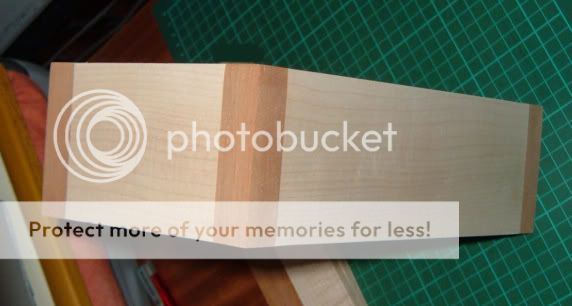
Close up picture of the corner joint.

7w-12.jpg


After sanding on disk sanders.

6w-12.jpg


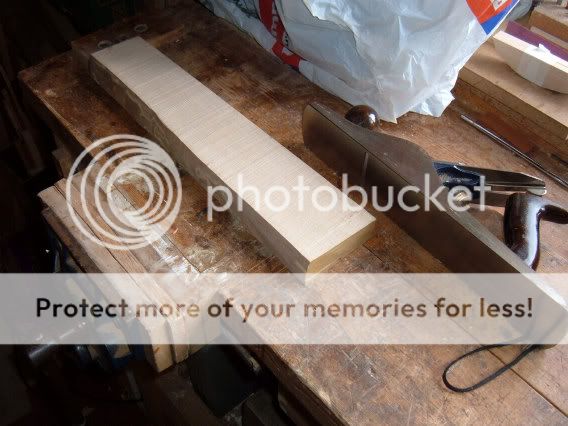
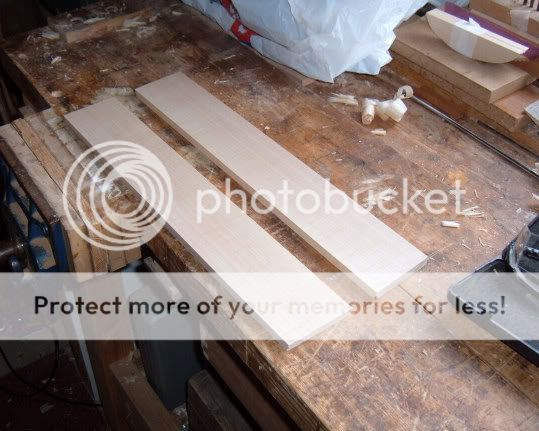
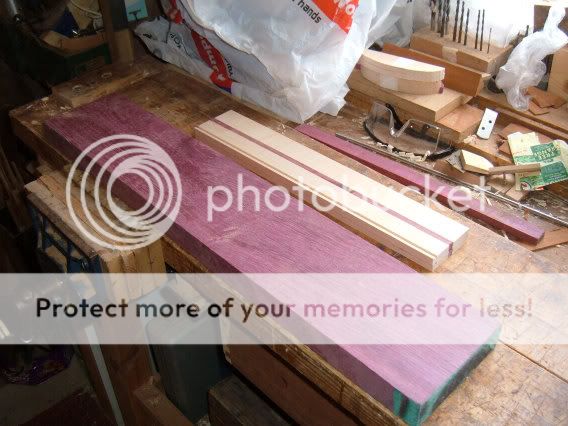
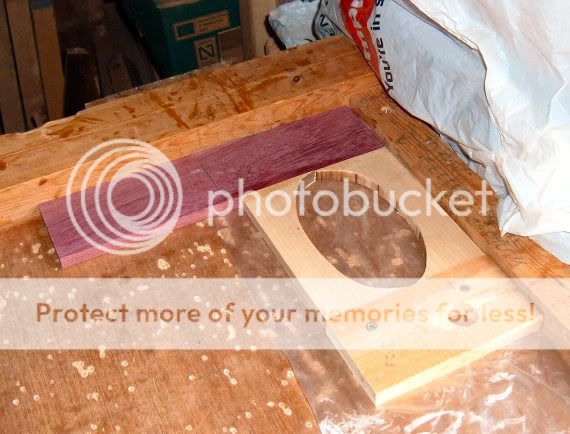
In the meantime I had started preparing timber (Sycamore and Purple Heart) for another box, this one caused the back strain using my old Stanley Jack Plane.

9wsycamore.jpg


10wsycamore.jpg


11wsycamore.jpg


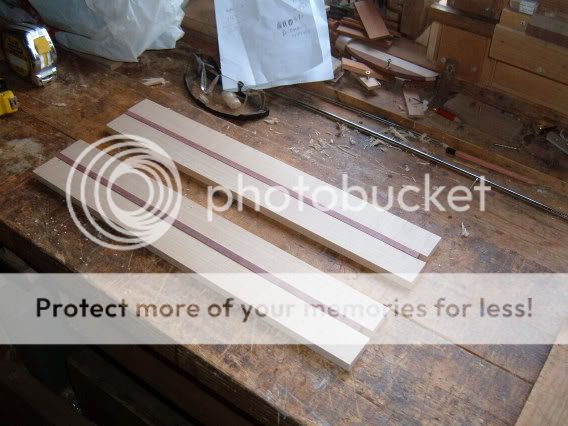
I have got in mind later today preparing some banding to make some corner blocks do the reverse mitre again for another box.
 
This was the lump of purple heart that caused that blue smoke.

14wnew.jpg


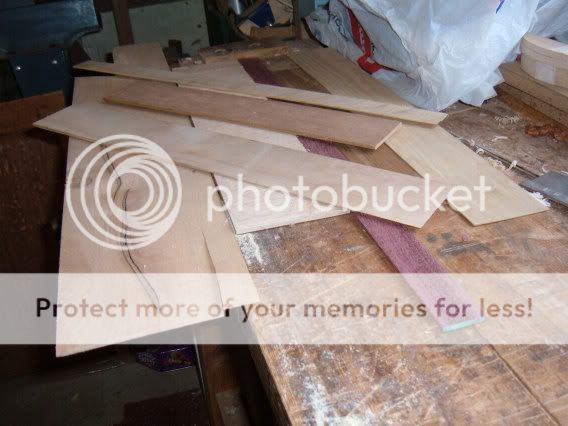
In addition to the P/H I looked out some old offcuts left over from previous years after resawing.

15wnew.jpg


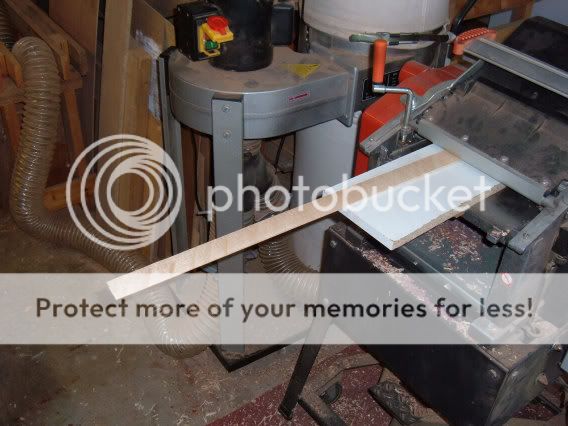
Ripped them to suitable dimensions and then put through my thicknesser and reduced to around 5mm thick using a backing board in the machine.

16wnew.jpg


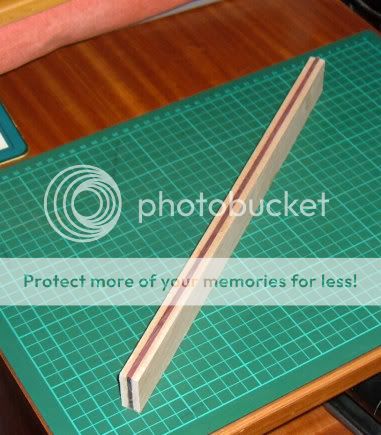
Finished with a corner block made like this, but I might add another purple heart strip later today for more contrast.

18wnew.jpg


In addition I got the new carcass sides cut OK on the saw so things cannot have been too drastic.

17wnew.jpg


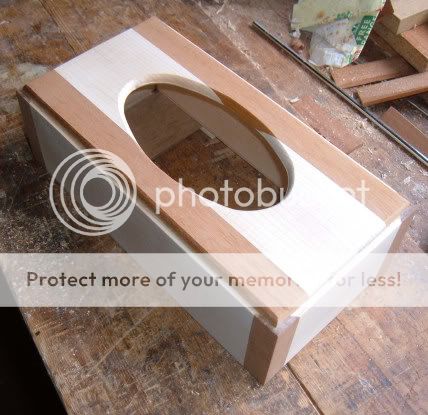
The lid for the first box is now on and awaiting final fitting and round overs.
 
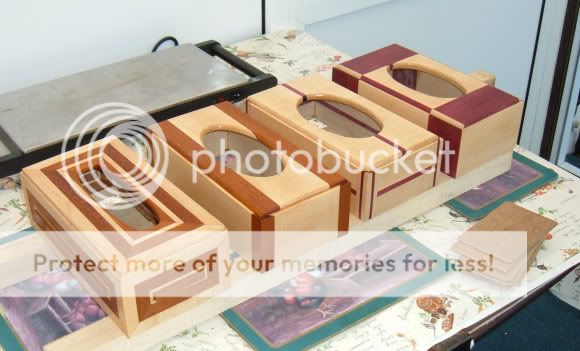
The first box shown above is now complete and joints are successful, but awaiting the wax treatment with three others.

19w-4.jpg


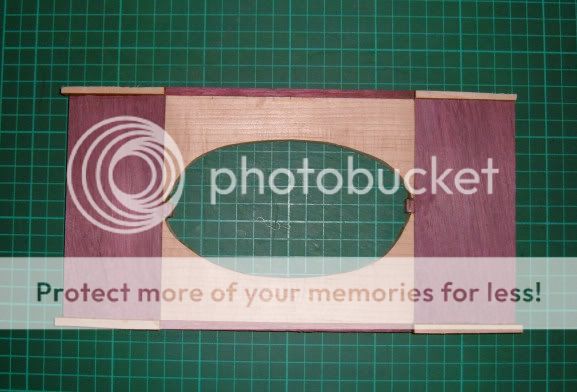
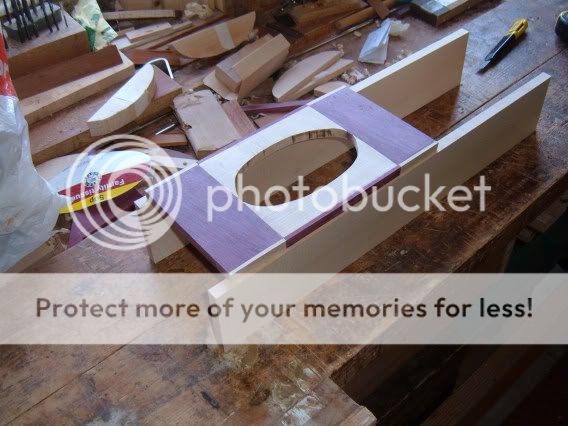
The second box with some contrast banding is being glued up, but this time instead of using a square block I have economised and used a former to shape the ends.

20w-4.jpg


21w-4.jpg


I have got a further unconventional idea for these corners and timber is being prepared
 
DW,

I'm intrigued by your 'reverse' mitres. How do you get on with what appears to be cross grain at the corners?

Bob
 
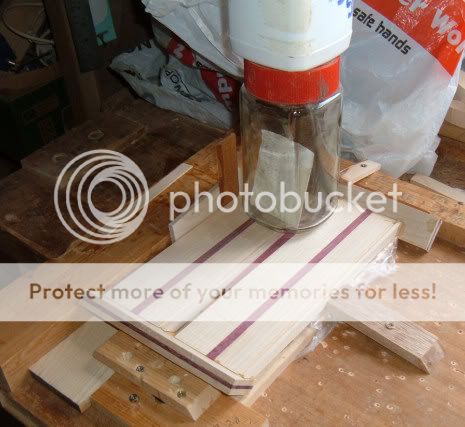
looking good DW. I like the way you work. Do you find the board you use for clamping works well or is it a makeshift solution? I assume it's just a scarifical board that you'll replace once there's no room for any more holes?
 
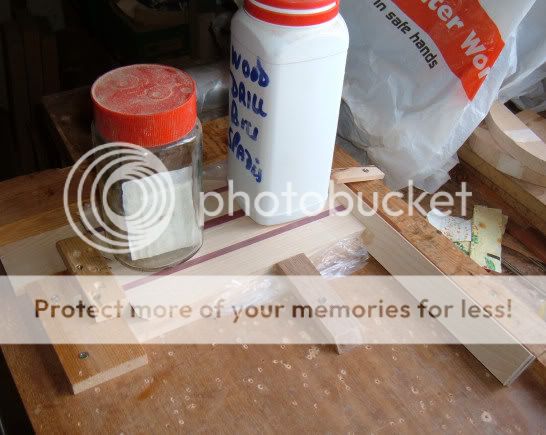
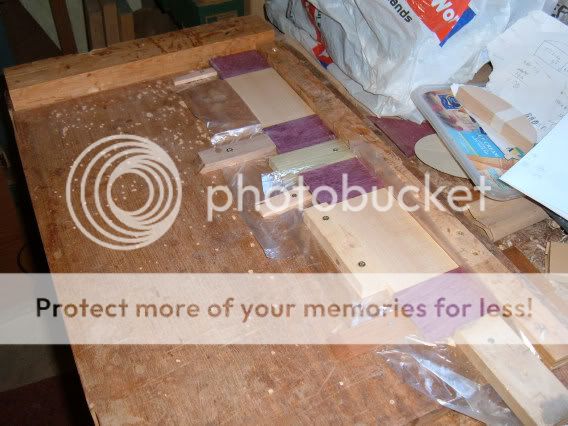
Progress so far on the second box
23w-3.jpg


9fingers, there appears tobe no problem with the glue up, I'm using titebond 3 on these corners and providing the timber contact between pieces is perpendicular (I think that is the word) they glue OK.

In fact I did this experiment today by coincidence, an offcut of end grain glued to normal grain with titebond3 and at three hours after glue applied you would have to hit it with a club hammer to separate.

24w-3.jpg


Wood Addict. I can thoroughly recommend the glue board its beats clamping (no slippage) The board I am using are very old (prewar) composition veneered board (old laboratory doors) and board must be around 22mm thick and screws only go in around 10mm deep, so there is plenty of meat left, I can turn it over perhaps after 5 years of use. (I have got another two doors in stock :wink: )

BTW, I have prepared another three sets of board for more boxes and lids :x

22w-3.jpg


Going shopping tomorrow looking at some big stuff before VAT goes up.
 
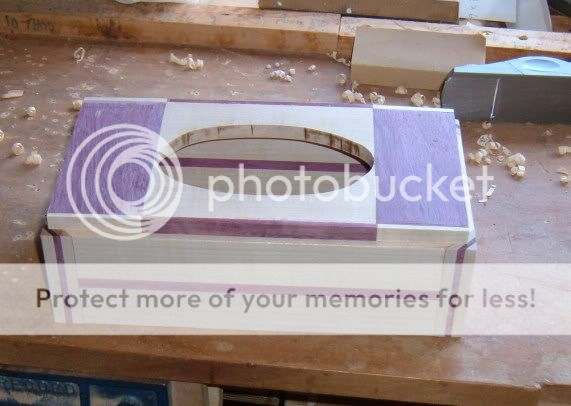
The carcass has now been completed and I am satisfied with the decorative effect.

25w-2.jpg


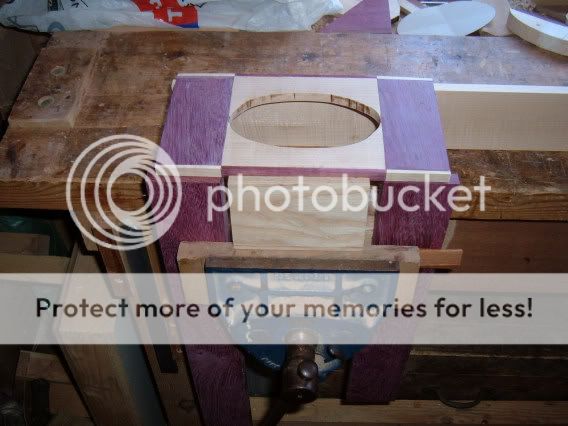
Making up the top lid of tissue box is progressing and I have got this far.

26w-2.jpg


There have been some hiccups along the way but hopefully this lid decoration is will prove to be pleasing.

27w-2.jpg


I would like to get hold of some of those rubber suckers that are fixed to the end of children's toy arrows, then I will feel happier guiding this top past the router roundover cutters.
 
what do you have the finished planed planks (?) taped together? Thats surely going to make the warp?


luke
 
Thanks for the ebay link, I havent got a paypal account and the vendor wont accept anyother form of payment,

The reason wanting suckers, if attached to a length of rodding I thought I could then stick the sucker to that lid and hold against a router roundover cutter rather than use my fingers to guide the lid past cutters, normally I do it with the lid stuck on the carcass but I am expecting trouble and would rather do separately on this occasion.
 
Decided the lid above does not co-ordinate with main carcass so putting the lid aside for the moment and making another top perhaps more suitable.

28w-2.jpg


New lid made up this morning.

29w-2.jpg


Attempting to find a pattern that will go with the previous lid.

30w-2.jpg


Decided on this pattern.

31w-2.jpg


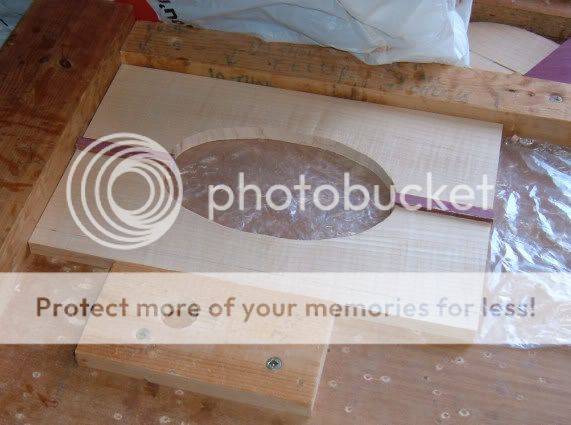
Glued up new carcass pieces. (gluing vertical grain to cross grain, I know its naughty but its nice.)

32w-2.jpg
 
L Harding":26xsg0ml said:
what do you have the finished planed planks (?) taped together? Thats surely going to make the warp?


luke

I have untaped the boards (only small pieces 10mm thick and around 400mm long) on your suggestion that it might cause warping.

I could imagine this being a problem on large boards, but would be pleased to hear further information on this subject.
 
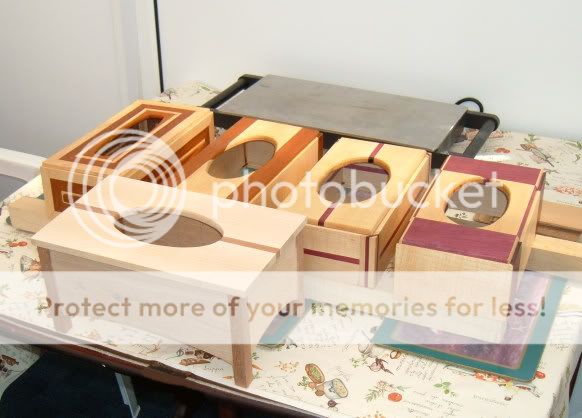
Got out the white polish yesterday and gave the boxes a lick.

38w-3.jpg


Then when I had finished and cleaned up I found another one.

39w-3.jpg


Getting the wax out today and putting my thinking cap on again.
 
Back
Top