Randon strip boxes

UKworkshop.co.uk

Help Support UKworkshop.co.uk:

This site may earn a commission from merchant affiliate links, including eBay, Amazon, and others.

devonwoody

Established Member
Joined
11 Apr 2004
Messages
13,493
Reaction score
25
Location
Paignton Devon
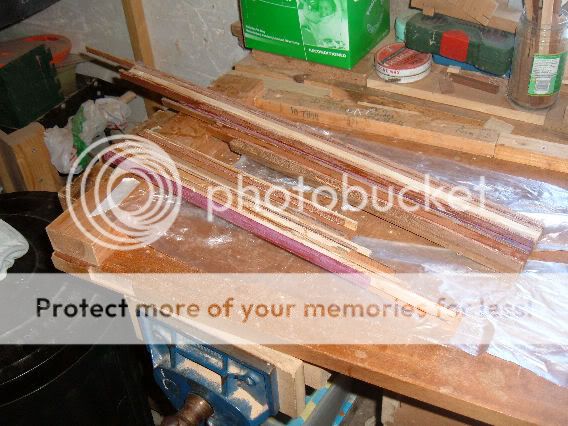
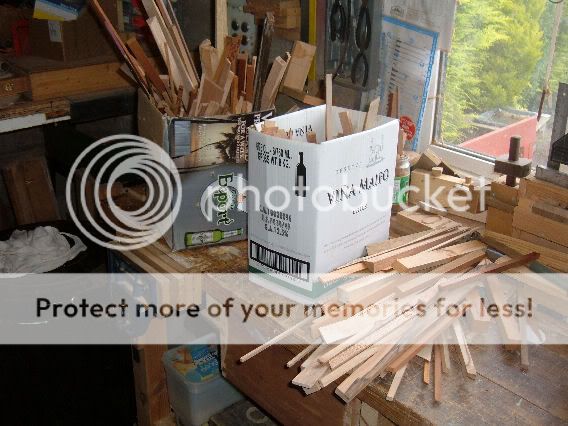
My floorspace is getting untidy because I refuse to throw out my offcuts of hardwood which might come in handy.

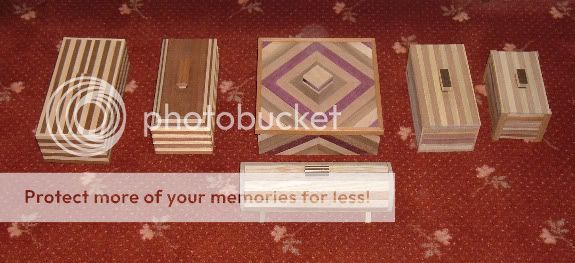
A sample of boxes with strips.
1w-16.jpg


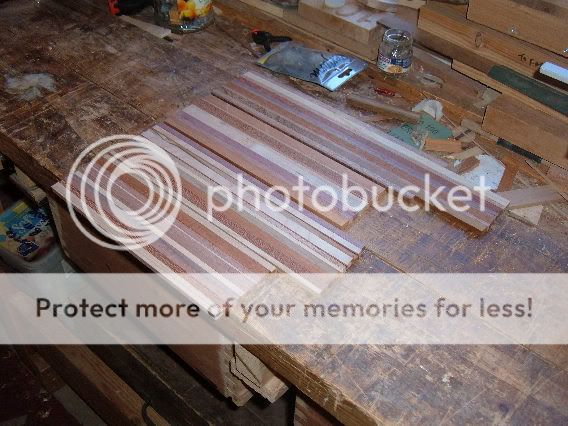
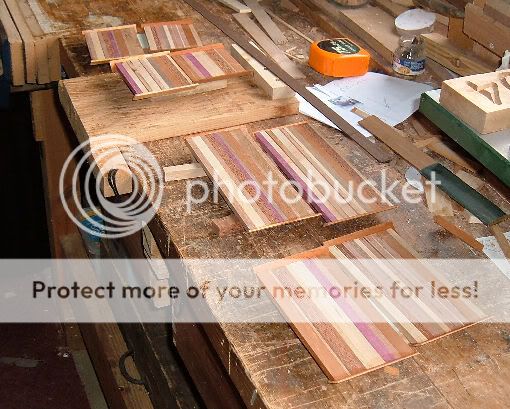
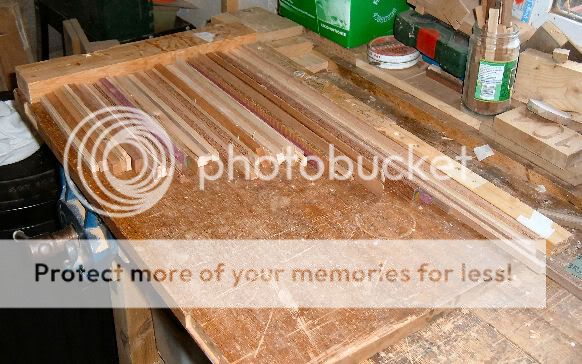
So I have purely at random pulled out this selection of strips and placed them in length priority on a flat board, best side down on board, ready for gluing.
Found a jam jar with Titebond 3 left over from last year but had decanted into jar because nozzle had broken on plastic bottle supplied.
2w-16.jpg


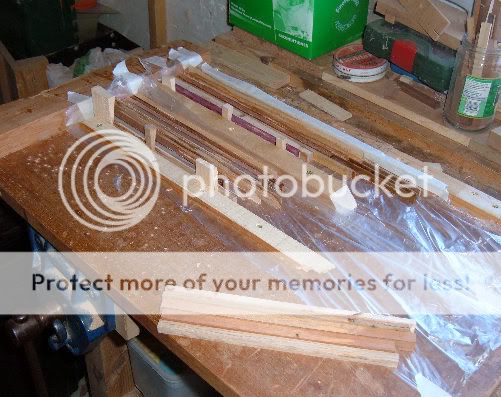
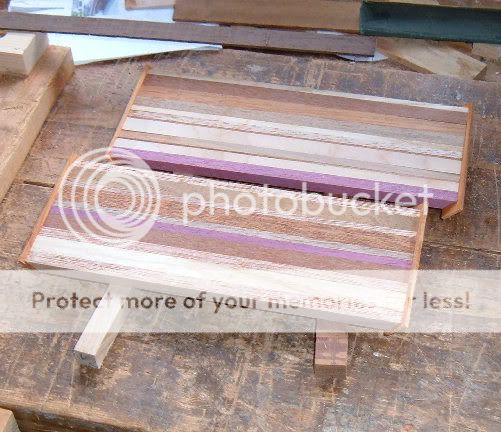
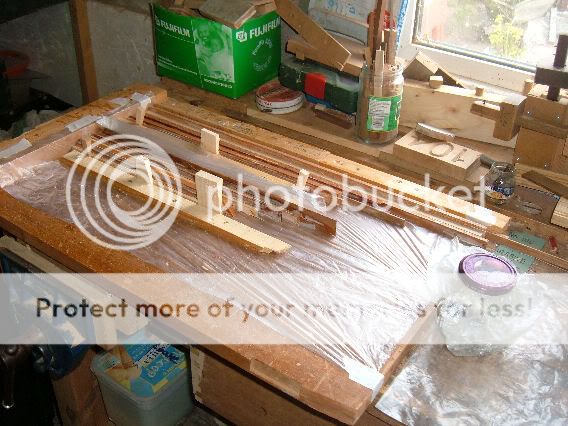
First glue up underway,

with wedges to clamp up tight.
4w-13.jpg


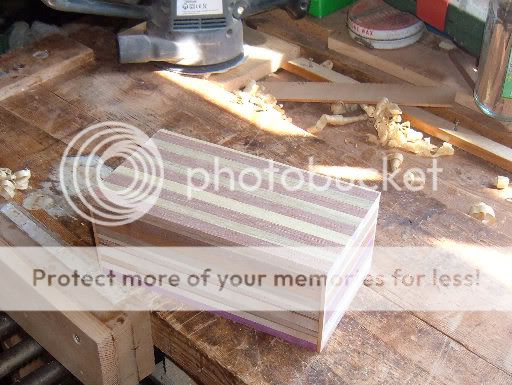
Took of gluing board.

5w-14.jpg


Second set for gluing up.

6w-12.jpg


Hoping I might get two boxes out of above.
 
Bloody **** DW, I've consigned bigger pieces than that to the fire and I consider myself quite anal when it comes to offcuts!

Let's see how this Paul Smith box turns out
 
Yesterday I intended making a start on applying a finish to three previous boxes, but it didn't happen again. I got enthusiastic about these random slabs started.

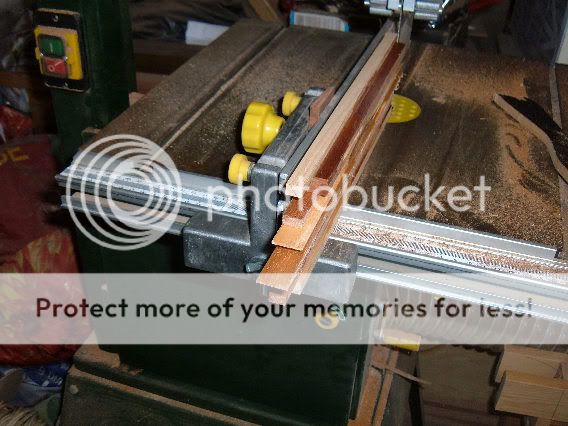
I started with a clean up on the bandsaw to make ready for thicknesser.

7w-12.jpg


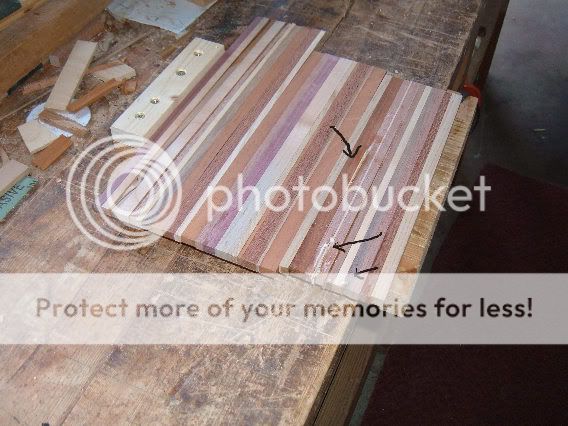
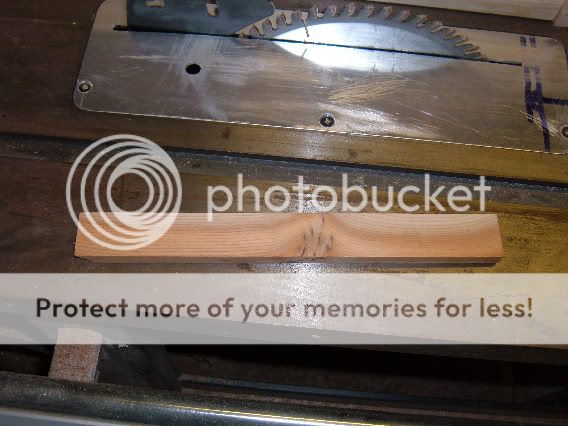
After passing through the thicknesser I eventually got down to a 7mm thickness but in the meantime I had to do some infilling. This was because some strips had a sawn edge only when glue was applied and I can see daylight when held to the window. So plugged the worse.

8w-11.jpg

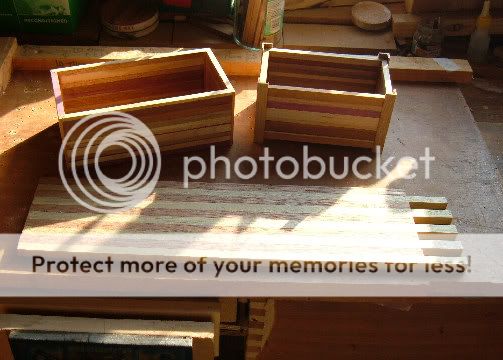
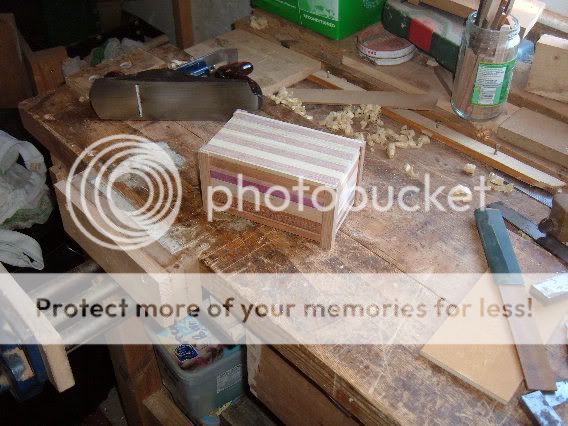
However I have finished with enough timber to make two boxes, (8x4x3 and 6x4ishx3)

9w-12.jpg


The joins at corner will not be conventional, watch this space :wink:
 
Yesterday I put mitre cuts at all ends (8 pieces for two boxes) using my mitre sled as in the past. Shortest length this time is 86mm, but reckon with my experience using this sled I could get down to around 25mm length with a mitre each end if using thin box boards.

Found a piece of Yew, terrible stuff, I reckon I am lucky if I am going to get 5% usage from a 5 ft. board I purchased last year. (I am using it up as backing timber when on the router and tablesaw to prevent any tearup when cutting).


10w-11.jpg


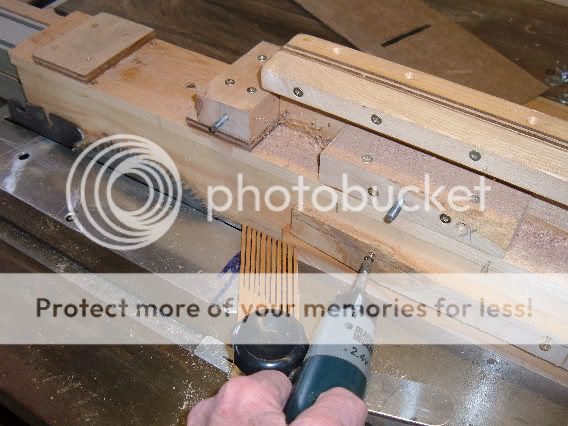
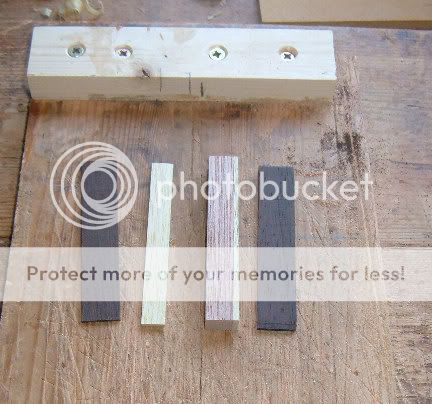
To prepare this piece of yew I have put a temporary hold down on my stripping jig, (screwed a waste piece of timber to my jig which will get a wasted cut owing to blade having to cut a 3mm thickness cut from yew)

11w-11.jpg


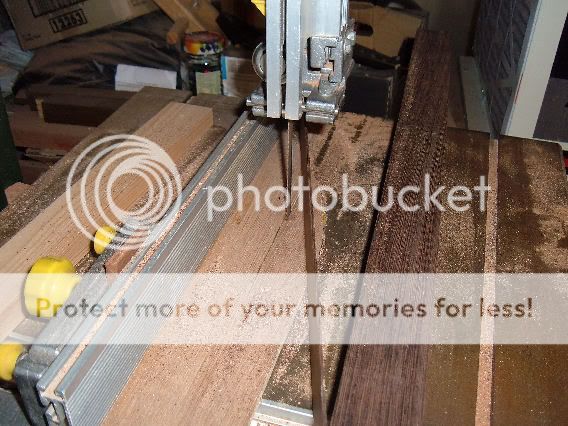
I have also cut a 2mm slice off a log of Wenge using the bandsaw, the band saw has a piece of ply laying on the table to create a zero clearance effect, particularly useful to me when cutting thin slices like this.

13w-10.jpg


The reason for all this slicing. I am reinforcing the mitre ends with these
decorative slices. (The carcass timbers are 7mm thick and daylight can be seen between some strips, because some of the cuts on these scraps were direct from a bandsaw in past)

14w-11.jpg


A close up of strips glued to end mitres using titebond3 and spots of superglue to get a quick grab thus avoiding the need of clamps.

15w-10.jpg


We have got a heat wave coming in so might not get into the shed for a few days. (26C plus?)
 
17w-10.jpg


Reached 30C by 5pm. but the humidity figure was nice. 50% that should dry up the rust.

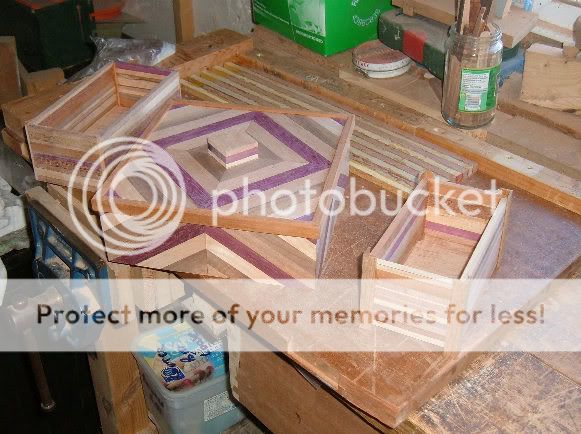
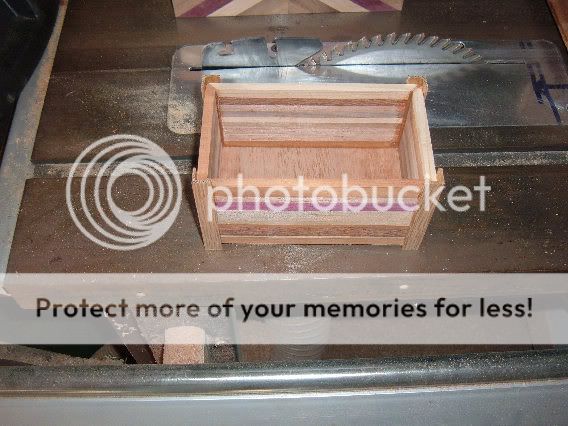
Went into the shed early 8am and decided inspected the corner joints on the two random strip boxes. One was OK but the other was a disaster, the Meranti baxking strips at corners were breaking up so I made new corner mouldings as per pictures below. Strips also prepared for two lids.

16w-10.jpg


18aw.jpg


18w-8.jpg


19w-8.jpg


Off out to the shed again now at 8am before the heat closes me down.
 
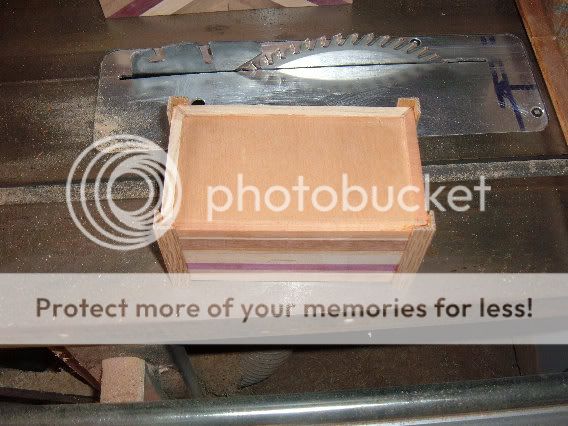
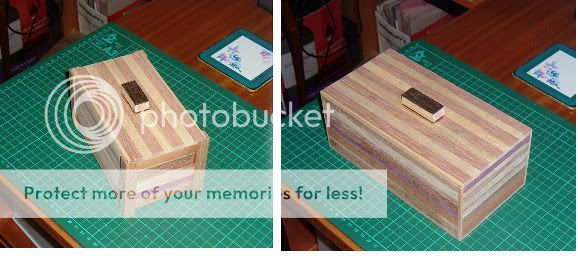
Went into the shed again at 8am until 10.15am and had a really successful session, the lids went on, the just fell into place, (routed so they drop in as my usual practice)

20w-8.jpg


21w-7.jpg


Decided I was definitely going to apply a finish in the afternoon but then realised I hadn't got any lifting knobs for the lids.
So found these scrap pieces.
and glued them up.

22w-8.jpg


So the afternoon did a short session and glued and screwed them into position.

23w-8.jpg


Now got six boxes to work on tomorrow to apply a finish, definitely not starting another box until done. (got a new idea and not strips)

24w-7.jpg


(BTW thats 8 boxes since 17th March. )
 
You don't hang about, do you! :shock: :D It's nice to see all your different designs in one photo', very interesting. :)
 
Back
Top