Raised panels

UKworkshop.co.uk

Help Support UKworkshop.co.uk:

This site may earn a commission from merchant affiliate links, including eBay, Amazon, and others.

marcros

Established Member
Joined
11 Feb 2011
Messages
11,302
Reaction score
746
Location
Leeds
I need to order some timber for a blanket chest (well actually a toy box). Since British hardwoods have a deal on some planed up 44mm x 44mm stock, I will use this for the 4 corners. I have a nice board of 1" sawn brown oak that I will use for panels- each panel will be approx 10" wide and 18" tall. My plan is bandsaw rip some more 44mm in half so it will be finish at about 18mm.

What are typical thicknesses for rails and panels in such a construction? Do I have enough thickness to work with? The panels can finish proud of the rails. I would prefer to have them raised and fielded if thickness allows.
 
I make most of my frame and panel constructions from 3/4" (final thickness)

The corner support for a box I would make more, the same as you have suggested - depending on construction
 
Ok, next question on these, cutting the panels using hand tools. I know that there are many ways to do so but would this one work.
Starting with a planed board @ 3/4"

1. Define the centre panel with a marking gauge. Plane the outside by 1/16" so that the raised panel is standing proud, using a wooden rebate plane or a plough plane.

2. Define the thickness of the finished tongue with a marking gauge and the length of the tongue. Plane down with the rebate plane. Say 3/8" thick x 1/2" long.

3. Connect the lower corner of the raised panel to the inner edge of the tongue using the rebate plane. This will be the fielding.
 
Hi Marcros,

Sounds pretty good.

I have used a tenon saw to cut across the grain around the centre field before planing the 1/16 drop you plan. I also found it was worth planing along a straight baton to ensure the plane doesn't wander when starting.

Your steps 2&3 sounds good. Just don't touch that inside corner until the last minute otherwise the fielding gets deeper.

It's worth taking a bit of scrap and cutting an identical groove in it to that which is in your frame. This can be used to test the fit all around. I *think* this is called a mullet. You can then see how deep the panel sits in the groove which is helpful for fine tuning.

Others may have better tips
on this. I haven't done it much but learnt on a recent course with David Savage.

Hope this helps,
Mike
 
marcros":320wod86 said:
Ok, next question on these, cutting the panels using hand tools. I know that there are many ways to do so but would this one work.

Starting with a planed board @ 3/4"

1. Define the centre panel with a marking gauge. Plane the outside by 1/16" so that the raised panel is standing proud, using a wooden rebate plane or a plough plane.

2. Define the thickness of the finished tongue with a marking gauge and the length of the tongue. Plane down with the rebate plane. Say 3/8" thick x 1/2" long.

3. Connect the lower corner of the raised panel to the inner edge of the tongue using the rebate plane. This will be the fielding.


I teach joinery at the local tech college and we use a similar method for forming fielded panels. We form one panel by hand and one on the spindle moulder using a panel cutter. If you work your rebates out accurately, when you form the sloped angle (fielding) it should be the neat width of your rebate plane (around 38mm from memory). But, it's not easy. Make sure your plane is super sharp, accurately set and do the end grain first in case of break out.

Good luck mate!
 
Thanks both. Now to buy a rebate plane on eBay. I will start with the rear panels. By the time I do the front I hope to have it mastered.
 
I was going to go for a woodie actually for the reasons that they are cheap and skewed.

How vital is the lip- the quicker option would be to do the slope in 1 stage with a badger plane down to a gauge line. I believe that they were originally done that way
 
Hi Marcros,

That is a valid design choice. If you just want to go for a simple raised panel then you can use a bench plane and have a gradual taper from the edge of the field to the edge of the board. Paul Sellers does that on his online toolbox project (subscription required...) and he has a freebie video on Youtube showing the same here.

I find it helpful to hatch in the area to be planed with a pencil, this then lets me see how I am progressing towards the border of the raised portion. I can't remember if he does that in the video or not.

Good luck,
Mike
 
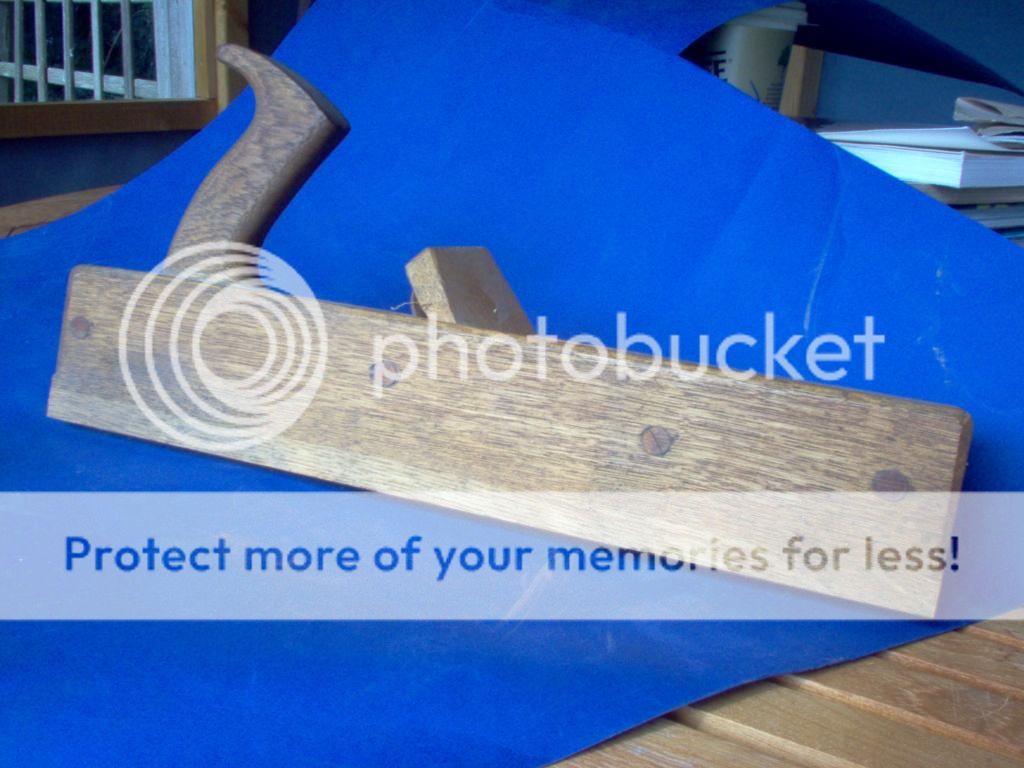
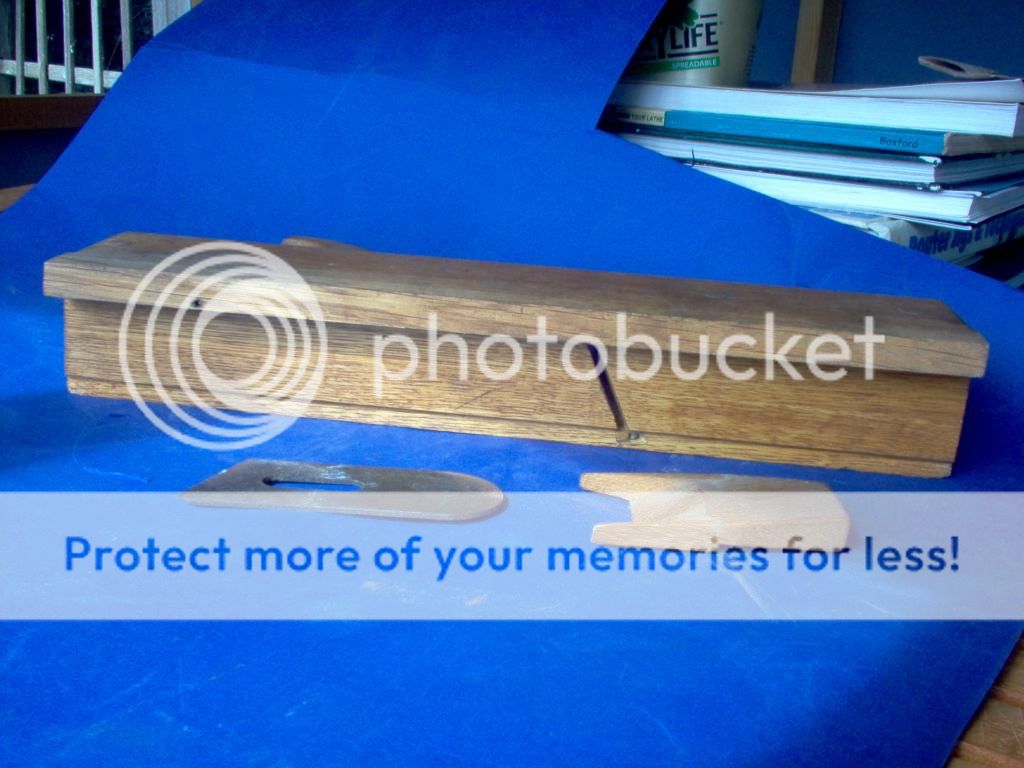
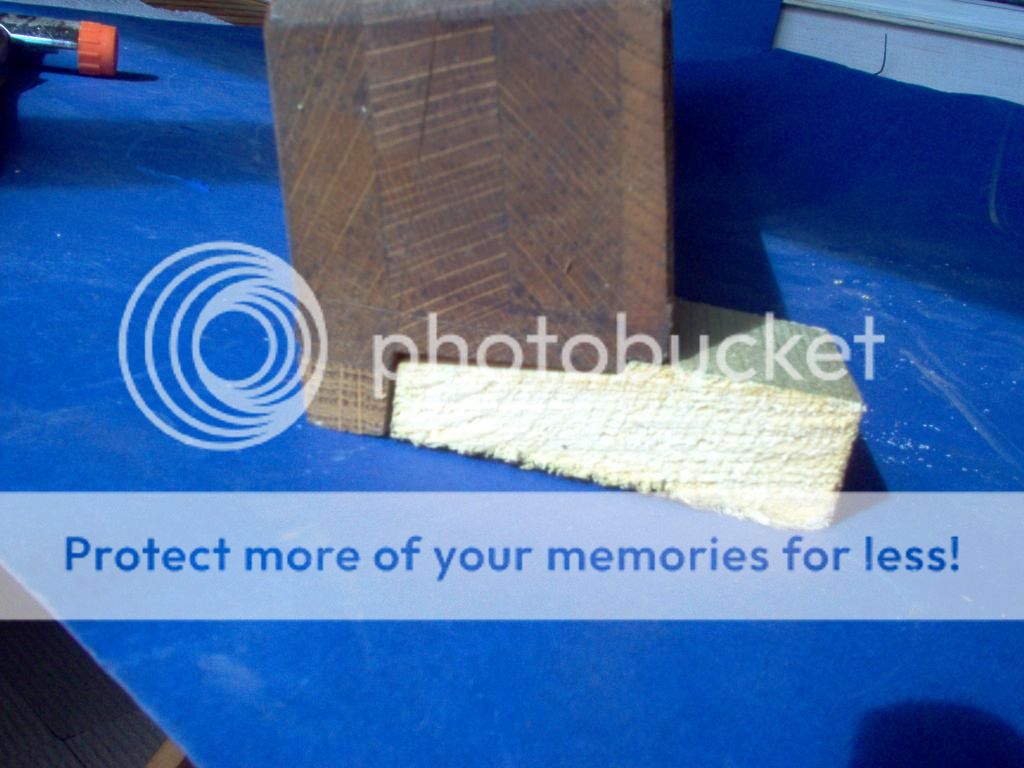
Hi marcros Some years ago I needed to make some raised and fielded panels ( drawer fronts actualy) and I made myself the plane pictured here :-


The cutter was a stanley block plane iron ground off to the correct angle. The plane body was built up from several layers
of wood and dowels drilled through to keep it all in alignment. The cutter is a single iron so it would probably only work on straight grained wood. The sample shown was run off this afternoon. I am not saying that it works perfectly -it tends to jam up but the beauty for me is that I am left handed and so I was able to make a left handed plane.

Regards Arnold
 
Just be wary of that 44mm going banana shape after you rip it. It's Sod's Law that says the more highly figured and attractive wood is then the more likely it will go AWOL when ripped. I've nearly stopped ripping stuff down for that very reason preferring to thickness stock down to size evenly from both sides.
 
the only saving grace is the 44mm is the plain stuff. Should be nice and straight grained euro oak... hopefully. I have some spare, so hopefully it wont turn into firewood!

Must order a bandsaw blade actually. I dont like the one that I have on, it doesn't seem to rip anything nicely, even though it is 3tpi.
 

Latest posts

Back
Top