DBT85
Established Member
Thanks all. I'm very pleased with the result. This week I'll write myself up a little report on what I learned throughout the design, build and install, what I'd do differently etc. I have already ordered myself a second 12v driver as constantly changing between bits was a pain and the 18v I have was just a bit too big at times, I have the impact for screw but for drilling pilots/relief holes and then countersinking it was getting daft. Treated (trut, surely?) myself to the brushless bosch as I found it cheaper than normal and only £30 more than the brushed one and I already have the others on the same batteries.
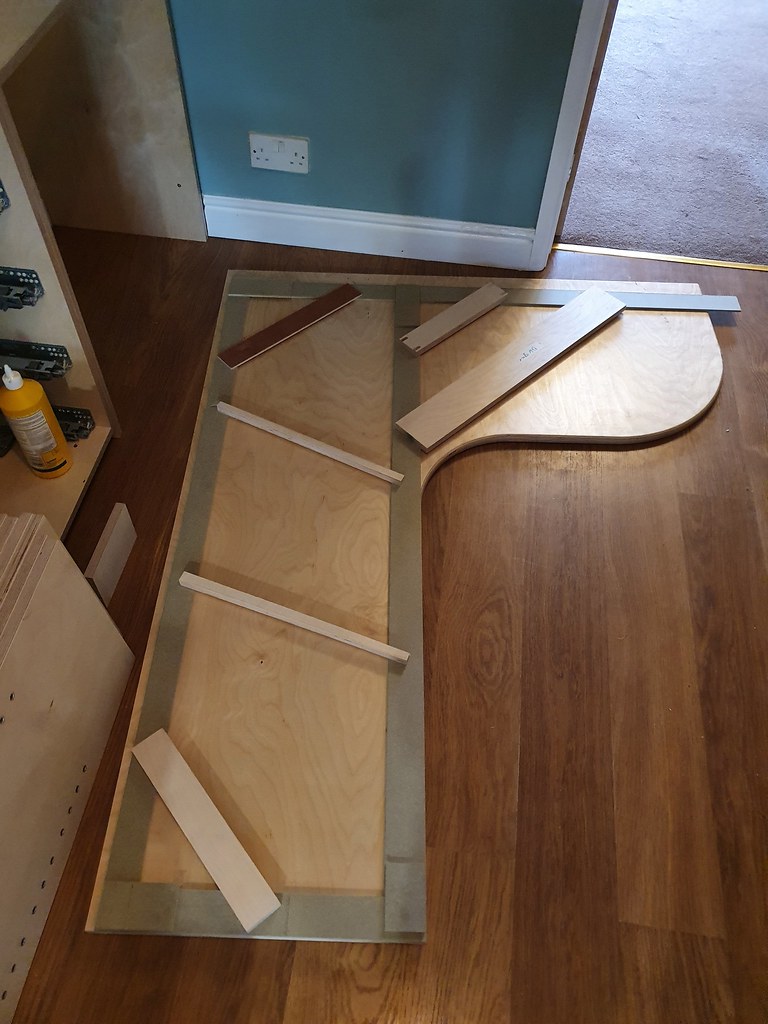
They wanted the square cubbys at a set size so that determined everything else since I didn't want different width segments. The tablesaw was declared unsuitable early on when a test cut showed blade marks all along the edge and since its a visible edge I wasn't going to faff around removing it on every edge. Instead it was all done with the tracksaw. Naturally the curvy worktop was the biggest worry but it came out nicely in the end.
I made myself a pathfinder drawer to work out the blum tipon drawer runners, realised I had to remake the front and back, then had to remake the sides, then realised that 420mm slides in a 450mm cabinet with 18mm inset drawer faces fitted to 15mm boxes wasn't going to fit so I sorted a solution for that. That's why you to a test I suppose! It all came out well in the end.
From the install I only made 2 cockups, both on infills. The bottom one I measured to the inside right face of the drawer unit rather than the outside. I cheated a small block to fill that hole near the skirting. The other was the right most lower infil under the desk. I tried something daft and the festool planer was quite content to eat a cove into the end of the fillet and naturally on the side that was visible. Another little filler bit put in to fix that one.
Also have to thank Hart Wholesale who helped me out. I had ordered the incorrect bits for the drawers (easy to do on your first try) and they sorted it and included the extra bits at no charge in part becase I'd been incorectly told it would be in stock on x date and it wasn't.
Thank you. There was much gnashing of teeth and pondering and checking and thinking it through. It's been a work in progress for some months now. I event took the time to sapce the shelf pin holes so that they can have 3 shelves perfectly spaced or 5 shelves perfectly spaced rather than just banging in a load of holes 32mm apart. If I recall the ply delivery sheet said it all came in at 400ish kg and I had to shift it all 30m from the drive to the workshop too!You look to have made a really good job of that, especially considering it’s your first built-in, they can go wrong very quickly if you don’t think ahead when designing and planning. Ian
They wanted the square cubbys at a set size so that determined everything else since I didn't want different width segments. The tablesaw was declared unsuitable early on when a test cut showed blade marks all along the edge and since its a visible edge I wasn't going to faff around removing it on every edge. Instead it was all done with the tracksaw. Naturally the curvy worktop was the biggest worry but it came out nicely in the end.
I made myself a pathfinder drawer to work out the blum tipon drawer runners, realised I had to remake the front and back, then had to remake the sides, then realised that 420mm slides in a 450mm cabinet with 18mm inset drawer faces fitted to 15mm boxes wasn't going to fit so I sorted a solution for that. That's why you to a test I suppose! It all came out well in the end.
From the install I only made 2 cockups, both on infills. The bottom one I measured to the inside right face of the drawer unit rather than the outside. I cheated a small block to fill that hole near the skirting. The other was the right most lower infil under the desk. I tried something daft and the festool planer was quite content to eat a cove into the end of the fillet and naturally on the side that was visible. Another little filler bit put in to fix that one.
Also have to thank Hart Wholesale who helped me out. I had ordered the incorrect bits for the drawers (easy to do on your first try) and they sorted it and included the extra bits at no charge in part becase I'd been incorectly told it would be in stock on x date and it wasn't.


![20211017_173555[1].jpg 20211017_173555[1].jpg](https://cdn.imagearchive.com/ukworkshop/data/attach/100/100868-20211017-173555-1-.jpg)
![20211017_173513[1].jpg](https://cdn.imagearchive.com/ukworkshop/data/attachments/100/100867-49b8e1f550ac737bceb6288c00167fd5.jpg)


