Post a photo of the last thing you made

UKworkshop.co.uk

Help Support UKworkshop.co.uk:

This site may earn a commission from merchant affiliate links, including eBay, Amazon, and others.
JakeS":1x2n43e6 said:
After using a temporary screwed-to-a-bit-of-MDF-in-a-workmate job for more years than can strictly be considered "temporary", I made one of these:
I have also been using a temporary setup for a router table and have just ordered a Kreg insert plate from Yandles so will soon be doing the same.

That tray is very nice

regards

Brian
 
Cheers, guys!

monkeybiter":2ntmkajk said:
Those are some very impressively tight dovetails!
Isn't that Sapele?
Was there a lot of splintering to deal with?

Unfortunately I spent so much effort getting the dovetails all nice and tight and glued up square in the plane of the tray base that I didn't think to check how square they were in the other direction, and ended up having to sand two corners down about half a millimetre on the underside to get it to sit flat!

It is indeed sapele; it was fine chiselling out the dovetails while cutting them (held down tight to a bit of scrap specifically to avoid that problem!) but I did manage to chip the corner of one of them off clamping it shut and had to glue it back in, and after a disastrous first shallow pass on the bottom bevel learned to just finish off the corners in one direction with a chisel!

monkeybiter":2ntmkajk said:
How thick is your brass plate?

It's an anodised aluminium plate that I bought from a forum member about three years ago when I'd only been using the temporary workmate solution for about a year... ;-) Apologies if I misled; the bit I made was the braced tablesaw extension table (and obviously the hole).

I'm not sure who made the plate, which I guess means that if I want to do raised panels on this table I'm going to have to make my own inserts. It's a little under 6.5mm thick - my guess is probably 1/4". It also has too many holes in it, since whoever owned it previously obviously didn't own a Triton TRB001. I'm planning on filling them in with some slightly-recessed epoxy putty when I get one of them round things.
 
I re-shaped the tote and handle on my no 5 1/2, the tote isn't perfectly round, but it's pretty close, using a rasp the sandpaper and finally a few coats of DW shellac, it feels much better now and the handle is comfortable. For the handle I used a template from lee valley tools website, then shaped it until I was happy, it now fits my hand perfectly.
 

Attachments

  • 5+half_tote_handle-1.jpg
    5+half_tote_handle-1.jpg
    215.9 KB
  • 5+half_tote_handle-2.jpg
    5+half_tote_handle-2.jpg
    245 KB
  • 5+half_tote_handle-3.jpg
    5+half_tote_handle-3.jpg
    218.9 KB
  • 5+half_tote_handle-4.jpg
    5+half_tote_handle-4.jpg
    241.6 KB
  • 5+half_tote_handle-5.jpg
    5+half_tote_handle-5.jpg
    203.6 KB
thetyreman":enfigx8m said:
that kit looks awesome, I'd kill for a kit like that in my recording studio

you ever decide you need one, let me know, im sure we can do a UKworkshop discount ;)

custard":enfigx8m said:
giantbeat":enfigx8m said:
horrid photo but its a cherry & walnut ply drum kit with wooden hoops, photo taken from a drum show at the weekend i crammed in several overnight shifts to get this done, my workshops in bits right now so was a challenge to build in time.

Looks great! I hope you do a "Words & Photos" build sequence, I'd be fascinated to see how they're made.

=D>

i can certainly do that on a future build... might have to edit a couple of details there is a handful of other rival drum makers who would kill for a couple of my secrets... i think you would be surprised at how simple they are, as ever its all in the jig's
 
custard":1trf6ooy said:
thetyreman":1trf6ooy said:
I used a coping saw, rasp a no4 stanley plane and sandpaper to make this, no power tools needed.

Blimey, that's unbelievably good!

The precise and even rounding to all the edges (including on the end grain and around those internal and external corners), the absolute symmetry of the handle, the tightness of the glue lines, the flatness of the surface, the way the jointed boards are perfectly balanced on each side, the complete absence of any tell tale flats or facets from a rasp, and even the professional jauntiness of the design.

I'm blown away, I really am!

=D>

all I can say is thankyou, and I didn't even think it was that good, I did get an ariou rasp by the way and it's absolutely amazing, the 4 in 1 rasp that they make, definitely helps a lot.
 
Pete Maddex":1ehmbznd said:
+1

Nice job, the quiet side of wood work is nice and relaxing, and gets you in touch with the wood and how it likes to be worked.

Pete

thanks, yes it's very peaceful and I think more rewarding at the end.
 
custard":5sfh03k4 said:
n0legs":5sfh03k4 said:
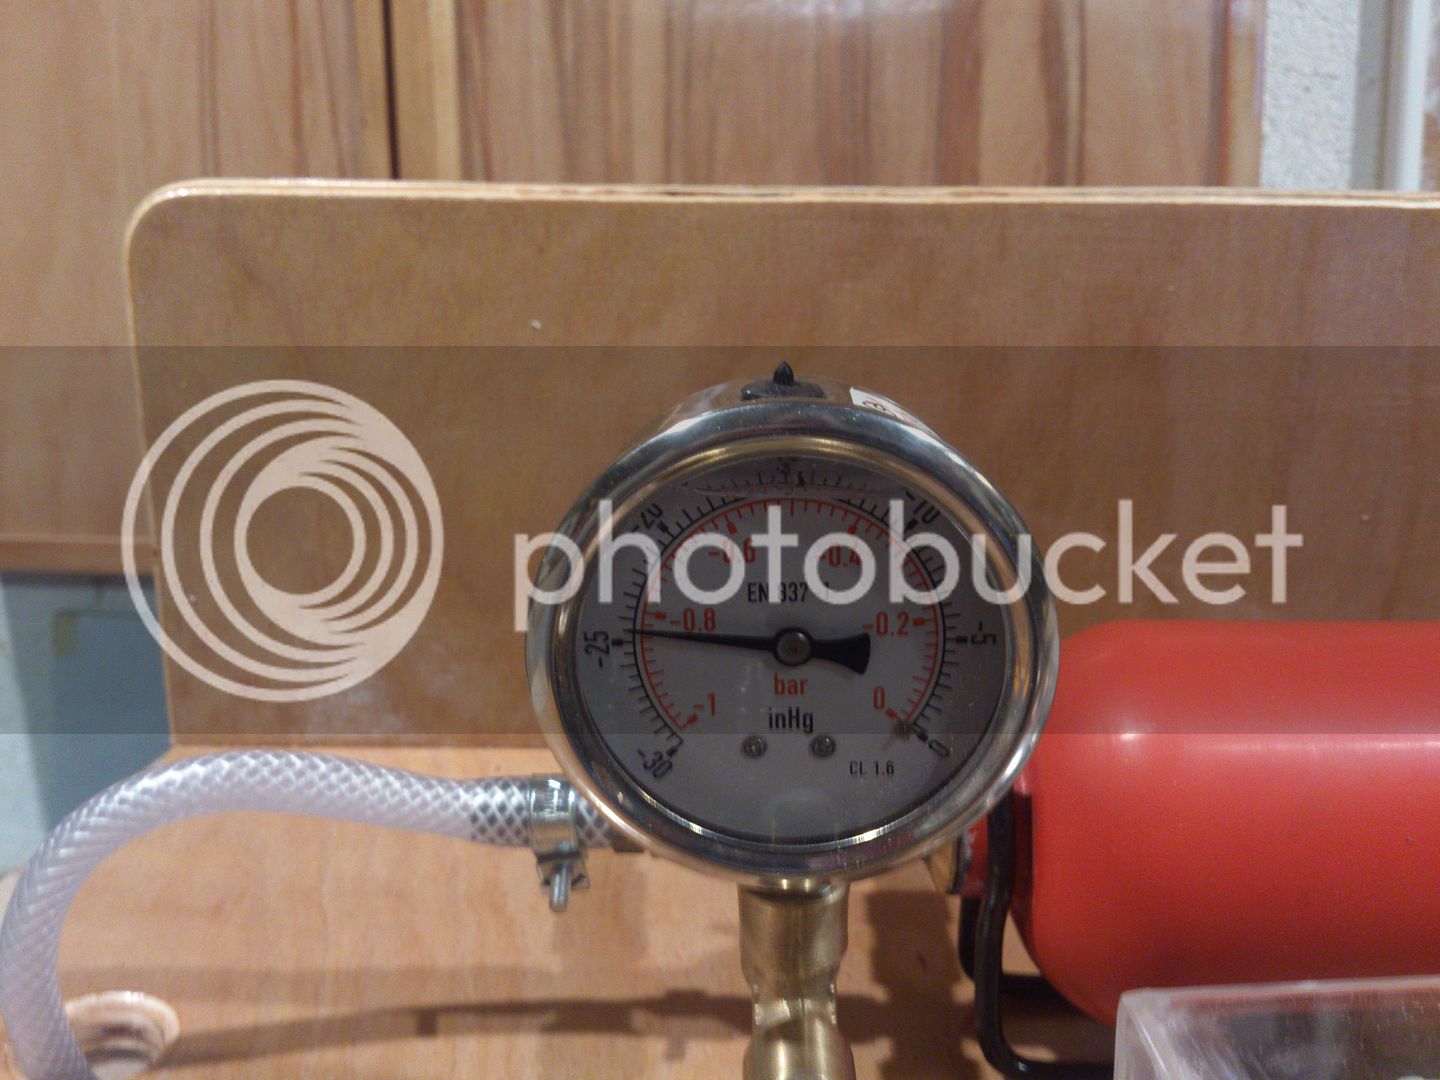
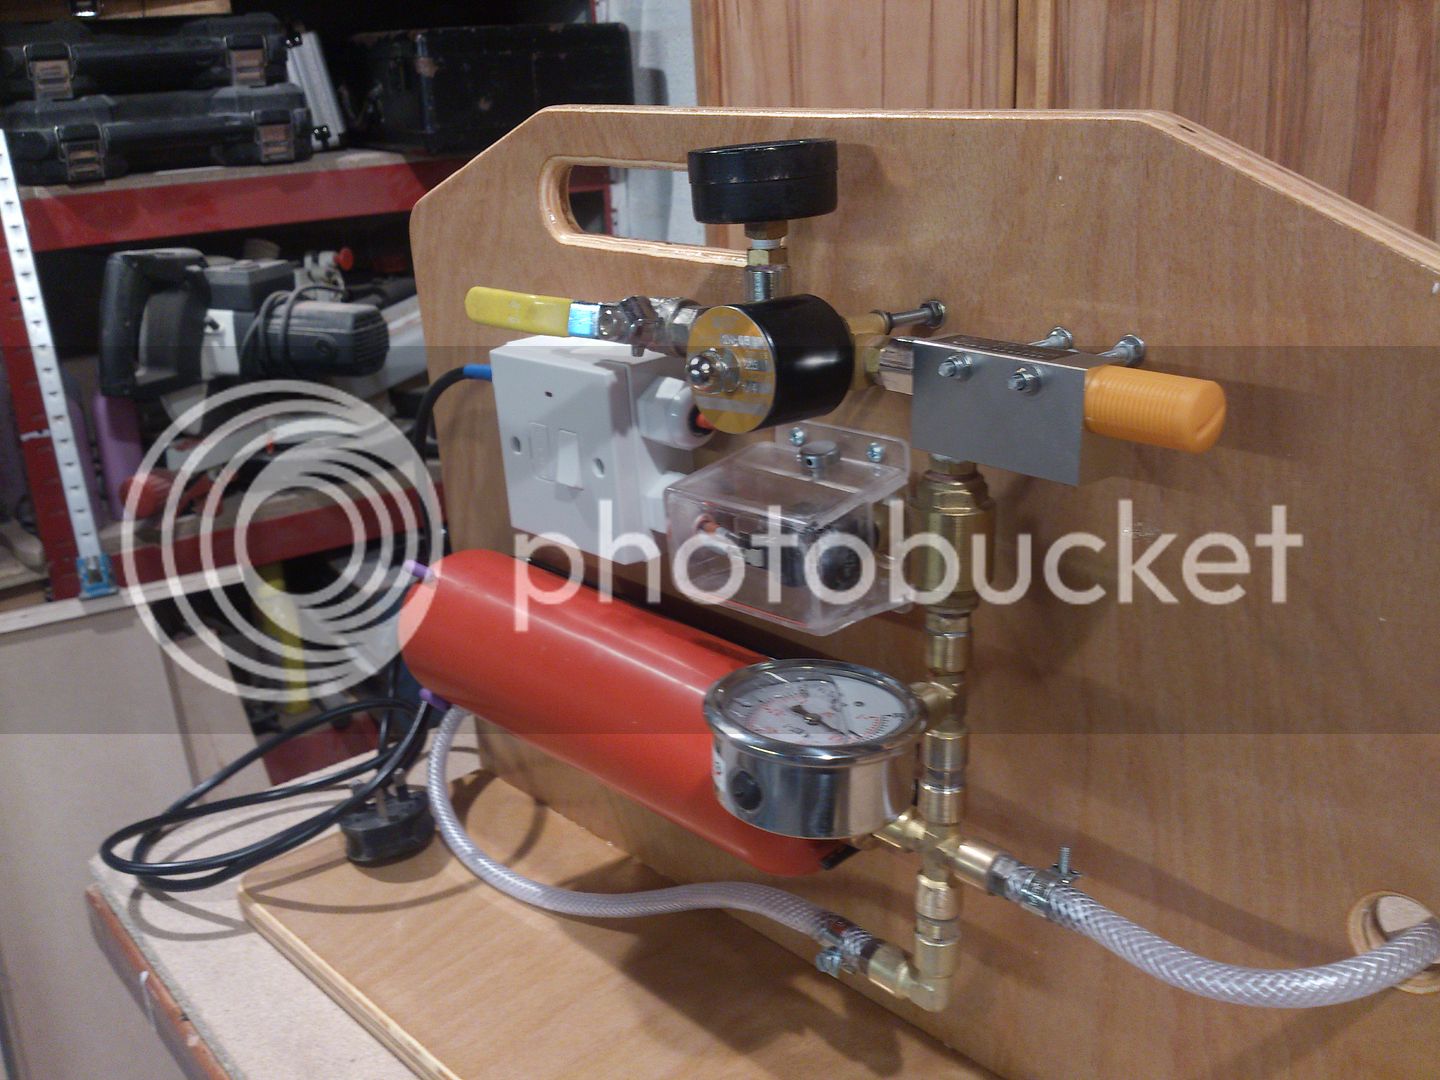
I've been making a vacuum press.

Good luck with the vac press work, be interested to hear how you get on. Any projects in mind?


Thanks Custard.
Yes I have a few ideas planned. First thing when I have a bag is to get some cheap veneer and a substrate and just practice practice practice.
Learn the glue up process, learn the vacuum press and prove it all works properly.
I've currently got one "veneering" project on the go and the use of a dozen concrete blocks prompted a vacuum press :lol:
 
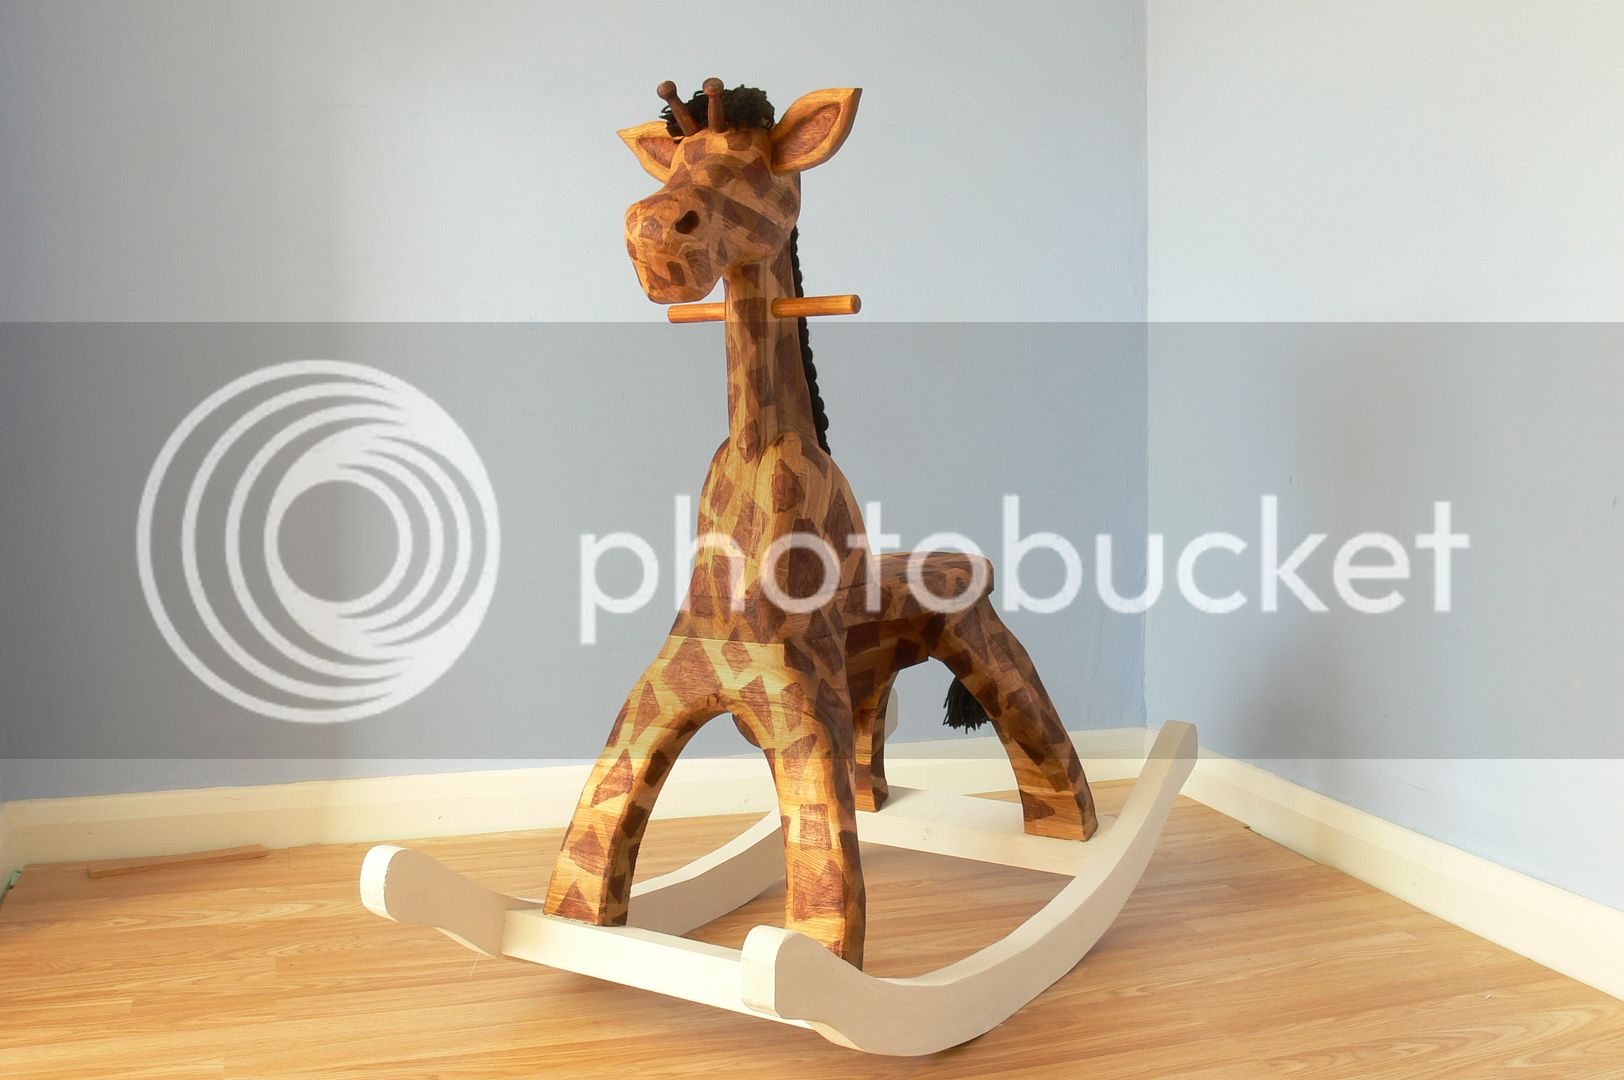
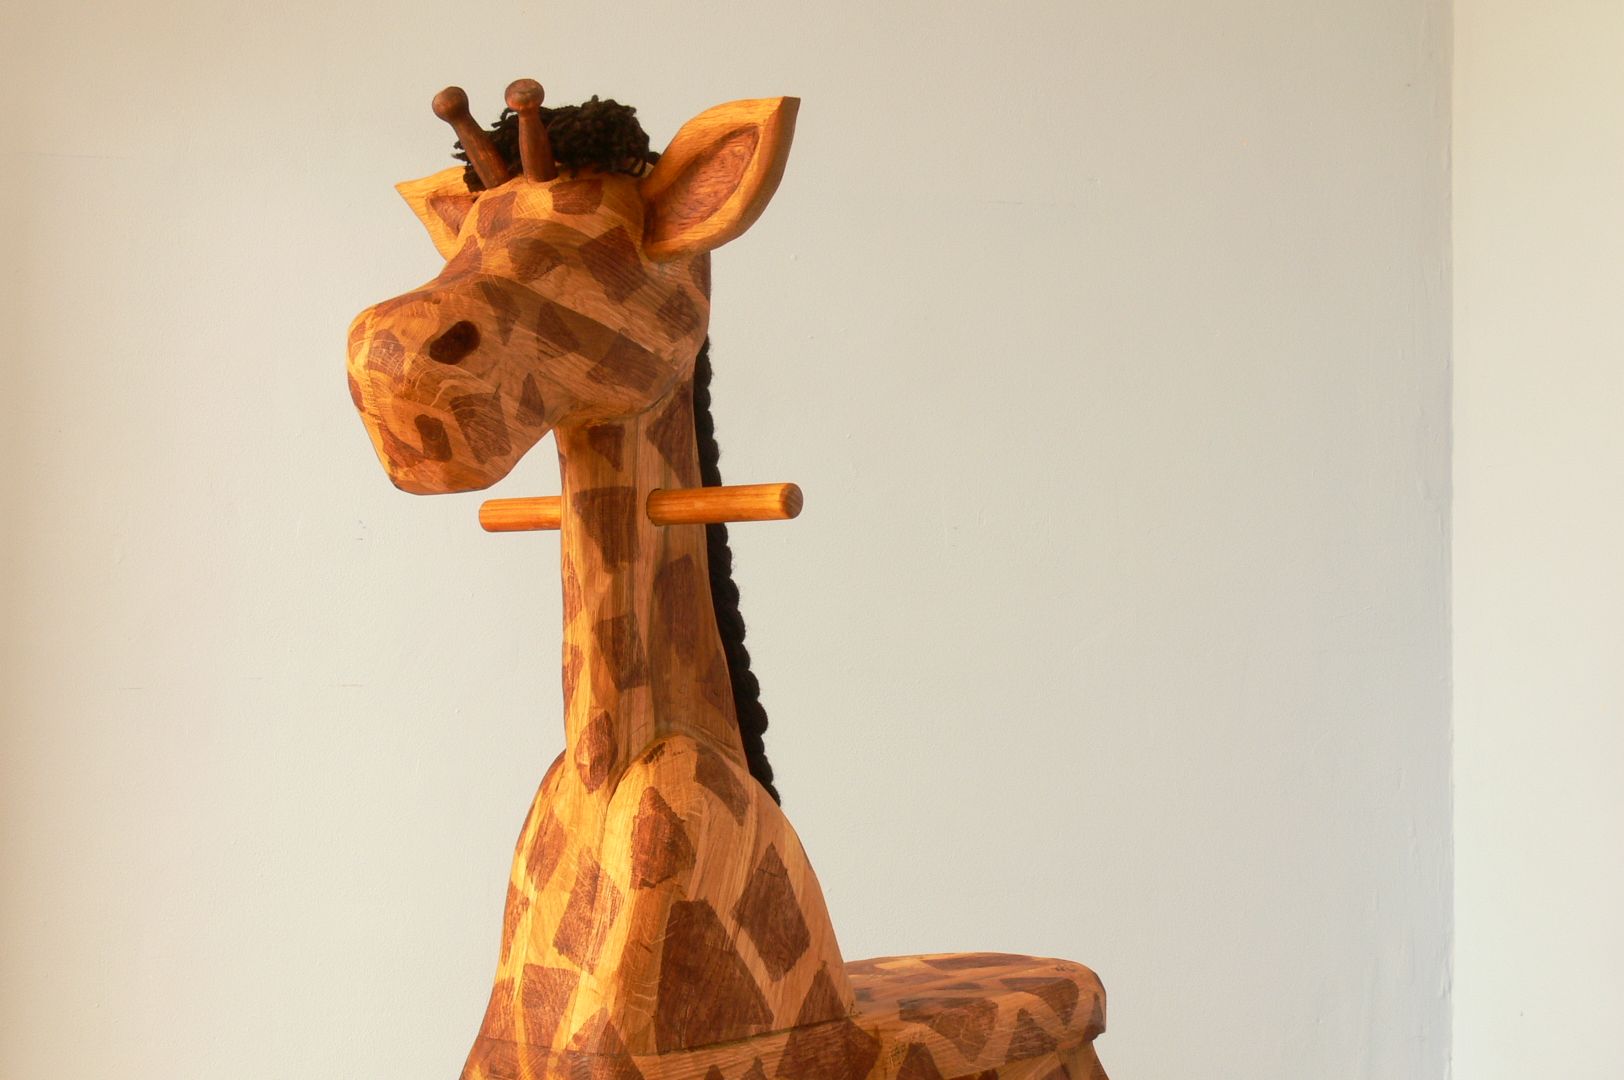
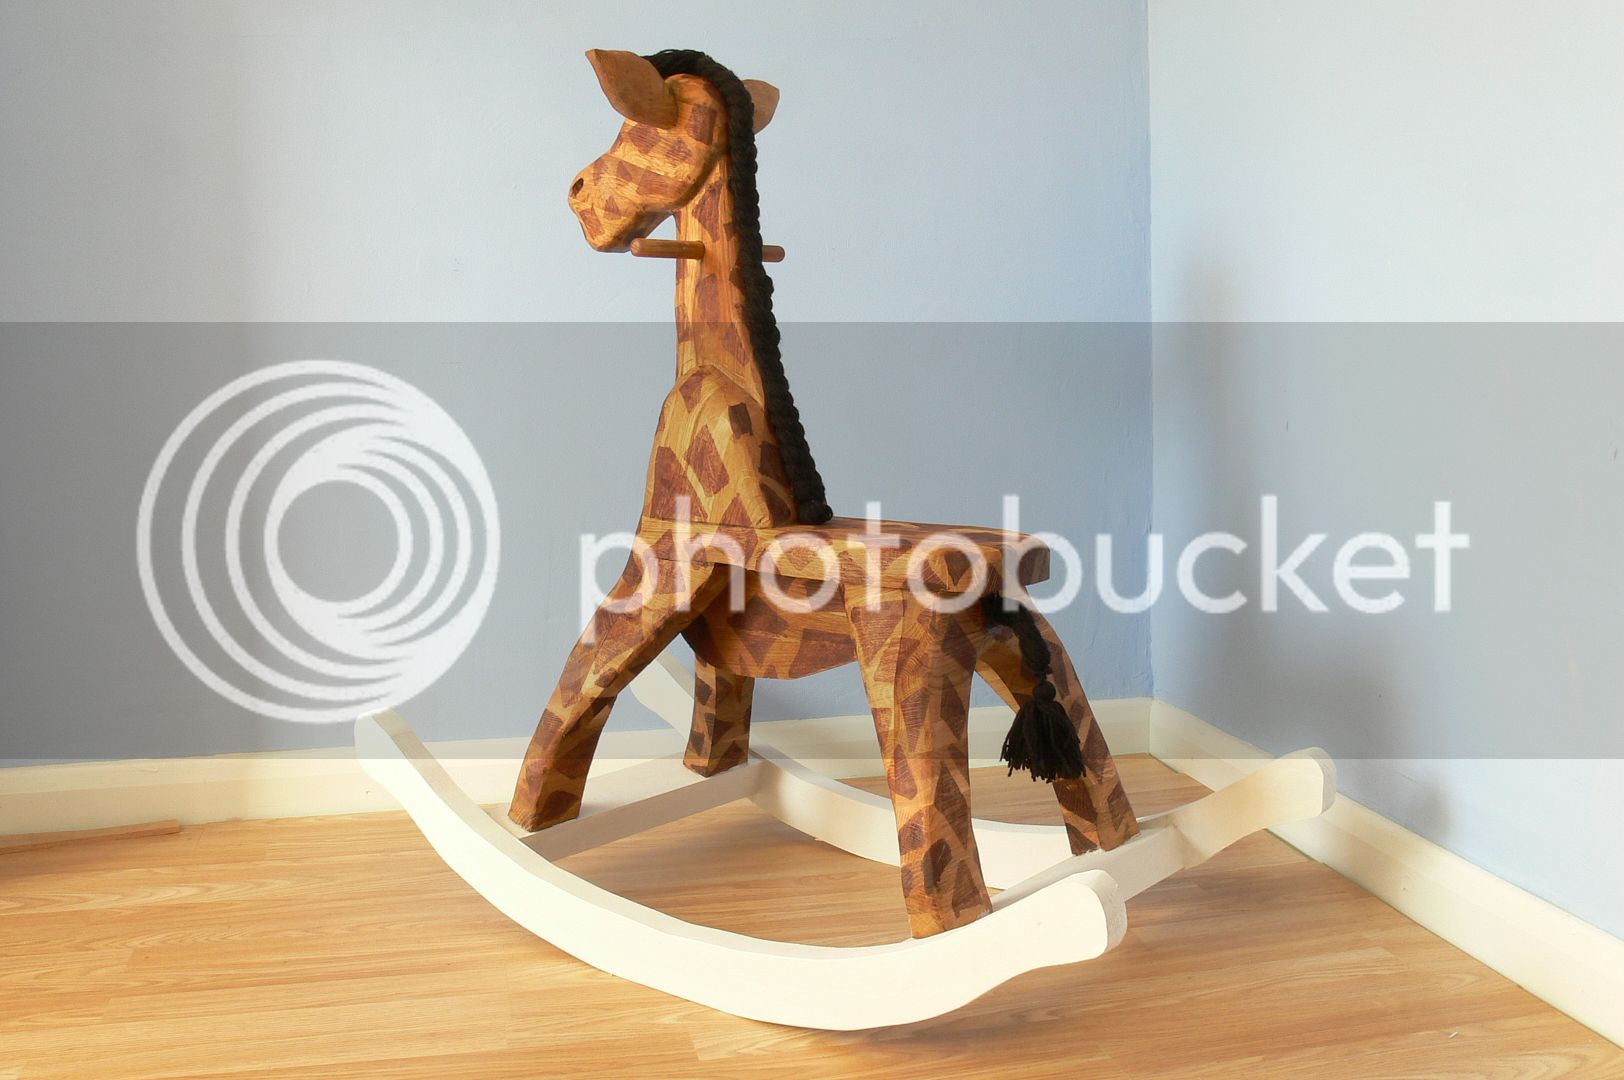
Just finished this Giraffe Rocking Horse. The first one I've ever done and was a joy to make, but very tiring too. Made from solid oak worktop mostly with ask rockers. Took 20 hours in total.

P1110987_zpsqr4zrbix.jpg


P1110988_zpsffjot2ce.jpg


P1110997_zpslpzt7en6.jpg
 
Just finished this Giraffe Rocking Horse. The first one I've ever done and was a joy to make, but very tiring too. Made from solid oak worktop mostly with ask rockers.

You manage to inject so much movement and personality into your carving, even simple things seem to spring to life, amazing work.

=D>
 
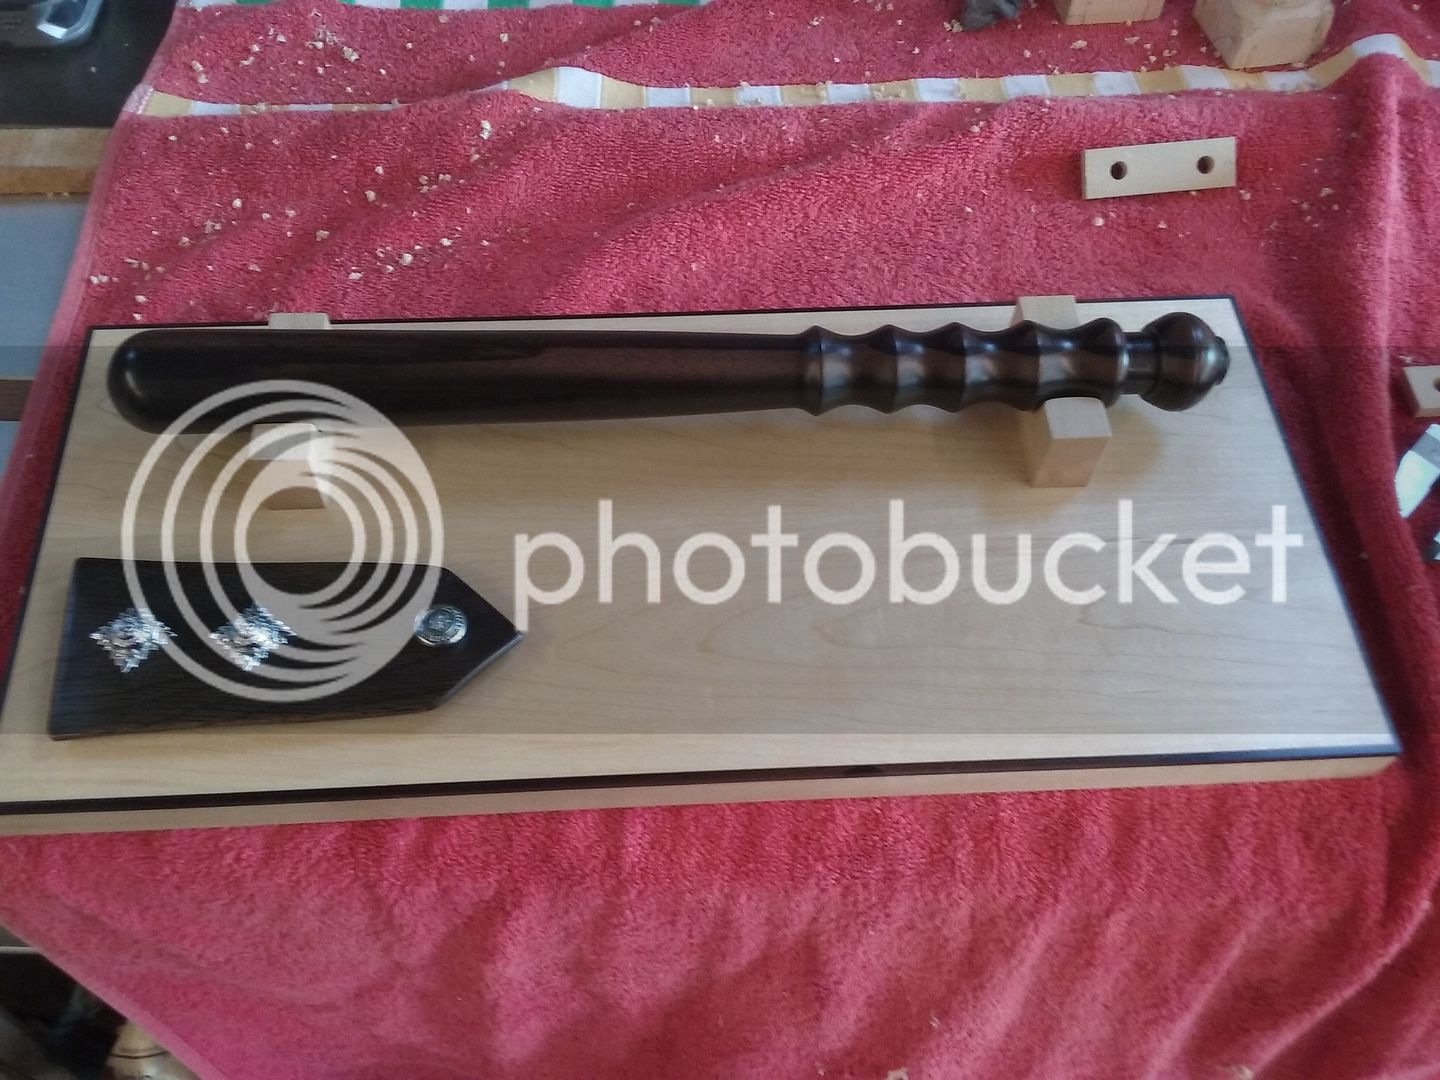
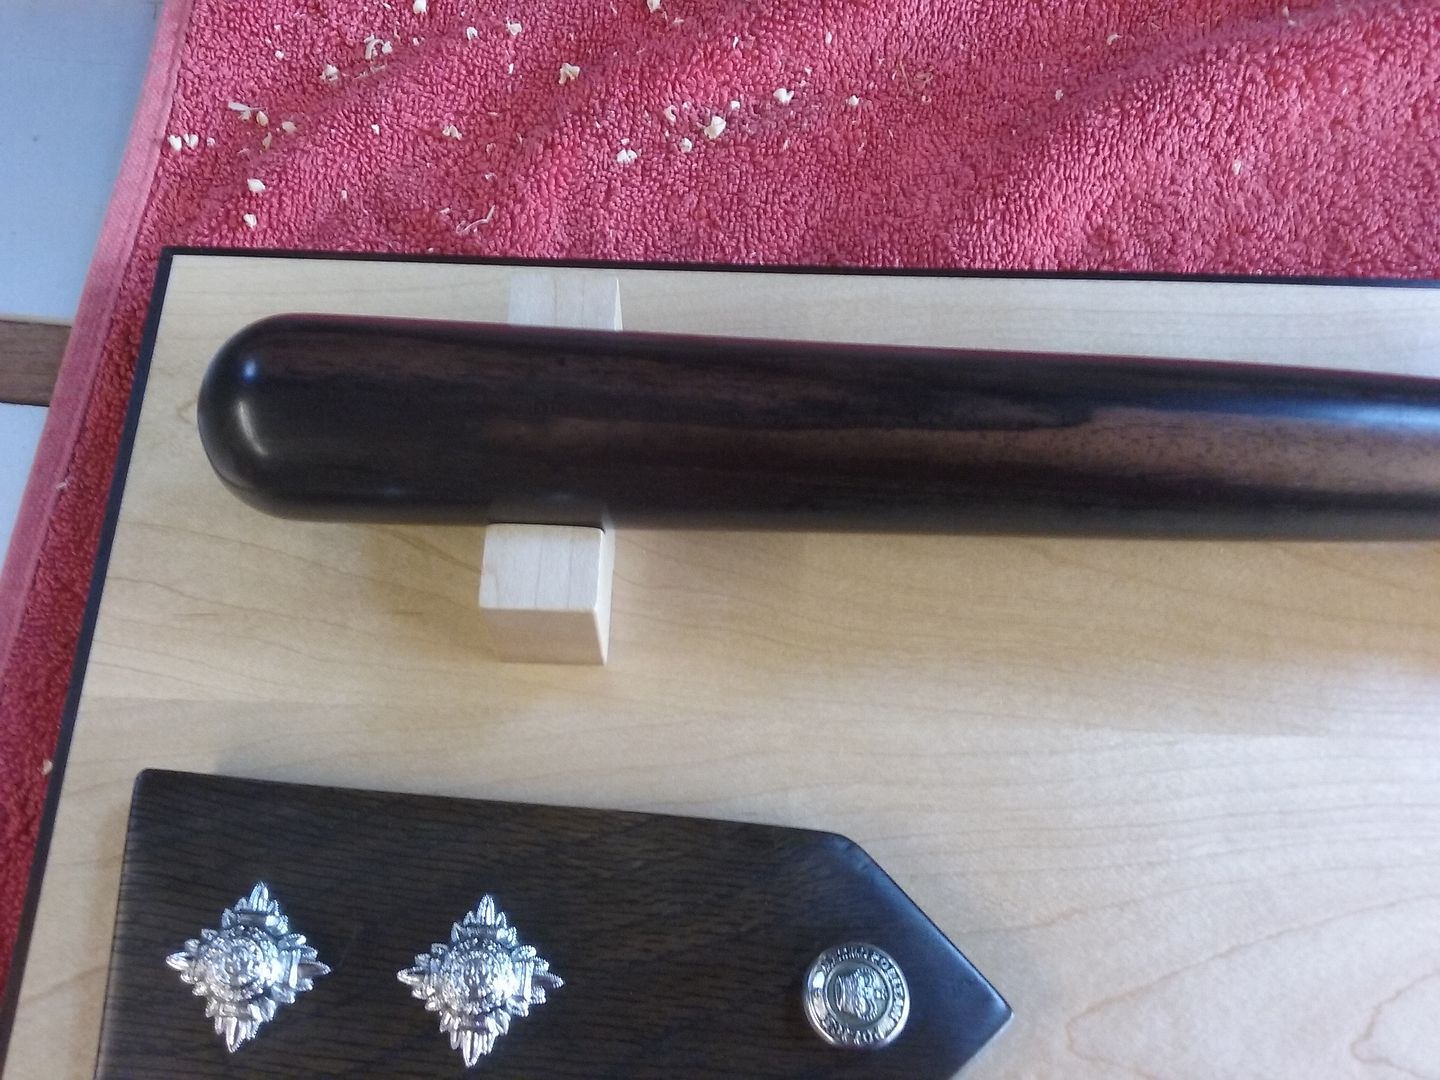
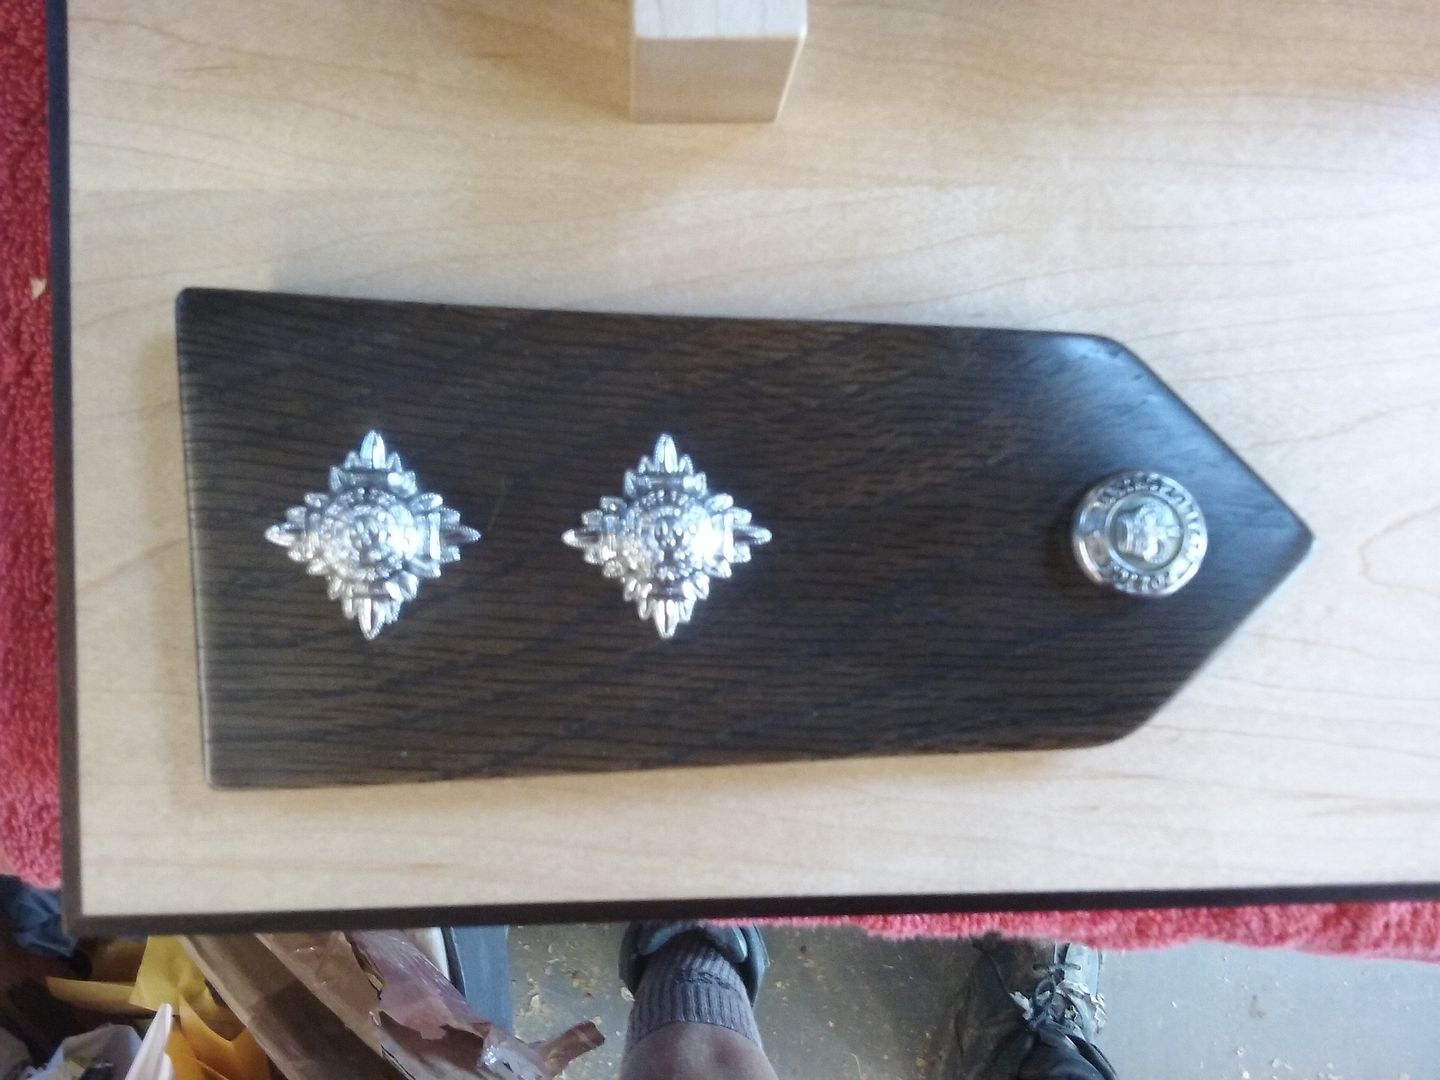
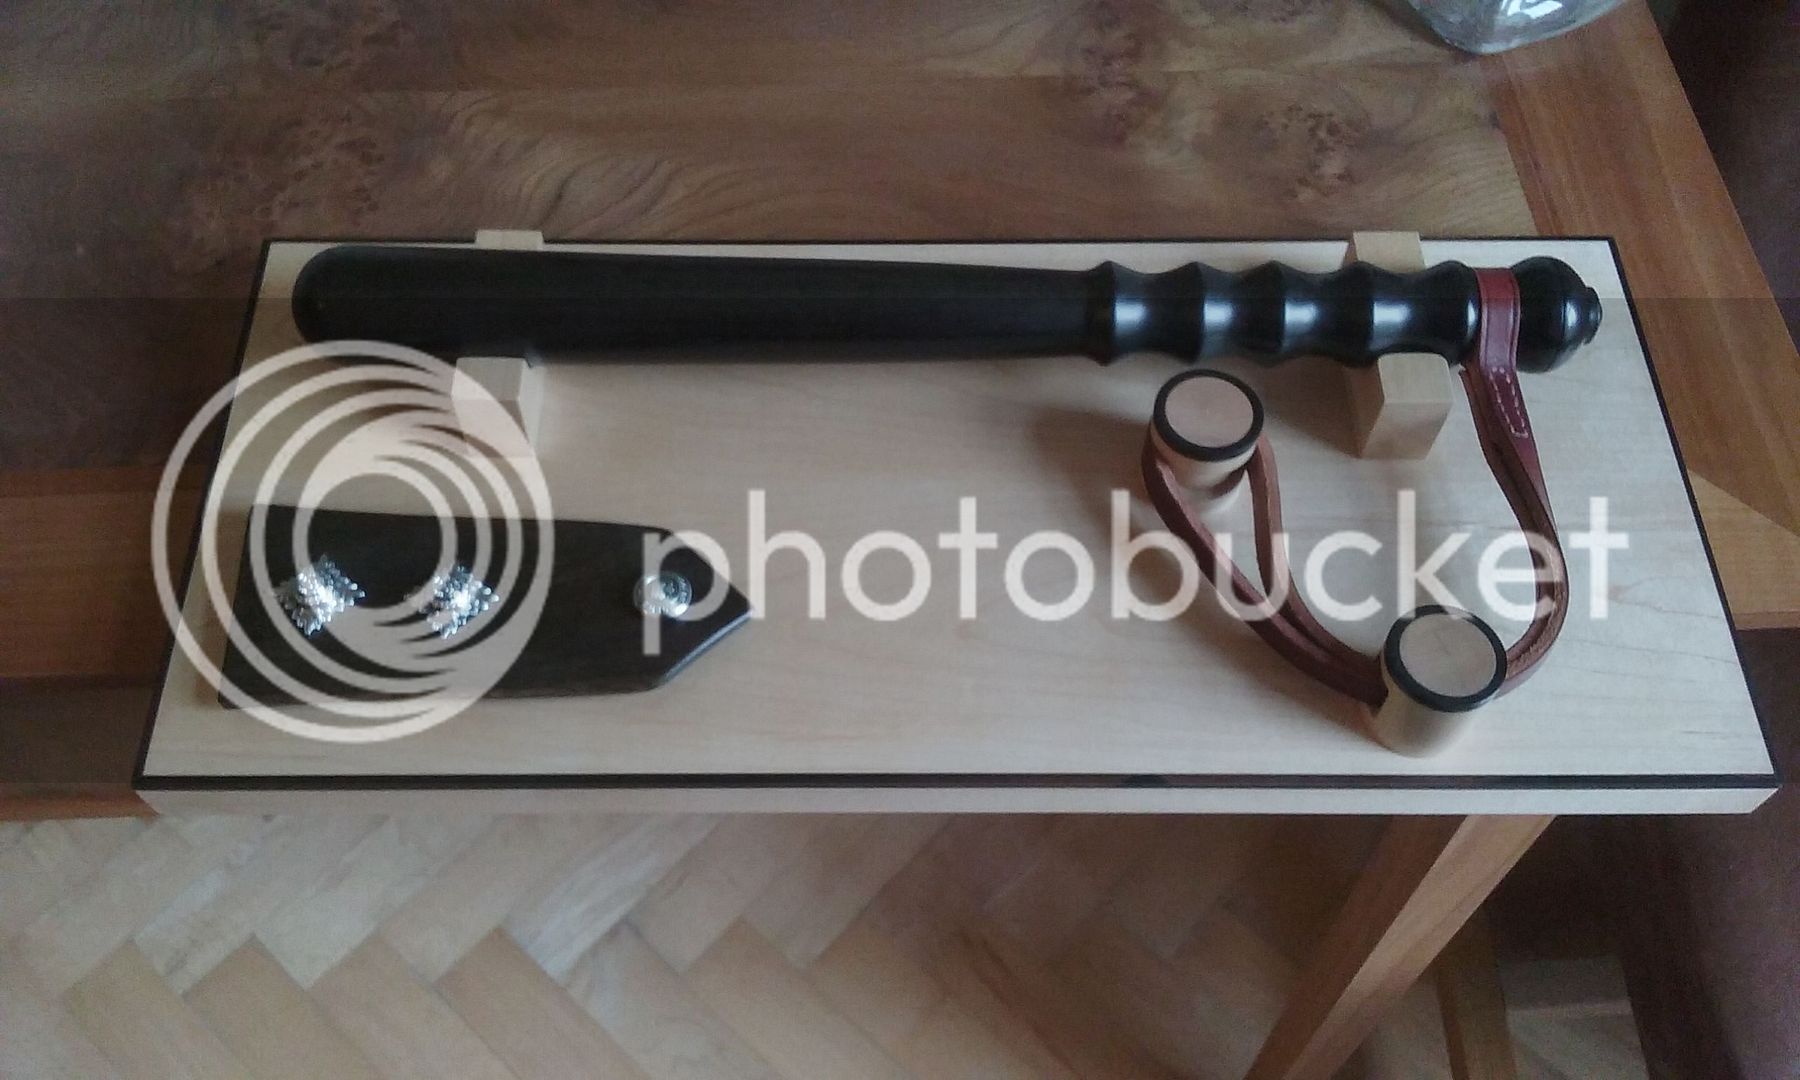
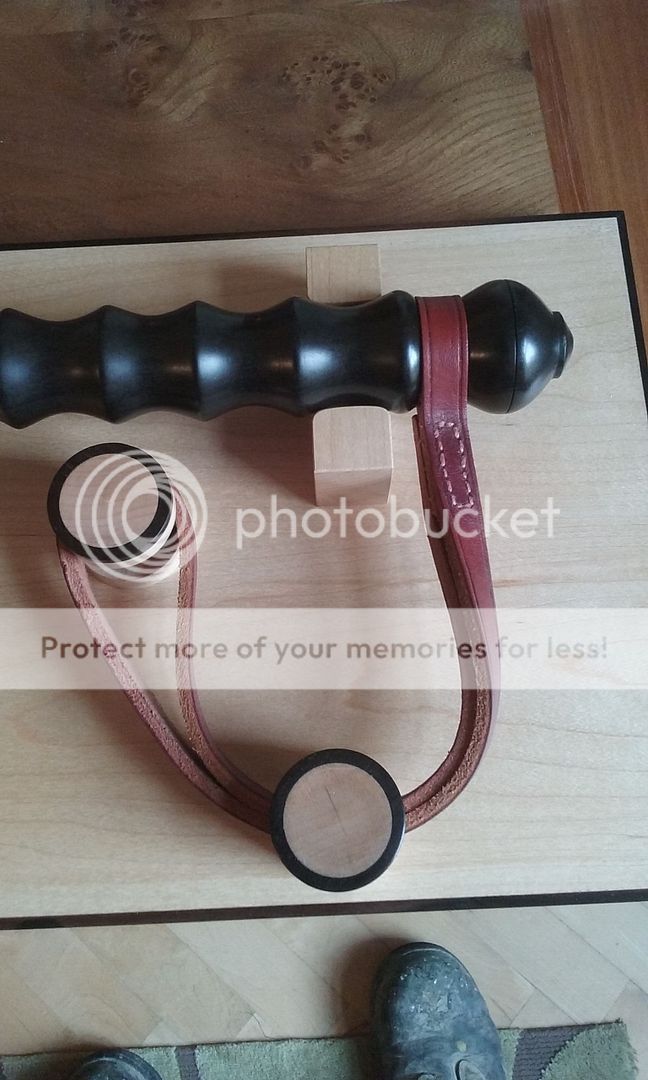
Retirement present for an ex colleague

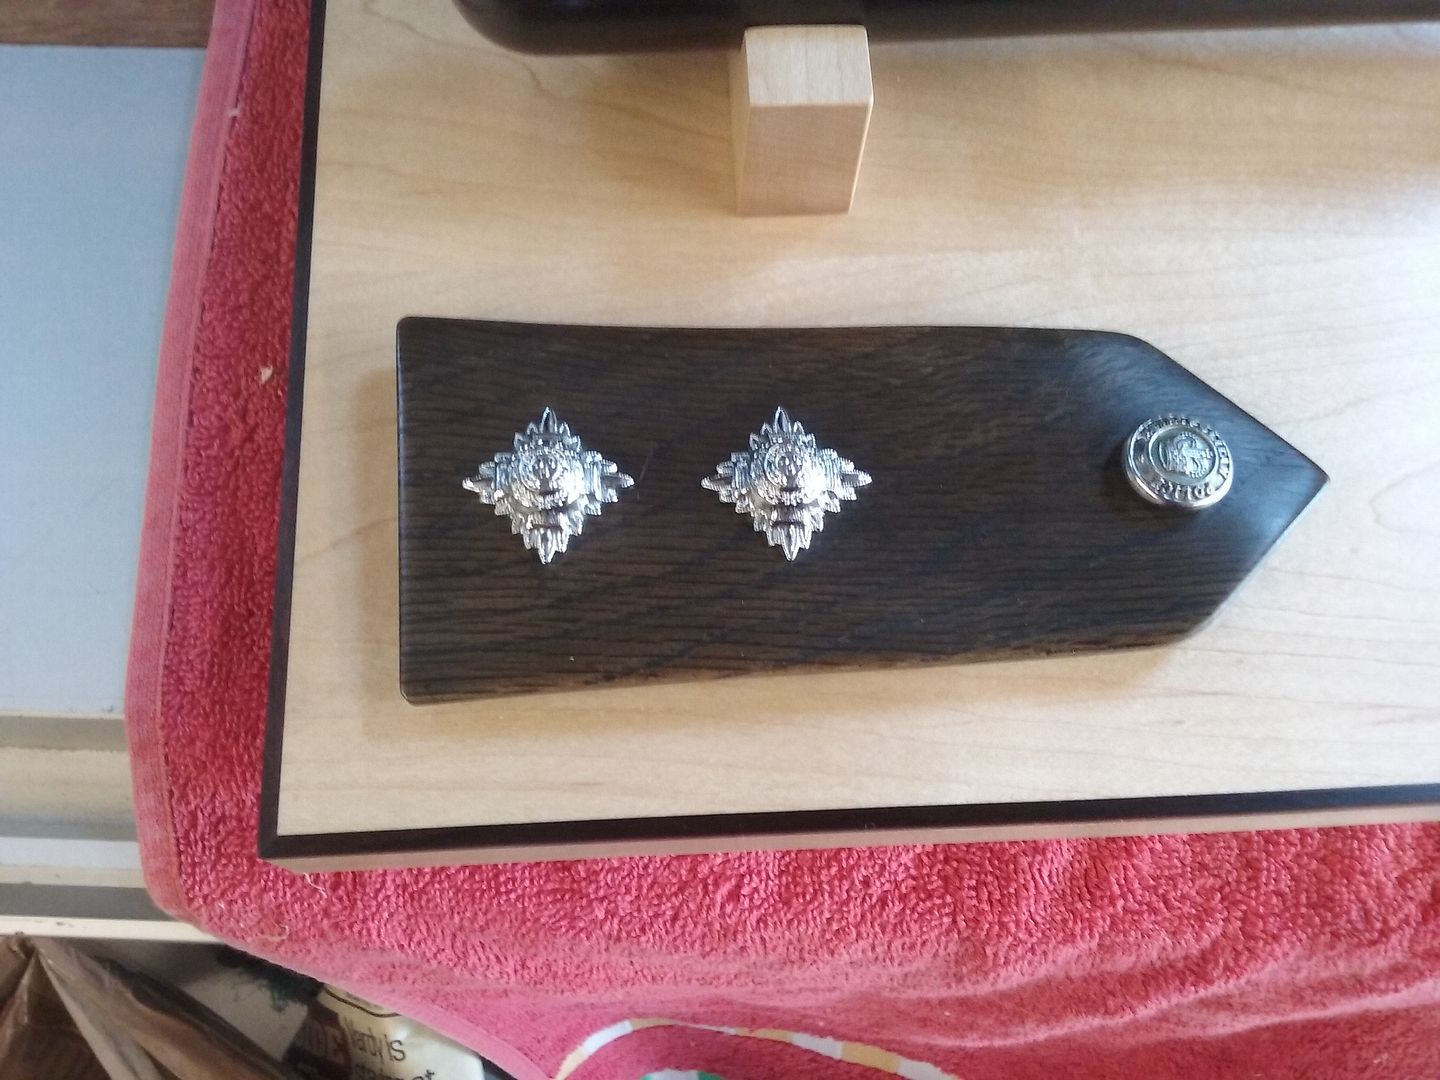
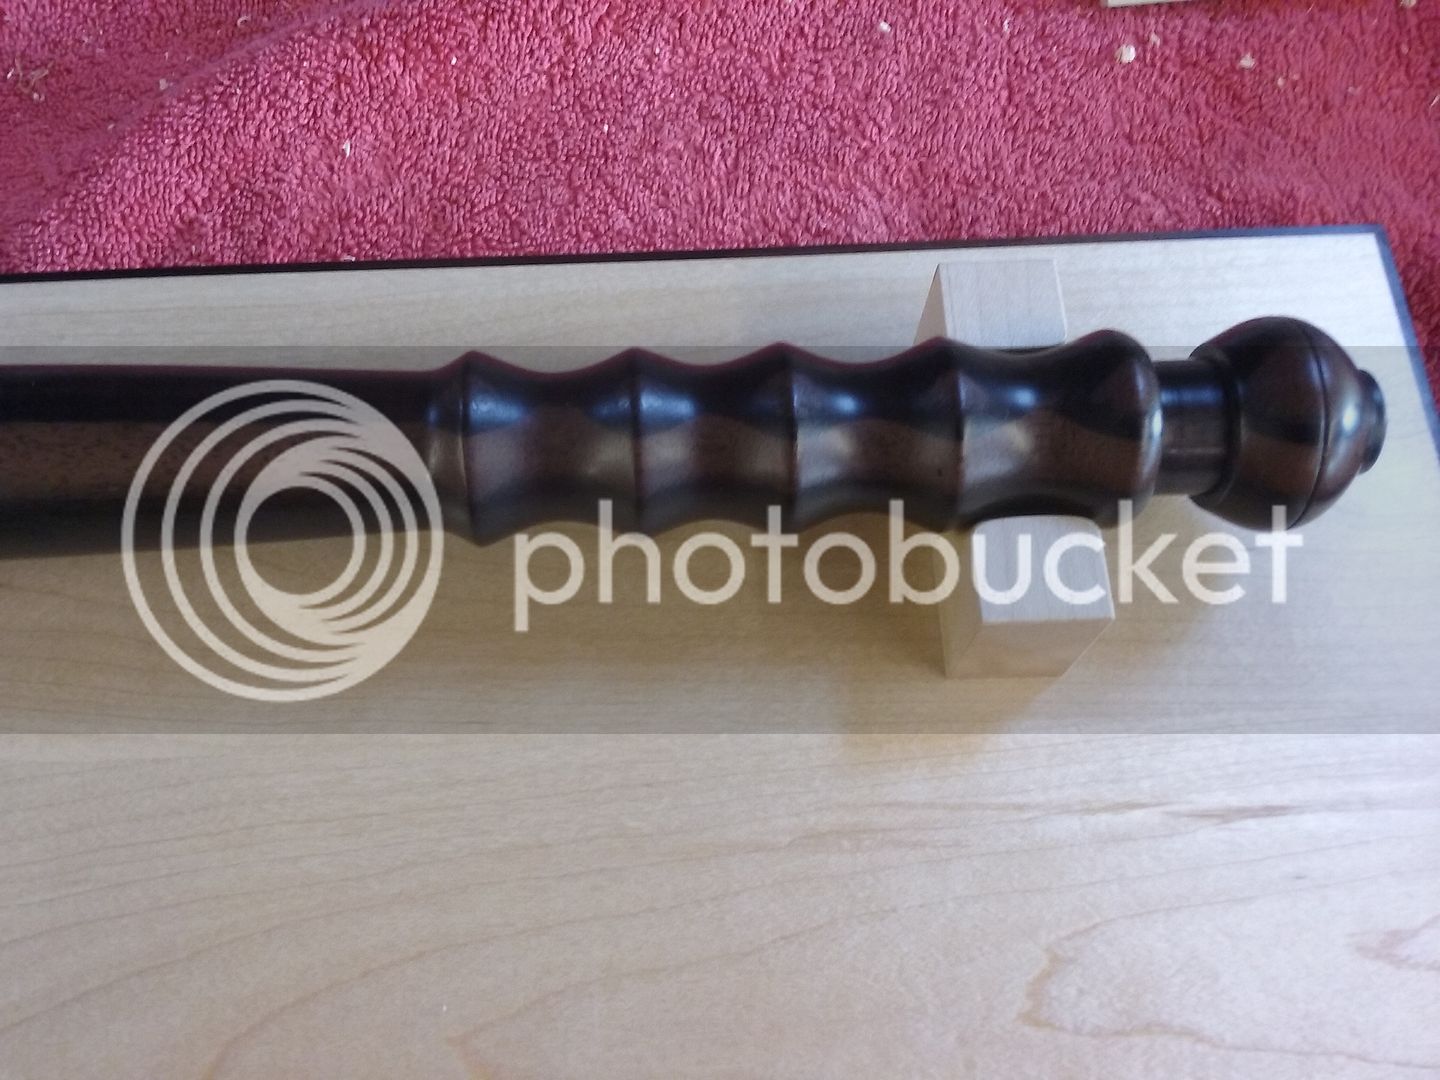
Truncheon Macassar Ebony, base Maple stringing Ebony rippings, Epaulette Fumed Oak

Waiting for a length of leather for the strap then two small mounts to secure the strap. will post when fully complete


Got this on the wall of the Men's Shed today.

2016-09-24-14.20.01.jpg


I saw the idea on the Fine Woodworking website ages ago but never really had a use for it until now. We just have to decide which tools go where now.

The frames and top & bottom supports are ash and the field is 12mm ply. The ash is cut from some old pub tabletops we acquired last year.

regards

Brian
 

Attachments

  • 2016-09-24-14.20.01.jpg
    2016-09-24-14.20.01.jpg
    112.1 KB
brianhabby":1rm19uho said:
Got this on the wall of the Men's Shed today.

View attachment 2016

I saw the idea on the Fine Woodworking website ages ago but never really had a use for it until now. We just have to decide which tools go where now.

The frames and top & bottom supports are ash and the field is 12mm ply. The ash is cut from some old pub tabletops we acquired last year.

regards

Brian

Very good idea, and thanks for the Mens Shed link, there appears to be one in Torbay, I used to visit the sheds in Australia which were encoureaged by their local communities and local govenment.
 

Latest posts

Back
Top