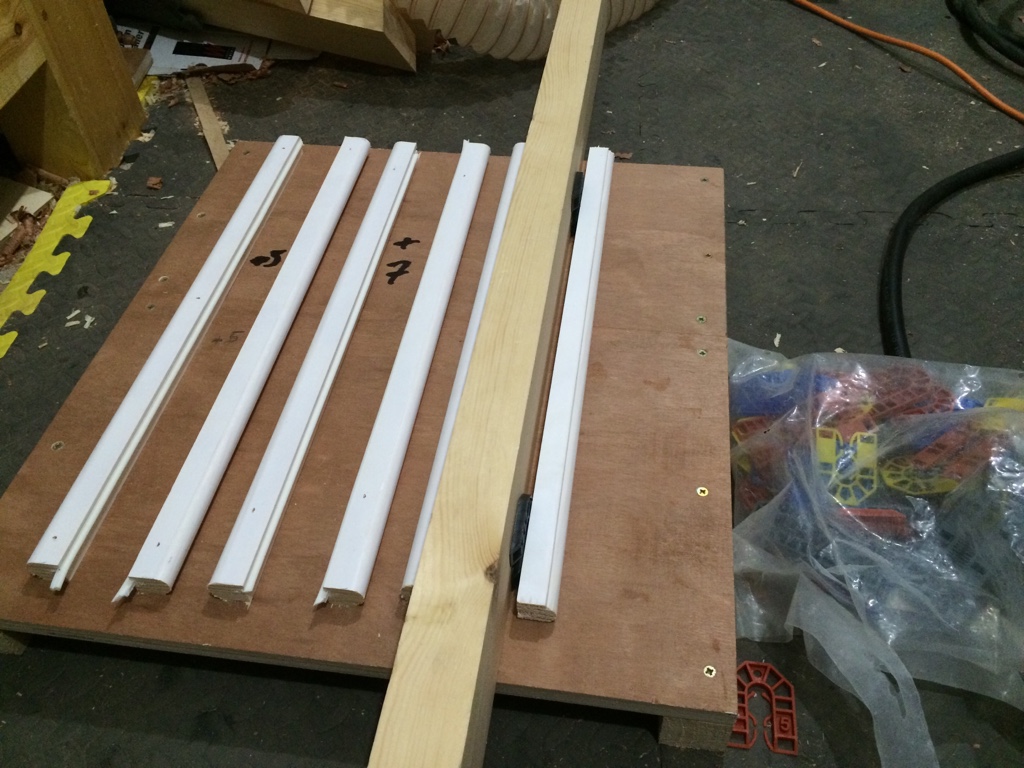
I have been renovating some Victorian sash windows (it's amazing what neglect they can withstand over the years).
This is what I have been doing, some of which may be helpful to the OP’s project:
1. Remove staff beads, sliding sashes, parting beads, pocket pieces, cords and weights
2. Remove box frame
3. Disassemble box frame and strip paint (the disassembly is necessary to allow routing of a new groove for the new parting bead channel as described below, but also makes the whole overhaul easier)
4. Repair/splice in any rotten sections in the box frame components
5. Overhaul sashes (extent of work here depends on condition of sash frames, glazing putty, old paint etc) – I have found that where necessary, it is quite easy to take the frame apart by extracting the old wedges, splice in any required new wood and reglue the sash (they won’t come apart so easily when someone wants to overhaul them in another 130 years’ time though…)
6. The seal system I have used is the Reddiseals sofseal bubble seal positioned as follows:
- In the parting bead – I use new Reddiseals 8mm parting bead with seal carrier. The parting bead is a push fit into a plastic channel (Reddiseals) for which a new groove is routed in the pulley lining (including the pocket piece). I cut the parting bead in two, with the join behind the meeting rail point, so that the seal is facing the closed sash only – not only does this avoid you seeing the seal when the sashes are closed, it also progressively reduces the friction as you open each sash. As the plastic channel is 10mm, this allows you to position the new parting bead as required having regard to the clearance required for the new seals (the OP’s suggested allowance of 2mm clearance for the seal sounds OK, but I did a little mockup with some samples that Reddiseals happily provide (I think I may have allowed a little more, but am writing this from memory – you don't want to squash the seal more than you need to, it will just add friction)
- In the staff bead, again only so far as necessary to seal against the three sides of the lower sash. I have been reusing the old staff beads as they are non-standard sizes, and I plane the width to fit, again having regard to the clearance required for the seal. Reddiseals sell various staff beads with the seal carrier already fitted.
7. I use Flexislide seal for the meeting rail.
8. Remake the box frame, ensuring the pocket pieces fit nicely and the wagtails waggle as required (a small refinement I have introduced is to sink a nut on the back of the pocket piece, with a hole drilled through the bottom of the parting bead channel so that I can insert a bolt to pull out the pocket piece for future access without the usual chisel etc damage to the lining).
9. Service the pulleys (usually involves dipping in caustic to strip layers of old paint – then I leave the brass unpainted and finally fix with stainless steel screws
10. Rout the groove for the seal in the outward faces of the staff beads. Check the staff beads for fit, lengthwise. I insert turned pattern screw cups pressed flush into the staff bead, for final fitting, where I use flat head countersunk stainless steel screws which look neat and unobtrusive.
11. Spray paint the assembled box frame with the parting bead slotted in the channel (I insert a slip of timber in the seal carrier to mask the channel.
12. Spray paint the two sashes (I do this pre and post glazing).
13. Spray paint the staff beads (again I insert timber slips in the seal carriers).
14. Reinstall the box frame, new cords (I like the red flecked cord from Reddiseals), sashes and beads.
For future repainting, it should be a simple job to take out the sashes, paint them and the box frame separately and refit the sashes.
Reading the OP’s points, the only thing I would question is whether you really need the flexislides on the sides of the sash. Also, I am not sure about the ‘P’ seal – I suppose my method involves only one roll of seal.
Just read the above and it may seem like an advert for Reddiseals…I have no connection, but their range is good.
Hope that helps
Cheers


