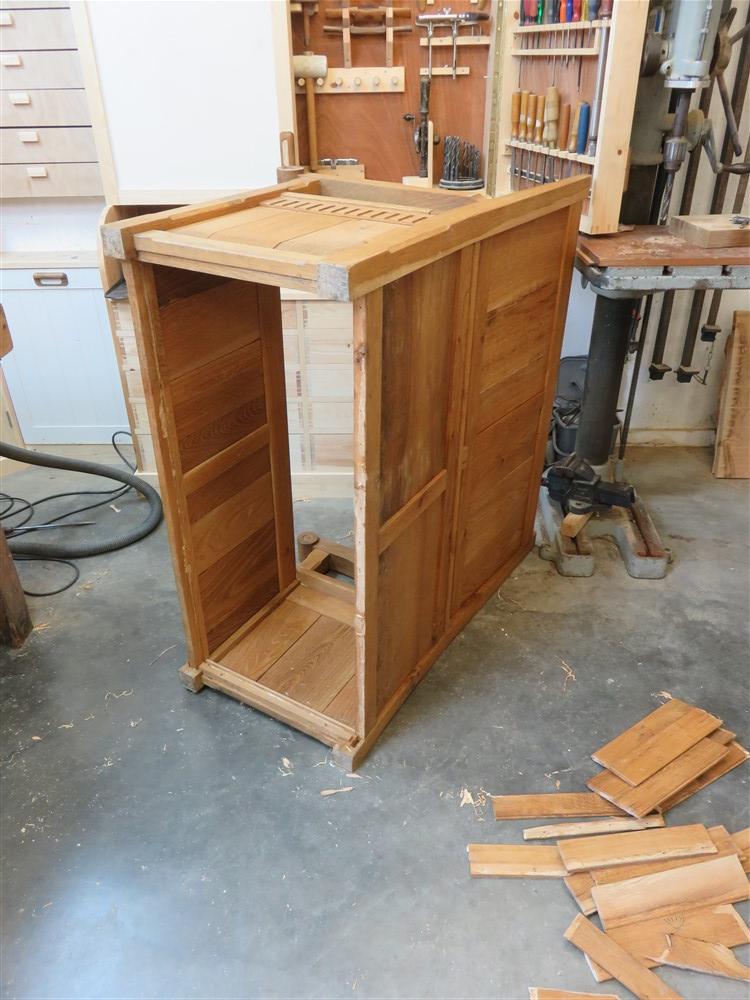
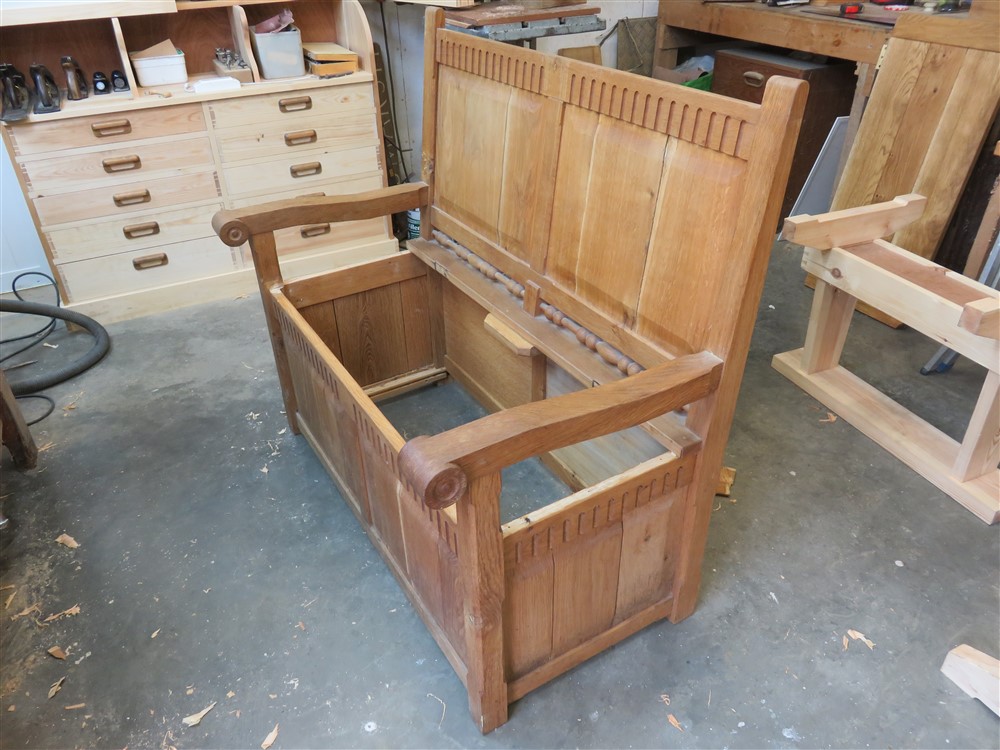
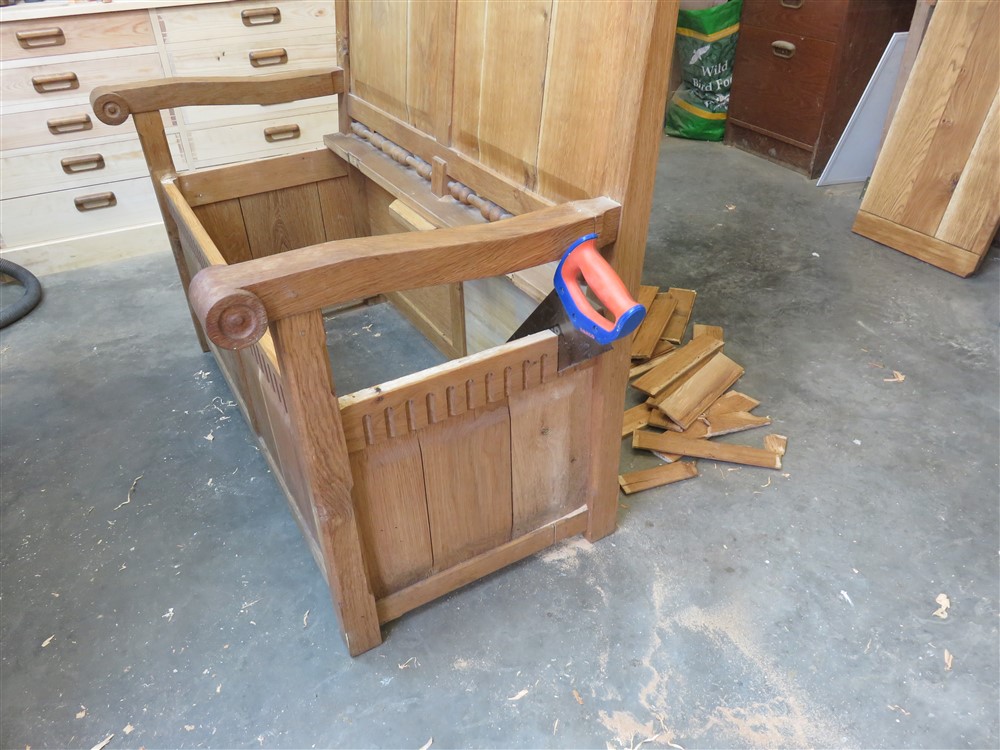
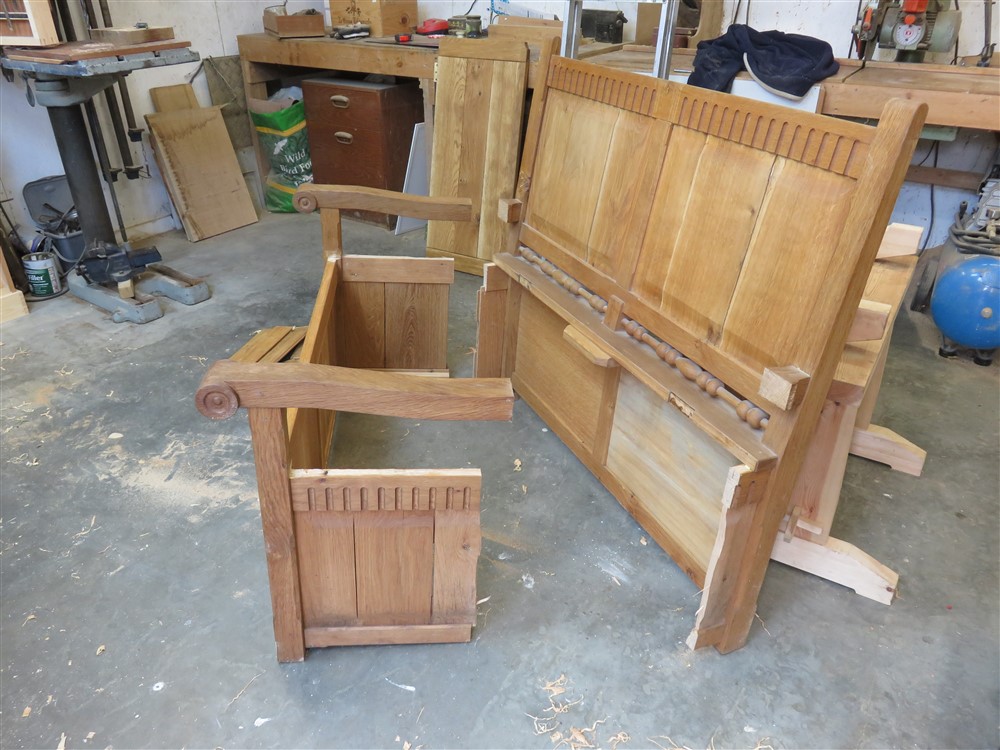
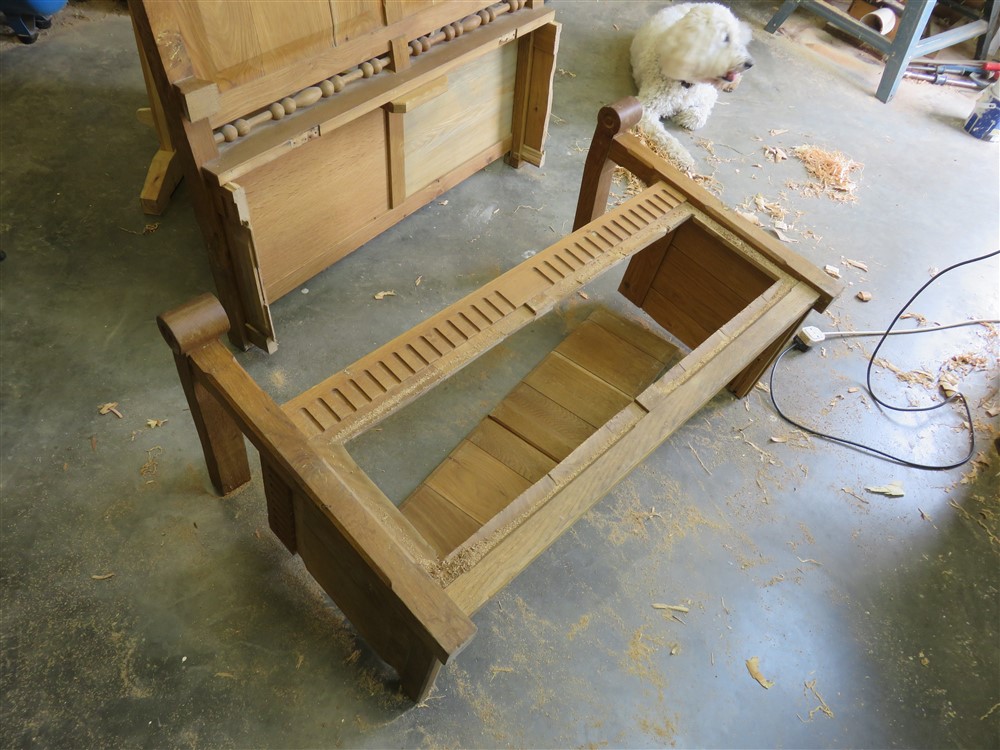
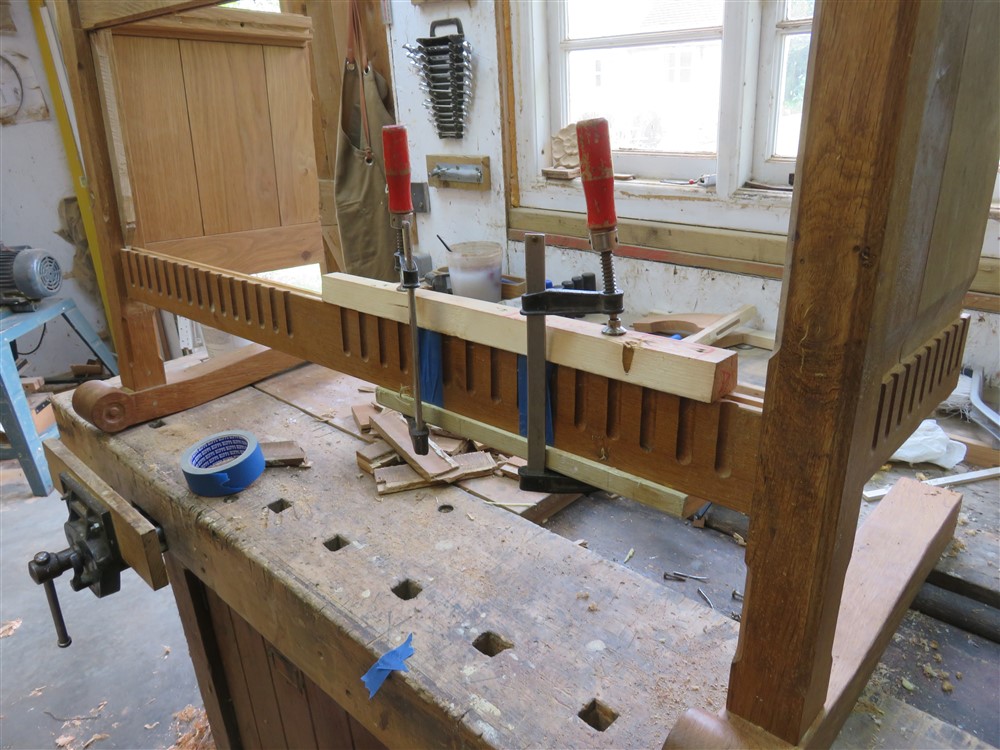
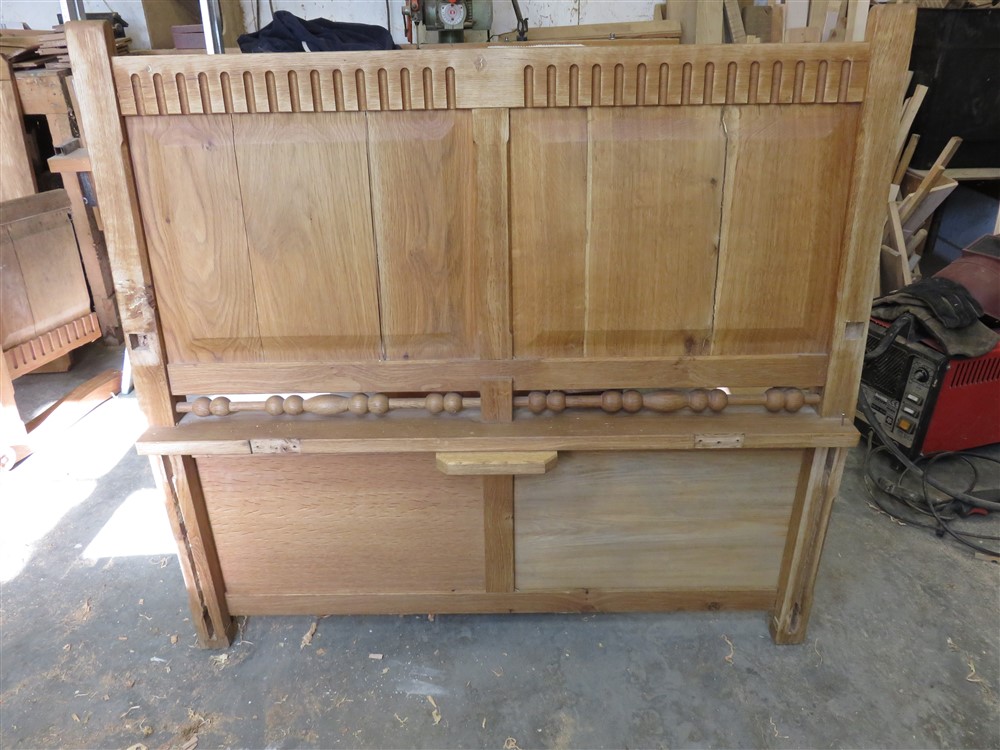
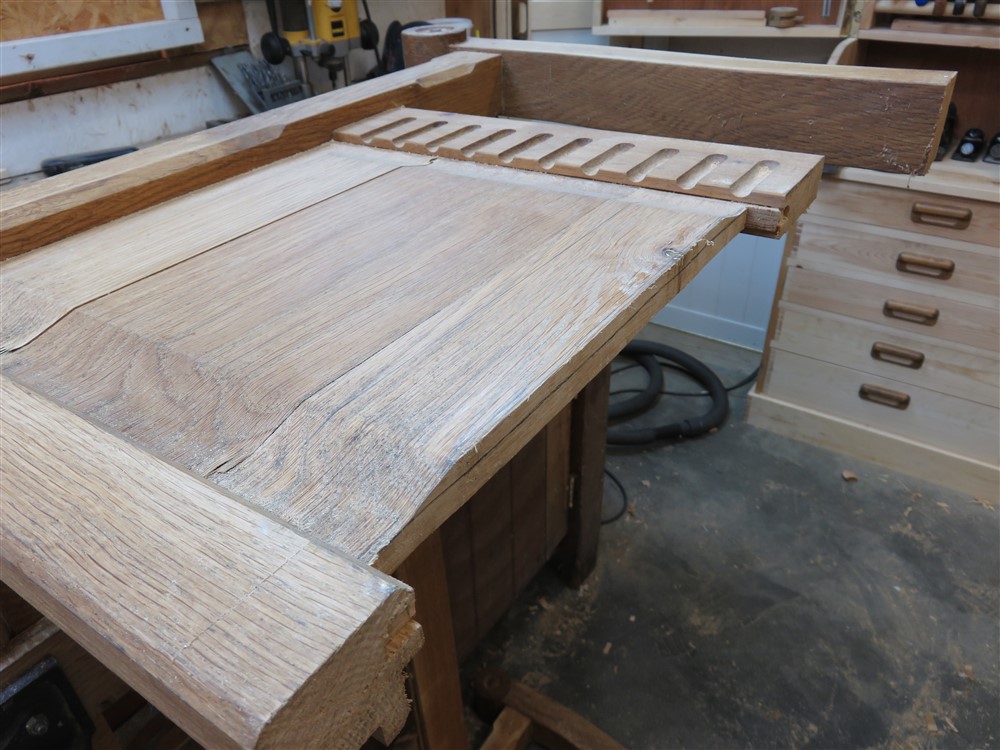
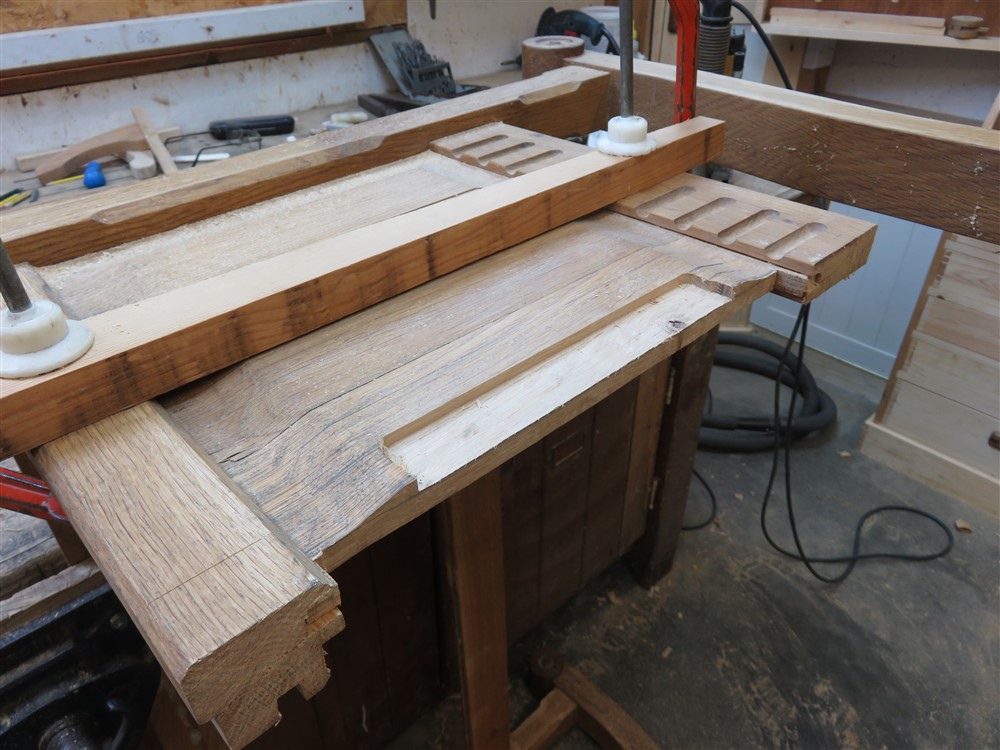
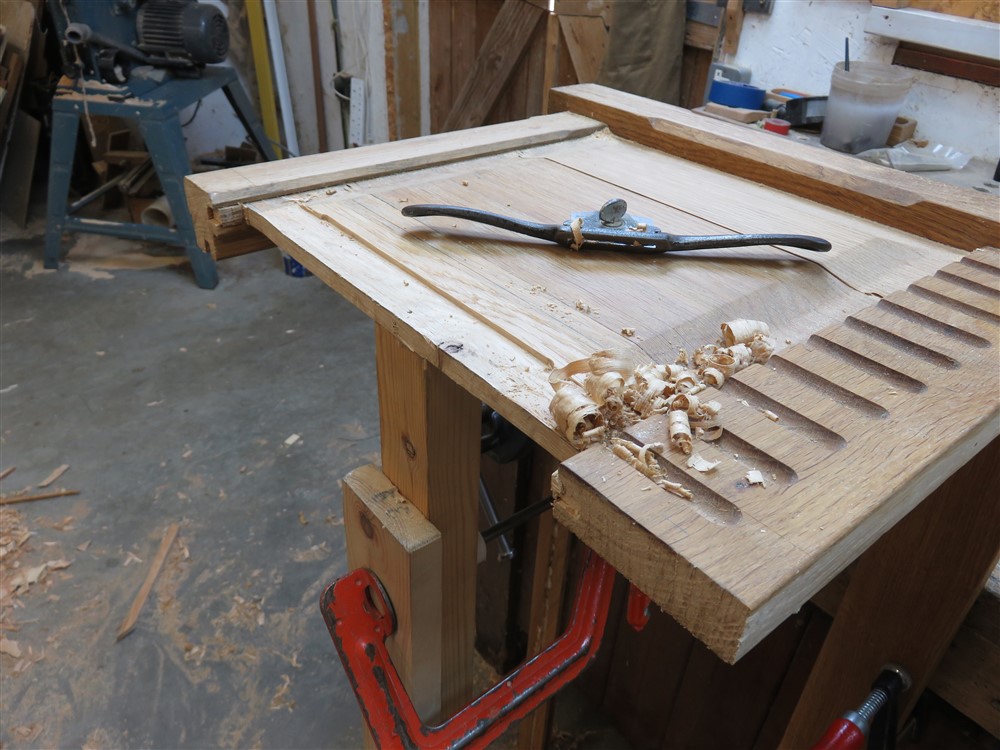
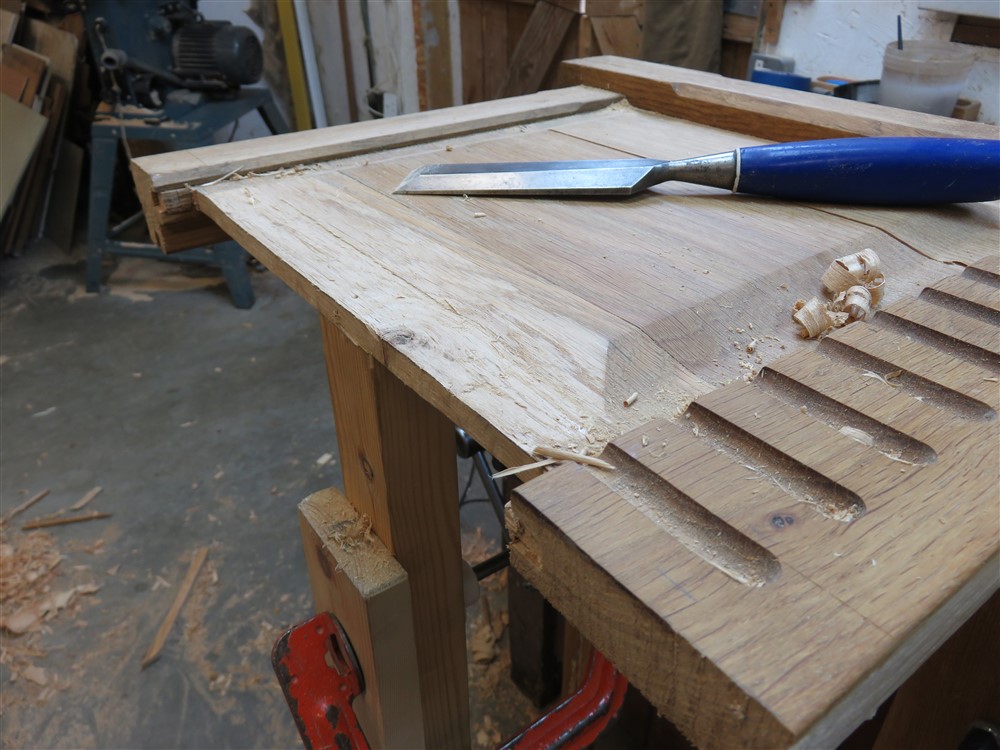
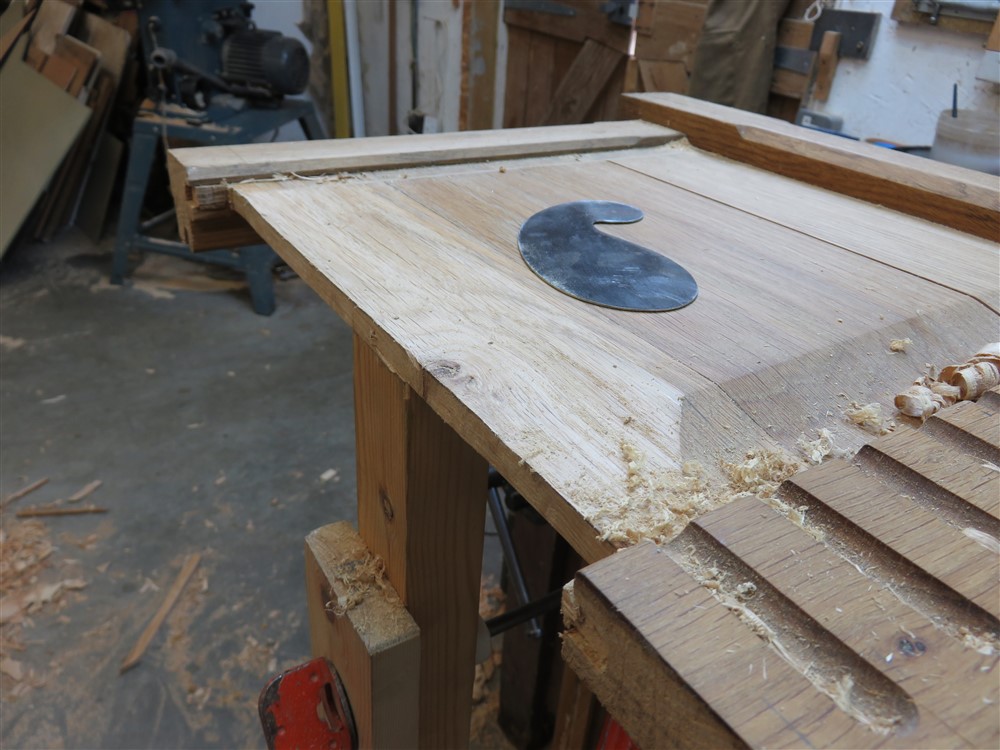
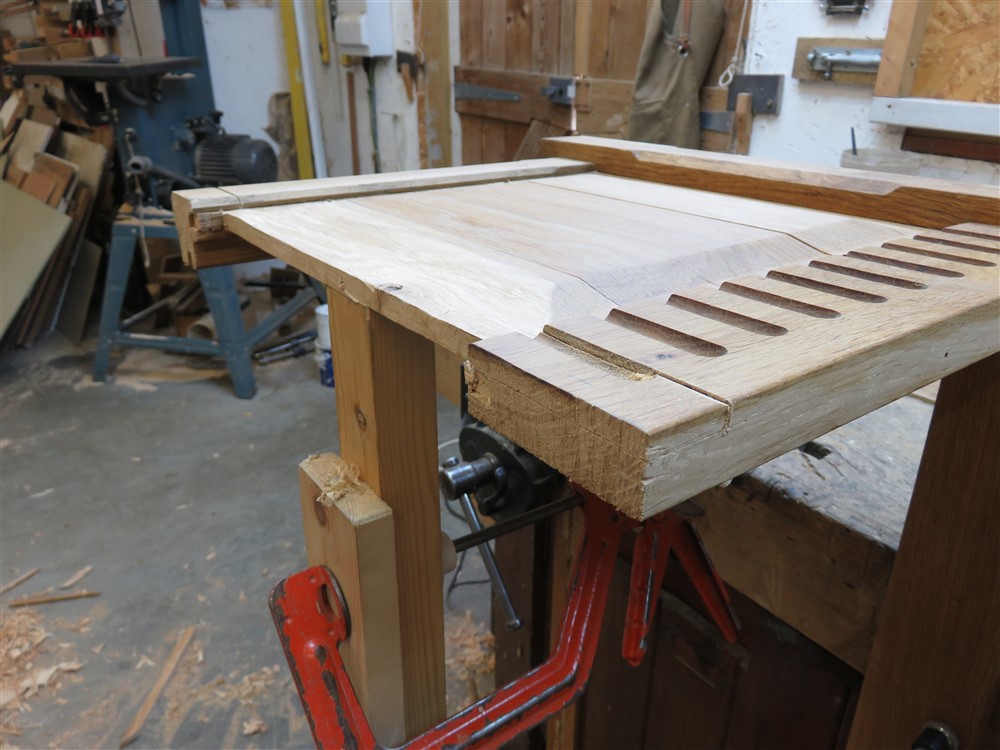
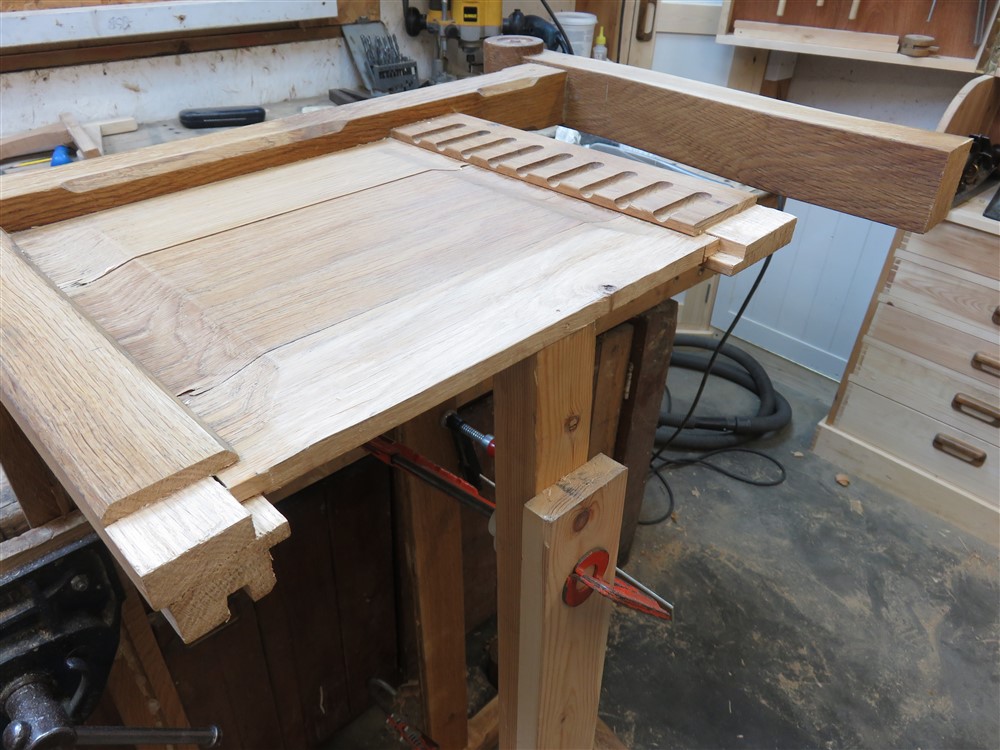
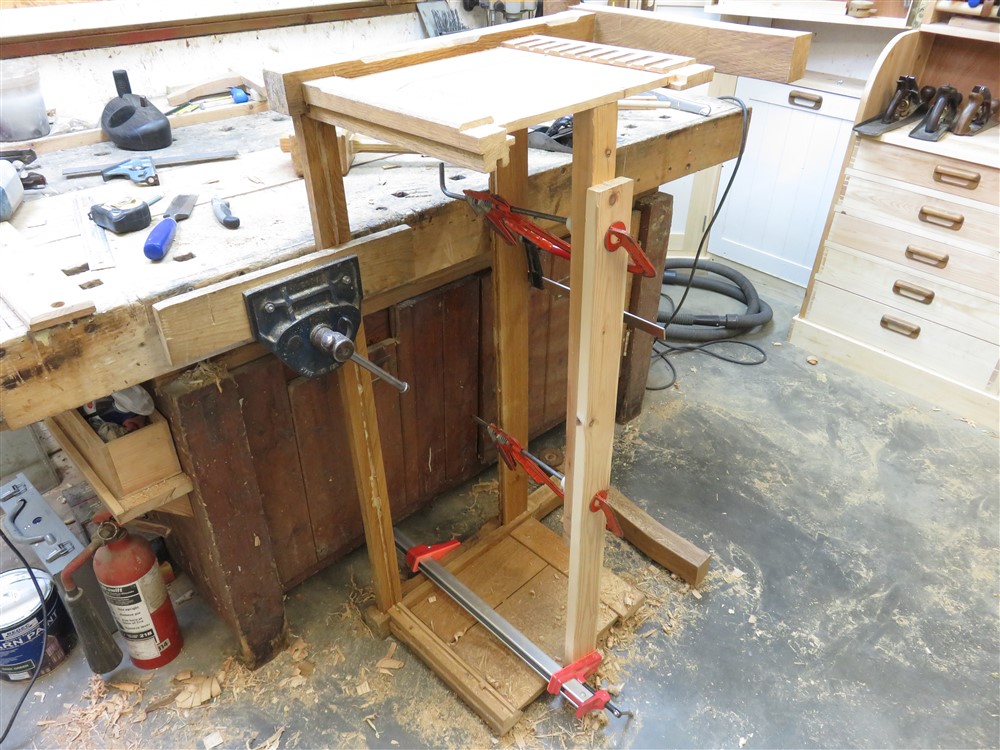
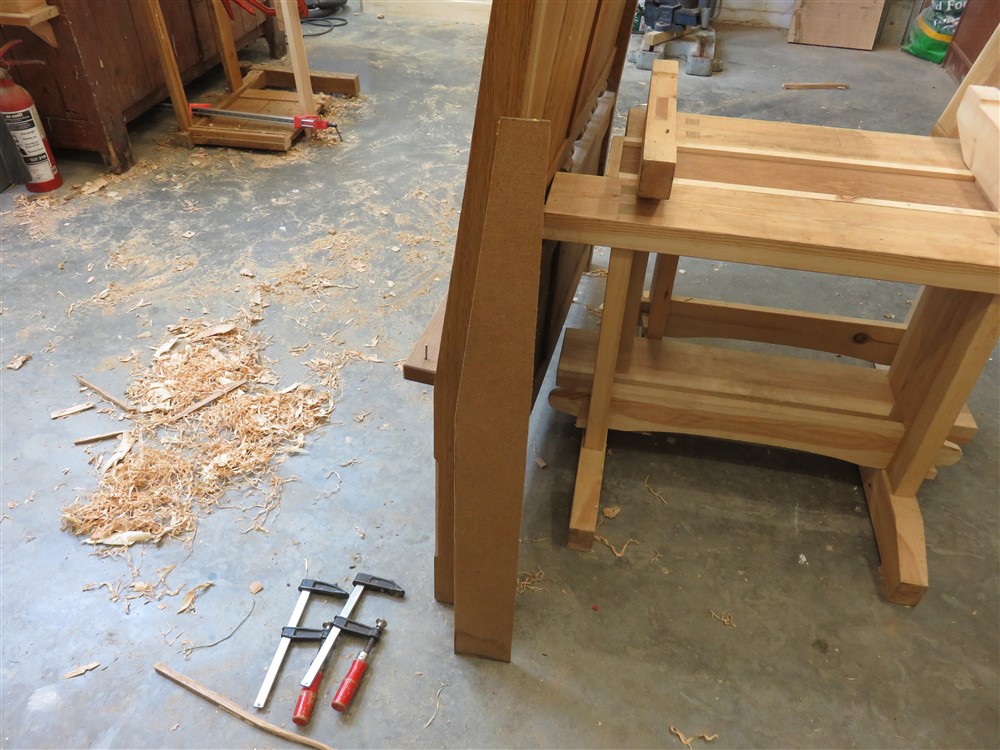
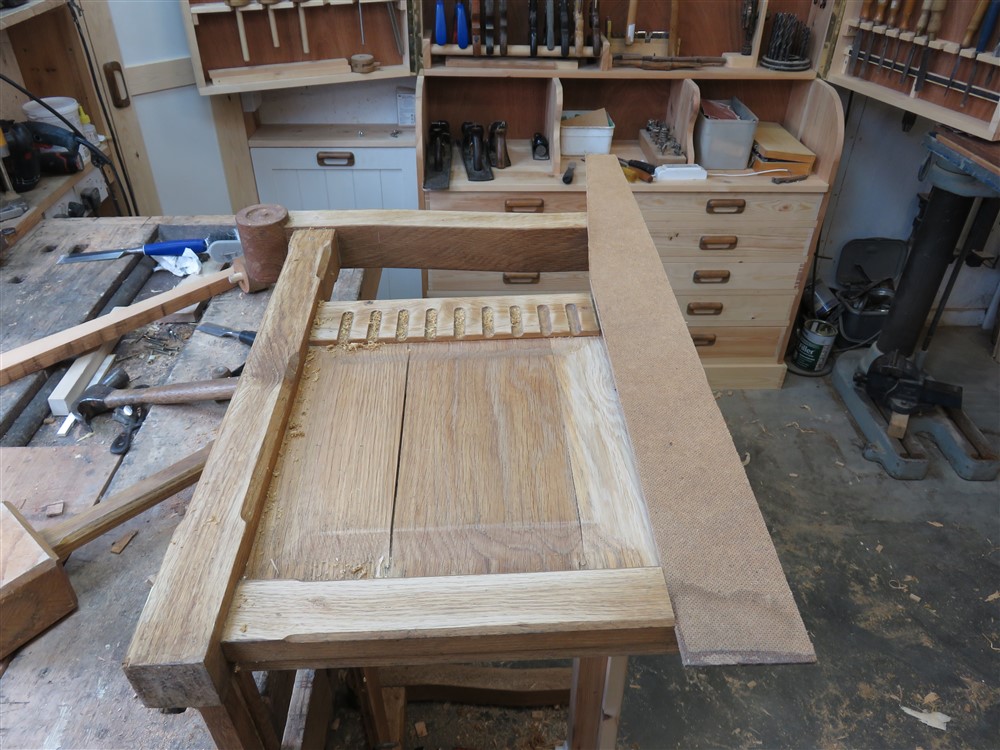
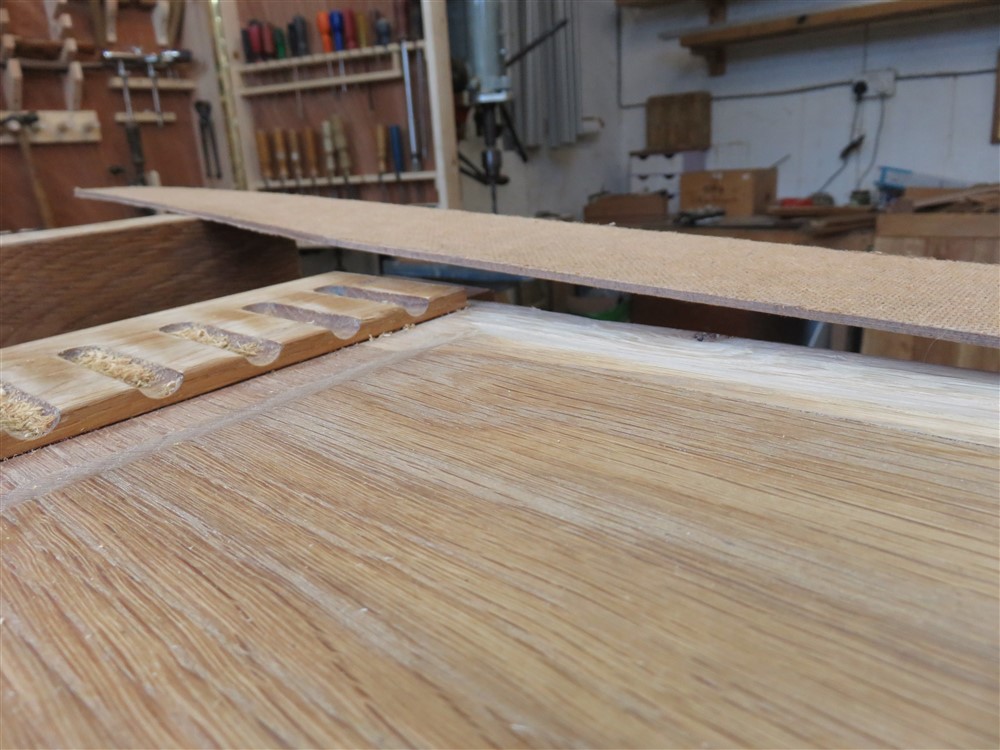
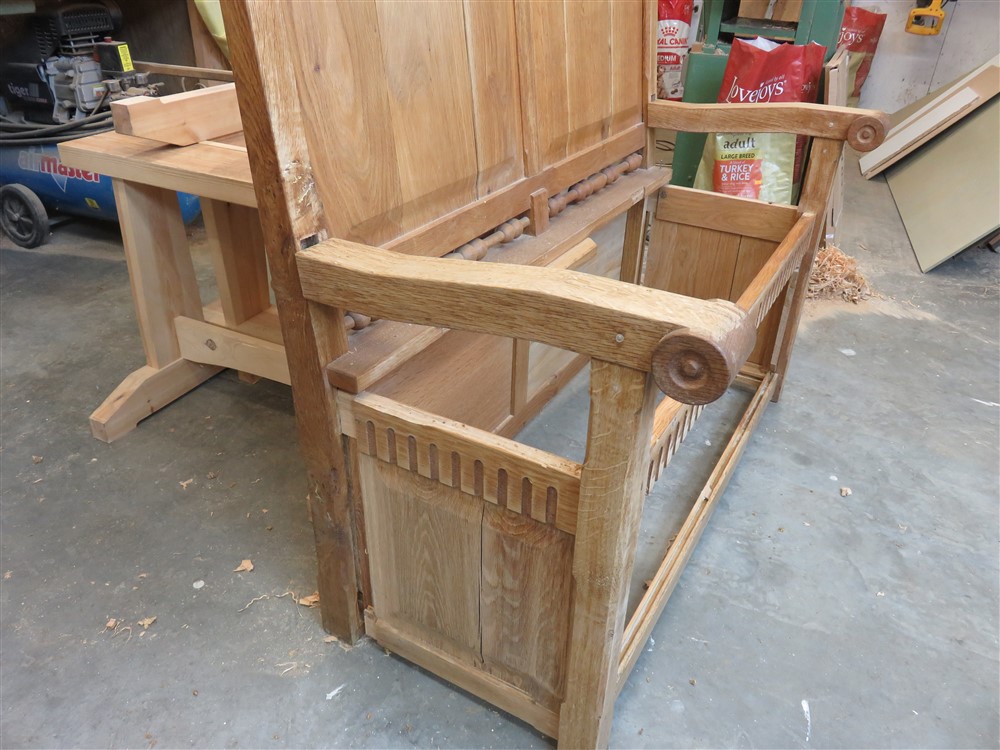
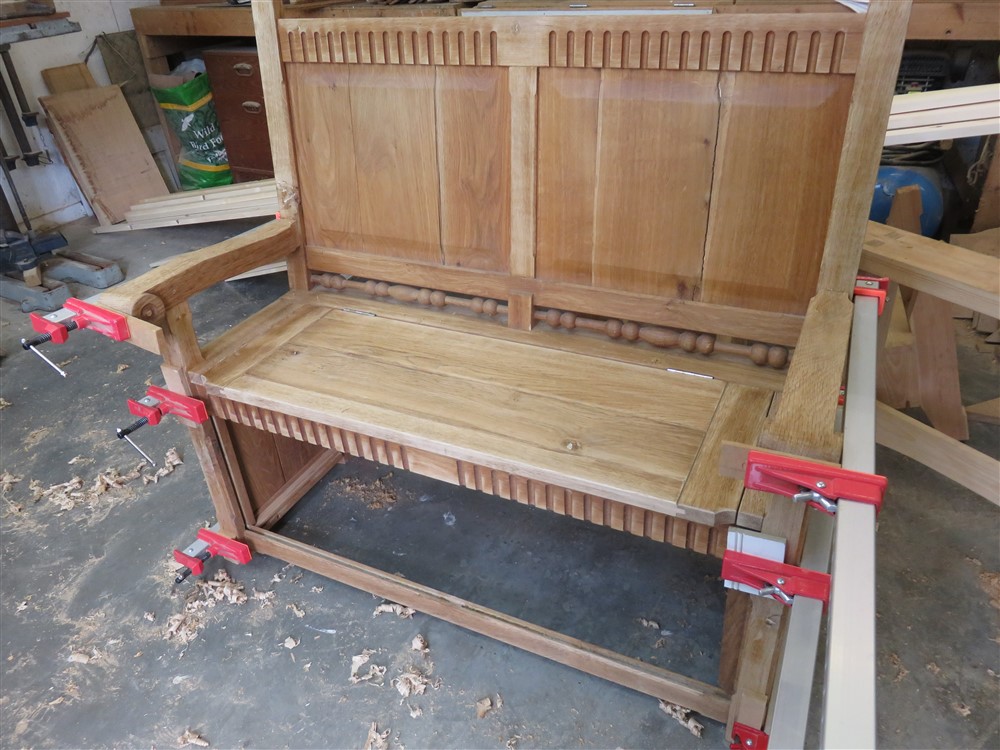
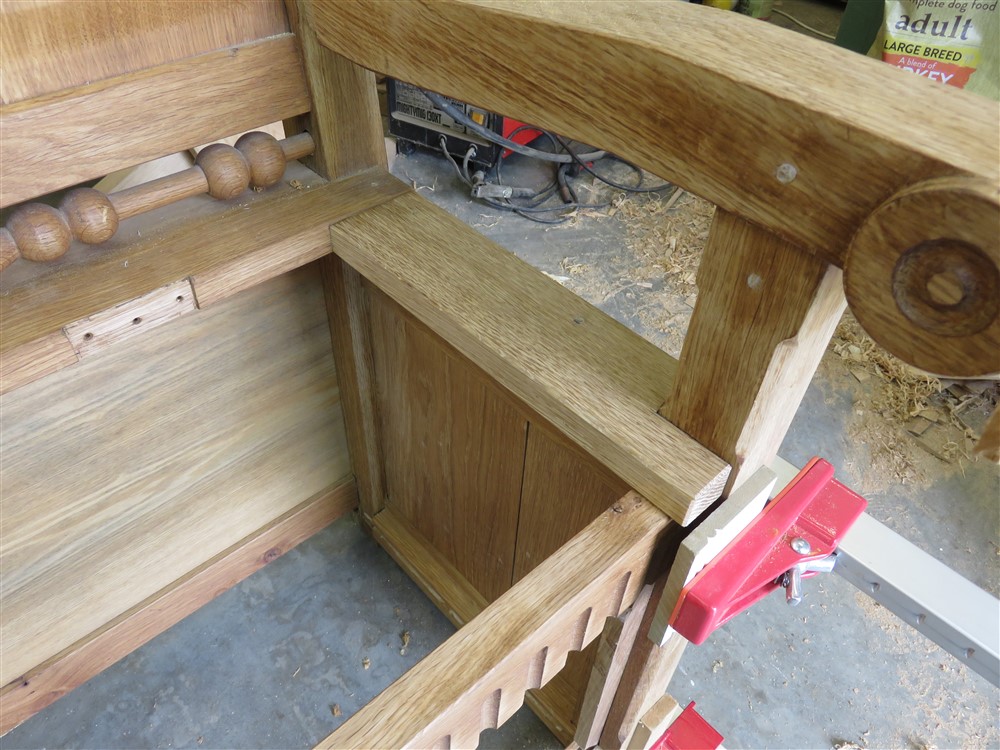
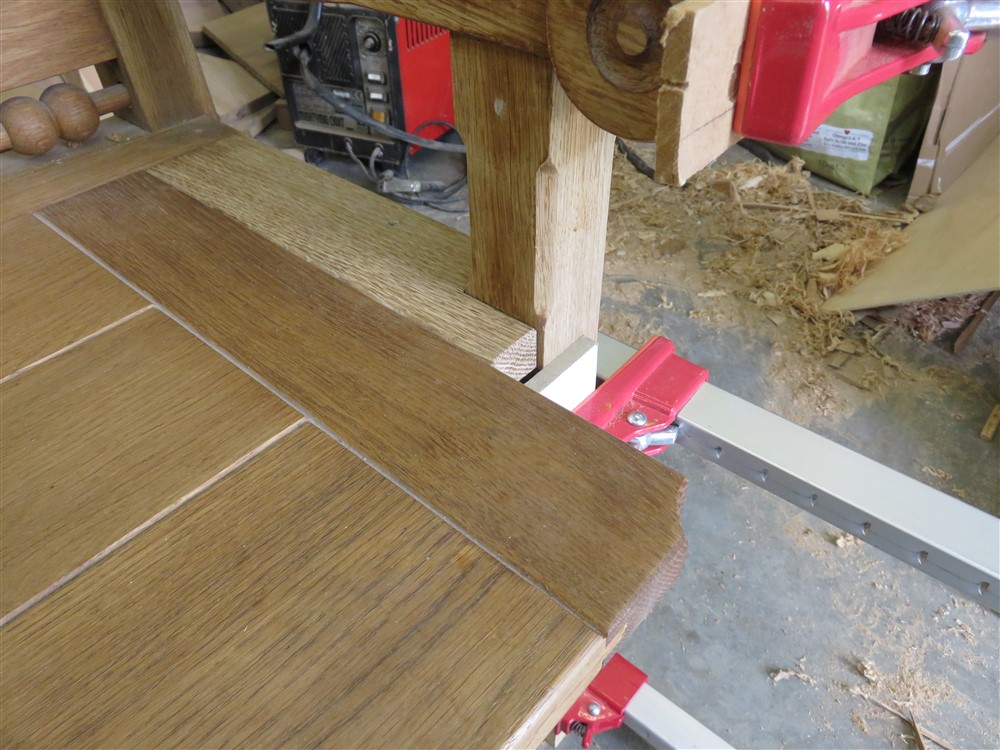
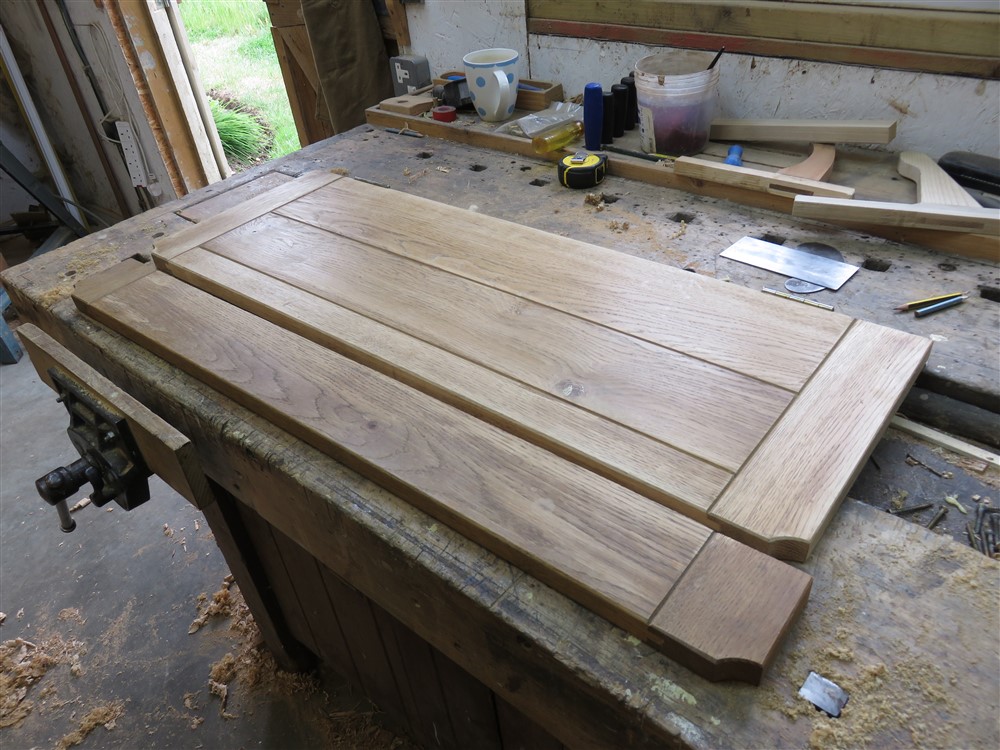
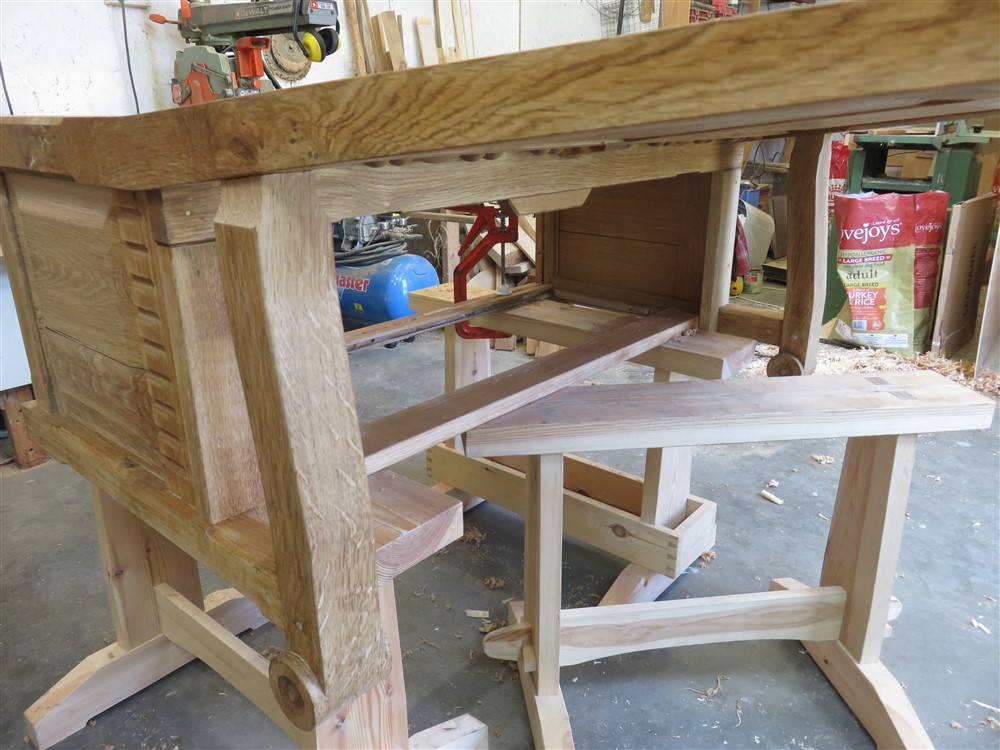
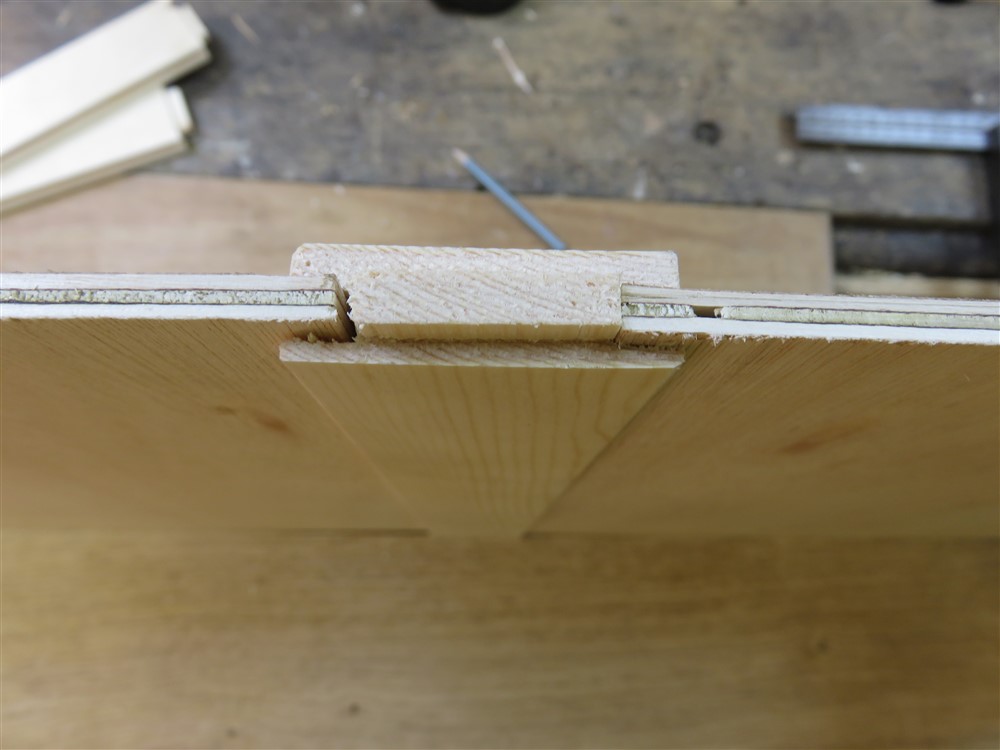
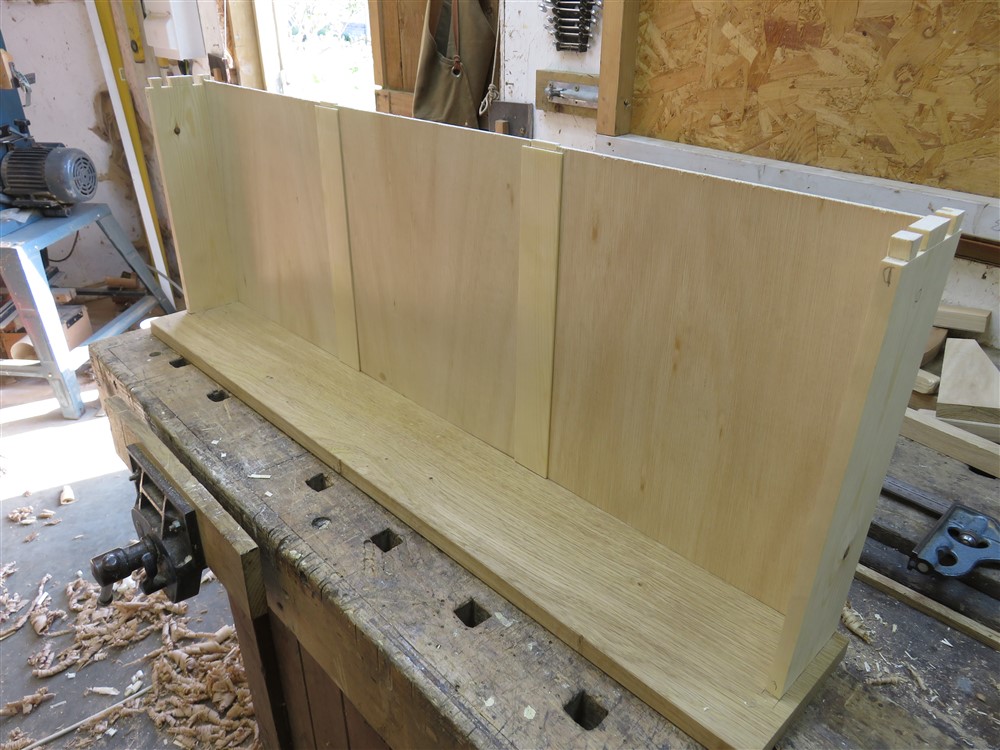
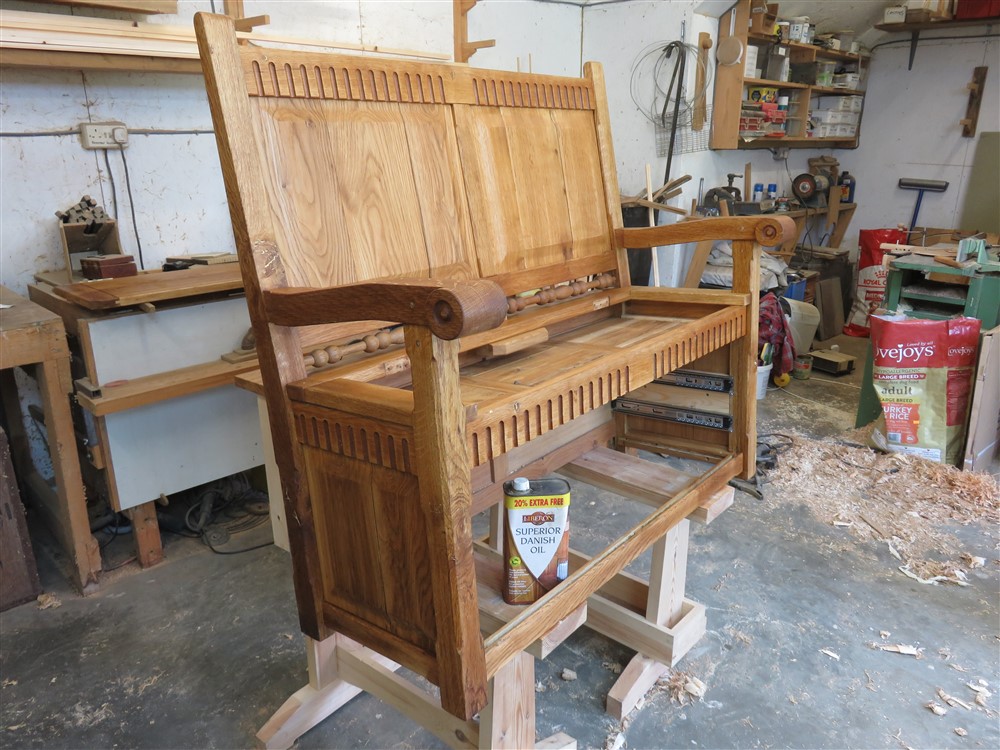
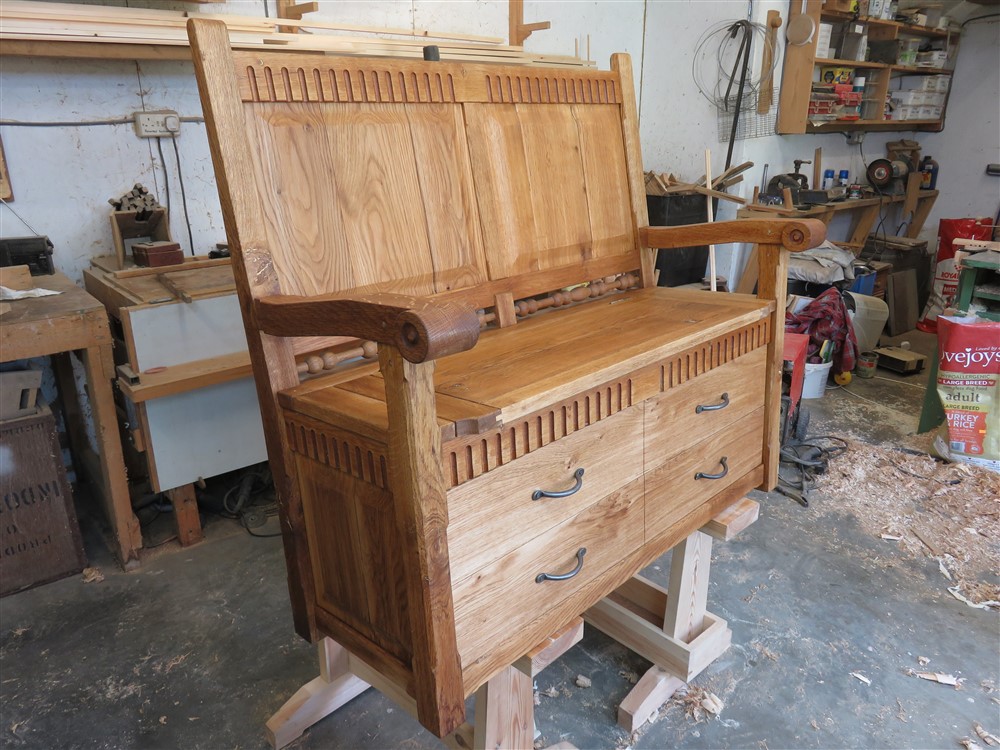
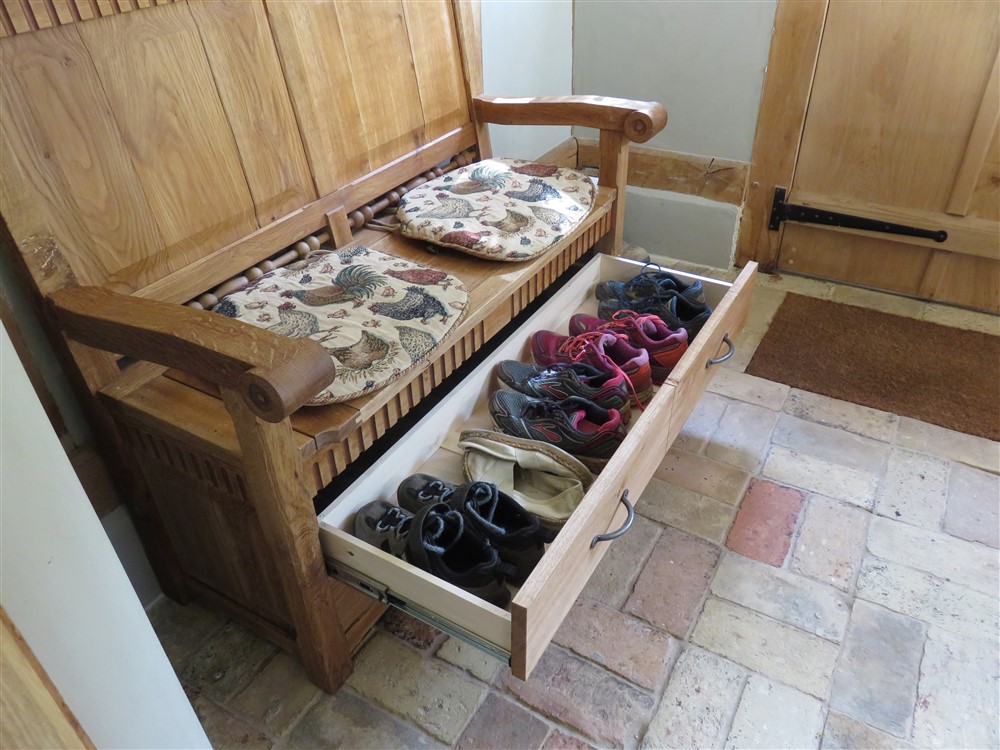
The next phase of the works involved putting the two halves of the settle back together again. This was quite awkward, and after a bit of thought I made a quick template of the back legs to ease proceedings:
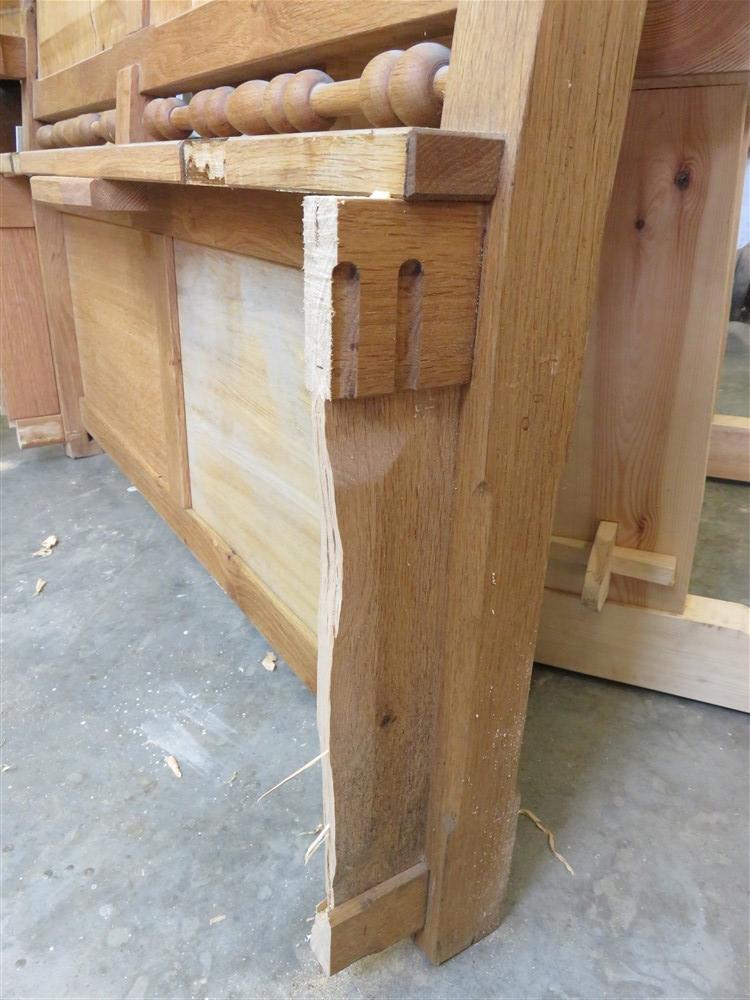
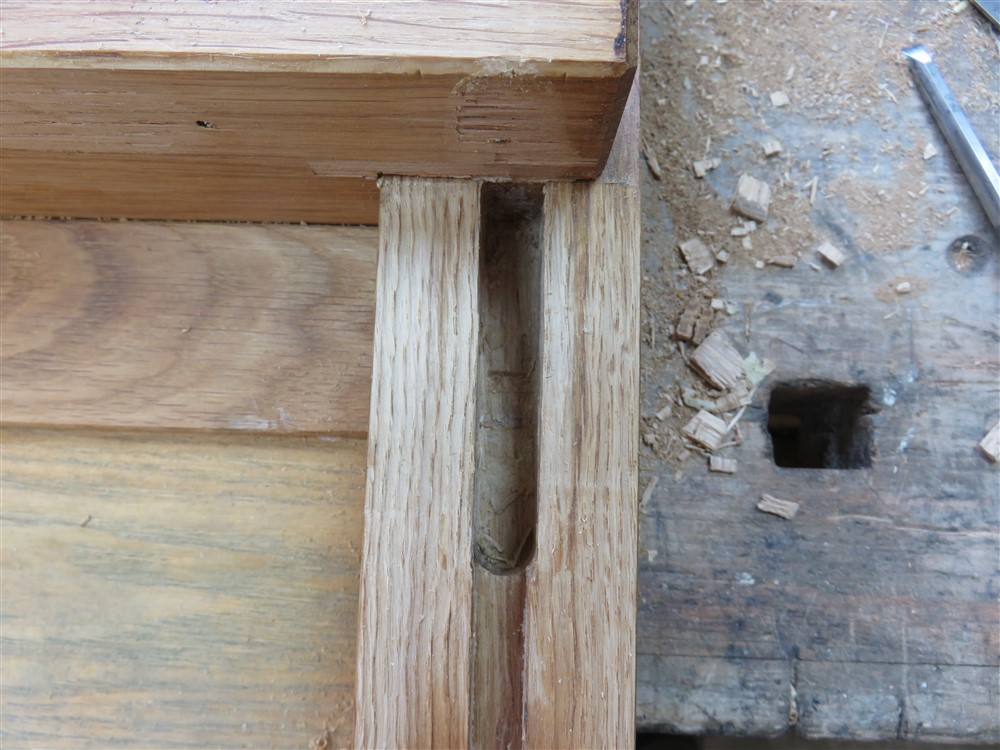
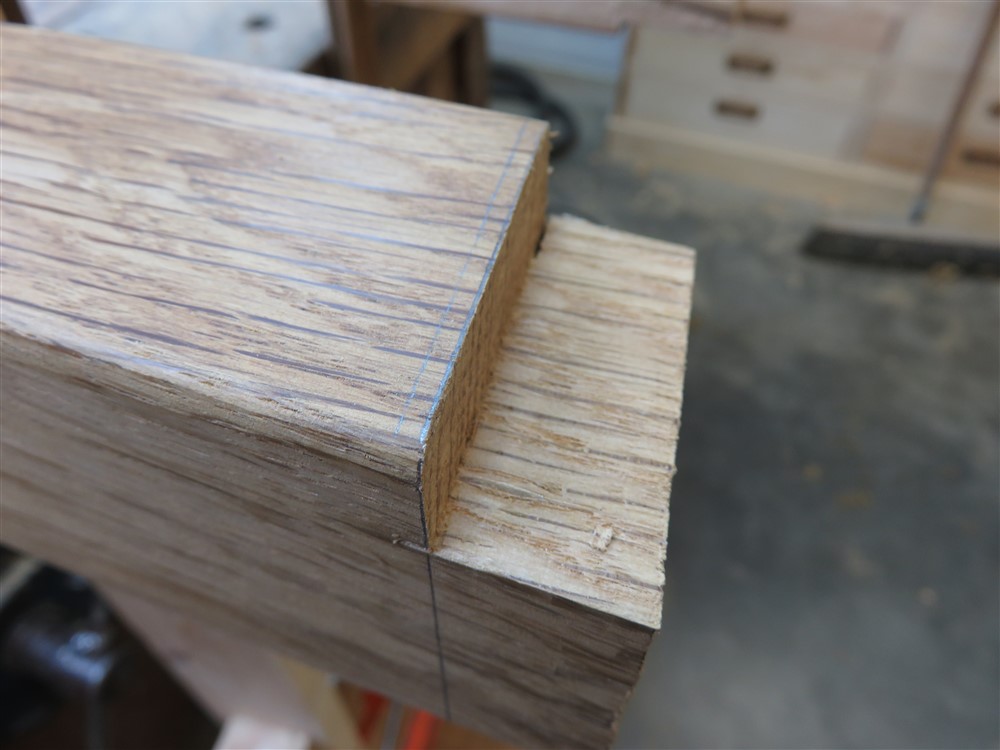
When offered up to the side panels I could now mark out the shoulder lines:
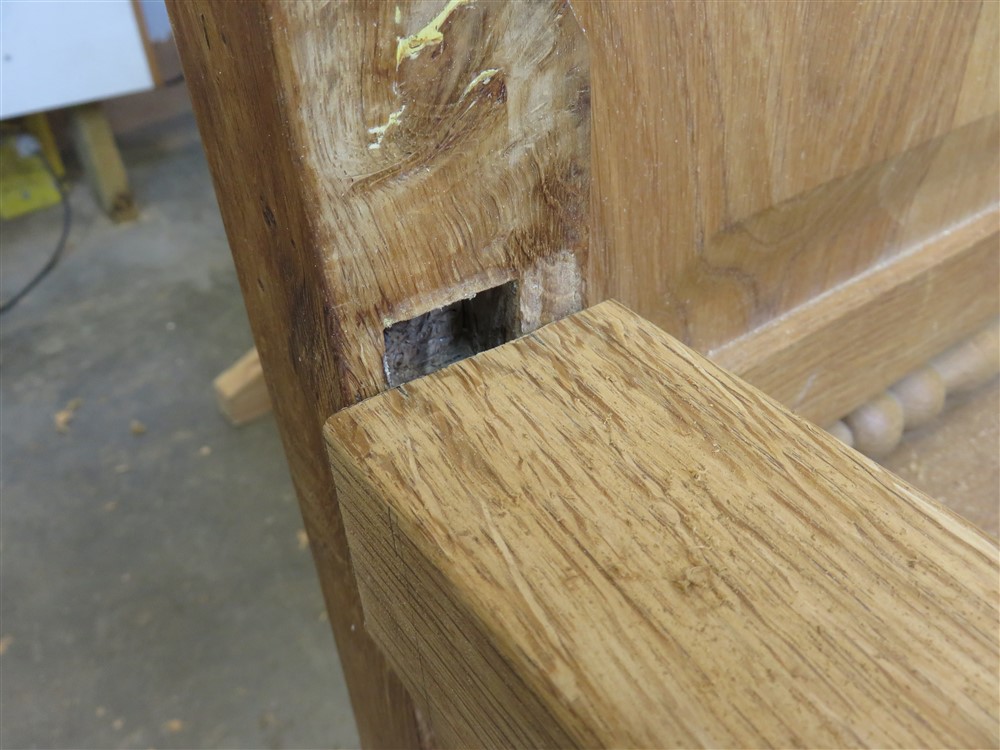
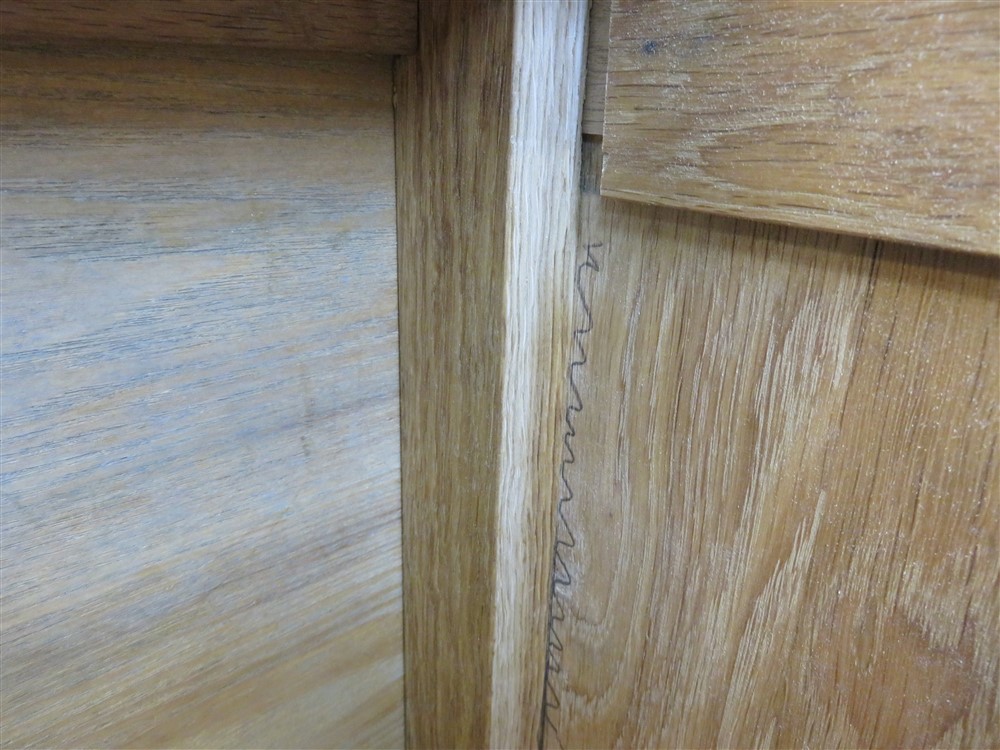
However, because the arm rest was in a different plane from the side panel, the mark I made for that was a best guess, and not to be relied upon:
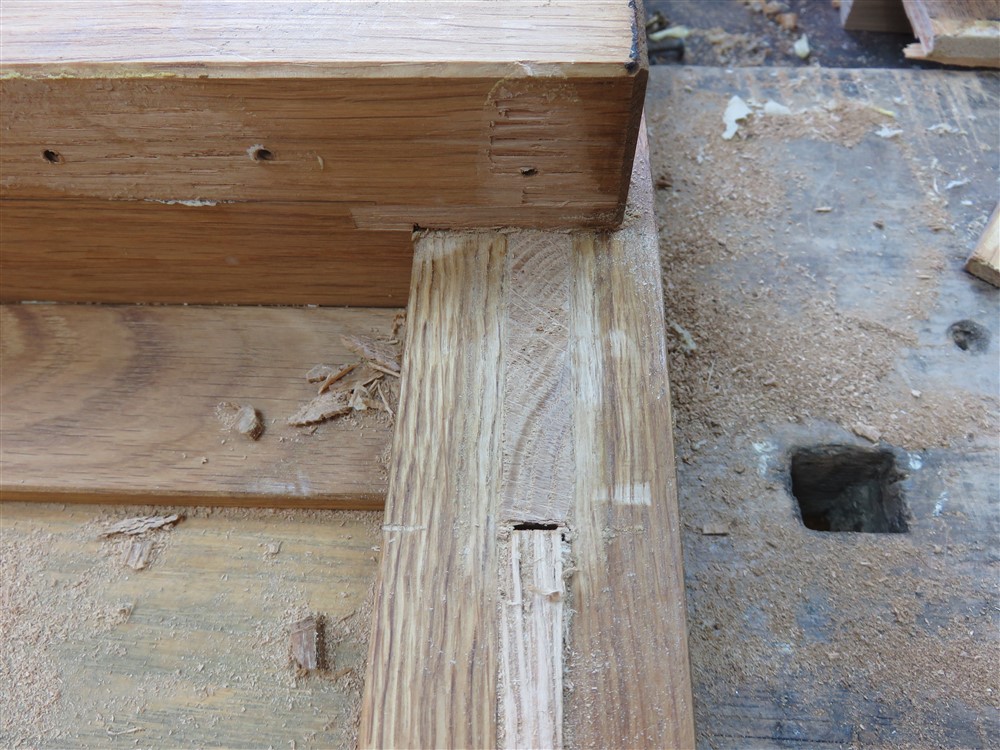
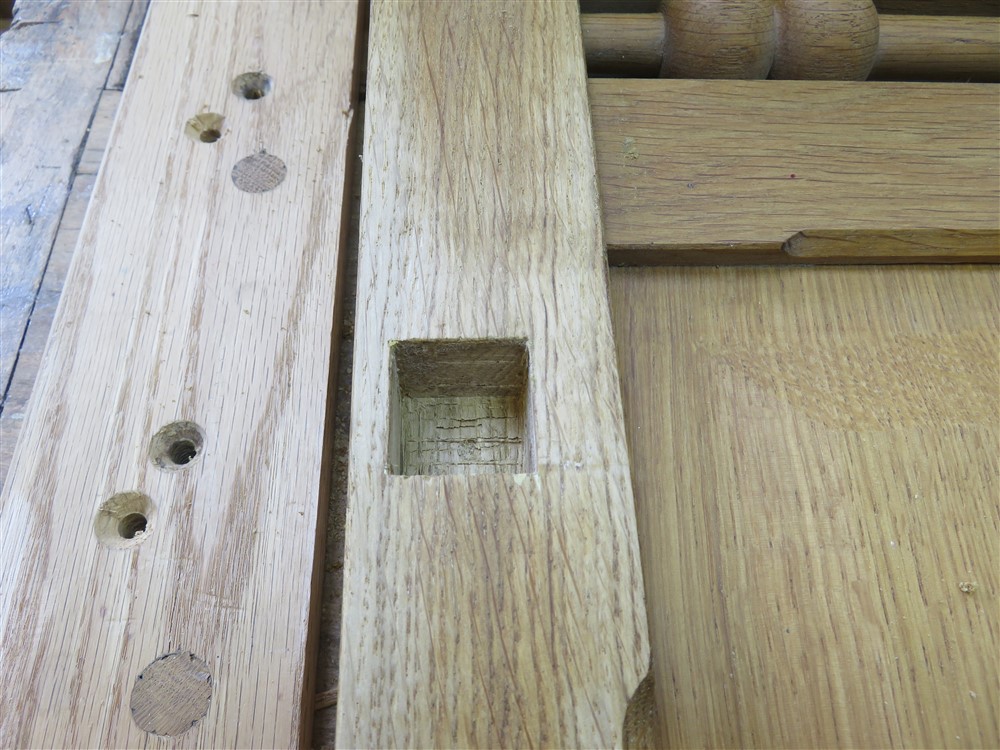
What I did was cut the bottom two tenons accurately as per the template, but make the shoulder of the armrest 3 or 4mm on the safe side of the marked line. Then, it was a case of continual offering-up-and-adjusting. Sometimes those seekers of perfection miss out on the pragmatic solution, and this was a good example of guessing and adjusting. Poor old Steve Maskery has just fallen over in the corner in a heap, covered in a cold sweat .

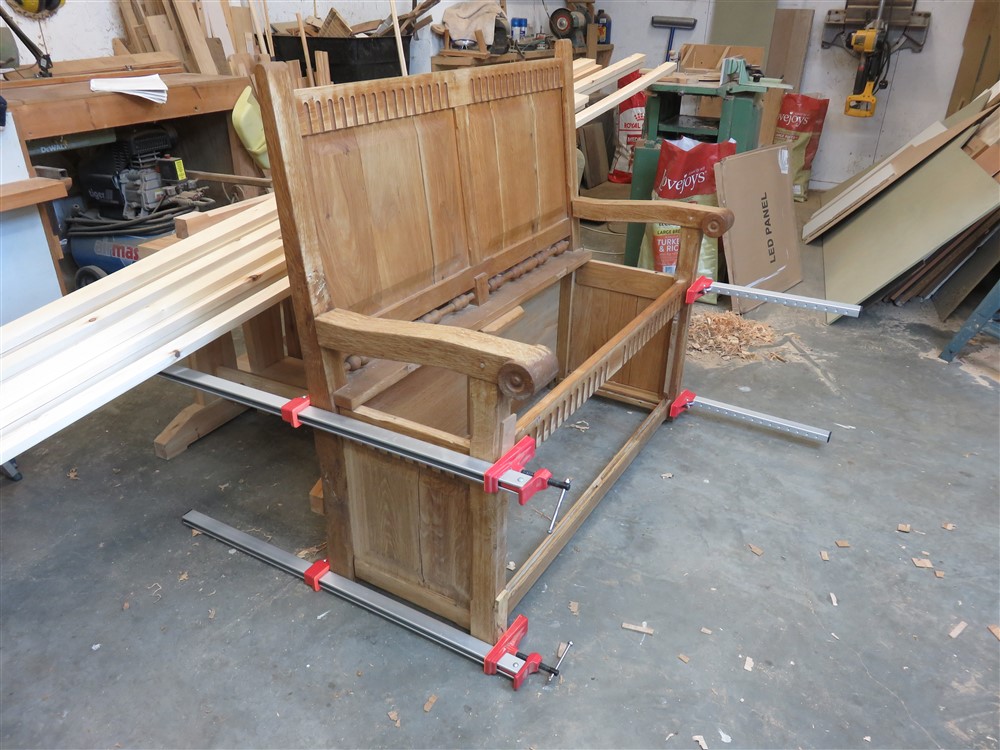
Anyway, sneaking up on the final shoulder line, and adjusting the panels etc in the process, took maybe 3 hours:
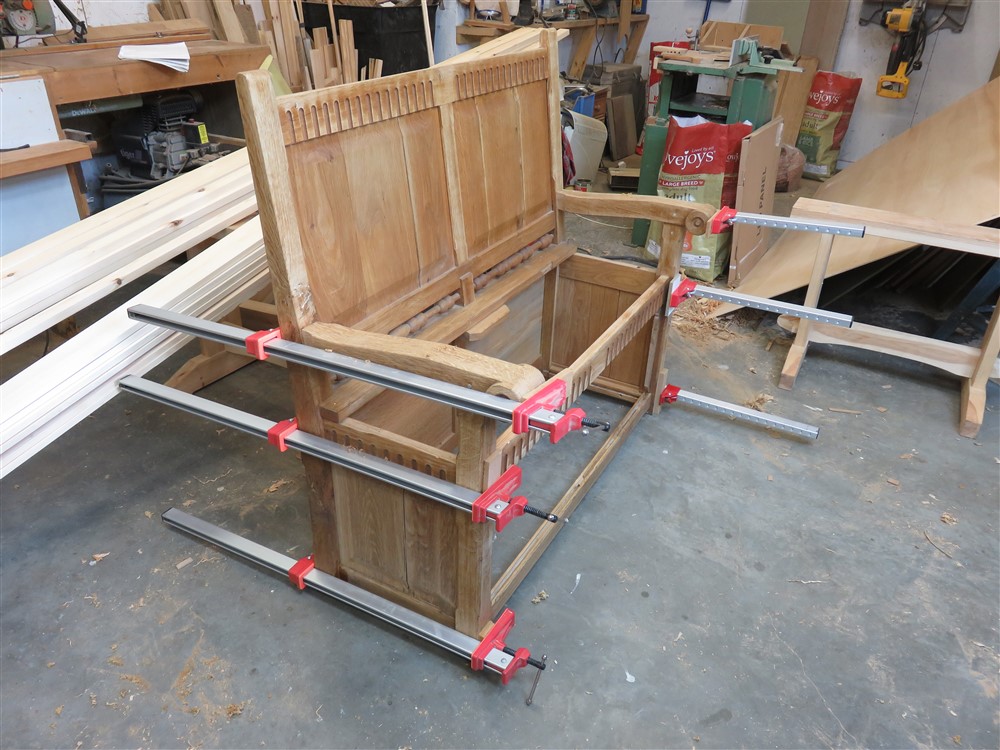
But finally, everything lined up properly, the joints fitted well, the panels slid into their grooves, and all was well with the world:
Whilst the glue on that was drying I adjusted and put back the little overhang, the fixed part of the top:
This photo, showing the seat offered up in its position, shows you how much width I had removed (and also how much colour I had stripped out of the thing by scraping off the oil and wax mess:
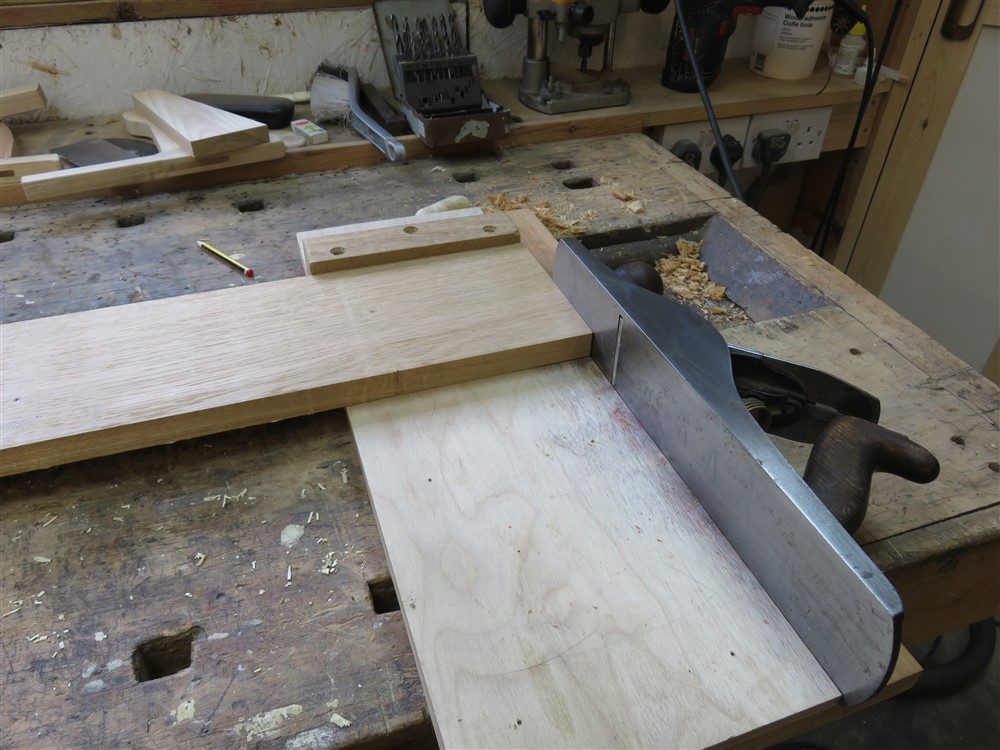
So I hacked a piece off the front of the seat to make it fit its new circumstances:
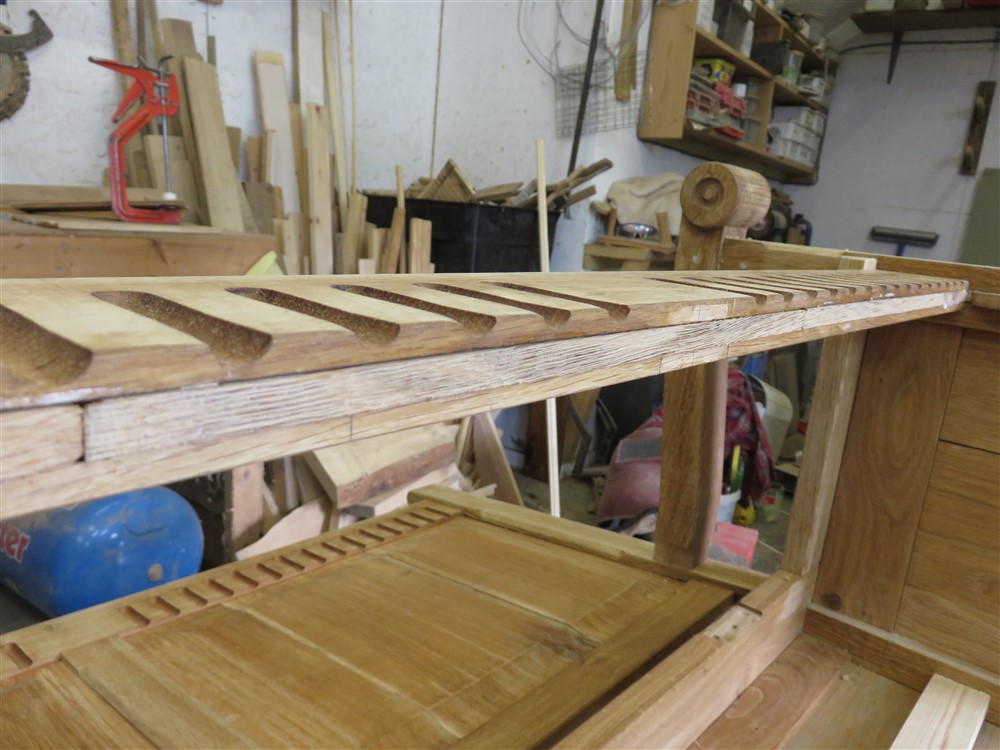
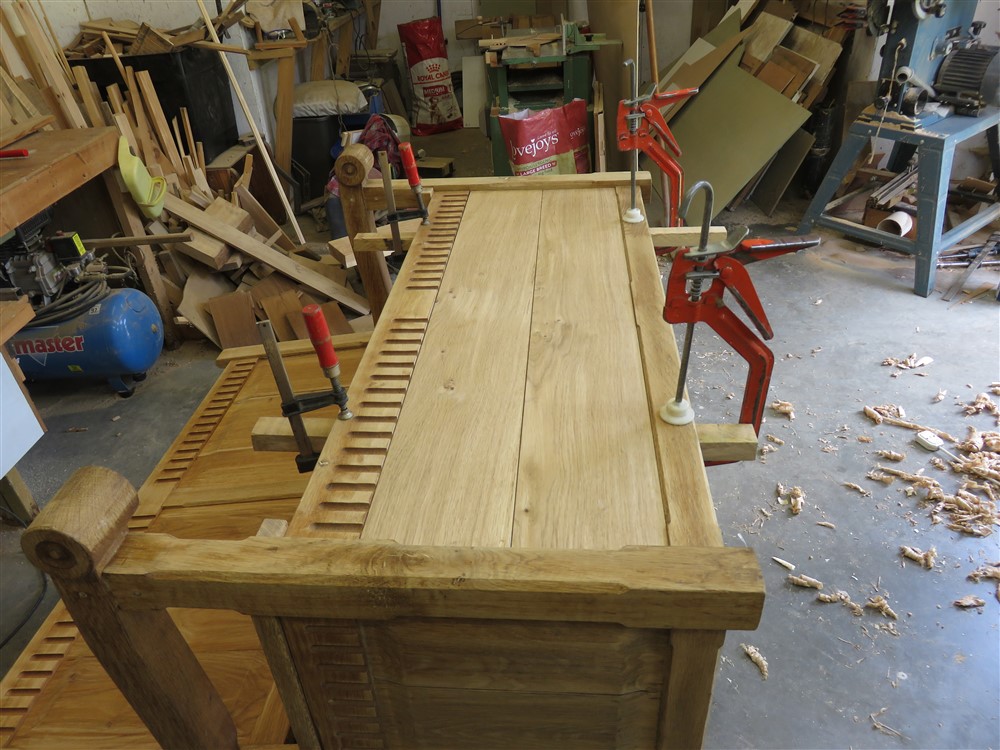
All the grooves around the front frame which had previously taken panels needed infilling:
Those bored of dovetails might want to look away now.
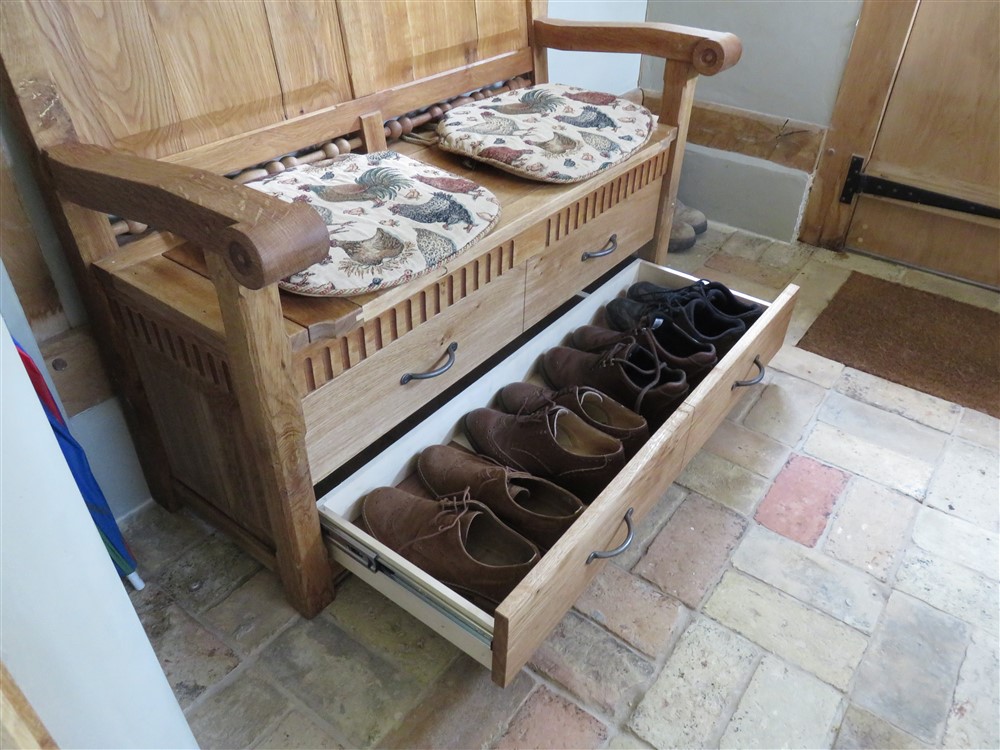
The whole idea of this alteration to the settle was to convert it from being a box to being a shoe rack, with a couple of big drawers. So, time to make some drawers:
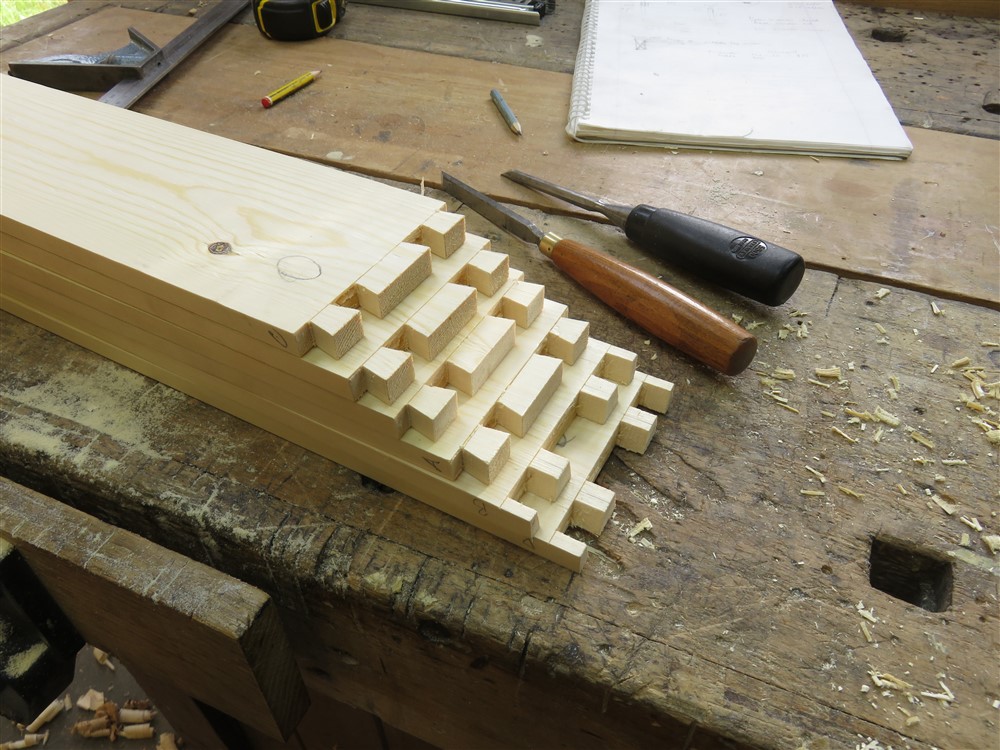
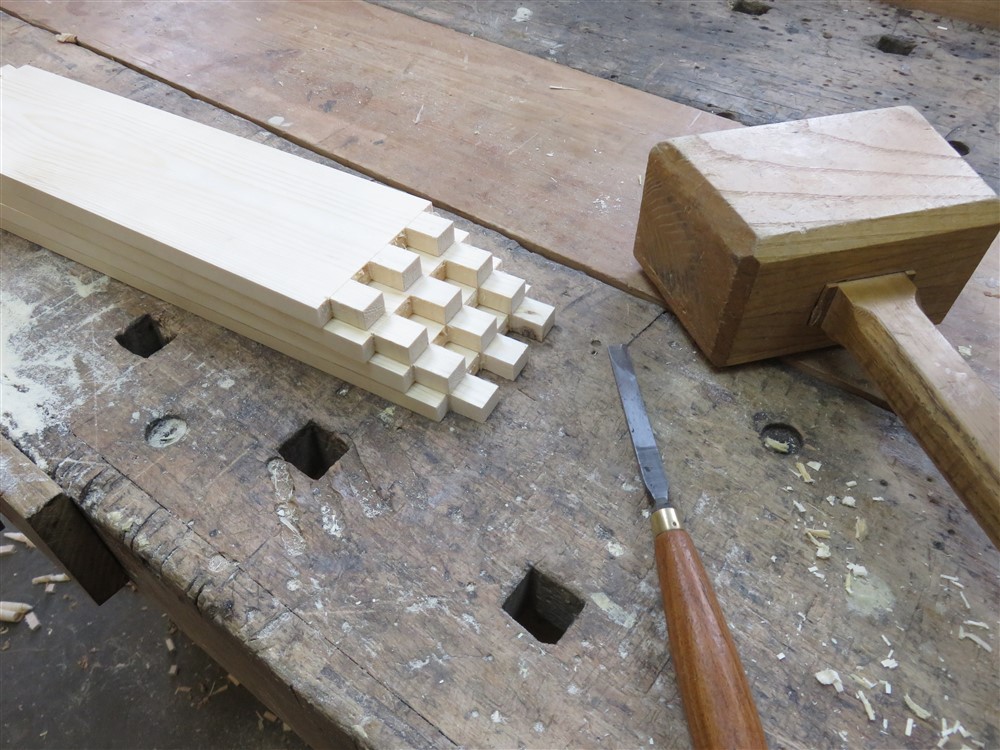
But what's this, Mike? Why would you suddenly swap from dovetails to box joints?
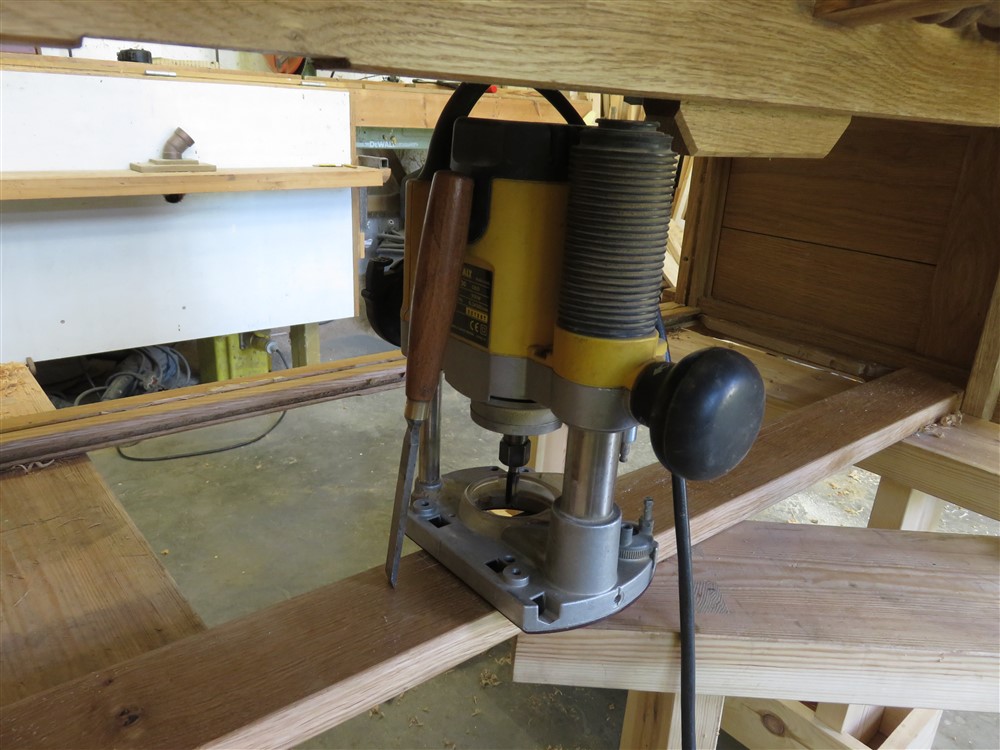
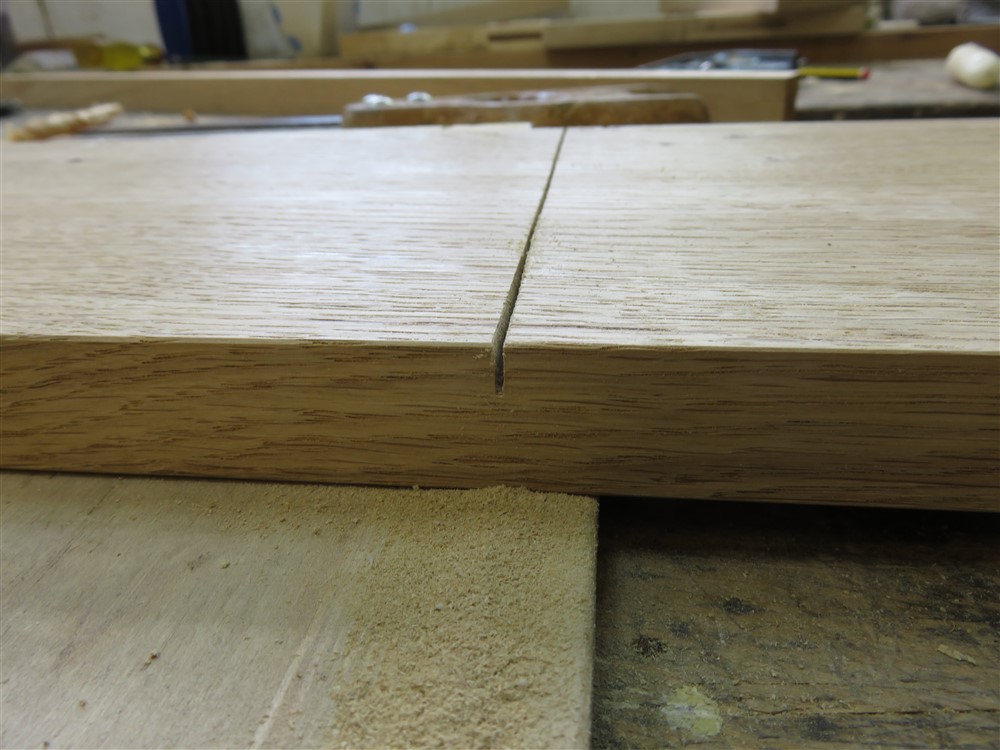
Patience, grasshopper.......First, I need to cut a couple of short grooves in here:
The chisels fitted, but the mallet didn't. The router fitted, but the dust extraction didn't. Oh well, who needs functioning lungs anyway?
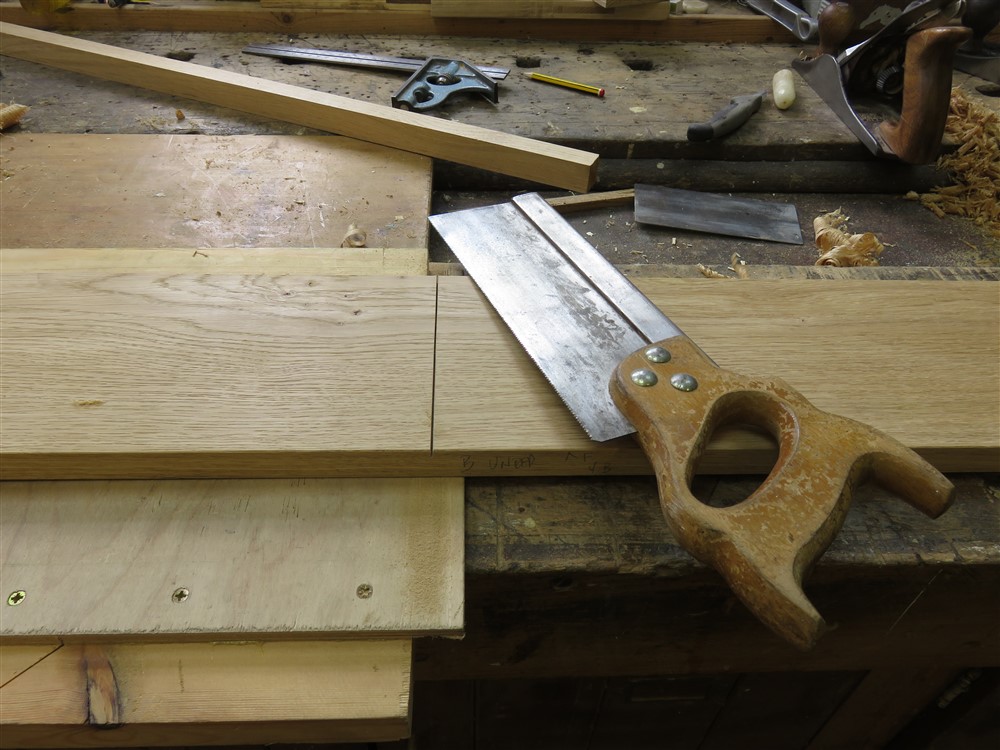
Having previously made the drawer sides and back, time to fit the fronts:
I put a little cut across the middle of each one, and chamfered it, to give the appearance of having 4 drawers rather than two:
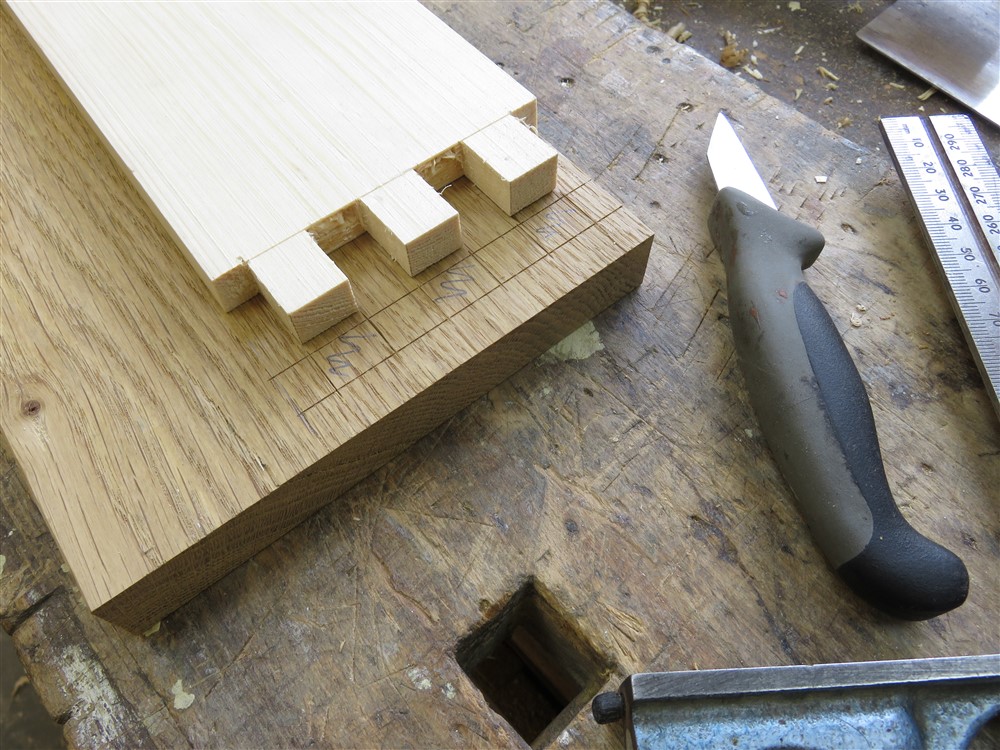
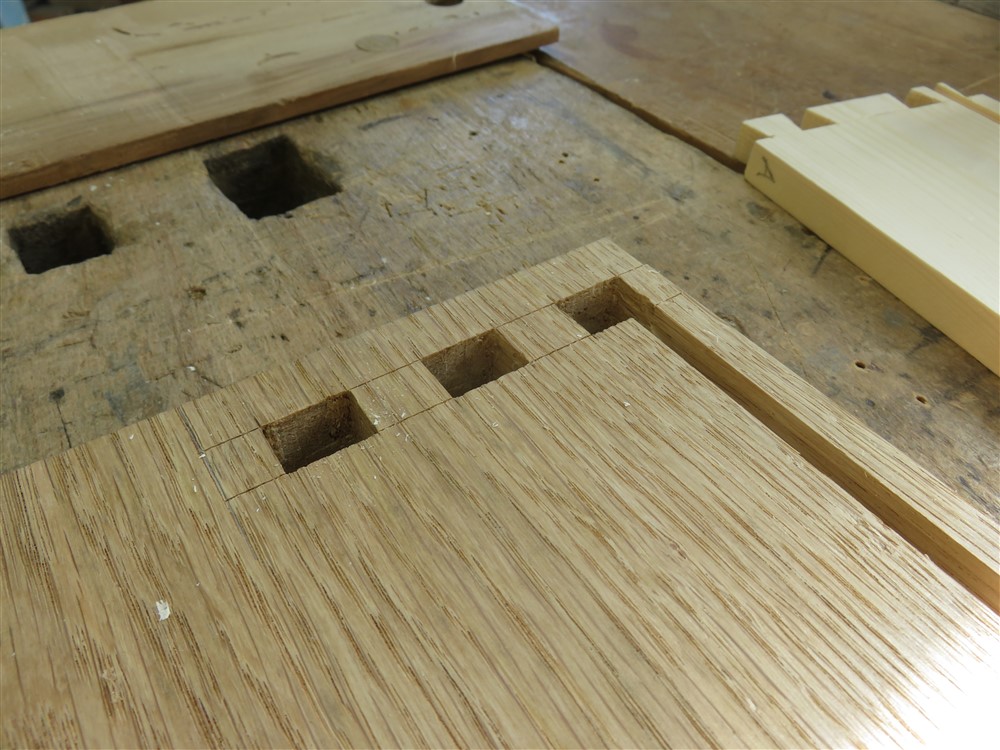
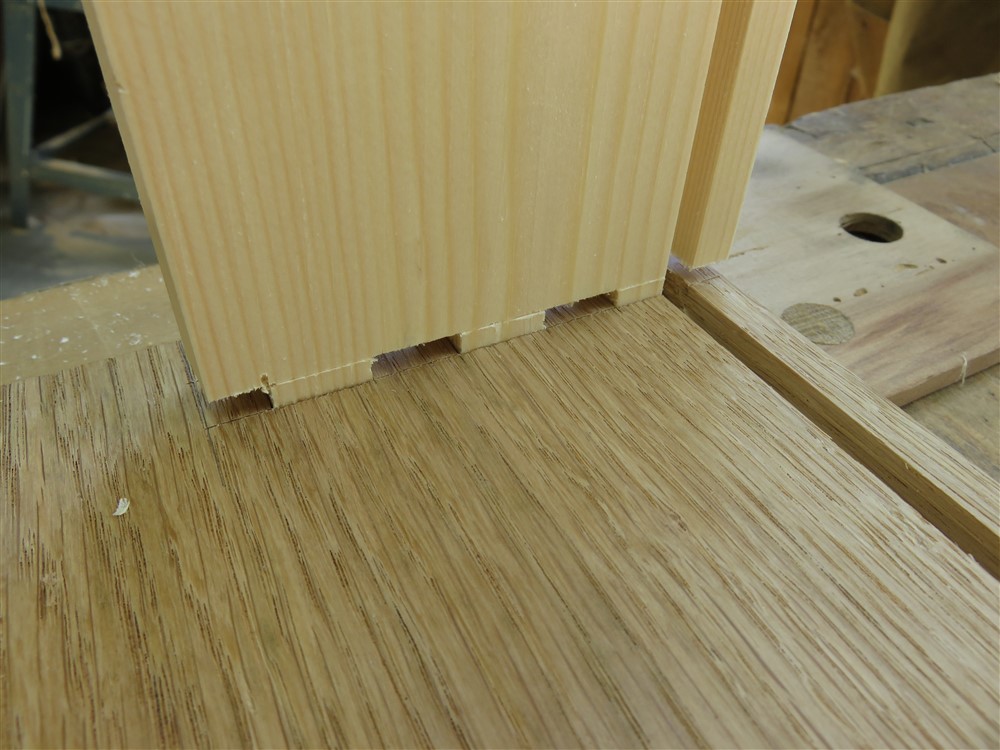
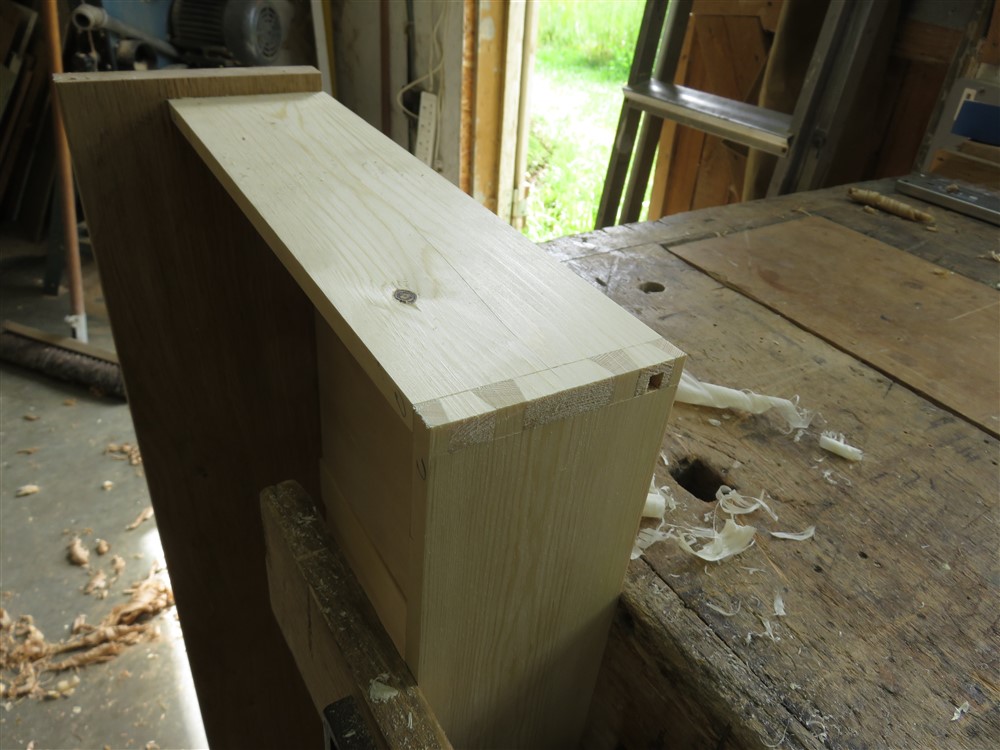
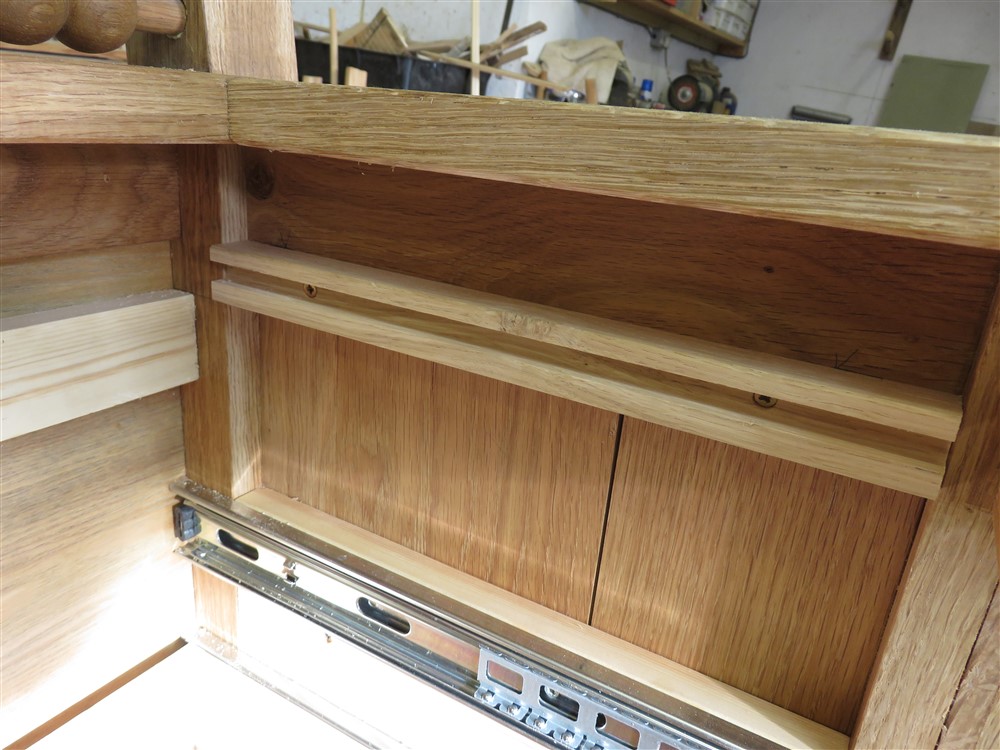
Now, the answer to the box joint question. I really wanted to have the deepest possible drawers (front-to-back) that I could. These drawers are going to run on proprietry runners, so the face of the drawer has to overhang the sides by the thickness of the runner. Normally this is achieved by making a drawer box and planting on a drawer front, but, as I said, I needed the maximum possible front-to-back measurement. Thus the sides needed to join directly into the back of the drawer front, and for a novel problem I devised a novel variation of a joint:
The floor of each drawer is long (about a metre) and although narrow I felt there was a good chance of them starting to sag over time. I therefore decided to strengthen the floor with some muntins:
All glued up:
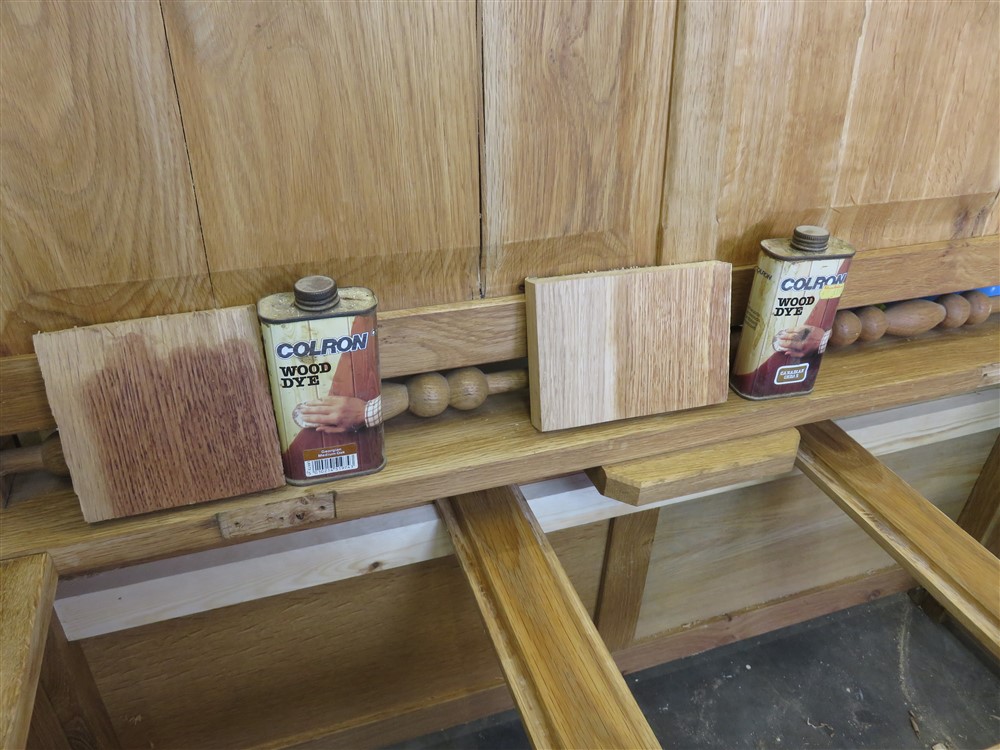
Whilst the drawers were drying, I did a little experiment with some dye to see if I could match the new into the old:
After cleaning up the drawers:
....I messed about for quite a while making them fit properly:
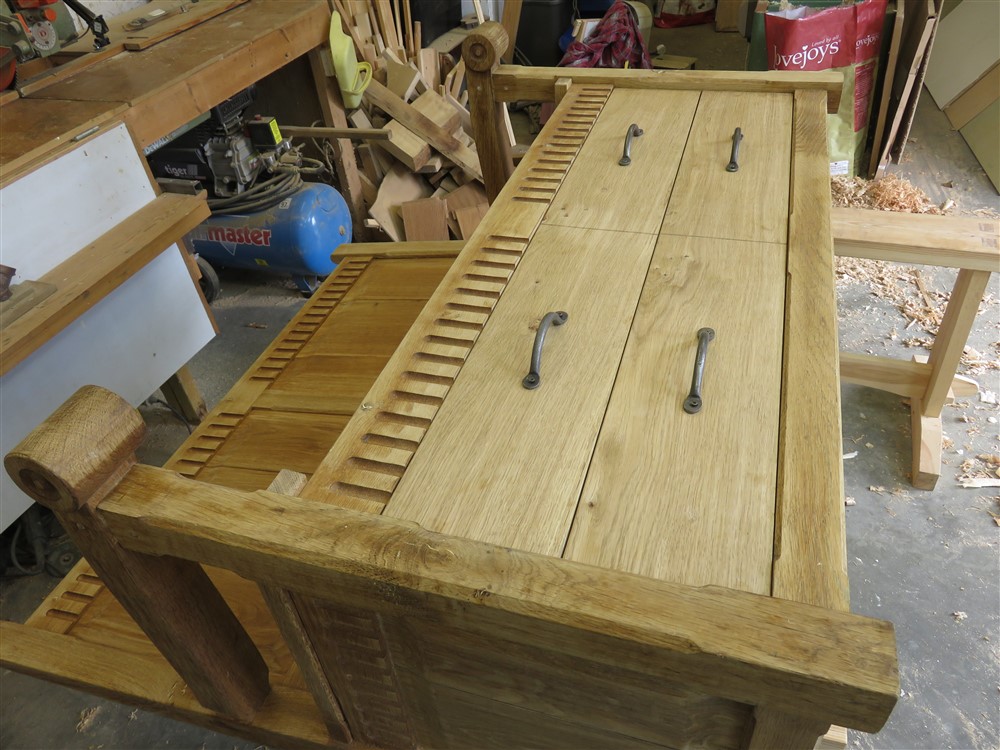
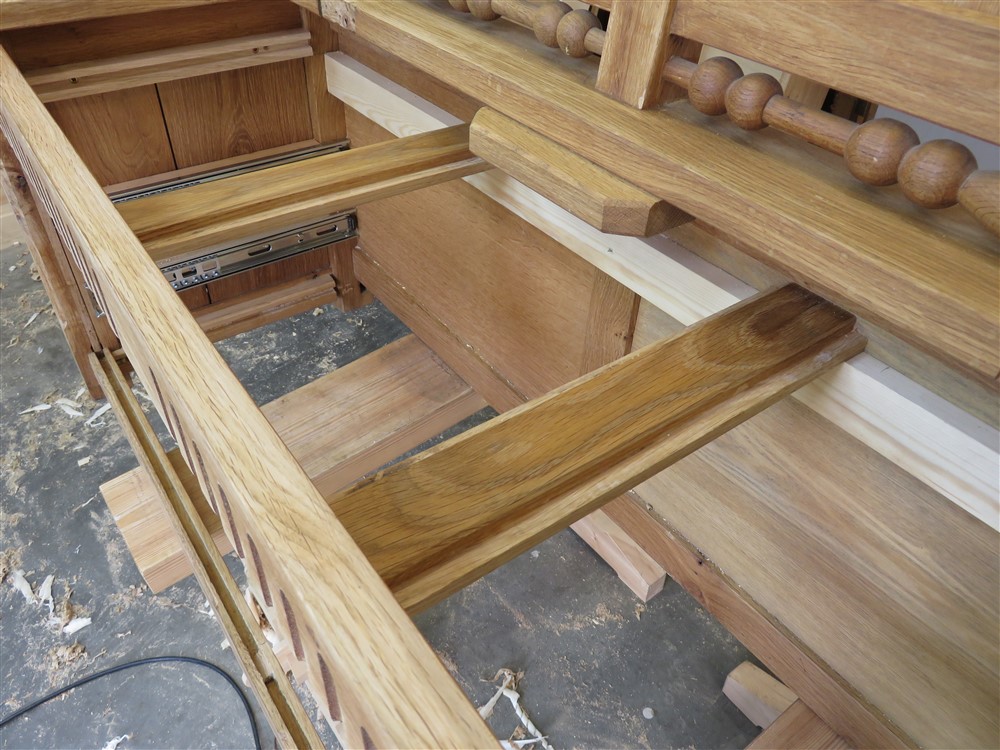
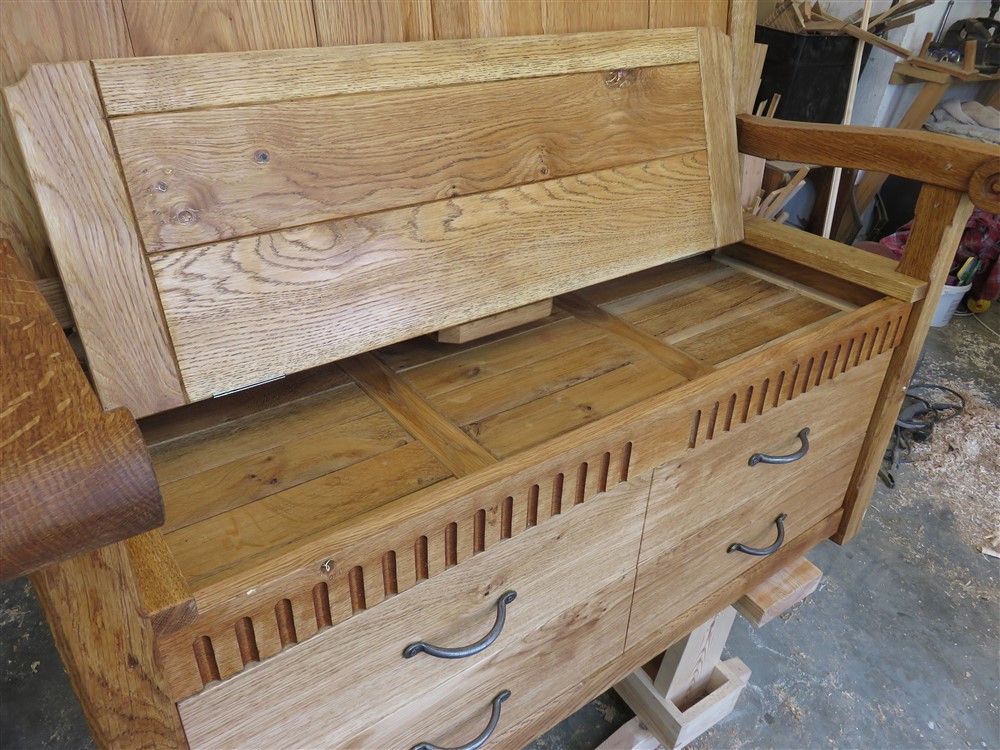
The final construction task was to re-build the floor, but above the drawers rather than below them. This involved a new piece on the back of the box, and these grooved end-pieces:
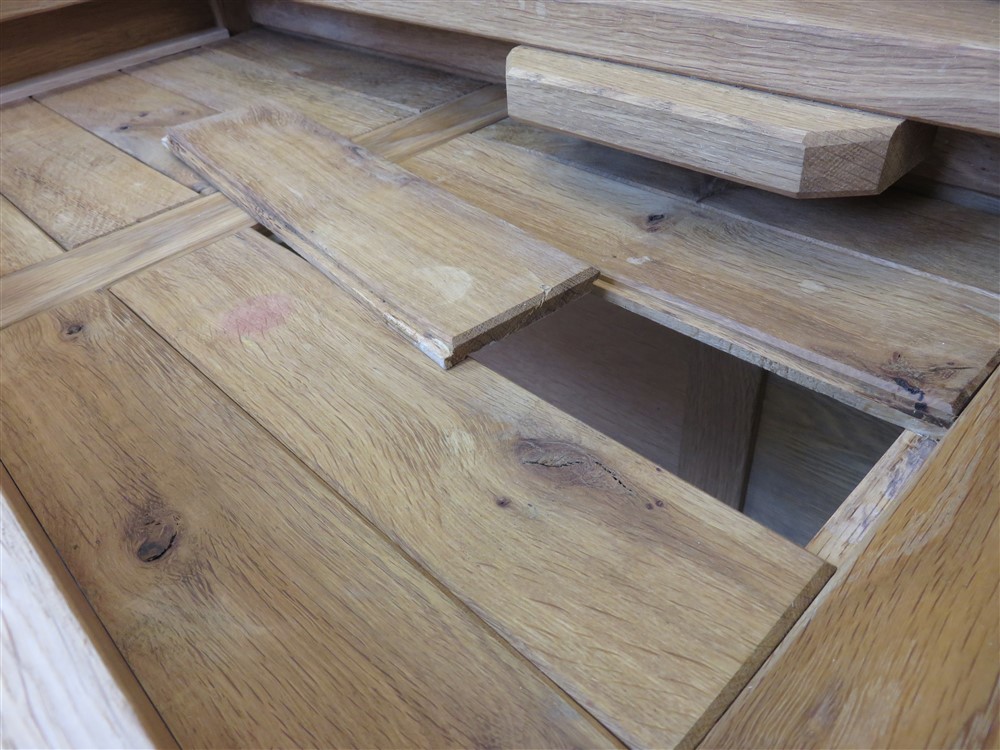
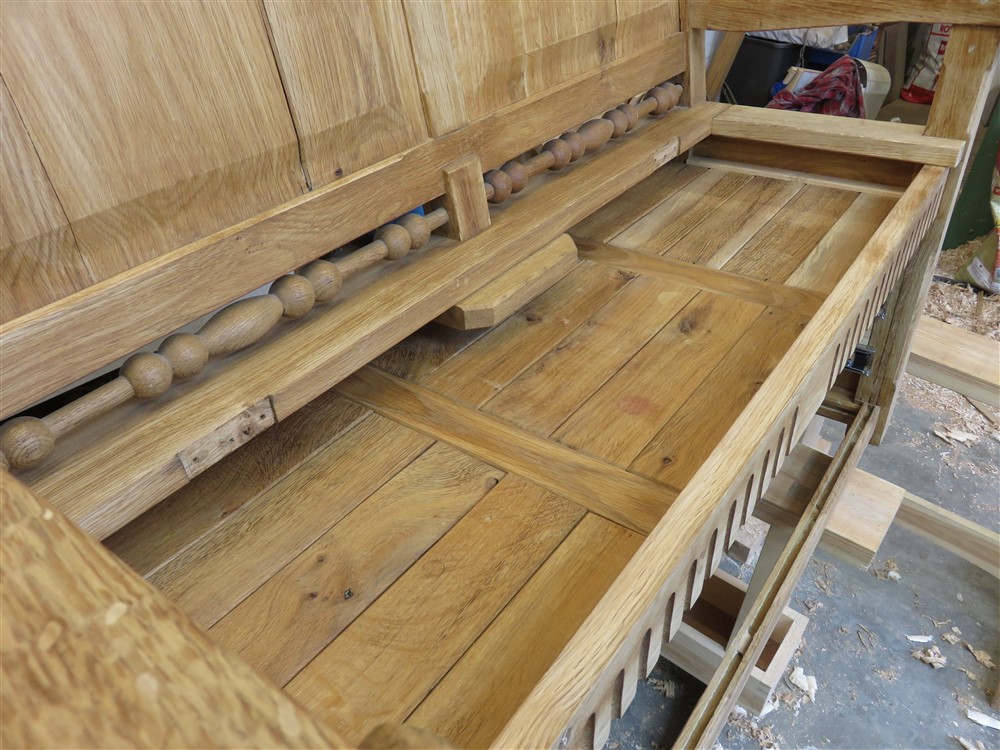
The front of those cross-pieces sits in the groove I struggled to rout out way back up there ^^^ somewhere. Here's a trial fit of the flooring. Note the half lap joint:
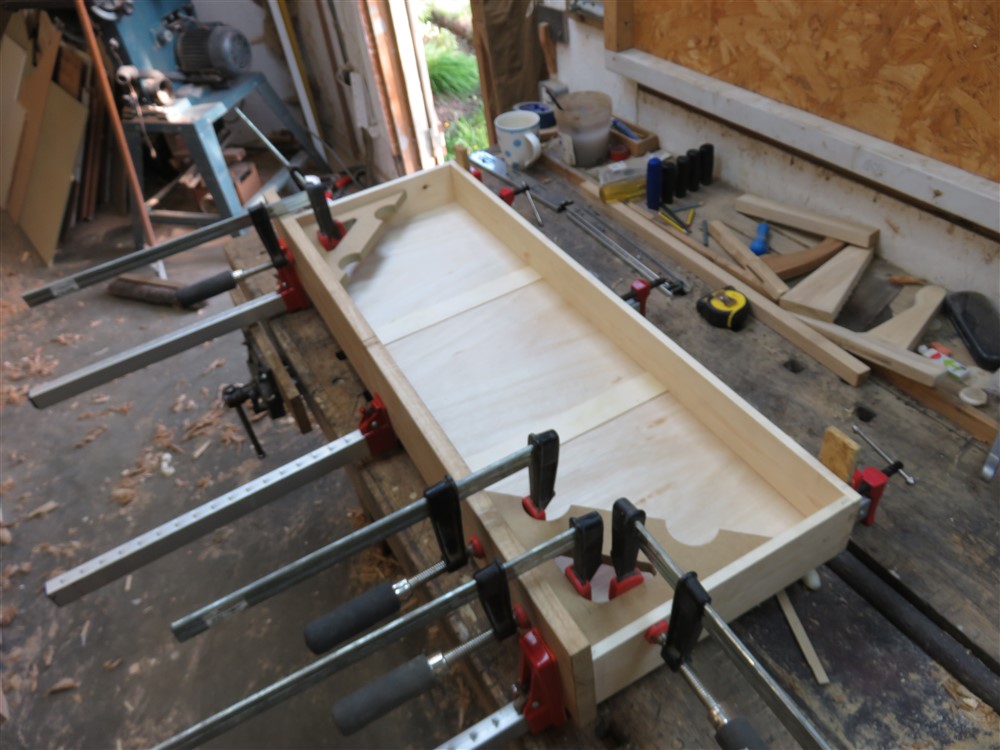
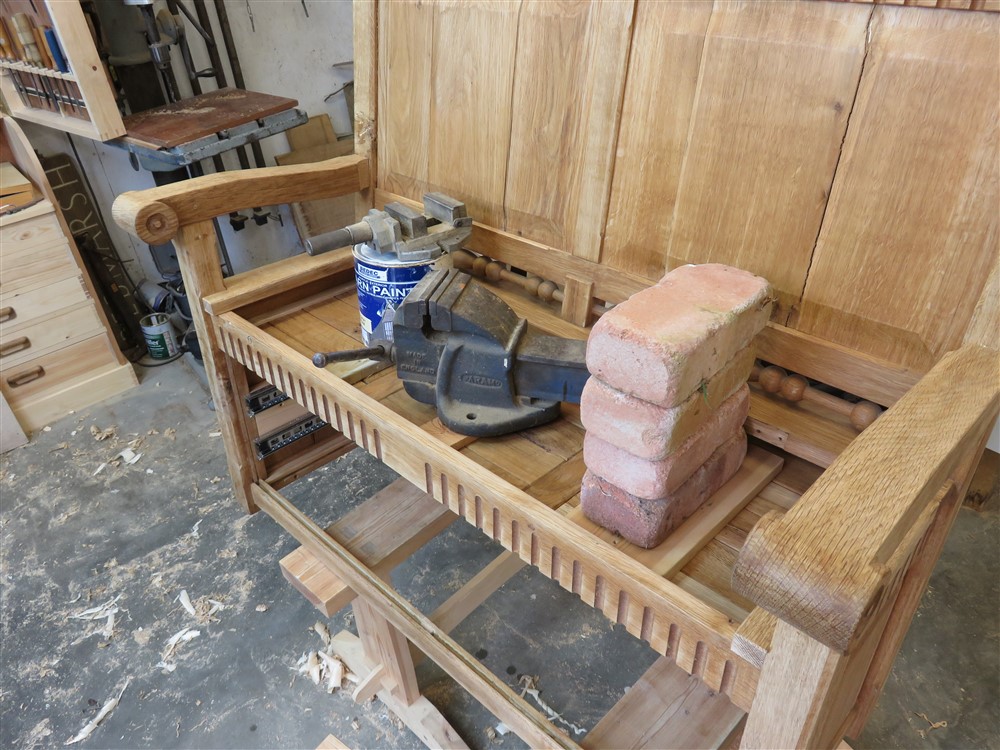
There is no possible means of clamping, so I found some heavy stuff for the glue up:
I abandoned the idea of dying the new to match the old. The previous finish was oil, so I was pretty much stuck with re-oiling (unless I stripped right back to bare wood), so I tossed a coin between Osmo and Danish, and went with the latter. This was going to yellow fairly rapidly anyway, and the settle is going in quite a light space, so will also darken again fairly soon. Therefore, I reasoned, even if the match isn't great now in 6 months time no-one will be able to tell new from old:
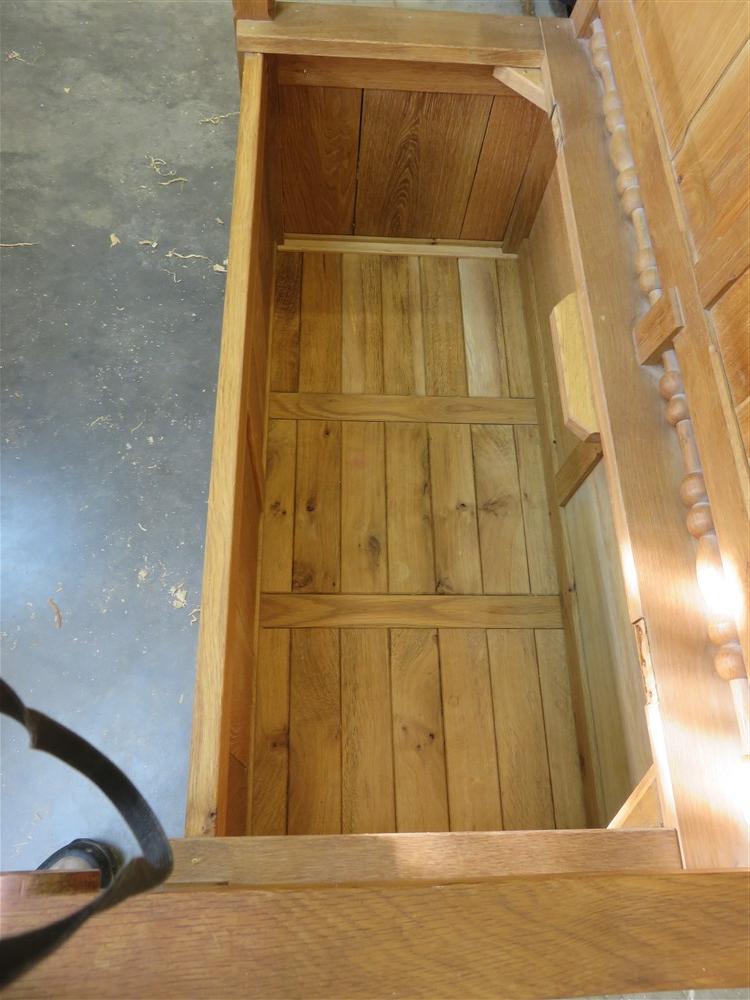
The area under the seat is a throw-in space for dog leads, gloves, balls, whistles etc (you know......dog-walking necessities).
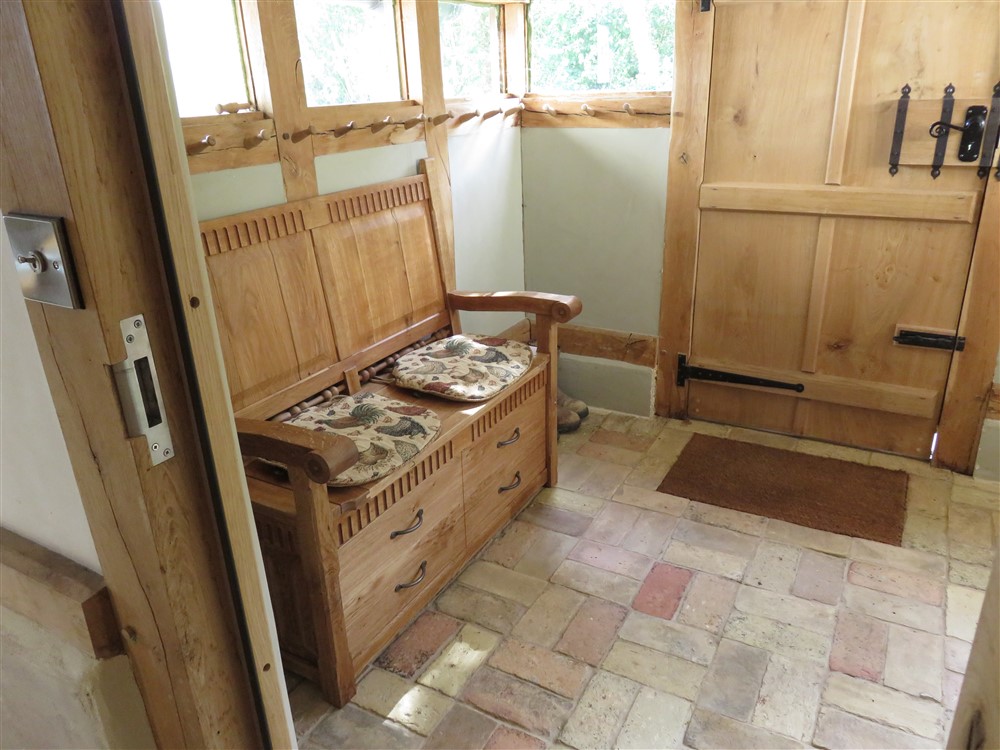
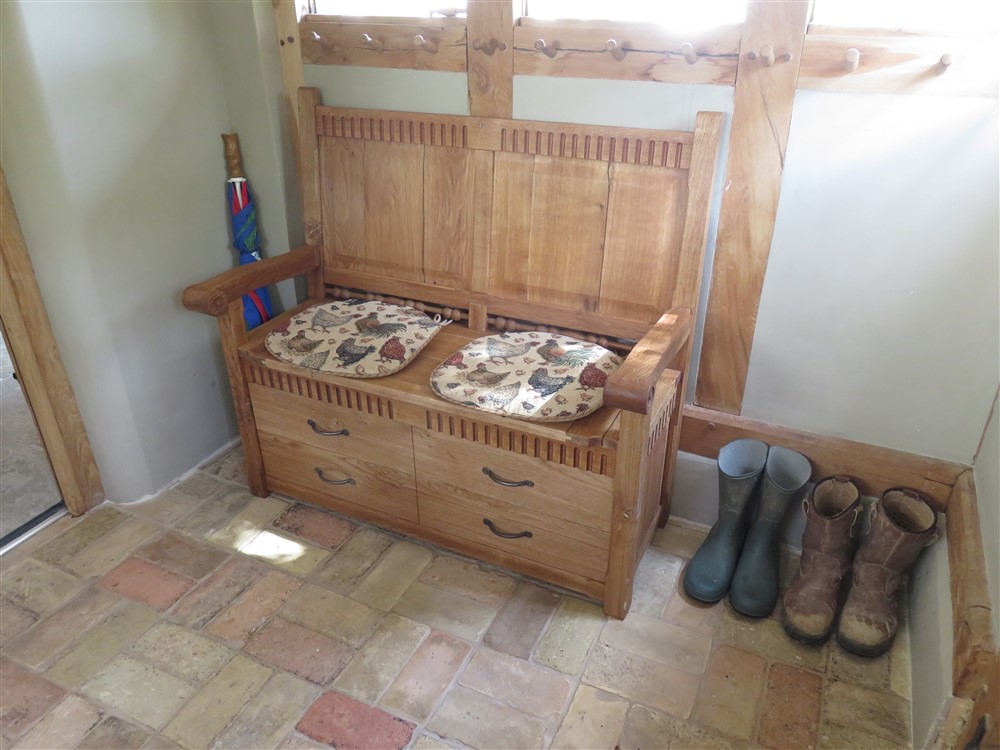
After finally (yeah, yeah, I know it's been 3 or 4 years. I've been busy) sealing the porch floor, I wheeled the settle around and plonked it in position:
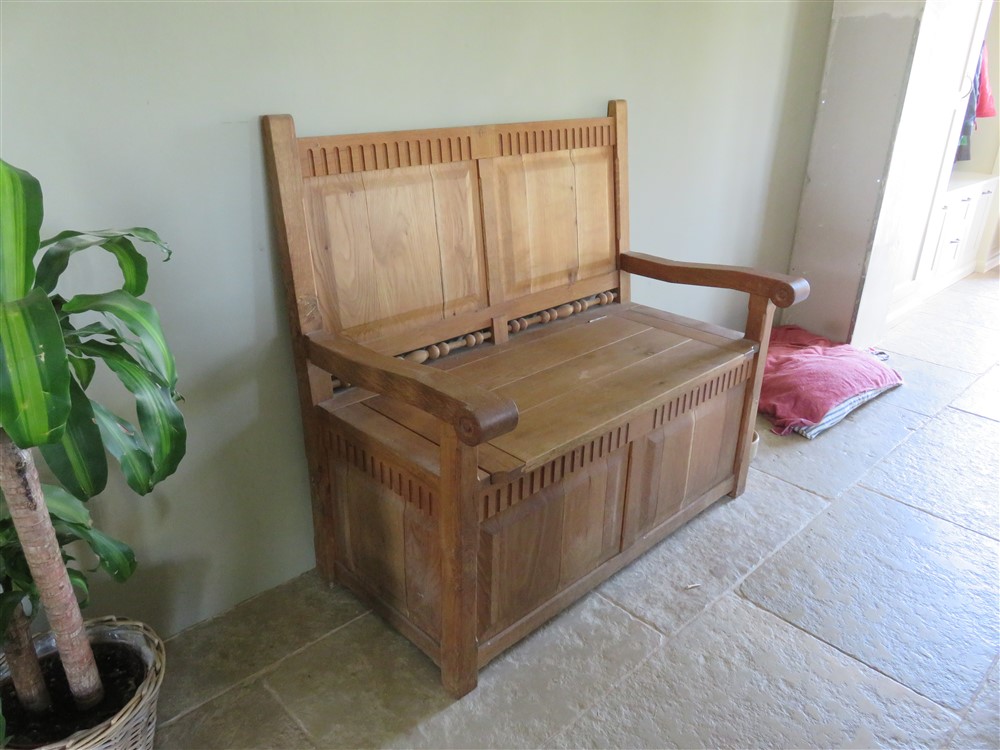
Here, for comparison, is what it looked like before I started work:
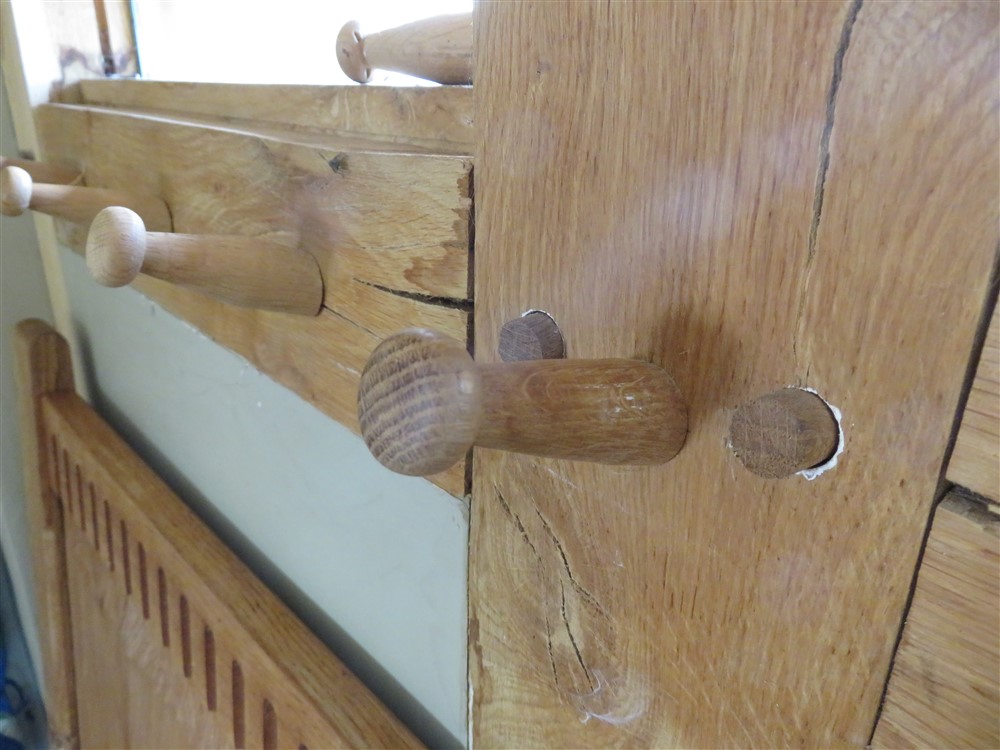
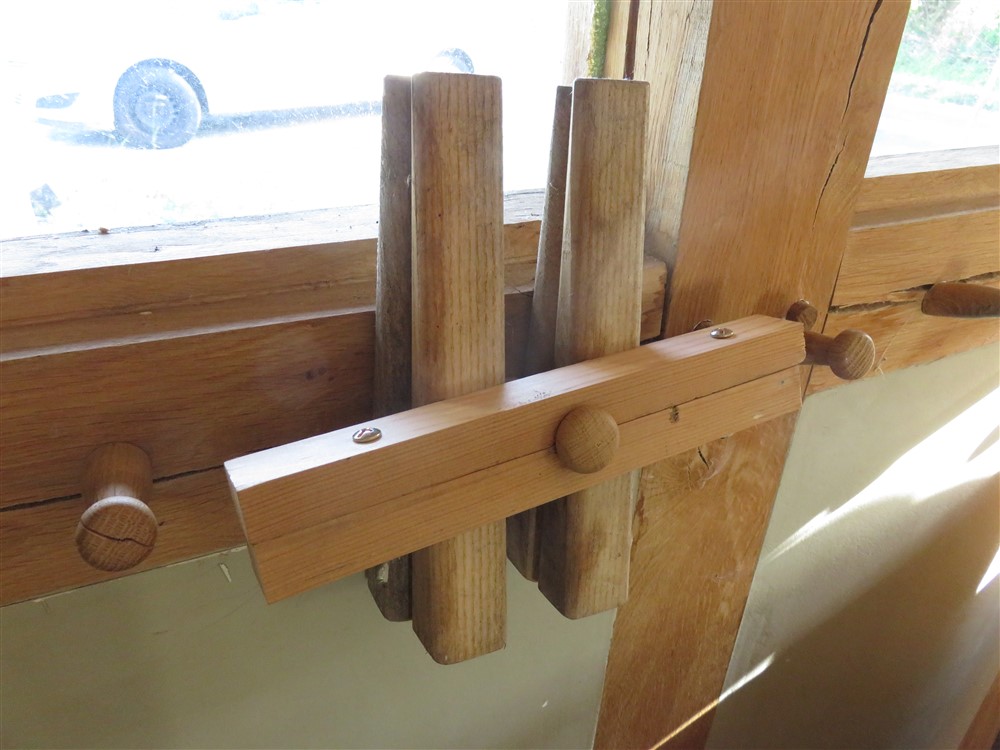
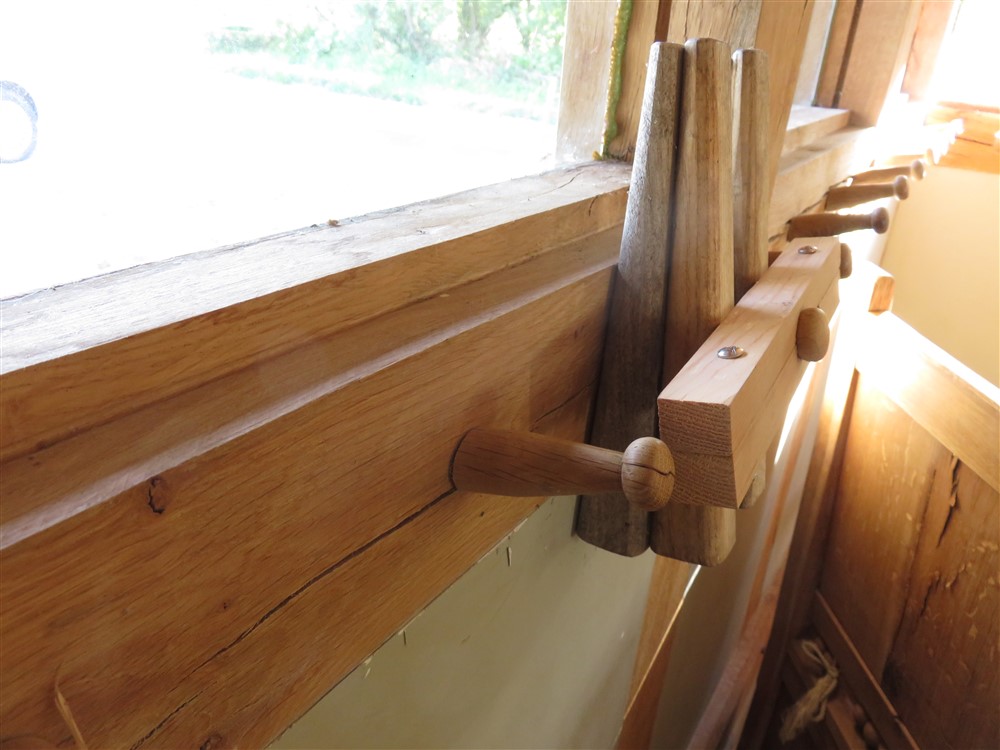
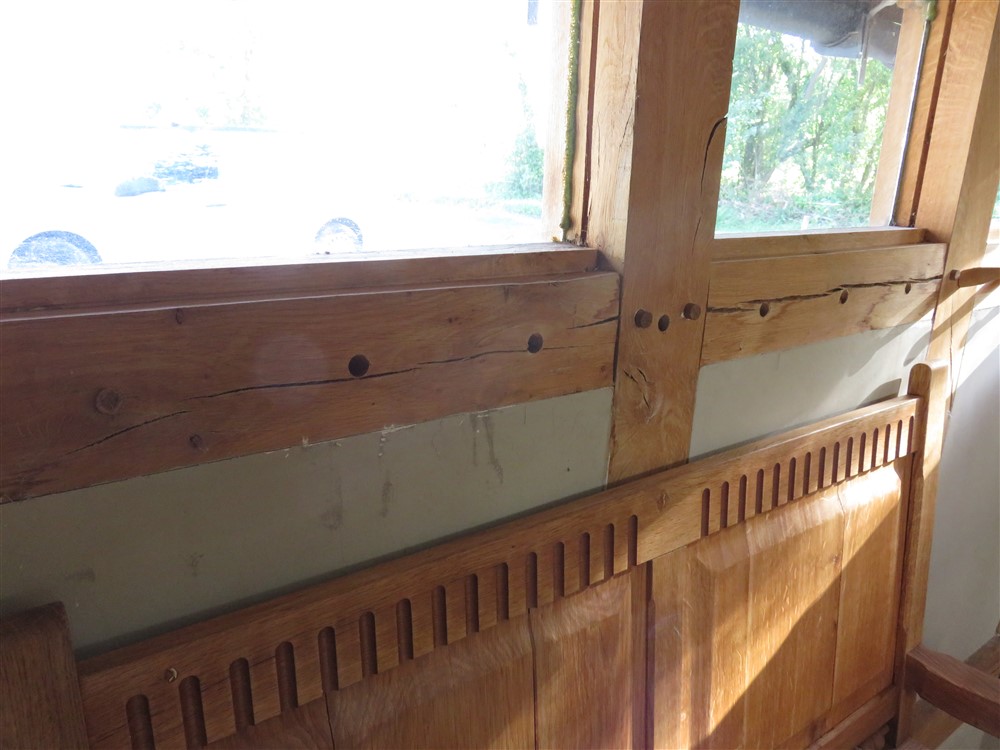
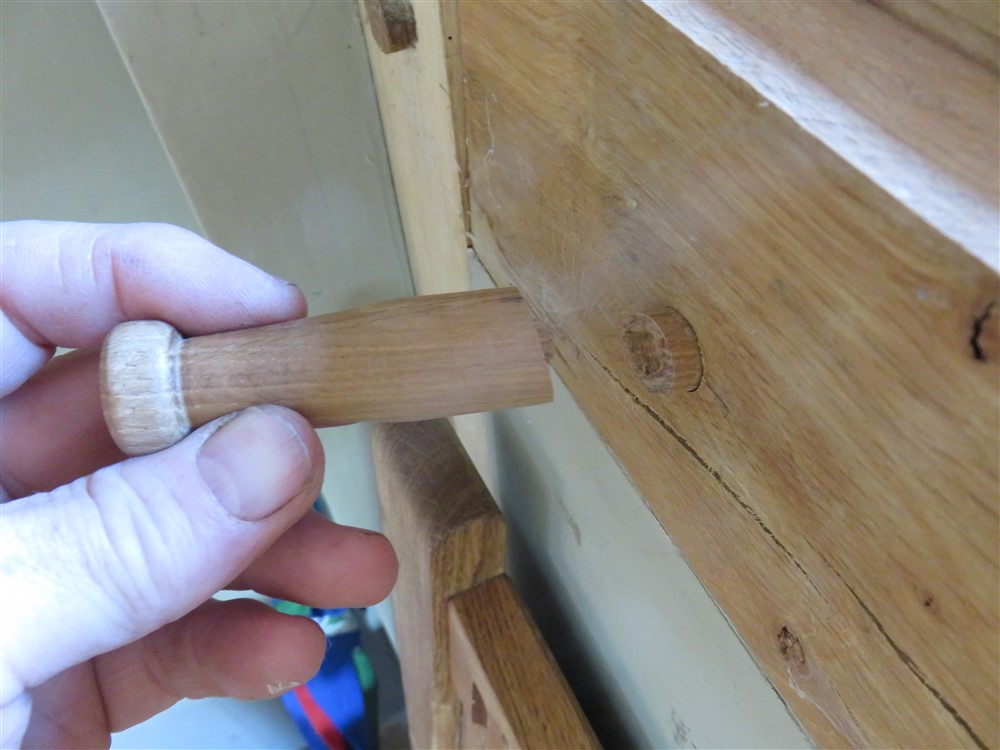
It all fits rather well. I'm rather pleased with the settle 2.0. unfortunately, we had originally planned that it would be on the other side of the porch, and so I had installed these coat pegs accordingly. Since we changed our minds on the settle location, they're now on the wrong side of the room. How on earth am I going to get them out, whole, for re-location to the other side? They're friction fitted......but there's lots of friction:
