Notching machine (**** bead, jack mitre)

UKworkshop.co.uk

Help Support UKworkshop.co.uk:

This site may earn a commission from merchant affiliate links, including eBay, Amazon, and others.

Jar944

Established Member
Joined
5 Feb 2020
Messages
154
Reaction score
167
Location
USA
This was a quick jig that turned into a machine. I threw it together for notching beaded cabinet face frames. Its not as quiet as a morso, but was relatively inexpensive. I had less than $100 US in the parts (not counting the router and bit)

https://youtu.be/jjV2hB7MpH8

https://youtu.be/k58IAsGoMWE

20191228_215201_copy_2016x1512.jpg

20191227_195618_copy_3024x2268.jpg

20200108_215942_copy_2016x1512.jpg
 

Attachments

  • 20191227_195618_copy_3024x2268.jpg
    20191227_195618_copy_3024x2268.jpg
    1.3 MB
  • 20191228_215201_copy_2016x1512.jpg
    20191228_215201_copy_2016x1512.jpg
    578.1 KB
  • 20200108_215942_copy_2016x1512.jpg
    20200108_215942_copy_2016x1512.jpg
    738.4 KB
Wow! What is it? I mean, can you give a description of how it works?

Edit - never mind, I watched the vid. I like it.
 
Ha, sure. It's a machine that cuts a notch in the rail or stile of a face frame as part of the jack miter for the bead.

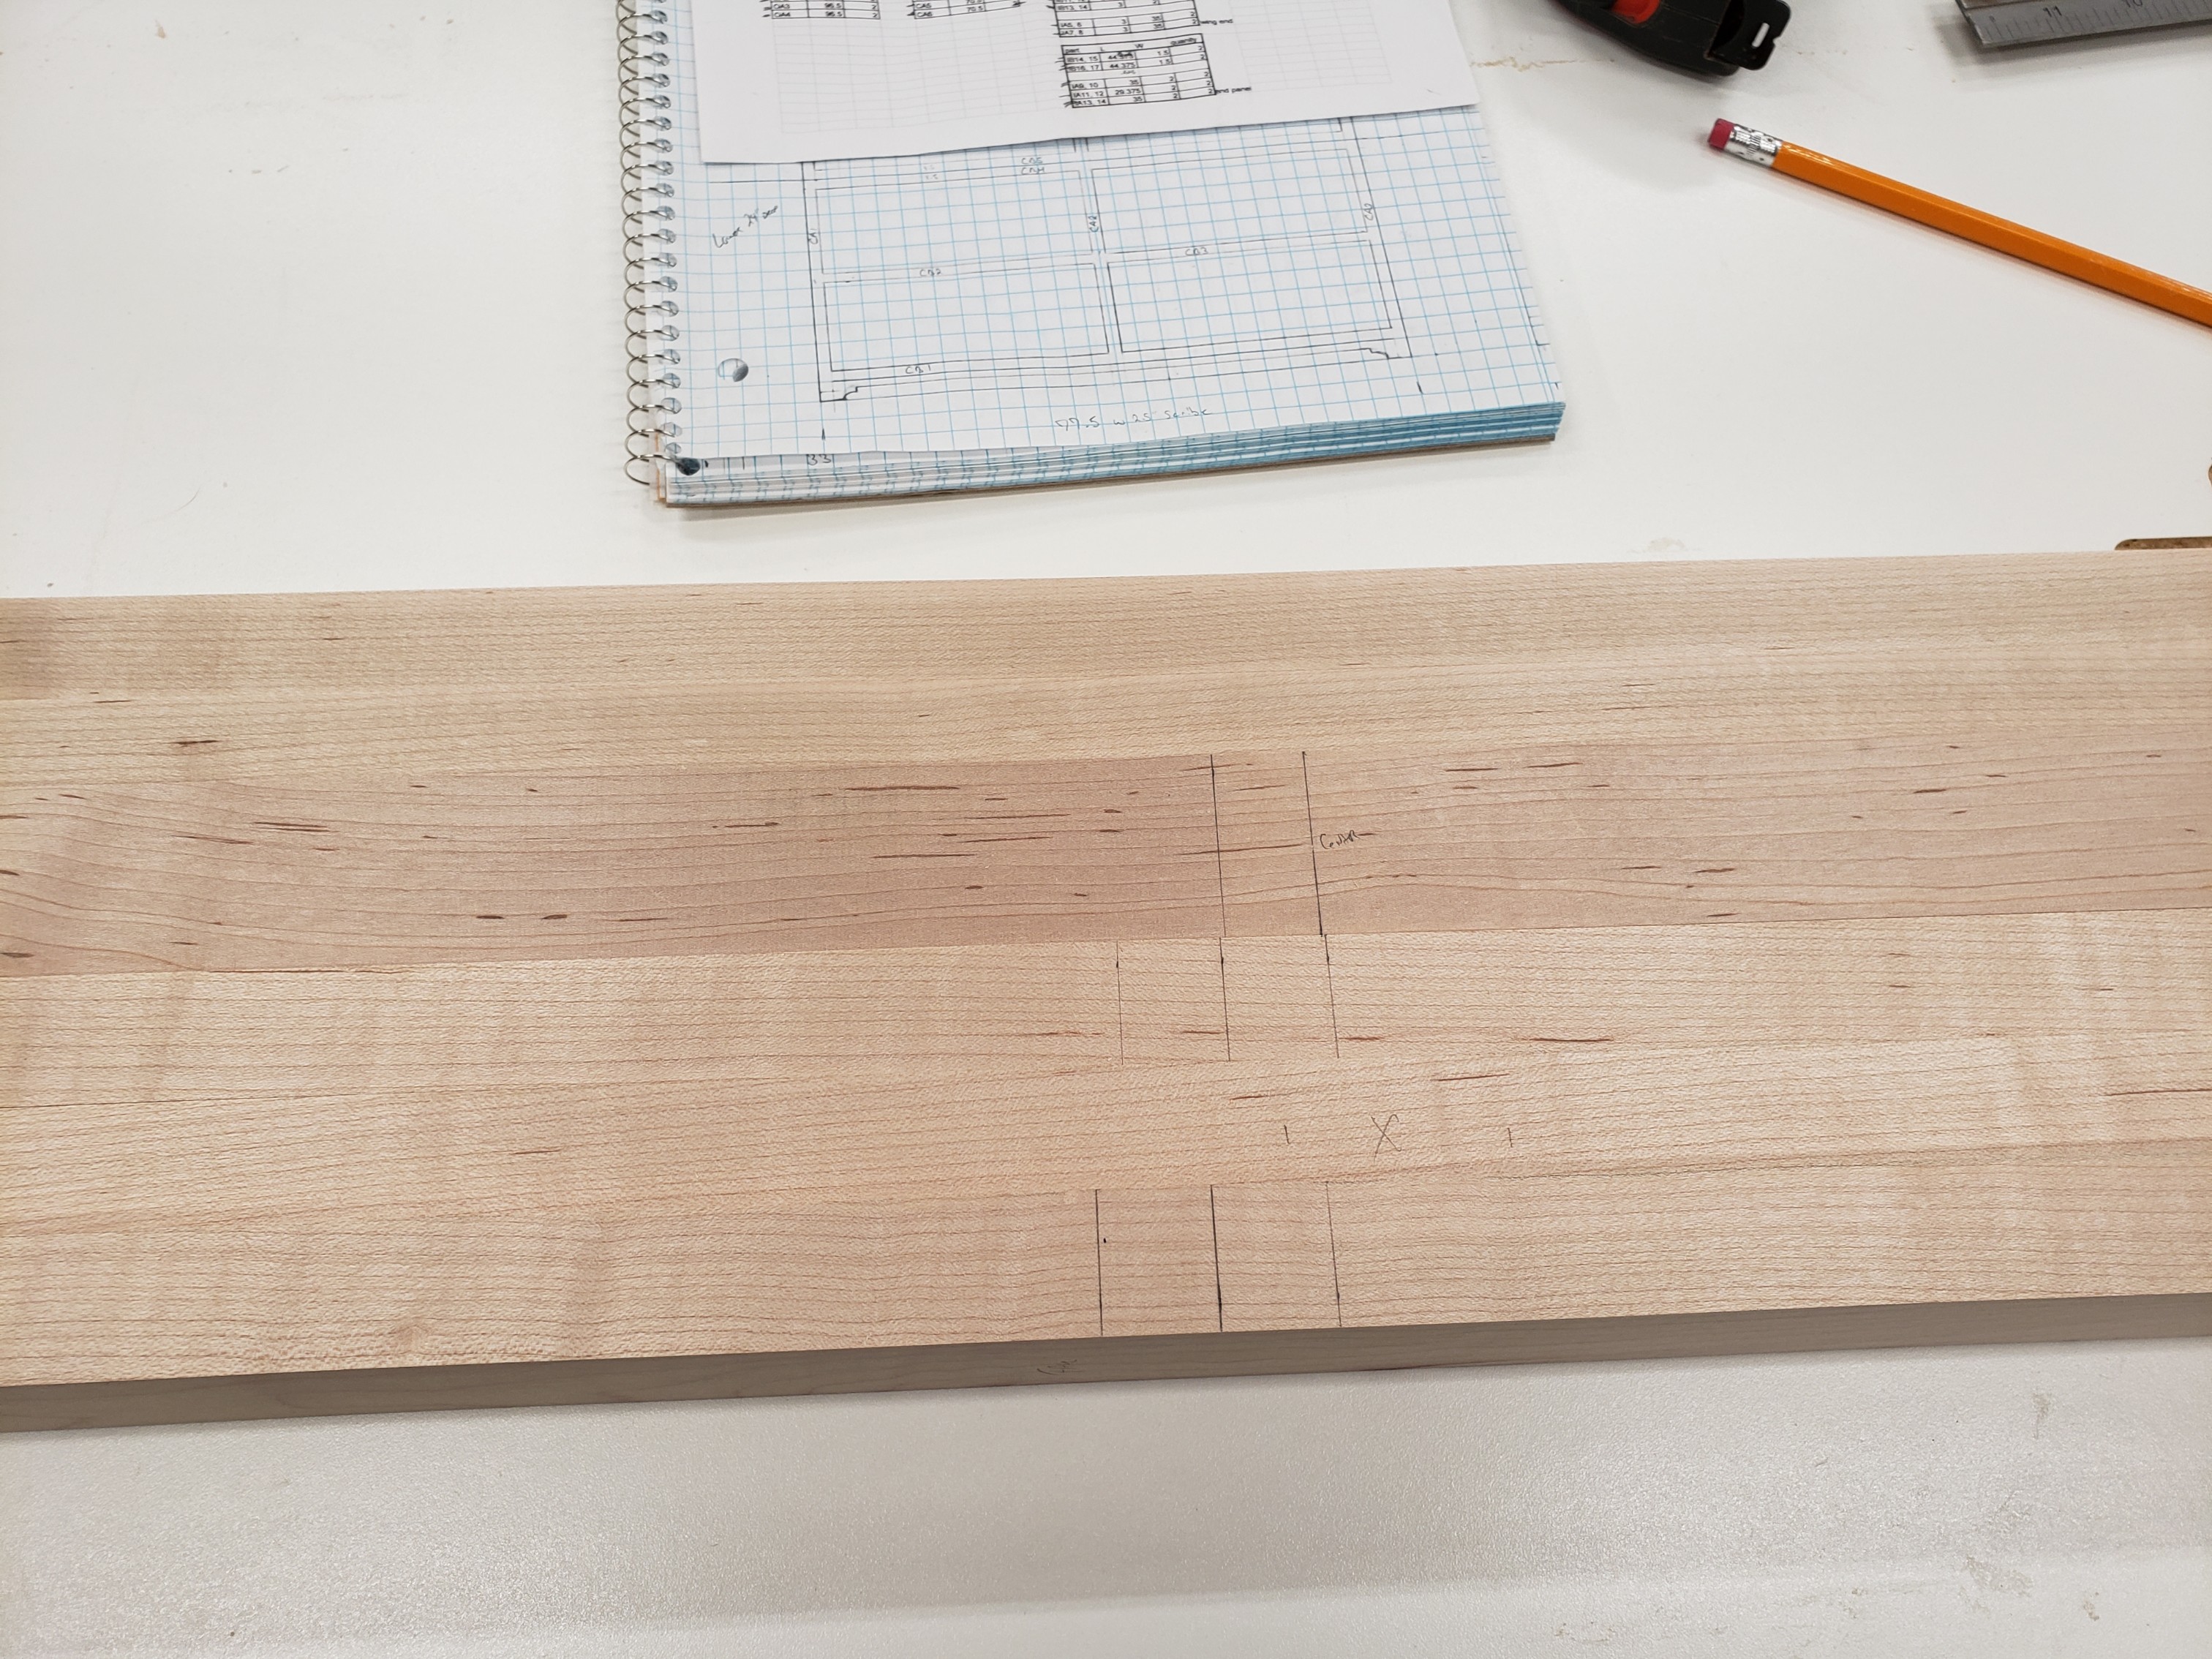
Mark out the parts (only one is needed I'd they are all thr same as I use stops to keep them identical)
20200108_182533_copy_3024x2268.jpg


Place the part into the machine, activate clamps and make the cut.
20200108_183956_copy_3024x2268.jpg


Using a stop the same setup miters the ends of the rails/stiles
20200108_183335_copy_3024x2268.jpg


Check the fits
20200108_191016_copy_2268x3024.jpg


If everything is good, make the bead cut on the spindle moulder/ shaper or router table
Screenshot_20200206-130116_Video Player.jpg


Then assemble
20200120_193142_copy_3024x2268.jpg
 

Attachments

  • 20200108_182533_copy_3024x2268.jpg
    20200108_182533_copy_3024x2268.jpg
    1.4 MB
  • 20200108_183956_copy_3024x2268.jpg
    20200108_183956_copy_3024x2268.jpg
    851.9 KB
  • 20200108_183335_copy_3024x2268.jpg
    20200108_183335_copy_3024x2268.jpg
    1,009.6 KB
  • 20200108_191016_copy_2268x3024.jpg
    20200108_191016_copy_2268x3024.jpg
    914.2 KB
  • Screenshot_20200206-130116_Video Player.jpg
    Screenshot_20200206-130116_Video Player.jpg
    1.1 MB
  • 20200120_193142_copy_3024x2268.jpg
    20200120_193142_copy_3024x2268.jpg
    1.3 MB
deema":2oz9spm8 said:
Great idea, well done.
Which router bit do you use?
It's the kreg notching bit part number prs4200. They make different sized bits for single pass cuts, but with this machine I just make and additional pass (with a spacer) to get the correct width cut.

41m4F7ACBqL._AC_SY400_.jpg
 

Attachments

  • 41m4F7ACBqL._AC_SY400_.jpg
    41m4F7ACBqL._AC_SY400_.jpg
    10.4 KB
Thanks for that, now I know.

How many frames do you have to make?
 
This specific kitchen has approximately 75 panels (door, drawer or false end panel) in 20 ganged together frames.

I have 2 more kitchens after that, then a library and study to build out.

So is short, a lot. This is the current pile waiting to be cut to length then notched.
20200127_212306_copy_3024x2268.jpg
 

Attachments

  • 20200127_212306_copy_3024x2268.jpg
    20200127_212306_copy_3024x2268.jpg
    1.5 MB
Haven't seen the videos yet but the pictures of the results are impressive! Thanks for showing your method.

Sent from my SM-G960F using Tapatalk
 
Thanks. I'm really happy how consistent it is on the cuts. That was one of the reasons I built it. It goes without saying the parts have to be very consistent and machining spot on in width for all of this to work together.

This was directly off the machine
20191215_222812_copy_3024x2268.jpg


And this is after glueup, but before any sanding or cleanup
20200206_154509_copy_2965x2039.jpg
 

Attachments

  • 20191215_222812_copy_3024x2268.jpg
    20191215_222812_copy_3024x2268.jpg
    1.4 MB
  • 20200206_154509_copy_2965x2039.jpg
    20200206_154509_copy_2965x2039.jpg
    1 MB
Without the cockbead it looks good. With the mould added slap my bum and call me Shirley it looks ace !! I made loads back in the day as an apprentice with mortice and tenons and paring with a chisel. This looks so much quicker and the results the same so it's a worthwhile method of doing it ;@)

Sent from my SM-G960F using Tapatalk
 
The nice thing about this notcher it that if you wanted to build the frames with mortise and tenons you could just as easily as without. It's as simple as indexing off the shoulder. Helps if you have a tenoner or tenon discs for the spindle / shaper.

A afternoon's worth of notching.
20200209_161920_copy_3024x2268.jpg


20200209_214153_copy_3024x2268.jpg


20200209_195536_copy_3024x2268.jpg
 

Attachments

  • 20200209_214153_copy_3024x2268.jpg
    20200209_214153_copy_3024x2268.jpg
    1.2 MB
  • 20200209_161920_copy_3024x2268.jpg
    20200209_161920_copy_3024x2268.jpg
    1.3 MB
  • 20200209_195536_copy_3024x2268.jpg
    20200209_195536_copy_3024x2268.jpg
    1.8 MB
What's the name of the pneumatic hold down thing you use? My tenoner has a very poor hold down lever arrangement. I've seen the same tenoner with a similar thing to what you are using.

Sent from my SM-G960F using Tapatalk
 
Very impressed - watching the video, one thought was a foot switch might be helpful. Or at the very least, putting the switch on the other side of the workpiece so you don't have to reach across yourself. Trivial observation - don't mind me.
 
ColeyS1":2bjapy2d said:
What's the name of the pneumatic hold down thing you use? My tenoner has a very poor hold down lever arrangement. I've seen the same tenoner with a similar thing to what you are using.

Sent from my SM-G960F using Tapatalk

Sorry I missed this.

The clamp is just a 1.75" bore air cylinder. Its a single acting, spring return model. (Amazon purchase, about $25 US)

Air cylinders make great clamps. I have another on my pocket hole machine and plan on adding them to my spindle moulders and tenoner
 
Trainee neophyte":xgr241h5 said:
Very impressed - watching the video, one thought was a foot switch might be helpful. Or at the very least, putting the switch on the other side of the workpiece so you don't have to reach across yourself. Trivial observation - don't mind me.

It has a foot switch that operates the router plunge mechanism, so it would be difficult to add another. Though adding a second switch to the other (right) side so either switch could activate the clamp is a good idea.
 
Back
Top