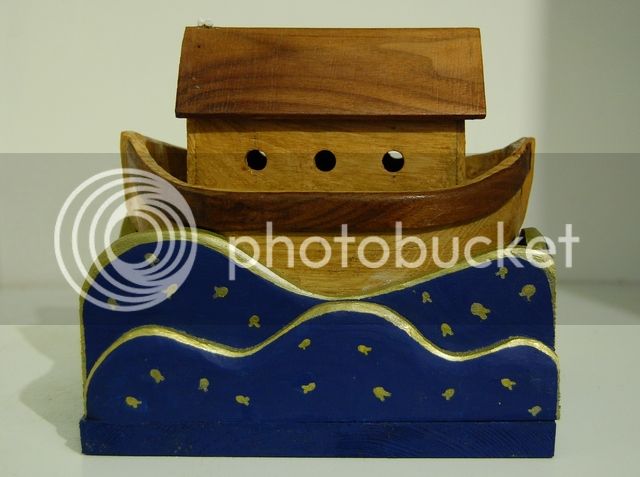
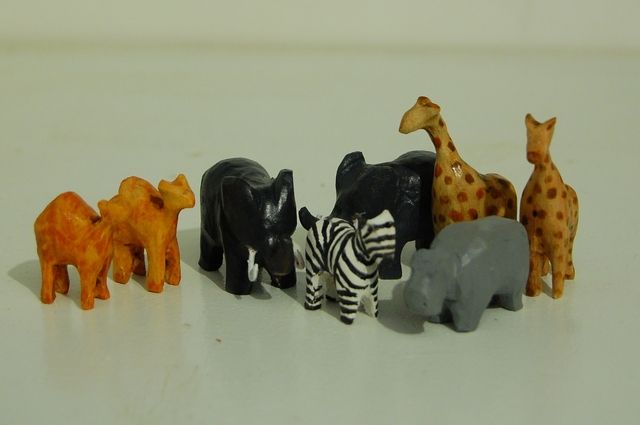
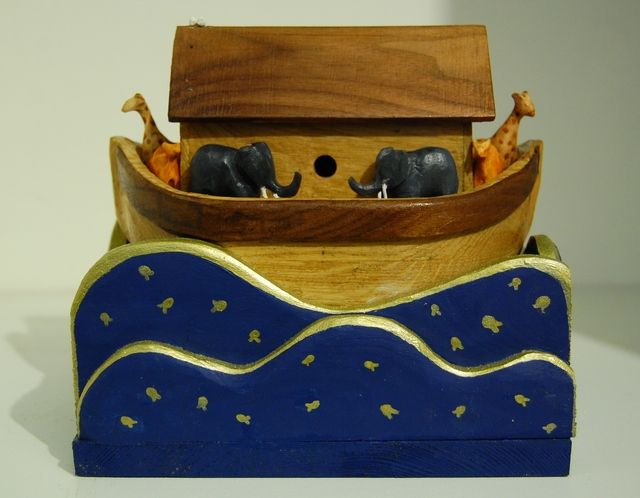
Hi Everyone,
This is my first carving project I have shared on here and have been keeping more photos on it's progress than other projects I have done in the past. So I thought I would make this thread on it.
A couple of weeks ago I received a text message from a very good friend of mine who was fitting a new kitchen sink into his worktop. It was solid oak and "was as hard as steel" and was asked if I wanted it otherwise it would be taken to the dump.
This is the picture I received with the message.
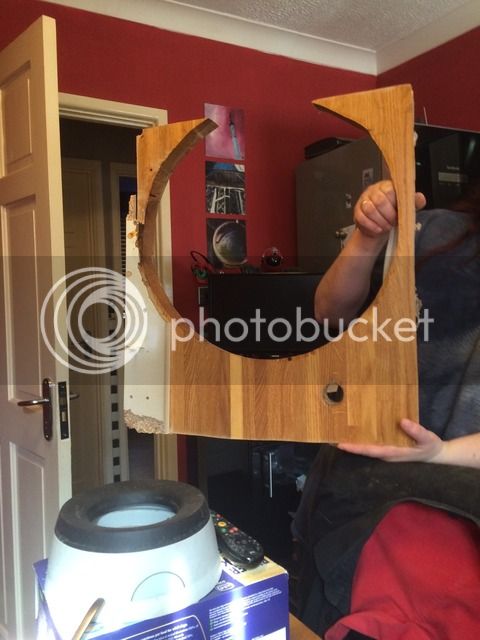
I said I would take it, although at the time had no idea what to do with it. While I awaited it's arrival I came up with the idea of using the worktop to help me create the hull of a small noah's ark. This is a project I have been wanting to do since I first took up carving and was in fact one of the reasons I did after seeing one in a shop window for several hundred pounds.
The plan was to lamiate the worktop together, using the lamiations from front to back (I'm not seaman so I'm sure someone will correct me with the proper term) to imitate the planking on the ark's hull.
When I received the top I had a bit of chipboard and screws to remove and then cut some excess bits off. You can see where I had started drawing on the wood to make sure my template for the hull fitted the worktop.
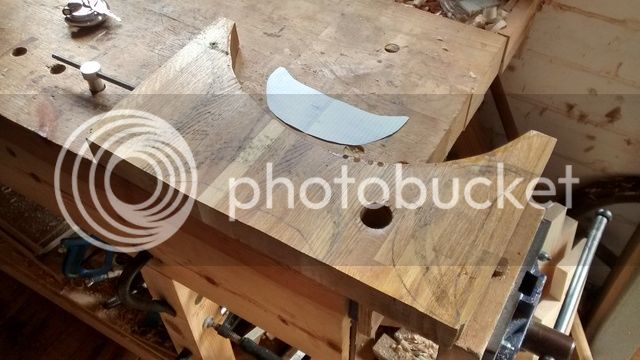
I then had to plane off 10 years worth of Danish oil using a woody jack plane, which proved to be easier than I thought.
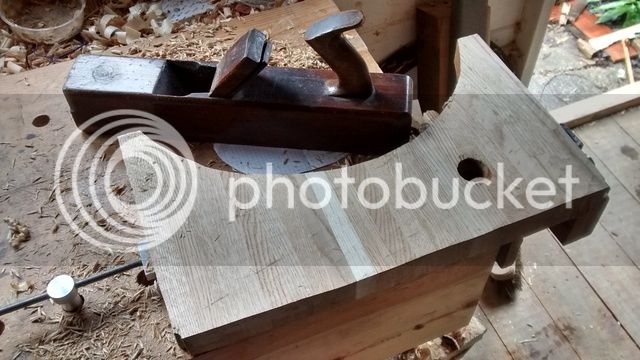
The side profile template was then drawn onto the worktop
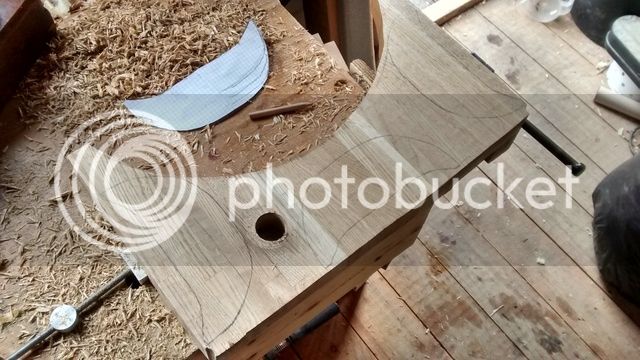
Then cut into it's sections. You can see that one of the laminations is running vertical, rather than horizontal. This wasn't a problem as I would hold this piece in the middle and wouldn't really be affected by the carving process as much as the others.
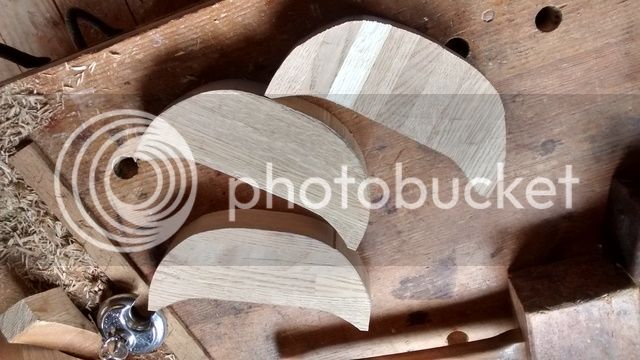
These were then glued together and left over night to dry.
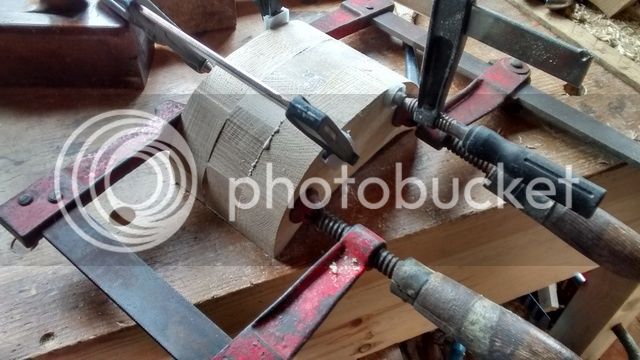
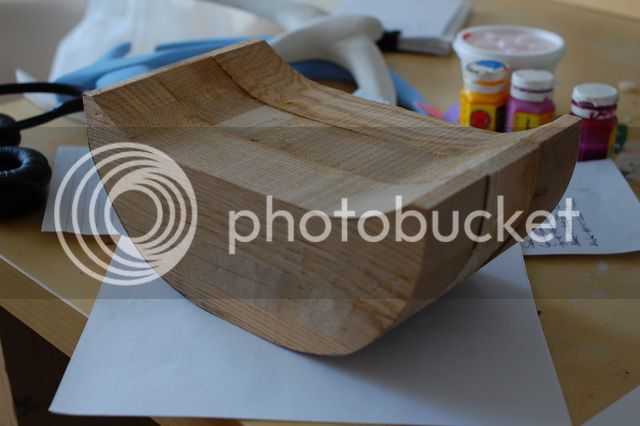
After 24 hours the clamps came off and the top profile was ready to cut out. You can just make out the brown pencil marks on the deck and sides.
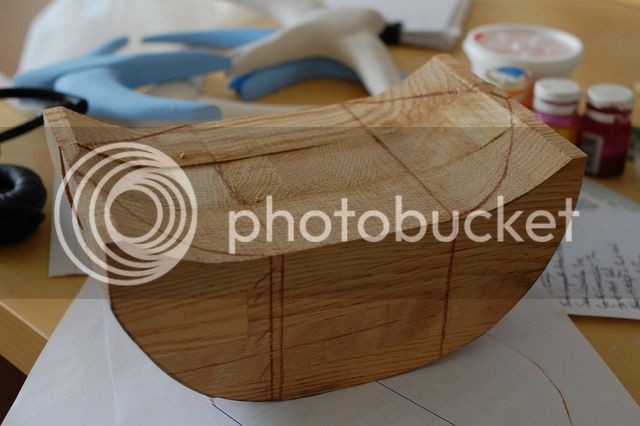
To do this on such a curved surface in a big bandsaw would be too dangerous and so mounted the ark to a piece of scrap plywood to hold the ark at a good and safer position.
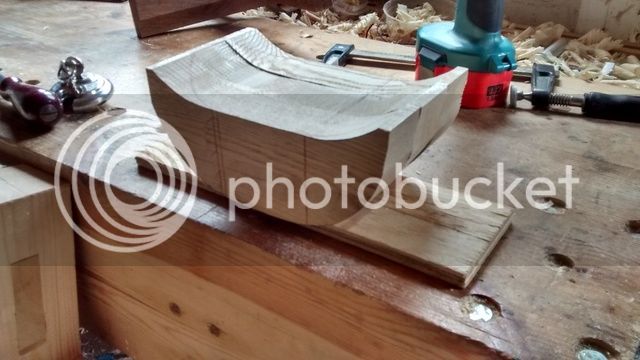
Once roughed out, the f clamp I use to hold the work so my hands are well clear of the bandsaw blade.
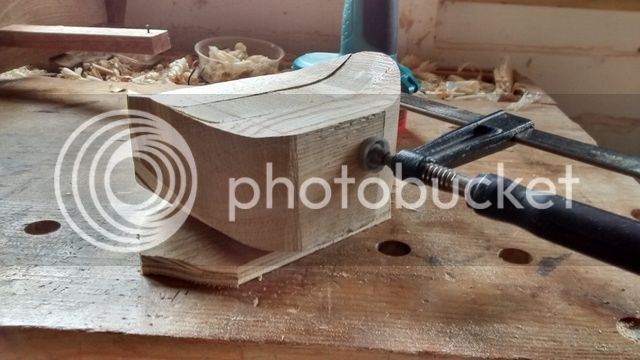
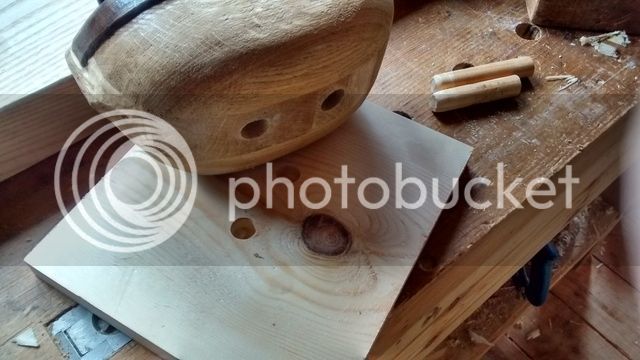
I then used the two screw holes I had used to mount the plywood to then mount a mounting block to. (Although this proved pretty useless in the long run as the sides of the ark were pretty flat for my vice jaws to hold.)
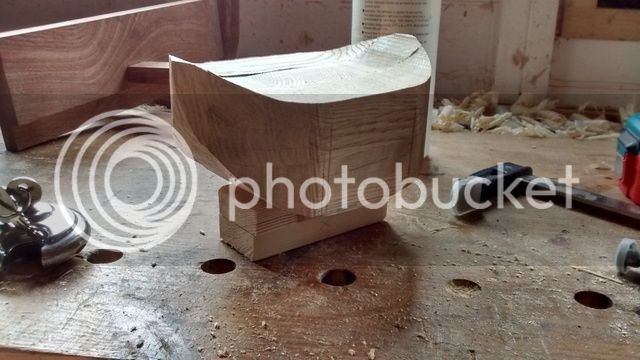
The hull was then carved (Sorry I lost the picture of this) and then rasped to a more even finish.
Next I worked on the deck. A 1cm line was marked all the way around the deck and then this was carved out. I decided to leave part of the middle section with the end grain face to create a sort of tenon for the housing for the cabin.
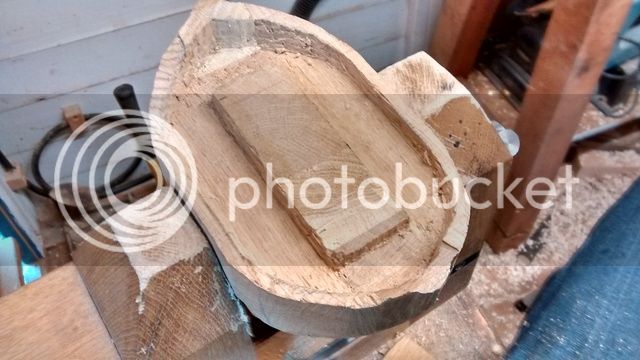
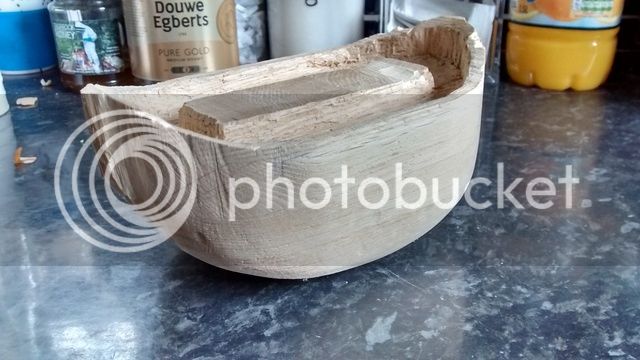
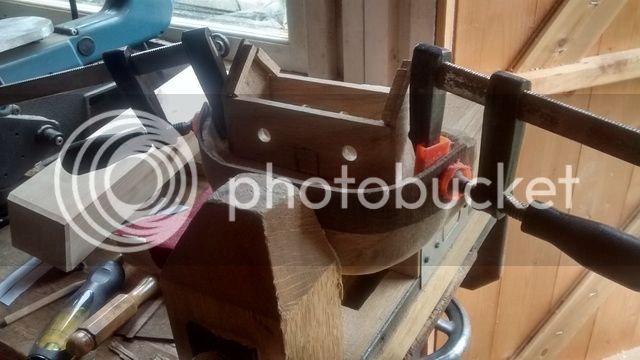
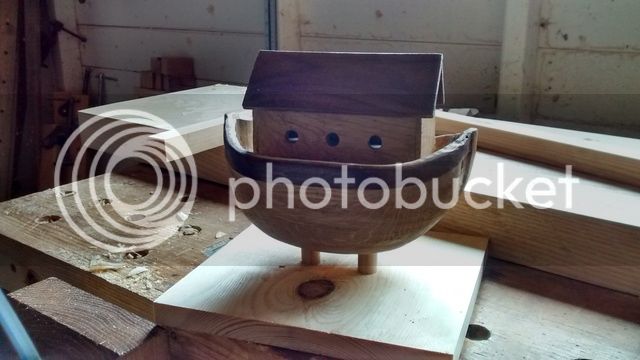
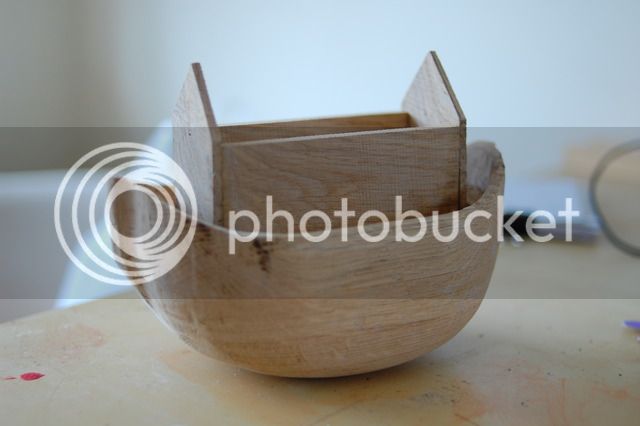
The whole hull and deck were then sanded and cleaned up before work began on building the cabin. After much fettling on the deck the cabin was finally glued into place over the tenon.
More to come.....
This is my first carving project I have shared on here and have been keeping more photos on it's progress than other projects I have done in the past. So I thought I would make this thread on it.
A couple of weeks ago I received a text message from a very good friend of mine who was fitting a new kitchen sink into his worktop. It was solid oak and "was as hard as steel" and was asked if I wanted it otherwise it would be taken to the dump.
This is the picture I received with the message.

I said I would take it, although at the time had no idea what to do with it. While I awaited it's arrival I came up with the idea of using the worktop to help me create the hull of a small noah's ark. This is a project I have been wanting to do since I first took up carving and was in fact one of the reasons I did after seeing one in a shop window for several hundred pounds.
The plan was to lamiate the worktop together, using the lamiations from front to back (I'm not seaman so I'm sure someone will correct me with the proper term) to imitate the planking on the ark's hull.
When I received the top I had a bit of chipboard and screws to remove and then cut some excess bits off. You can see where I had started drawing on the wood to make sure my template for the hull fitted the worktop.

I then had to plane off 10 years worth of Danish oil using a woody jack plane, which proved to be easier than I thought.

The side profile template was then drawn onto the worktop

Then cut into it's sections. You can see that one of the laminations is running vertical, rather than horizontal. This wasn't a problem as I would hold this piece in the middle and wouldn't really be affected by the carving process as much as the others.

These were then glued together and left over night to dry.


After 24 hours the clamps came off and the top profile was ready to cut out. You can just make out the brown pencil marks on the deck and sides.

To do this on such a curved surface in a big bandsaw would be too dangerous and so mounted the ark to a piece of scrap plywood to hold the ark at a good and safer position.

Once roughed out, the f clamp I use to hold the work so my hands are well clear of the bandsaw blade.

I then used the two screw holes I had used to mount the plywood to then mount a mounting block to. (Although this proved pretty useless in the long run as the sides of the ark were pretty flat for my vice jaws to hold.)

The hull was then carved (Sorry I lost the picture of this) and then rasped to a more even finish.
Next I worked on the deck. A 1cm line was marked all the way around the deck and then this was carved out. I decided to leave part of the middle section with the end grain face to create a sort of tenon for the housing for the cabin.


The whole hull and deck were then sanded and cleaned up before work began on building the cabin. After much fettling on the deck the cabin was finally glued into place over the tenon.

More to come.....


