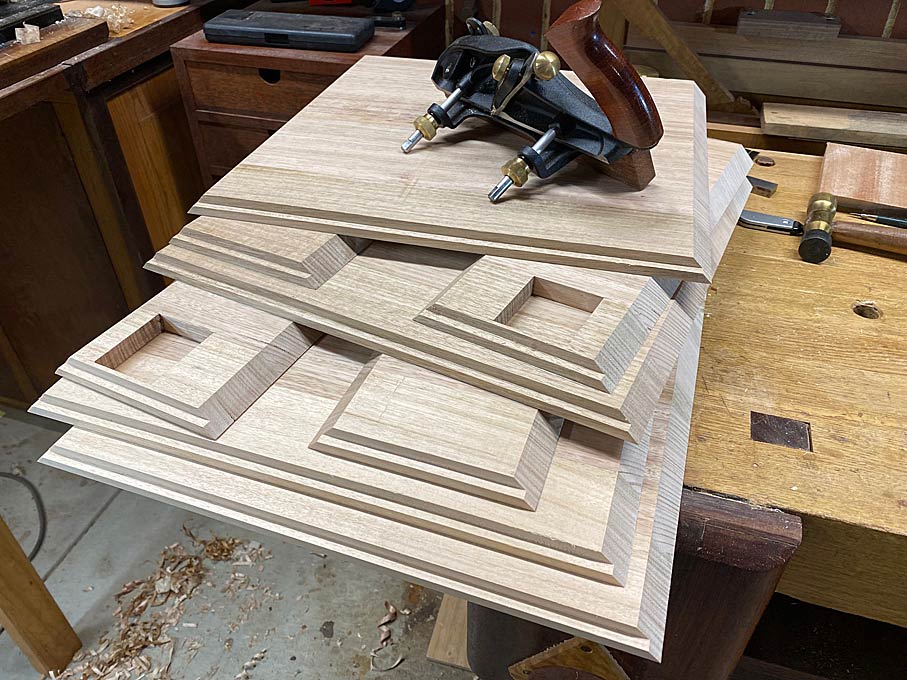
Night stands - power and hand together

UKworkshop.co.uk

Help Support UKworkshop.co.uk:

This site may earn a commission from merchant affiliate links, including eBay, Amazon, and others.

Derek Cohen (Perth Oz)

Established Member
Joined
2 Mar 2005
Messages
3,398
Reaction score
1,912
Location
Perth, Australia
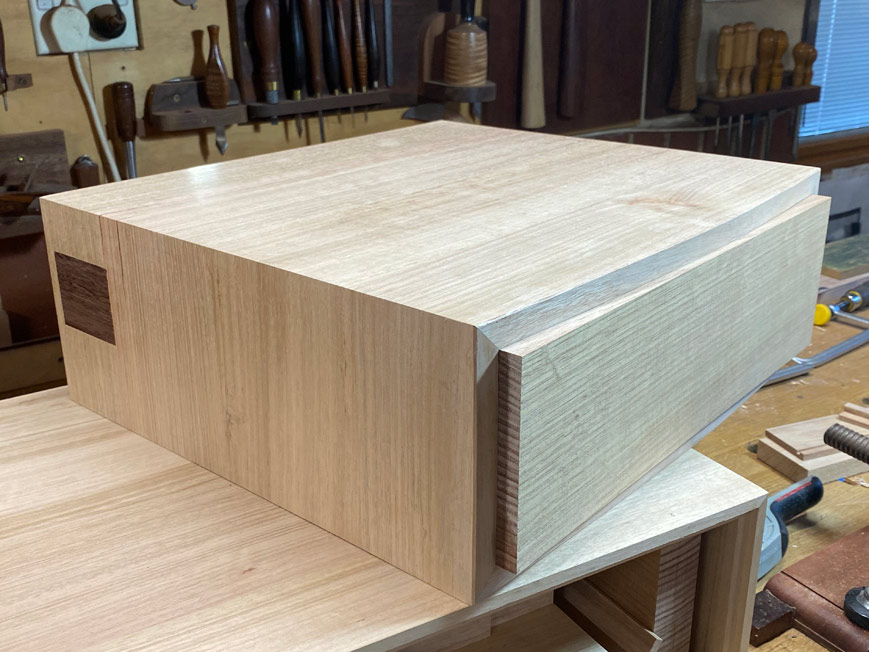
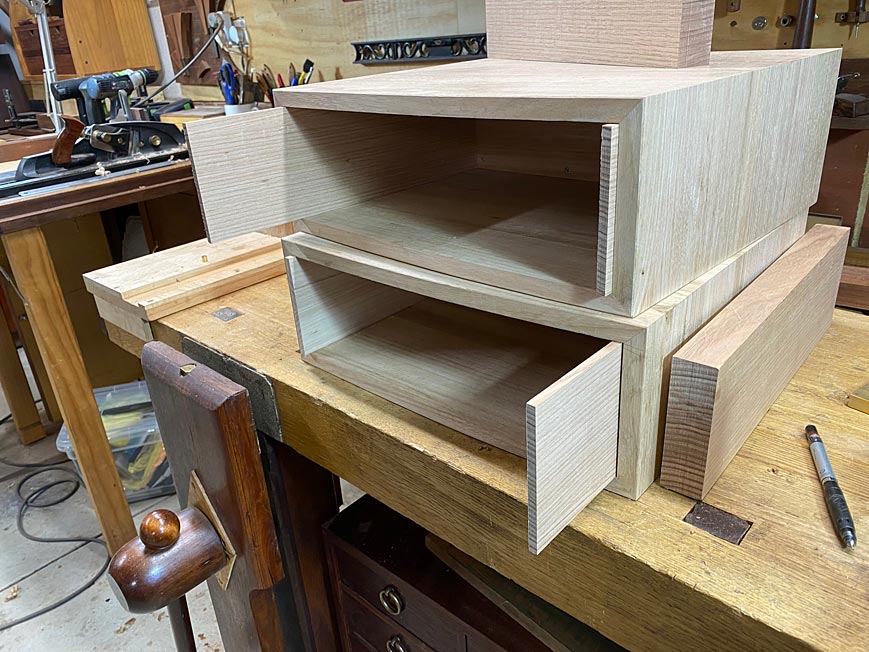
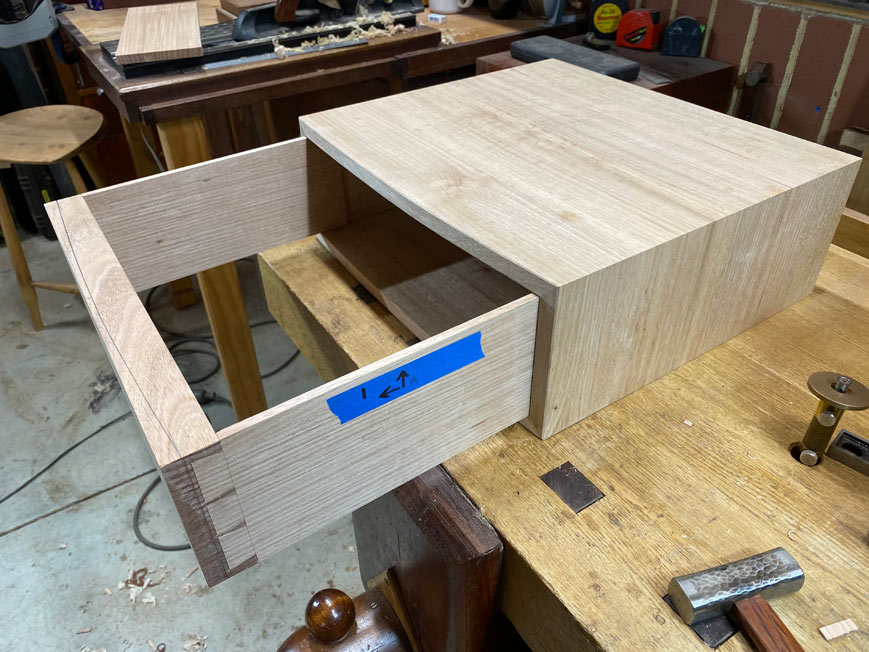
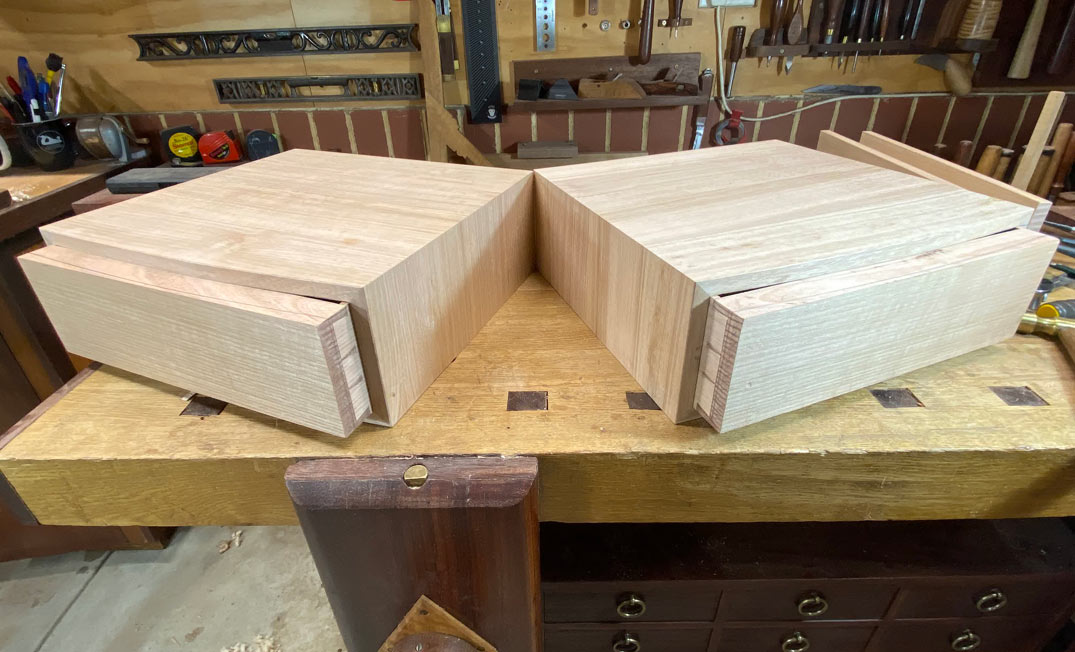
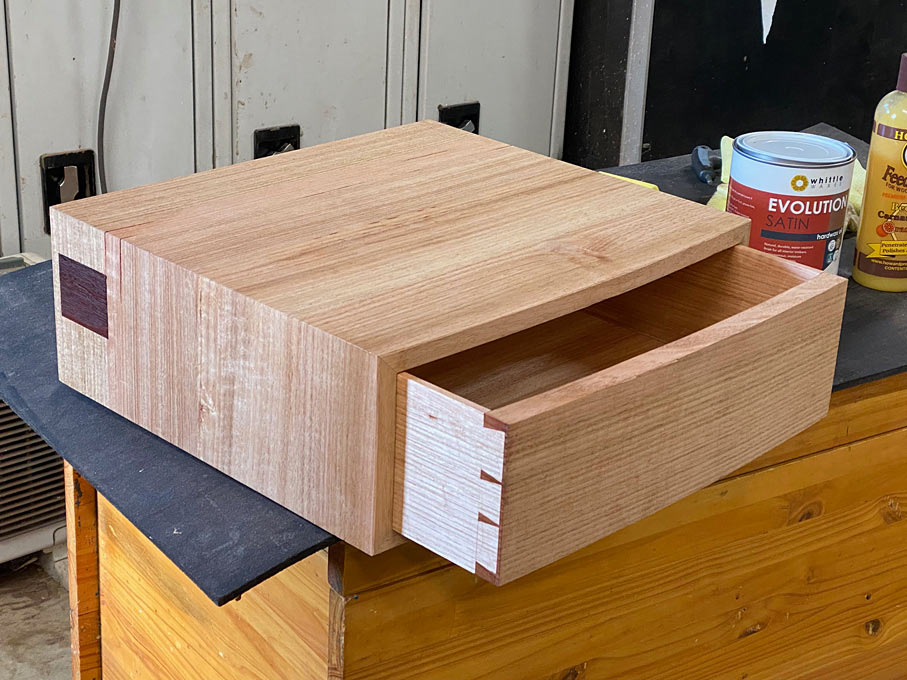
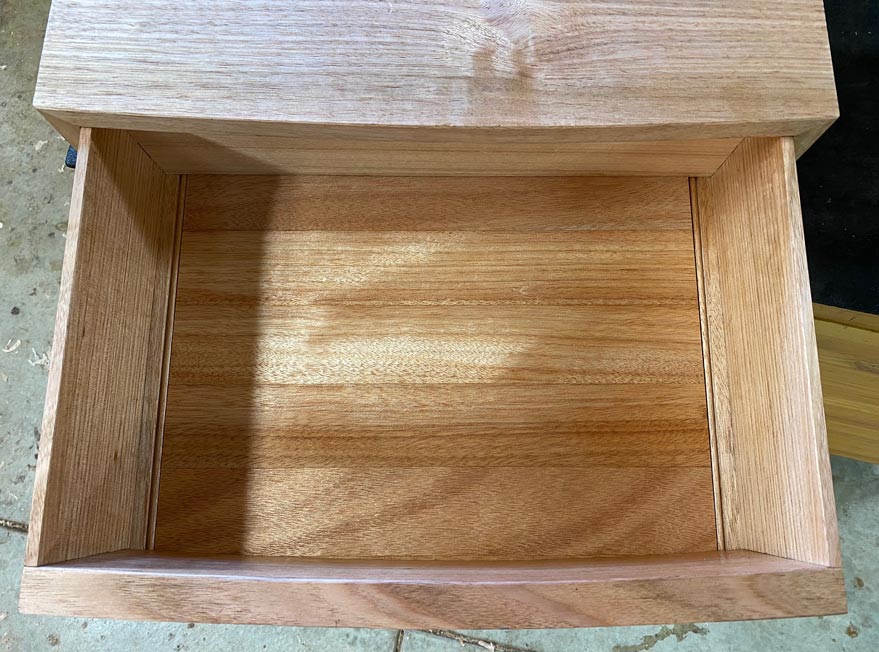
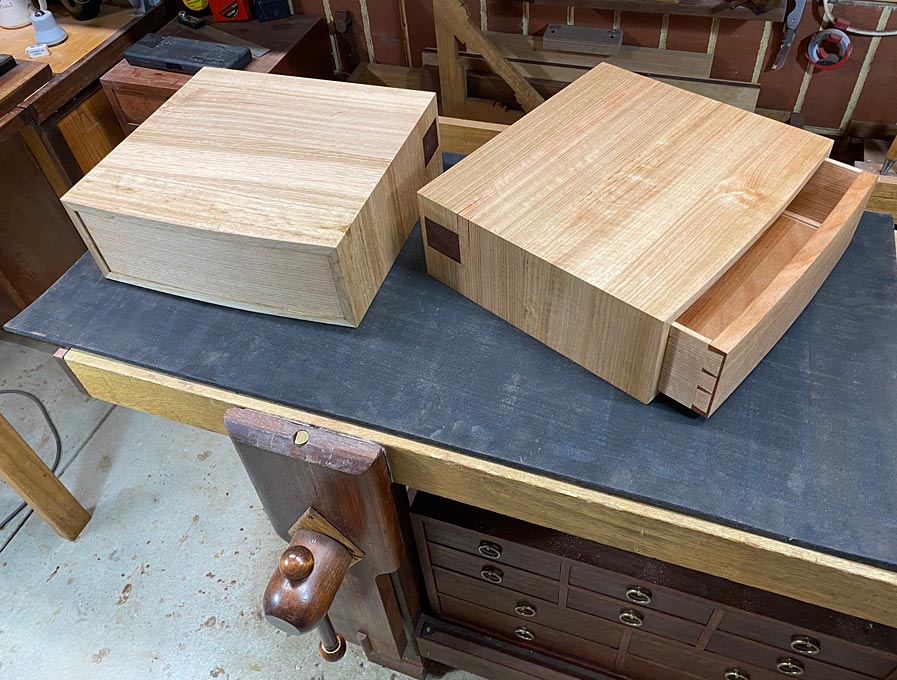
I am building two night stands. These are essentially Tasmanian Oak boxes on Jarrah stands, sort of Krevnovian in concept. Each will have a single, rectangular drawer, curved at the front, and with a small, window-like drawer at the side rear.

I am not doing a build this time, but will show photos at the end. What I do want to share is some of the construction of the basic boxes. These have mitred sides, and it is the making of the mitres which I think will interest Eliot.

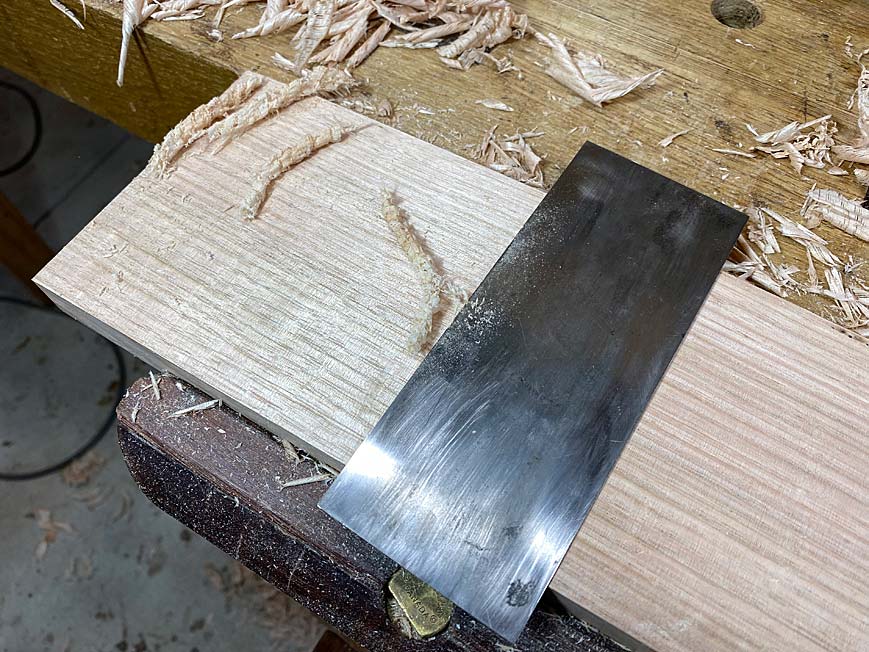
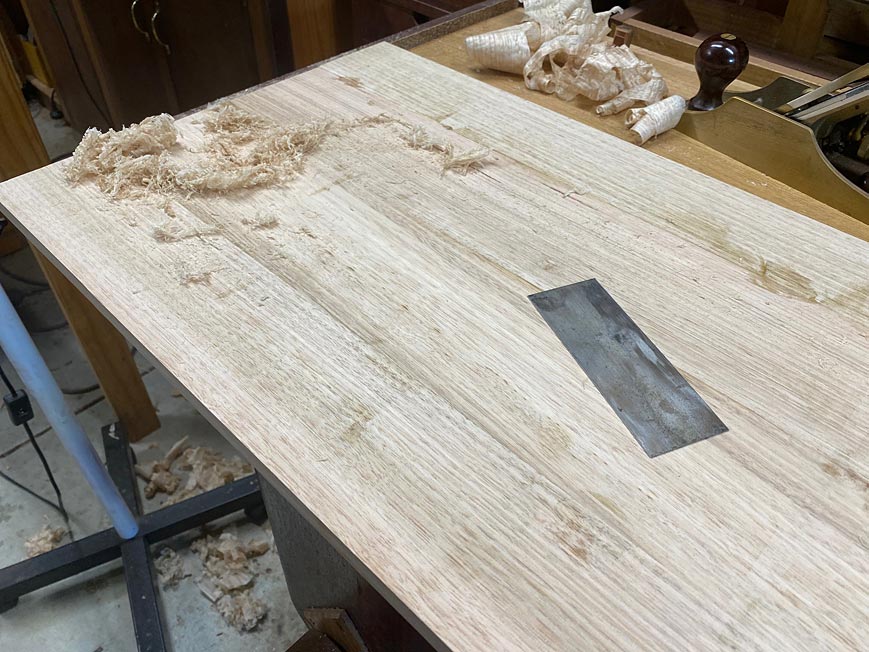
Two panels glued up. Here, removing the squeeze out with a cabinet scraper ...


A1.jpg


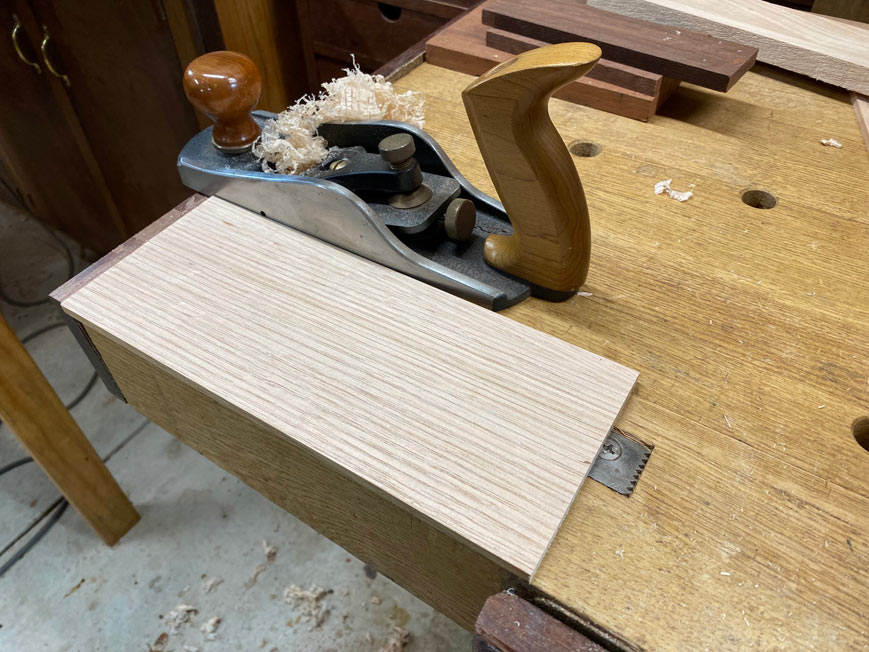
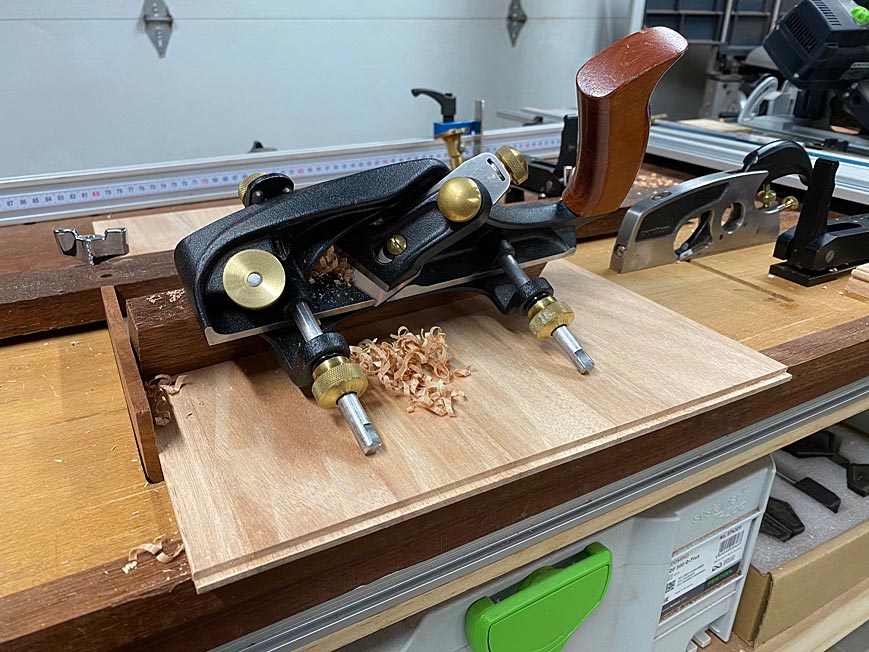
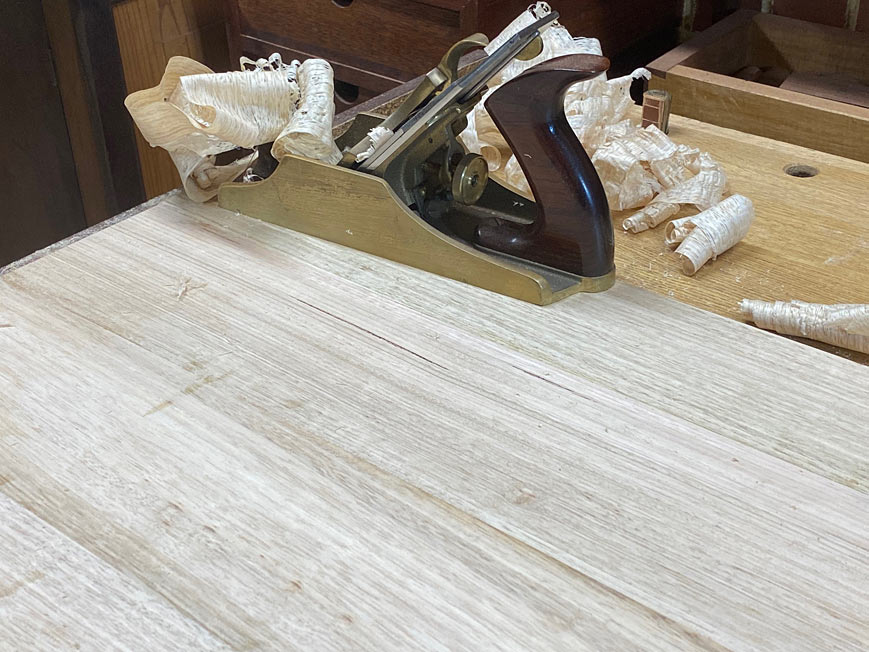
The Oak is quartersawn and the grain has rowed sections. This is alternating hard and soft striations, and tears out with the scraper. Smoothing the four-board panels with a LN #4 1/2 (the bronze Anniversary model), and closed up chipbreaker, leaves the surface smooth and clear ...
A2.jpg


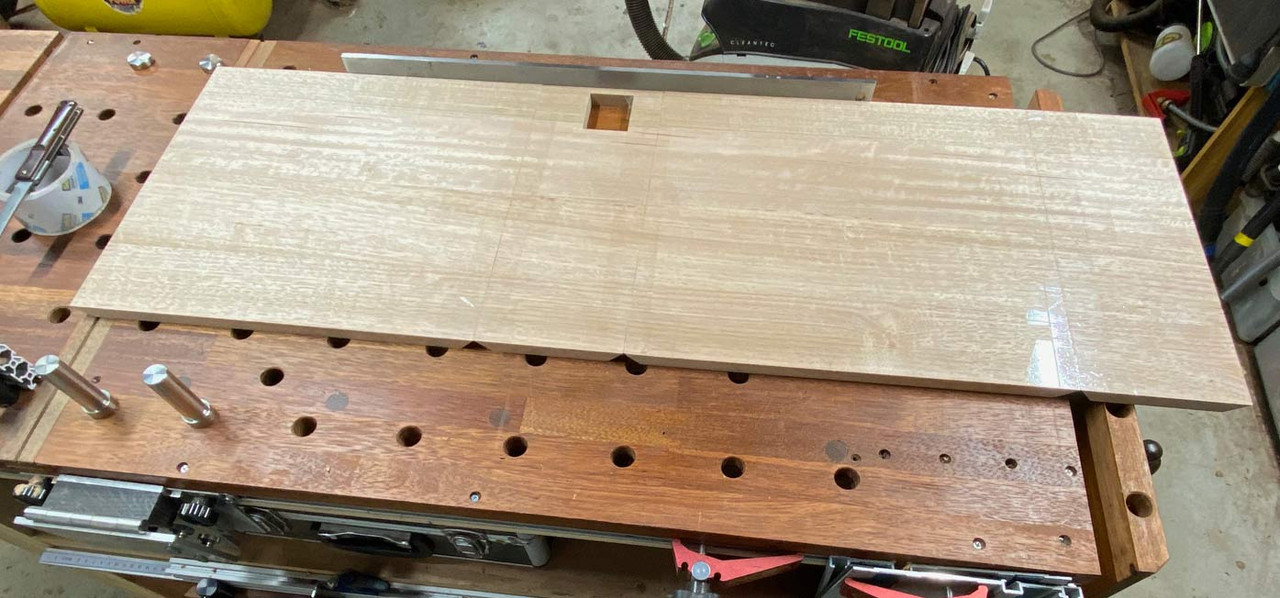
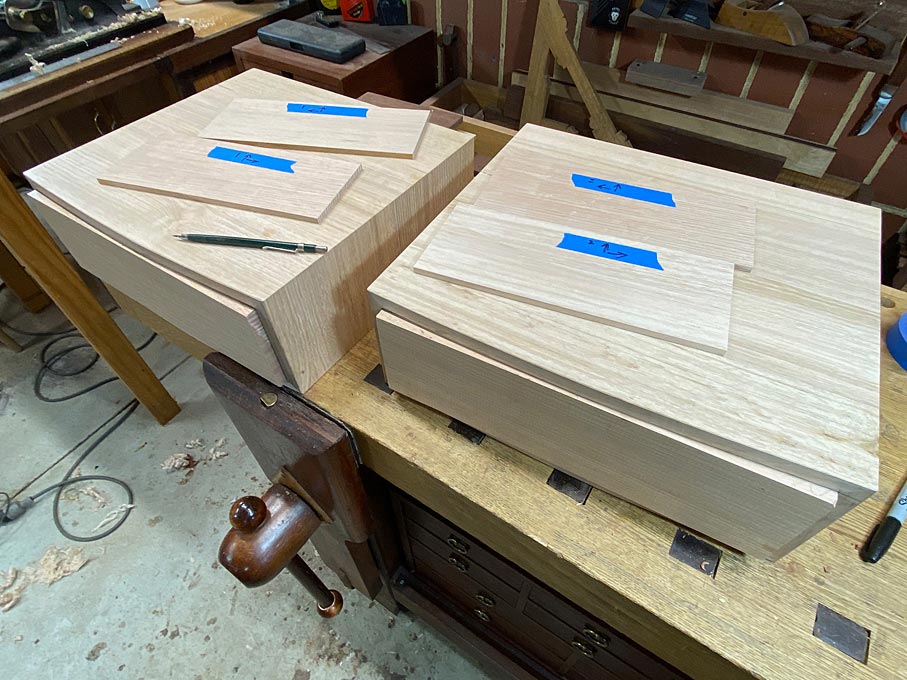
The panels are sawn into four sections - the four sides of the box - and the grain is arranged to flow around sequentially.

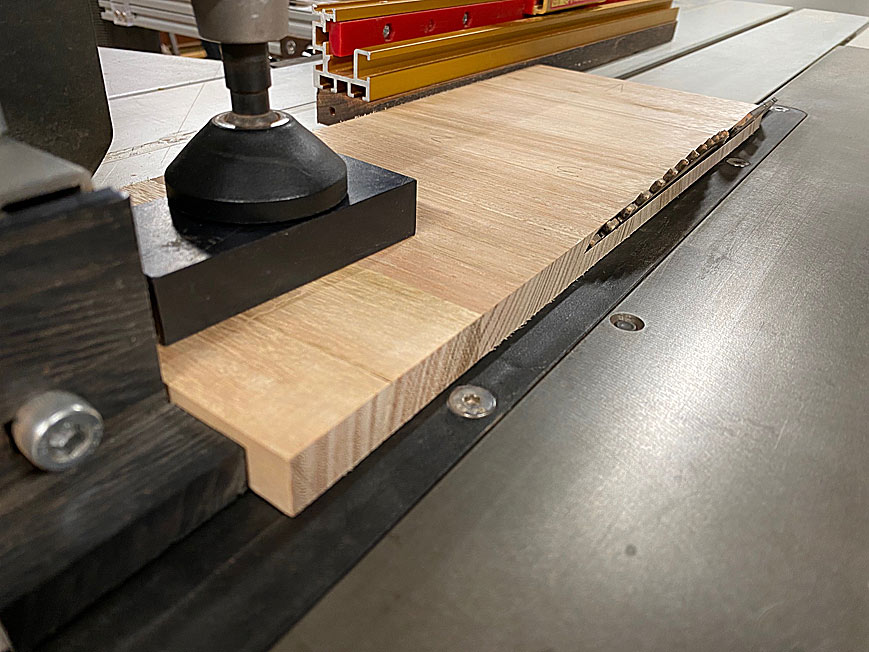
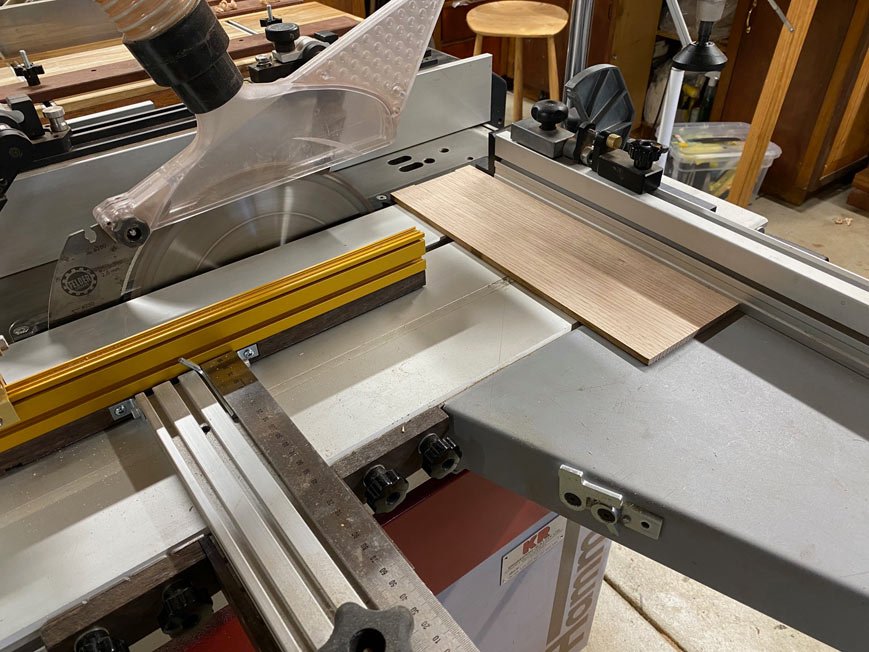
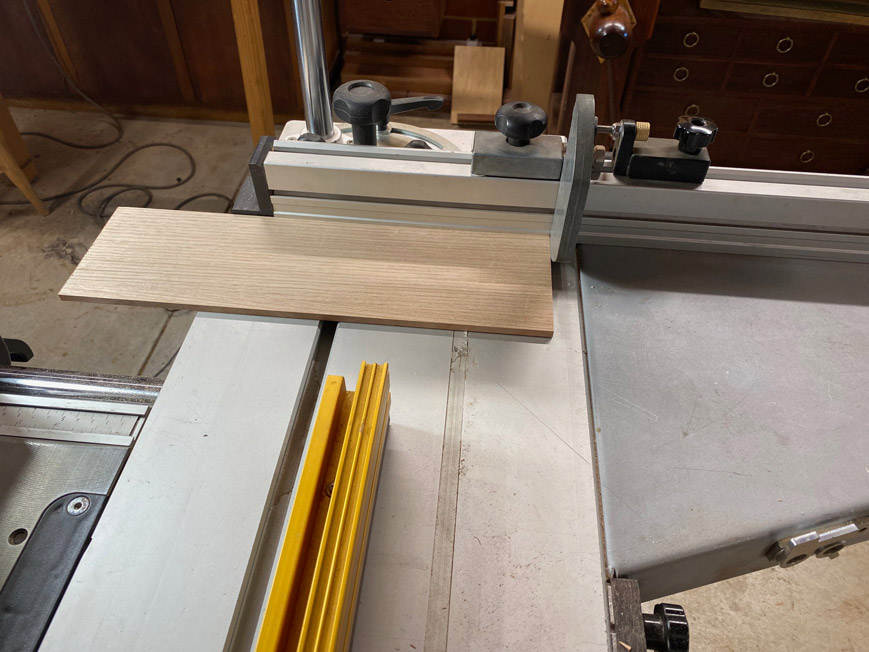
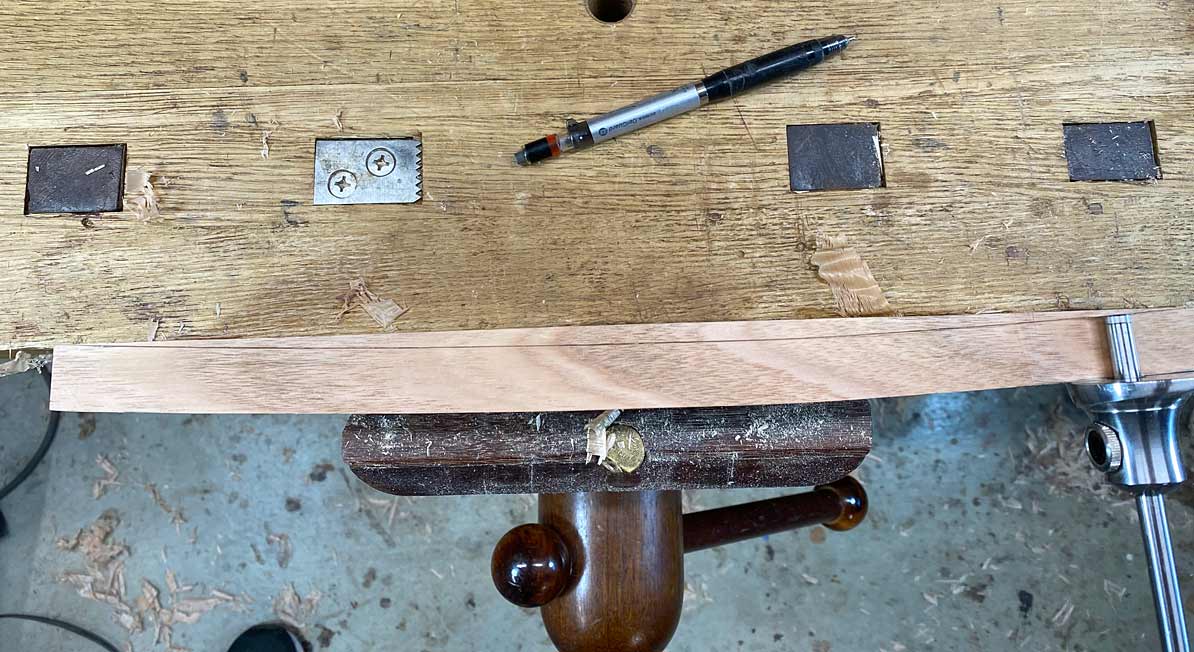
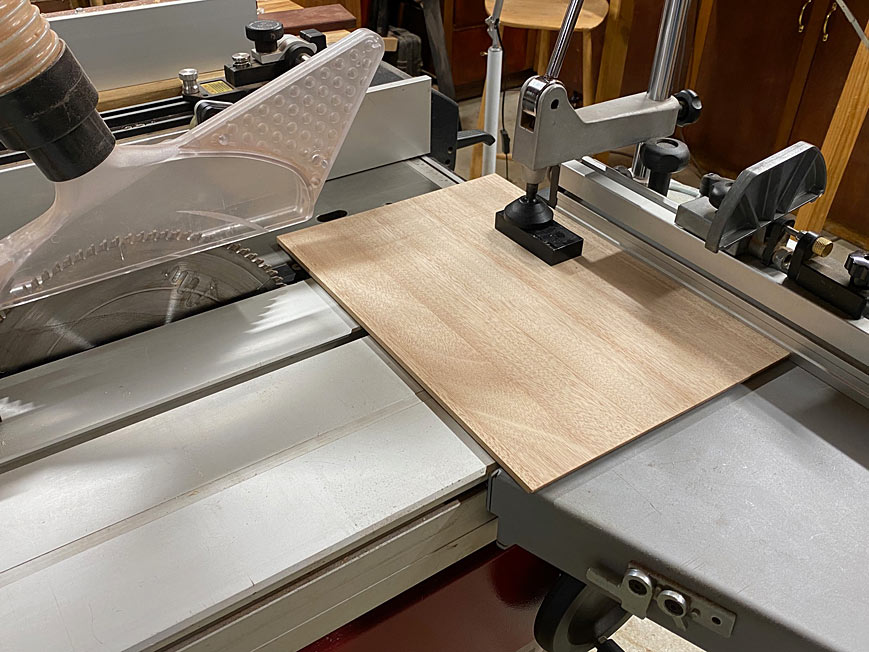
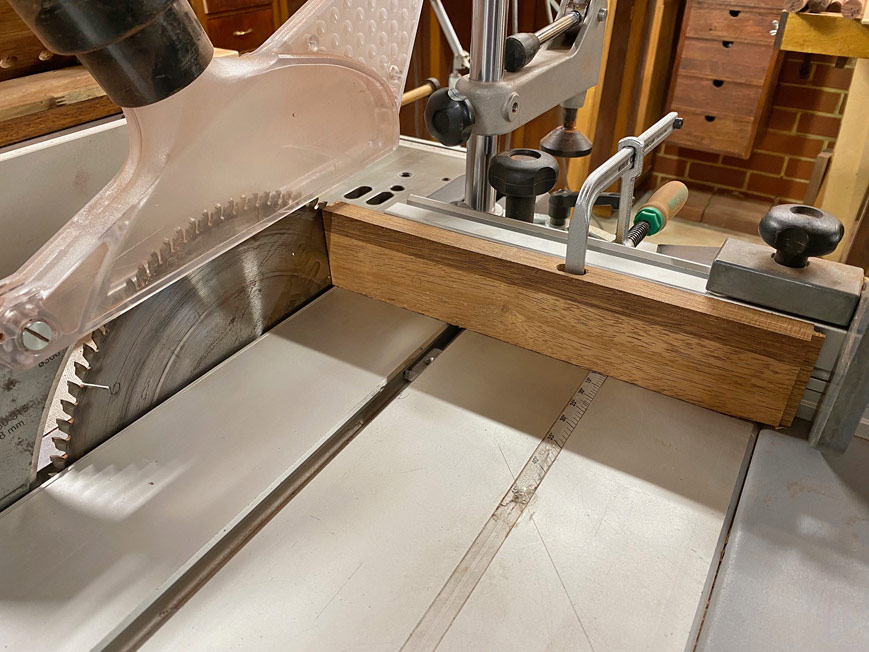
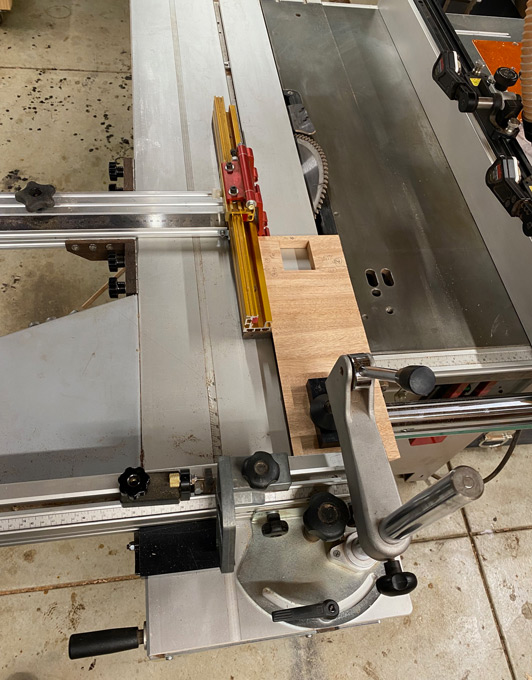
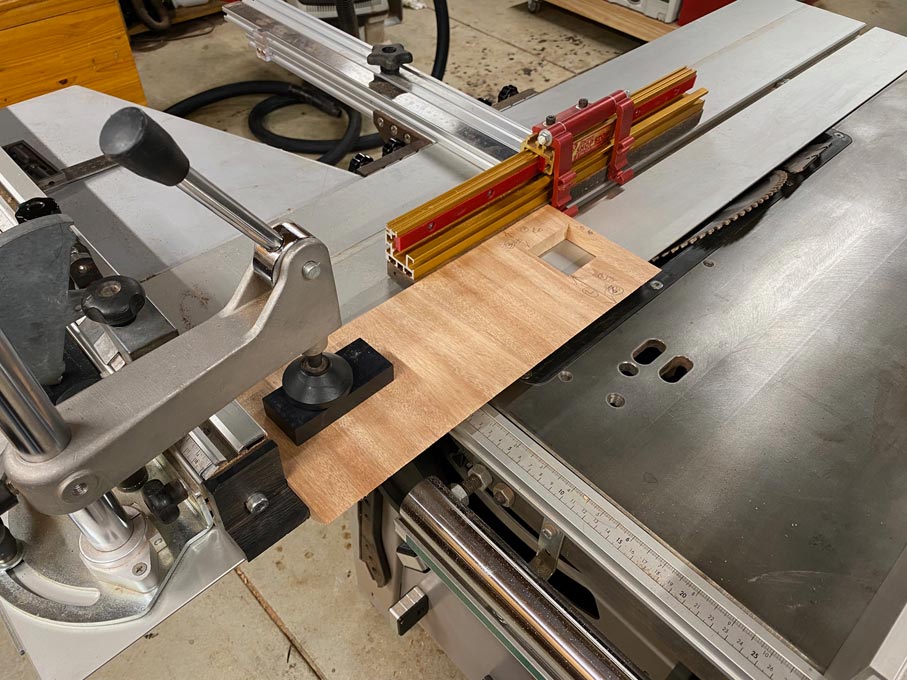
The mitres are cut on a sliding tablesaw, a Hammer K3. Here a side is being mitred, held on on side by a parallel guide I built. This essentially is a fence, like a rip fence, but the work piece is held stationary while it is moved past the blade ...
9-1.jpg


A11.jpg


A10.jpg


Once this is dialled in, all one has to do is flip the board for a perfect, parallel mitre on the opposite side.

What is seen here is one of the sides with the opening for a little "window" drawer.

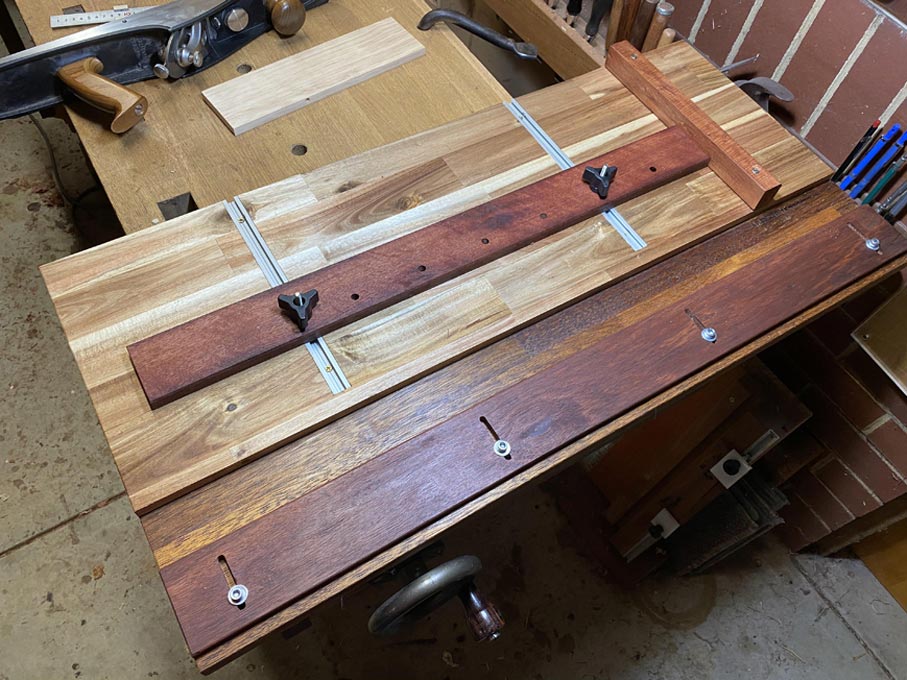
Linked to this, a few years ago I built a large ... giant! ... shooting board designed for jointing panels ...
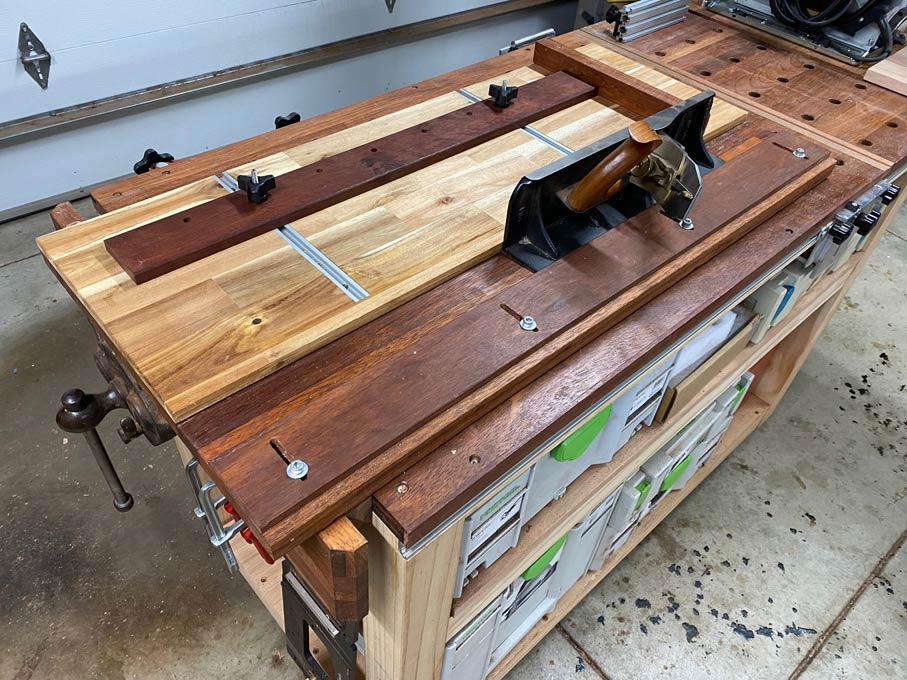
A3.jpg


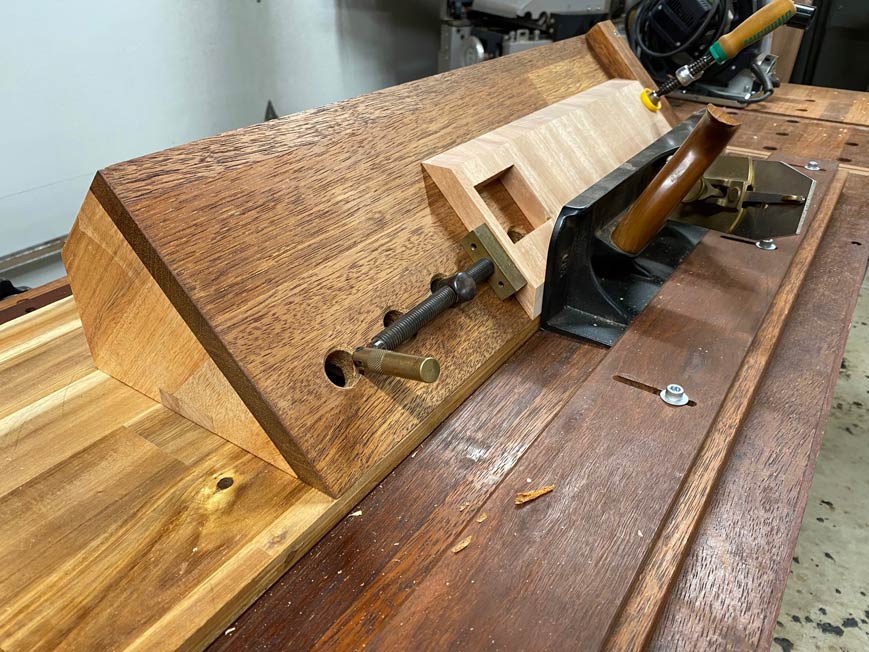
This has now been converted into a giant mitre shooting board ...
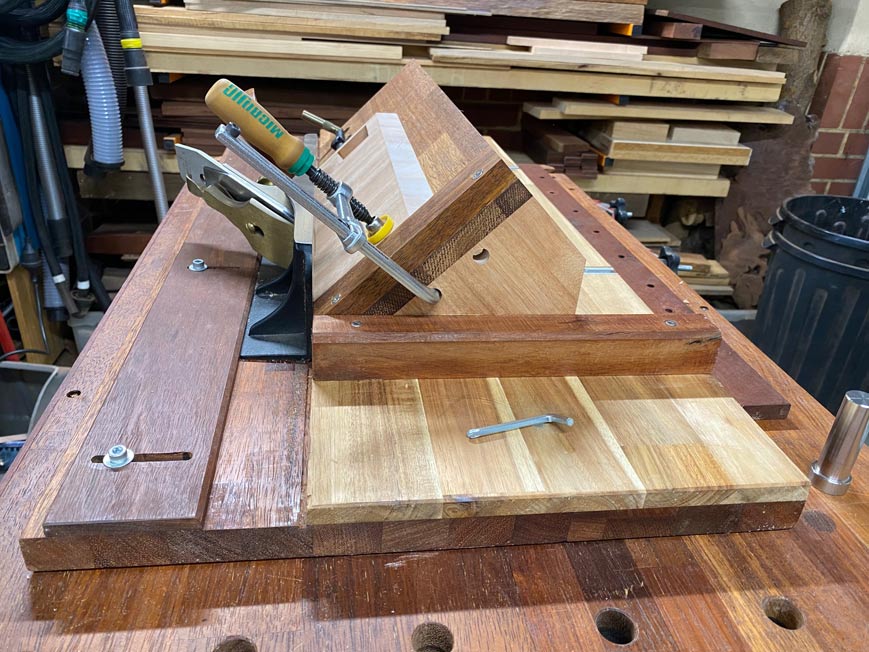
A4.jpg


A6.jpg


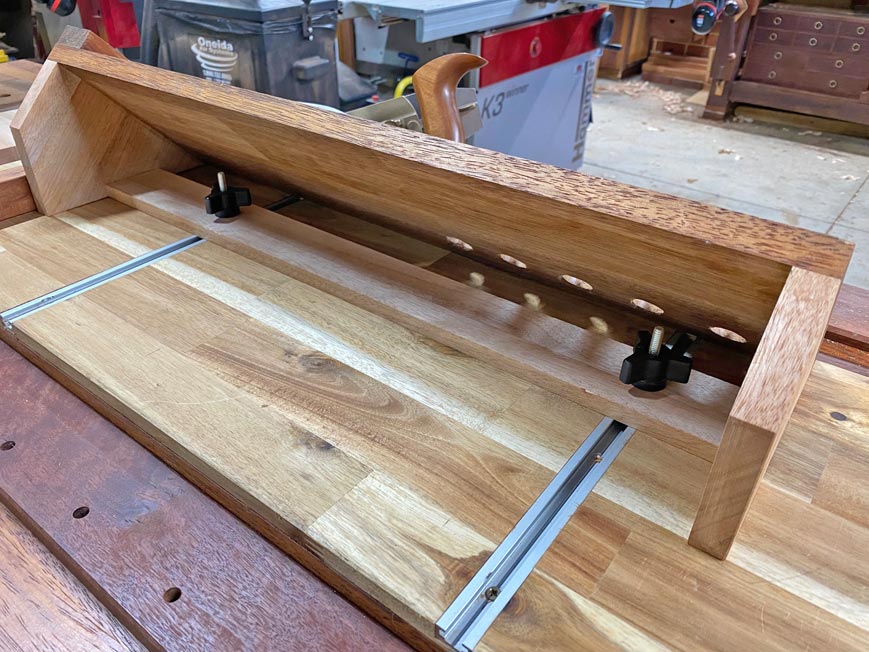
This is clamped down from the inside using the mitre tracks ...
A7.jpg


The underside, for those interested in the construction. The screws in the base are adjustable legs ...
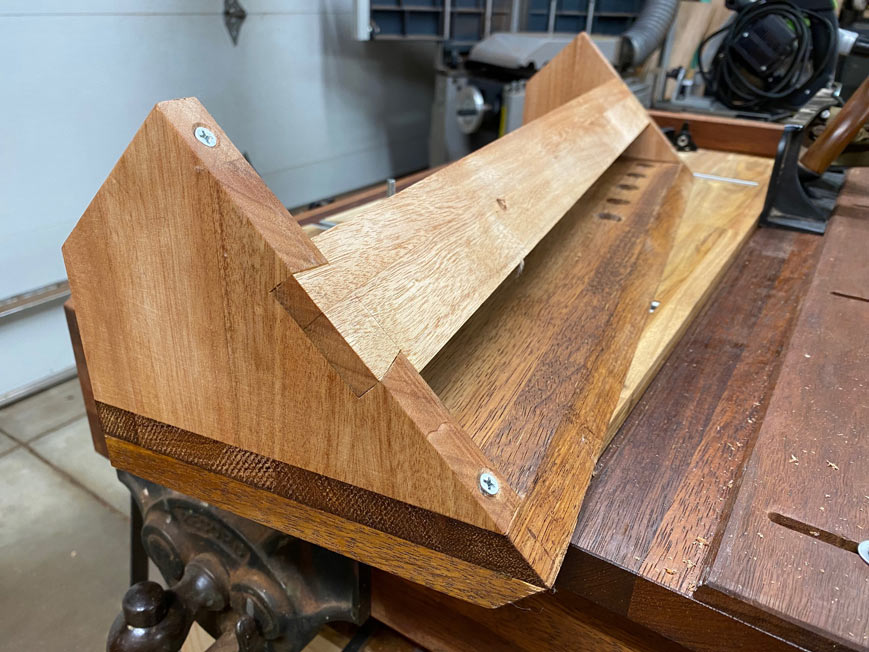
A8.jpg


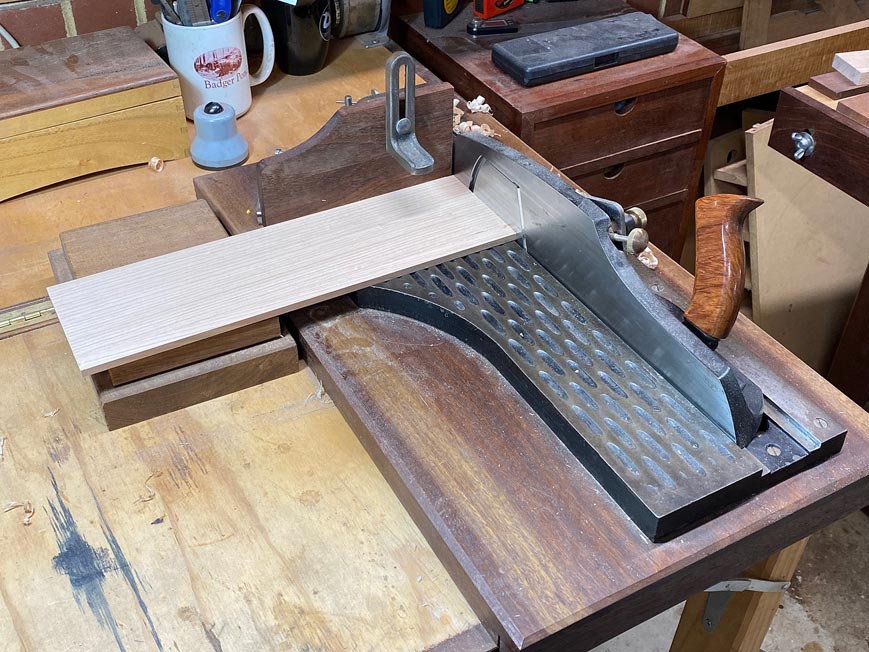
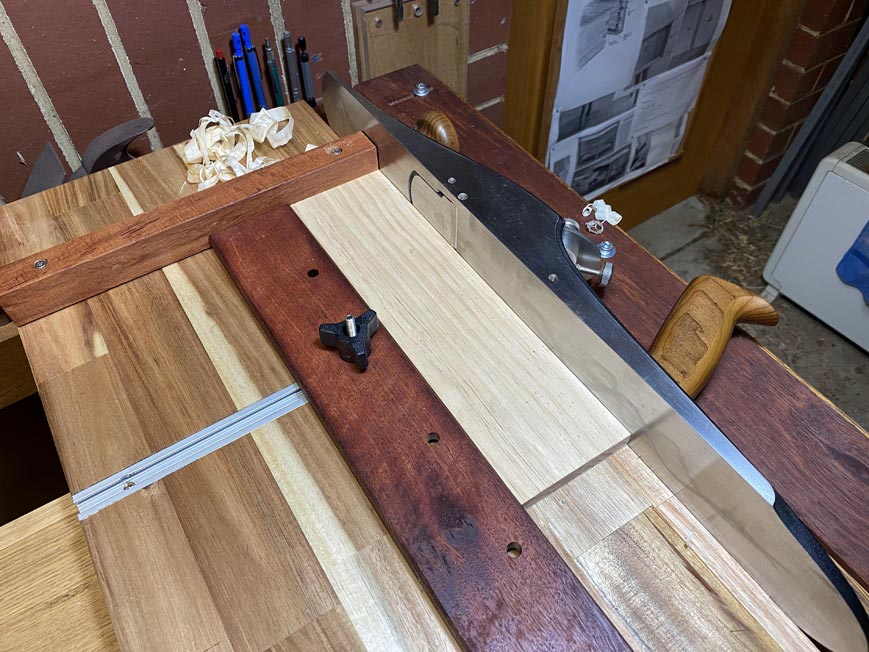
After sawing the mitres, the shooting board is used to ensure that these are perfectly straight for the cleanest possible joint ..
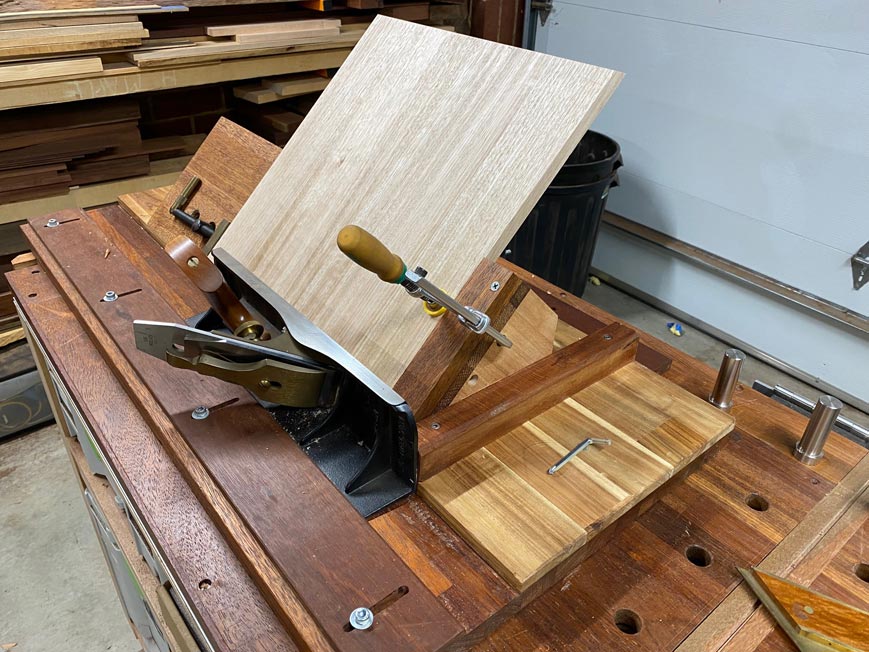
A5.jpg


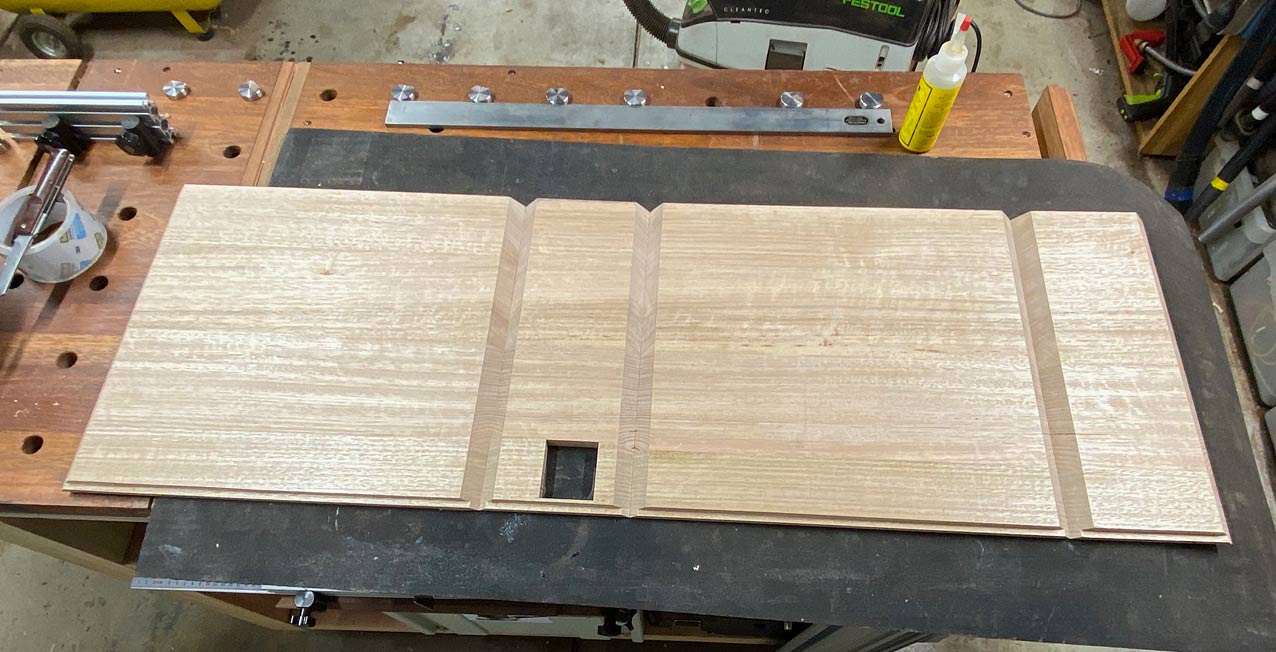
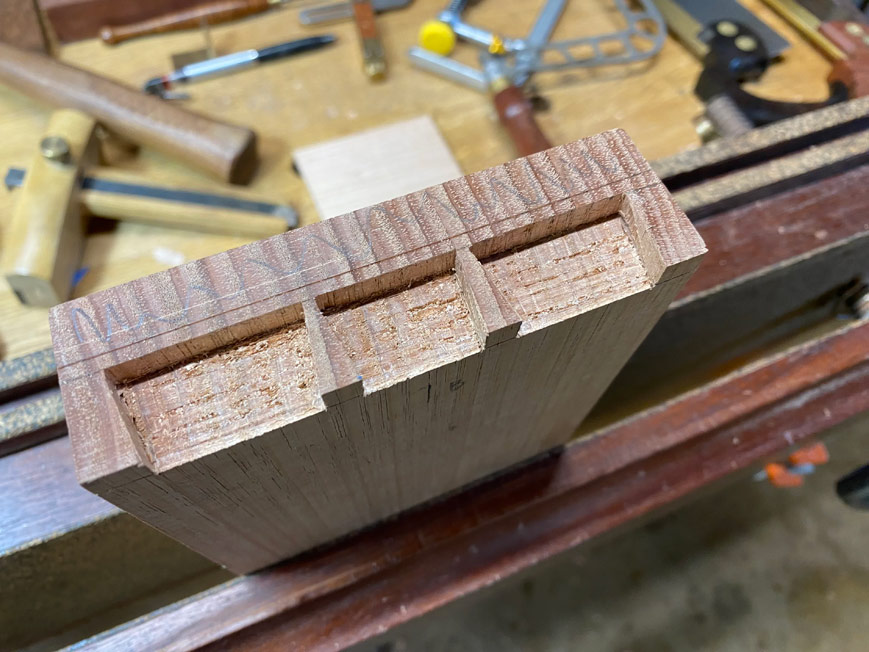
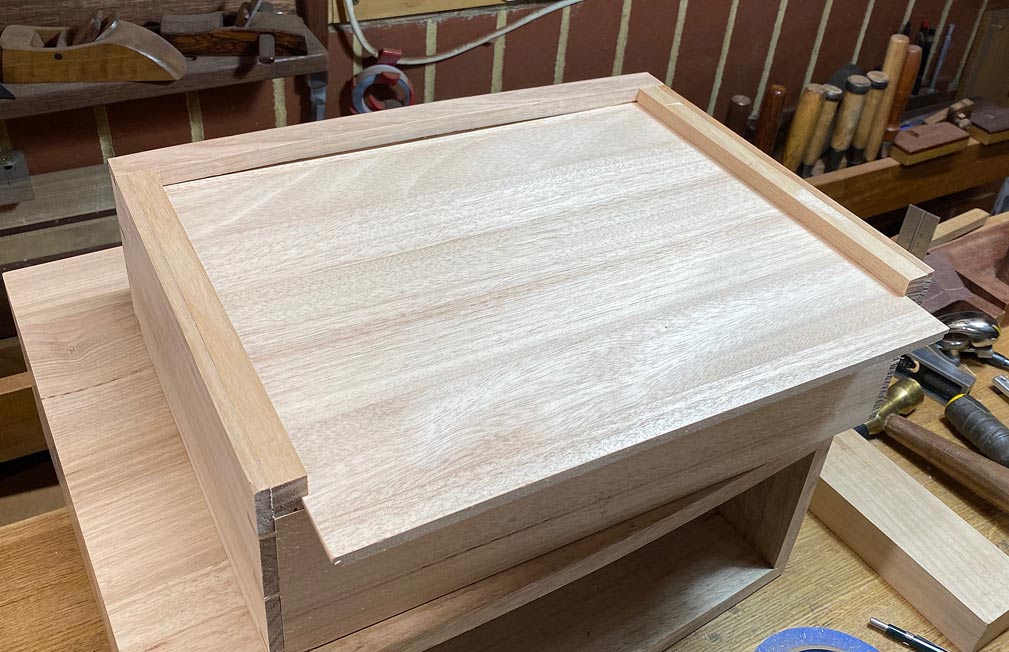
Now they require rebates at the rear of the panels.
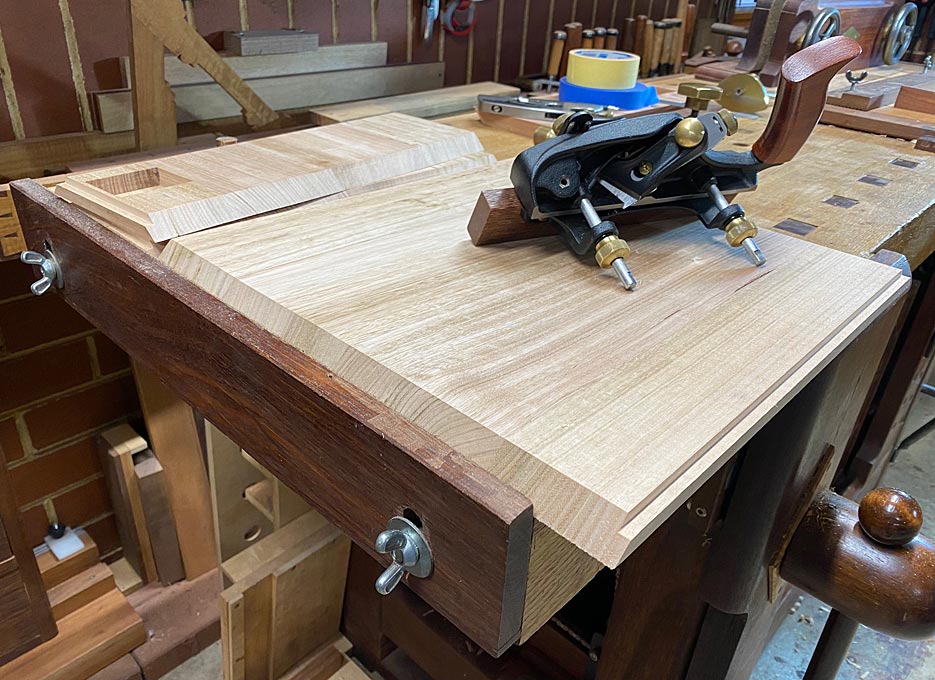
34.jpg


Finishing up with all these ...

39.jpg


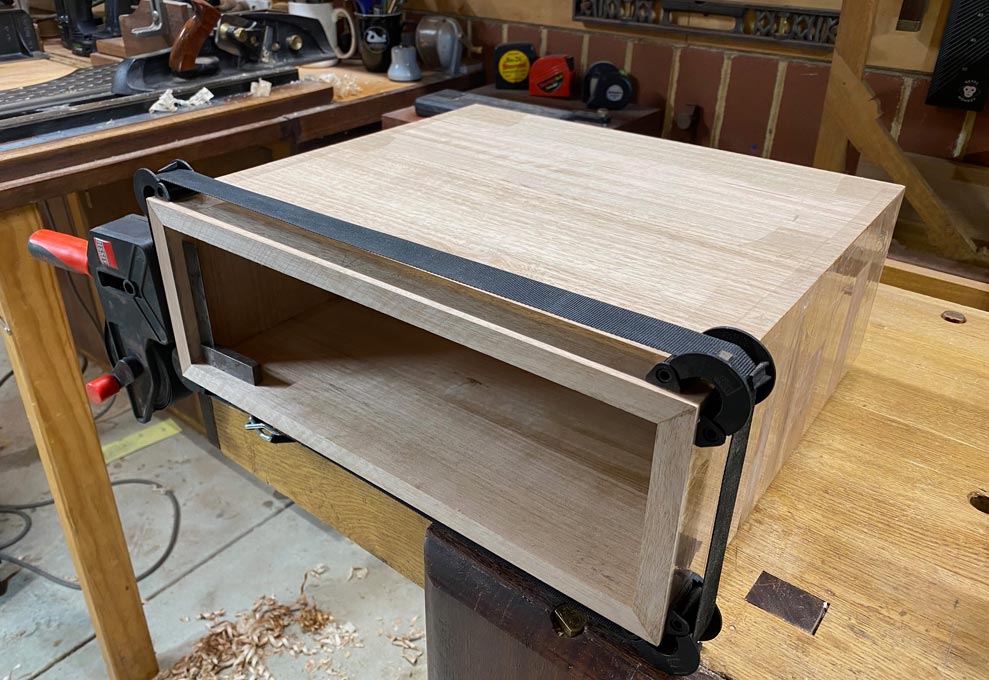
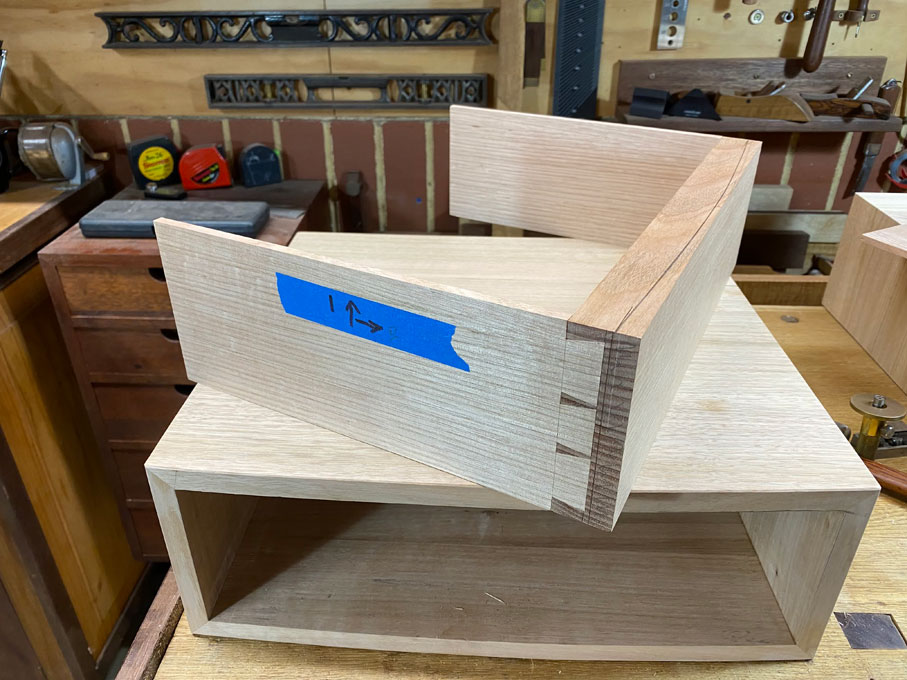
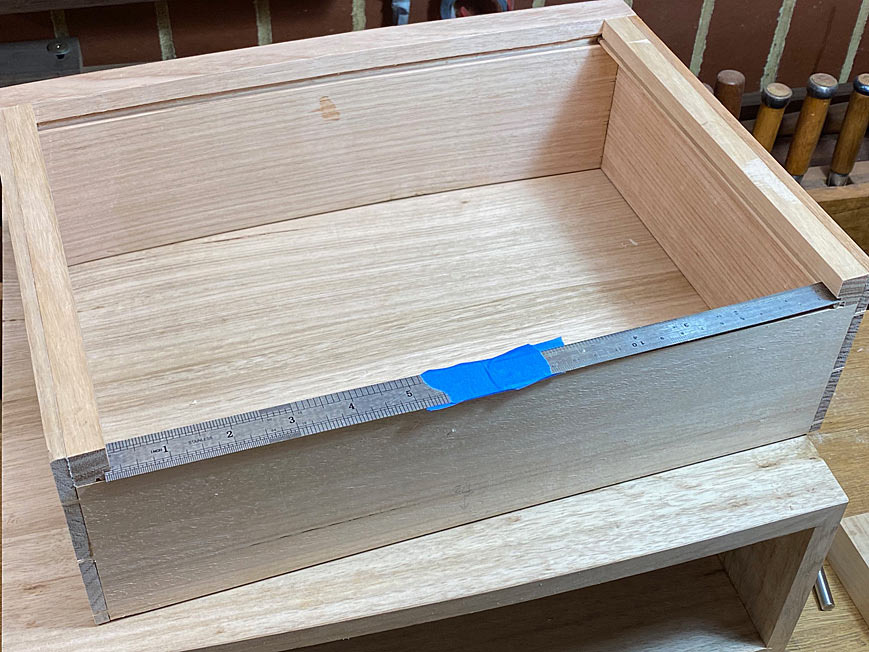
Time to tape together ...

A12.jpg


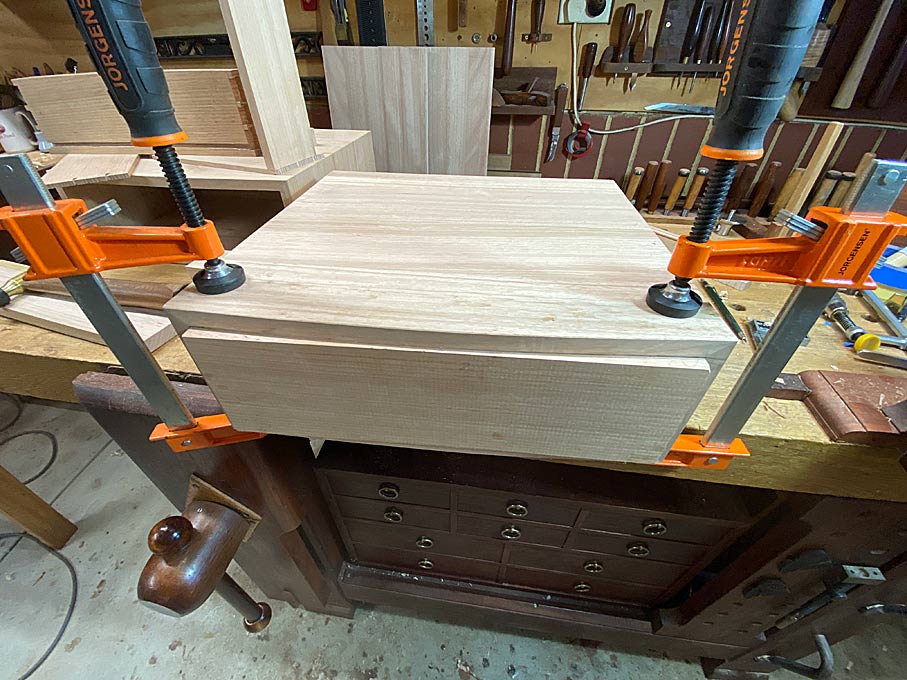
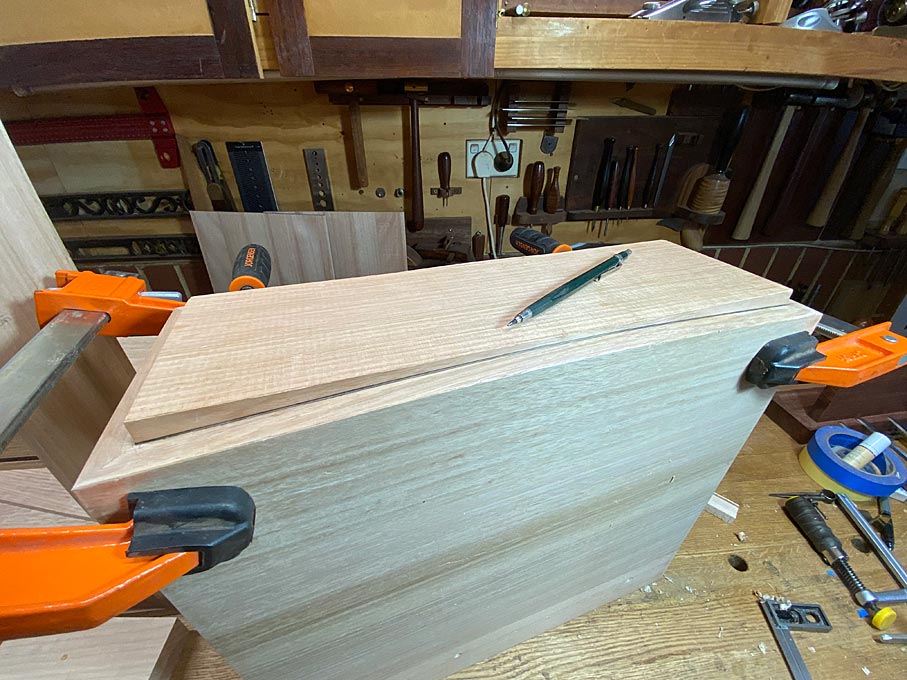
And glue up ..

A15.jpg


We ended here ..
A16.jpg


Today I made a template for the bow fronts, marked the curves , and used the bandsaw to remove most of the waste ...
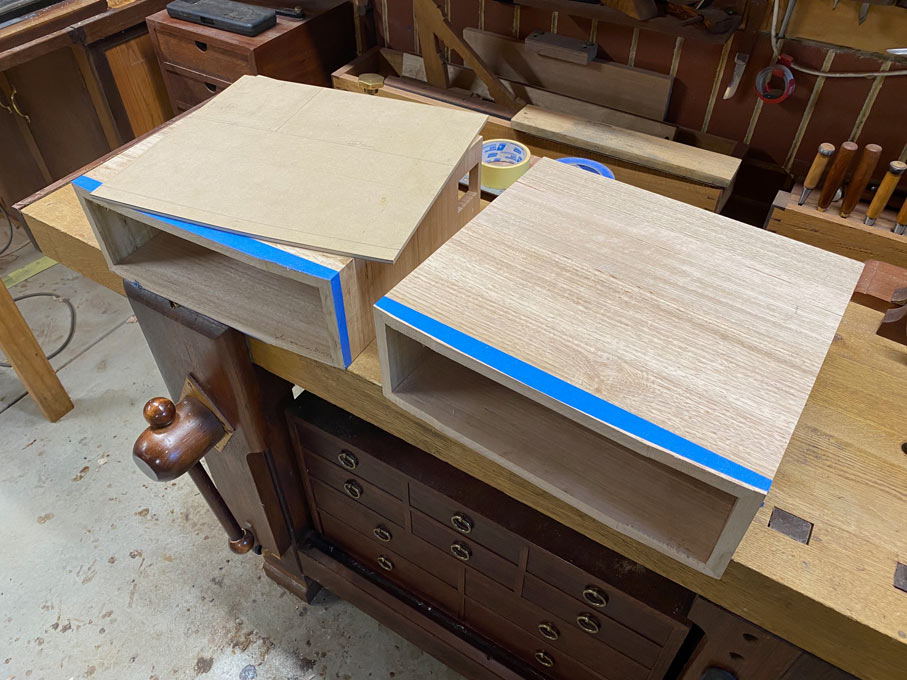
A17.jpg


I contemplated cleaning this up with spokeshaves, then came to my senses and used a trim router and flush trim bearing ...
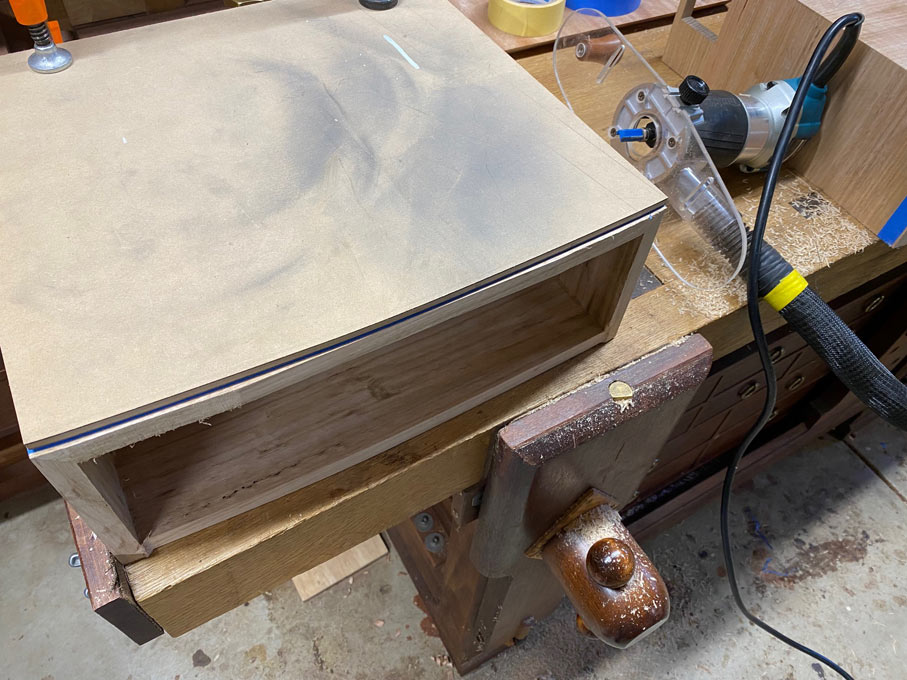
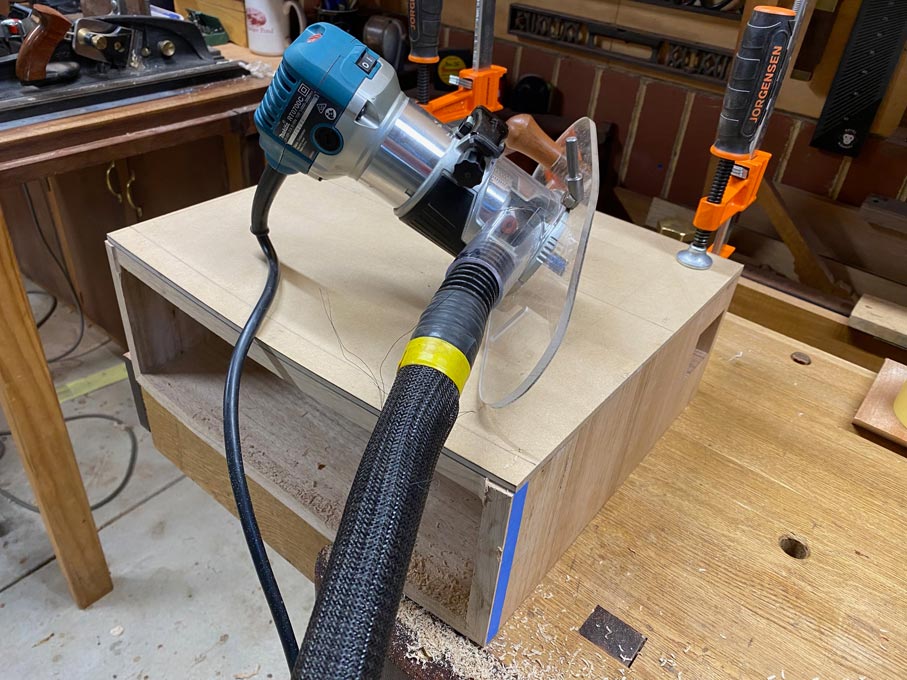
A18.jpg


A19.jpg


And cleaned up with a HNT Gordon spokeshave ...
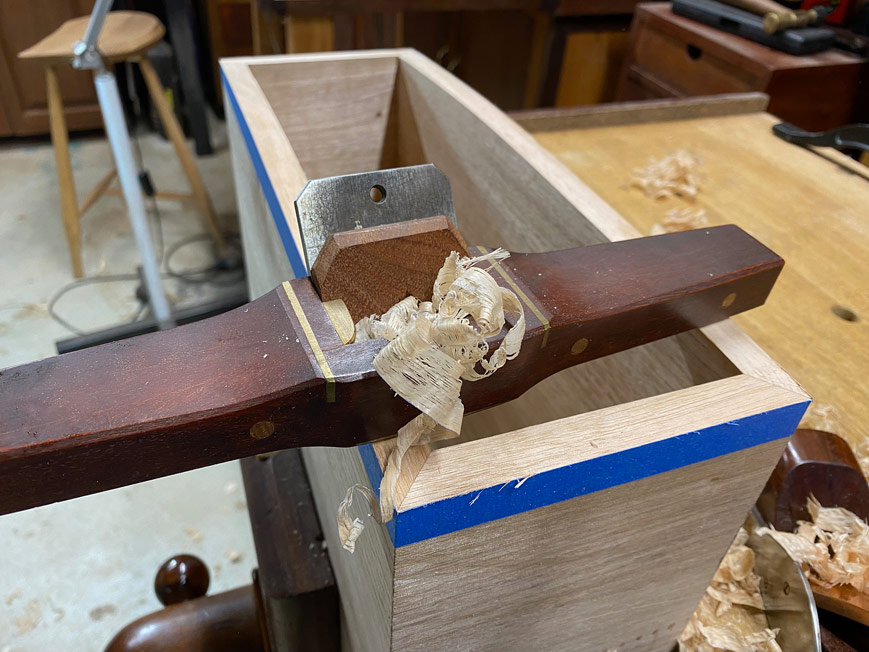
A20.jpg


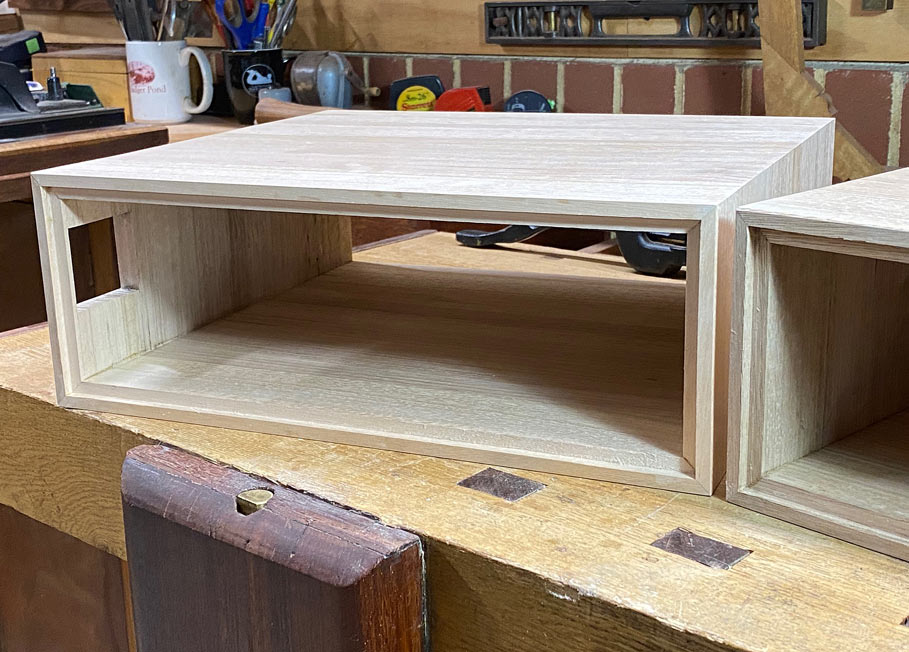
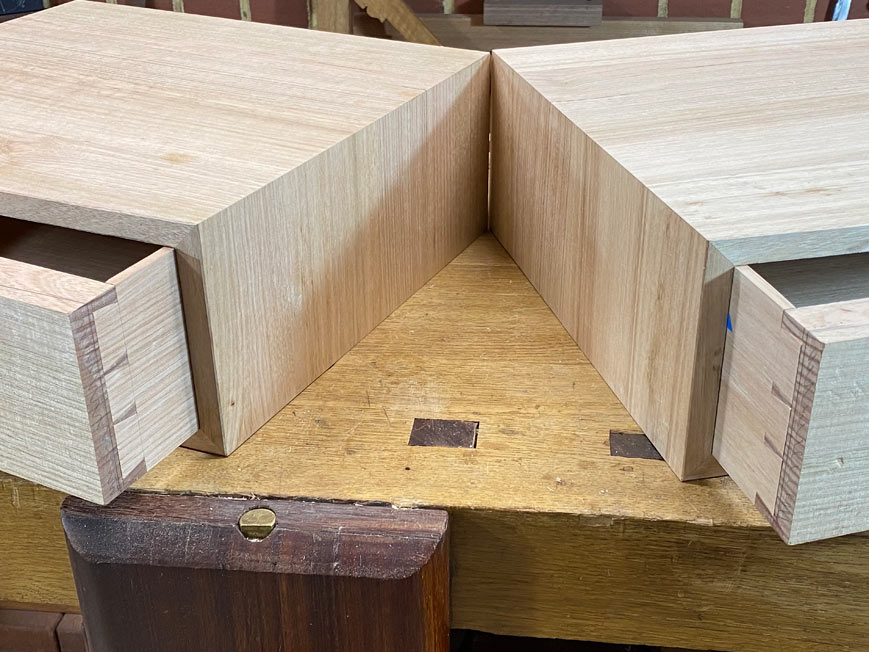
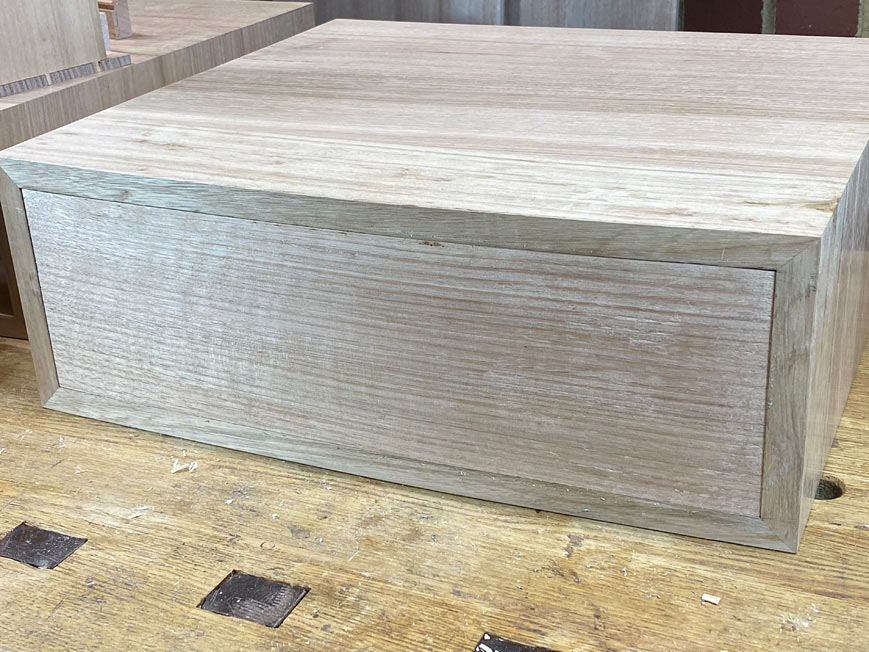
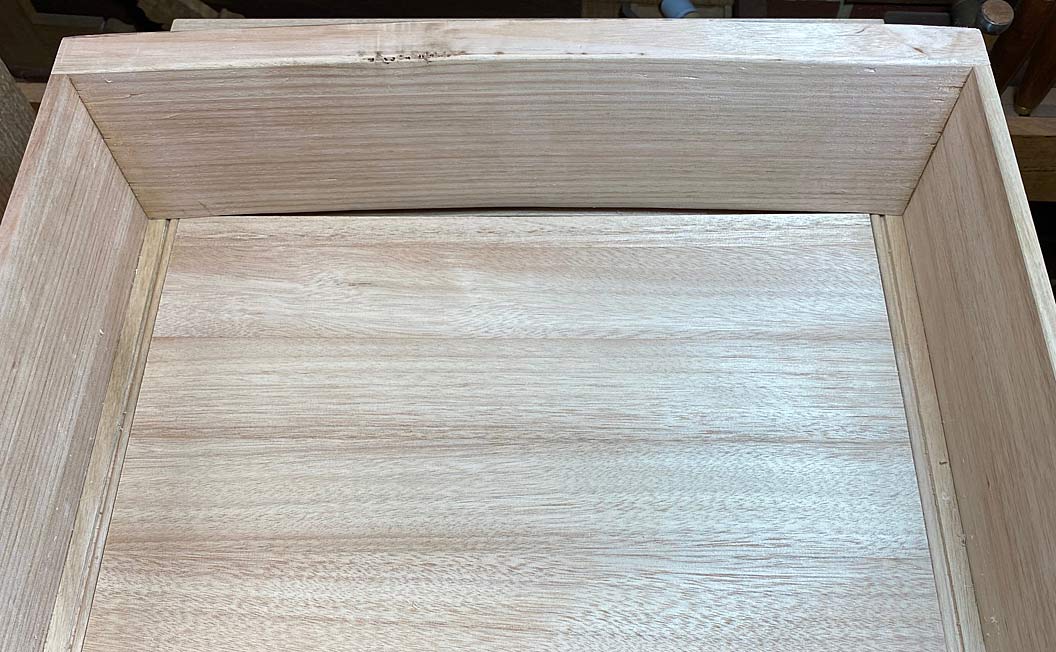
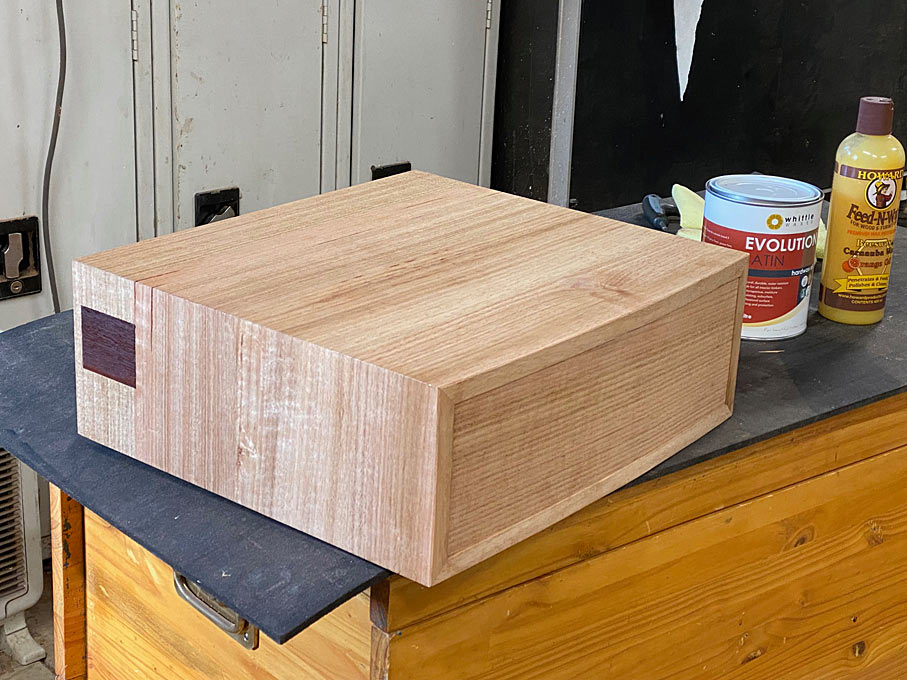
All the trouble at the start to make the mitres as clean and tight as possible. How did we do?
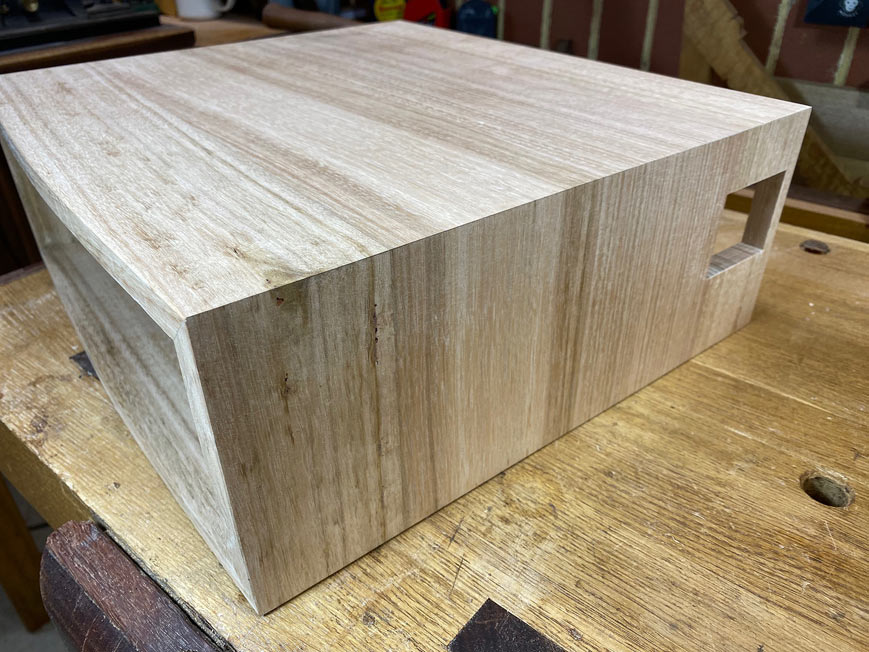
A22.jpg


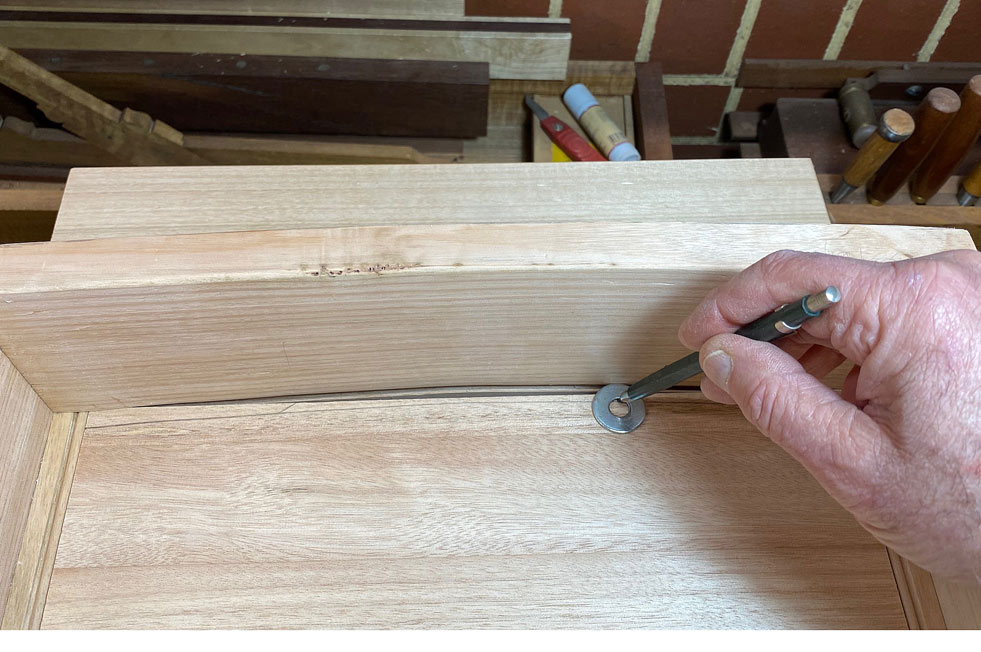
The rebates and mitres look good ...

A23.jpg


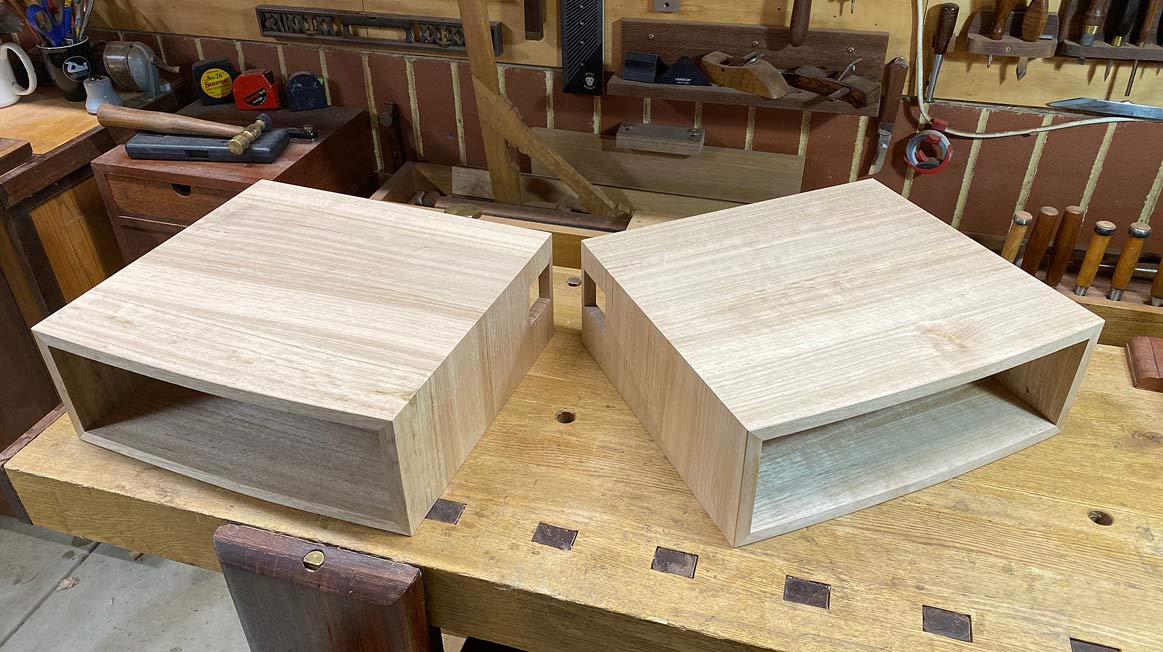
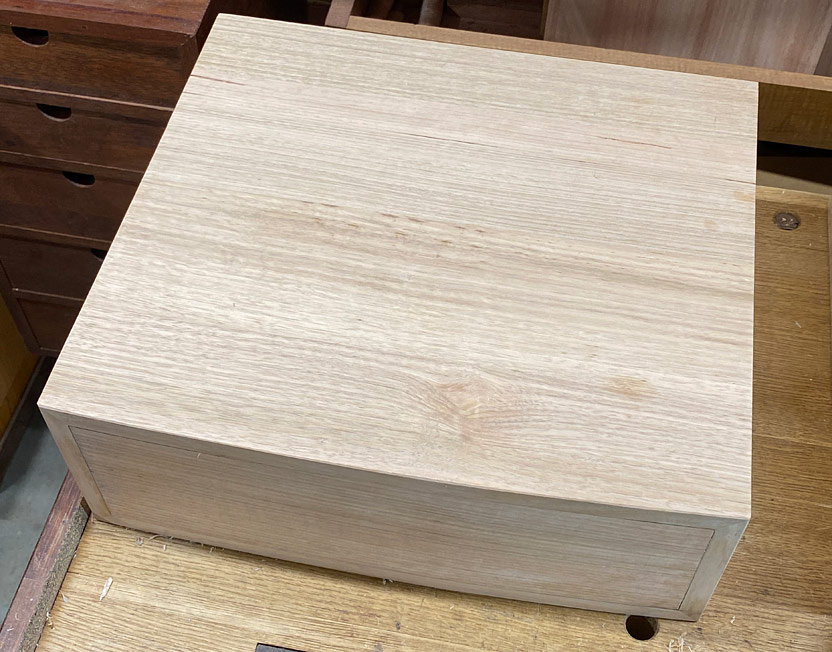
And I like the bow fronts ...

Tight mitres too
smile.gif


A21.jpg


Regards from Perth

Derek

 
Last edited:

Mitred joints - opening Pandora's Box​

The cases are simply mitred to avoid anything distracting the visual flow of the wood grain and figure.

A21.jpg


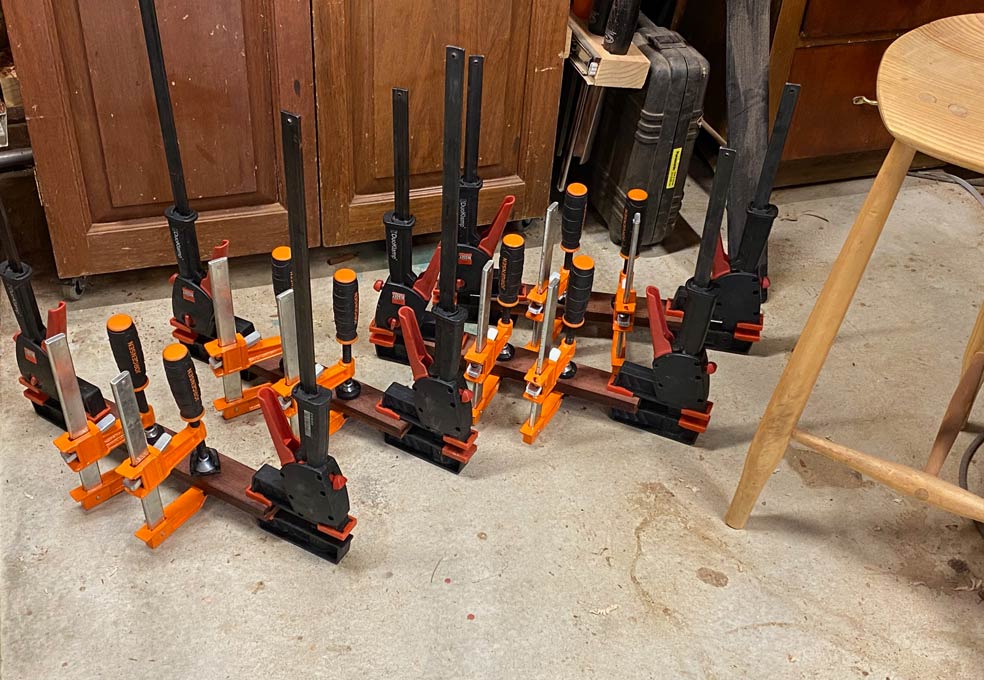
Now I chose to glue these up without any reinforcements using Old Brown hide glue. I could have used splines, biscuits or dominos. Instead, the panels were taped together ...

A12.jpg


and glued with a sizing technique ...

A15.jpg


I came in for a great deal of stick for this at Sawmill Creek. "You can't just glue mitres together - they will come apart!". "Mitres are weak. They need to be reinforced (with dominos, biscuits, etc, etc)". Or, "eventually the joints will fail owing to movement", and "what it they are dropped?".

I think some are a little surprised not to see dovetails, but I did mention that I have made many boxes or cases like this over the years, and they have proved to be strong construction. A few examples ...


I have used this pencil box every day for the past 12 years …


This is a box made for the Veritas Combination Plane. It has been bumped around for the past 5 years …


I lug this tool box to demonstrations. I am not especially gentle with it …


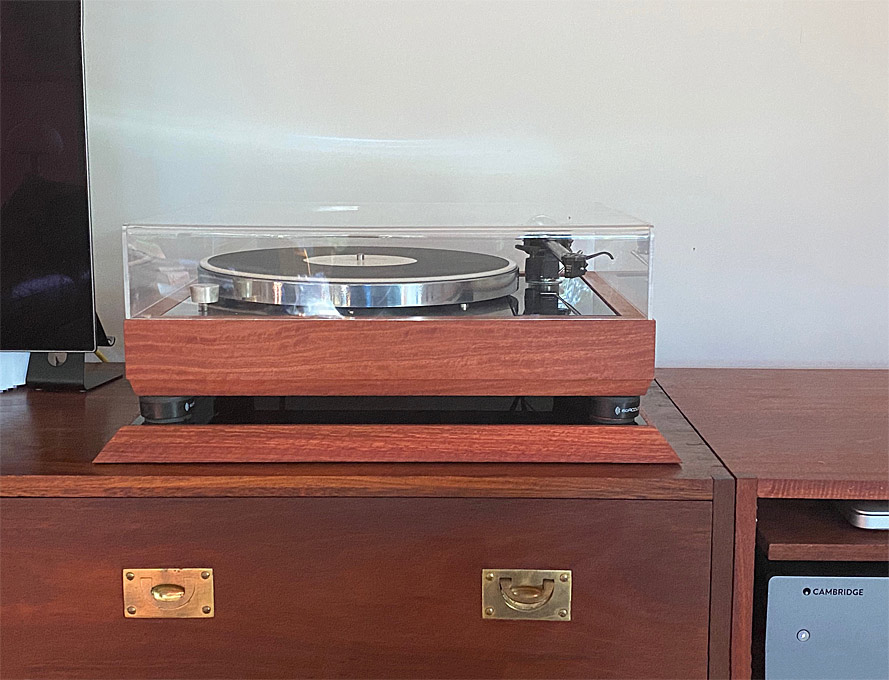
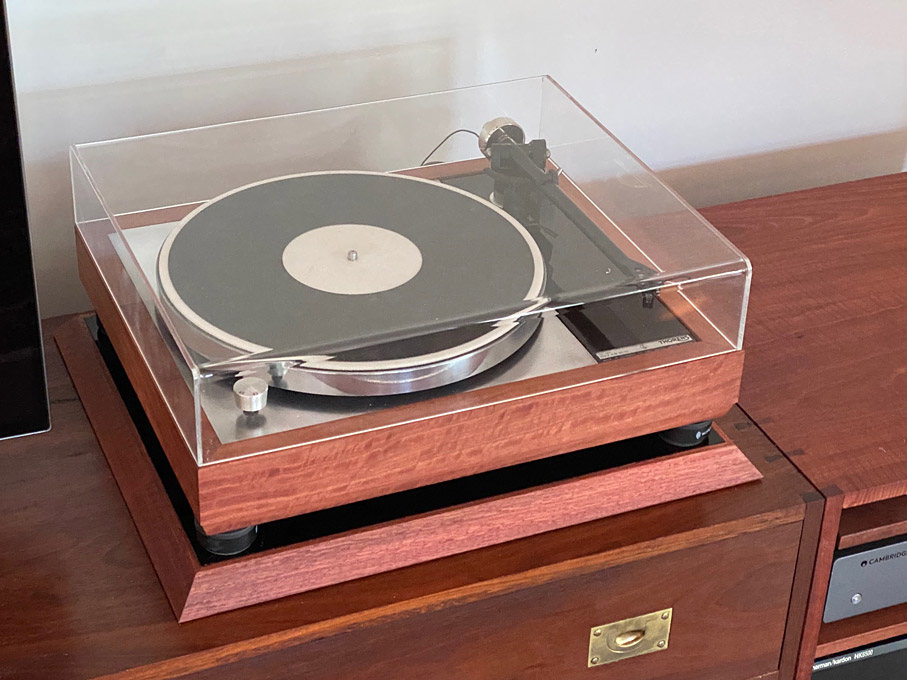
And more recently I built a new plinth and isolation table for a turntable. The isolation table has compound mitres …


I would not have done this if I did not believe in its ability to stay together.

There was a recent video by Patrick Sullivan, which was an assessment of the strength of end grain glueing ...


Frankly, while Patrick did produce a good video, his conclusion that "end grain-to-end grain is twice as strong as side grain-to-side train " is incorrect, but not because the glue joint is not as strong as he depicted. I must admit that I was taken in by this at first, mainly because when all these criticisms were levelled at the joinery, I wanted to avoid further discussion, and just pointed to this. However, there are two take aways from this research project (which would have been better had Patrick included these points):

1. Glue is stronger than wood. None of the joints tested broke at the glue line. This includes end grain-to-end grain. It remained intact under greater forces than side grain-to-side grain. But this is where Patrick gets off track.

2. What Patrick did not account for was that the strength of end grain glue up lay with the grain direction of the boards. The side grain boards broke earlier simply because they were stressed along the grain. It is extremely difficult to break boards across the grain. So, the results of the test really demonstrated that glue joints are stronger than the wood itself, only.

But this is misleading and potentially dangerous information, which is the reason I am writing this post.

Then Rob Cosman, following release of Patrick's video, did his own testing ...


Go to the 25-minute mark where a 200 lb Rob Cosman jumps on a dovetailed-and-glued corner and a end grain-glued corner. Both survive. Again, glue wins.

I feel now that it is my duty to clear up any misconceptions about the joinery here:

What Patrick's video demonstrated was that glue is stronger than wood. Most of us have known this for many years. But that does not mean that it is a satisfactory substitute for joinery. At the same time, one does not need to use extreme joinery for everything. It is relevant to differentiate "stressed" from "non-stressed" joints. Panels (as in table tops and frame-and-panels) being glued up are non-stressed. If someone adds biscuits or dominos, it is not for strength; it is for alignment. The glue alone should suffice.

If you plan to hammer on or lever a glued mitre joint verses a reinforced mitre joint, all you are demonstrating is the strength in a non-stressed verses a stressed situation. A small box may have thin sides and thin mitres, but there is relatively less chance of the panels flexing than something structural.

The same situation is present in the mitres for these cases. The only possible stress is from the atmosphere, and I believe that this is negated by the fact that the wood is consistent and the grain of the boards joined are, essentially, coplanar. Will the glue breakdown? Sure, eventually ... in a 100 or so years. Look at vintage furniture using hide glue. These pieces are not intended to last 100 or more years. Fashion will see to that. So ... okay for this situation, not-okay for stressed joinery.

With regard to mitres and biscuits et al, a big reason they are used is to prevent movement when glueing up. Glue is slippery and a misaligned mitre is ugly. Glueing a mitred joint is tricky. The tape method I used here is fantastic for alignment (and it also prevents glue leaking out on bench tops), better than anything else out there (such as other tape, biscuits, dominos, etc). And it is dead easy.

It is important to emphasise that I am not recommending that one use un-reinforced mitres indiscriminately; assess the demands and the determine the risk.

This is a potentially great discussion topic. I would like to hear the views of others.

Regards from Perth

Derek
 
Last edited:

The little drawer​

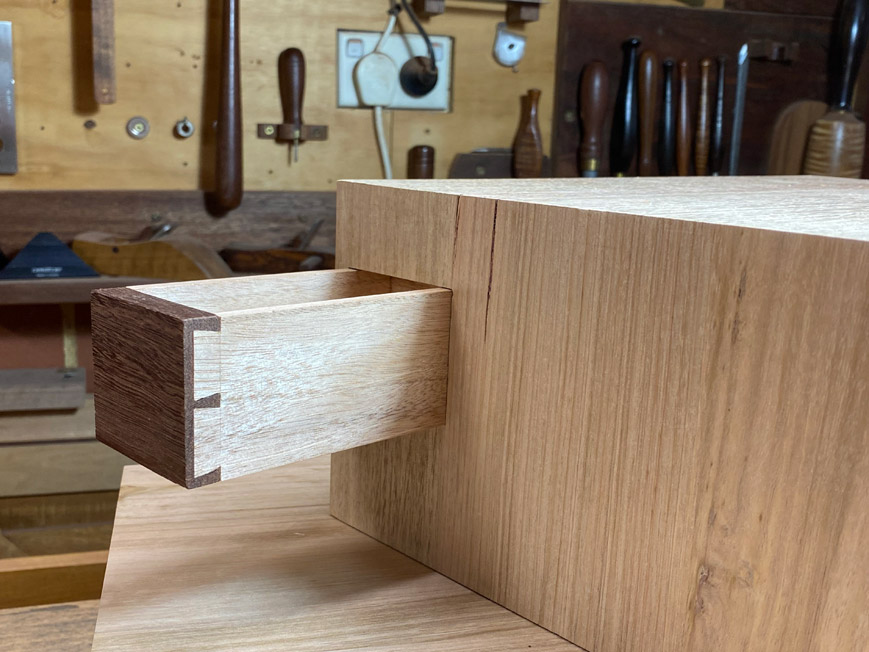
Recap: The build is a pair of night stands, bedside tables in a Krenov-Mid Century Danish style. The case is Tasmanian Oak (which is a Eucalyptus, but resembles a White Oak) and the base will be Jarrah (which grows in small quantities in Western Australia). Each case is bow-fronted, and at the side rear is a little drawer ...

51.jpg


I added the little drawer for interest, and to break up all the light wood. The light Tasmanian Oak will contrast against the dark Jarrah, and the little drawer should link in nicely. What goes in the little drawer? You could keep a watch, rings, earrings, and other small, precious items.

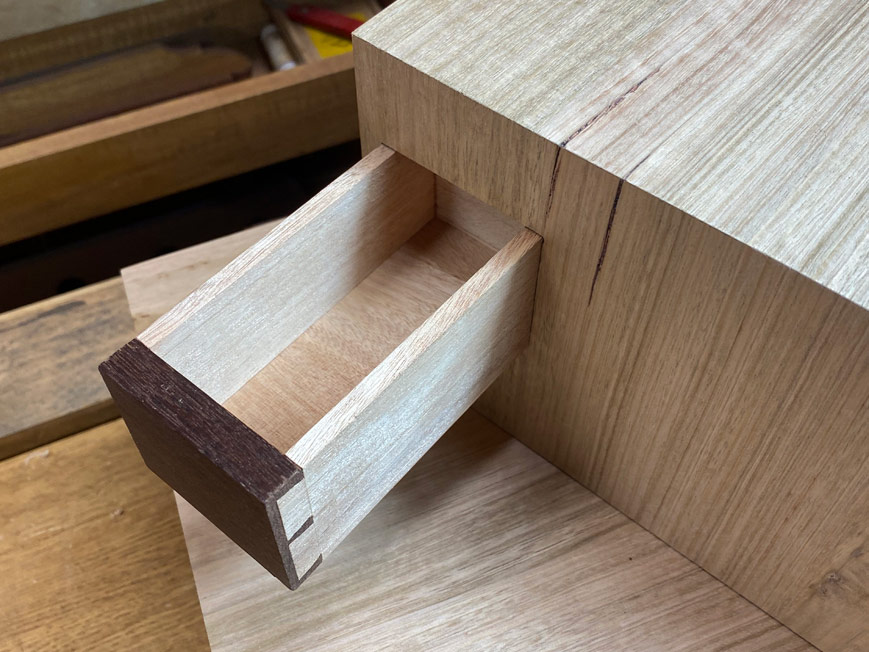
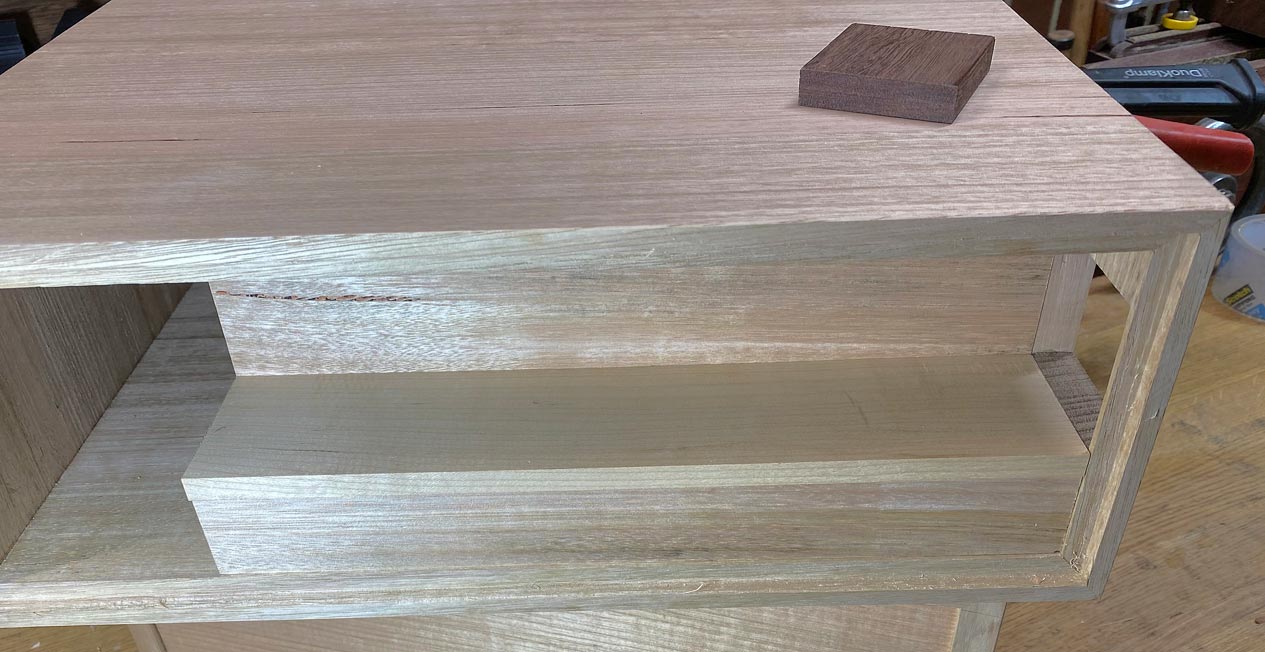
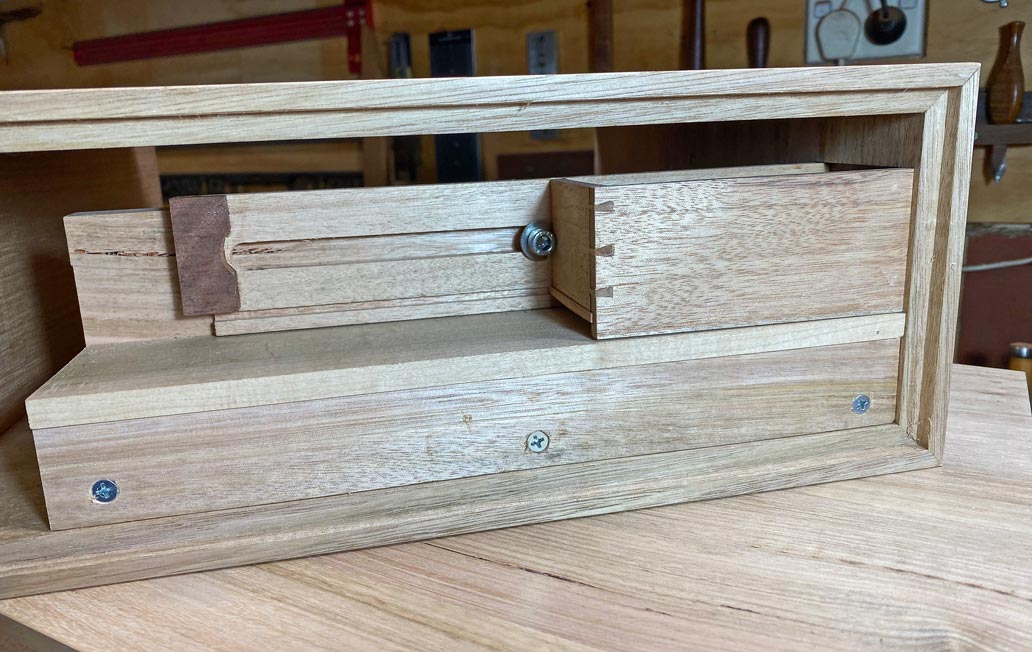
The drawer was an interesting puzzle. As you can see here, it hangs in space ...

52.jpg


53.jpg


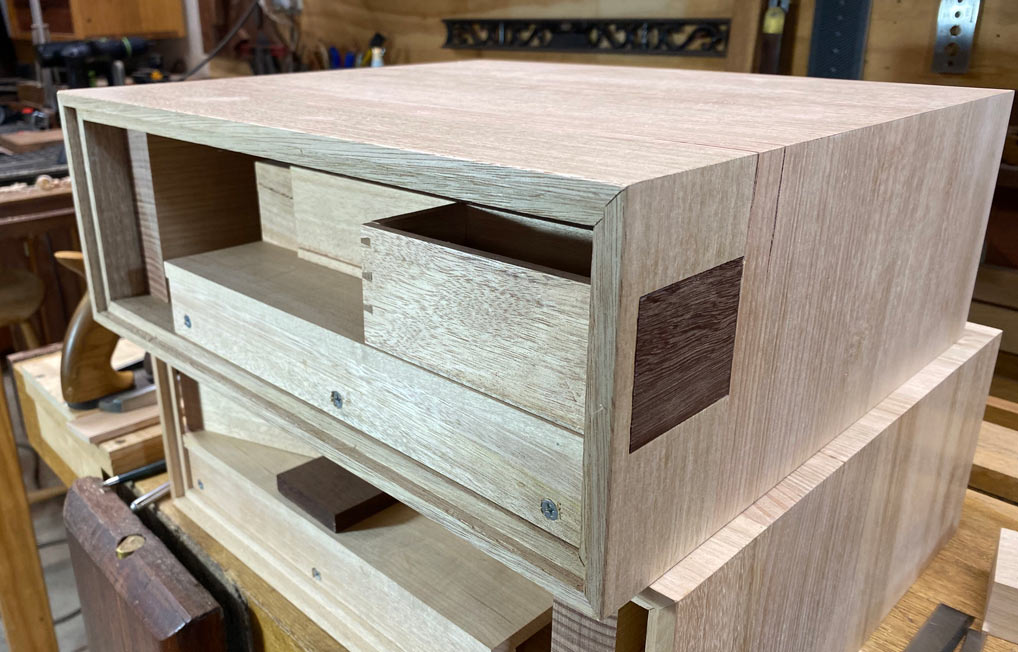
Well, obviously the drawer does not hang in space. It rests on a platform ...

44.jpg


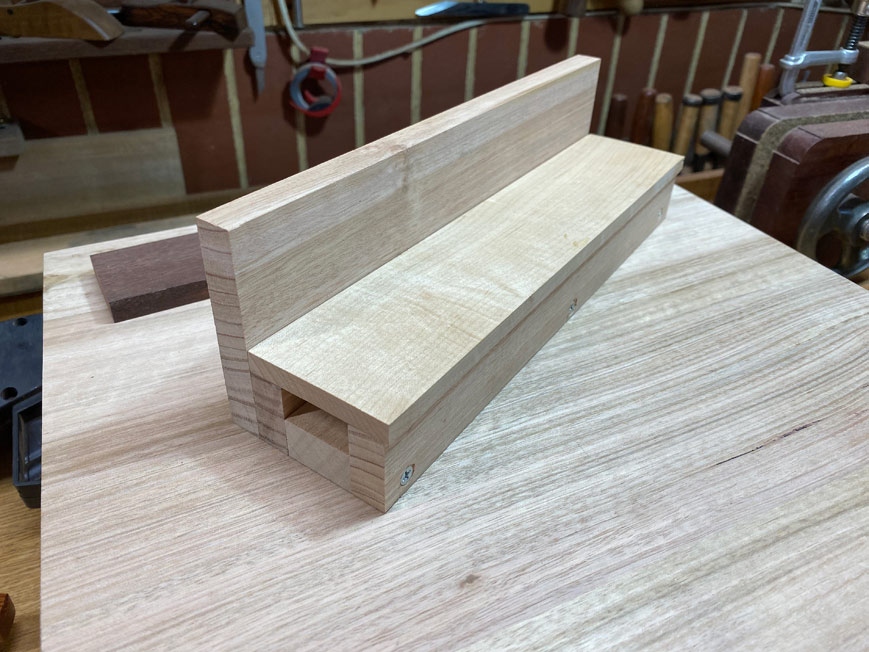
The notable feature of the little drawer is that it cannot run in a drawer case, and is supported only on one side.

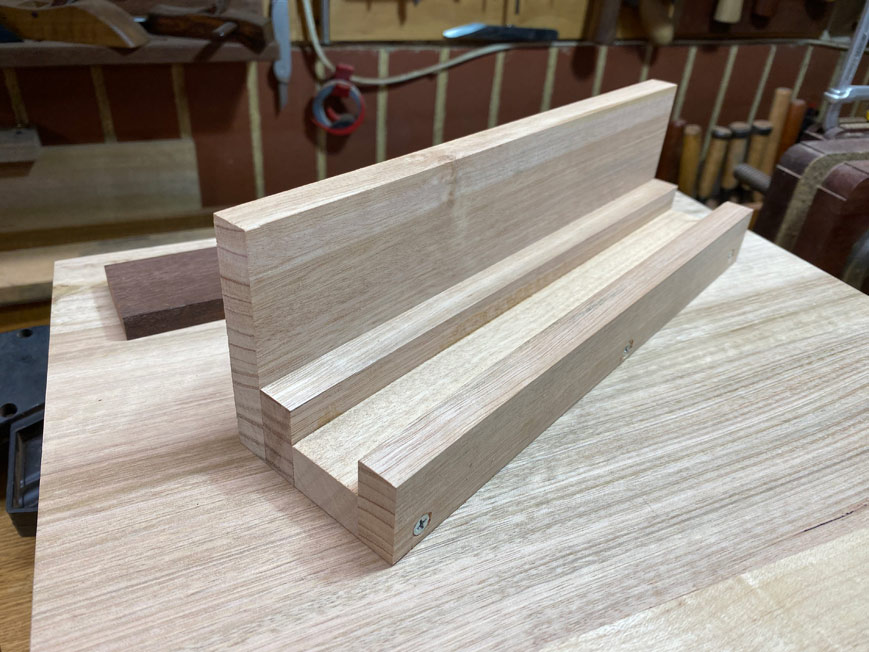
The platform is built up to create a box, which is screwed to the base of the case ...


38.jpg


39.jpg


37.jpg


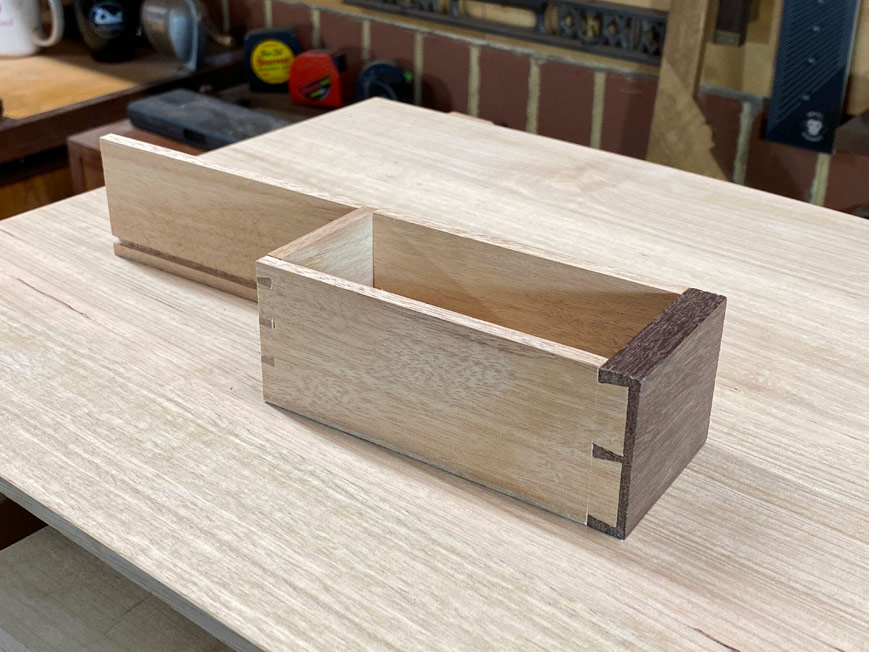
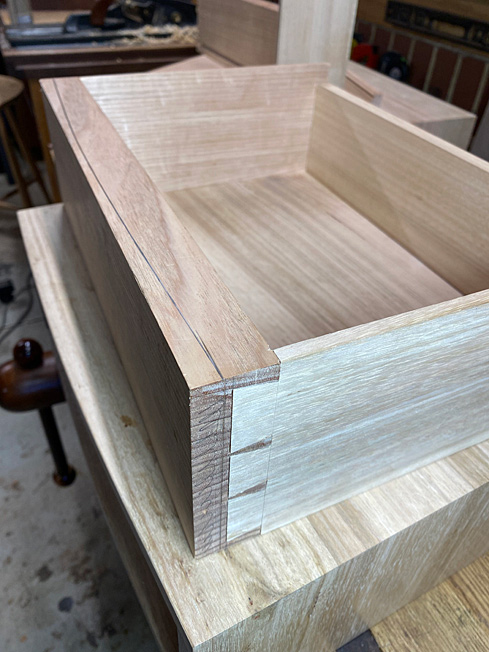
The drawer is not your common garden design dovetailed drawer ...

46.jpg


47.jpg


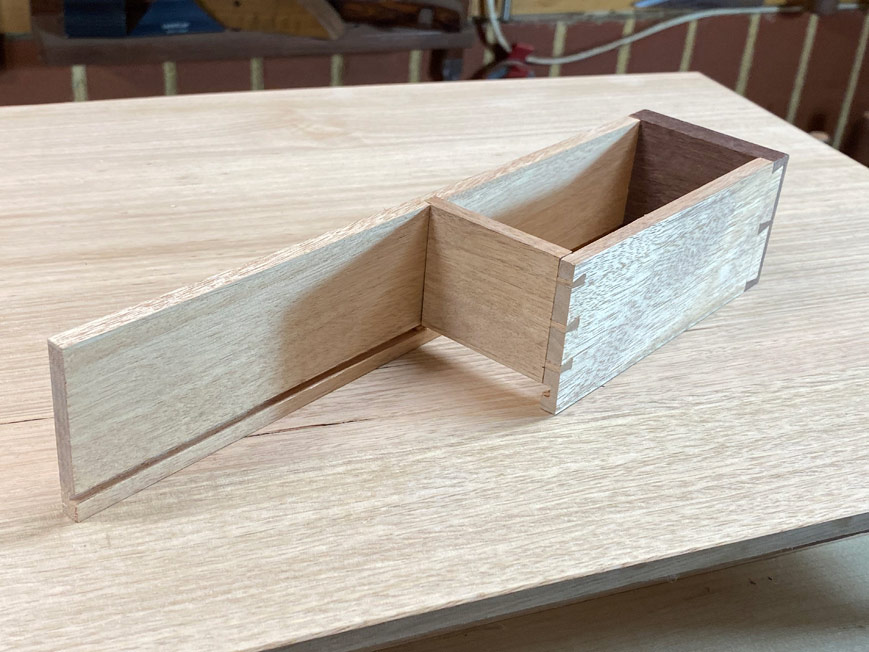
The drawer box is dovetailed all around, except for a connecting sliding dovetail.

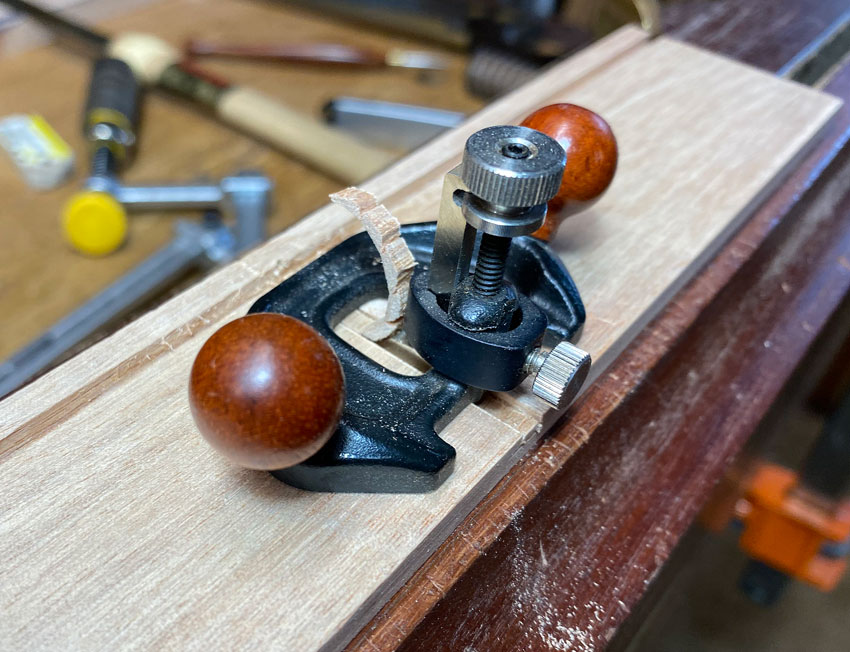
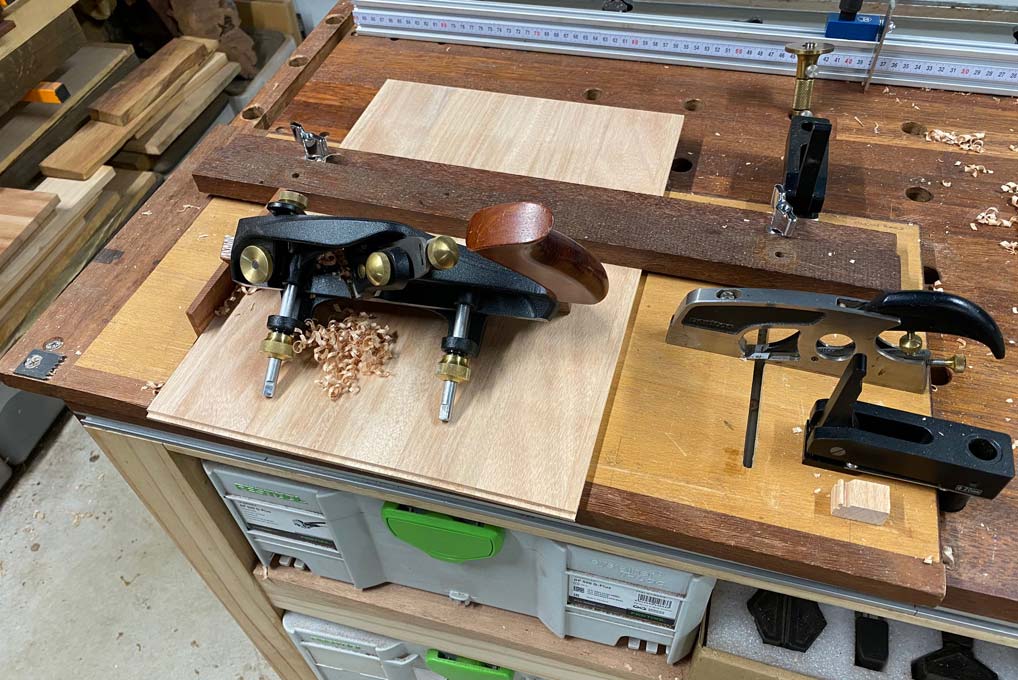
Here the waste is removed with the miniature Veritas router plane ...


43.jpg


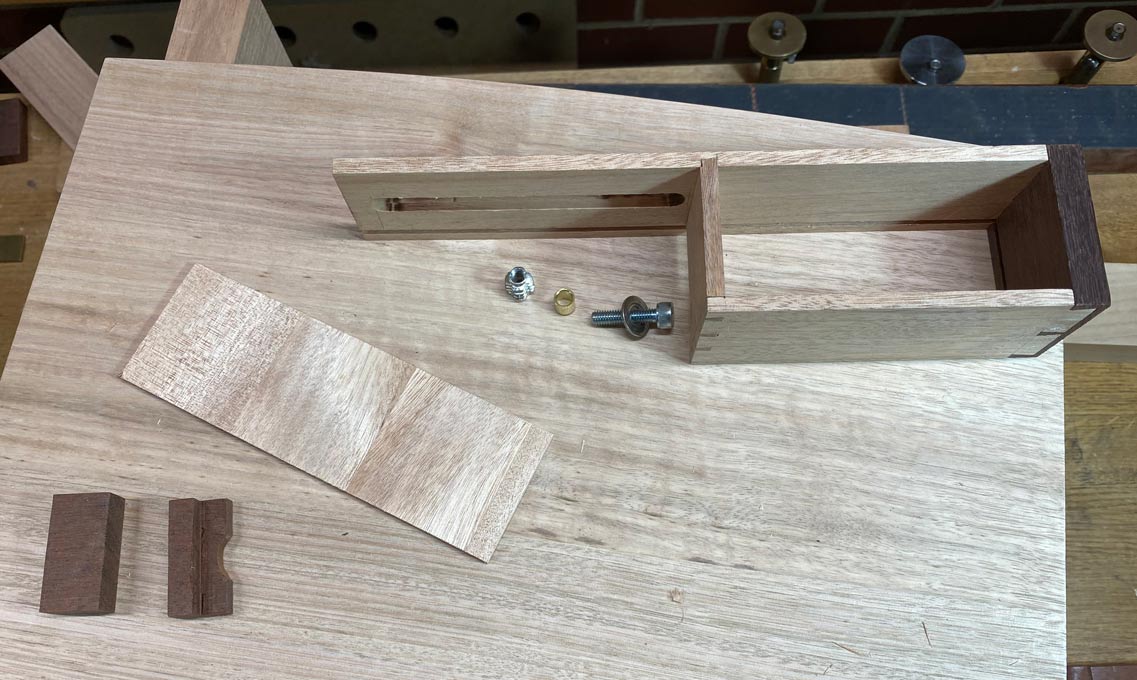
The drawer parts ...


50.jpg


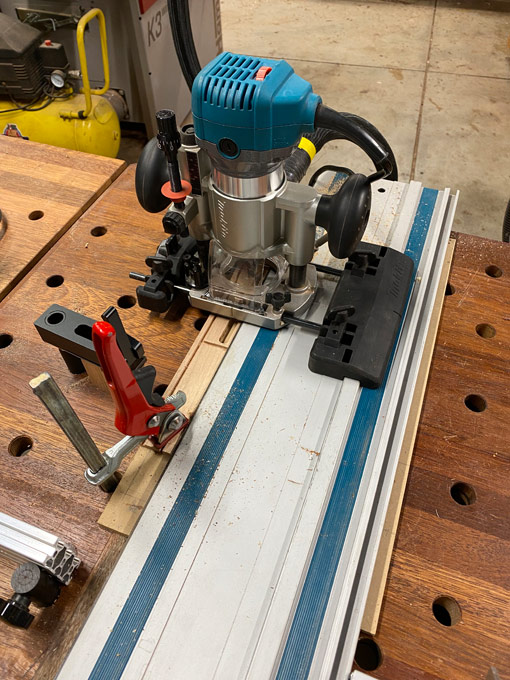
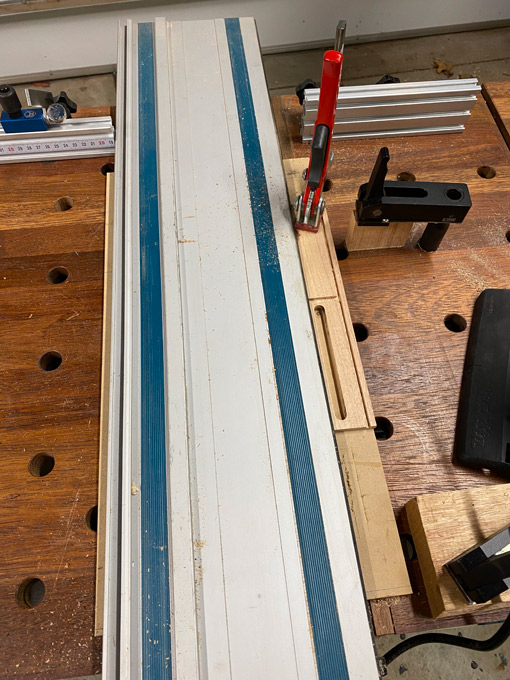
The slot for the drawer slide was a first for me, using the MFT table and router on the track ...

48.jpg


49.jpg


The bolt for the track acts as a guide as well as a drawer stop. The Jarrah section at the end is to reinforce the panel and prevent any splitting at the end of the groove.


54.jpg


More later.

Regards from Perth

Derek
 
Very nice. It is impressive, how much a slight bow to the front adds so much to the overall appearance (and creates a whole amount of extra work)
 
Power and hand together: preparing the drawer parts

The night stands have two drawers each. Last time we looked at the Tiny Drawer. The main drawer will be bow-fronted.

Sat1.jpg


This post is about preparing the drawer parts - sawing them to size, and the tools and process used. Tomorrow I will be dovetailing the parts together to make the drawer, but I thought some here would be interested in seeing the machines and planes used to create a piston-fit drawer.

The usual way to rip boards to width is with a table saw, against a rip fence. This one is a Hammer K3, and the rip fence is augmented with the JessEm Clear Cut Stock Guides. They do a fabulous job of forcing a board against the fence, and this prevents any wandering.

Sat2.jpg


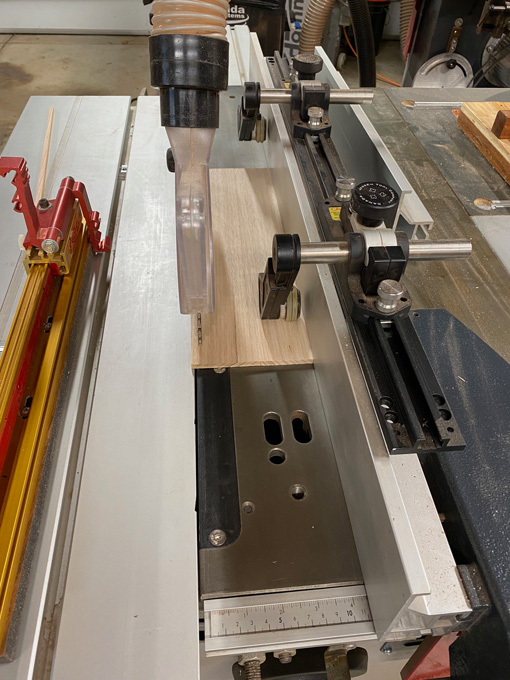
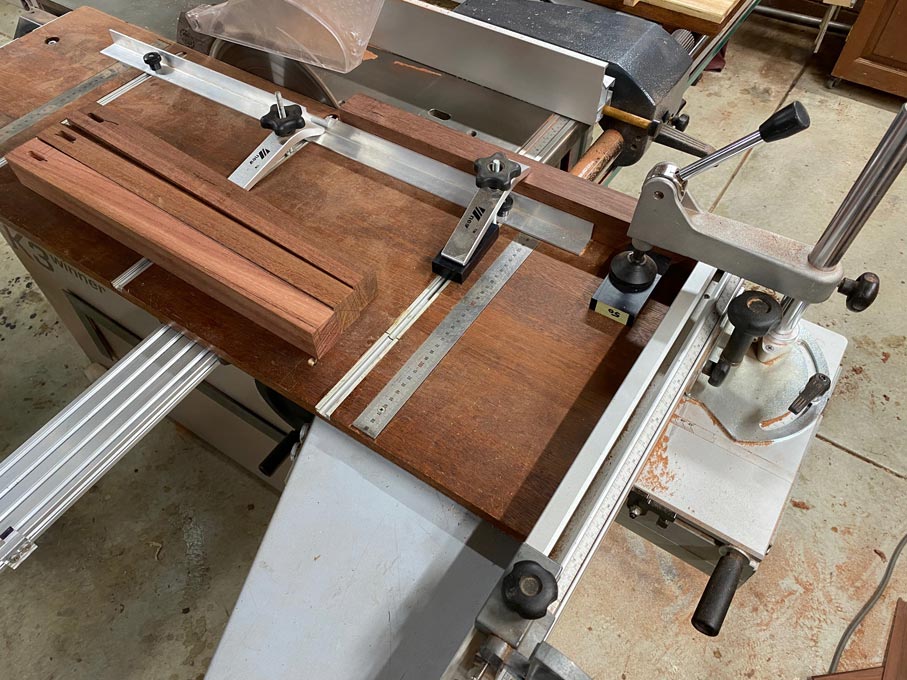
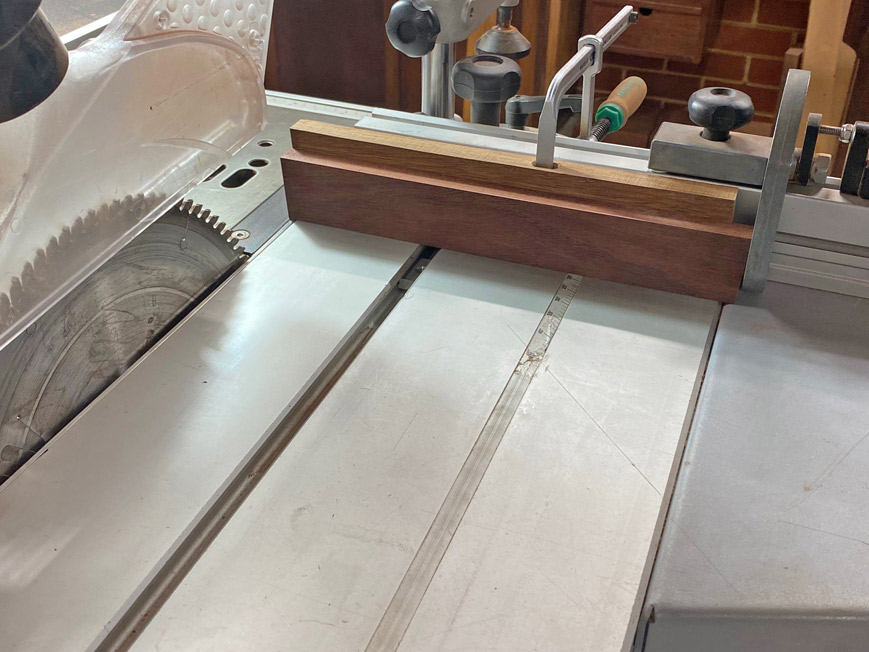
But another way to do this is to use a parallel guide on the slider. This is a particularly safe way of sawing, and is a lot easier to set up.

Sat3.jpg


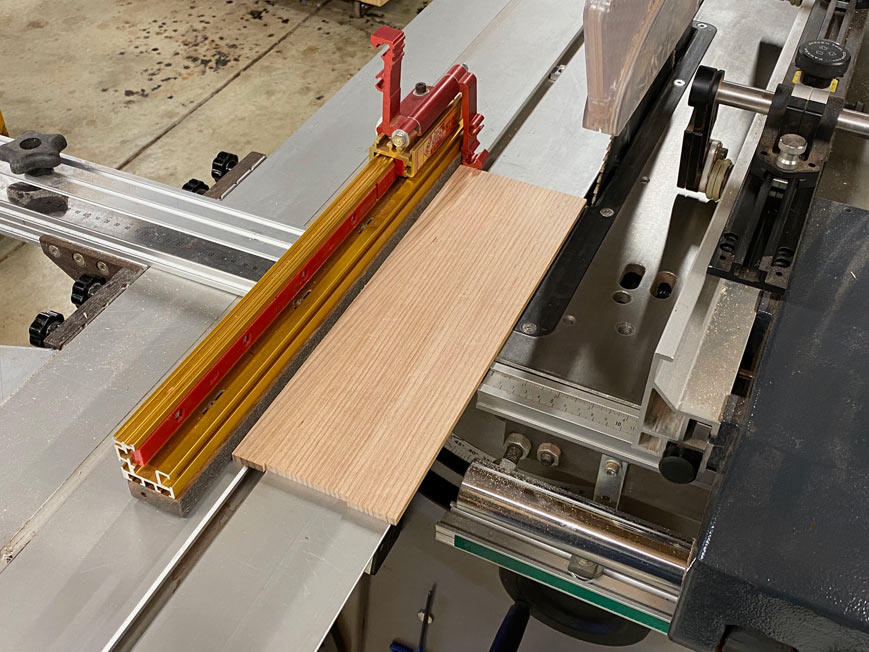
Crosscutting to square one end on the slider ...

Sat5.jpg


... and then cutting to size with the depth stop ...

Sat5-1.jpg


The machines do the coarse work, getting the boards close to size. The fine fitting is done with hand planes.

A Stanley #52 shooting board cleaning up the ends ..

Sat8.jpg


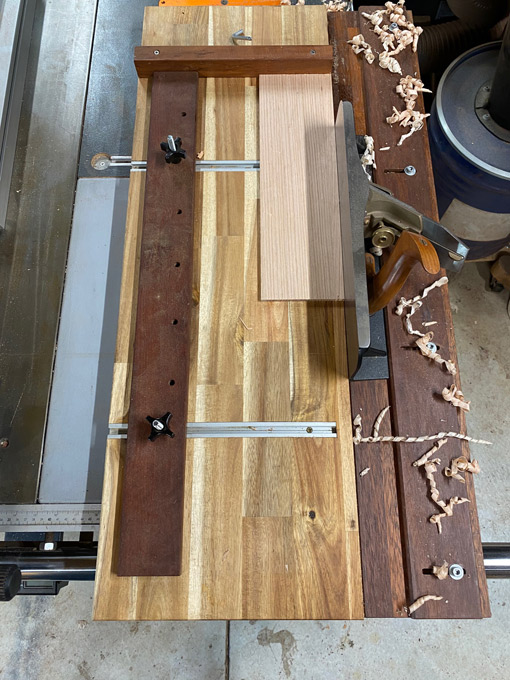
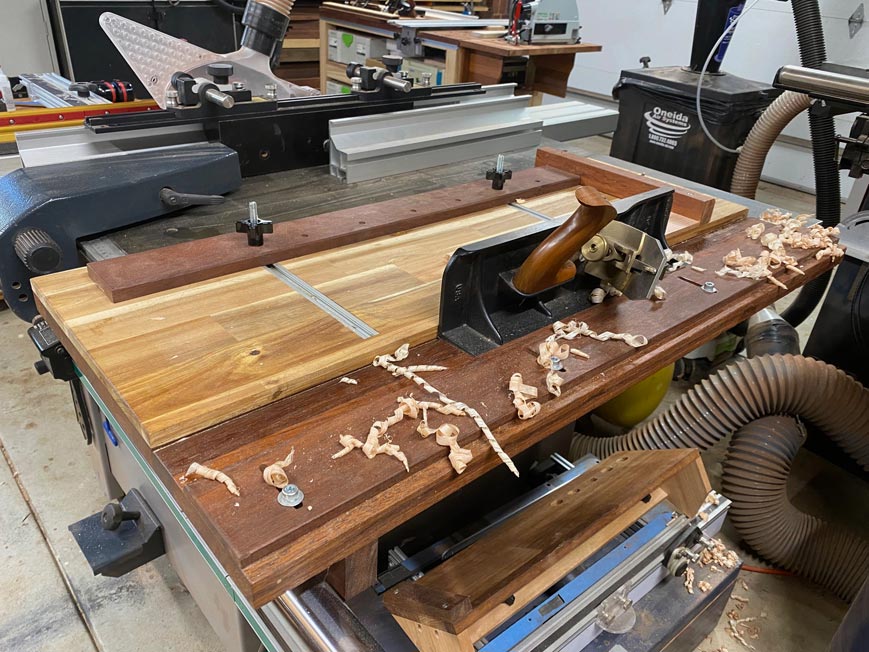
Here is a large shooting board planing the height of the drawer sides to fit the case (it sits on the outfeed of the K3 today) ...

Sat6.jpg


Sat7.jpg


Removing any machine marks and smoothing the faces ..

Sat9.jpg


Labeled and ready to go with the next stage ...

Sat10.jpg


Tomorrow ...

Sat11.jpg


Regards from Perth

Derek
 
Go to the 25-minute mark where a 200 lb Rob Cosman jumps on a dovetailed-and-glued corner and a end grain-glued corner. Both survive. Again, glue wins.
That is really interesting.
I did a drawer unit(in figured Ash) with the drawers rebated like his joints, but fell foul of the myth and felt I had to reinforce them with dowels drilled through the sides into the front. I can see how that wasnt necessary.

Interesting vid overall. I jumped to the 25min section, but worth a watch and I'll take a look at his other vids
 
All the dovetailing was completed while everyone was napping.


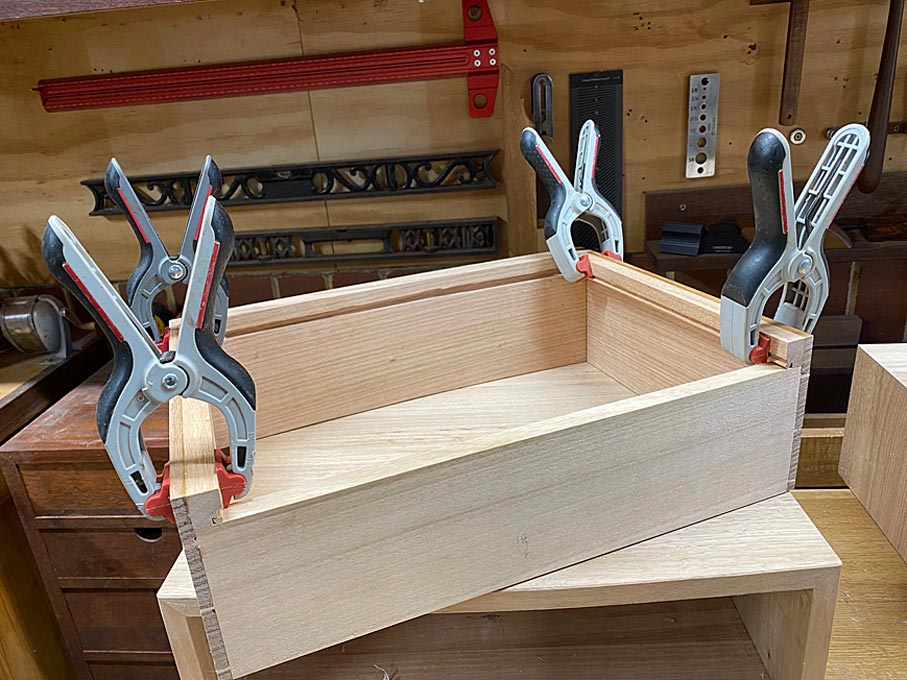
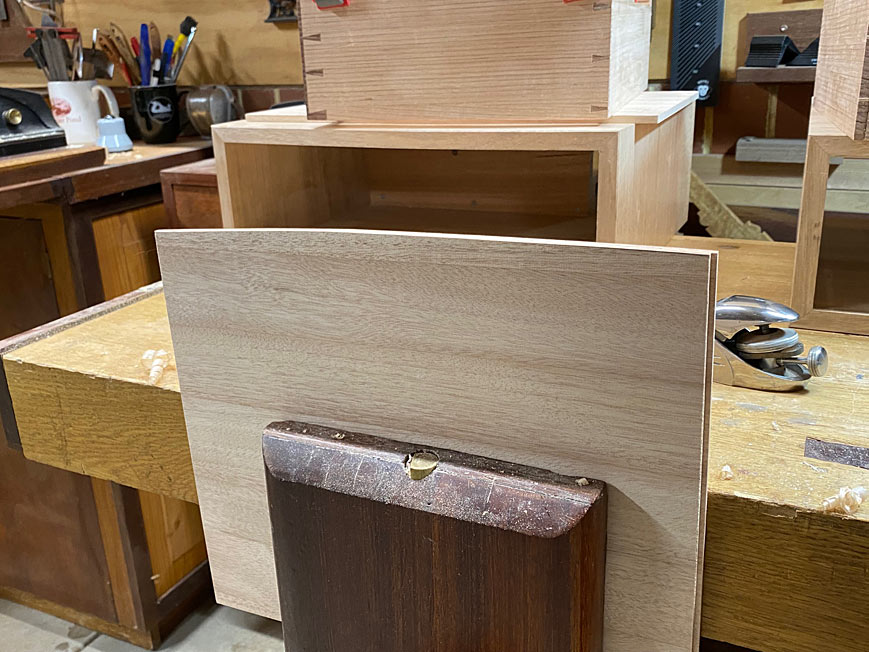
The drawer fronts had been left deep enough to create the bow front. The drawers were fitted into the case and clamped to prevent movement. The top was then marked in ...


... and then flipped over and marked underneath ...


The alignment can be seen here ...


Next the waste along the curve was bandsawn away.


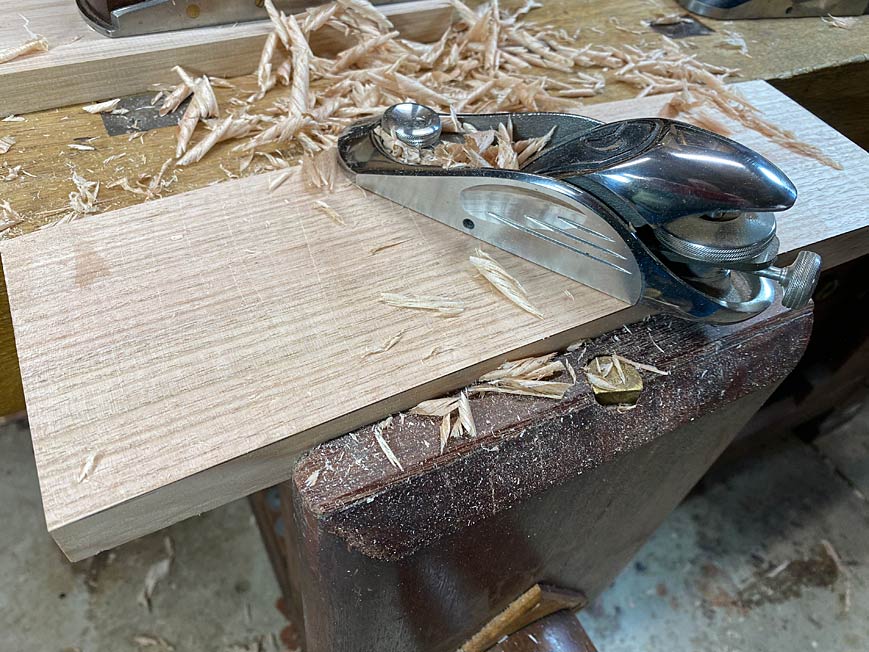
A block plane traversed across the board to shape down to the lines, working inwards from both sides.


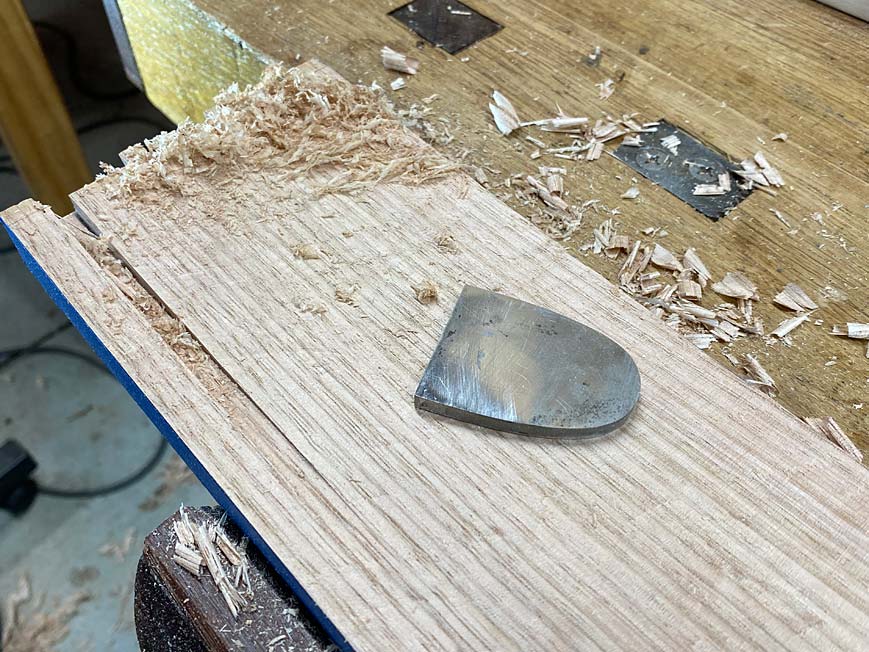
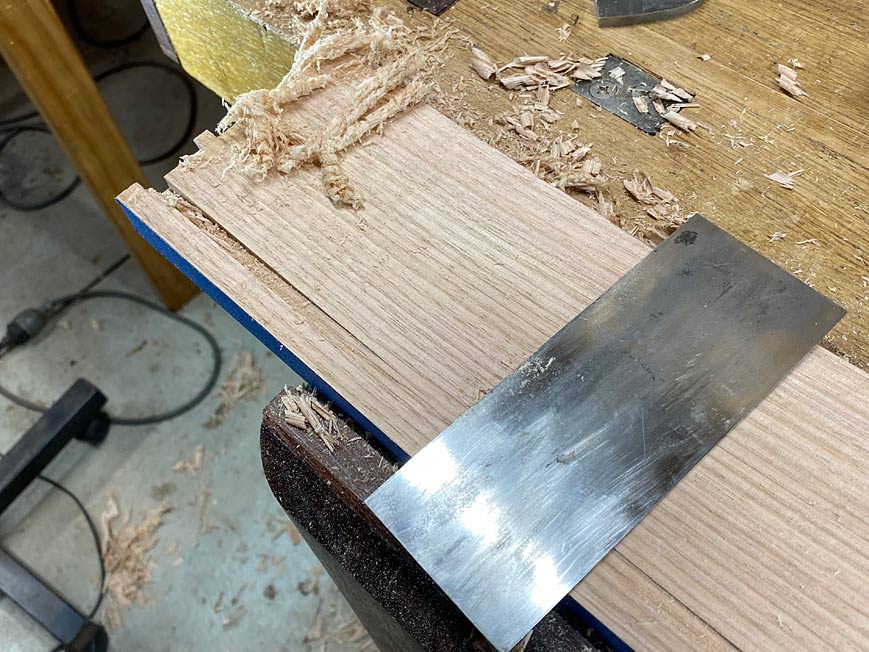
And cleaned up with a scraper ...


It's a good fit ..


All the drawer parts are pulled apart once again, and the inside curve of the drawer front is marked from the front ...


The waste is removed with the bandsaw, as before.

I've used blue tape here to make the waste easier to see ...


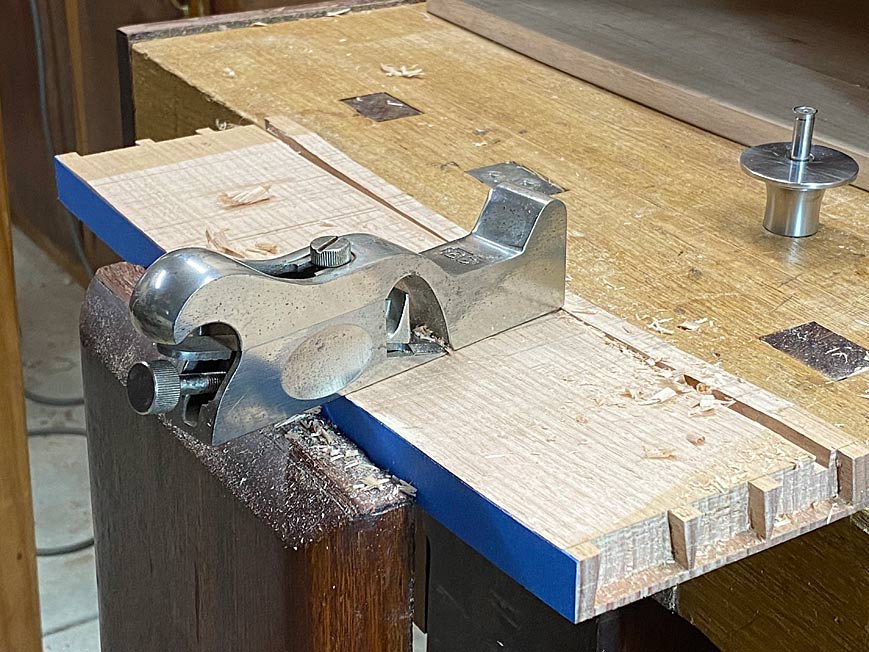
... and the Stanley shoulder plane does a great job of traversing the curve.

Coarse clean up with a thick scraper ...


.. and followed by smoothing with a thin one.


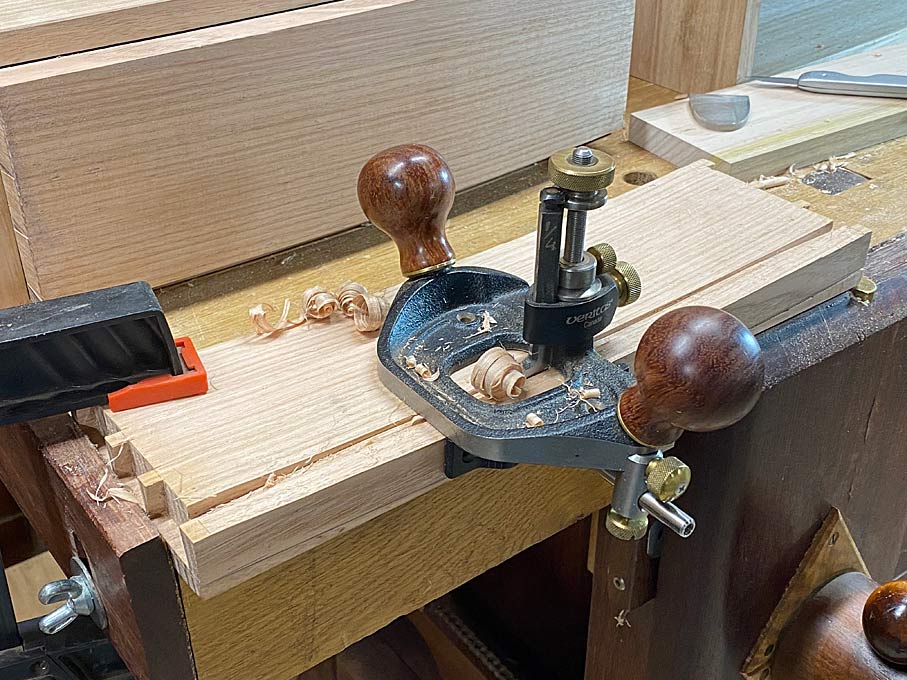
The curve also removed part of the groove for the drawer front. This is replaced using a router plane ...


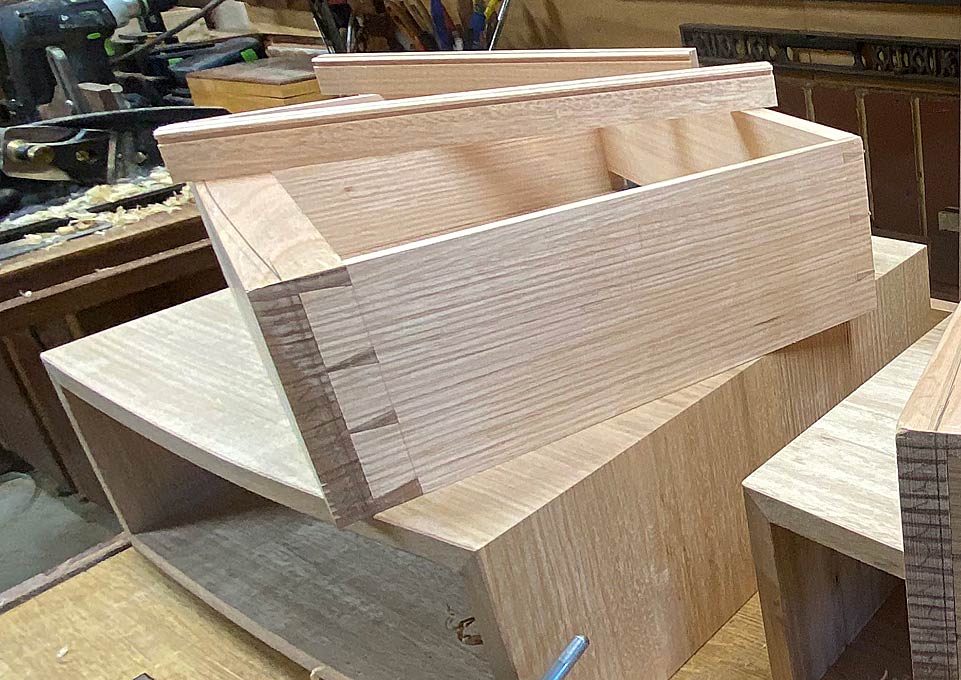
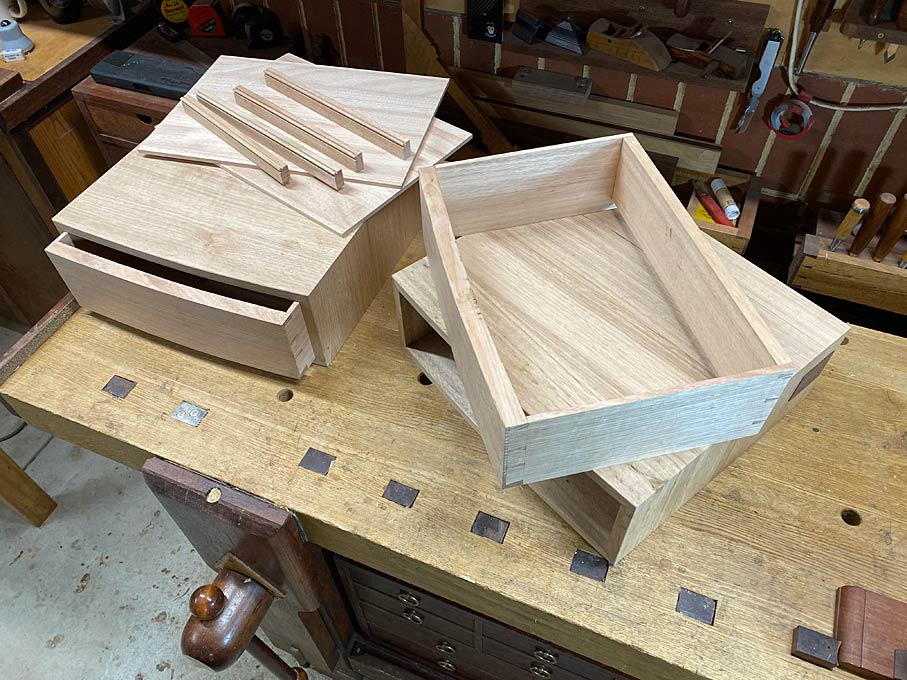
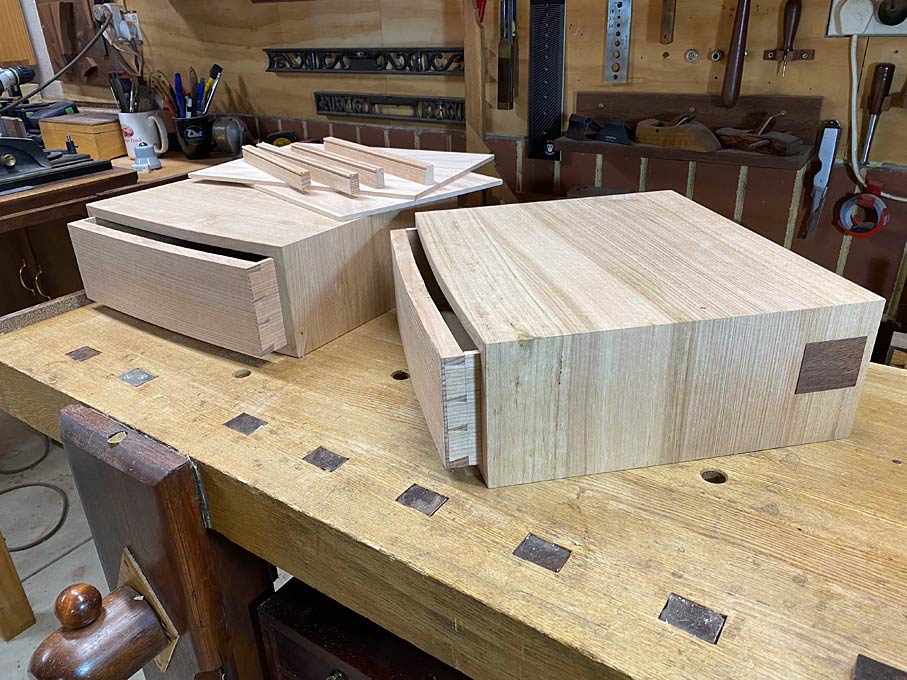
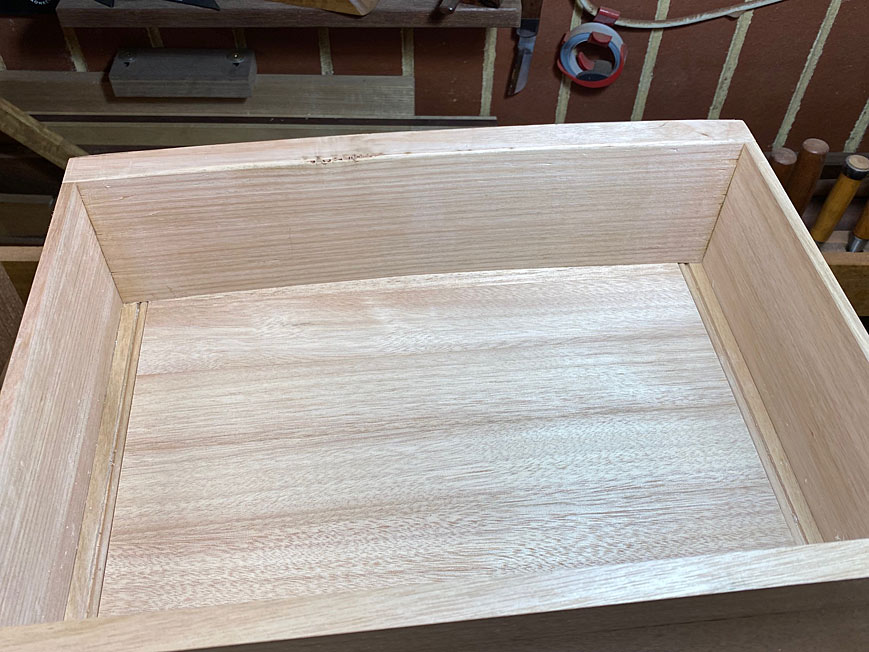
Now the drawer is ready for re-assembling, just minus the slips for the drawer bottom (which can be seen in this picture - making them will be the next chapter).


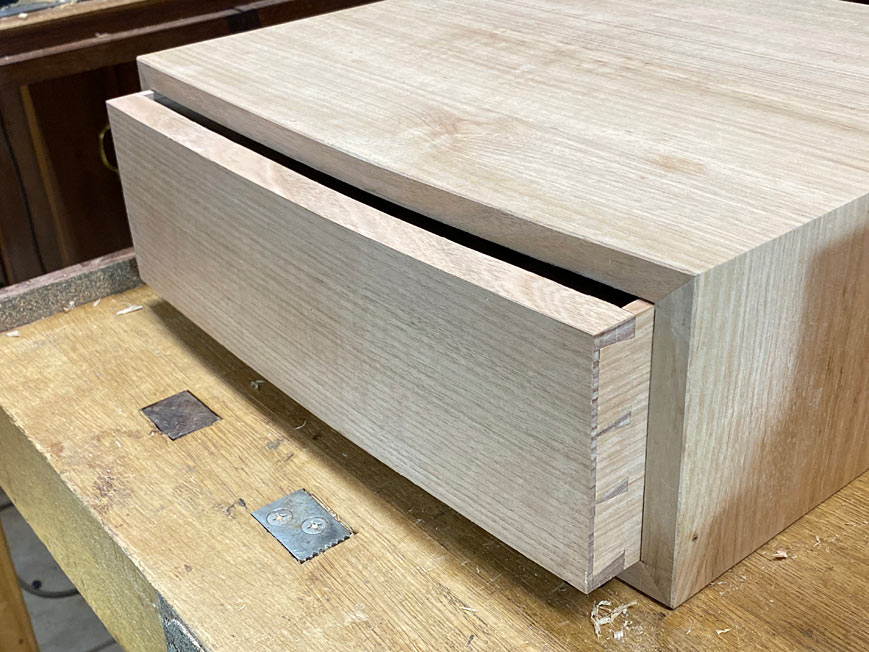
Close up ...


Next: Making of slips, fitting the drawer bottom (with a matching front curve), and completion of drawers.

Regards from Perth

Derek
 
Pardon, but your slip is showing.


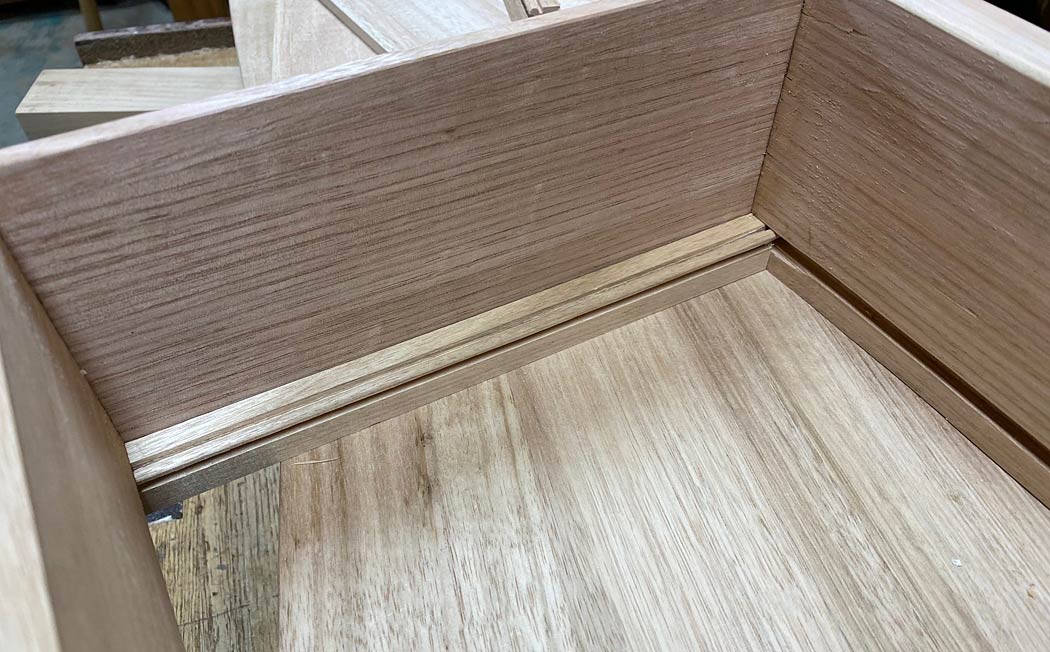
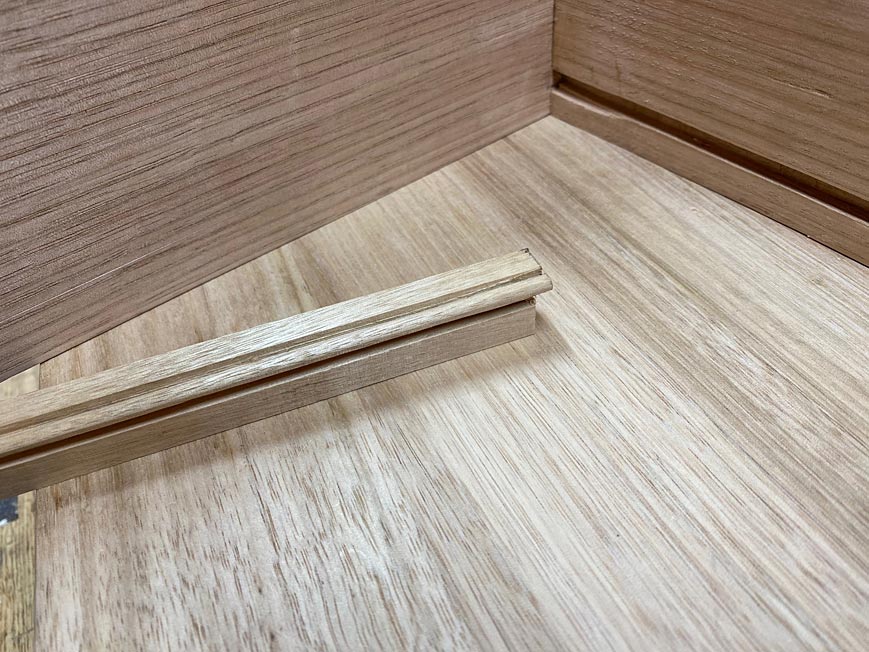
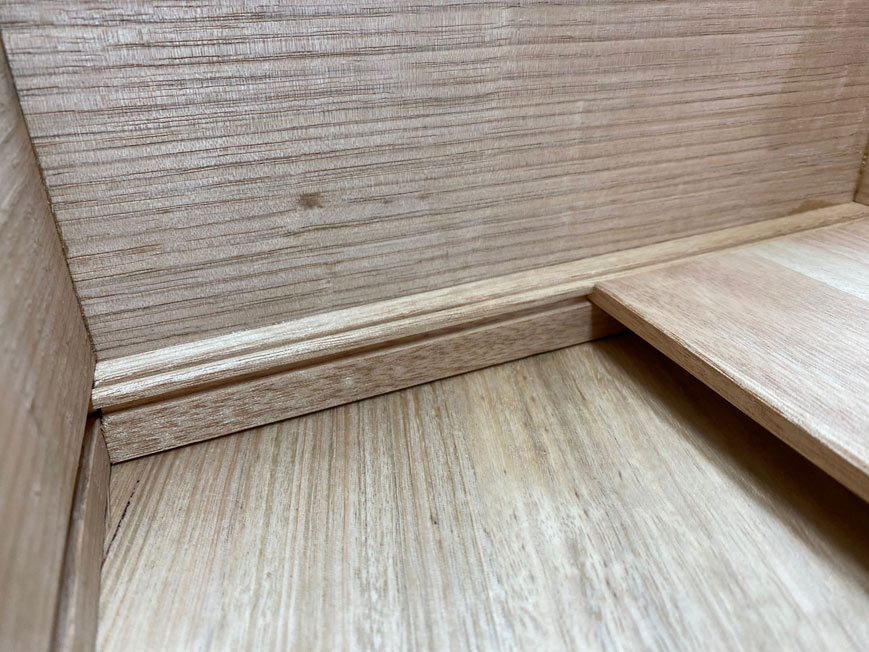
When drawer sides are thin, say between 6mm - 8mm, then "slips" are used to hold the drawer bottom rather than ploughing grooves into the sides. Slips are runners which are glued onto the sides. They have two purposes: firstly, to hold the drawer bottom in a groove ploughed into their sides and, secondly, to widen the underside registration of the drawer side.

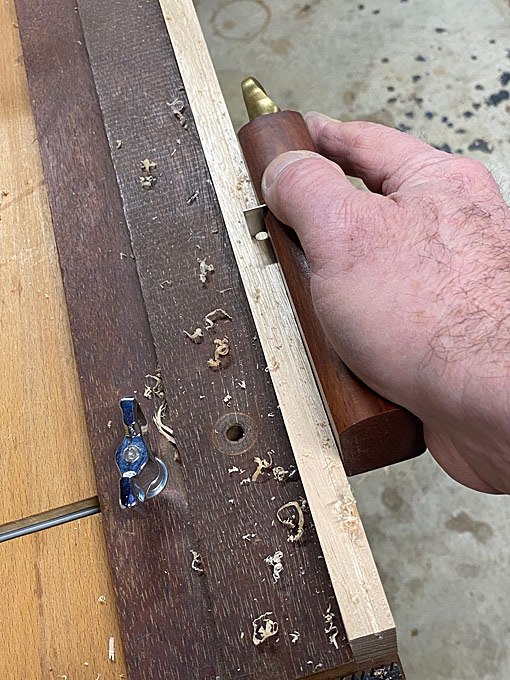
I like to add a bead as a transition between the slip and the drawer bottom. Below, the bead is about to be scraped on the sticking board ...

E1.jpg


The scraper is made from hardwood and uses a shaped section of bandsaw blade to create the shape. This design comes from Garrett Hack ...

E2.jpg


This is final shape created ...

E3.jpg


Once the bead is made, turn the board on its side and plough the groove ...


E4.jpg


Completed bead (oversize still) ...

E5.jpg


The slip is cut to size. Thos is how it will look inside the drawer ...

E6.jpg


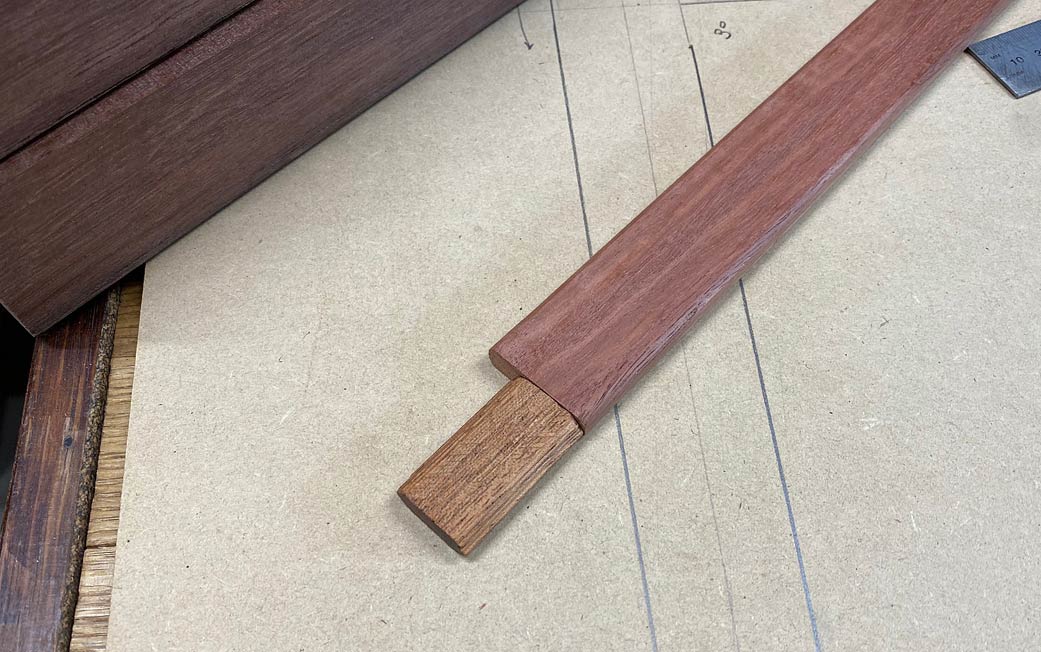
The end of the slip has a tenon, and this will fit into the groove in the draw front (which was ploughed in an earlier post) ...

E7.jpg


The slips are glued to the sides ...

E8.jpg


And now it is time to fit the drawer bottom!

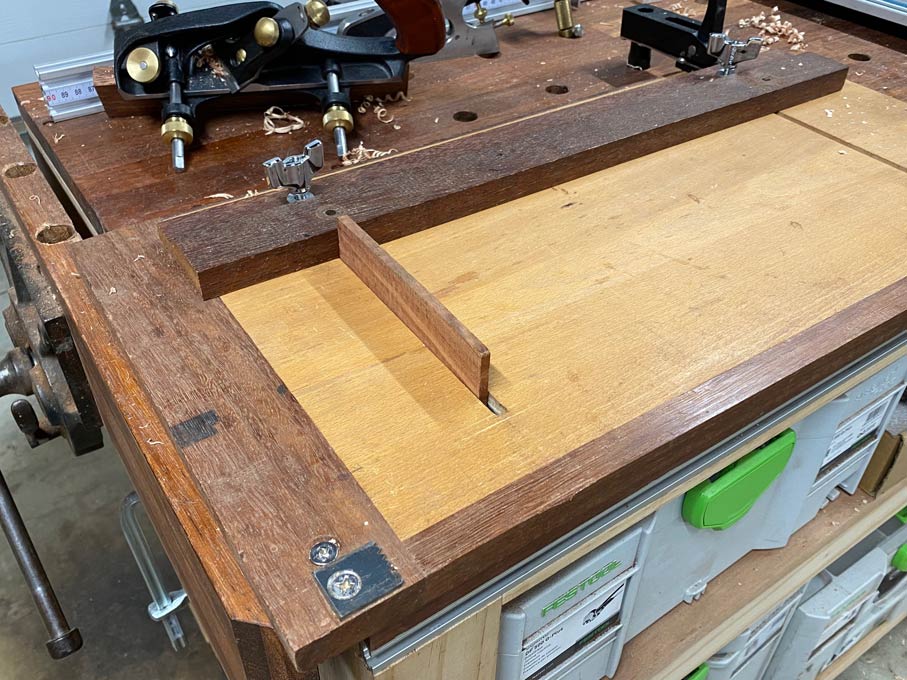
At this stage it is oversize but planed to thickness, in this case 1/4". The panel is set on the sticking board to hold when ploughing 3mm side rebates. The sticking board is given a slight modification for this purpose as the panel is too wide to fit against the fence. Instead, it slides under the fence, which then acts as a hold down ...

E9.jpg


To add to the set up, a thin board is set into the track as a fence/stop ...

E11.jpg


The width of the rebate is marked in with a cutting gauge - the finish here must be perfect as it will be viewed for always - and then is planed almost to depth. Finally, it is finished with a small shoulder plane. This ensures that the finish is clean and ready to use ...

E10.jpg


Incidentally, note the new front thumb "knob" I made for the Veritas Skew Rabbet Plane.

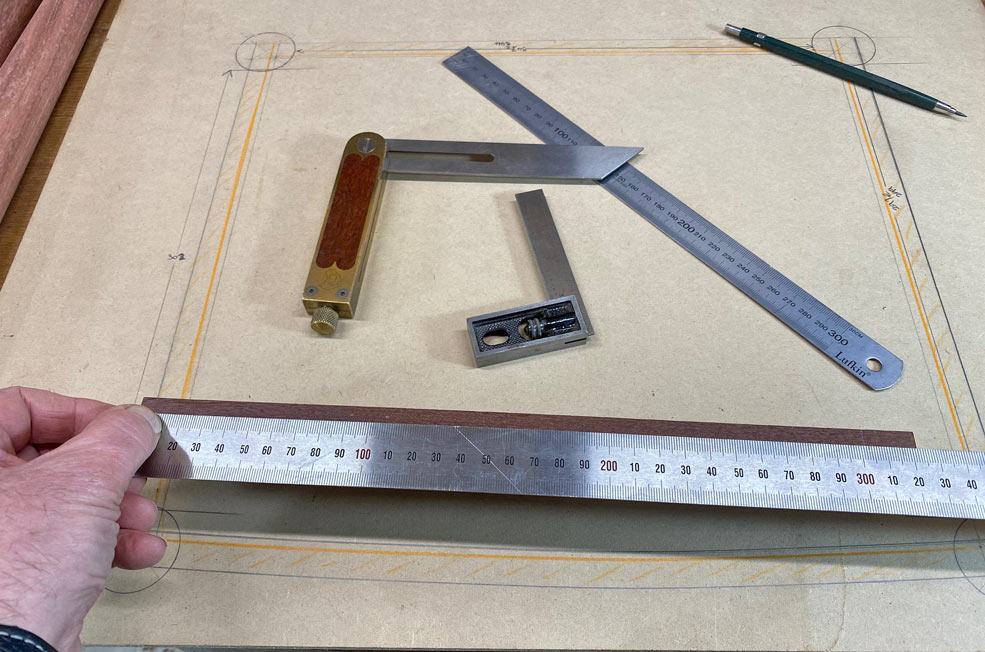
To fit the drawer bottom, the panel needs to be sized. Before marking and sawing, the width between the grooves is checked the full length. Unless it is parallel, the drawer bottom will bind. The rules here are used for this ...

E12.jpg


Now the bottom is marked against the grooves themselves, and the total width crosscut ...

E13.jpg


... and the procedure of planing the rebate is done once again. This is a little more exacting than before as there can be no slip ups.

The completed panel slides into the grooves and is pushed in as far as it will go ...

E14.jpg


Of course, as the drawer front is curved, it stops short ...

E15.jpg


The curve is scribed onto the drawer bottom ...

E16.jpg


Here is the bottom shaped ...

E17.jpg


A close up of the drawer bottom, rebate and bead ...

E18.jpg


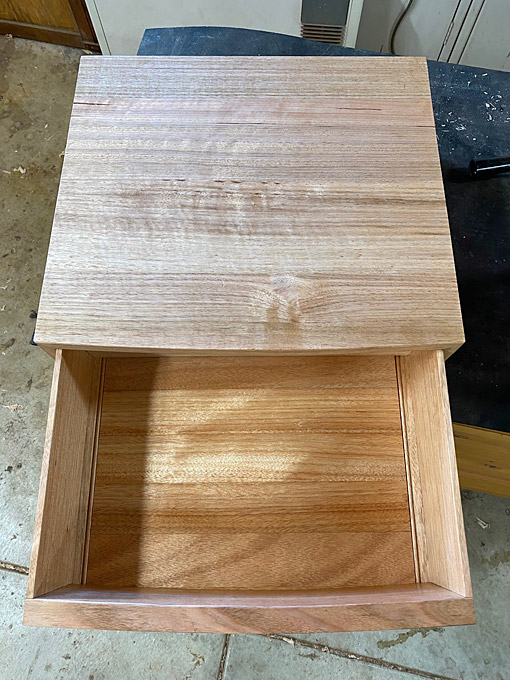
The fitted drawer bottom ...

E19.jpg


Time for finish. Hardwax Oil is used on the exterior, which has the advantage in being waterproof - needed for a bedside table. This is one coat at present. It will need time to cure.

E20.jpg


E21.jpg


Carneuba oil/wax is used on the interior.

E22.jpg


E23.jpg


I have made a couple of handles, but not really sure what I want just yet. I will wait until all is done.

In the meantime, we are now ready to start on the bases.

E24.jpg


Regards from Perth

Derek
 
Last edited:
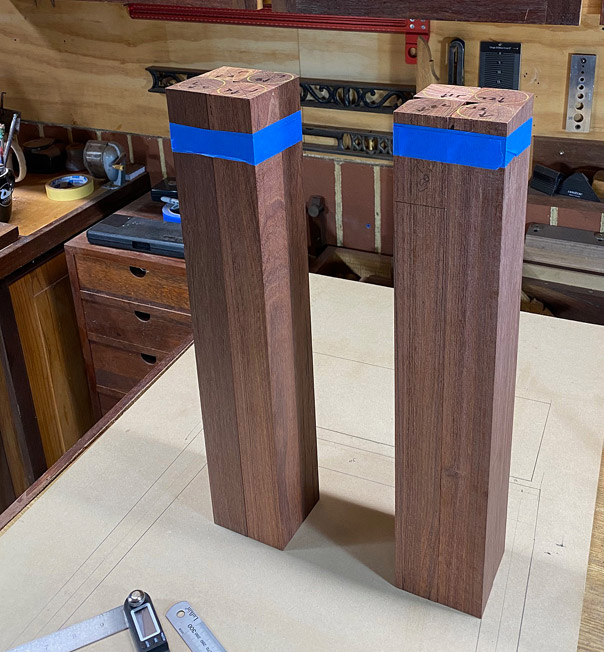
Preparations for the base

The base for the nightstand is being made from dark Jarrah. This was chosen deliberately to contrast with the light Tasmanian Oak of the drawer case. The design aim is to make the case appear to float above the base.

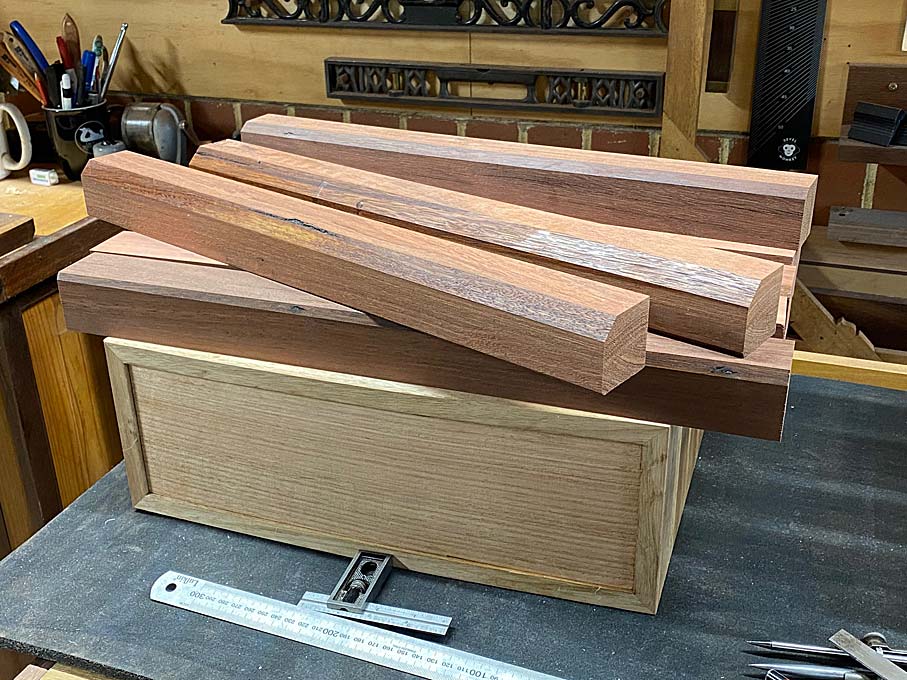
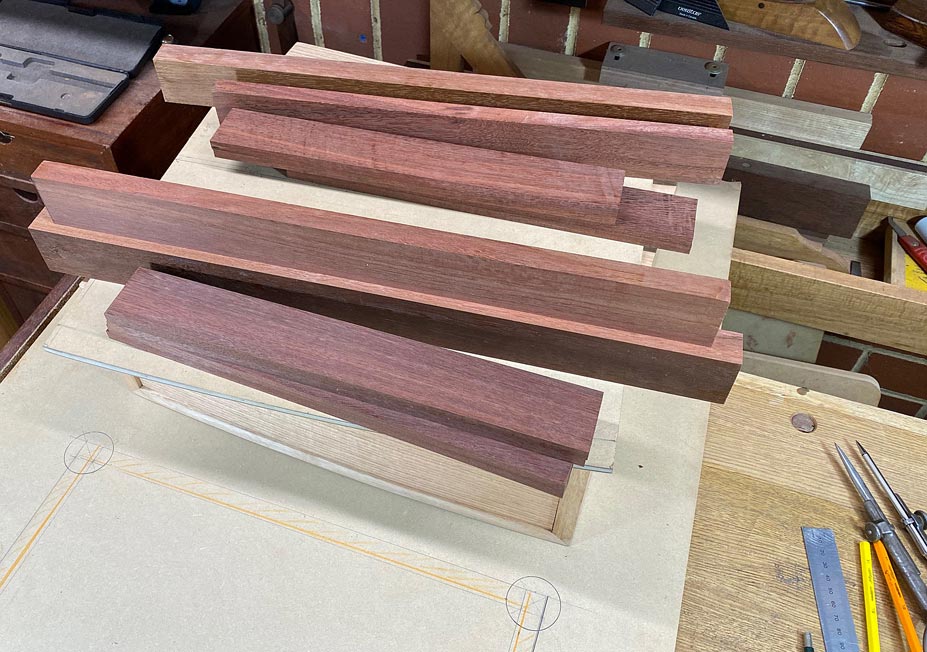
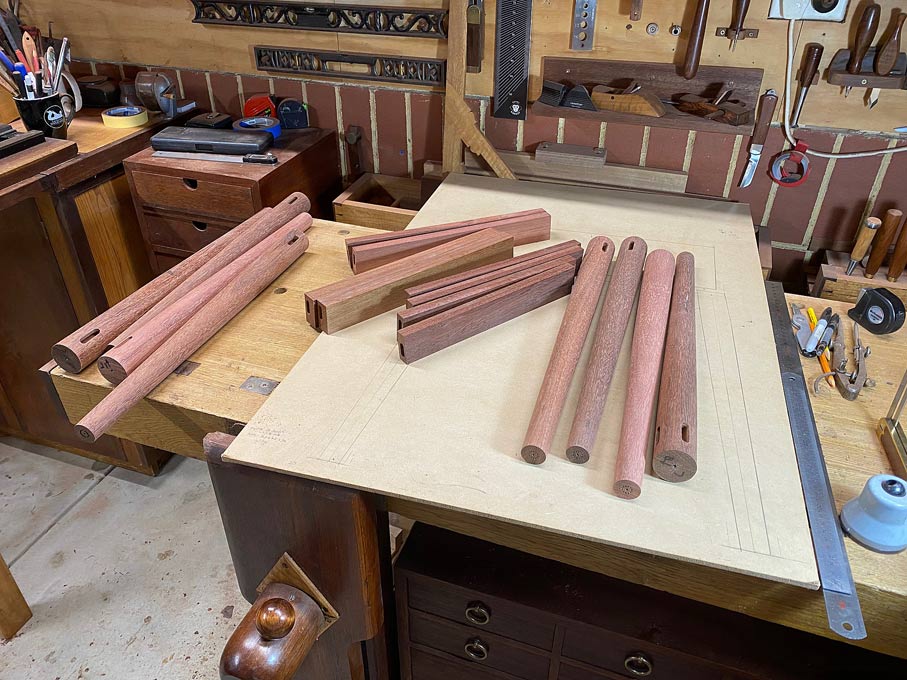
Decent Jarrah is becoming difficult to access, and I am loath to purchase new stock. Consequently, I spent time laminating bits and pieces together. There was a good bit left over from my recent bed rebuild. Below are thin slats glued to form thicker boards, which will become the side rails of the base.

F1.jpg


These will become round legs. The bevels will be removed in the turning ...

F2.jpg


The top of the legs will have a 42mm diameter ...

F3.jpg


The lower diameter will be 25mm ...

F4.jpg


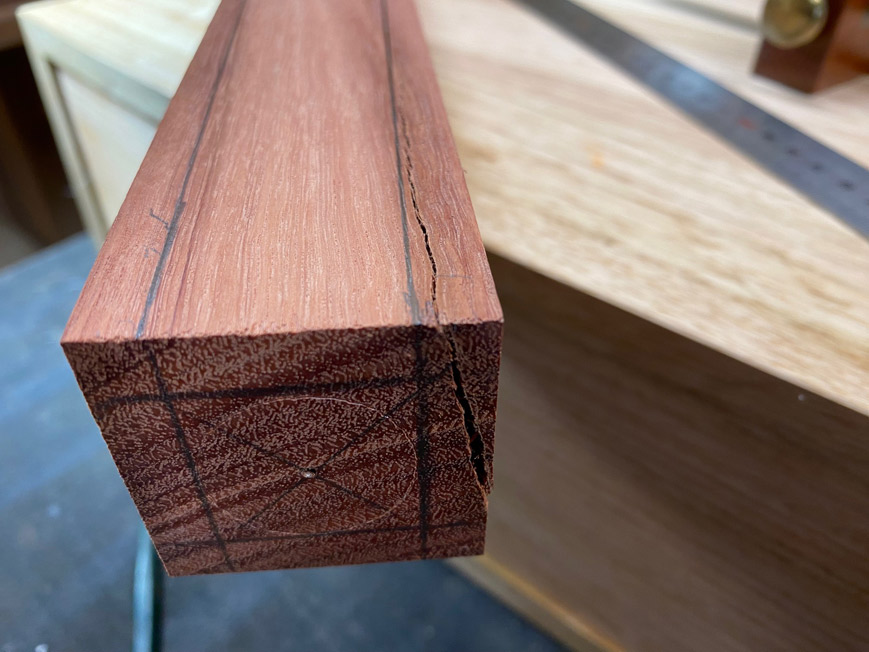
With careful selection of ends, it will be possible to remove splits and faults ...

F5.jpg


The other boards prepared - width and thickness, but not yet cut to length - are the side, front and rear rails. The front rail will be curved to match the curve of the case, and has extra thickness for shaping.

F6.jpg


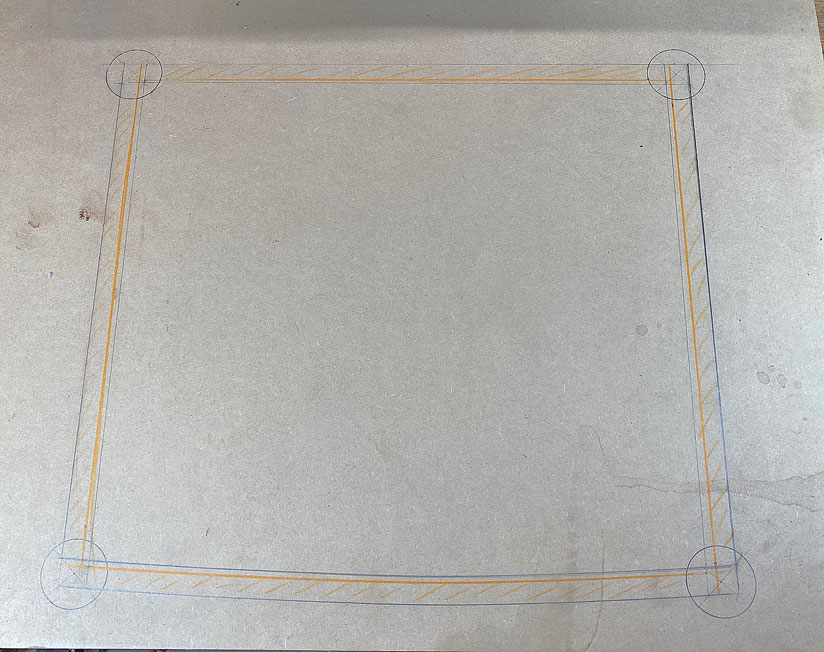
This is a plan of the base. The outline (outside of the rails) will be in line with the case. The circles are the tops of the legs.

F7.jpg


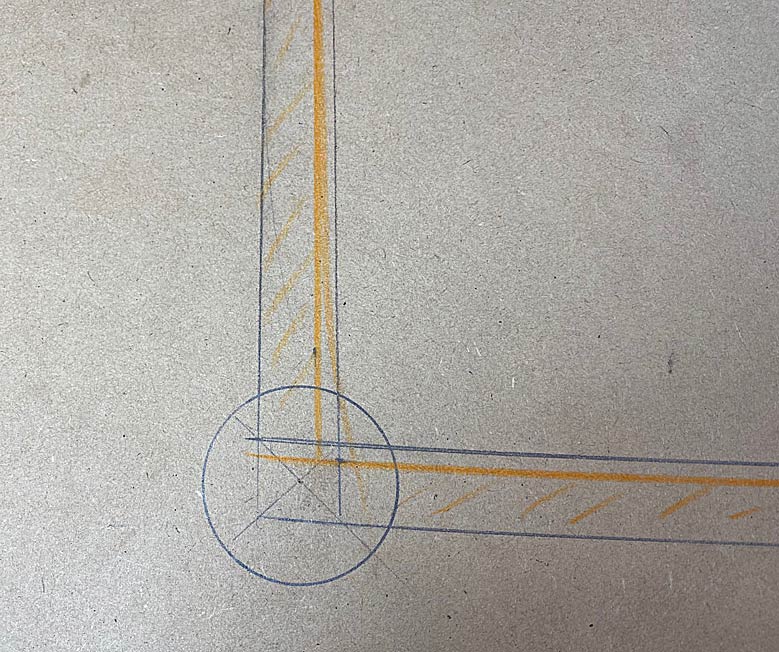
Close up detail - the rails will join the legs with (loose) mortice-and-tenons.

F8.jpg


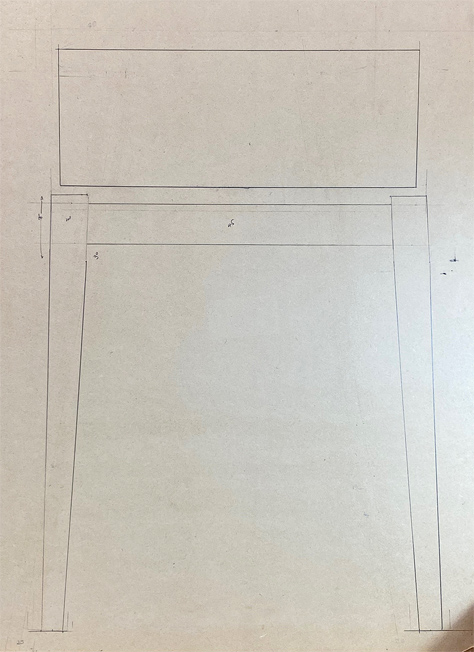
This is the front elevation ...

F9.jpg


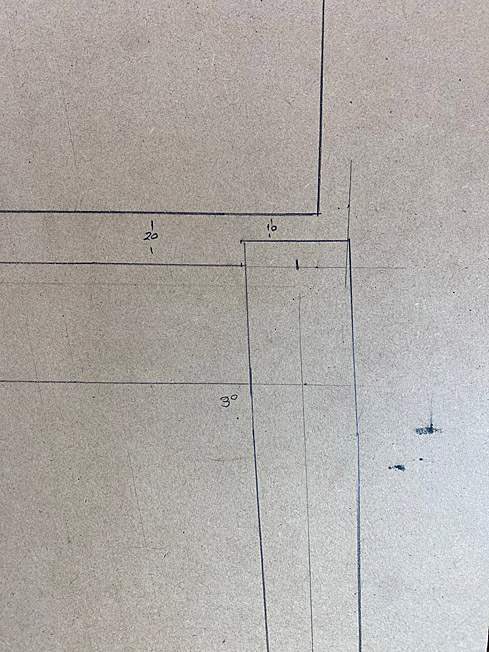
The legs taper and splay at 3 degrees from the sides. The rails are 45mm high and all are 18mm thick ...

F10.jpg


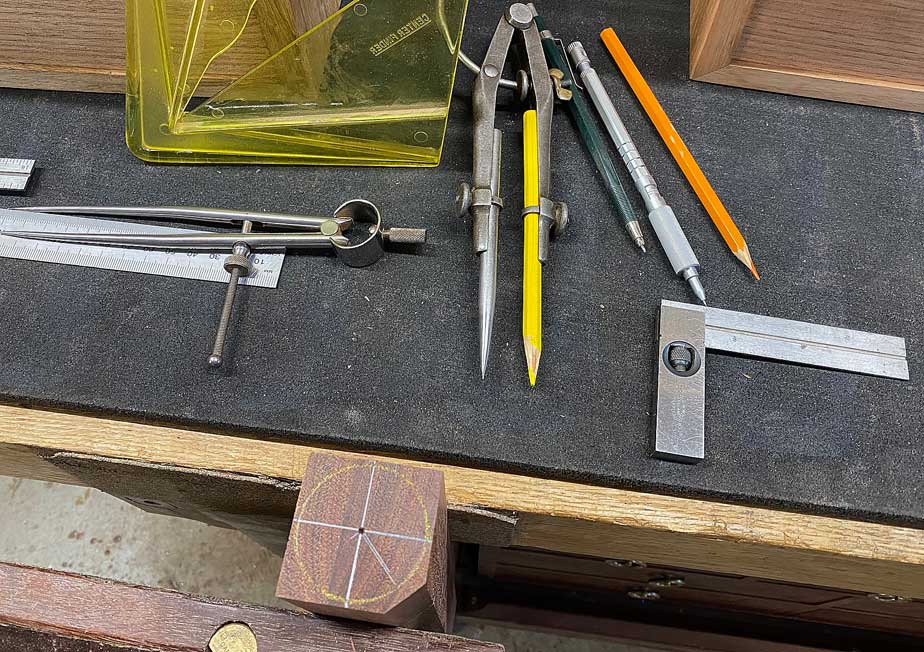
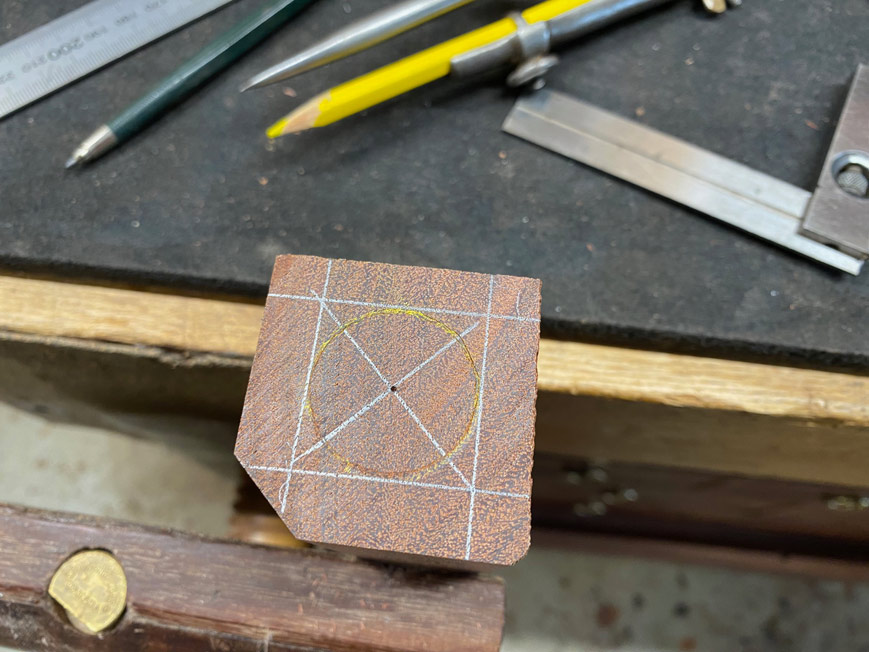
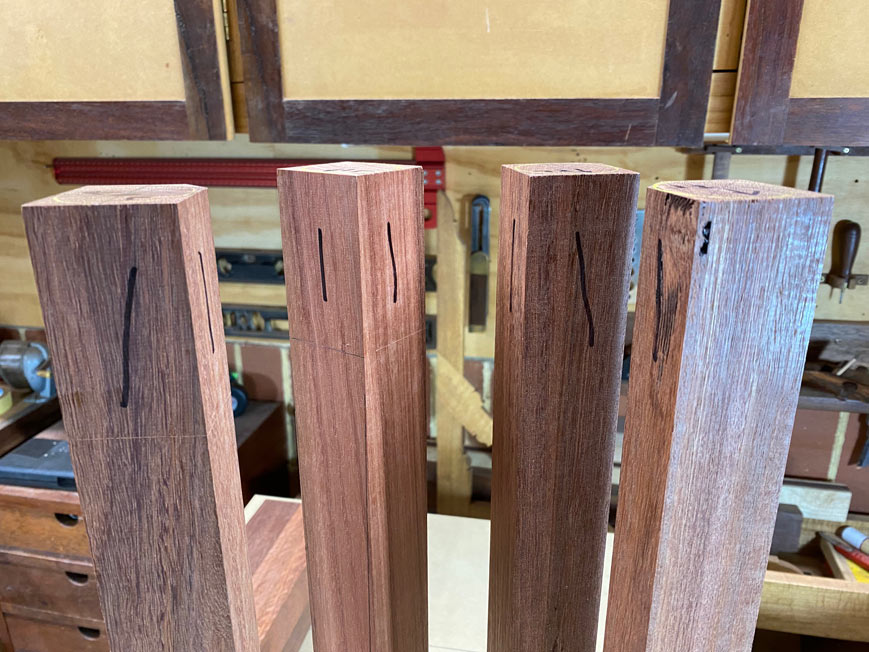
Moving to prepare the legs for turning: registration is needed and so the mortices must be made before the legs are tapered.

Here are the legs being orientated and marked for position ...

F11.jpg


Making sure I don't screw up the mortices by placing them on the wrong face!

F12.jpg


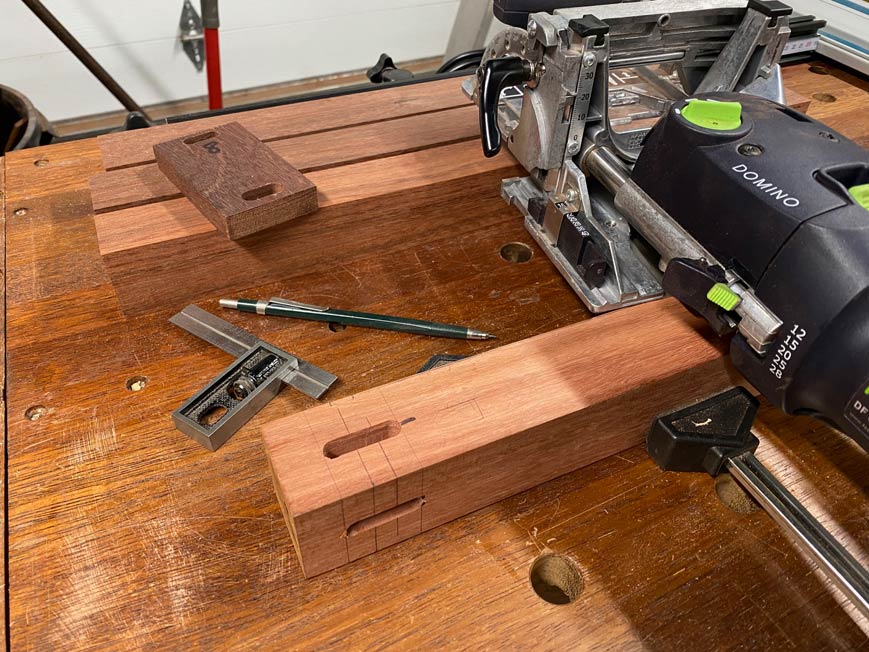
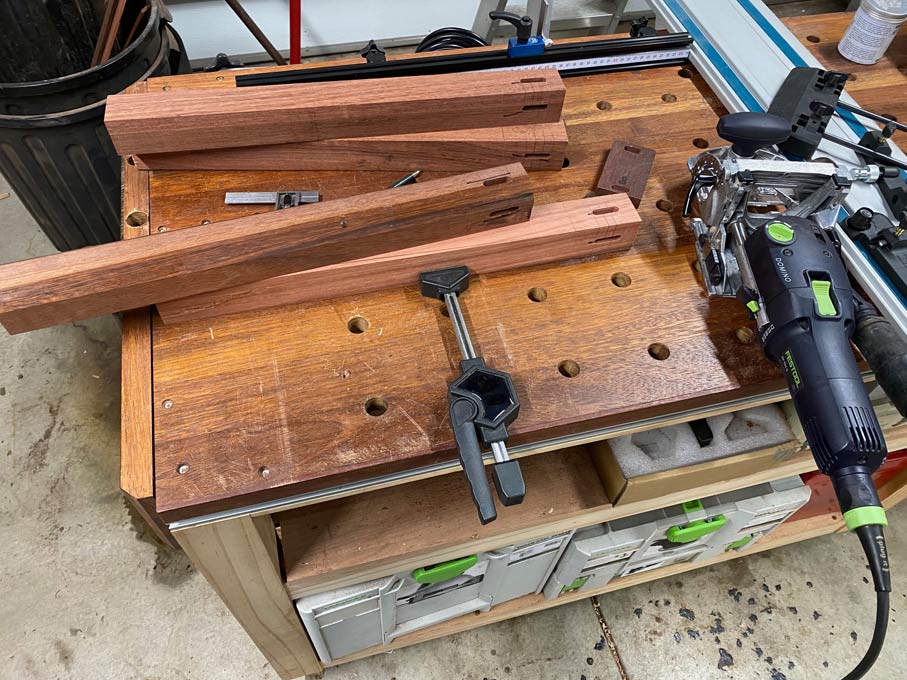
The 8mm wide mortices will be made with a Festool Domino. This is a lot easier that chopping them out in the hard Jarrah, and preferred to routing ... as you will now see.

The loose tenons are shop made as the standard dominos are too narrow ...

F13.jpg


I am really enjoying the MFT table I built. Here, the legs are held and the mortices marked off with a little placement jig I made ...

F14.jpg


Finally, all the mortices are made ...

F15.jpg


... and now the legs will be prepared for turning.

Regards from Perth

Derek
 
Legs and Aprons

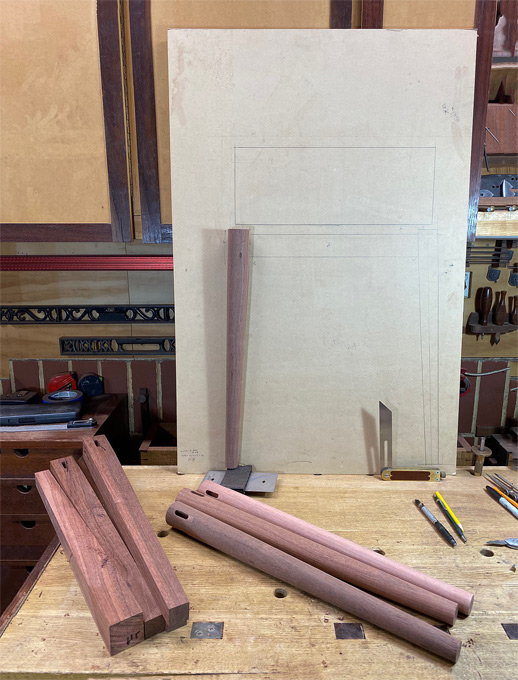
From square to tapers to round tapers. This is the progression.

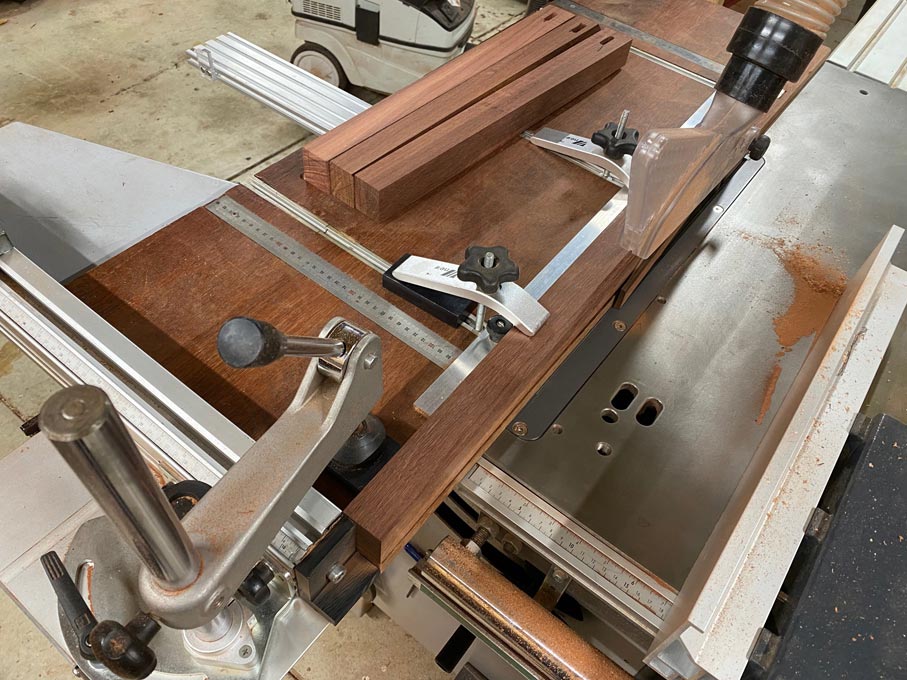
The easiest way I know to accurately turn tapers on legs is to shape the taper first. This is done on a parallel guide on my slider (just another taper jig) ...

G1.jpg


G2.jpg


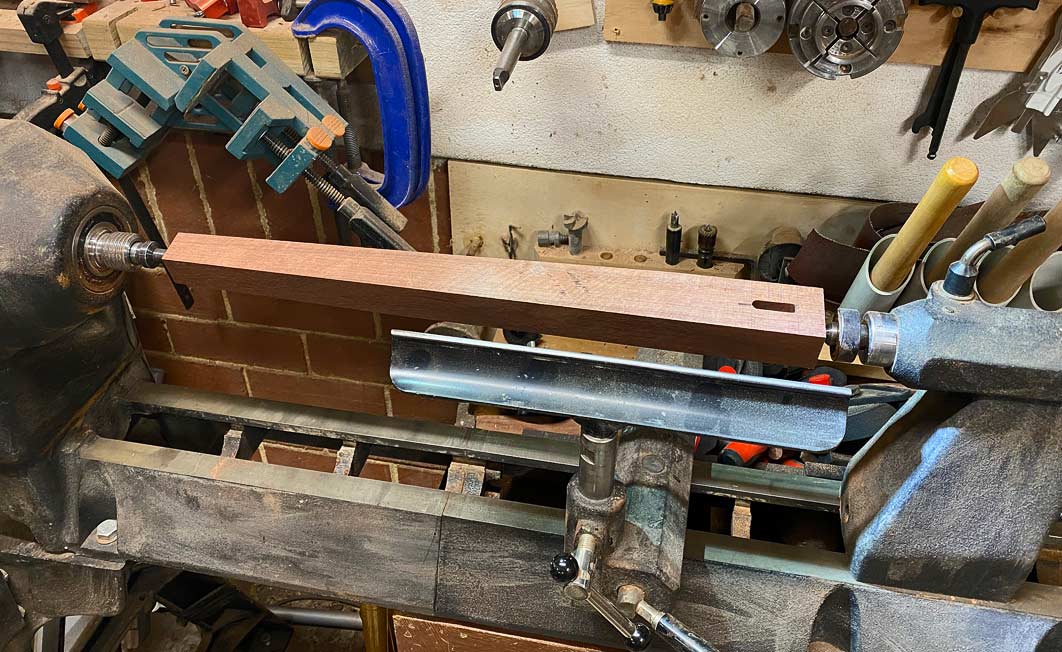
Now it is much easier to turn to round and have consistent dimensions - 40mm diameter at the top and 25mm at the bottom ...

G3.jpg


Note that the mortice is left open - some like to fill it for fear of spelching. I have not experienced this ... keeping the speed up helps.

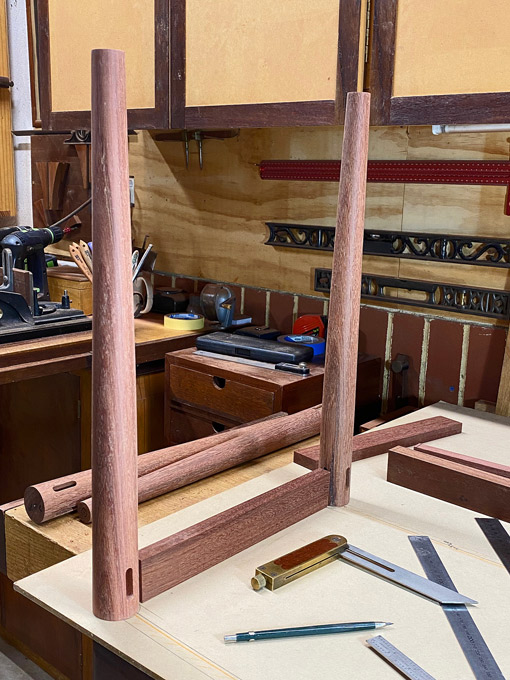
With the first four legs completed, a preview of the the lines and offset angle of 3 degrees ...

G4.jpg


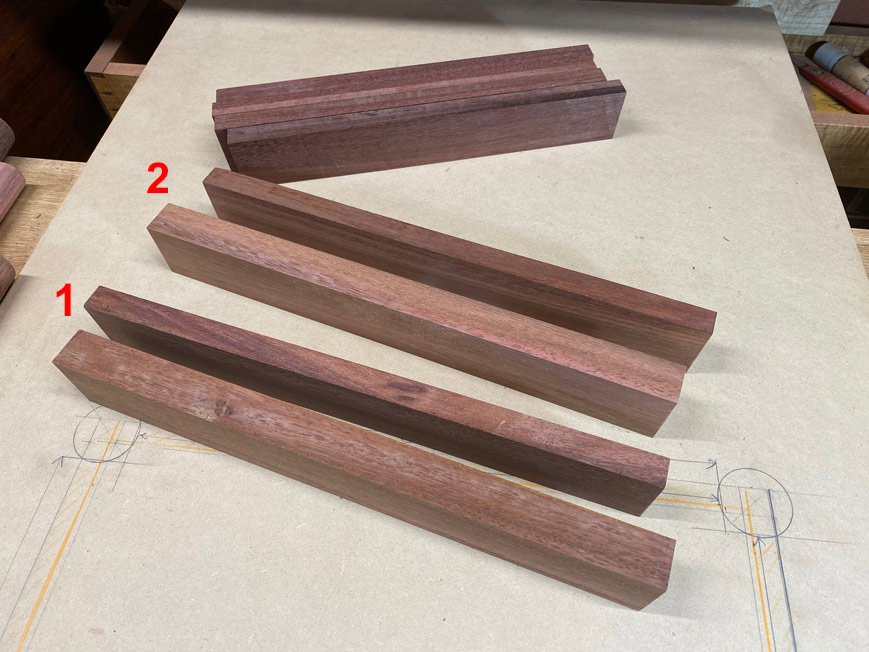
In addition to the legs, the aprons were laid up and planed to width. The length is soon to be finalised. There are two sets of front-and-rear aprons, and two sets of side aprons. The fronts are thicker as these will received a bow to match the curve of the case ...

G5.jpg


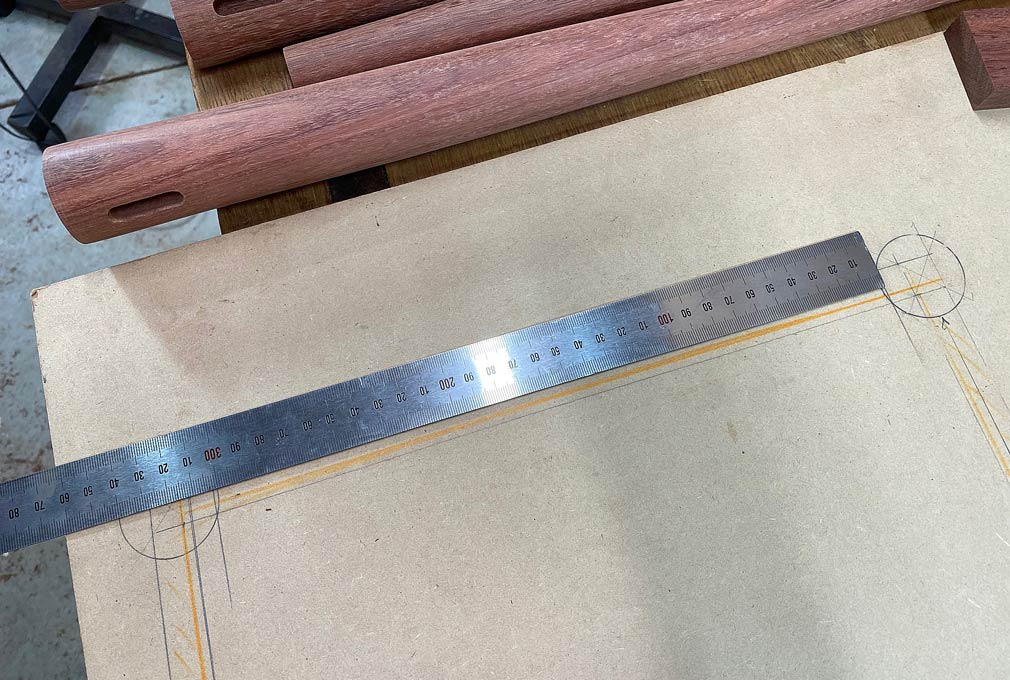
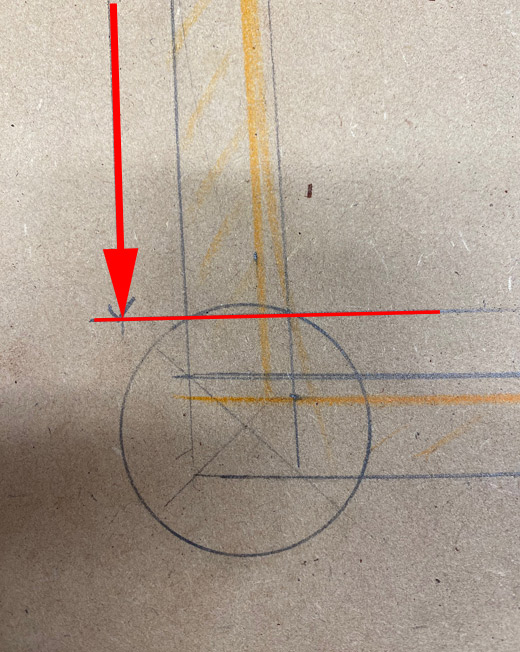
The plan is used to determine the length of the aprons. What is measured is the length of the top of each rail ...

G6.jpg


To fit the flat end of each rail with the round of each leg, the legs will be recessed. Consequently, the measurement includes the recess ...

G7.jpg


A zero clearance sub-fence from scrap is added to the crosscut fence on the slider. The saw blade is angled at 3 degrees.

G9.jpg


One side is cut, and then the length is measured ...

G8.jpg


... and then the other side is cut ...

G10.jpg


Another mock up ...

G11.jpg


Everyone is now cut to length, and mortices added ...

G12.jpg


That's it for the weekend. More later.

Regards from Perth

Derek
 
Interesting method of turning the tapered legs.
IMO, you made much more work for yourself but you got the results you wanted.
I also don't usually see turnings with the larger diameter at the tailstock end, this is opposite of what most people do. A template or story stick is often enough to mark diameters at intervals along the turning and connect the sections.

Admin at:
(The Woodturning Forum - Woodturner's Resource - Index)
 

Latest posts

Back
Top