New pen tidy

UKworkshop.co.uk

Help Support UKworkshop.co.uk:

This site may earn a commission from merchant affiliate links, including eBay, Amazon, and others.

devonwoody

Established Member
Joined
11 Apr 2004
Messages
13,493
Reaction score
25
Location
Paignton Devon
I have lost ten of my boxes this summer to friends and relatives including the pen box.

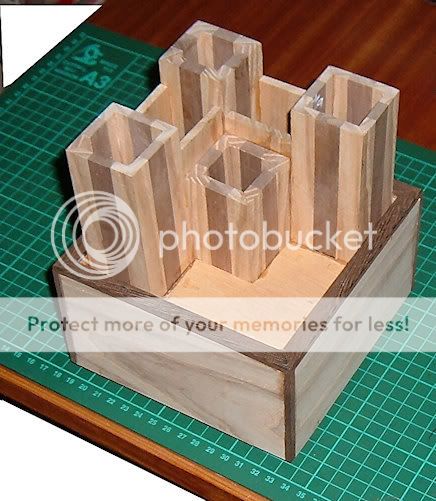
So started a new pen tidy.

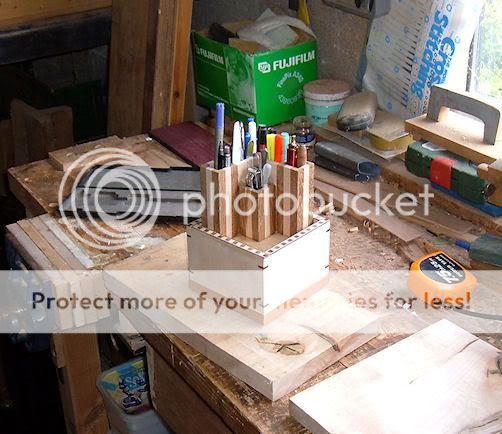
Picture of the first pen tidy to copy, and it isn't easy copying, my brain doesn't seem to function to the project of whats needed, only copying and not forward thinking.
1w-9.jpg


So started stripping :wink:
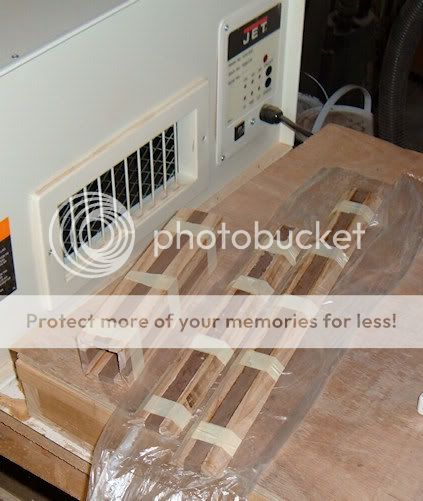
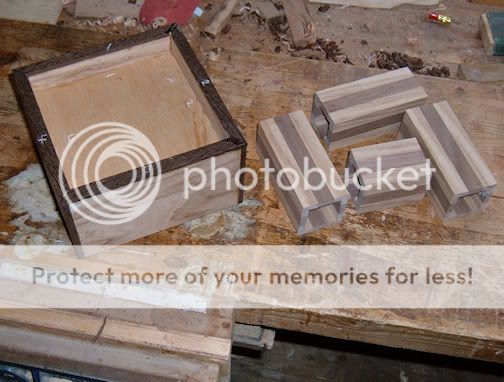
and the first operation was not a success, so making another batch as per pic below.

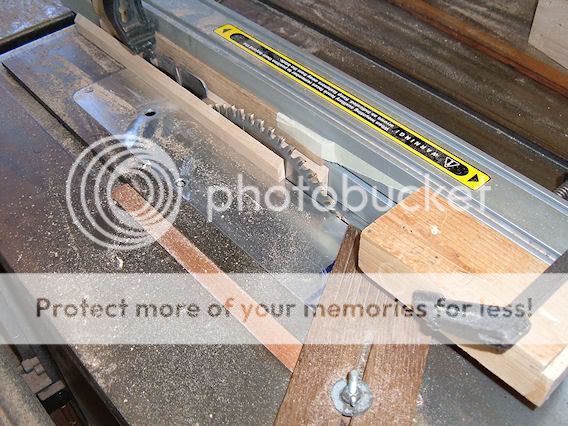
Lots of clamps and masking tape holding things in place.
2w-9.jpg


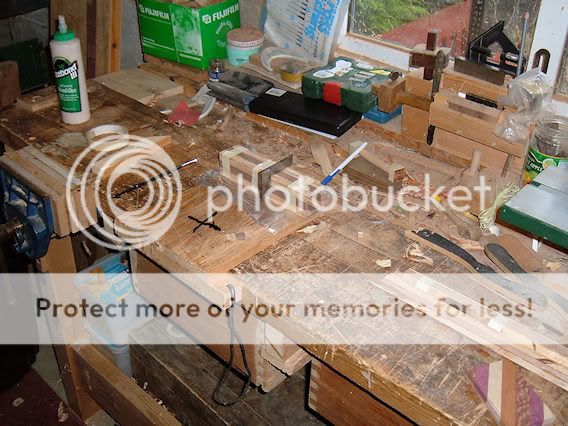
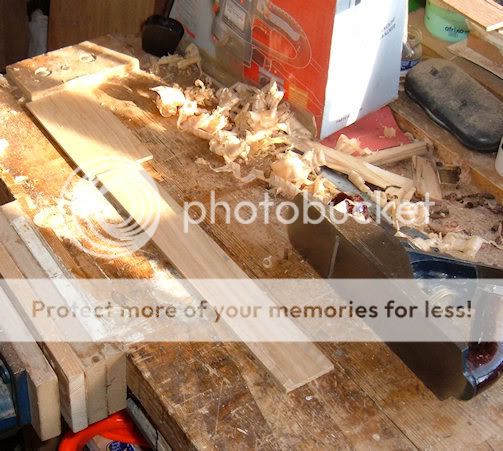
Handy offcuts, and one offcut is less than 0.4 thickness.
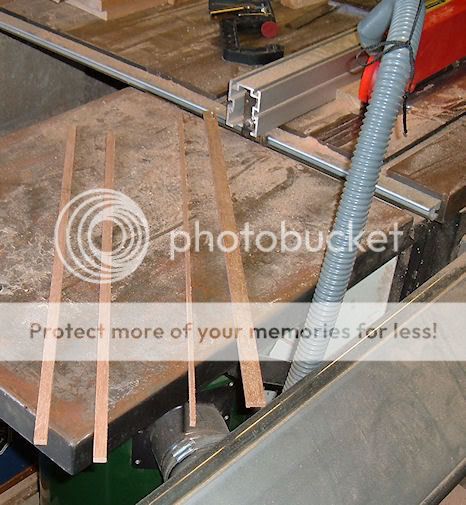
3w-8.jpg


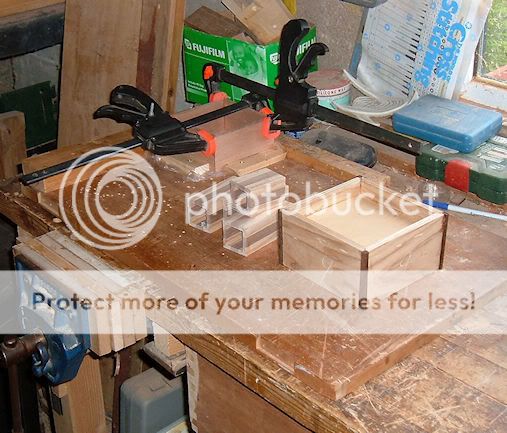
One successful section glued up. (american ash and black walnut.)
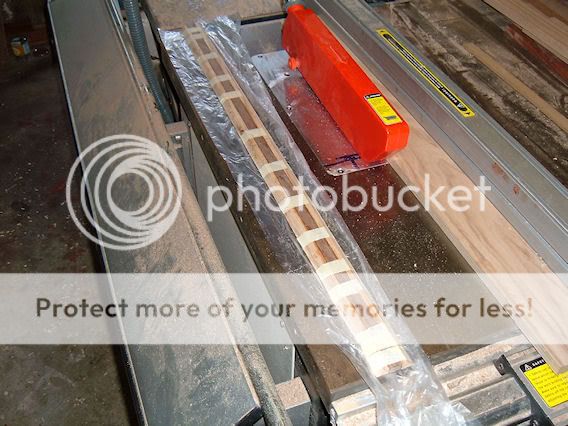
4w-7.jpg
 
This looks interesting! :wink: I'll be watching this one! 8) Small projects like this are the kind of thing I want to do in my small workshop, when I have got the time. Doesn;'t cost the earth in timber and certainly gives you something to look at afterwards. 8)
 
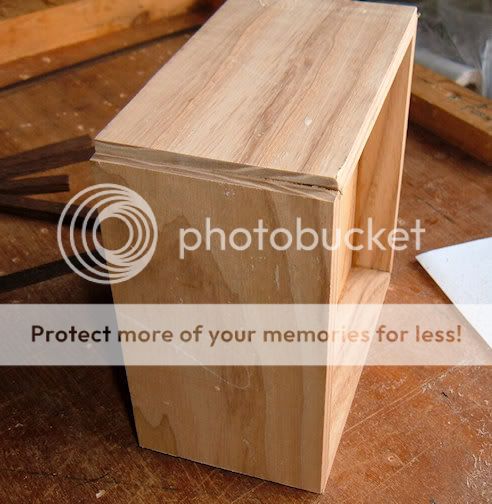
Back to the box, a photograph of the box with top corners blown because clamps were not applied. I have over the past year had no trouble holding joints with masking tape but we think atmospherics (dampness) is partly to blame that joints are not holding using this method.


9w-4.jpg


Pictures attached showing progress of pen tubes (glued OK with just masking tape)

8w-3.jpg


7w-4.jpg


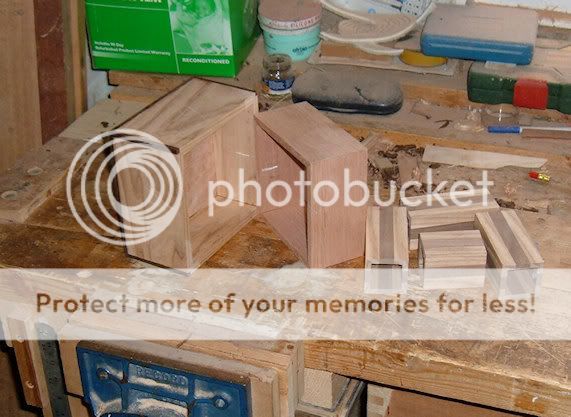
Outer box with edgings glued on and internal box under clamps and tubes all cut to size.

10w-4.jpg
 
Seems to be coming on nicely. What is walnut like to work with, cutting by hand and mechanically?

I was suprised myself from the coffee table I made from my home workshop. Space was TIGHT, and luckily the weather was good enough to me, to be able to get the bandsaw outside to cut the oval table top.
 
Managed a little work on the project yesterday, got some more decorative beading (wenge) on the top edge, (didn't clamp, turned on its surface so the weight of the box held strips in place whilst glue set)
Internal box fits quite well after a little sanding on the machine.

12w-5.jpg


Picture describes how internal box fits, (it could make a secret compartment if screws or bolts are hidden in tubes when fitted)

13w-3.jpg


So awaiting tubes to be fitted next step.

14w-4.jpg


Joiner Sim, black walnut is like other timbers, if the grain is nice it works OK, but if there is any imperfection it shows up when planing a different colour/grain patch.
 
Simon,

walnut is very soft compared to most hardwoods, and very easily worked. It looks better finished with a blade rather than sand-paper......and you have to look out for pale sap-wood, which seems occur almost randomly throughout the tree!

I don't know if it is just me, but it is the only wood I have used that makes me sneeze!

As Devonwoody says, knots show up quite badly.....but the end-grain can finish really well.

Mike
 
I find alot of wood in the commercial workshop can make me sneeze (however have got hayfever too - i find hayfever tablets do stop the sneezing), and after reading a post on this forum about dust and its health problems, I became quite scared of dust and have more respect now for timber dust than before. I always try to wear a dust mask if they is dust coming off machines or portable power tools.
 
To complete the tubes I needed some dividing sections and went to the scrap box and found these two bits.

15w-3.jpg


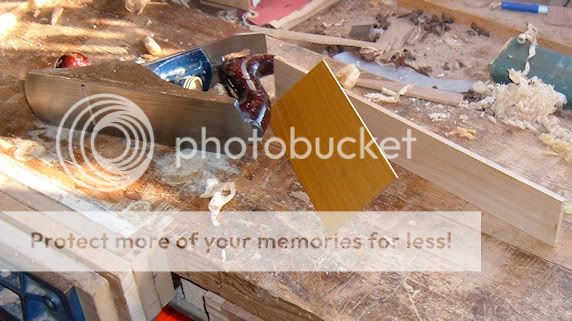
They are offcuts of Sweet chesnut from some book shelves I constructed nearly 40 years ago and recently scrapped. They are around 7 mm thickness and I hand planed them down to 5mm.

16w-3.jpg


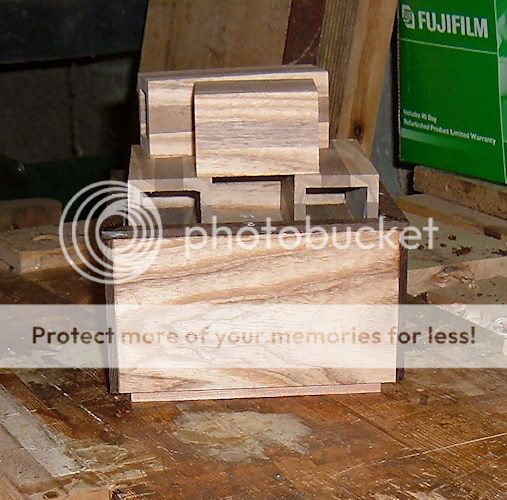
All pieces now glued as per photograph and shortly will be given a coat of shellac and wax and positioned on our hearth to replace the one I lost to a family visitor.

17w-3.jpg
 
Back
Top