I was meant to be giving my wife either an fish tank cupboard or a raised bed for her Birthday - very romantic me! - but both these projects have not so much slipped and jumped off a cliff. To be able to give something near her Birthday I dug under the bed and pulled out a bit of Ancient Kauri which I have been keeping for a special occasion. For those new to this wood it is from New Zealand and is a bog wood - samples which have been carbon dated are at least 50,000 years old - so older than humanity  It can present some stunning grain and is recommended to be finished with at least 1200 grit but I only go up to 1000.
Anyway here's the WIP and I would appreciate comments on the finished article.
Using the band-saw I got it into a very rough round and stuck the screw chuck into it and got it into round with the roughing gouge. Then attached a oak flooring off cut with super glue gel and held it on over lunch with the tail stock. I started turning and suffered horrendous tear out, even with very freshly sharpened and honed gouge or scraper or skew etc!.

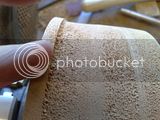
I jumped on the net and found very little about actually turning the stuff but there was passing reference to cutting as fast as you could, so swallowing a brave pill I took the speed up to 8 and then finally all the way up to max (11 )
)
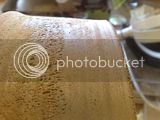
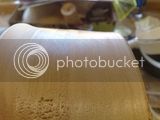
It's a good job the wood is very well tempered as the tools was too hot to touch within about 0.5 - 1 inch of the tip.
Any how I finished the outer shape and then shaped the spigot for a compression hold in the chuck
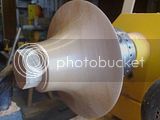
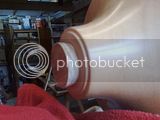
I then shaped and finished the inner shape (sorry no pictures) and tried to work out how to get the glue block off as I'd been far to precise and got it to just the right thickness to fit in the chuck rather than leaving the bowl sticking out so that it could be parted off.
Having previously failed to be able to use the Sorby ali revering jaws with the VersaChuck as the Sorby jaws have a right which fouled the ridge on the VersaChuck jaws I drove over to Tool Post to see what I was doing wrong. Turns out I should have looked in the chuck box as there's a set of jaw mounts which have a matching groove in them.
Got home and sorted it out and worked exactly as advertised Thanks Peter. The only fly in the ointment was that there were no instructions on how to mount the rubber blocks onto the Ali jaws and I split the first one by tightening it too far. The second picture is how it should look!
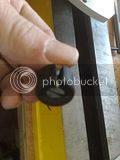
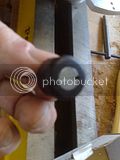
Then thought about the pressure of doing my very first bowl reverse on my Wife's present and thought better of it. Found an old bowl that I'd abandoned as I wasn't brave enough to attempt a jam chuck and I couldn't get the Sorby jaws to work - nice little number in Sycamore. Mounted it on the lathe and turned the base off.
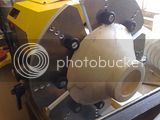
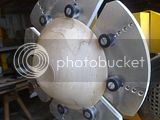
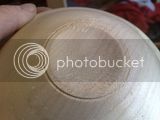
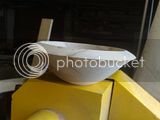
Buoyed by this success I moved on to the main act and turned the spigot off.

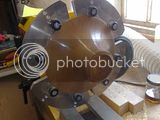
And so the finished article, even better it's pretty much as I initially imagined it.
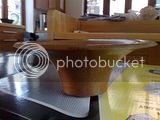
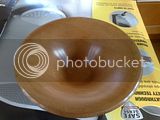
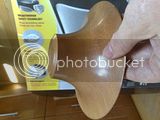
There are some lines in the finish (the new Chestnut hard wax) but I think that's down to my use of the finish - maybe I attempted to remove the excess to late? as there were no visible marks (certainly not on the outside where I mainly used a friction rotating thing). I am investigating buffing it to a) give more shine and b) remove some of the lines in the finish. I'll update if this comes off and makes any difference.
Interested in your thoughts.
Miles
Anyway here's the WIP and I would appreciate comments on the finished article.
Using the band-saw I got it into a very rough round and stuck the screw chuck into it and got it into round with the roughing gouge. Then attached a oak flooring off cut with super glue gel and held it on over lunch with the tail stock. I started turning and suffered horrendous tear out, even with very freshly sharpened and honed gouge or scraper or skew etc!.


I jumped on the net and found very little about actually turning the stuff but there was passing reference to cutting as fast as you could, so swallowing a brave pill I took the speed up to 8 and then finally all the way up to max (11


It's a good job the wood is very well tempered as the tools was too hot to touch within about 0.5 - 1 inch of the tip.
Any how I finished the outer shape and then shaped the spigot for a compression hold in the chuck


I then shaped and finished the inner shape (sorry no pictures) and tried to work out how to get the glue block off as I'd been far to precise and got it to just the right thickness to fit in the chuck rather than leaving the bowl sticking out so that it could be parted off.
Having previously failed to be able to use the Sorby ali revering jaws with the VersaChuck as the Sorby jaws have a right which fouled the ridge on the VersaChuck jaws I drove over to Tool Post to see what I was doing wrong. Turns out I should have looked in the chuck box as there's a set of jaw mounts which have a matching groove in them.
Got home and sorted it out and worked exactly as advertised


Then thought about the pressure of doing my very first bowl reverse on my Wife's present and thought better of it. Found an old bowl that I'd abandoned as I wasn't brave enough to attempt a jam chuck and I couldn't get the Sorby jaws to work - nice little number in Sycamore. Mounted it on the lathe and turned the base off.


Buoyed by this success I moved on to the main act and turned the spigot off.


And so the finished article, even better it's pretty much as I initially imagined it.


There are some lines in the finish (the new Chestnut hard wax) but I think that's down to my use of the finish - maybe I attempted to remove the excess to late? as there were no visible marks (certainly not on the outside where I mainly used a friction rotating thing). I am investigating buffing it to a) give more shine and b) remove some of the lines in the finish. I'll update if this comes off and makes any difference.
Interested in your thoughts.
Miles


