My workbench Project

UKworkshop.co.uk

Help Support UKworkshop.co.uk:

This site may earn a commission from merchant affiliate links, including eBay, Amazon, and others.

markturner

Established Member
UKW Supporter
Joined
11 Mar 2011
Messages
645
Reaction score
8
Location
London UK
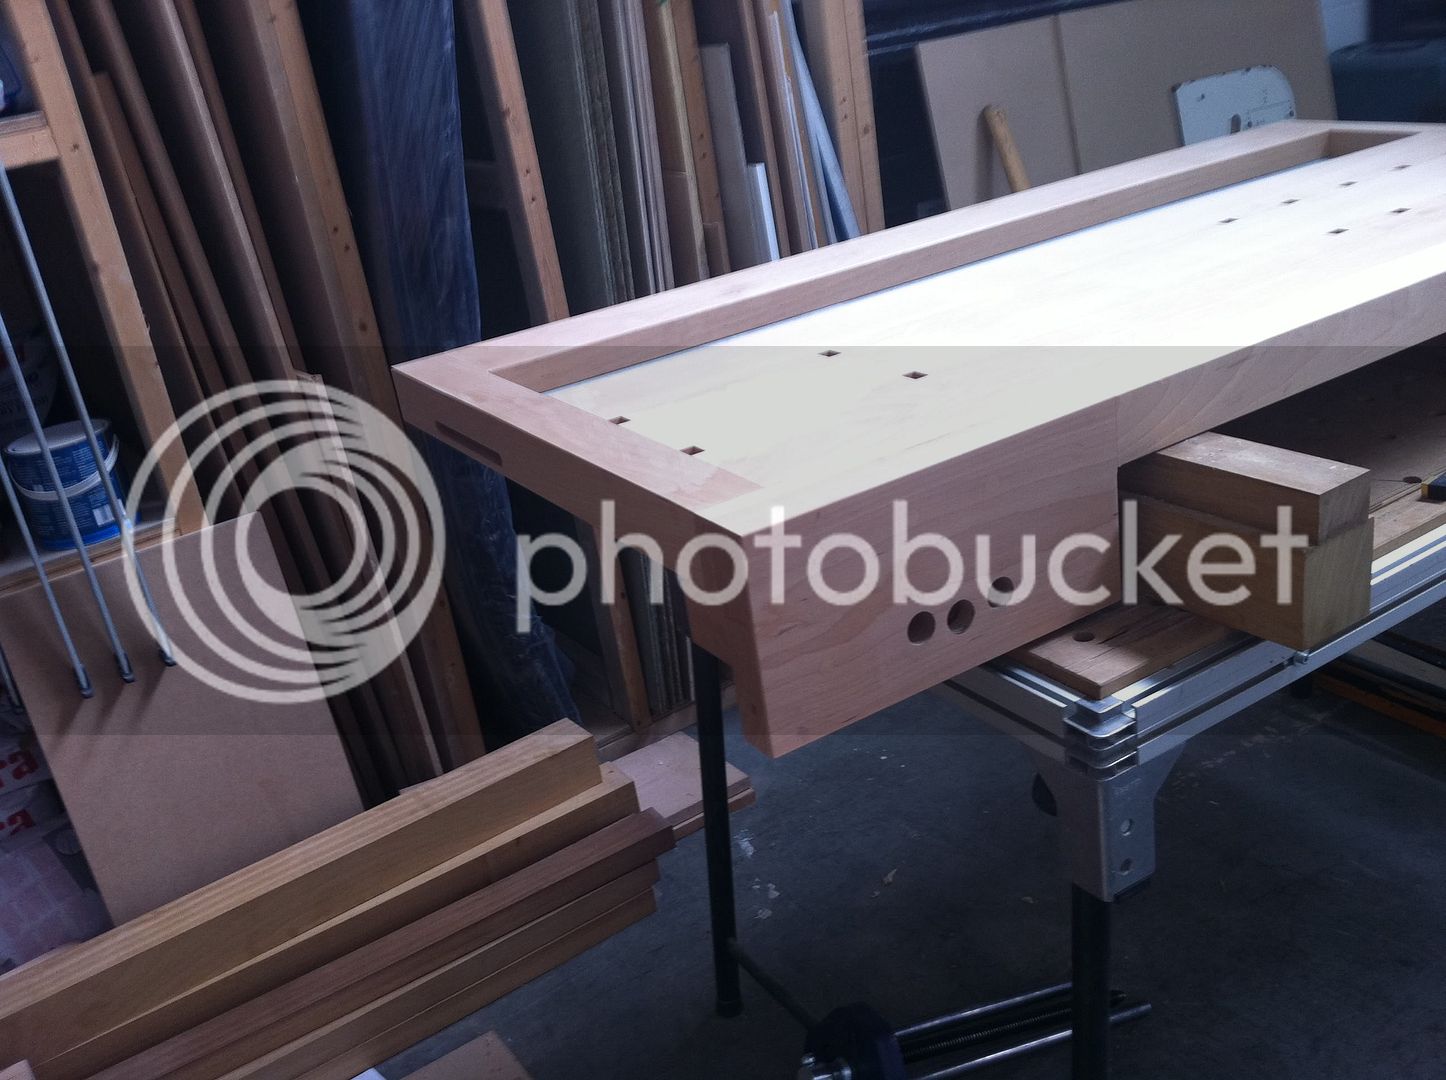
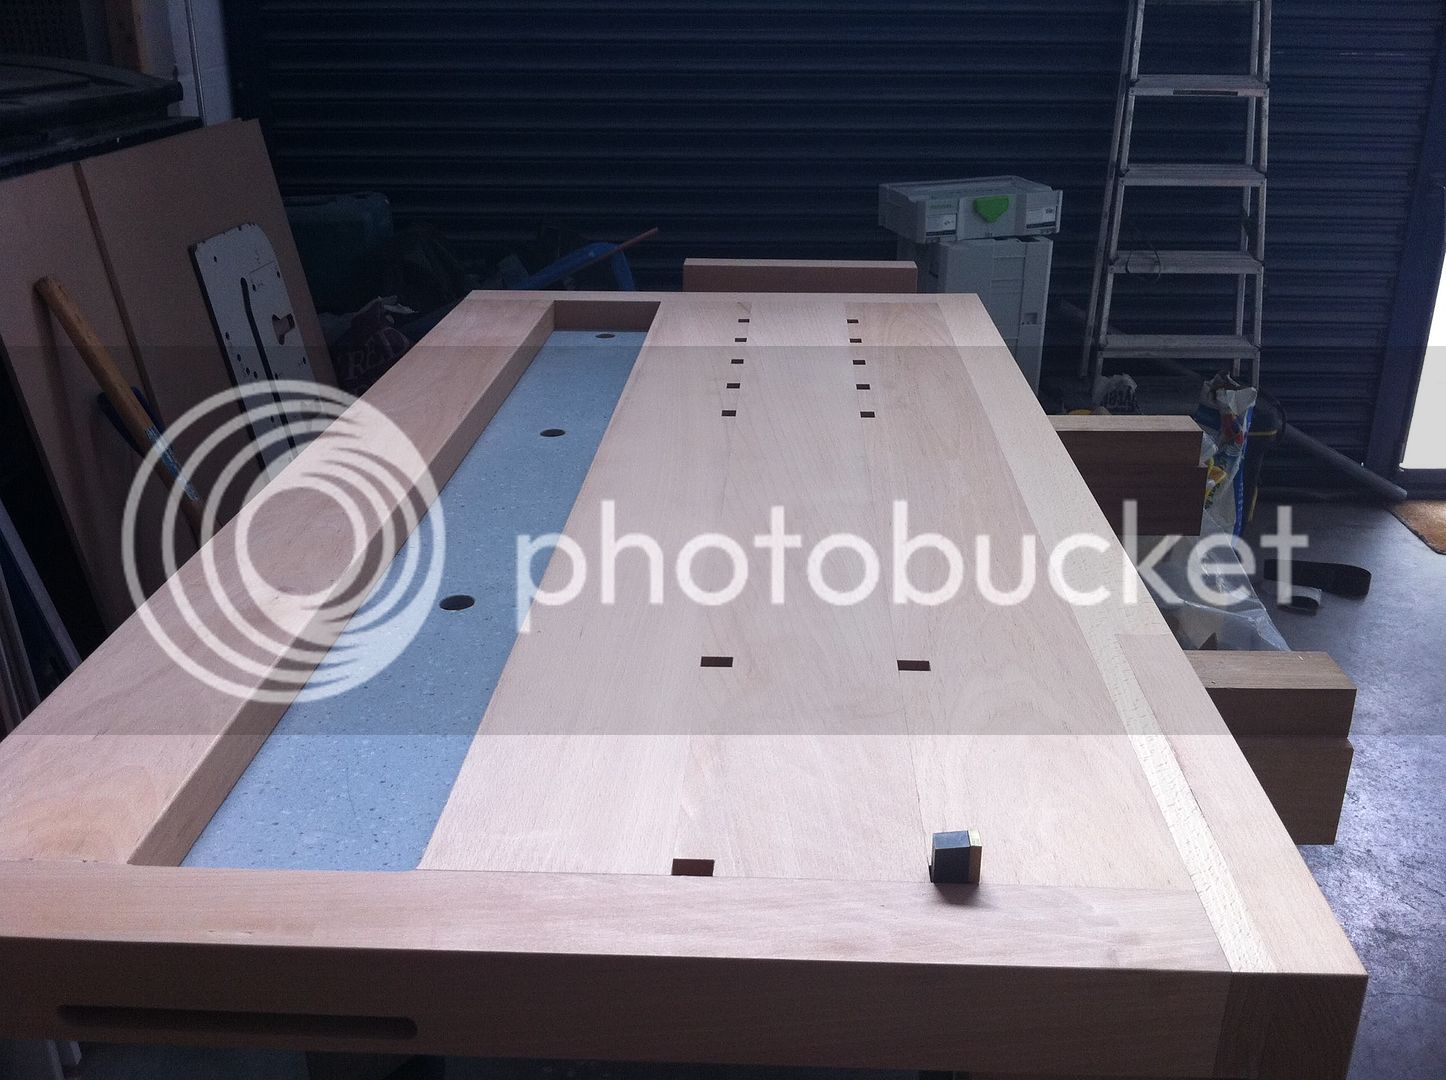
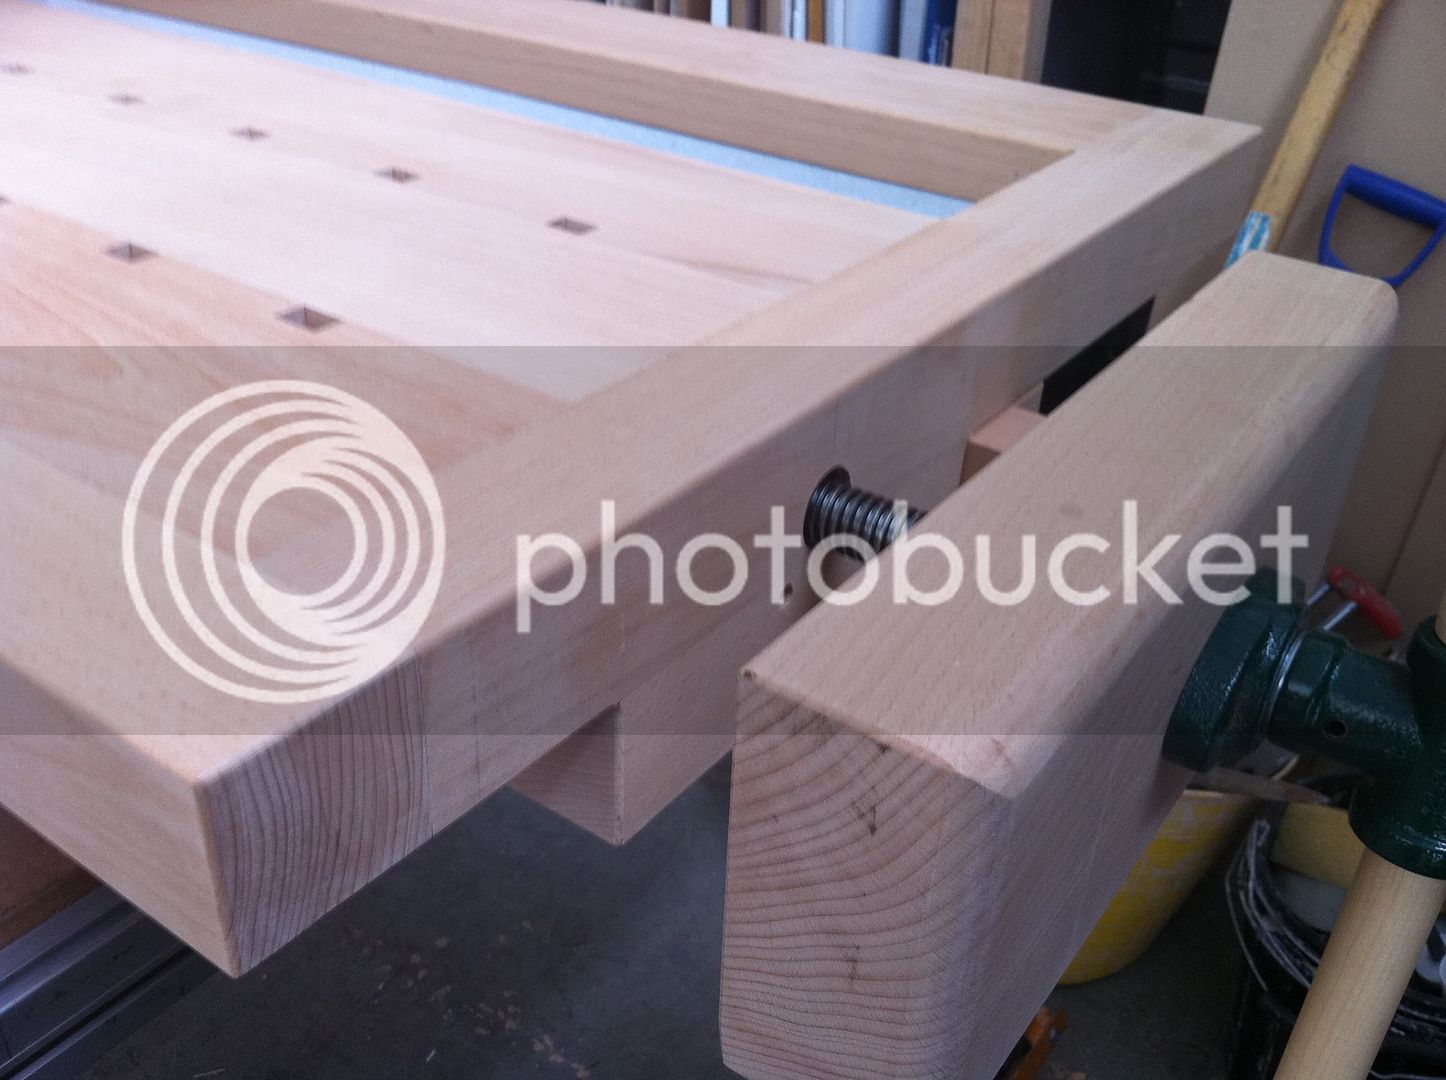
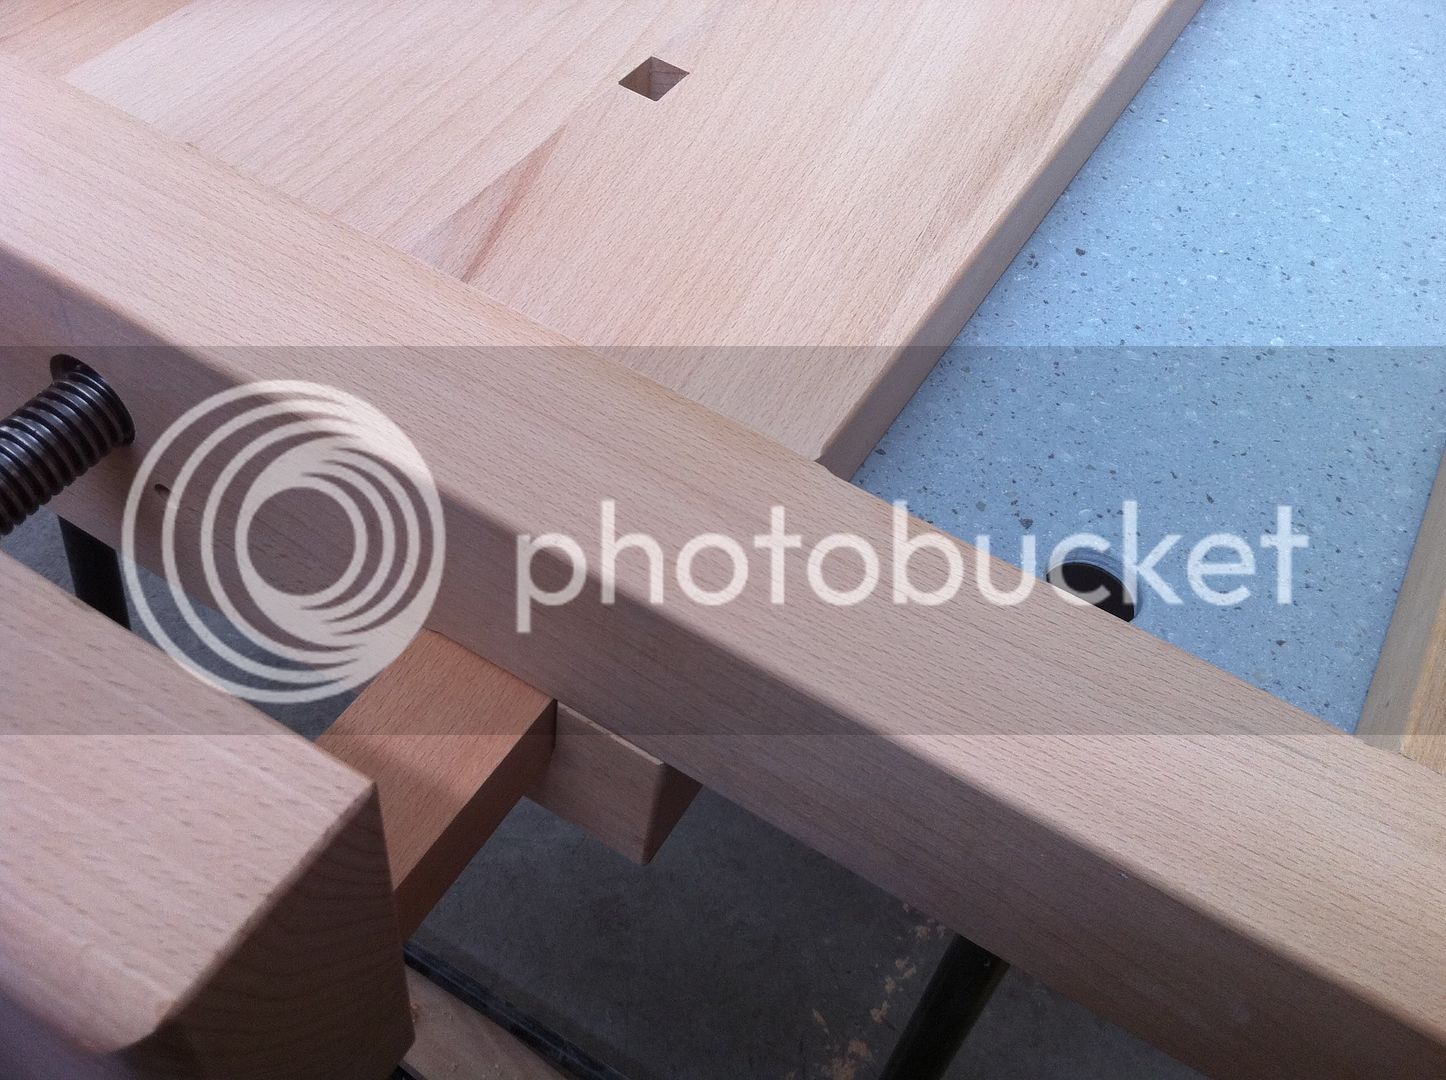
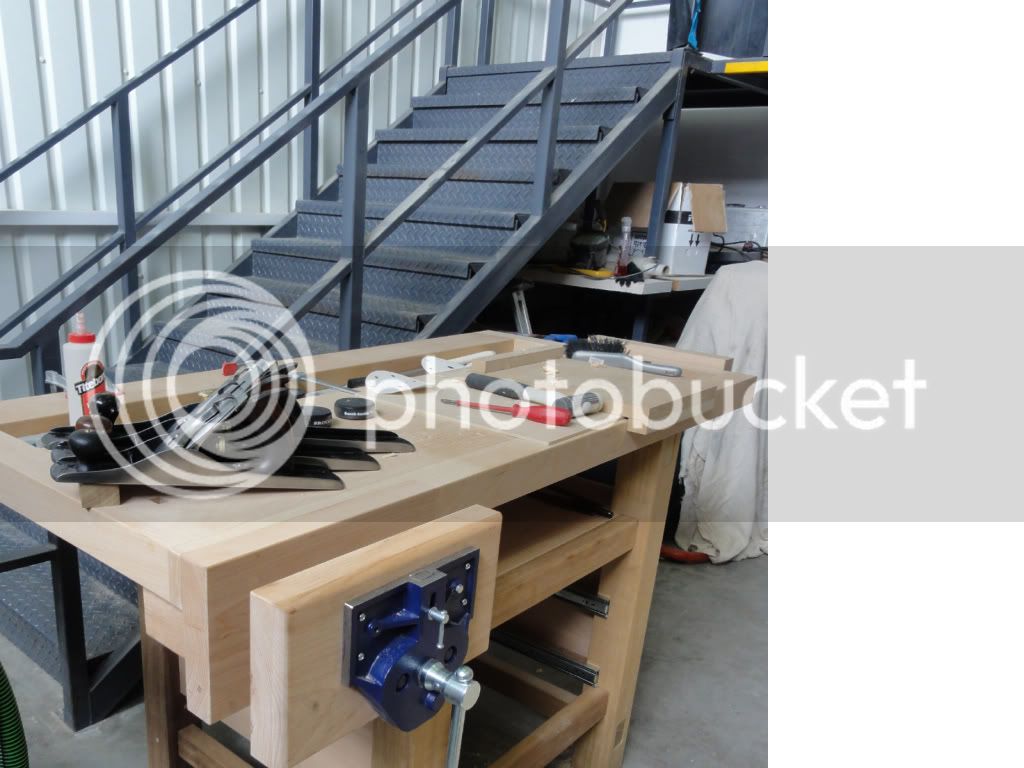
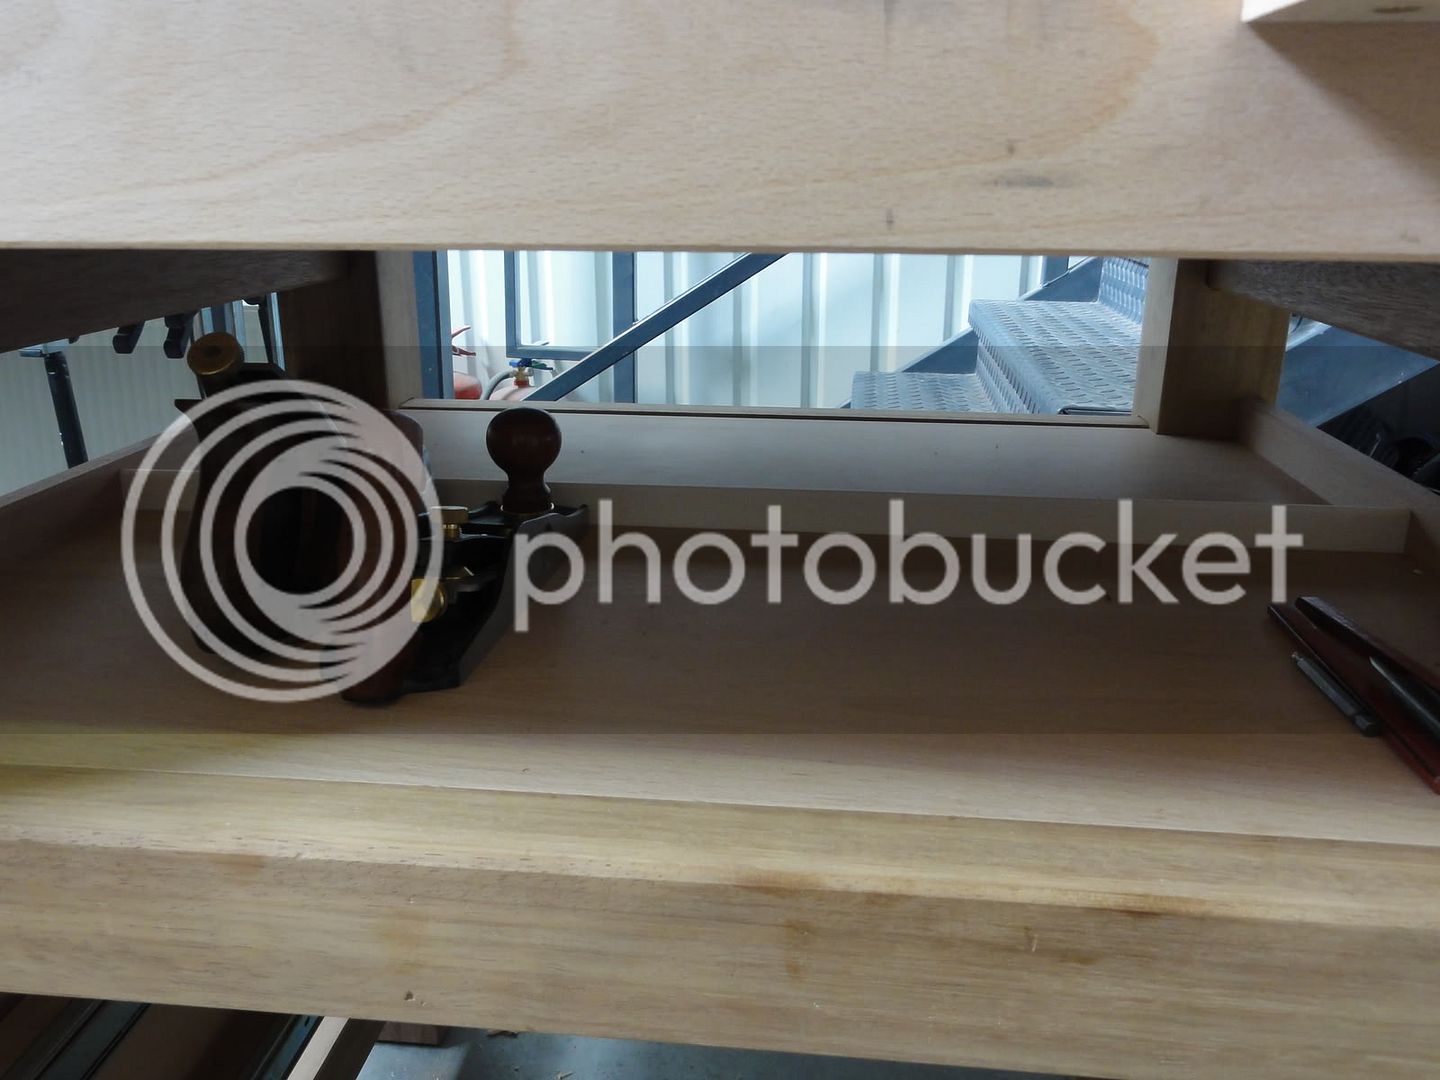
Hi, I would like to share with you some pictures of my first major project, a workbench, so I can work on learning furniture making. I have based the design on the David Charlesworth style, with removeable tool tray, although mine is made of Corian, leftover from a job. ( I run a construction business www.getturner.co.uk is our site)

The top is from steamed beech 3 inch thick. I am going to make the frame from iroko, and it will have 2 drawers under in between the legs, with a space above to give clamp access and to store stuff on out of the way while working.

Comments and questions welcome
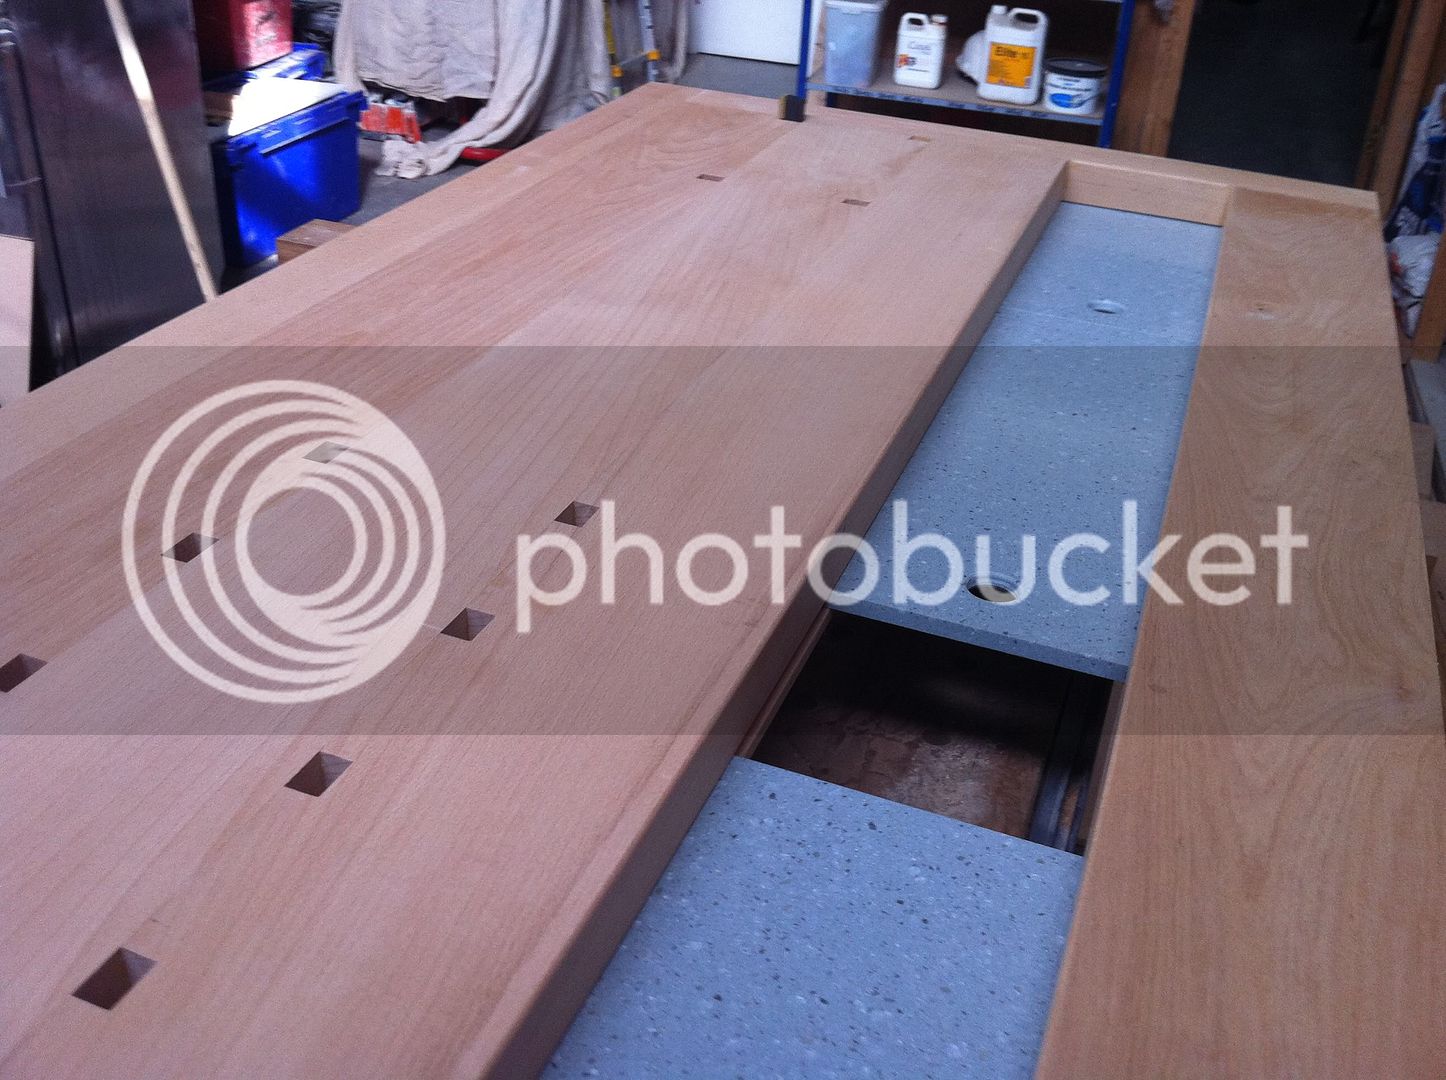
photo5.jpg


photo1.jpg


photo2.jpg


photo3.jpg


photo4.jpg


Cheers, Mark
 
Picture automatically resize once loaded, did you wait for the page to load fully before responding?


Looks like a lovely bench. And that little MFT below looks like a very sturdy frame!
 
Wow, that looks amazing so far Mark, makes my bench look like an old fire door :oops:
hey wait a minute, my bench is an old fire door (homer) :) , cant wait to see the rest of the build
 
The next big hurdle is the mortices for the legs and frame. I have got 4 x 4 iroko for the legs, so it will be a bit of a mission to machine these, as i have no morticing machine. Does anyone have any tips on the best way to do these? i was thinking of machining as much material away as possible with my trusty OF2200 then squaring it by hand. Do you think i will need some mortice chisels? i need an excuse.......!!!

cheers, Mark
 
If you make a hig and use a guide bush you can either round the corners of the tenon or use a corner chisel to square it up. Or if your after an excuse a full set of Mortice chisels will probably work better to square the corner. :)
 
markturner":19q7n85g said:
The next big hurdle is the mortices for the legs and frame. I have got 4 x 4 iroko for the legs, so it will be a bit of a mission to machine these, as i have no morticing machine. Does anyone have any tips on the best way to do these? i was thinking of machining as much material away as possible with my trusty OF2200 then squaring it by hand. Do you think i will need some mortice chisels? i need an excuse.......!!!

cheers, Mark

That's looking lovely Mark, excellent work.

For the M&Ts, when I made my bench from Ash I had 75x75mm legs with 19mm mortices. So I bought a 19mm forstner bit to remove most of the waste before getting in there with a mortice chisel. I had 12 M&Ts to do and each of them were massive!

Builds up the muscles nicely! :lol:

Looking forward to seeing the finished item...

cheers
Steve
 
OK, I am now ready to consider the design of the frame and underneath. One problem that I did not consider in the design is that to make the legs symmetrical from each end, they will give a large overhang ( 400mm ) at each side, due to the size and construction of the front vise . I am thinking it would be better to have the legs about 6 inches wider and have them offset to the bench top, what do you think? Its already a bit more utilitarian than beautiful, next time I will spend more time on the design and try and think further ahead......

I am realising that the design and planning is more important than the execution, but it is tricky to cover everything in advance.

Cheers, Mark
 
I don't understand exactly what you are saying and cannot easily work it out from your photo's but I would say go for function over form on this. It just has to work even if it is not visually what you strive to achieve.

Although from the look of what you have done so far you could rest it on a couple of saw horses and it would still look fantastic.

Mick
 
Chems":xne44kjs said:
Picture automatically resize once loaded, did you wait for the page to load fully before responding?

Yeah - but they're scaled in the browser - the whole multi-mooglibyte-monster has to be downloaded first.

To OP - clickable thumbnails would be preferred.

BugBear
 
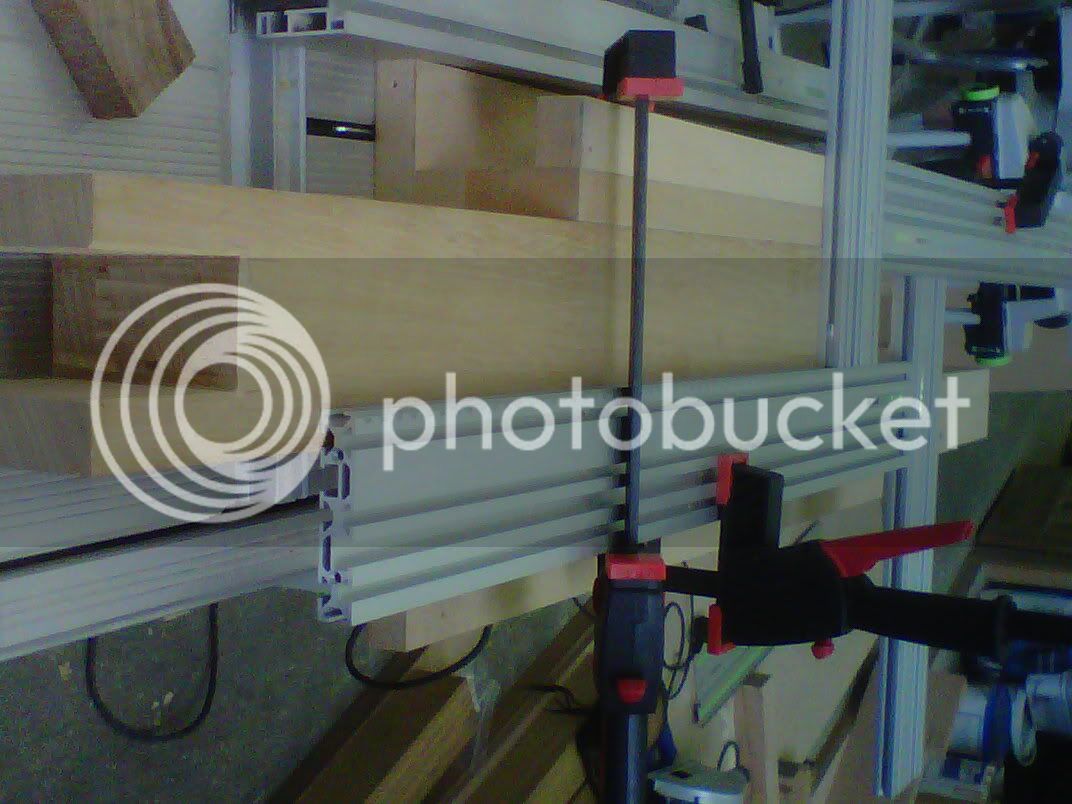
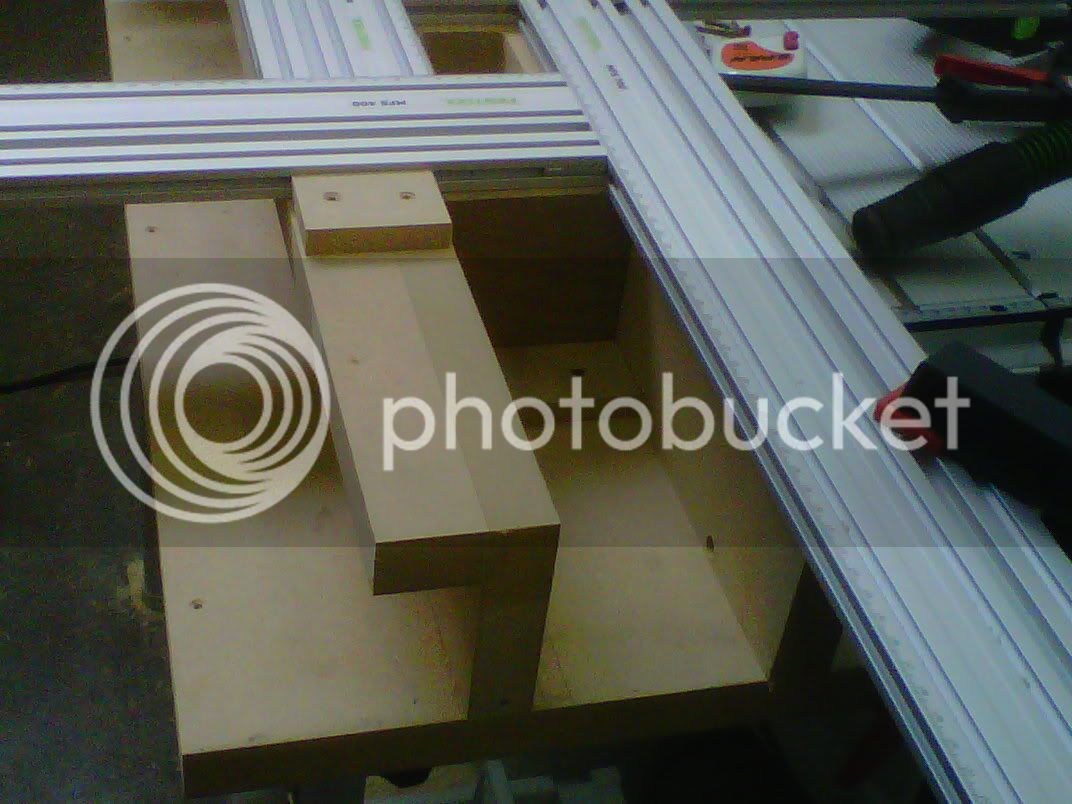
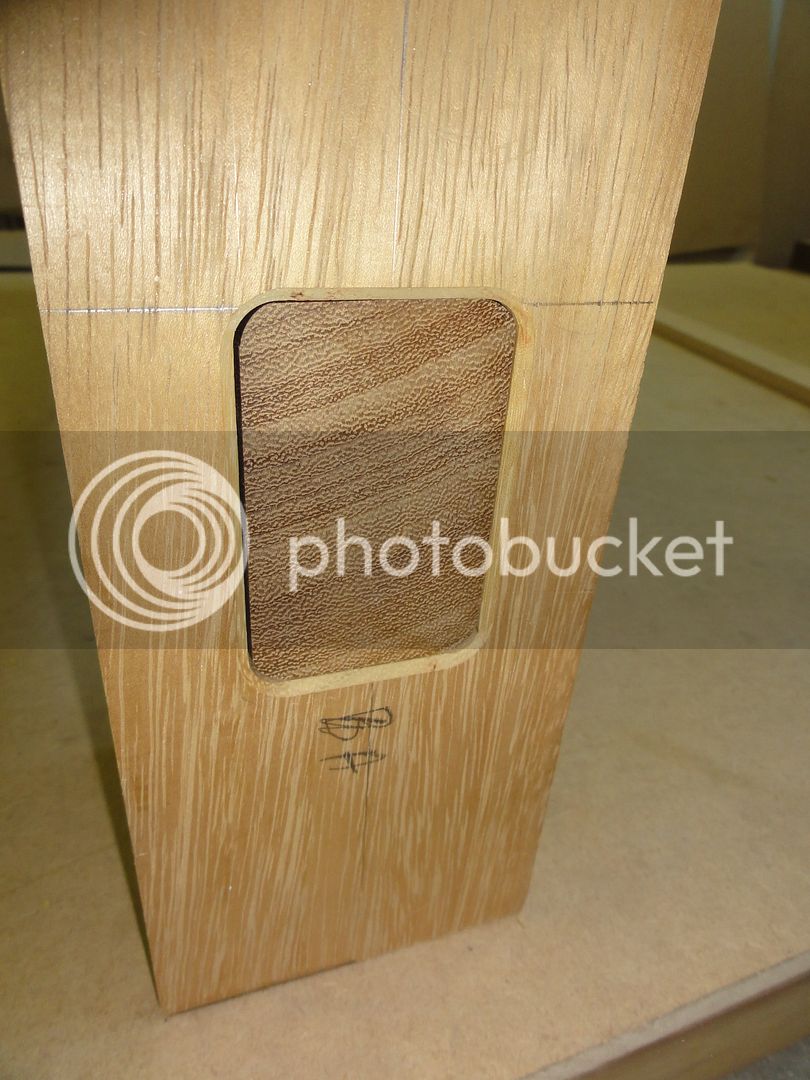
Sorry, this next batch of pictures should be much smaller. I have started doing the mortices in the legs for the cross members. For the top ones that are open on one side, I used a bandsaw and my pillar drill to remove the big chunk of material then cleaned up with a chisel. One is perfect, the other slightly loose, which I am hoping to be able to correct on assembly with some judicious packing. The through tenon mortices were a bit of a challenge, I was going to use the pillar drill again, but decided to make up a jig and rout them, less clean up... However the challenge was to make up a jig that enabled me to accurately work from both sides so the slots lined up perfectly. I am happy to say the first one was spot on!!!! here are some pictures:

bench016.jpg


bench014.jpg


bench013.jpg


bench017.jpg


I am currently trying to decide whether to square off the sides of the mortice or to have rounded shoulders on the Tenons. What do you think?

Cheers, Mark
 
Tidy looking job thus far. The only thing I would want to see included is a row of dog holes down the front (edge) apron as well as down the centre of the top. My bench also has removable trays which make it easy to cramp stuff from the other side as well as the front - Rob
 
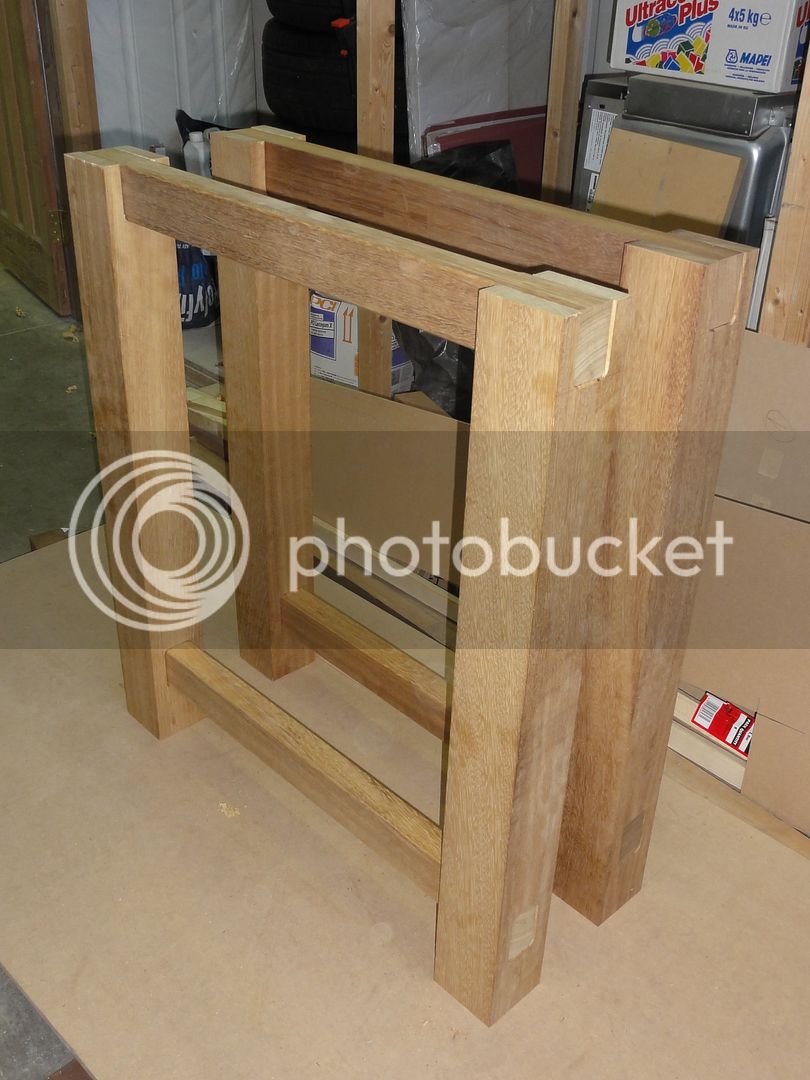
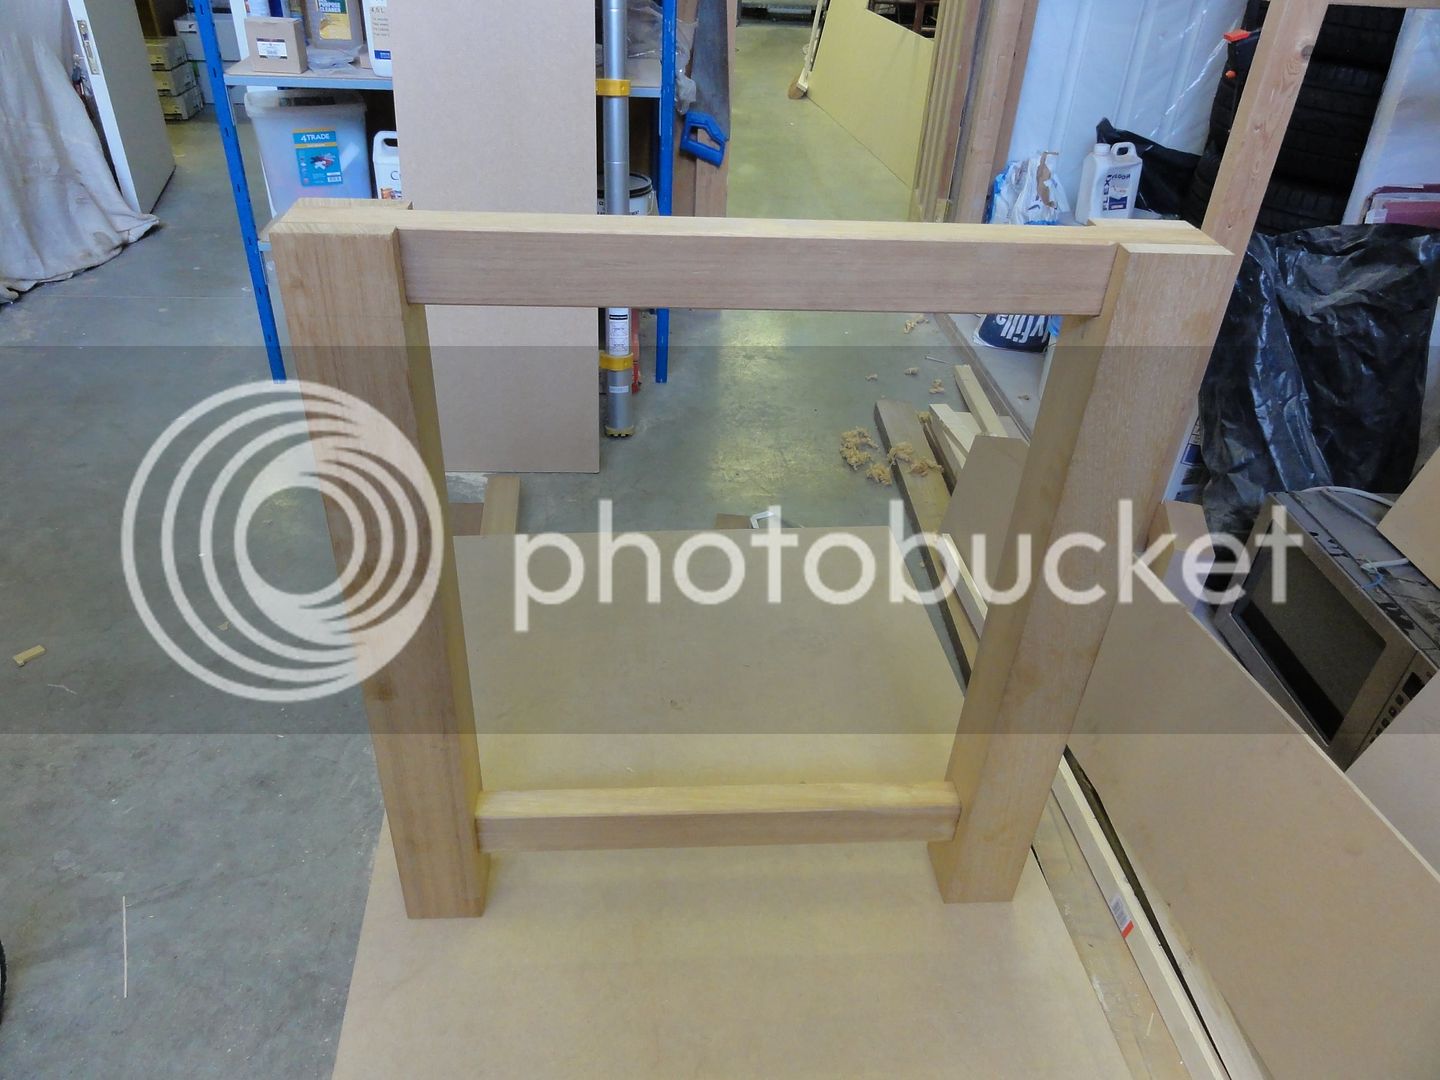
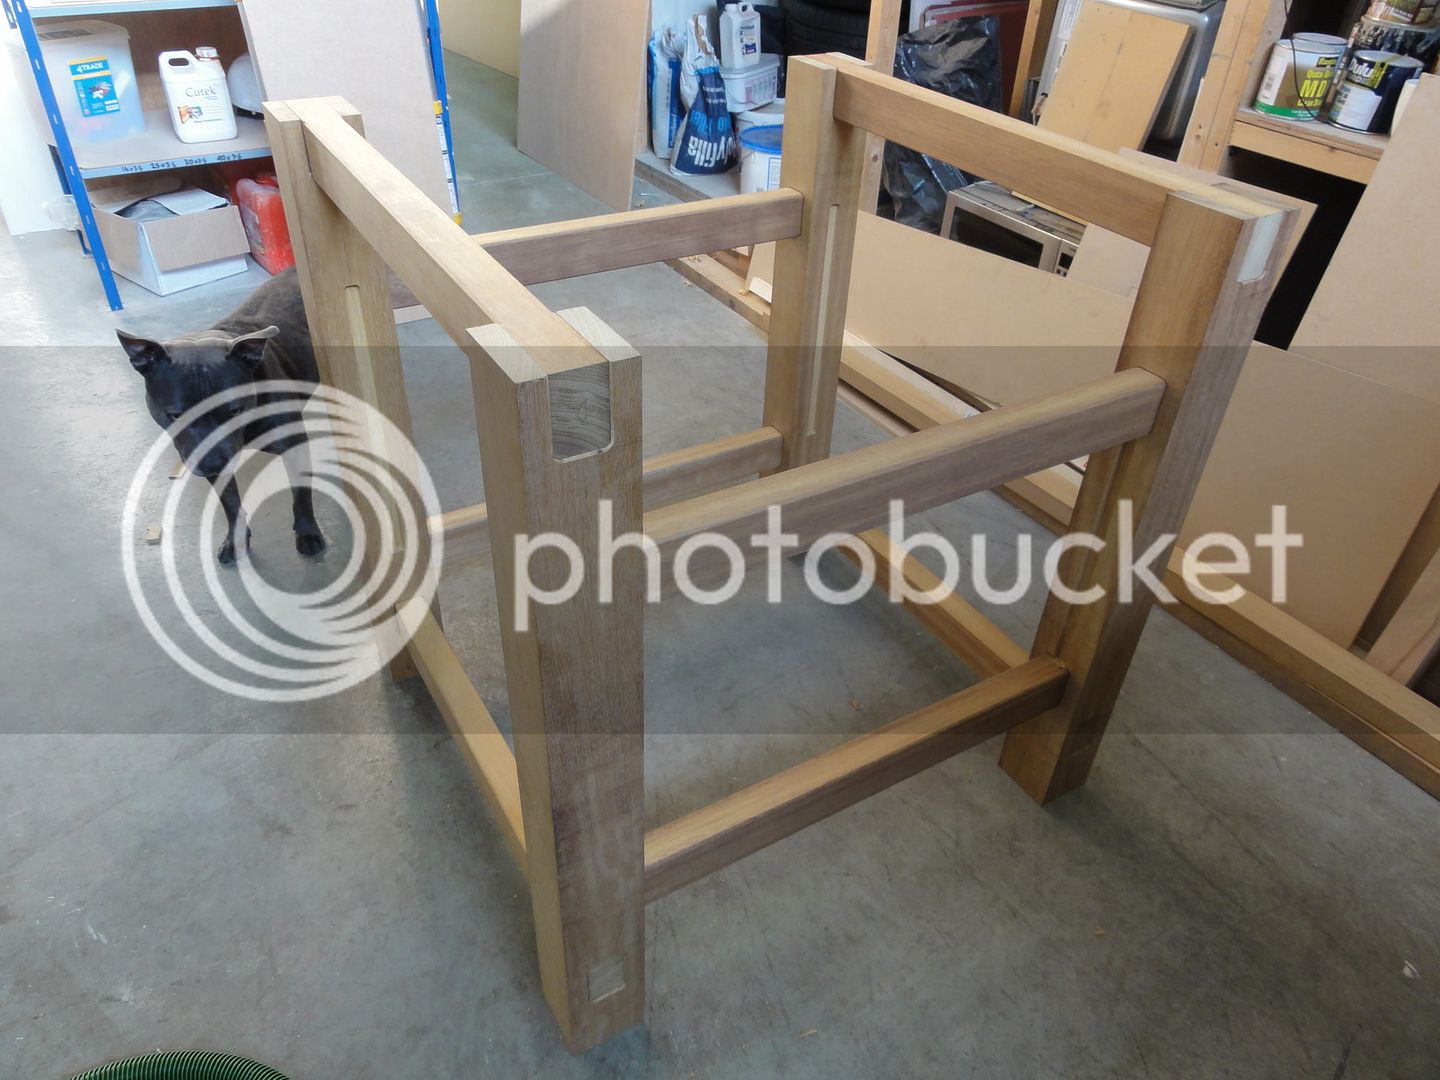
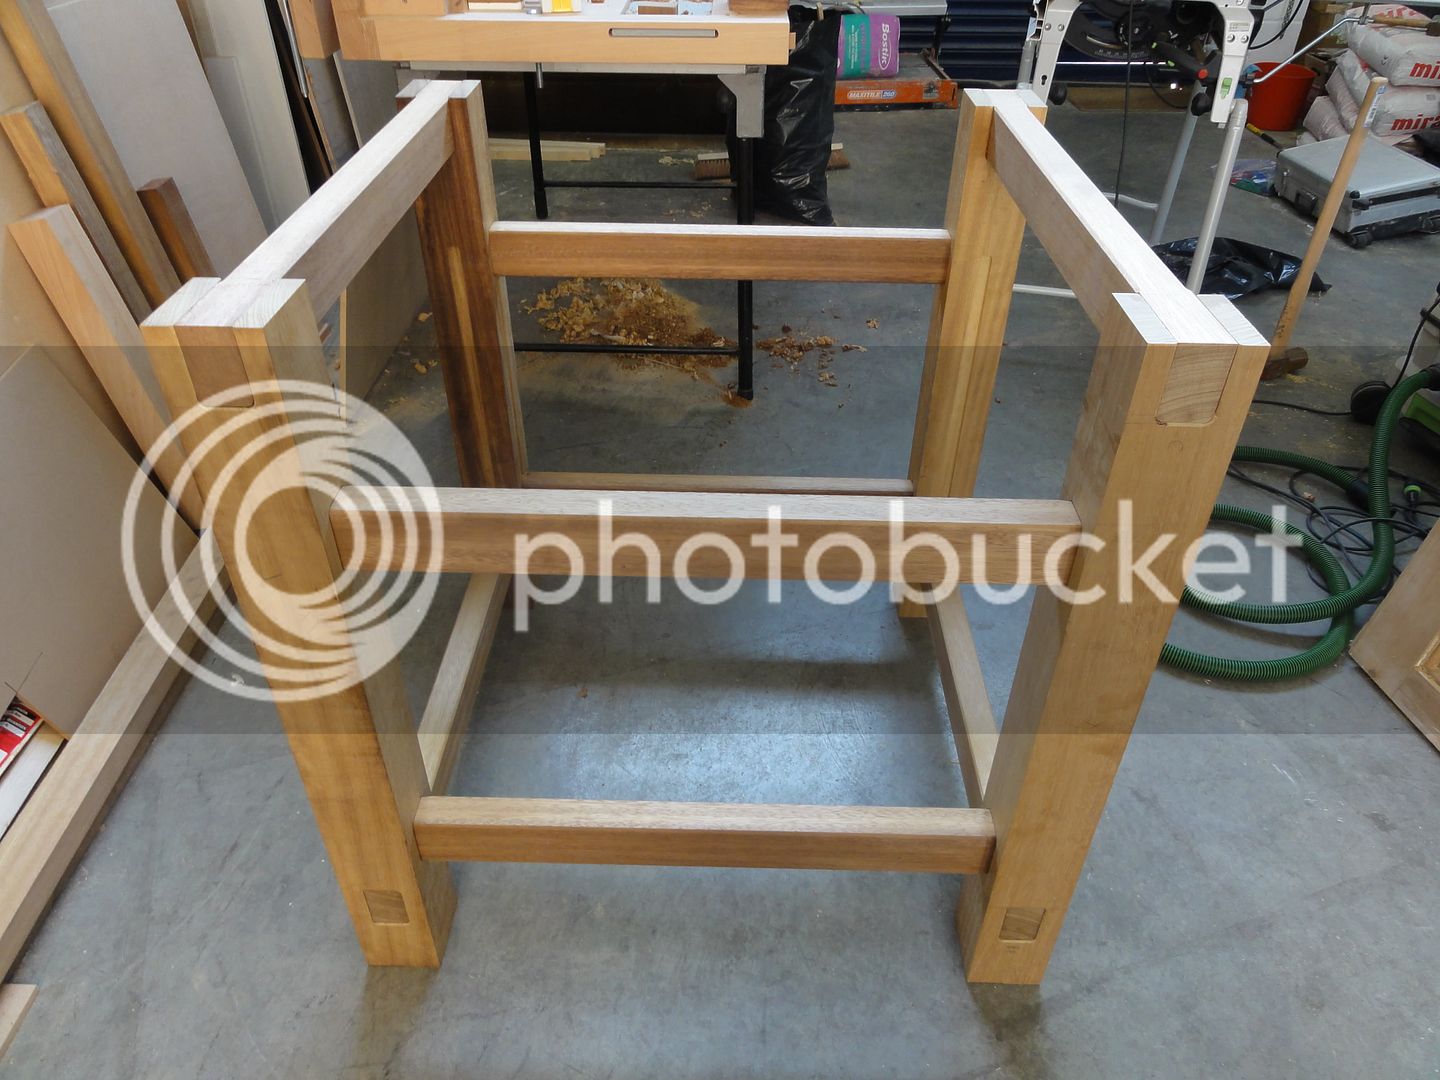
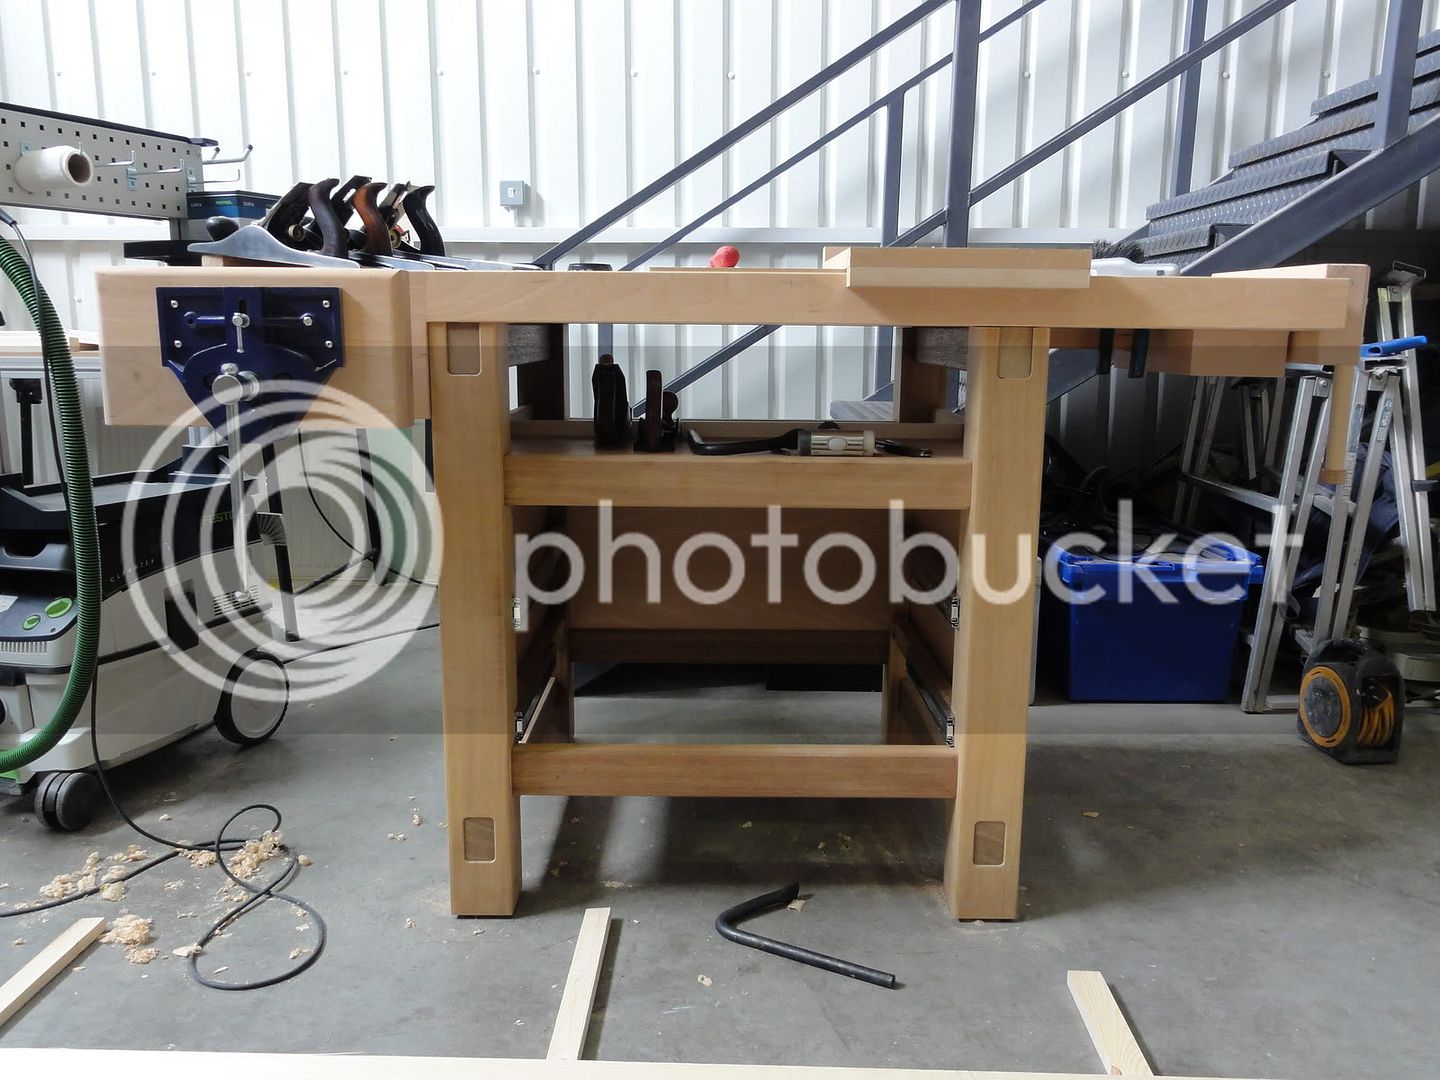
OK, little update, I have had a pretty productive few days and the legs and frame are almost finished. As you can see from the pictures, i went with the rounded shoulders on the mortice and tenons, I am going to dowel the top frame members through the legs with birch 10mm dowels and the bottom tenons I will probably go with wedged tenons, using birch again.
I cant tell you how satisfying it was to dry assemble the frame today and get that amazing little pneumatic pop as you pull apart a really tight fitting joint. I made all the mortices very sligtly undersize, so I had a good excuse to plane in all the tenons. I used my number 7 bailey type 15 with a new Hock iron and it was sheer bliss shaving off the excessto a perfect fit.

Anyway, here are some pictures of the frame and legs as they are now. I am going to add beech veneered MDF side and back panels , that will slot into routered grooves in the legs and there is a shelf of solid beech which I have yet to make, that will sit in level with the top of the top cross members.
.
last020.jpg

last019.jpg

last018.jpg

last021.jpg

last022.jpg


Cheers, Mark
 
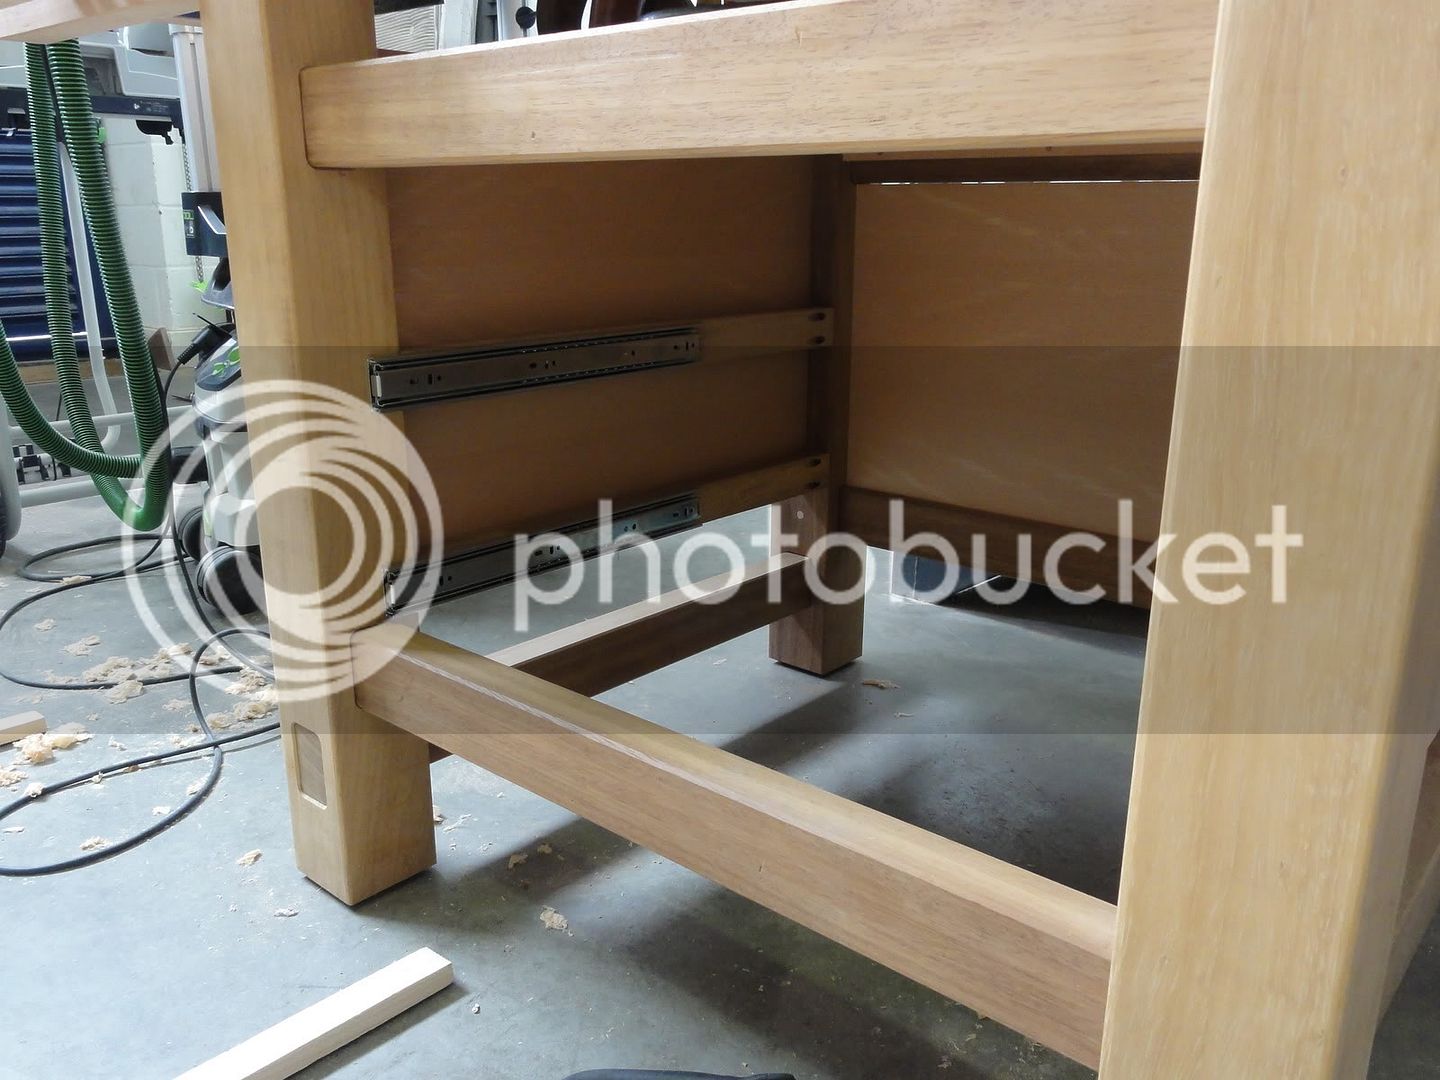
Ok, guys and girls, here is the next bunch of pictures. I just need now to make up the drawer boxes from birch ply and fit the solid beech frontals. You can see the storage shelf in the photos.

May2011039-1.jpg


May2011038-1.jpg


May2011037-1.jpg


May2011036-1.jpg


Hope you enjoy looking at them as much as i have been enjoying making it

Cheers, Mark
 
Actually, using it yesterday, I noticed some movement when planing using the front vice, planing along the front of the bench. I had originally planned for the legs to be wider, but found when i came to do them, that the position of the front vice made this impossible, unless I had them offset and off centre, which I thought would not look so nice ( lesson number one - think the whole project through before forging ahead..!!) I think the movement is in part down to the fact that the frame is taller rather than wider and also that I used no glue to assemble it. I am currently looking at ways of adding some discreet bracing pieces to reduce the twisting movement. It's only very small, but it's there and I don't like it!!

The next bench I make will incorporate all these lessons.

Our of interest, I wonder what someone would pay for something like this, complete? maybe I could sell and make mark2 version?

Cheers, Mark
 
markturner":1vu66bzs said:
Actually, using it yesterday, I noticed some movement when planing using the front vice, planing along the front of the bench. I had originally planned for the legs to be wider, but found when i came to do them, that the position of the front vice made this impossible, unless I had them offset and off centre, which I thought would not look so nice ( lesson number one - think the whole project through before forging ahead..!!) I think the movement is in part down to the fact that the frame is taller rather than wider and also that I used no glue to assemble it. I am currently looking at ways of adding some discreet bracing pieces to reduce the twisting movement. It's only very small, but it's there and I don't like it!!
You could increase the width of the base by adding some 'feet' - fit a couple of horizontal pieces to the legs so that the base in effect becomes almost as long as the bench top. I'm sure this would help with the overall stability of the bench.

Cheers :wink:

Paul
 
Back
Top