My wicked tissue box

UKworkshop.co.uk

Help Support UKworkshop.co.uk:

This site may earn a commission from merchant affiliate links, including eBay, Amazon, and others.

devonwoody

Established Member
Joined
11 Apr 2004
Messages
13,493
Reaction score
25
Location
Paignton Devon
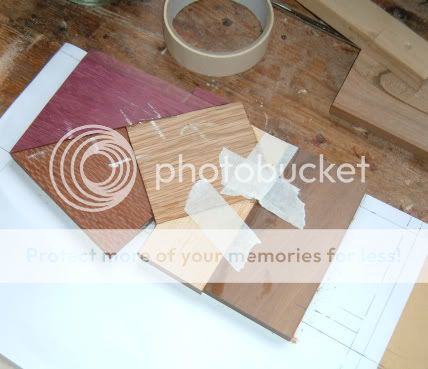
Started a new pattern type tissue box, and this one I am not confident on a completion.

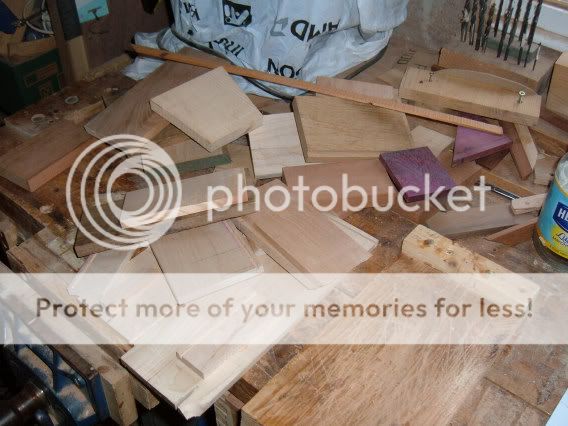
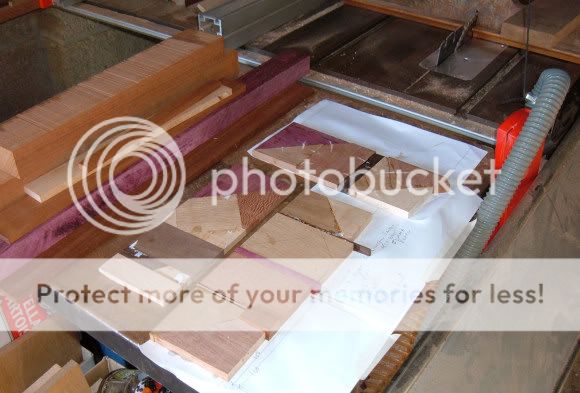
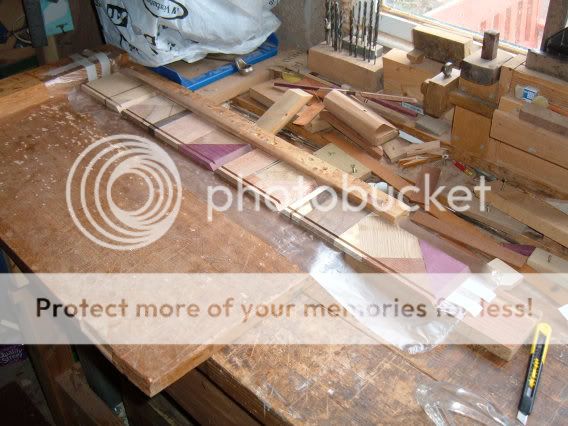
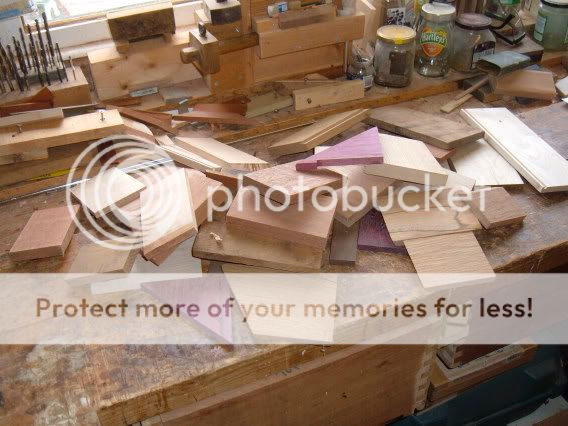
Got out my large offcut pieces :)
1a.jpg


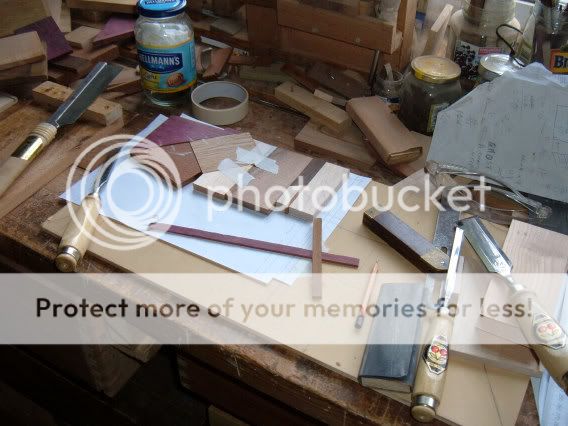
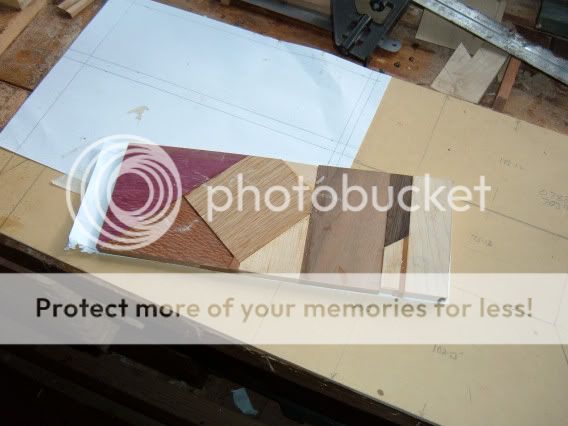
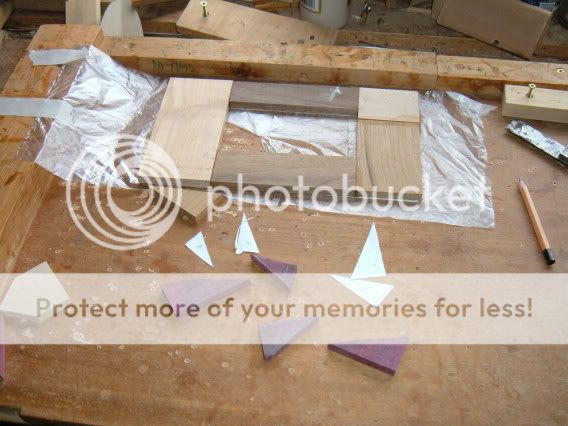
Drawn up a carcass side with extended boarders for waste and final cutting lines.

2a.jpg


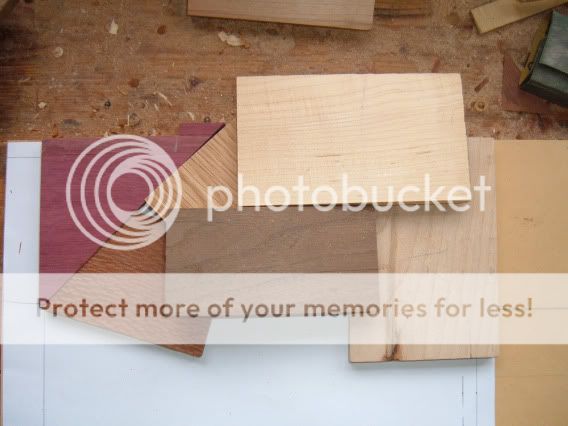
And aiming for something after this picture.
4a.jpg


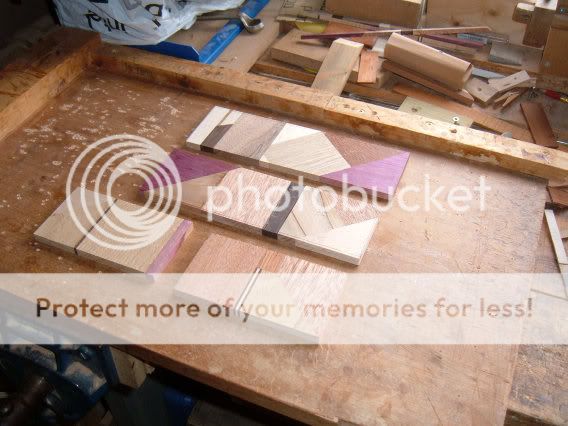
The first piece is easy.

3a.jpg


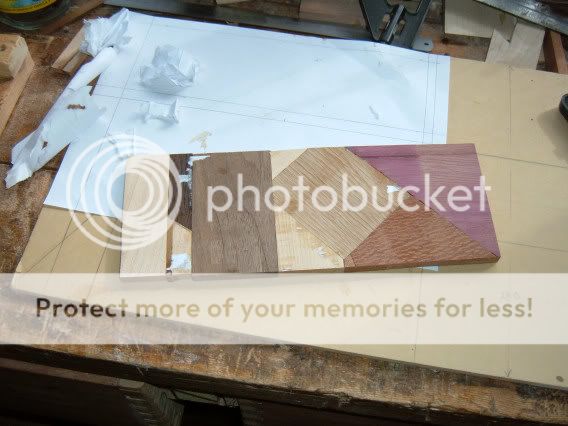
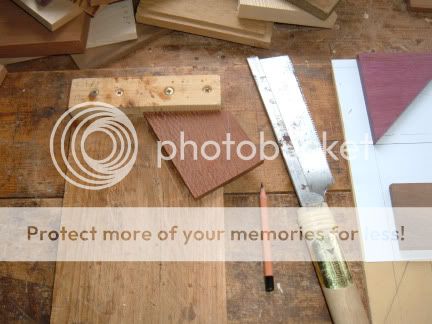
The second bit is getting more complicated.
5a.jpg


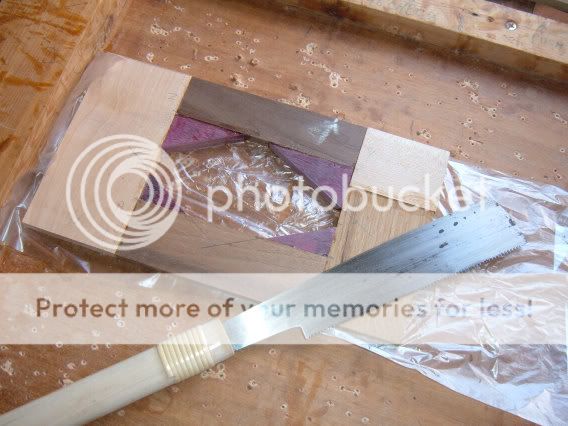
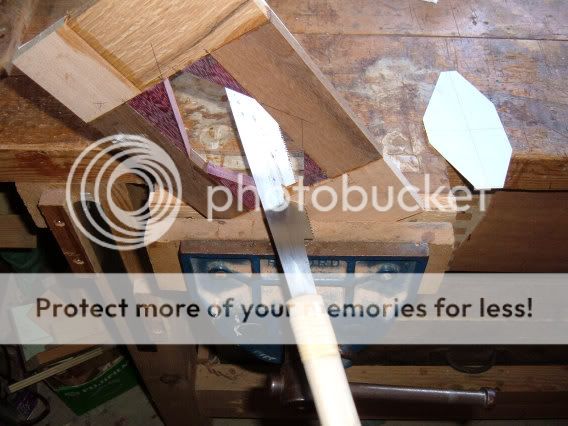
I'm cutting them by hand with my jap saw, and then finalising the fit on the sander disk.

6a.jpg


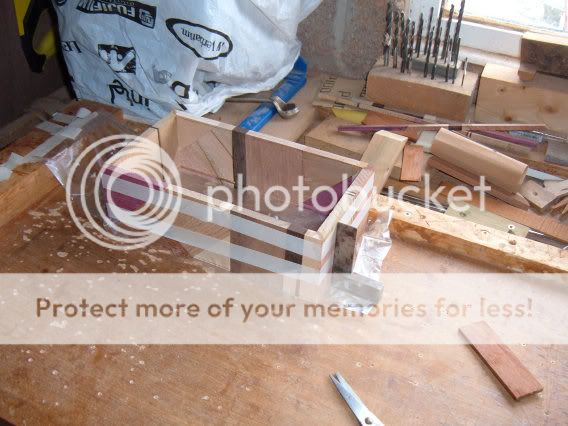
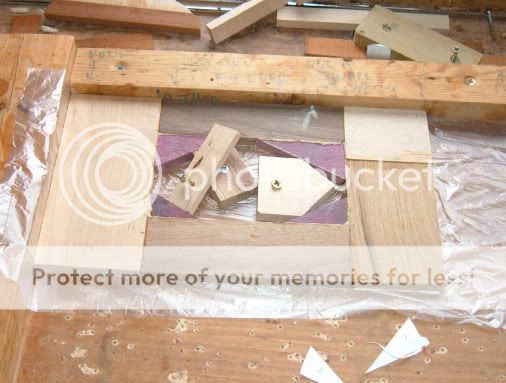
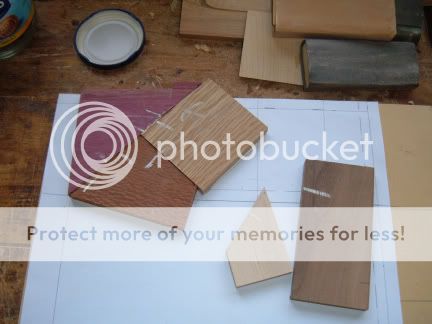
Decided to start gluing a section up, and pipper me I have not glued them as per my original set up.
7a.jpg


So I have now got a couple of pieces that dont fit as planed.

So put this first section aside to mature and start another side and come back when the original is firm.
 
Thanks DW now I know what to do with all my offcuts! :wink:

I am looking forward to seeing what it will turn out like.

Seems like one big jigsaw puzzle, still I guess it is keeping the grey matter going and providing endless mini-problems to sort out!?

Keep up the good work!

cheers
HM
 
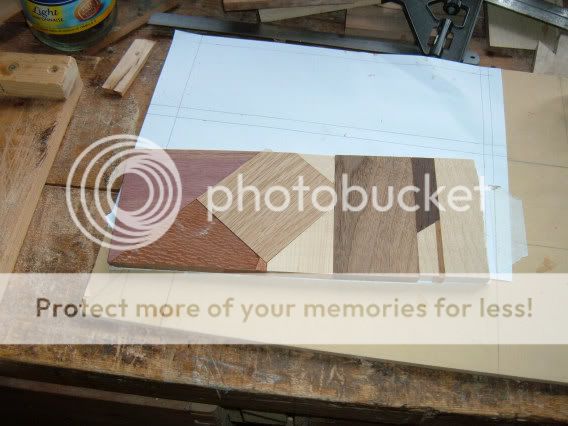
Went back in the afternoon for a further session on that first side.

8a.jpg


And completed the first face except a small piece missing on bottom edge, most probably pop in and complete before bedtime.

9a.jpg


Got plenty of stock left.

10a.jpg


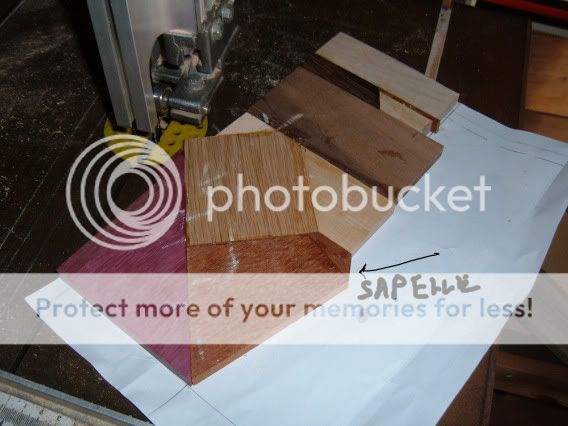
Timbers used so far, Purple heart, lacewood, oak, sycamore, black walnut, wenge and (that small strip) meranti. I cannot recall the correct name for the piece of lacewood, perhaps someone can remind me?
 
11a.jpg


Put that small piece of sapele in before shutting down for the night.

Even at minimum wage that piece of timber must be priced at over £40 :)

Had a panic attack over night wondering how I shall get a flat or planed surface, perhaps I could put the uneven face inside. :wink:
 
To cure the panic attack I went into the shed early this morning, tidied up the long edges a bit of first piece.

12a.jpg


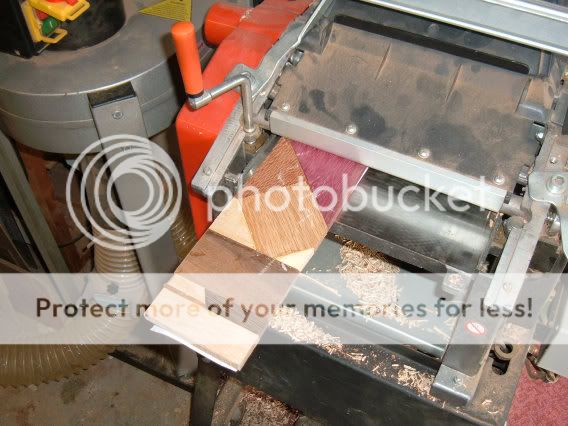
Then recited the woodworkers prayer a number of times and pushed the piece into the thicknesser.


13a.jpg


and then did it a few more times.

14a.jpg


and the frown disappeared from my face.

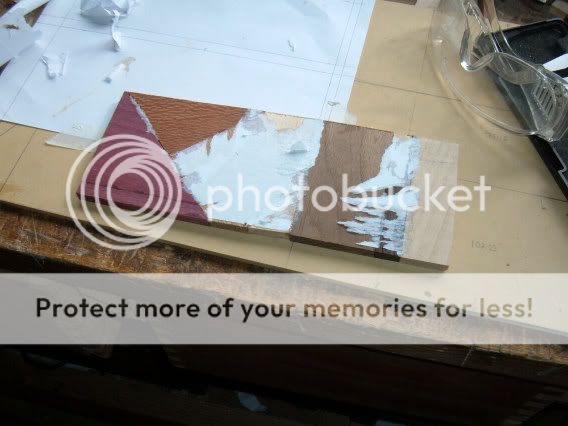
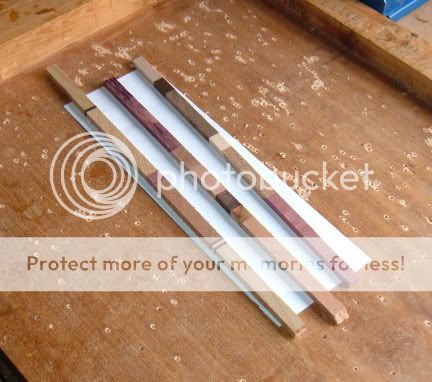
Did the sane on the backside after removing most of the backing paper.

15a.jpg


and again it was successful, but not doing final thicknessing until all four pieces are available.

16a.jpg
 
I am amazed at your boxes, and i think this one is well cool too, Devonwoody!

Nice use of offcuts.

Now, having just made a small box myself (Smaller than it should be for the intended purpose to SWMBO's great joy) i can appreciate the work going into something like this!

Keep up the good work!
 
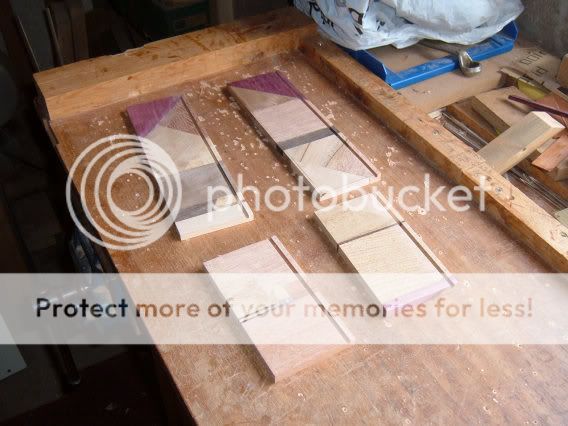
Hopefully I have got sufficient timber assembled to complete a carcass.

17a.jpg


It will all depend on how the thicknessing goes. Weather forecast the next few days I think will delay progress, forecasts upto 31C, phew.
Down the beach me thinks.

I have also got some spares left from that original pile.

18a.jpg
 
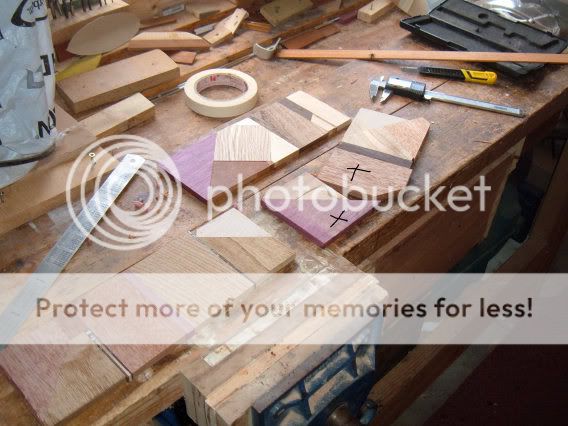
Popped into the workshop, its cloudy outside so heat is not as fierce so chucked the faces through the thicknesser to clean things up a bit.

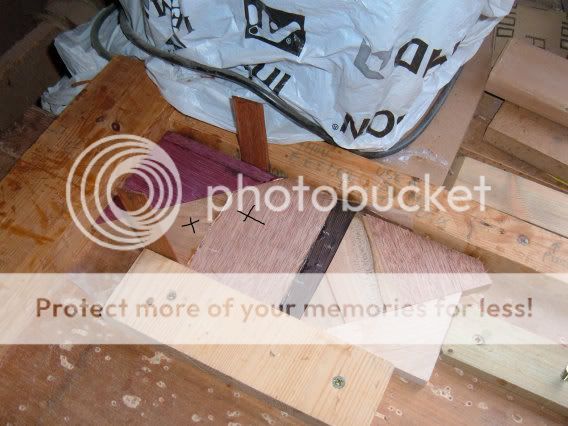
One accident, but not too serious. (see crosses)

19a.jpg


Reglued the separated part.

20a.jpg


And spent the next hour wearing some of my chisels down on that grey wheel
 
I have had an eventful morning lost a tablesaw throat screw down the inside of the tablesaw changing the throat plate, still got rid of 6" deep sawdust which must be a good thing.

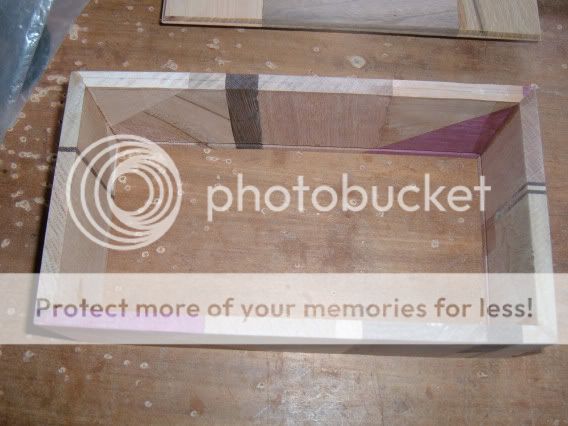
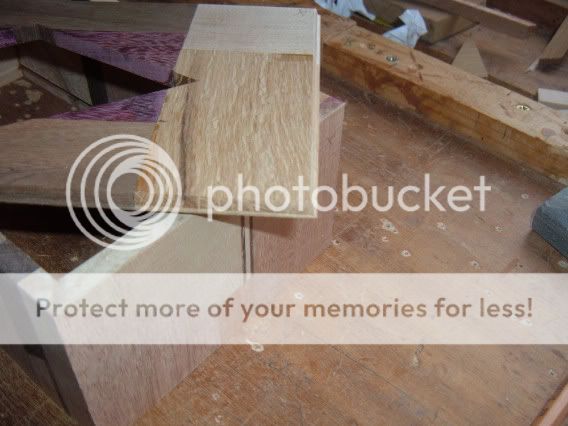
Prepared faces of box with straight edges and correct lengths, then mitred the 8 corners.

22a.jpg


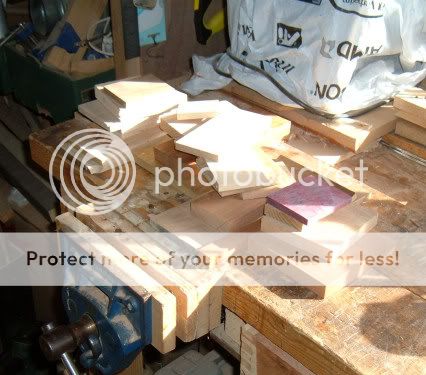
Did accumulate some more waste pieces which I might hang onto for something, you never know.

21a.jpg


Cut the dadoes on the router table for bottom plates, this went well even with different timber densities and grain directions.

23a.jpg


Set the faces ready on the board for usual glue up.

24a.jpg


The box just fell into place and did not even have to squeeze the ends to get a square finish.

25a.jpg
 
Made an early start this morning on the lid, the reason being that there are a number of glue set ups required for what I have got in mind so there will be at least a couple of sessions today.

Sorted out some more small pieces and laid them out on a paper template.

26a.jpg


Cut to shape and glued the first stage.

27a.jpg


Will give them three hours to set. I use titebond 3 and spots of superglue dropped on titebond as I place together.
 
Second session today.
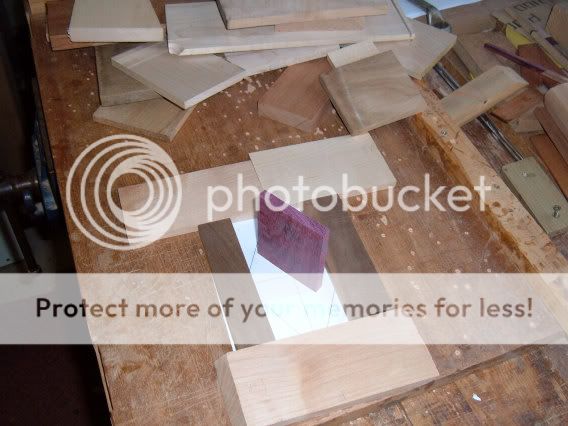
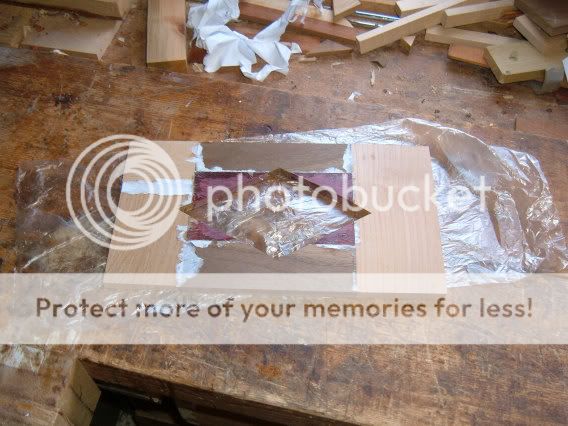
Preparing aperture with purple heart triangles.

28a.jpg


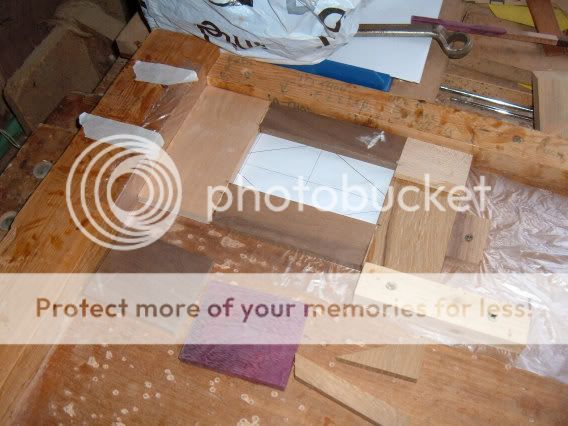
Glued into position with titebond3 and superglue again.

29a.jpg


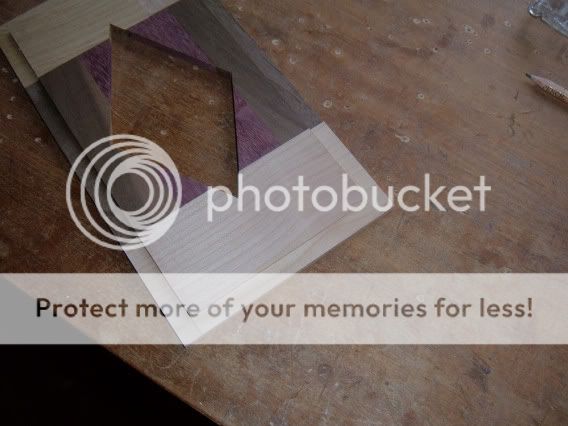
Further marking out of aperture.

30a.jpg


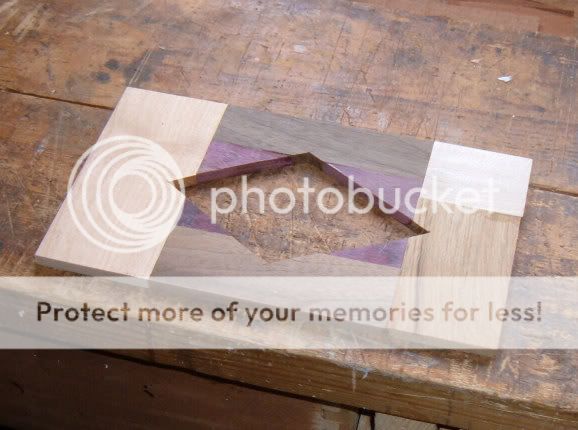
And shapes enlarged using one of those jap saws without a back frame.

31a.jpg


In the rough it appears to have gone well.

32a.jpg


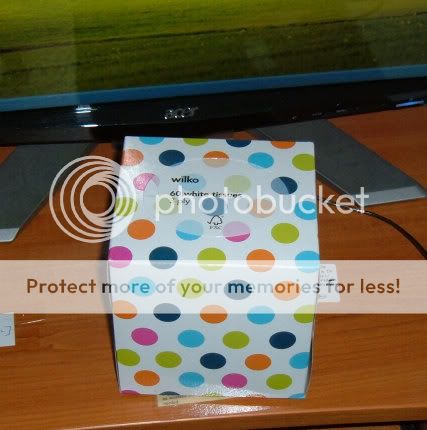
However the misses is winding me up, she has found some new stock of tissues.

33a.jpg


I wonder how many different patterns I can make for this style?
 
Did some overtime today, went out this evening and cleaned up the lid in the thicknesser and it went smoothly even with the cross grains.

34a.jpg


Cut the lid to outside dimensions of carcass and rebated underside to fit.

35a.jpg


To cover up end grain of carcass at top.

37a.jpg


I was able to get a round over on lid and also get a square fitting edge to carcass hiding all the end grain.

36a.jpg


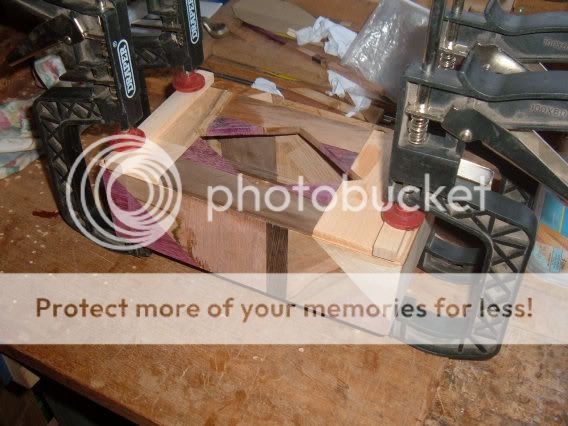
Glued on the lid.

38a.jpg


Hopefully I should do the sanding and give it a coat of shellac and then wax tomorrow evening. (having the day off Wednesday)
 
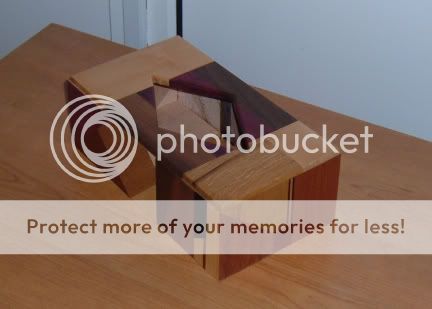
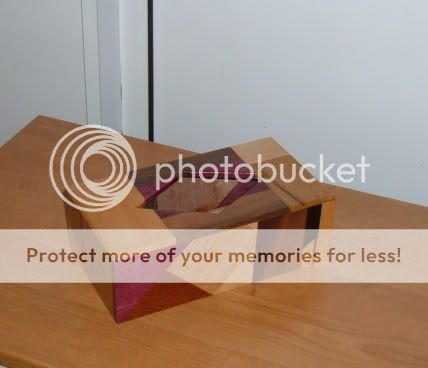
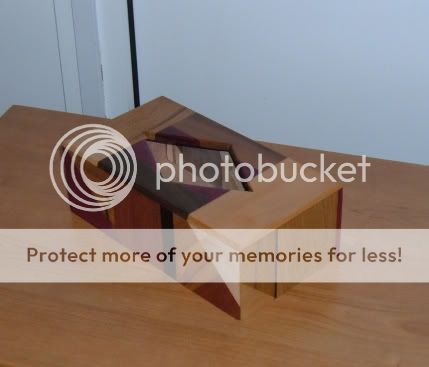
Its completed and I know its different but it goes to prove that modern glues can work with end grains. The joints would not break easily any more than conventional joins.

42a.jpg


41a.jpg


40a.jpg


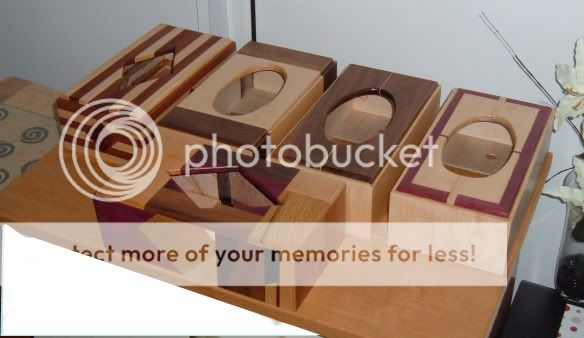
A selection of boxes awaiting new homes.

43a.jpg


Most probably switching over to a new shape and size box for a change, also this season might be a short one for me, I have got a cataract op. coming up.
 
That's brilliant, love it.

I like all your boxes actually - can't believe how you make them so fast - but that last one is the best.

cheers
 
Well done John.

In some of the photos it appears that the new box design is not totally enclosed (if you know what I mean?). Optical illusion - in the first photo, for example, it appears to my eyes that the front has an odd shaped opening :-k

=D> =D> =D> =D>

Dave
 

Latest posts

Back
Top