rafezetter
Troll Hunter
I'm flattered ppl have asked for "plans" for my planters (in another thread) so I thought instead of replying there I'd make a proper post others might see... apologies if the crudeness of the construction and materials offends any sensibilities!
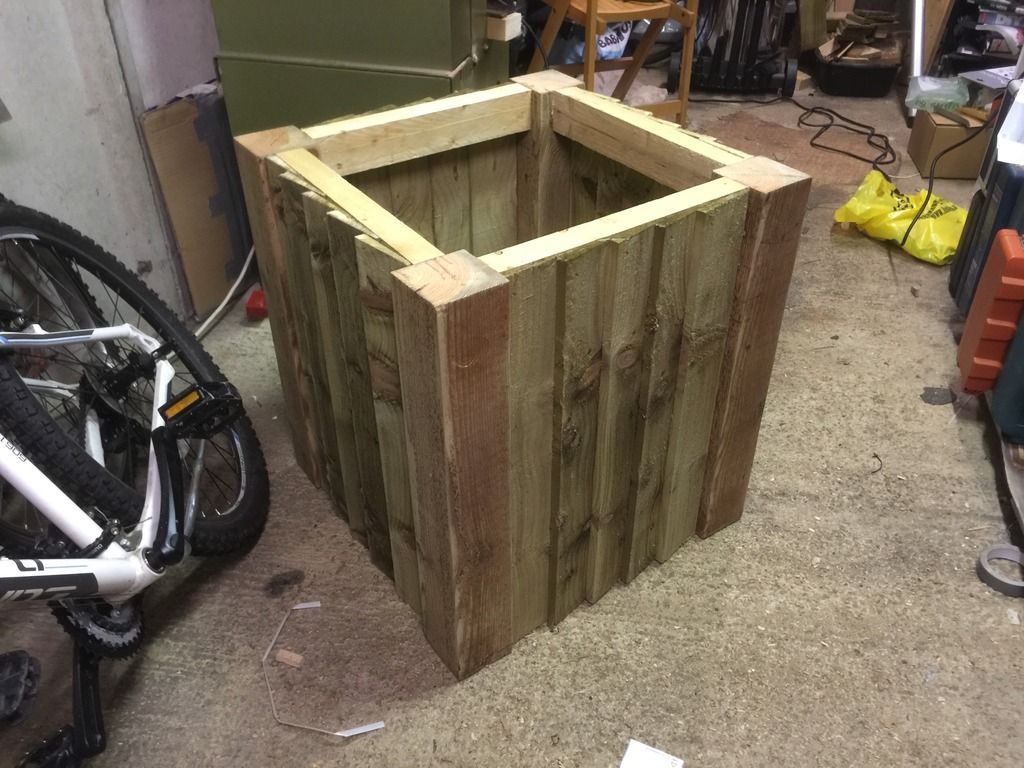
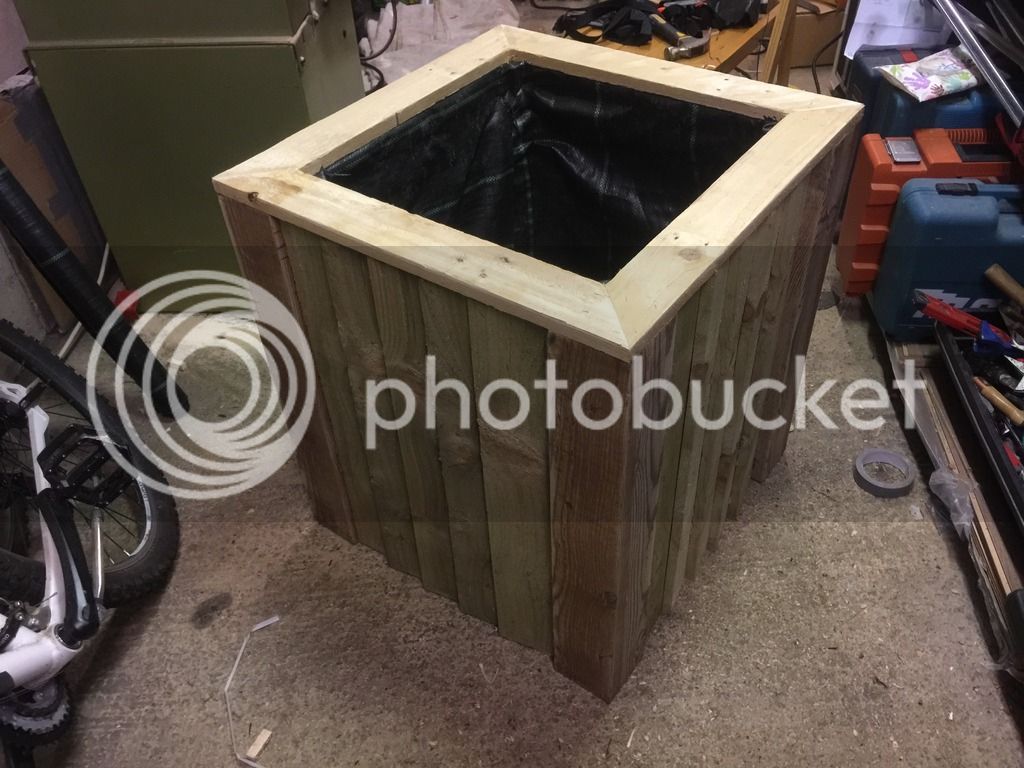
For my inspiration I just googled and looked at many many examples, then decided what I thought I could cope with and roughed it out from that. The MK1 was made with a simple box frame, top and bottom stretchers on all sides, crudely buttjointed (I'd do a basic corner halving joint instead now), 2 crossbeam stretchers with a (crude) halflap joint as a bottom to support the weight of earth while allowing full drainage. The featherboard (offcuts of new fencing, not very thick) was simply nailed to the sides with 40mm pin nails using an airnailer (any extra was bent over inside), and laid so that the thick tail edge overlapped the thin leading edge by a good inch or so and the nail caught both tail and leading edges. It was then lined with porous weedstop (photo) and the top was 4 pallet slats roughly cleaned up, mitred then screwed on. It's been a good 4 years now and you can see apart from greying it's still in good nick as you see in the last photo, even though it was left untreated.
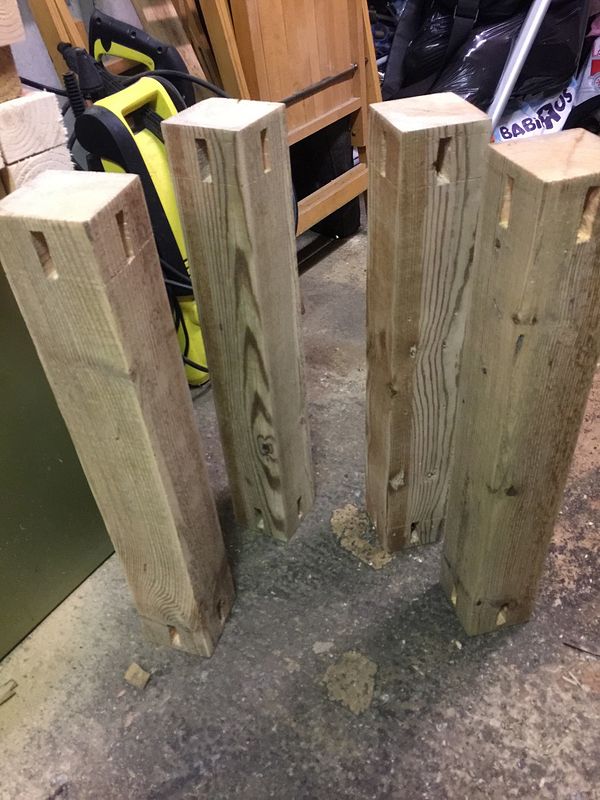
The second one was a small cheat, sort of . I still made a frame, but made to fit around an old water expansion tank (picture 3); I made a bit more of a feature of the legs, primarily because sizing the frame was tricky to work out easily, so I made the top stretchers as a frame around the tub (one in the picture) then matched that size with the bottom frame and added the legs to the outside of them. You can also see the wheel supports in this picture so I could wheel it around as Mk1 weighs a ton now it's full! I added the wheels by screwing them to scraps, then screwing that to blocks set inside the tub, which are wrapped inside several layers of clingfilm to slow rotting and the bottom where the screws enter sat in a few cm's of old engine oil and left to penetrate - there's little chance of water contamination as the bottom of the tub also has 10mm drainage holes drilled in as well as the 2 old pipe holes; which were left open but covered with more weedstop to keep the earth in. You can sort of see the inside construction in picture 4 taken as I was cleaning up the wood with a plastic version of a wire wool cup in a drill; much less brutal on the wood, cleaned off all the old gunk nicely and removed some of the softgrain too which left the hardgrain proud and a nice tactile texture. In the pic top 3 are done, bottom 3 as it came. (Edit: I should mention the wheels in the picture didn't last long, the constant wet rusted out the axles in pretty short order and they bent, so I've replaced them with bigger sturdier wheels and painted those with several coats of cellulose automotive paint).
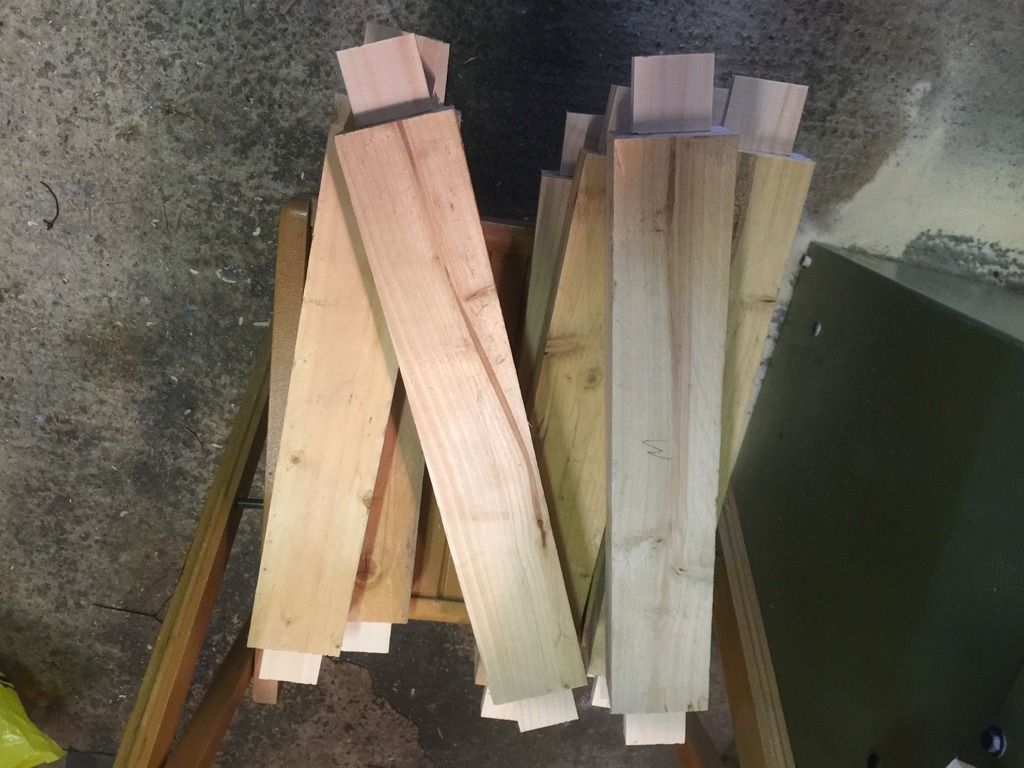
The wood for this one was v old Larch featherboard (possibly 30 yrs? as it's 3x as thick as new featherboard) from a fence my buildermate demolished - it's very handy to have a friend who has access to almost unlimited supplies of this sort of builders waste and who is sympathetic enough not to smash it to peices, but takes it down carefully. it was attached the same way as above.
It was treated with a very dilute poundshop poly varnish that was left to sit and soak in before excess being ragged off - poor mans danish oil if you will.
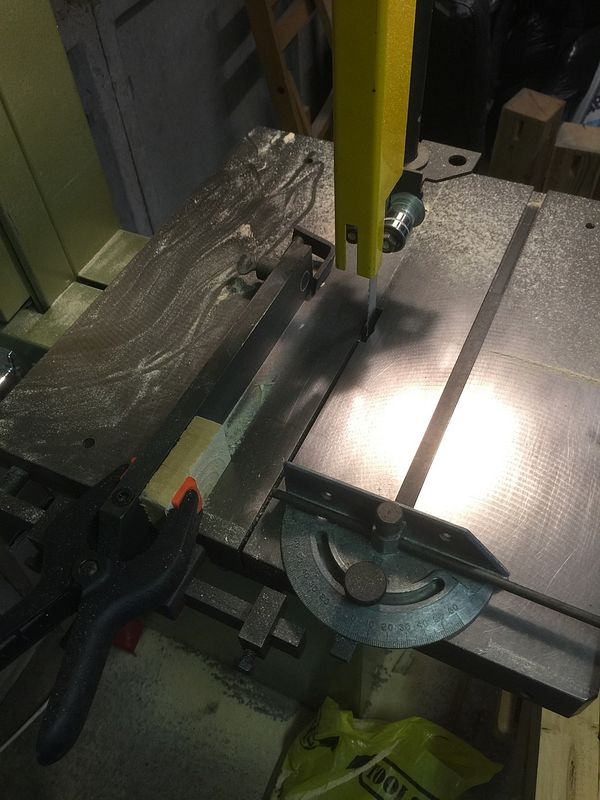
The top is again pallet slats but cleaned up more, mitered and glued together (with biscuits this time whoo!) but attached with chunky anodized coach bolts.
Apologies for the less detailed WiP pics - I never really thought anyone would be interested in a build writeup for this sort of thing. I've got more featherboard slats so maybe I'll make another and a more detailed WiP.
For my inspiration I just googled and looked at many many examples, then decided what I thought I could cope with and roughed it out from that. The MK1 was made with a simple box frame, top and bottom stretchers on all sides, crudely buttjointed (I'd do a basic corner halving joint instead now), 2 crossbeam stretchers with a (crude) halflap joint as a bottom to support the weight of earth while allowing full drainage. The featherboard (offcuts of new fencing, not very thick) was simply nailed to the sides with 40mm pin nails using an airnailer (any extra was bent over inside), and laid so that the thick tail edge overlapped the thin leading edge by a good inch or so and the nail caught both tail and leading edges. It was then lined with porous weedstop (photo) and the top was 4 pallet slats roughly cleaned up, mitred then screwed on. It's been a good 4 years now and you can see apart from greying it's still in good nick as you see in the last photo, even though it was left untreated.
The second one was a small cheat, sort of
The wood for this one was v old Larch featherboard (possibly 30 yrs? as it's 3x as thick as new featherboard) from a fence my buildermate demolished - it's very handy to have a friend who has access to almost unlimited supplies of this sort of builders waste and who is sympathetic enough not to smash it to peices, but takes it down carefully. it was attached the same way as above.
It was treated with a very dilute poundshop poly varnish that was left to sit and soak in before excess being ragged off - poor mans danish oil if you will.
The top is again pallet slats but cleaned up more, mitered and glued together (with biscuits this time whoo!) but attached with chunky anodized coach bolts.
Apologies for the less detailed WiP pics - I never really thought anyone would be interested in a build writeup for this sort of thing. I've got more featherboard slats so maybe I'll make another and a more detailed WiP.


