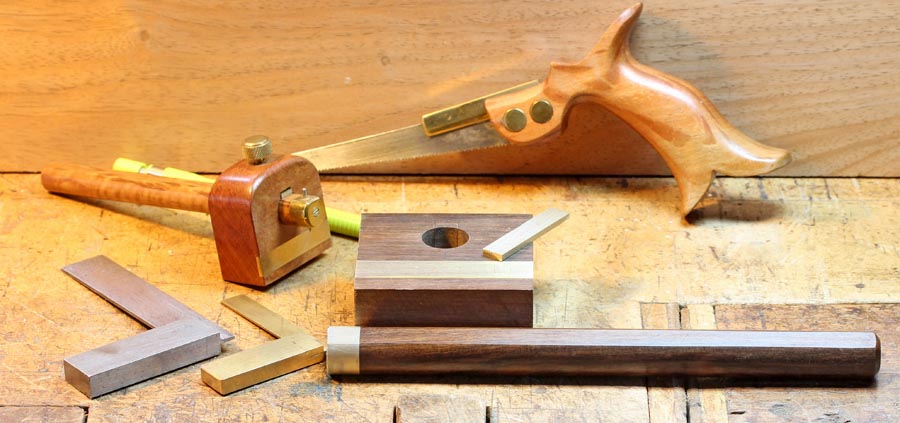
Being a hoarder of scraps I have plenty of material to keep me going for a while. Small leftovers of brass & precious wood make good raw materials for marking-gauges, & as my hoard was building up after a recent spate of plane-making, I decided to make a small batch of gauges using some bits of "Solomon Island Ebony" (Xanthostemon melanoxylon) and Macassar Ebony (Diospyros sp.). Dense, fine-grained woods are ideal for gauges.
Marking gauges don't have to be elaborate and anyone can make perfectly functional gauges with the simplest of hand tools. These are a couple I made not so long ago for demonstration purposes:
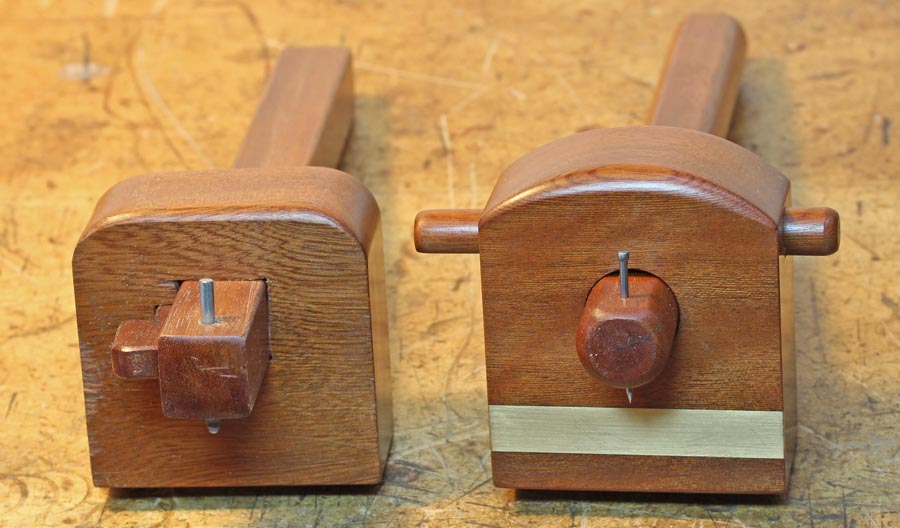
If you have a lathe, the one on the right with a round beam & wedge is particularly quick & easy to make. You don't have to add the wear-strip, but it's easy to include and adds a bit of a 'professional' touch - the desire to tart up simple tools has afflicted us for millennia, at least, so it's only natural you might wish to add some bling. It was a gauge like this that gave me the inspiration to switch to round beams for most of the gauges I now make. This is partly because it is easier to drill a neat, accurate hole in the stock, but mainly because they actually work better than square beams. You can make the beam 'loose' enough to slide smoothly at any time of the year, yet it will still lock down very firmly. Square beams are apt to wobble a bit in the dry months and/or become overly-tight in periods of high humidity.
This is the method I've evolved by a bit of trial & error over the years. It is very easy if you have access to a metal lathe, but you can make all of the bits without using a lathe if necessary.
I start by cutting up my scraps into stock & beam sizes, and preparing the brass strips. The latter requires nothing more than a hacksaw & file. I judge the angle by eye and it's remarkable how easy it is to get it close enough for a very good fit - the angle can be off by a couple of degrees, but over such a short distance, the eye can't pick it up & the fit looks perfect.
With the brass prepared, I cut the trenches on my crude router table. Again, you could easily enough do this step with hand tools. I use multiple passes with a 1/4" dovetail bit as it's easier to control, larger bits apply greater forces on the work-piece, so make sure your holding arrangement is safe if you use larger bits! You can either cut the trench to 'close' & file the brass to fit, or sneak up on a tight fit by incremental cuts:

It takes very little time to get a batch ready to glue up:

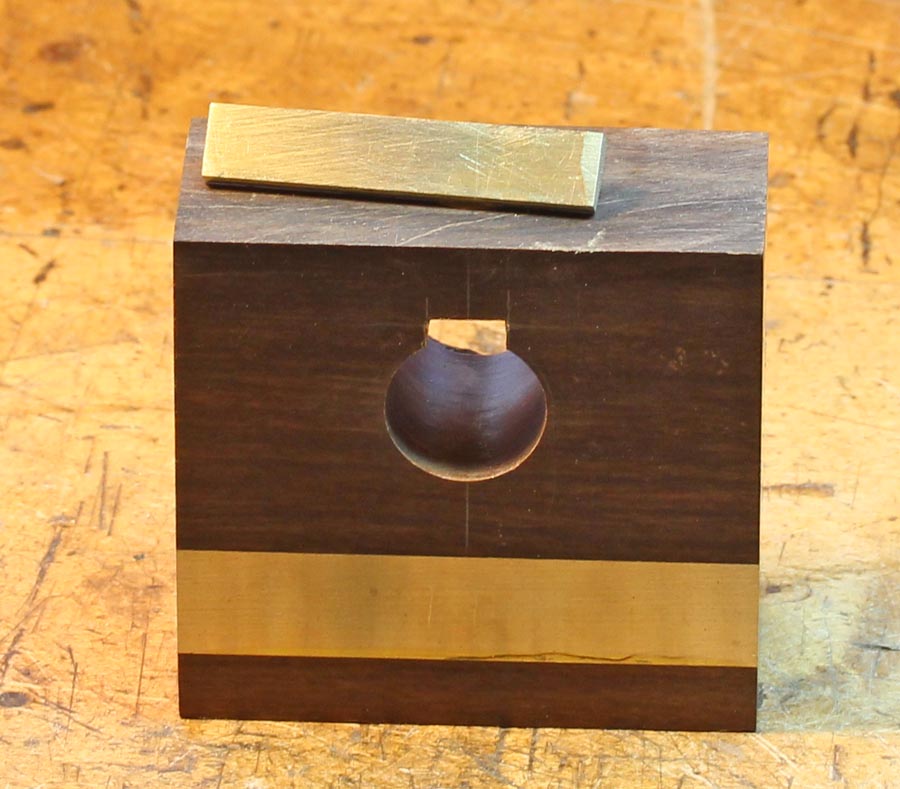
If the fit is really tight, you probably don't need any fixing other than a small brass pin through the centre of the brass strip (the method manufacturers like Marples used, to hold the narrow strips on their gauge faces), & in fact, if you are fitting strips cross-grain, a pin is better than glue. However, these strips are all sitting along the grain direction, so I glued them in with epoxy. After the epoxy set, I trimmed off the excess metal, sanded the faces flush & made sure the block was still square. Then the beam holes are drilled and the beam tips turned up. The thread on the ends of the studs on the beam tips are extra insurance to help the glue hold - probably overkill but it's easy to add. I've had to remove a couple when things went belly-up and they don't give up easily!

Next, I fit the inserts in the stocks for the thumbscrews. The subject of using threads tapped directly into wood came up recently in another thread. You can tap into side-grain with a metal tap and make a beautiful threads in hard, fine-grained woods like Ebony:
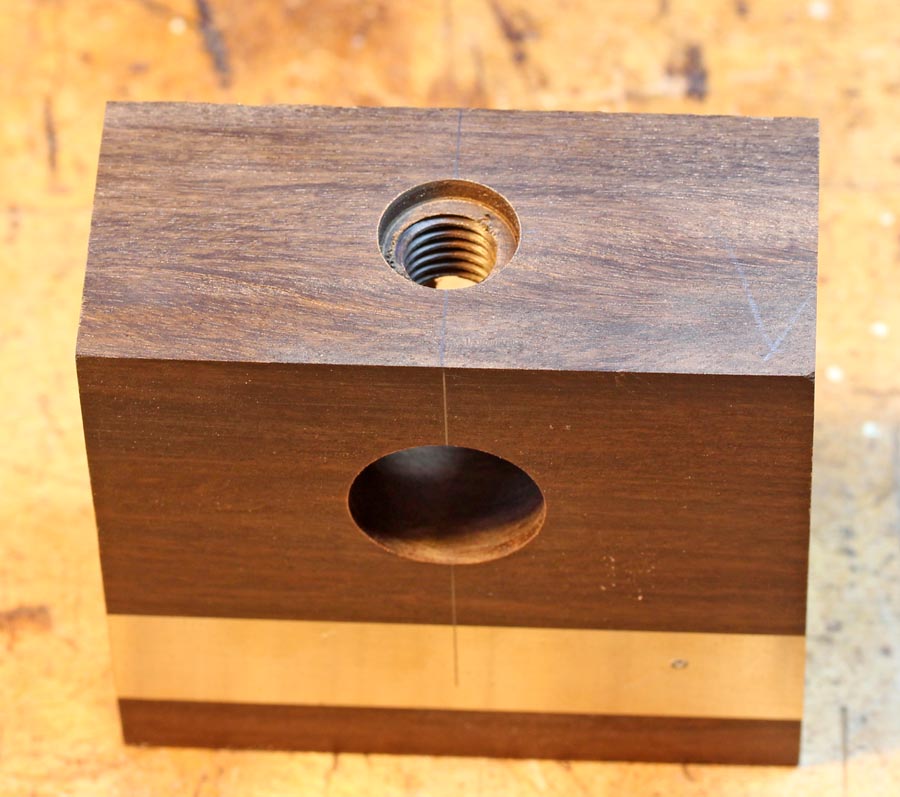
And these work perfectly well in applications where the screw is only rarely (or as in this case), never moved. But fine threads in wood aren't durable enough for the long-haul of a few generations of use, so the insurance of a threaded insert is my preference here. The insert is screwed up tight to the collar & flushed:

Now for the beams. I drill one end of the blank & dry- fit the brass tip, then put it back in the lathe & turn to diameter:

Then remove the tip & plane a flat on one side, ~6-8mm wide depending on the size of the beam:
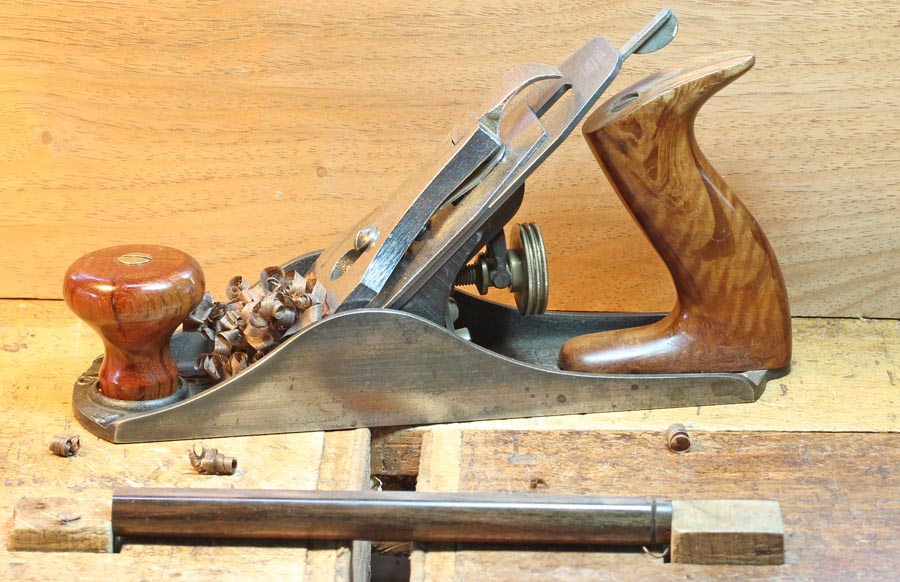
After glueing the tip in, the brass is filed & sanded flush with the flat on the beam, the whole thing popped back in the lathe & polished, then the drive ends are removed:

Ok, now comes the only tricky part, fitting a 'shoe' in the stock for the thumbscrew to bear on. I'll cover that in the next post...
Cheers,
Marking gauges don't have to be elaborate and anyone can make perfectly functional gauges with the simplest of hand tools. These are a couple I made not so long ago for demonstration purposes:

If you have a lathe, the one on the right with a round beam & wedge is particularly quick & easy to make. You don't have to add the wear-strip, but it's easy to include and adds a bit of a 'professional' touch - the desire to tart up simple tools has afflicted us for millennia, at least, so it's only natural you might wish to add some bling. It was a gauge like this that gave me the inspiration to switch to round beams for most of the gauges I now make. This is partly because it is easier to drill a neat, accurate hole in the stock, but mainly because they actually work better than square beams. You can make the beam 'loose' enough to slide smoothly at any time of the year, yet it will still lock down very firmly. Square beams are apt to wobble a bit in the dry months and/or become overly-tight in periods of high humidity.
This is the method I've evolved by a bit of trial & error over the years. It is very easy if you have access to a metal lathe, but you can make all of the bits without using a lathe if necessary.
I start by cutting up my scraps into stock & beam sizes, and preparing the brass strips. The latter requires nothing more than a hacksaw & file. I judge the angle by eye and it's remarkable how easy it is to get it close enough for a very good fit - the angle can be off by a couple of degrees, but over such a short distance, the eye can't pick it up & the fit looks perfect.
With the brass prepared, I cut the trenches on my crude router table. Again, you could easily enough do this step with hand tools. I use multiple passes with a 1/4" dovetail bit as it's easier to control, larger bits apply greater forces on the work-piece, so make sure your holding arrangement is safe if you use larger bits! You can either cut the trench to 'close' & file the brass to fit, or sneak up on a tight fit by incremental cuts:

It takes very little time to get a batch ready to glue up:

If the fit is really tight, you probably don't need any fixing other than a small brass pin through the centre of the brass strip (the method manufacturers like Marples used, to hold the narrow strips on their gauge faces), & in fact, if you are fitting strips cross-grain, a pin is better than glue. However, these strips are all sitting along the grain direction, so I glued them in with epoxy. After the epoxy set, I trimmed off the excess metal, sanded the faces flush & made sure the block was still square. Then the beam holes are drilled and the beam tips turned up. The thread on the ends of the studs on the beam tips are extra insurance to help the glue hold - probably overkill but it's easy to add. I've had to remove a couple when things went belly-up and they don't give up easily!

Next, I fit the inserts in the stocks for the thumbscrews. The subject of using threads tapped directly into wood came up recently in another thread. You can tap into side-grain with a metal tap and make a beautiful threads in hard, fine-grained woods like Ebony:

And these work perfectly well in applications where the screw is only rarely (or as in this case), never moved. But fine threads in wood aren't durable enough for the long-haul of a few generations of use, so the insurance of a threaded insert is my preference here. The insert is screwed up tight to the collar & flushed:

Now for the beams. I drill one end of the blank & dry- fit the brass tip, then put it back in the lathe & turn to diameter:

Then remove the tip & plane a flat on one side, ~6-8mm wide depending on the size of the beam:

After glueing the tip in, the brass is filed & sanded flush with the flat on the beam, the whole thing popped back in the lathe & polished, then the drive ends are removed:

Ok, now comes the only tricky part, fitting a 'shoe' in the stock for the thumbscrew to bear on. I'll cover that in the next post...
Cheers,


