Trainee neophyte
Established Member
I only ever make things that are useful, and necessary, and usually would be expensive to buy. This is different. It all came about because some friends sent me a hammock with stand so I could assemble it and put it in their holiday home. Unfortunately, I looked at it and realised that it is made of 6 sticks and 8 bolts. My inner Jeremy Clarkson started asking, "How hard could it be?" and, "What could possibly go wrong?", and worst of all: "Could I make The Best Hammock Stand....In The World!"
Did I mention that all 6 sticks are nicely curved? A lot. Never tried laminating and bending wood before...
Given that I had the original to hand, I diligently made a rod (i.e. drew the outline of the two different sizes on a piece of cardboard, with carefull attention to placement of holes - my first ever), and then made myself a form to bend the sticks around.
First attempt is a proof of concept, because I have never done anything like this before. It works on YouTube, so almost certainly doesn't work in real life.

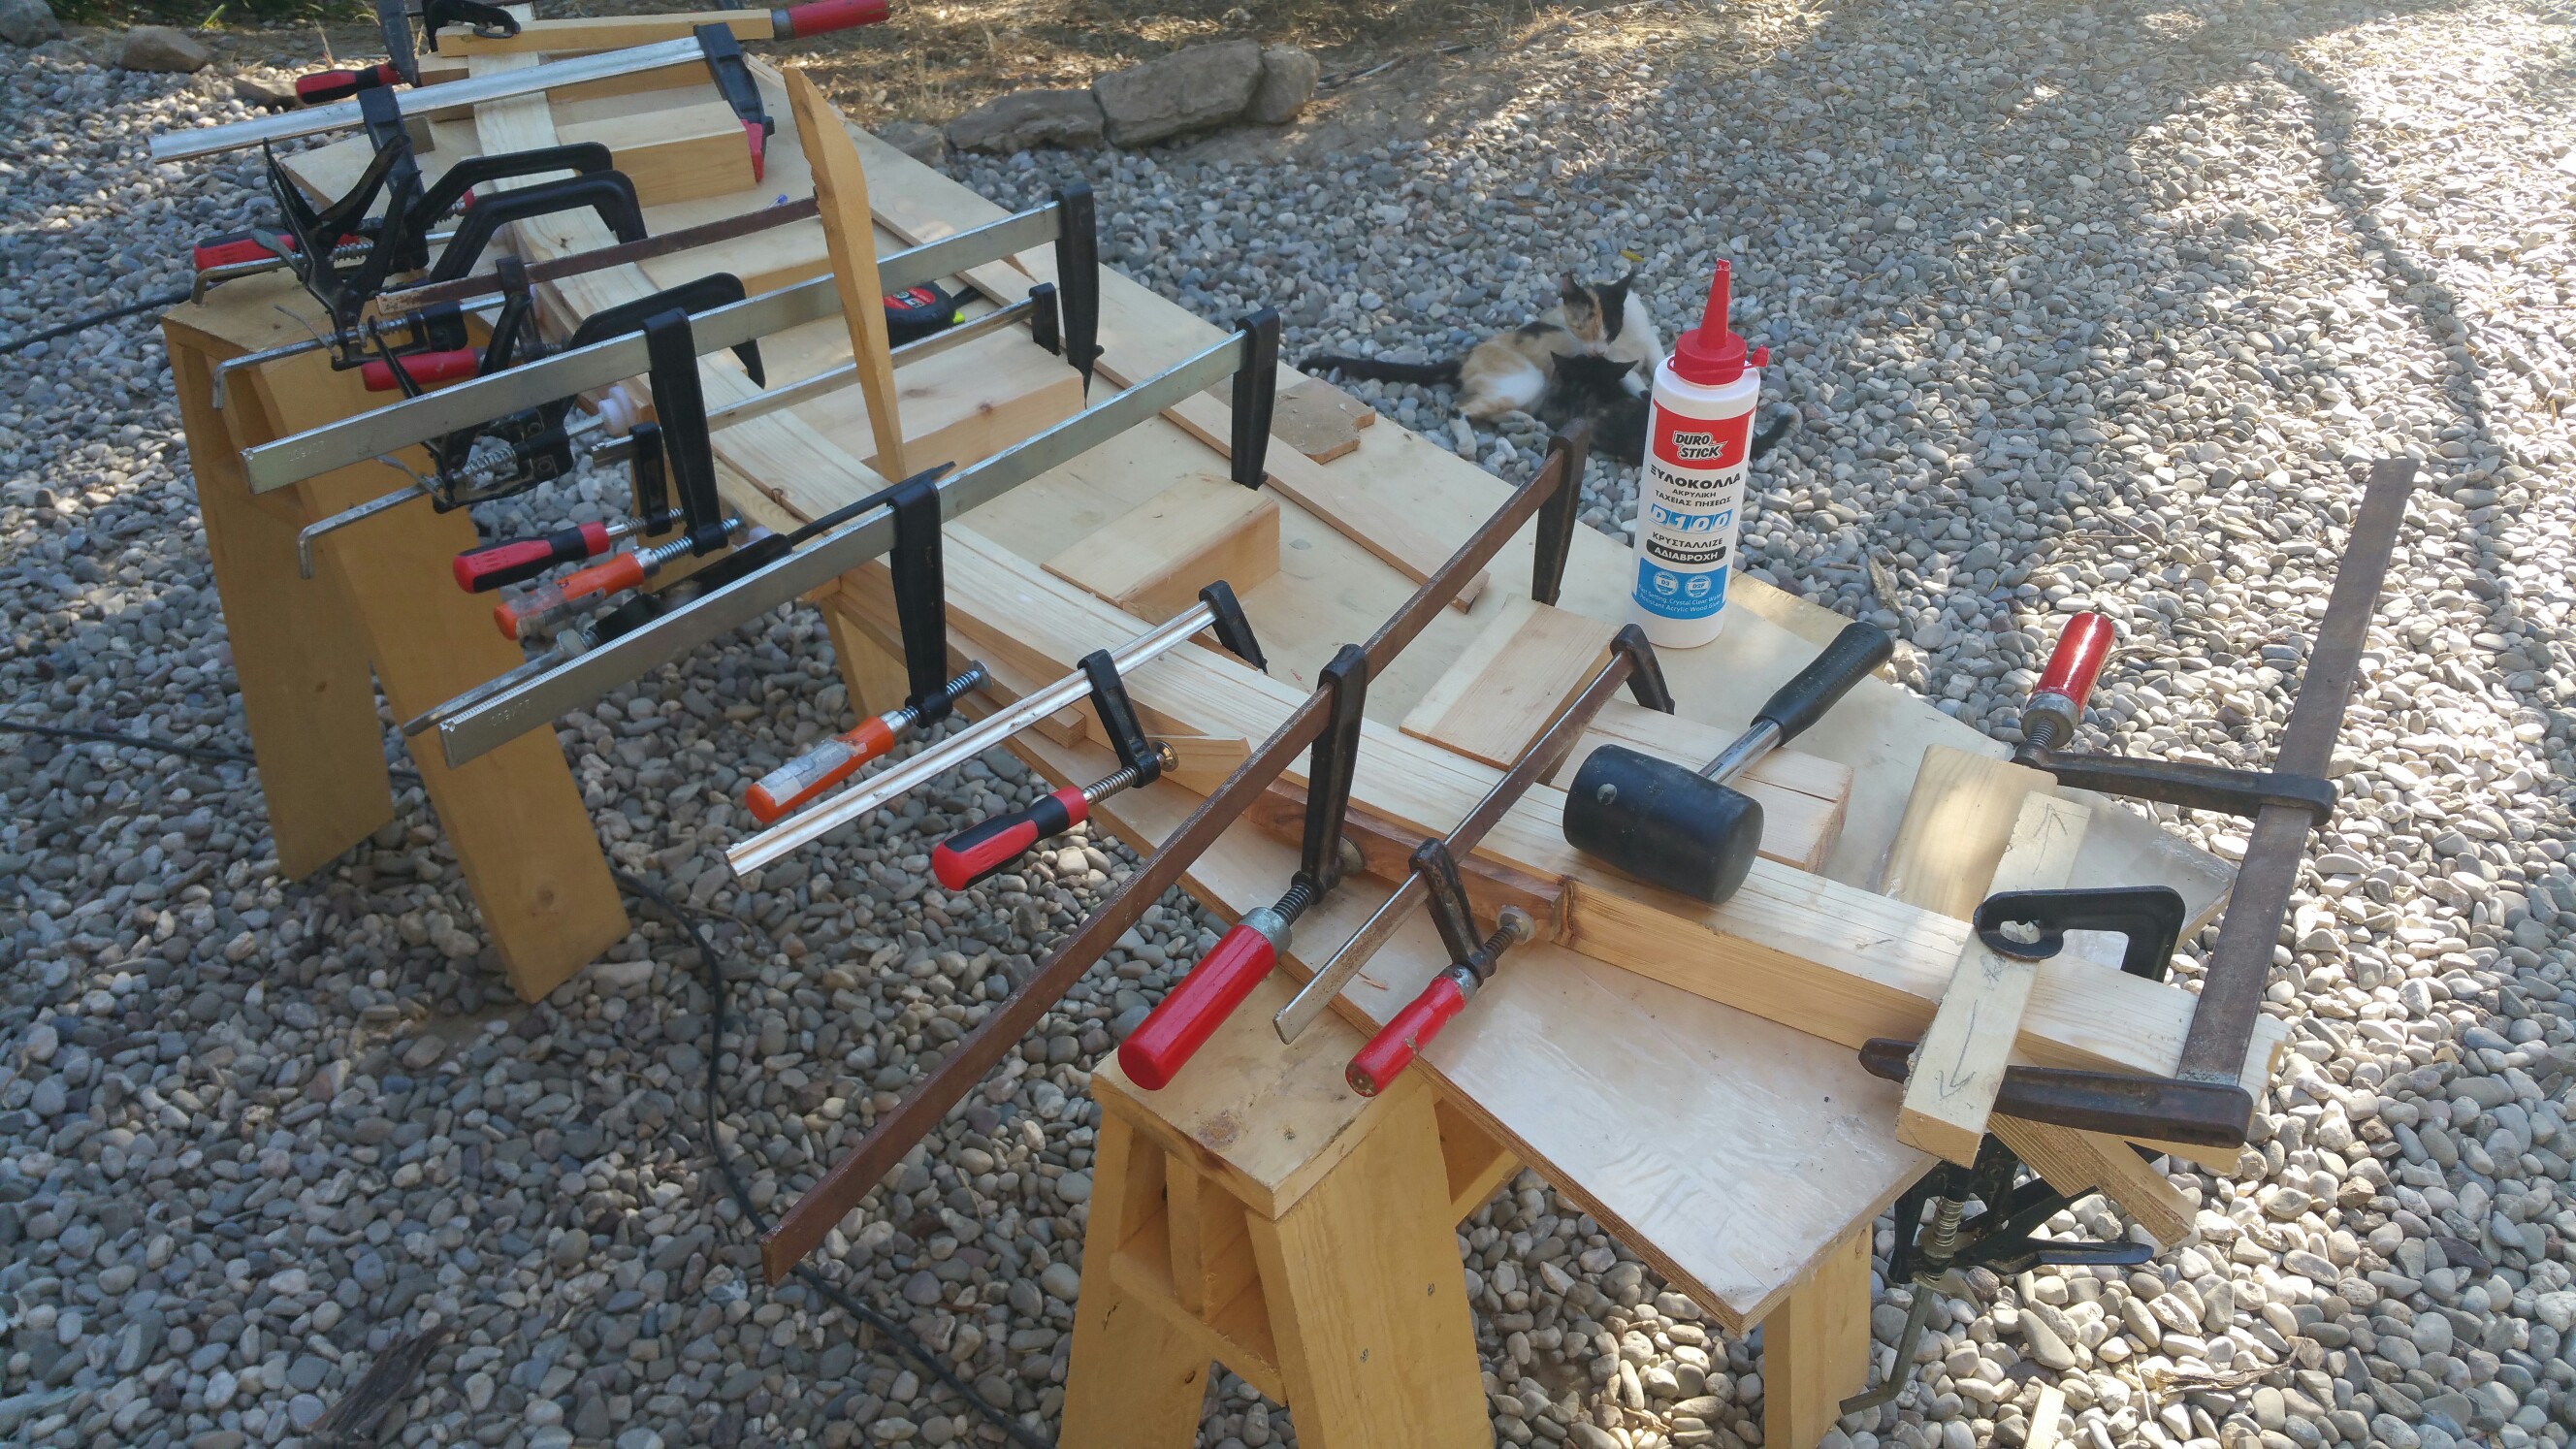
It worked! Pints of glue, and 24 hours later release the clamps, and the wood stays in the shape it has been forced into. How weird is that! So that was a short piece (X2 for the feet) that I happened to have lying about left over from the window repairs, then off to the wood shop to spend €18 on an unplaned 150 mm x 50mm 3.8 metre length of "Swedish pine", which usually comes from Finland. Cut it in half, rip it down the middle, and I now have 4 lengths to make the longer curves for the frame. Bang it through the thicknesser and I have some suitable bits of wood, which I then slice into 10mm thick pieces (as per the original, bought example). I now have 6 thin bits of wood to smear with glue, and then wrestle into place for each curve. One a day, for another 4 days, and the glue is going off so fast I don't have time to clean up the squeeze out before it starts setting. I have learned the meaning of "a stressful glup-up"

Notice I learned that putting the clamps the other way around is much easier on the knuckles - less blood this time.
The last piece causes me a bit of consternation, because I ran out of pva glue. One litre used so far, but to finish off I have some D4 foaming polyurethane, which I have never used before. A lot of firsts in this project. First time covering me, the wife, the wife's dress, the cat and everything else in completely waterproof crusty mess. Oops. No pictures of that because of the mess.
Another first was putting curved wood through the thicknesser. Interesting. I only did the flat sides, but cleaned up the other two surfaces with a belt sander. Then a few holes in almost the right places, and put it all together.
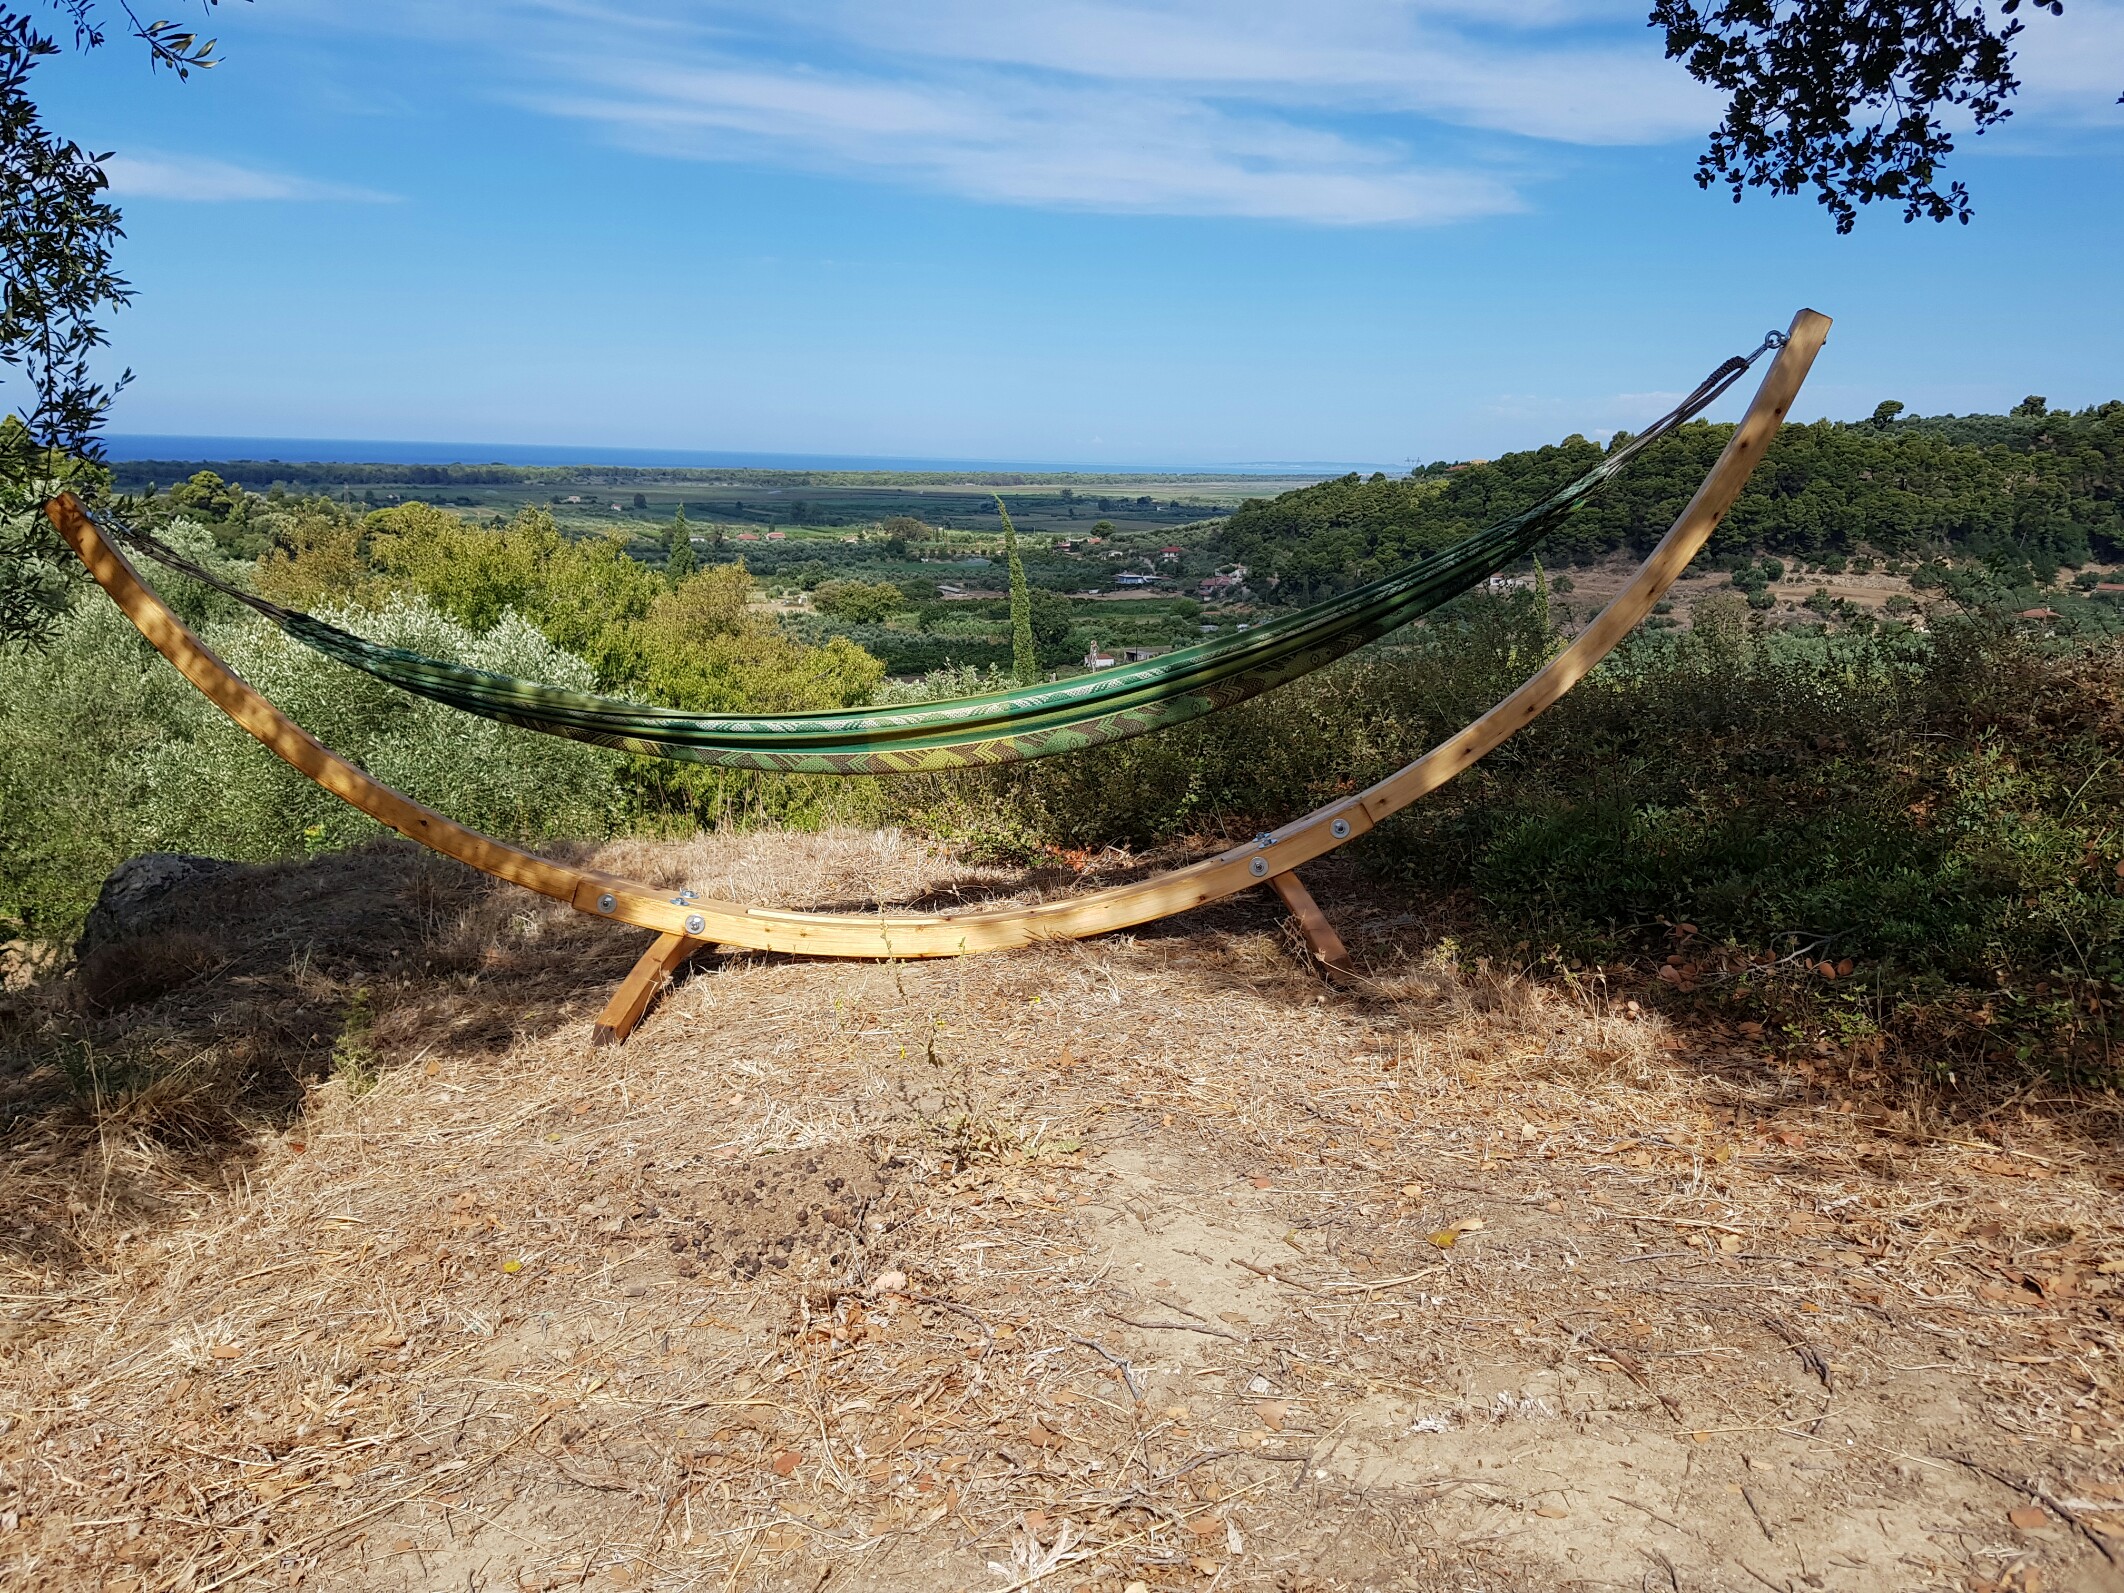
Then take it apart, sand it and sand it and sand it some more, and stain it and varnish it, and now I can show you the finished result:


Not the best product placement, but who doesn't like a view with their hammock? The only issue is that I don't need a hammock stand, or a hammock for that matter. Even if I did need a hammock, I have 400 trees.
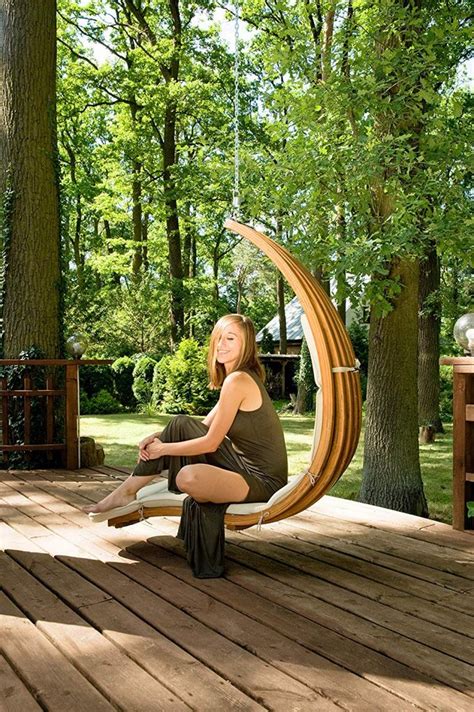
The next problem is that now I have learned to bend wood, I am eyeing up this:

I don't need one of these, either.
Did I mention that all 6 sticks are nicely curved? A lot. Never tried laminating and bending wood before...
Given that I had the original to hand, I diligently made a rod (i.e. drew the outline of the two different sizes on a piece of cardboard, with carefull attention to placement of holes - my first ever), and then made myself a form to bend the sticks around.
First attempt is a proof of concept, because I have never done anything like this before. It works on YouTube, so almost certainly doesn't work in real life.

It worked! Pints of glue, and 24 hours later release the clamps, and the wood stays in the shape it has been forced into. How weird is that! So that was a short piece (X2 for the feet) that I happened to have lying about left over from the window repairs, then off to the wood shop to spend €18 on an unplaned 150 mm x 50mm 3.8 metre length of "Swedish pine", which usually comes from Finland. Cut it in half, rip it down the middle, and I now have 4 lengths to make the longer curves for the frame. Bang it through the thicknesser and I have some suitable bits of wood, which I then slice into 10mm thick pieces (as per the original, bought example). I now have 6 thin bits of wood to smear with glue, and then wrestle into place for each curve. One a day, for another 4 days, and the glue is going off so fast I don't have time to clean up the squeeze out before it starts setting. I have learned the meaning of "a stressful glup-up"

Notice I learned that putting the clamps the other way around is much easier on the knuckles - less blood this time.
The last piece causes me a bit of consternation, because I ran out of pva glue. One litre used so far, but to finish off I have some D4 foaming polyurethane, which I have never used before. A lot of firsts in this project. First time covering me, the wife, the wife's dress, the cat and everything else in completely waterproof crusty mess. Oops. No pictures of that because of the mess.
Another first was putting curved wood through the thicknesser. Interesting. I only did the flat sides, but cleaned up the other two surfaces with a belt sander. Then a few holes in almost the right places, and put it all together.
Then take it apart, sand it and sand it and sand it some more, and stain it and varnish it, and now I can show you the finished result:


Not the best product placement, but who doesn't like a view with their hammock? The only issue is that I don't need a hammock stand, or a hammock for that matter. Even if I did need a hammock, I have 400 trees.
The next problem is that now I have learned to bend wood, I am eyeing up this:
I don't need one of these, either.


