SkinnyB
Established Member
................UPDATE................
I have transferred all the photos from photo bucket to Flickr and placed them back in the original post.
Also added a post covering diy digital read out and extraction port on page 2.
................UPDATE................
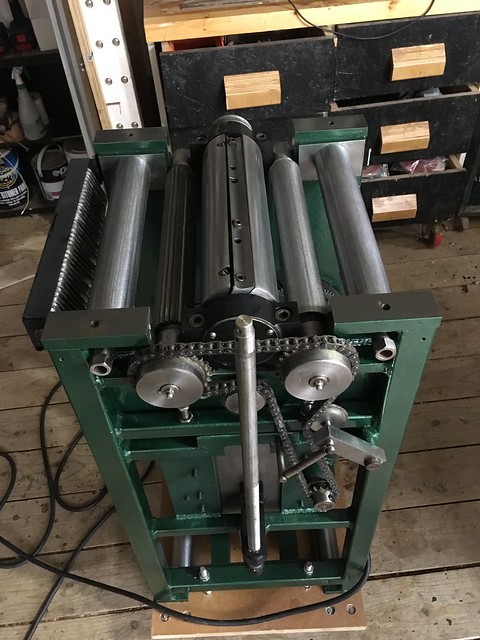
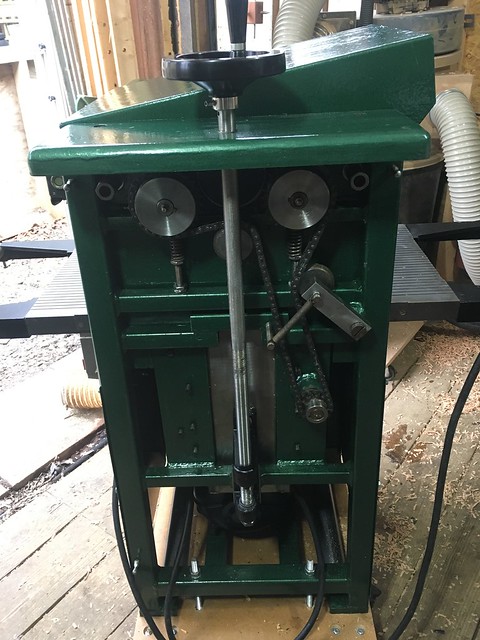
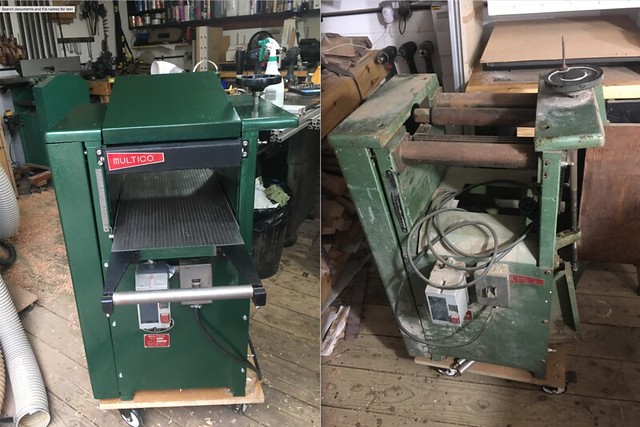
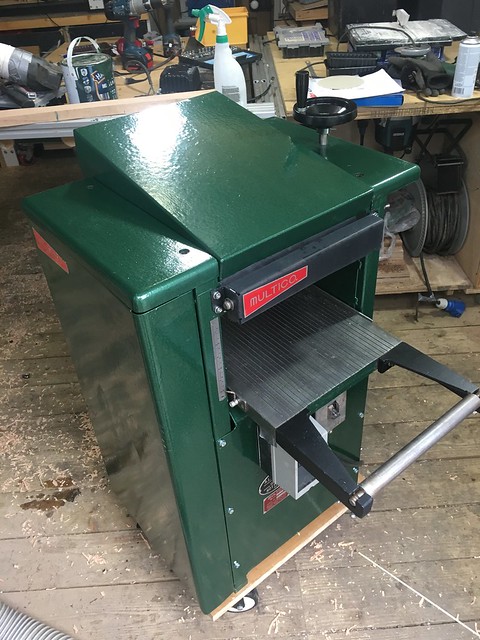
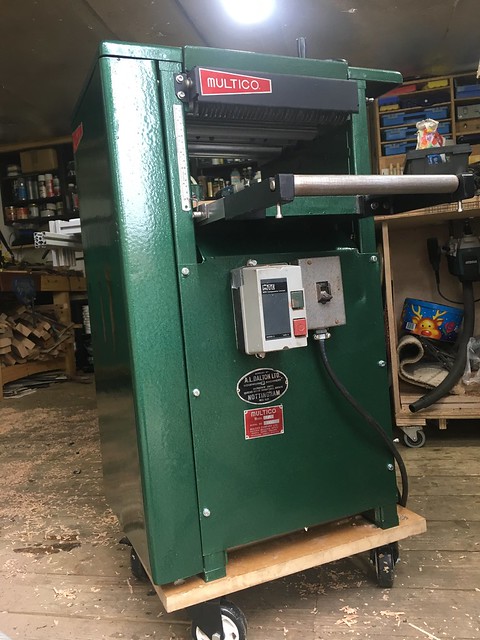
Hi, I quite enjoy looking at restoration threads so thought I would make one about my Multico TH1 or some are referred to TH3.
A few month ago this Multico TH1 came up online. Starting and finishing price of £100. Not bad considering what you would have to pay for a 12" thicknesser new.
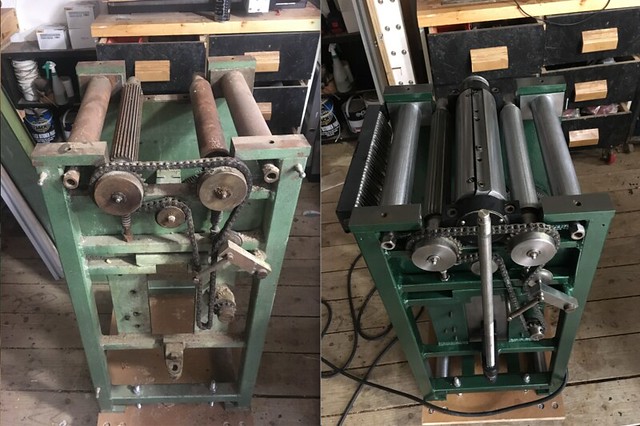
Anyway, this is the state it arrived in. I believe It had been stored in a shipping container or similar looking at the original pictures.
I had made the mistake of thinking as it was quite small it would be a 2 person easy lift. Not right! This thing was heavy, worst off we had to get it in the back of a Qashqai.
I stripped it down as much as I could with the limited tools i had brought along. With an extra hand and the motor and table removed we managed to get it in.
To get it out however it was an almost a complete dismantling of the thicknesser in the of the boot of the car.
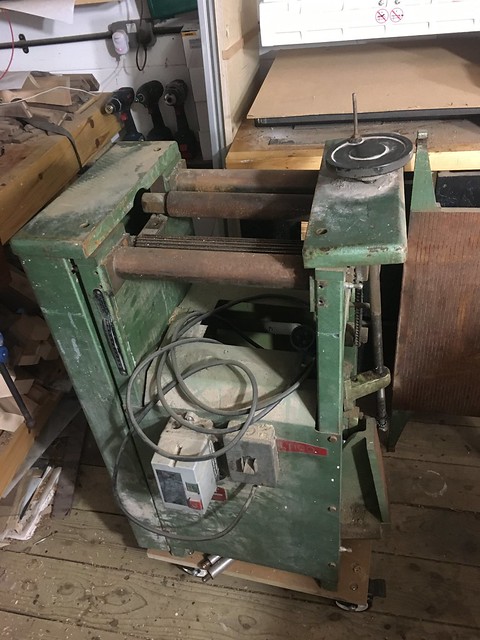
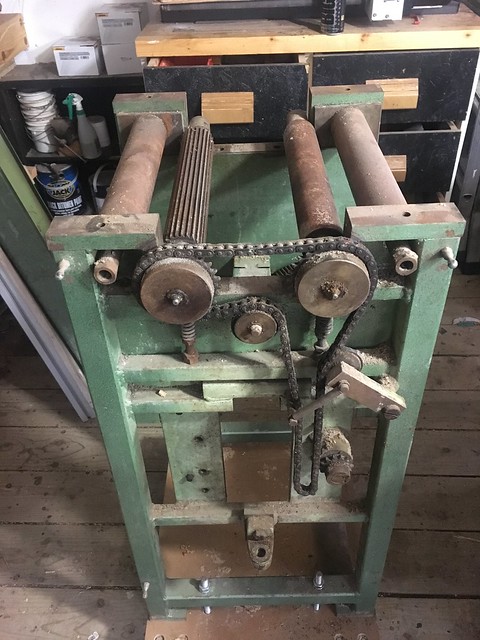
List of jobs:
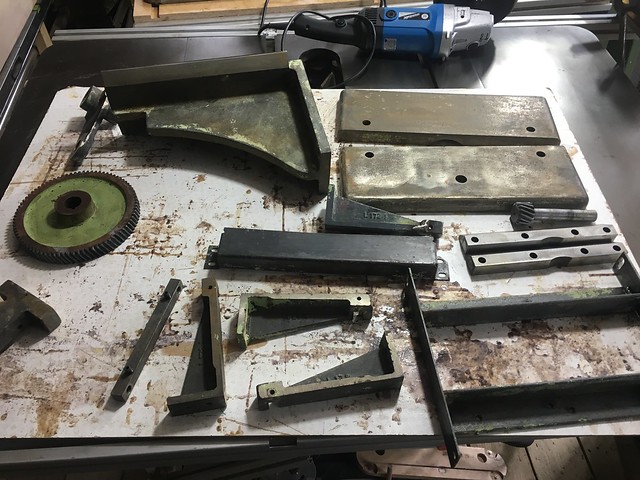
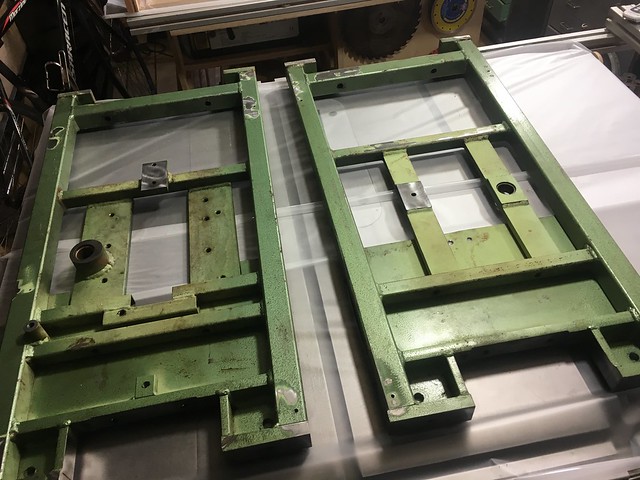
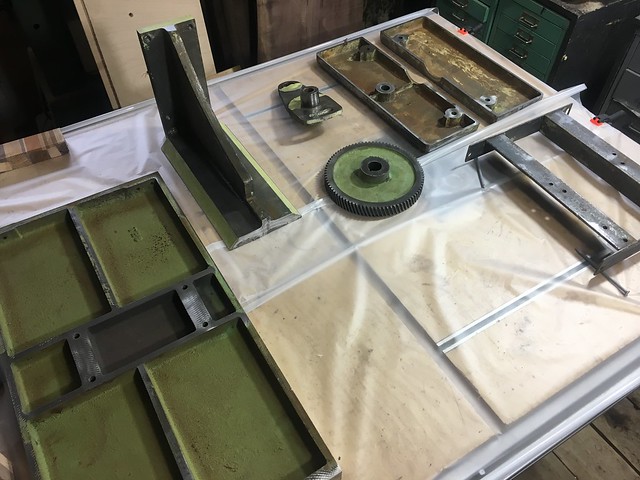
Complete strip down and clean.
De-rust everything.
Paint stripped on some parts.
Surface prep for painting.
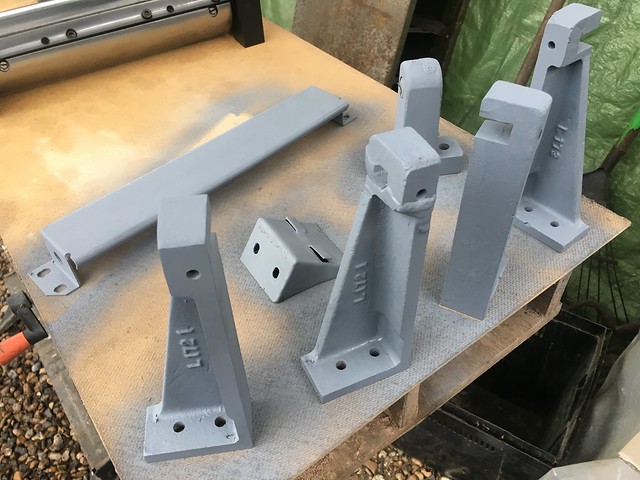
Painting.
Needs a new side panel as one is missing.
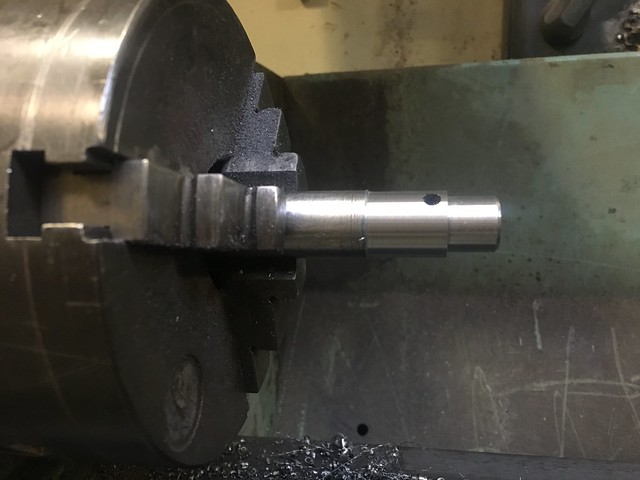
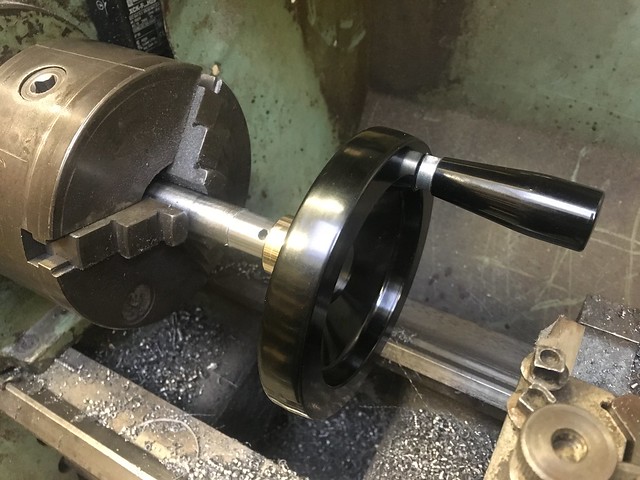
Needs a new height adjustment wheel.
New bolts.
Re-Grease.
New Emergency stop.
Dust extraction port.
Lets get started:
I decided to clean up the Cutter block first just so something looked half decent on it.
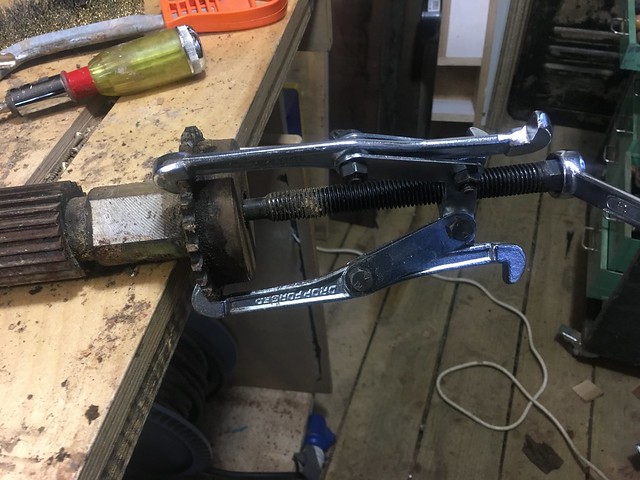
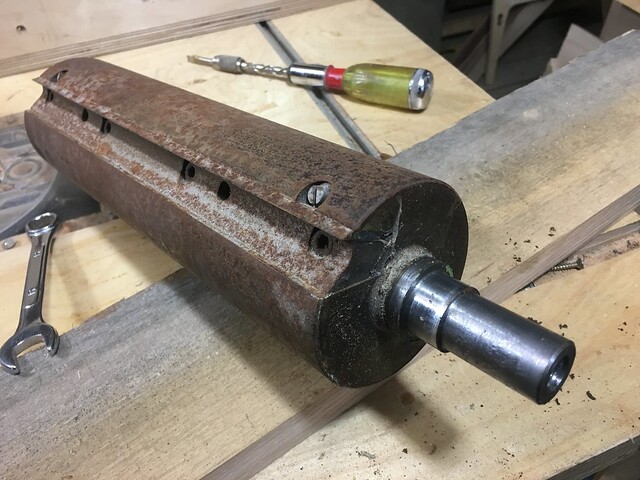
Cutter block removed and pulling the bearing and housing off. Using Pulley pullers the block came off fine.
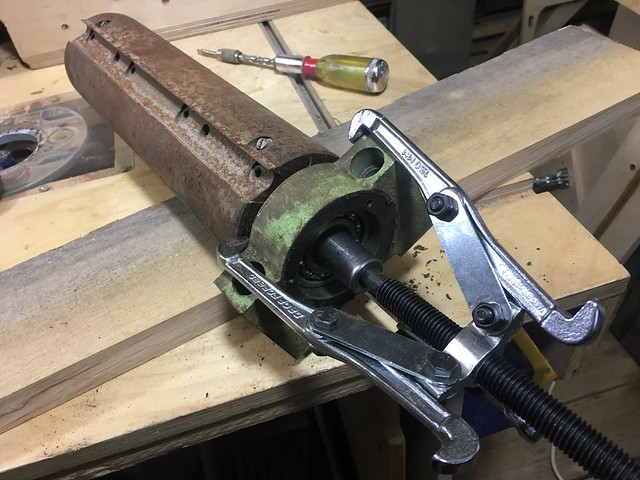
Bearings removed
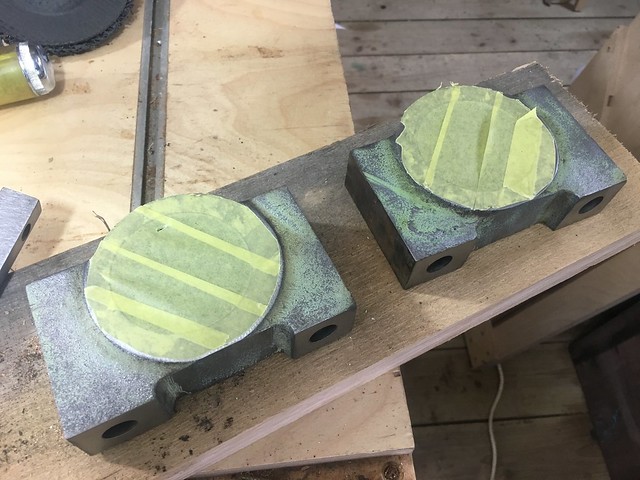
Bearing blocks stripped and masked off.
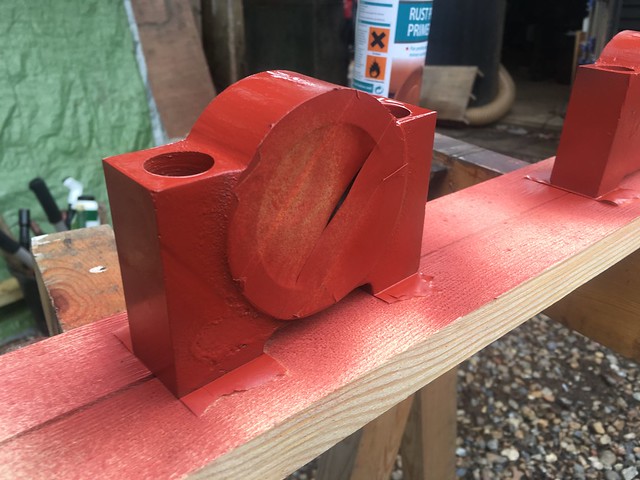
Bearing blocks primed. I used some rust prevention primer as it needed using up.
Knife chip breaker holder cleaned up using a Paint & Rust Remover Grinder Wheel Disc on the angle grinder. A great little pad for this sort of work.
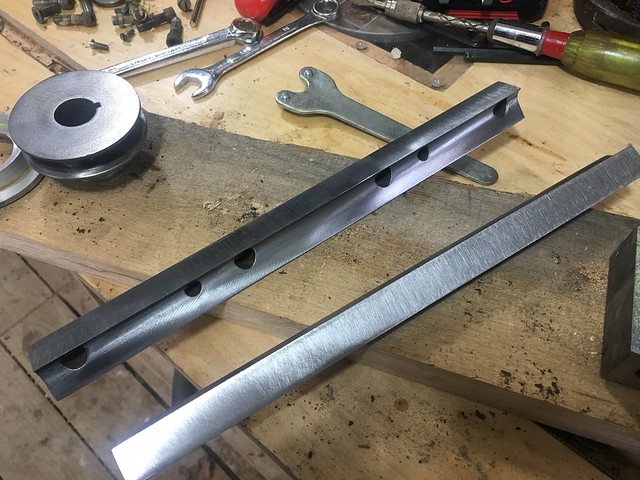
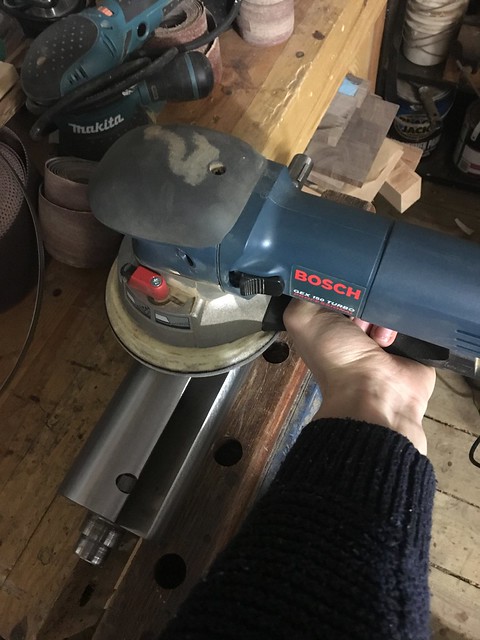
Cutterhead cleaned up. I made the mistake of thinking the rust was going to be harder to get off than i thought. So started with a 80 grit sanding disc. This was too abrasive really, a rust removing pad that at this point I had not used yet would have been far better.
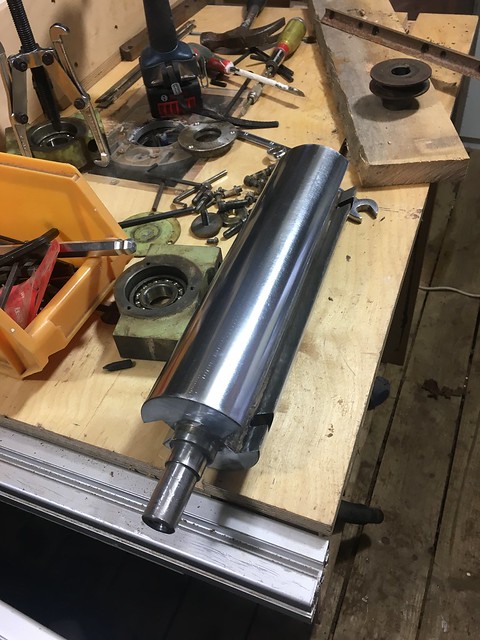
Polishing cutterhead using sander all the way to 320 grit.
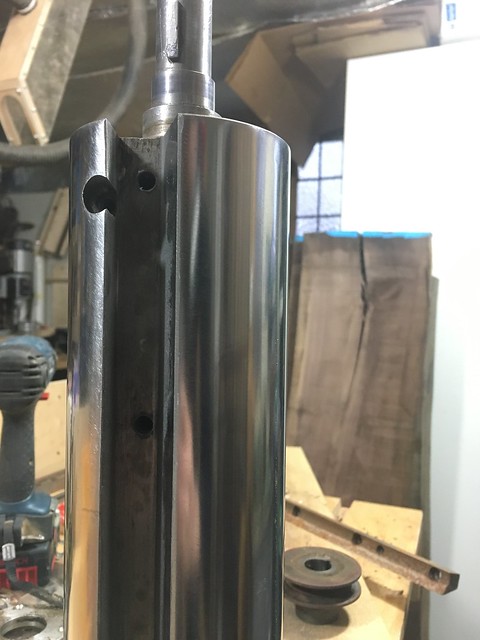
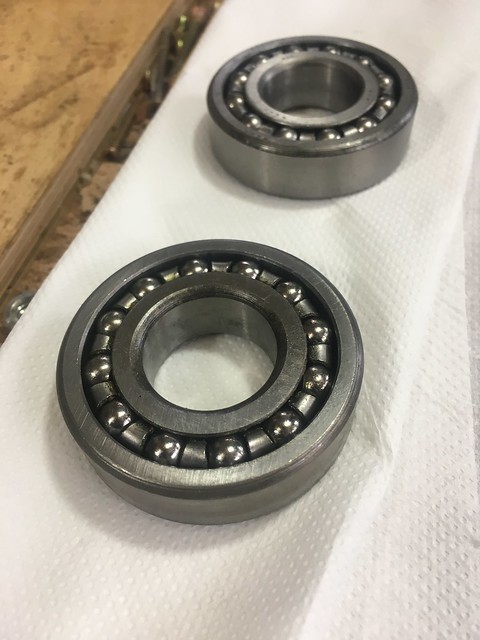
Bearing seemed fine. I gave them a good clean and applied some fresh grease.
Cutterhead blocks painted black and cutter head assembly ready to put back together.
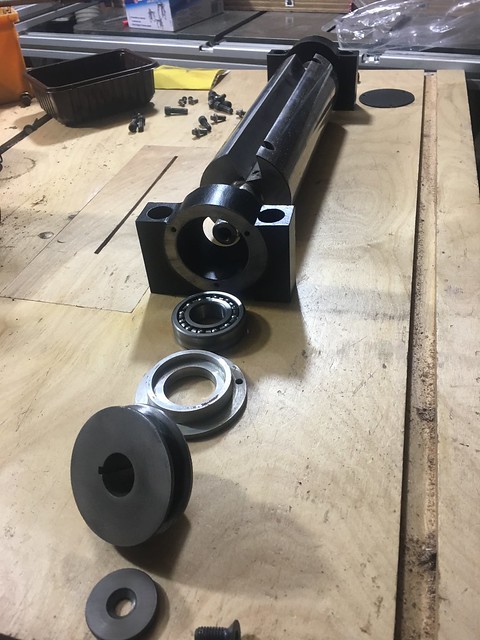
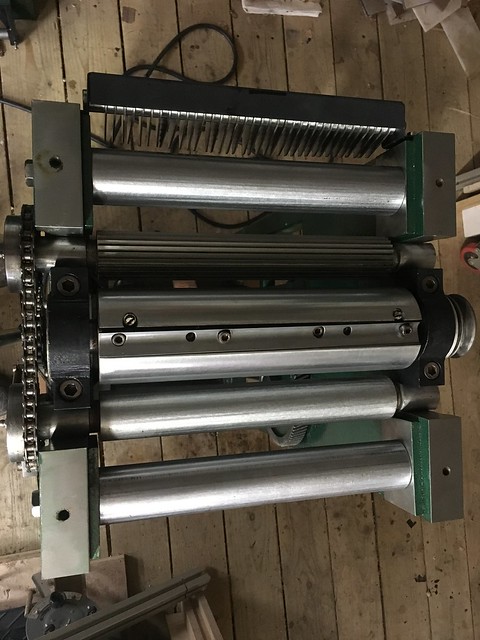
Assembly finished.
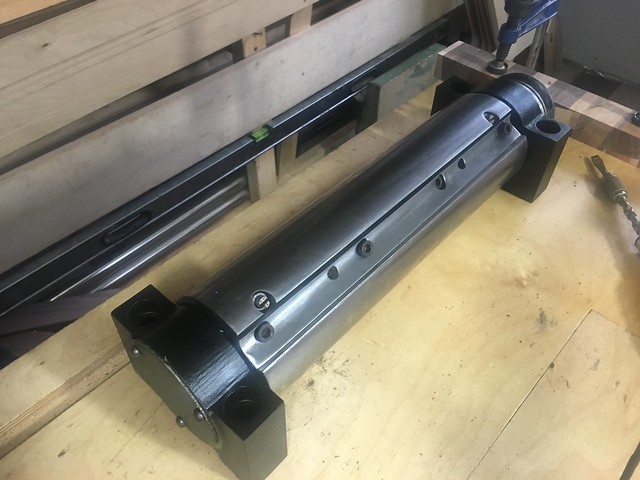
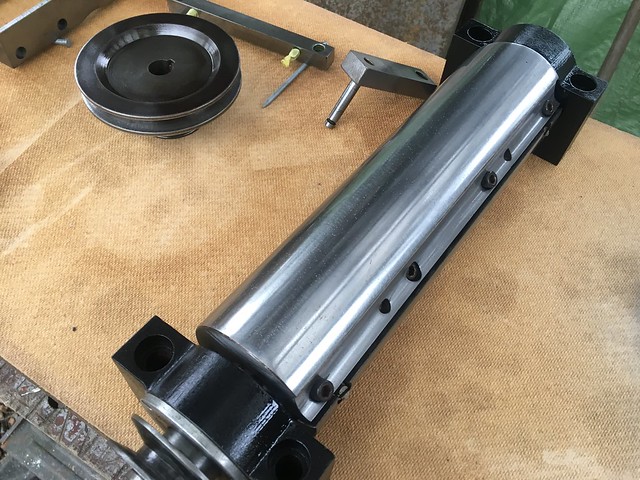
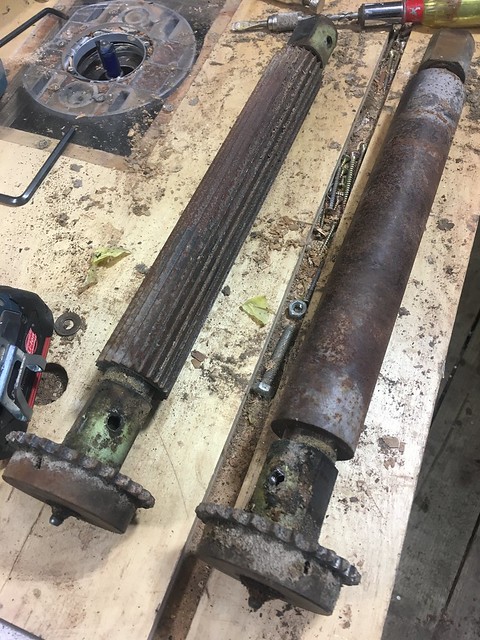
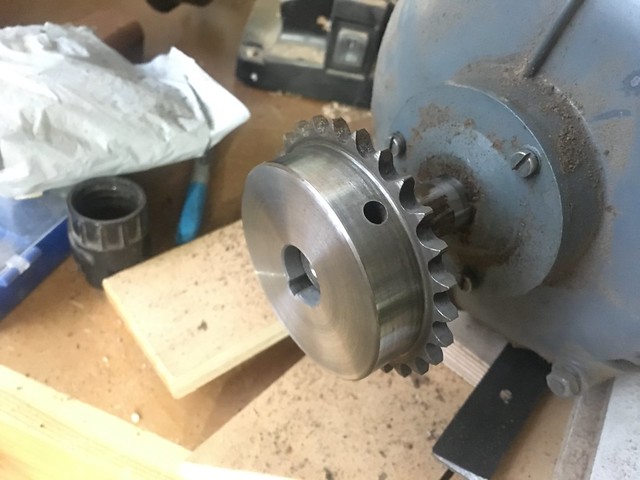
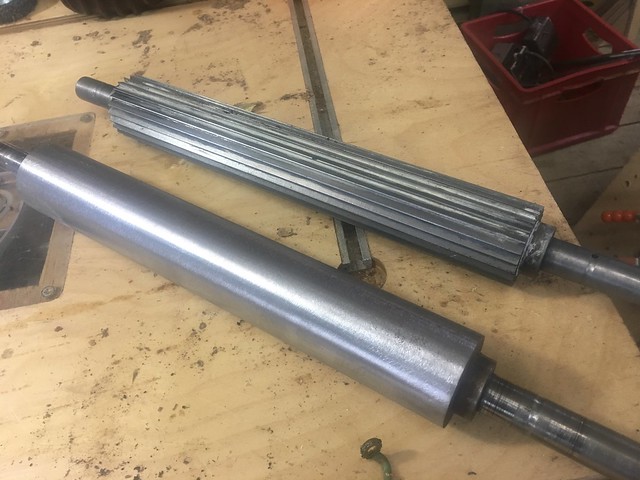
Next is the In-feed and out-feed rollers to tackle.
I have transferred all the photos from photo bucket to Flickr and placed them back in the original post.
Also added a post covering diy digital read out and extraction port on page 2.
................UPDATE................
Hi, I quite enjoy looking at restoration threads so thought I would make one about my Multico TH1 or some are referred to TH3.
A few month ago this Multico TH1 came up online. Starting and finishing price of £100. Not bad considering what you would have to pay for a 12" thicknesser new.
Anyway, this is the state it arrived in. I believe It had been stored in a shipping container or similar looking at the original pictures.
I had made the mistake of thinking as it was quite small it would be a 2 person easy lift. Not right! This thing was heavy, worst off we had to get it in the back of a Qashqai.
I stripped it down as much as I could with the limited tools i had brought along. With an extra hand and the motor and table removed we managed to get it in.
To get it out however it was an almost a complete dismantling of the thicknesser in the of the boot of the car.


List of jobs:
Complete strip down and clean.
De-rust everything.
Paint stripped on some parts.
Surface prep for painting.
Painting.
Needs a new side panel as one is missing.
Needs a new height adjustment wheel.
New bolts.
Re-Grease.
New Emergency stop.
Dust extraction port.
Lets get started:
I decided to clean up the Cutter block first just so something looked half decent on it.
Cutter block removed and pulling the bearing and housing off. Using Pulley pullers the block came off fine.

Bearings removed

Bearing blocks stripped and masked off.
Bearing blocks primed. I used some rust prevention primer as it needed using up.


Knife chip breaker holder cleaned up using a Paint & Rust Remover Grinder Wheel Disc on the angle grinder. A great little pad for this sort of work.

Cutterhead cleaned up. I made the mistake of thinking the rust was going to be harder to get off than i thought. So started with a 80 grit sanding disc. This was too abrasive really, a rust removing pad that at this point I had not used yet would have been far better.

Polishing cutterhead using sander all the way to 320 grit.


Bearing seemed fine. I gave them a good clean and applied some fresh grease.

Cutterhead blocks painted black and cutter head assembly ready to put back together.

Assembly finished.


Next is the In-feed and out-feed rollers to tackle.


