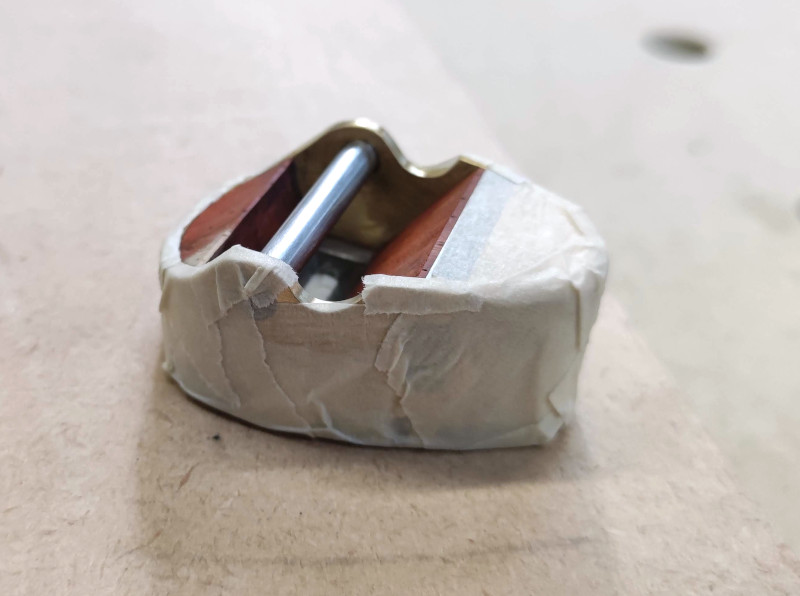
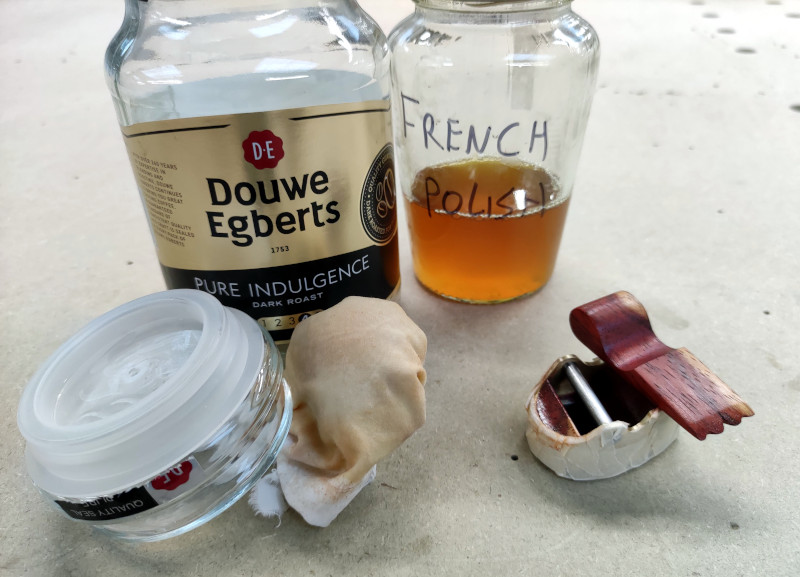
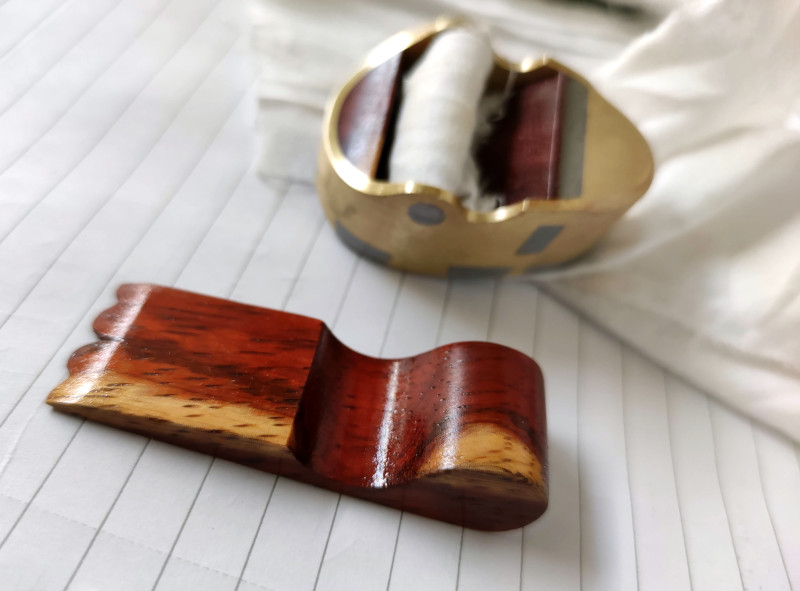
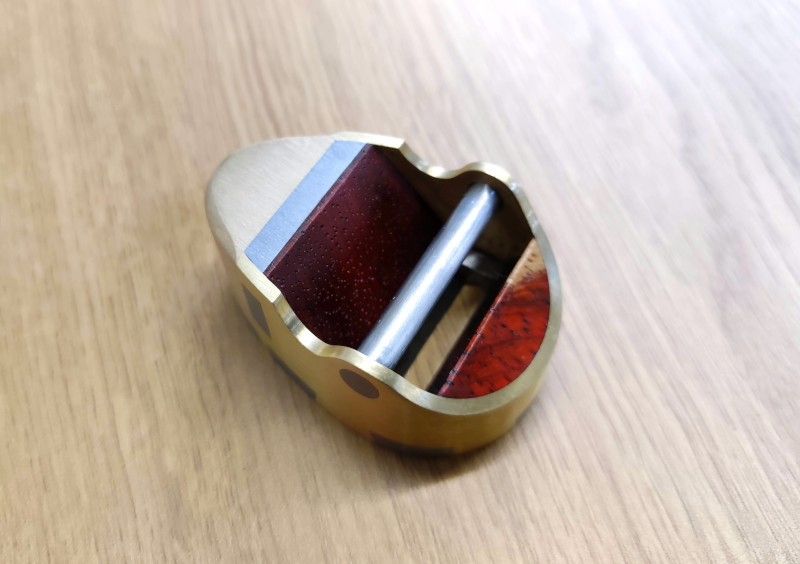
Very satisfying polish you have there, Dan, but it won't last if you use the plane... 
There was a time when I read too many magazine articles & felt my plane bottoms should all be shiny & flattened to Hubble telescope tolerances. That meant hours of work on even a medium sized sole. Advancing age & decreasing endurance have modified my opinion a lot on that score. I certainly don't lap beyond 240 grit these days, the scratches left by 240 grit are about the same or slightly finer than our abrasive woods create in use, so there is little point in polishing any more than that. My acid test for a smoother is if it will take full-width, .001" shavings from end to end of a flattened board. If it will, it's done, as far as I'm concerned.
I've just re-habbed an old type 11 #4, which some clown must have hit with a belt sander at some stage in the past. Initial passes over 180 grit showed high & low spots all over. After a half-hour of lapping, the heel & the part of the toe just in front of the mouth are essentially flat, but there is a big dip extending between 12 & 20mm back along the front of the toe. There are also some small chips on the front of the mouth that I will never be able to clean up:
I needed a break at that stage, so out of curiosity, I tested the plane (on some wood that would be unknown in your parts but it's about the same as Beech to plane). Lo & behold! Even,1 thou shavings from end to end.
That surprised me a little, and I'll have another go at getting the sole flat all the way to the toe on some rainy afternoon when I'm bored, but in the meantime, it will serve me well enough....
Jacob will be 'liking' me at this rate....
Cheers,
Ian
There was a time when I read too many magazine articles & felt my plane bottoms should all be shiny & flattened to Hubble telescope tolerances. That meant hours of work on even a medium sized sole. Advancing age & decreasing endurance have modified my opinion a lot on that score. I certainly don't lap beyond 240 grit these days, the scratches left by 240 grit are about the same or slightly finer than our abrasive woods create in use, so there is little point in polishing any more than that. My acid test for a smoother is if it will take full-width, .001" shavings from end to end of a flattened board. If it will, it's done, as far as I'm concerned.
I've just re-habbed an old type 11 #4, which some clown must have hit with a belt sander at some stage in the past. Initial passes over 180 grit showed high & low spots all over. After a half-hour of lapping, the heel & the part of the toe just in front of the mouth are essentially flat, but there is a big dip extending between 12 & 20mm back along the front of the toe. There are also some small chips on the front of the mouth that I will never be able to clean up:

I needed a break at that stage, so out of curiosity, I tested the plane (on some wood that would be unknown in your parts but it's about the same as Beech to plane). Lo & behold! Even,1 thou shavings from end to end.

That surprised me a little, and I'll have another go at getting the sole flat all the way to the toe on some rainy afternoon when I'm bored, but in the meantime, it will serve me well enough....
Jacob will be 'liking' me at this rate....
Cheers,
Ian


