Sorry for the late reply chaps I've had a pretty tough month.
At the start of Feb I received the devastating news that the family run business I had worked for the last 18 years had gone out of business.
Myself and colleagues, one of whom had worked there for over 30 years where all shell shocked. It was an incredibly sad day to see it all go.
Thankfully with the help of family and friends I have been extremely fortunate and managed to find another job.
Furniture maker positions are sparse around here but I have settled into a new role with a small team of cabinet makers.
Fingers crossed it works out, having a mortgage and 1 year old daughter to support it certainly has been a worrying time.
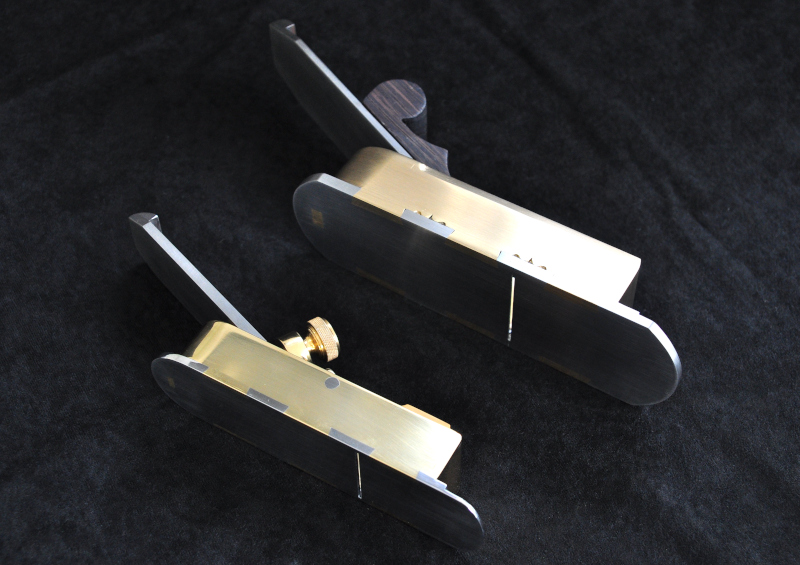
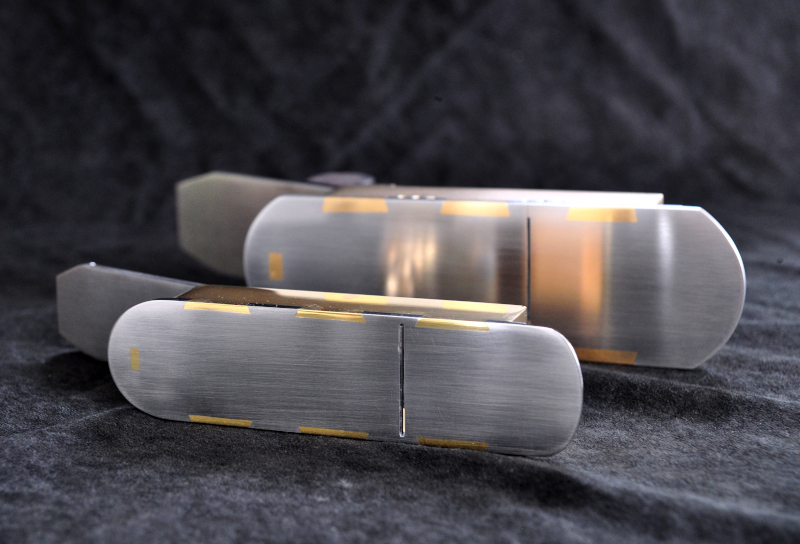
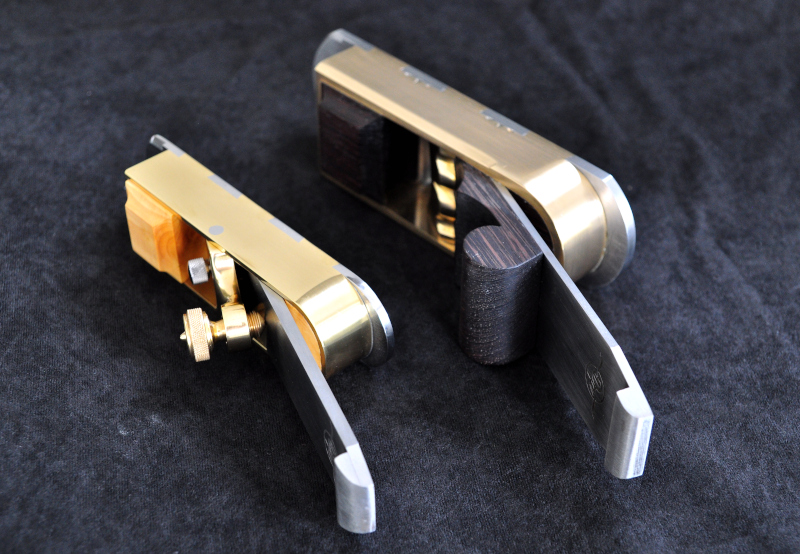
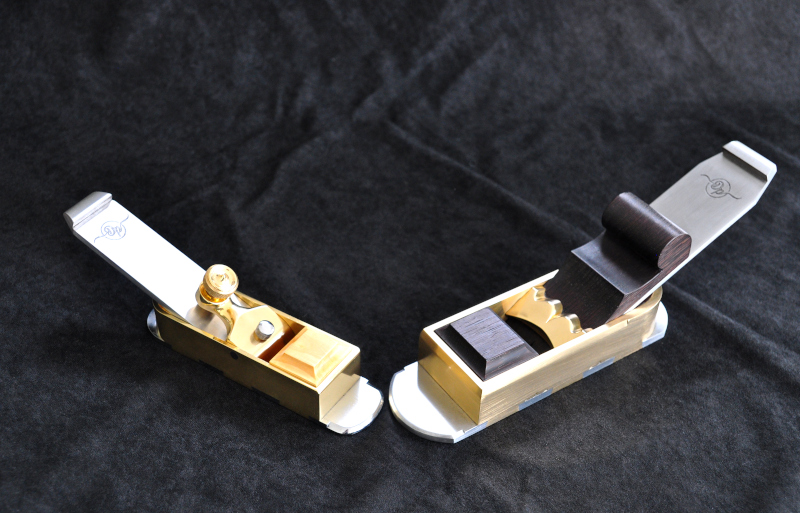
I had plans to make many more planes in the future but obviously this will be put on hold. All of my plane making tools and materials have been put into storage while I sort through the rest of my woodworking tools for what I'll need for the new job, as you can imagine after 18 years there is a lot of stuff to go through, don't think I'll need my Yankee screw drivers any more

While the new place is equipped with some very fancy modern machinery there is no engineering lathe for me to play on, no engineering vices or tools, I need to settle in and figure out how I will continue with plane making. Again this wont be for a long while.
Thank you for the comment on my last plane @sploo
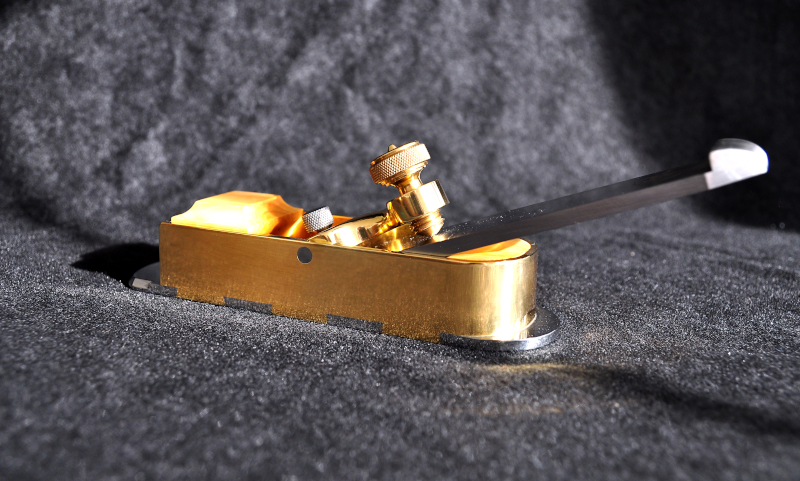
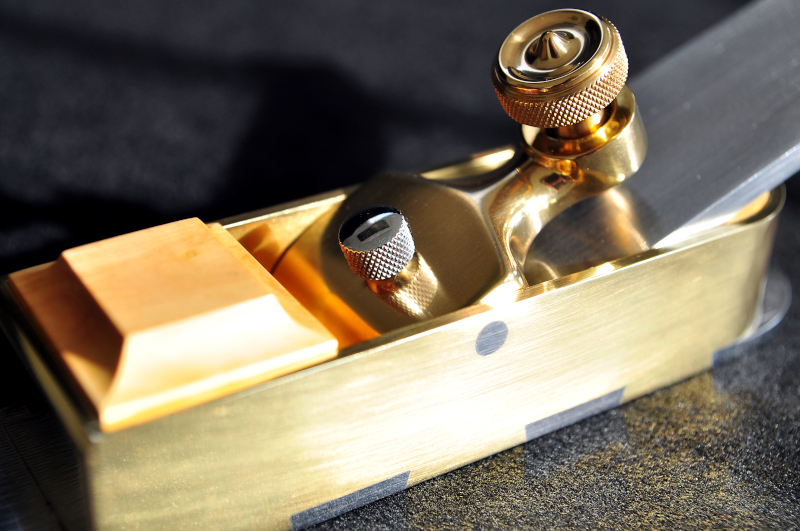
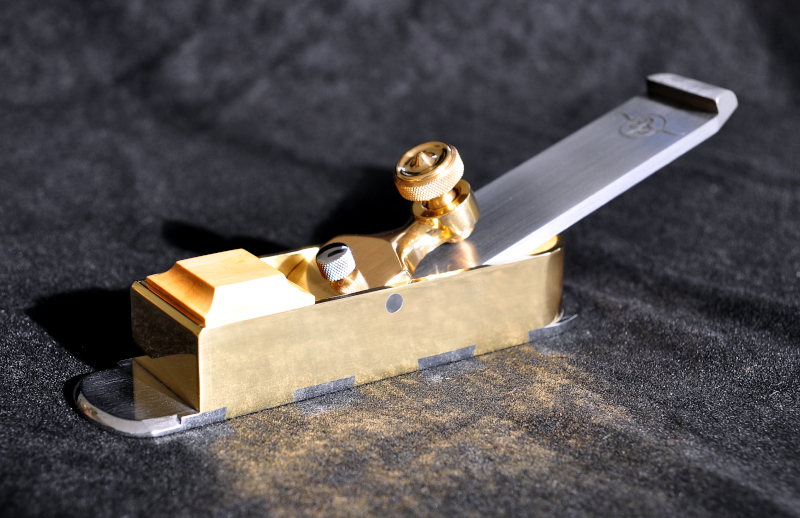
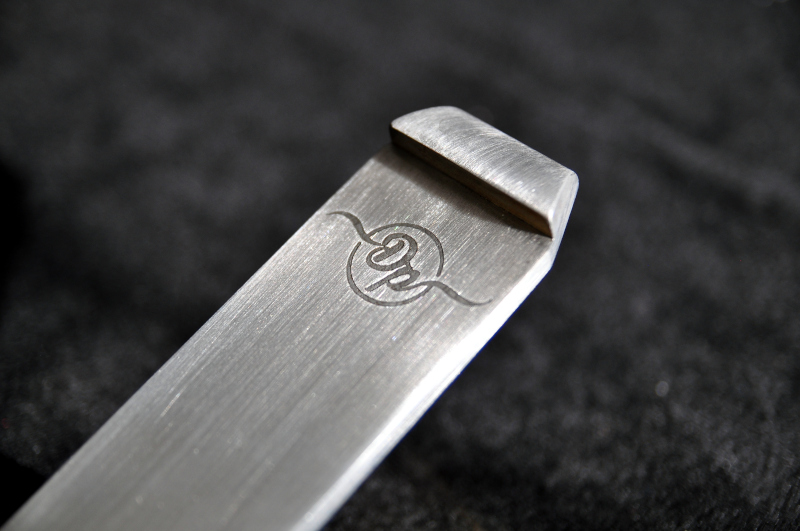
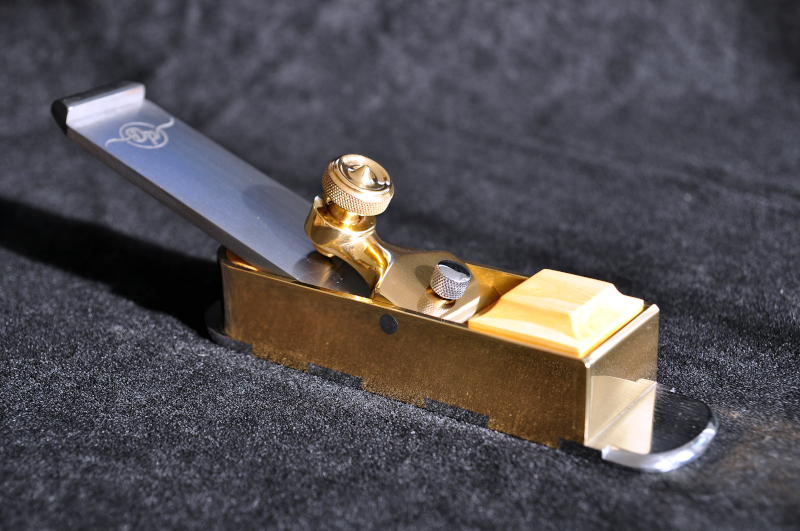
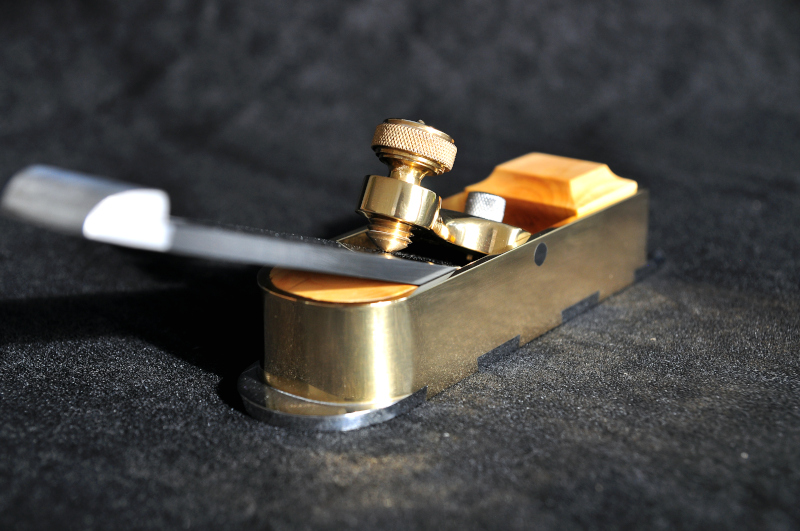
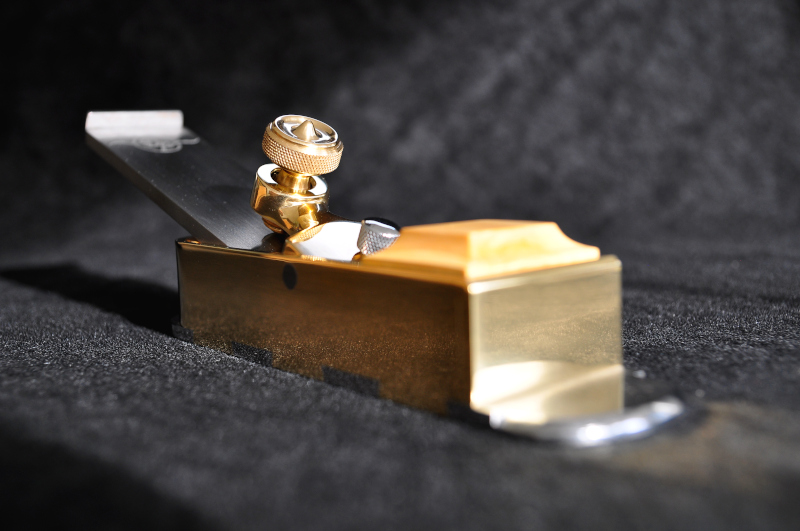
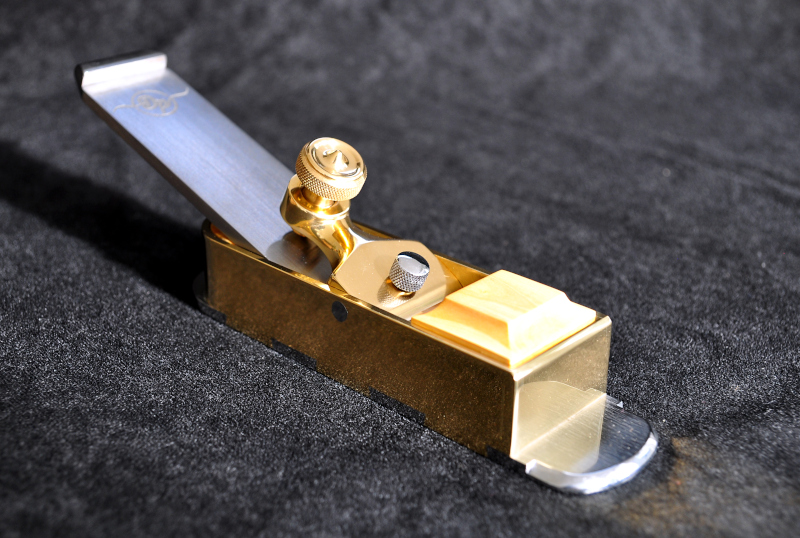
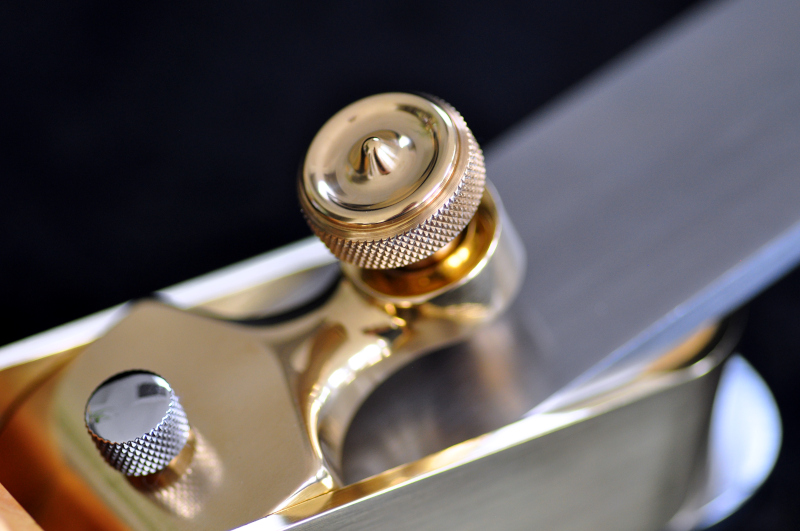
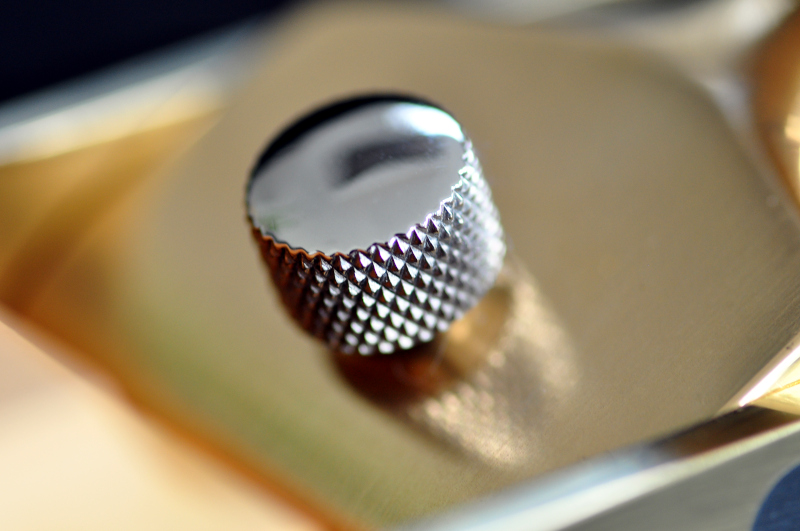
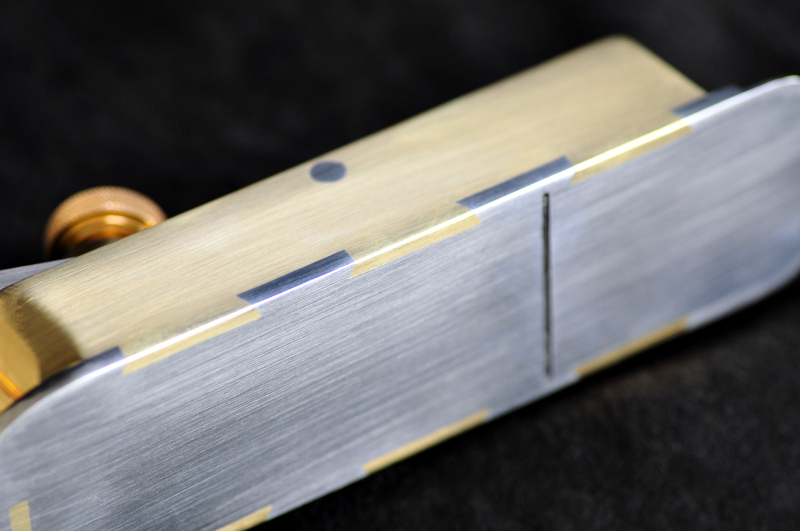
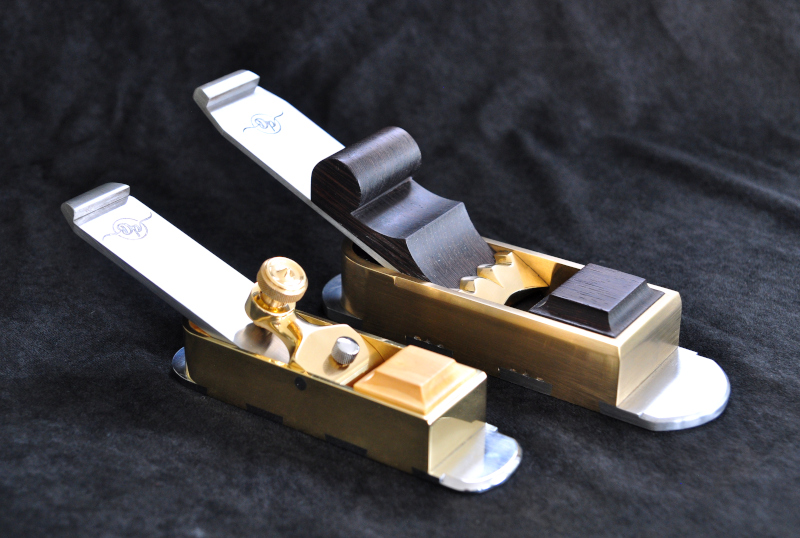
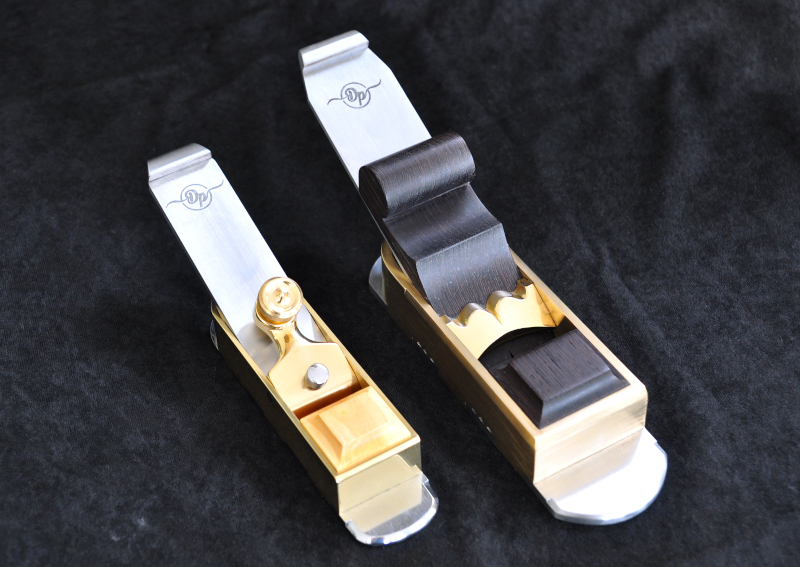
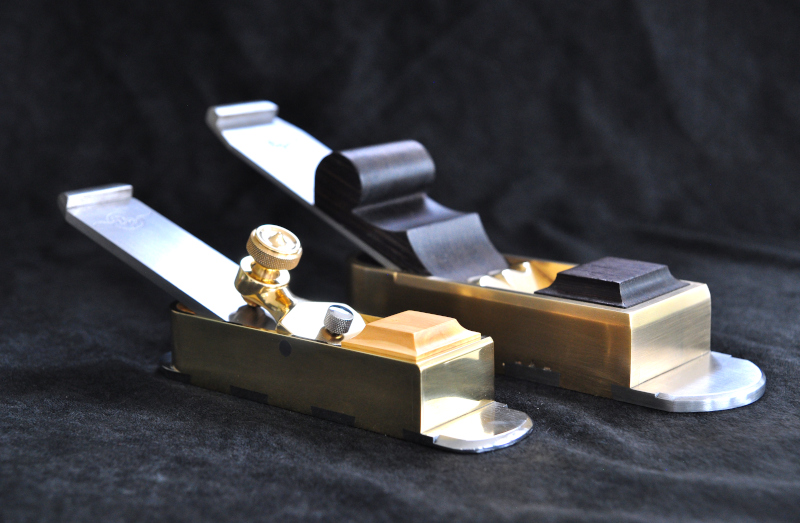
@rxh The stainless steel locking pin was my idea, I'm probably not the first person to do it but I've not seen it on another plane.
It's was needed to get over a problem of the lever cap coming loose over time when planing.
I put this problem down to the tapered blade and the clock wise rotation of the thumb screw causing the lever cap to push backwards thus releasing the blade.
I racked my brains trying to come up with something that would work and that didn't spoil the look of the plane too, in the end this simple solution won.
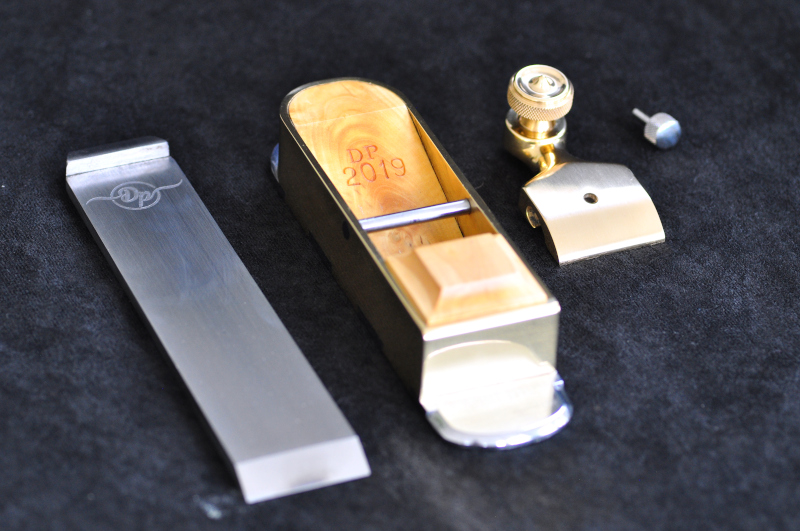
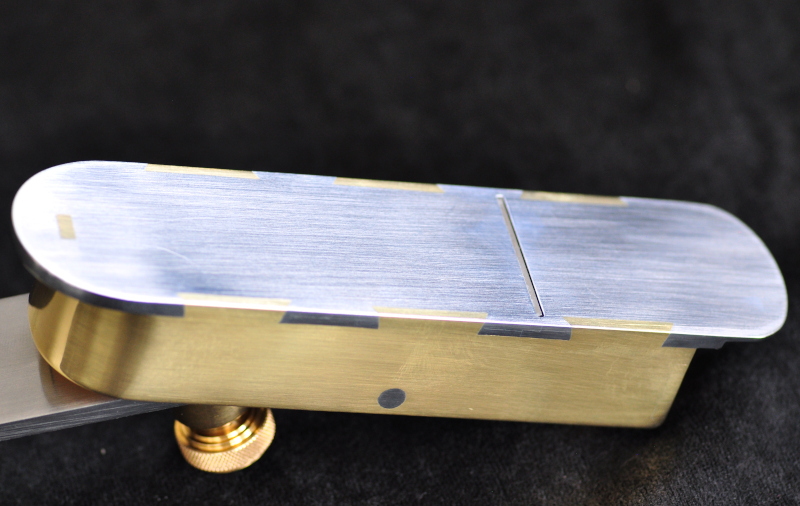
This was the last thing I made for myself at my previous work and the last thing I'll add to this thread for a while so I'd like to share it with you.
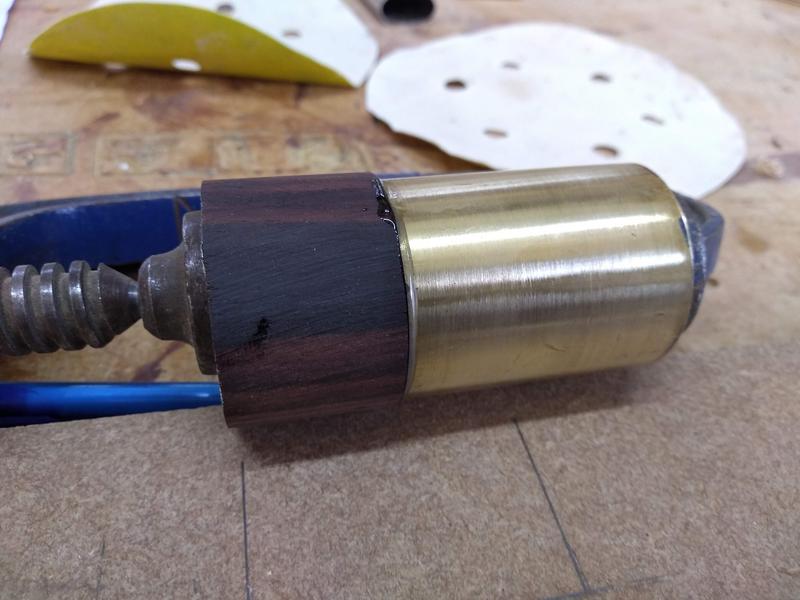
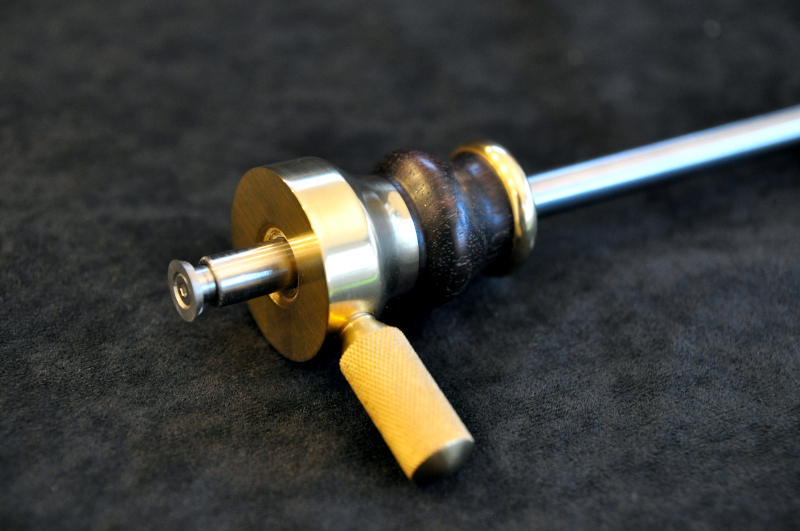
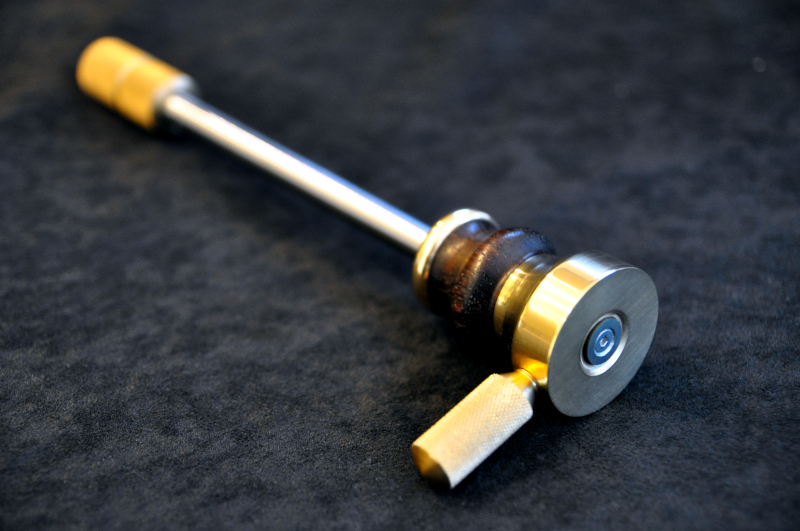
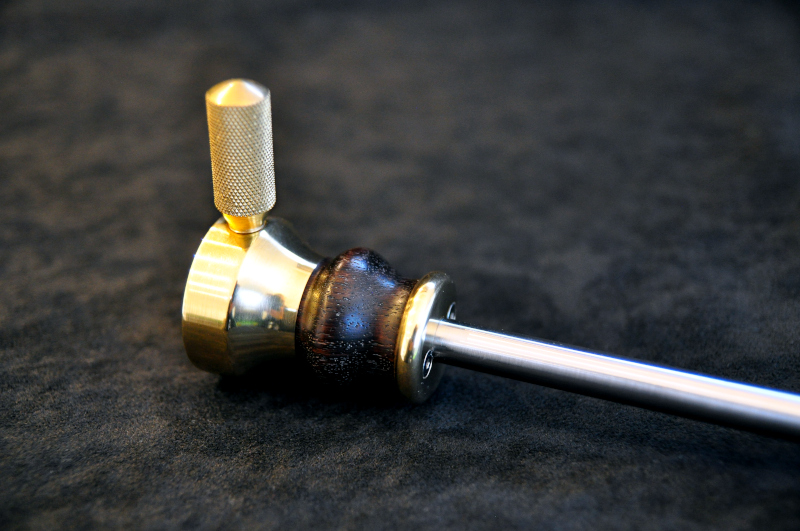
I'm very lucky and been given a small amount of Rosewood so I've made a start on the marking gauge.
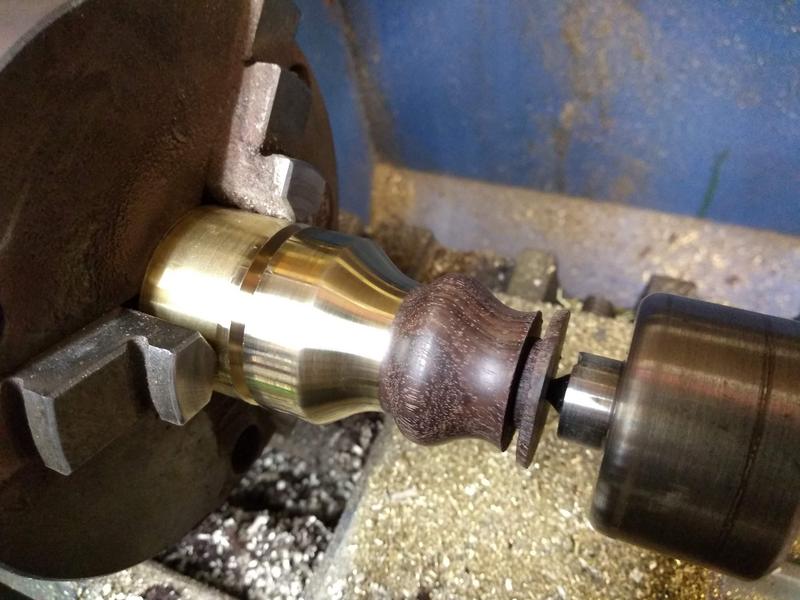
Working on the main body on the engineering lathe.
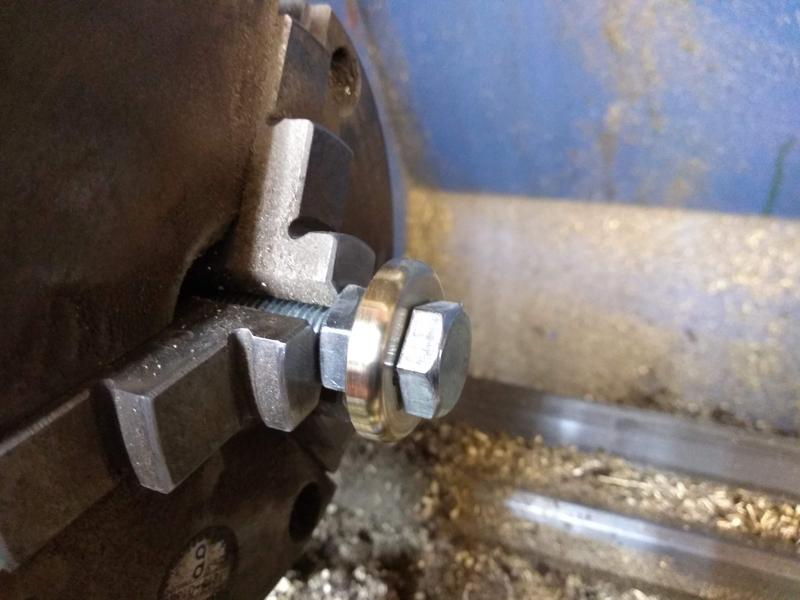
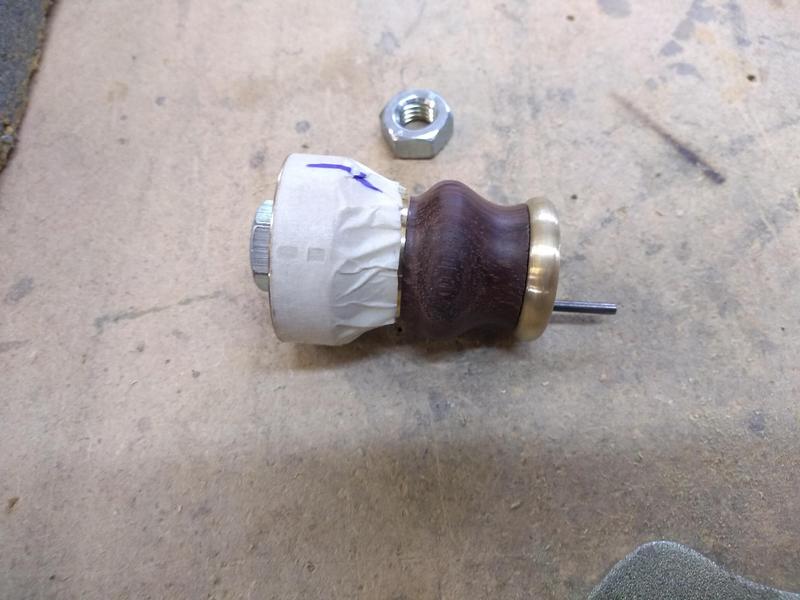
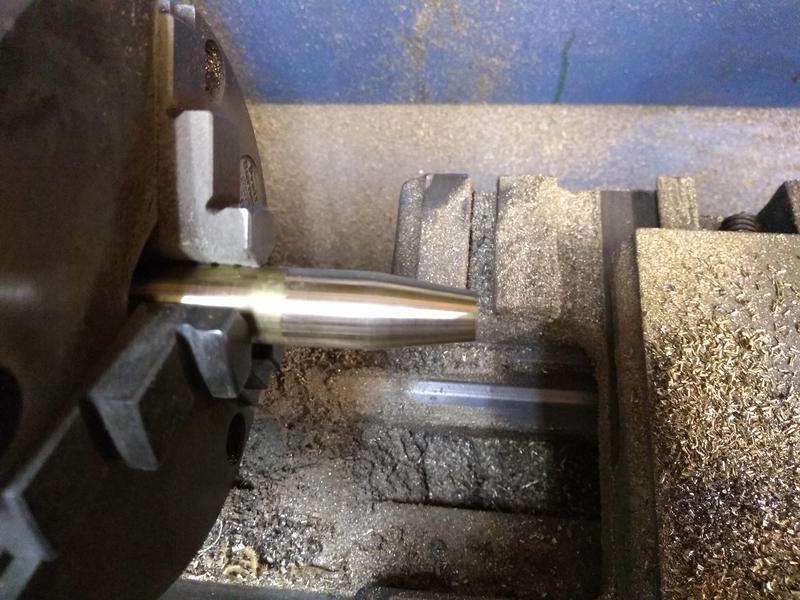
I parted off a small section of brass and then fixed it between two nuts on a bolt and secured that into the lathe.
I needed to round both sides of the brass collar.
I'm sure this isn't the ideal way of doing this but I have limited tools and it seemed to work okay.
I needed a way to secure the brass head and collar to the wood as the glue was only temporary while I machined the initial shape and not sufficient to hold the pieces together permanently.
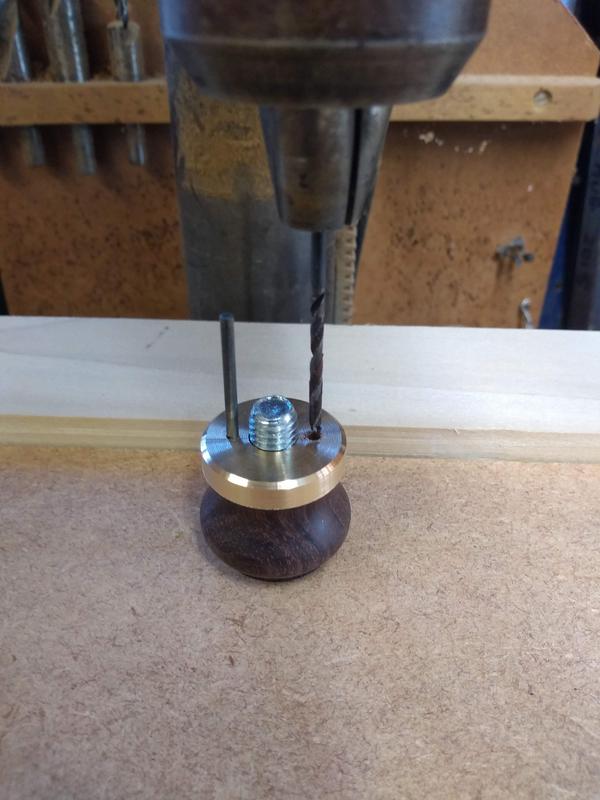
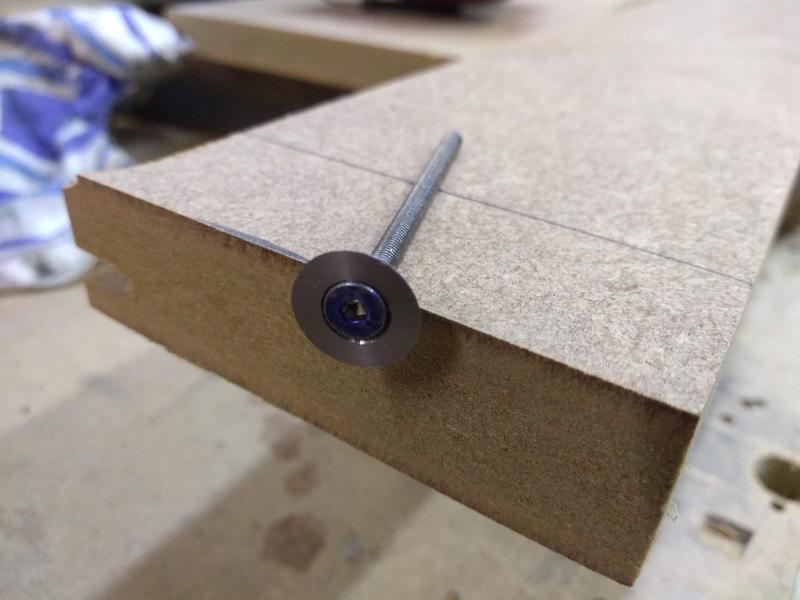
I carefully marked hole positions on the collar and drilled the holes, I then used a bolt to align the two parts and drilled the first hole through the collar into the wood. After the first hole was drilled i inserted a spare drill bit into the hole to keep it aligned and then drilled the second hole.
With the brass collar and Rosewood drilled I then repeated the process to drill the head of the gauge.
I've ordered some m3 stainless bolts that will run through the holes securing it all together, just waiting for them to arrive.
Once its all fixed together i'll mount it back on the lathe and final finish it.
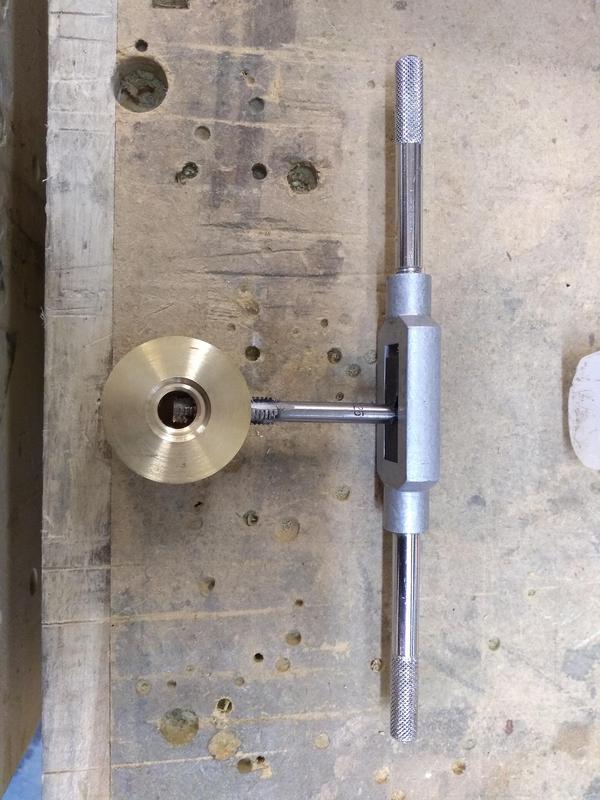
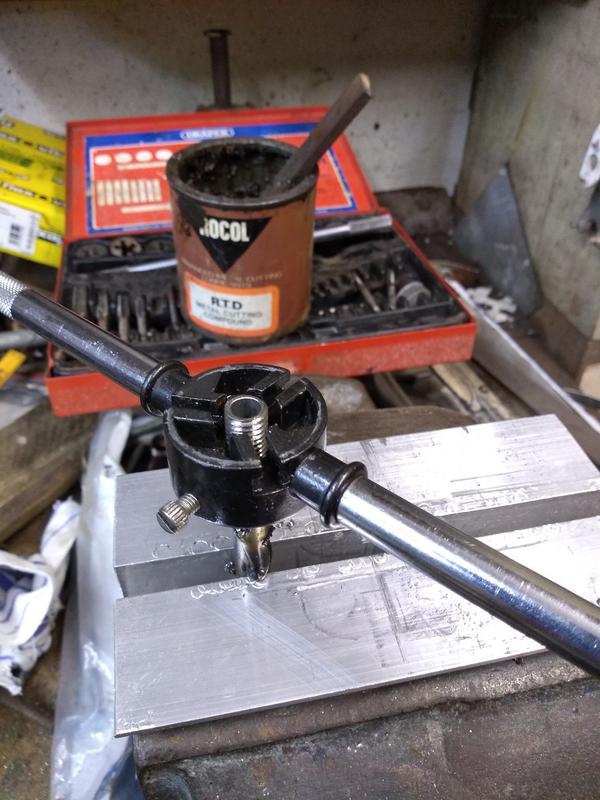
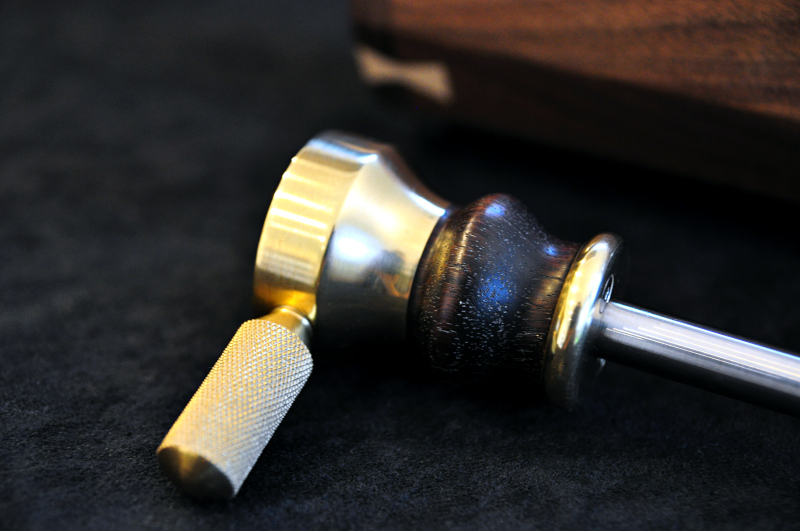
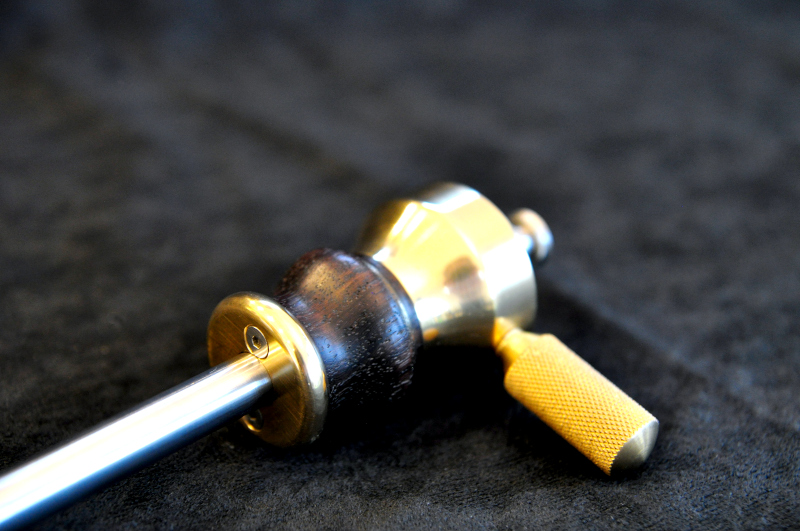
In the meantime I drilled and tapped an m8 hole into the side of the brass head.
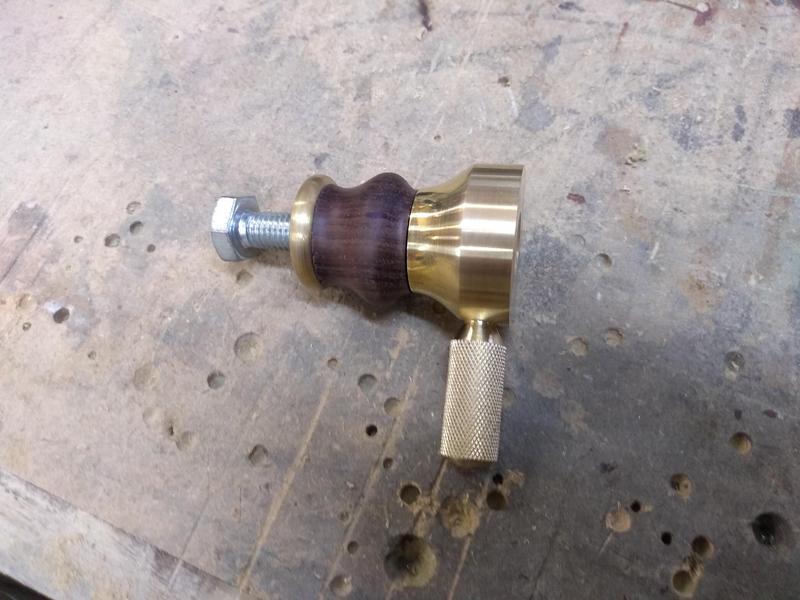
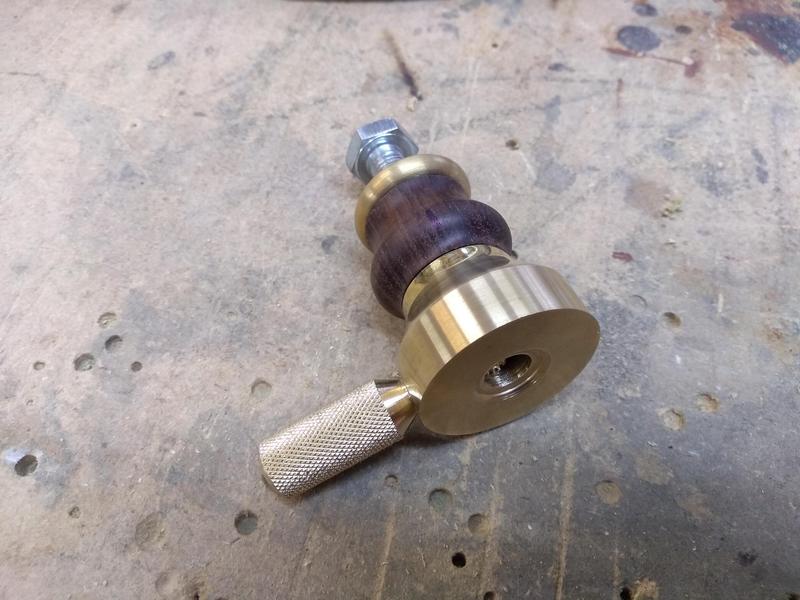
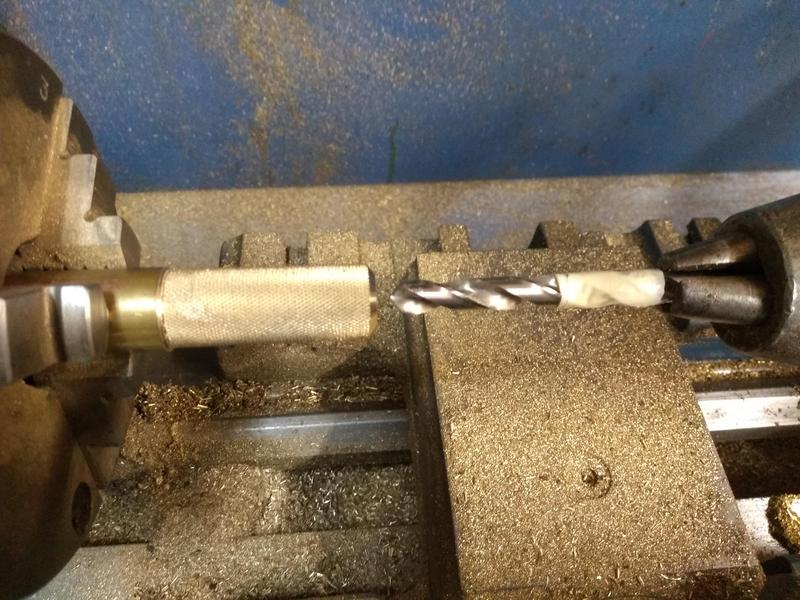
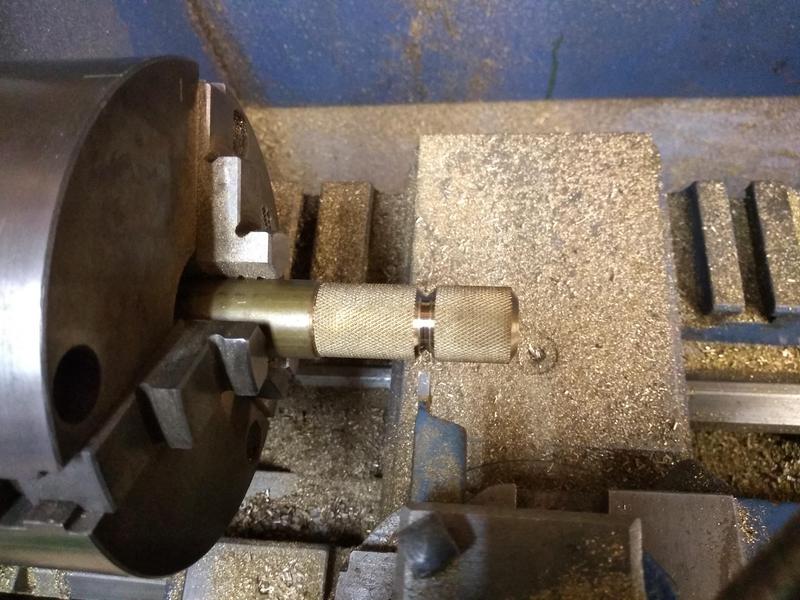
and then made the locking thumb screw.
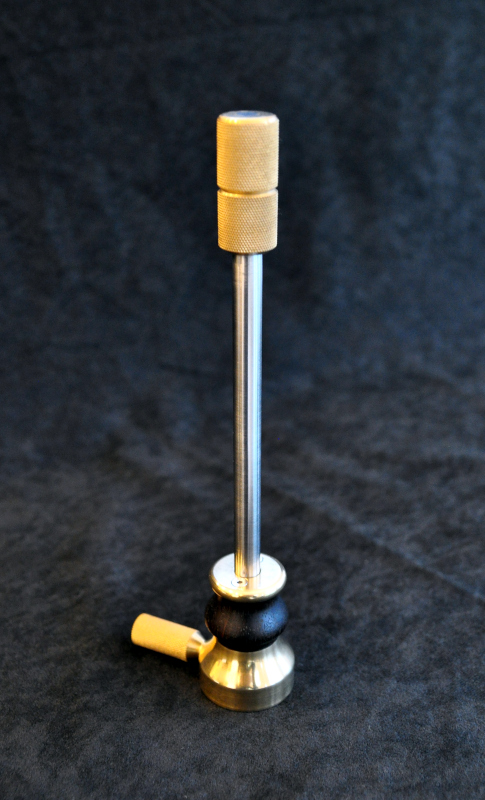
Most of the thumb screws I've seen for marking gauges are short with a larger diameter but I wanted a longer sleeker looking one.
While doing so I found out I could knurl longer pieces of material, I always thought you needed an automatic feed on the lathe to knurl longer pieces but I hand fed this knurl and it turned out great
I still can't get my head round how this works and how manually moving the knurling tool doesn't just leave a mashed up mess but I'm pleased i can do it.
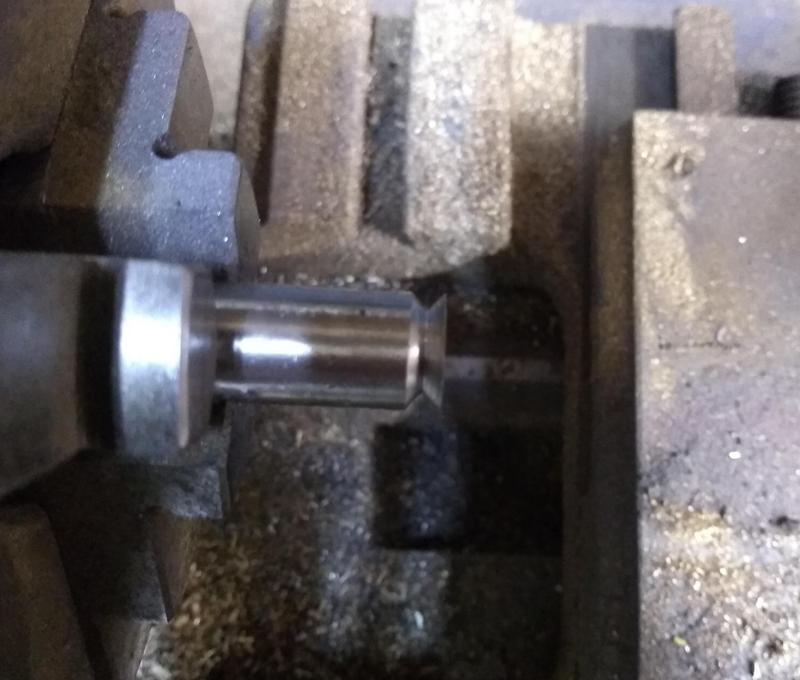
And finally machined a recess in the head for the cutter to sit into when not in use.
That was all for today.
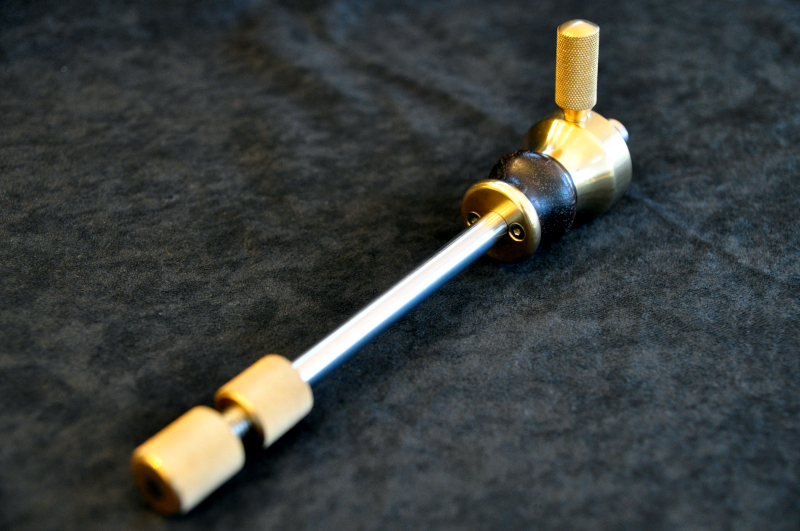
Just waiting for the bolts and the steel rod to come in the post and I can make a start on the shaft of the gauge.....it's not going to be a simple shaft though.
Finally got the stainless steel tube and rod in the post so I could continue with the marking gauge.
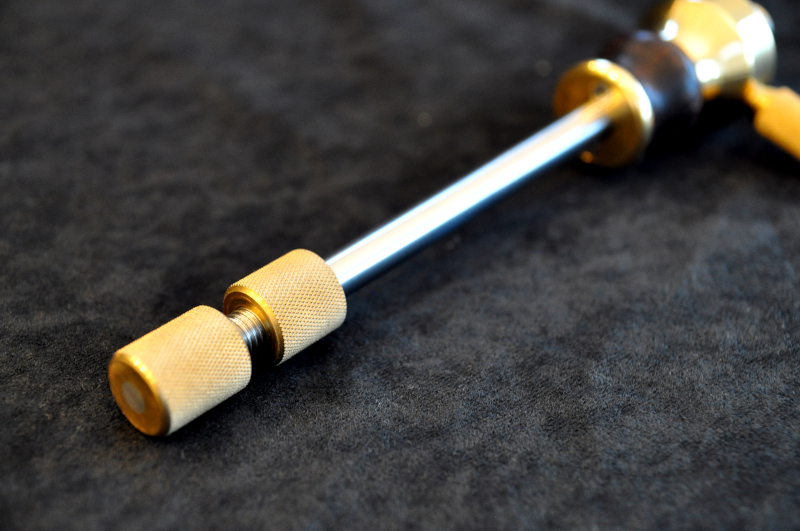
I started by threading one end of the steel tube.
Quickly realised Stainless steel is a bugger to work with, it's very hard and can't be rushed.
After that I started on the micro adjuster which I'm making from brass, much nicer to work with!
I knurl a short section and drill out the centre to thread onto the stainless tube.
Then add some chamfers and part them in two ready to work on some more later.
I also made a start on the cutting wheel again from stainless steel.
I bevel the rod and then square off the end to a sharp edge.
And finally drill and counter sink the head to accept a bolt before parting off completely from the rest of the rod.
Going to try and harden the cutting wheel with my map gas torch and quench it in oil, like I do my plane blades but I'm not sure how well this with work with stainless?
I've still got to work on the inner shaft and the main head of the gauge but its getting there.
Slowly working my way through the marking gauge build, it's almost done and I've turned my attention to a box for it.
Totally over the top for a marking gauge but I'm keeping a theme going

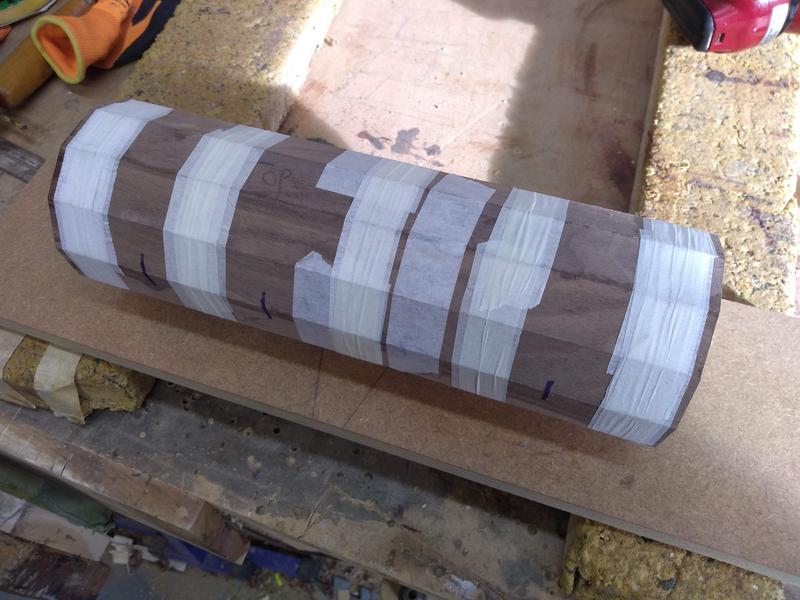
Using some American black walnut I Put a 15 degree bevel on some strips then glued it together to make a dodecagon.
Masking tape makes for an excellent clamp to hold it all together while the glue sets.
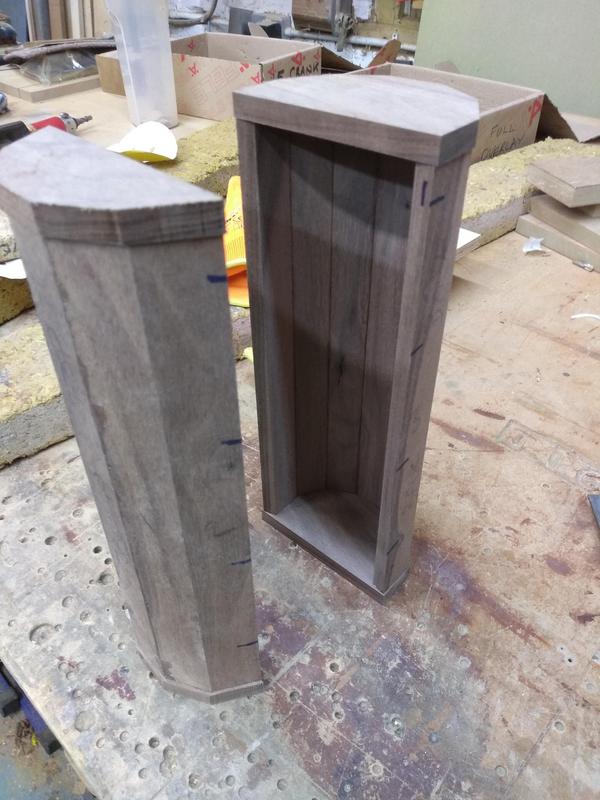
I glued all but 4 edges so I didn't have to split the box afterwards. I also added some ends to the box which I'm thinking of reinforcing later with some brass fixings, though not totally decided yet.
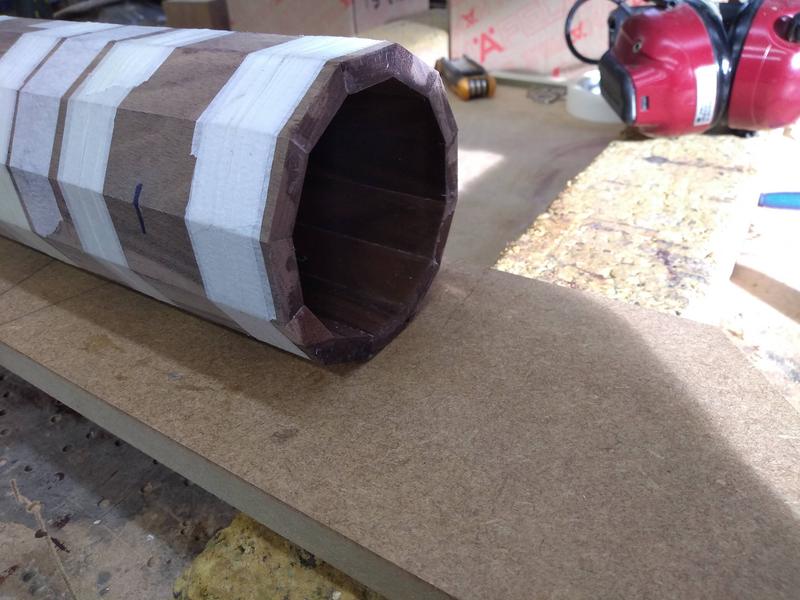
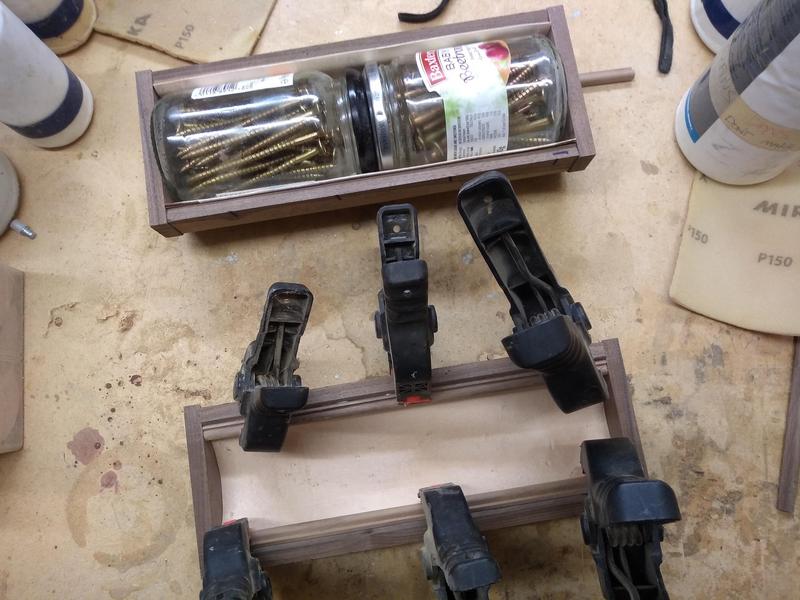
Next I made some liners for the box out of some lovely birds eye maple veneer.
Using some make shift weights to hold it in position while the glue dries.
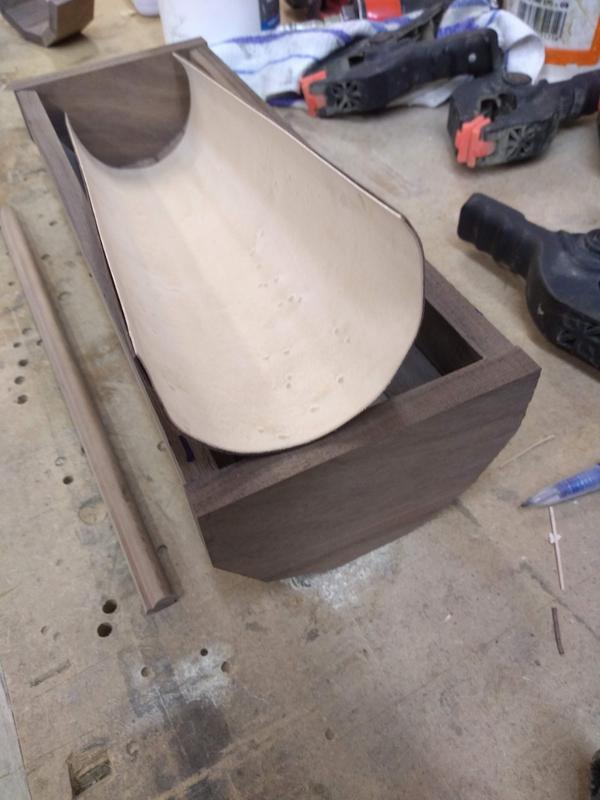
And a test fit held in place with some quick cramps to see how it will work.
Once the glue has dried it holds the shape well, Next I'll fit it into the box using some bead to hold it in place.
That's it so far.
I've got to work out a base for it to sit on and a latch to keep it closed but I've got a few ideas on that.
Slowly progressing with box.
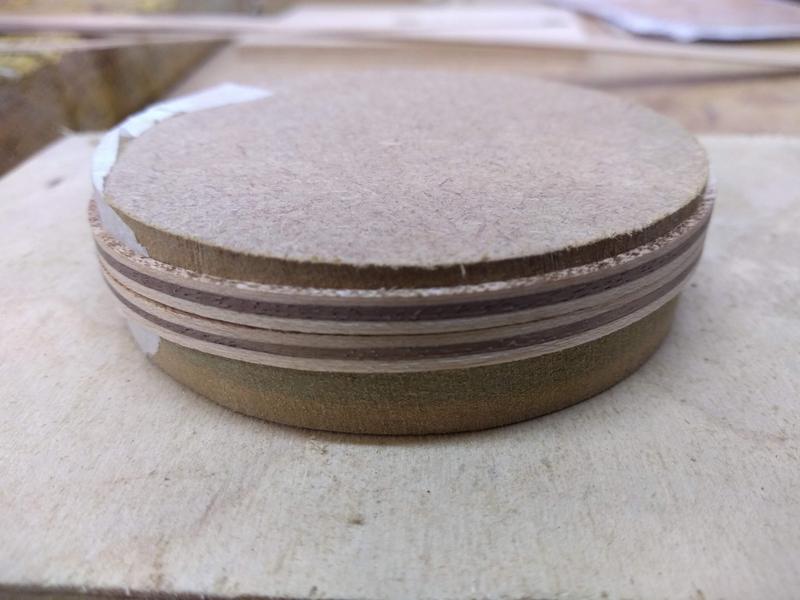
I made some inlay for the ends of the birds eye liners. I wrapped it around a circle of MDF so it holds the same diameter as the liner.
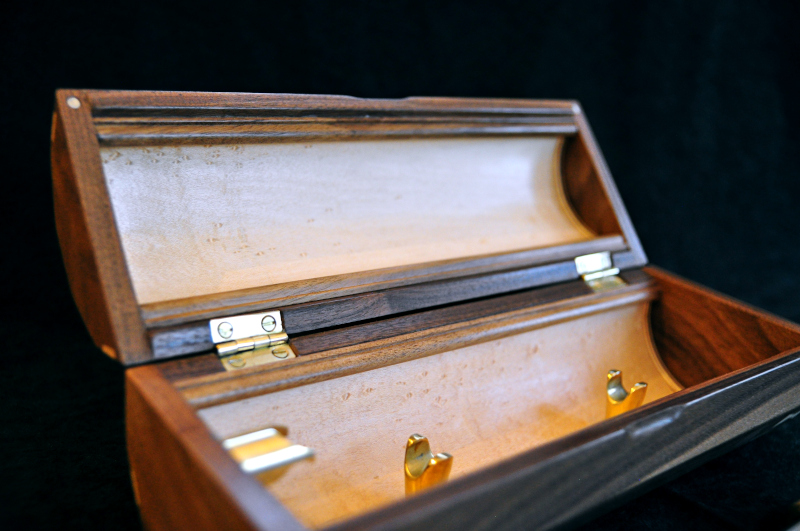
I've also made the brass clasps that the marking gauge will sit on inside the box.
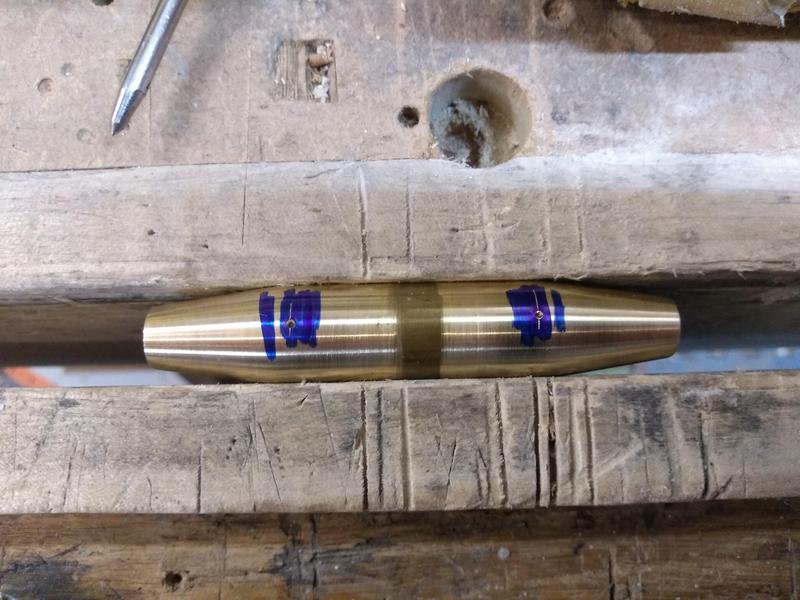
Started with some brass round bar that I tapered at both ends.
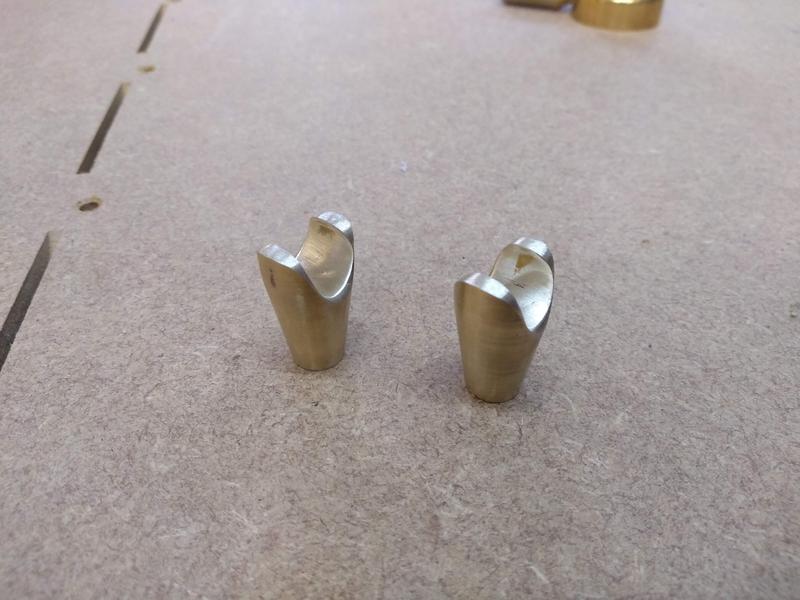
Then drilled through to make the half rounds that will hold the marking gauge.
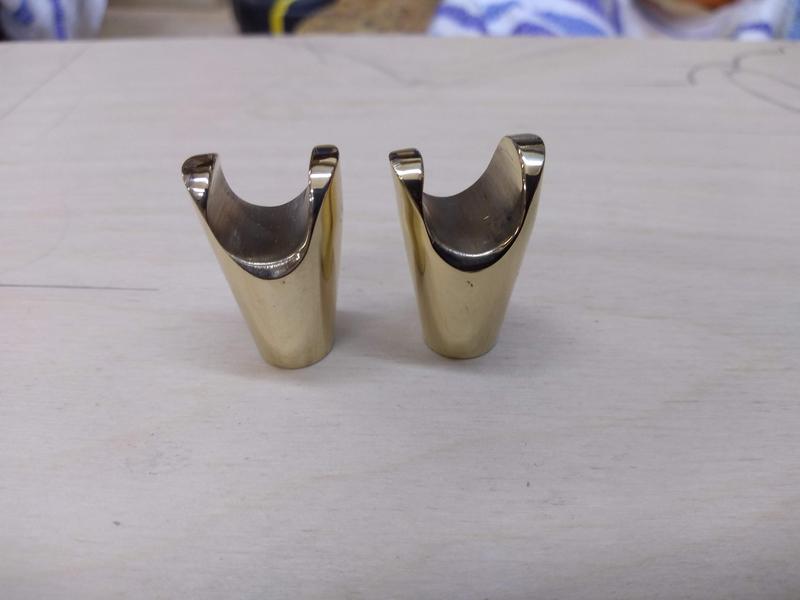
After some more shaping with hand files they are nearly finished.
Lastly I drilled and taped the bottoms to accept a bolt and polished them up.
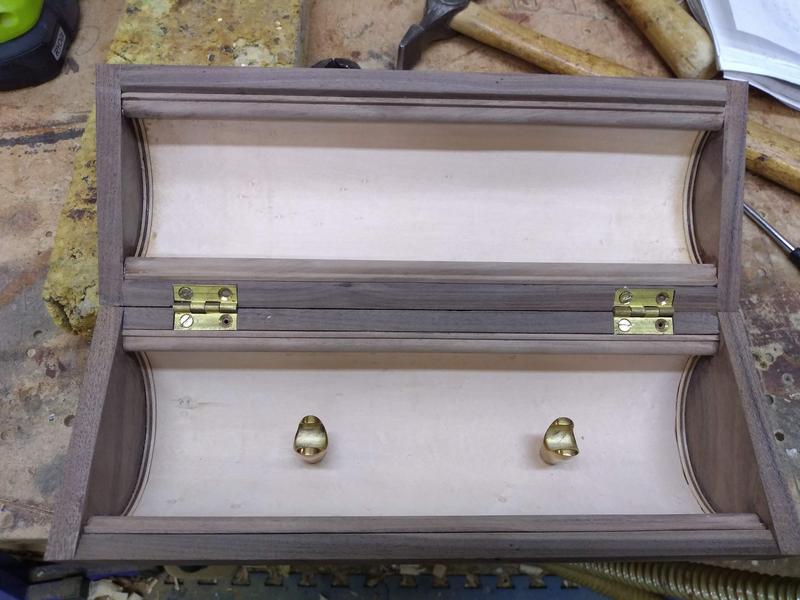
Here they are test fitted to the inside of the box. I still have a lot of work to do sanding and cleaning up the box.
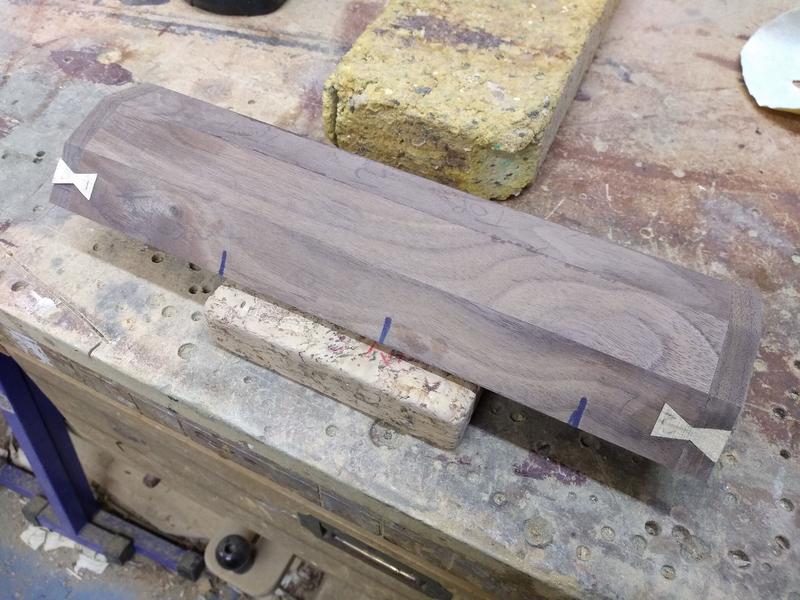
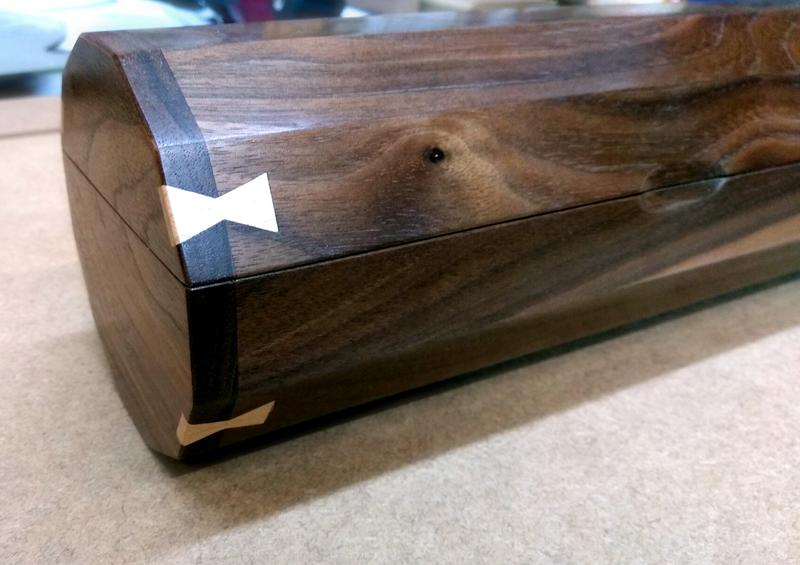
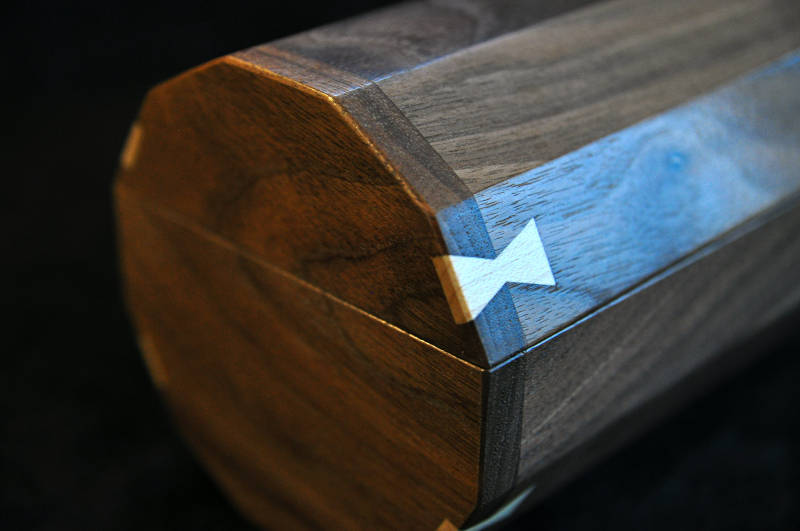
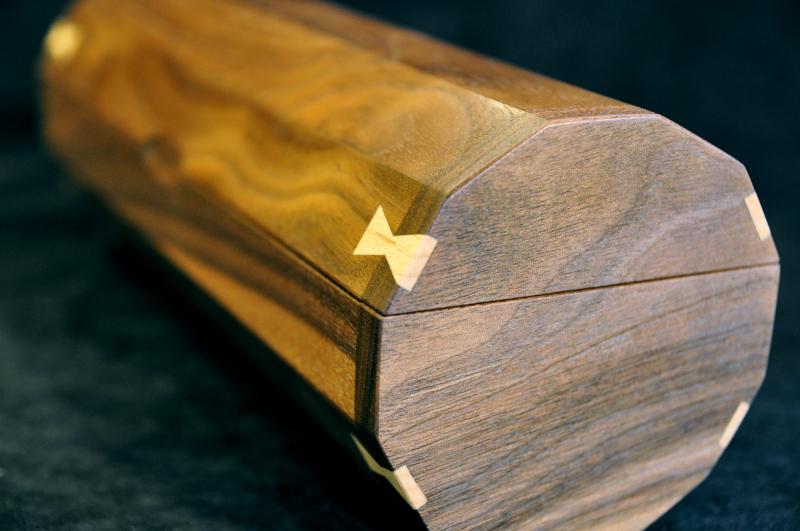
Finally I made a start on adding some decorative dovetail bows to the out side of the box, they will also aid in securing the ends of the box in place.
That's it for now.
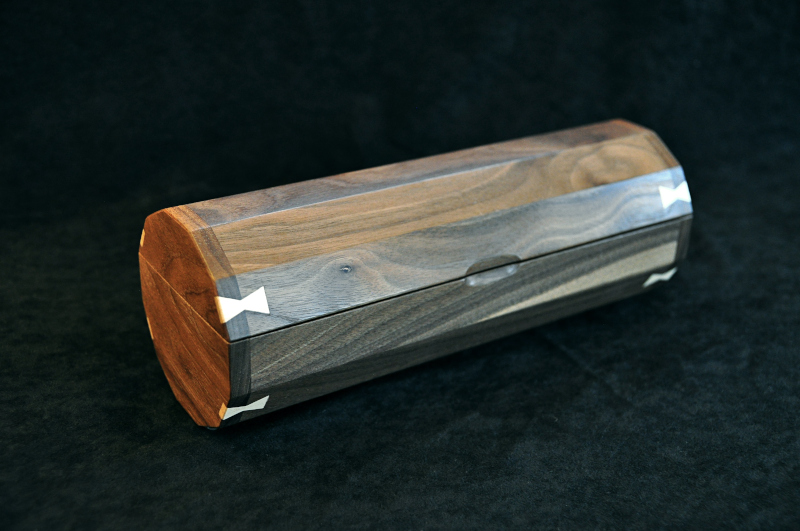
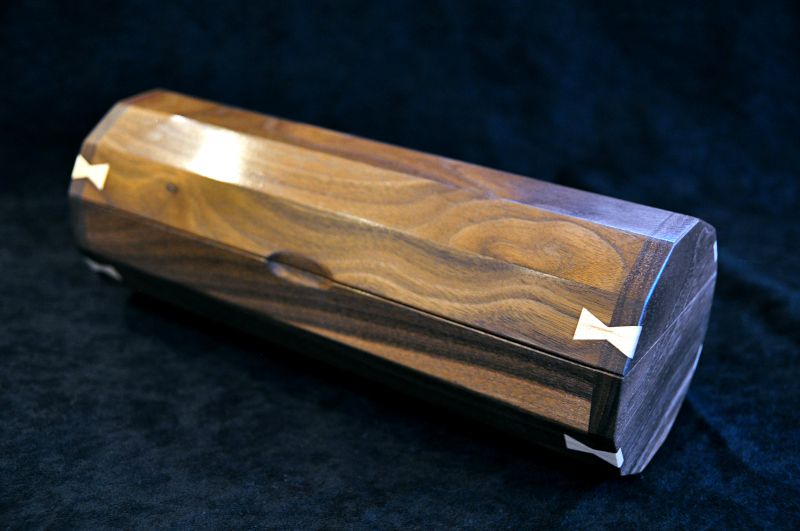
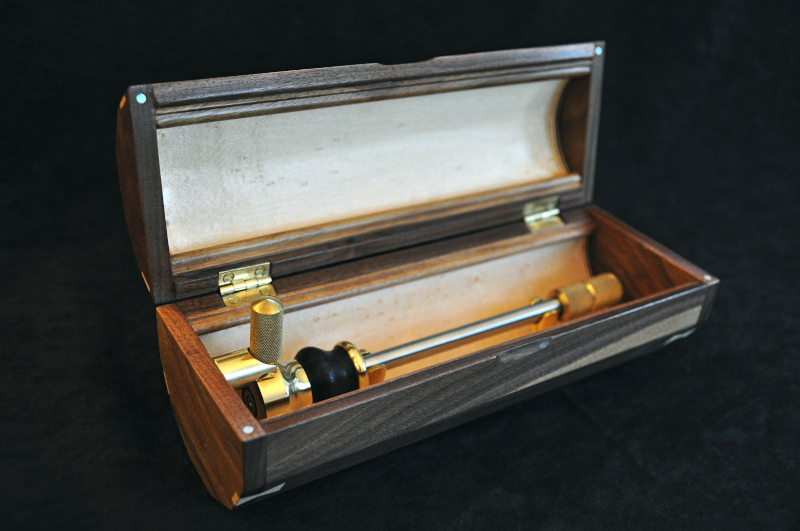
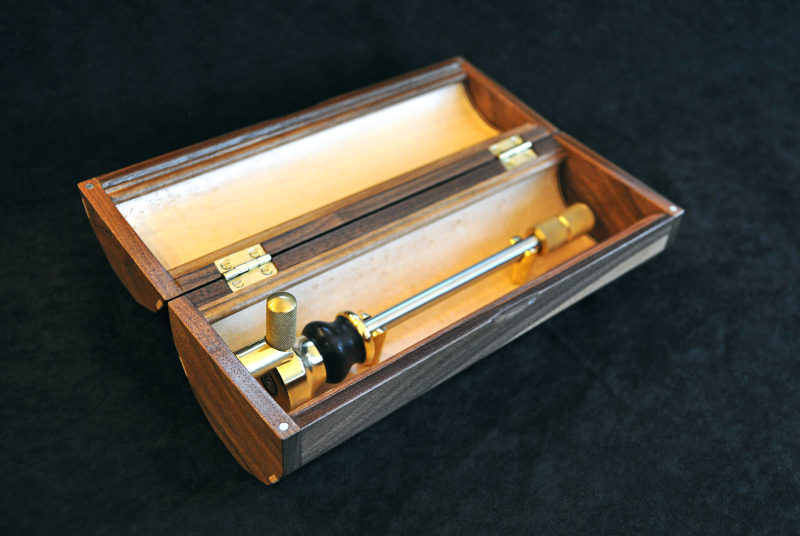
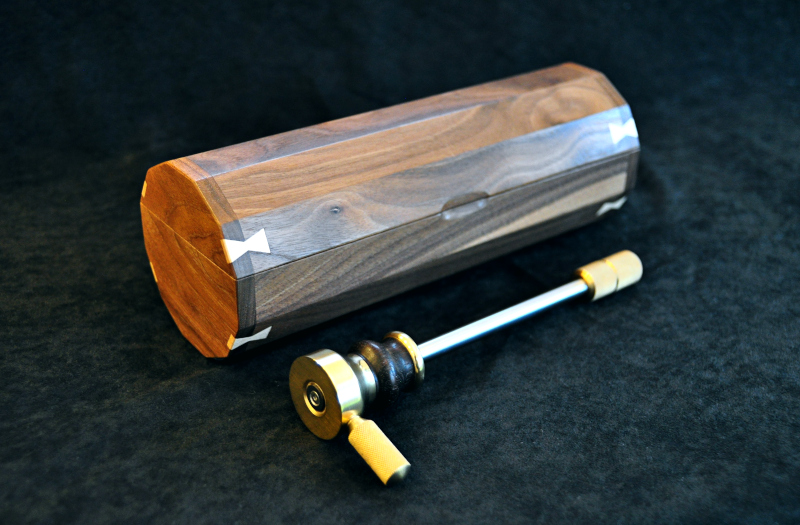
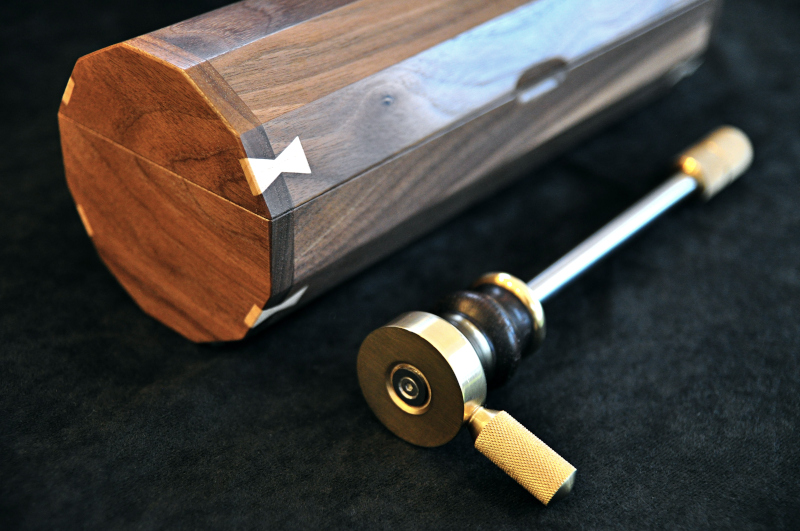
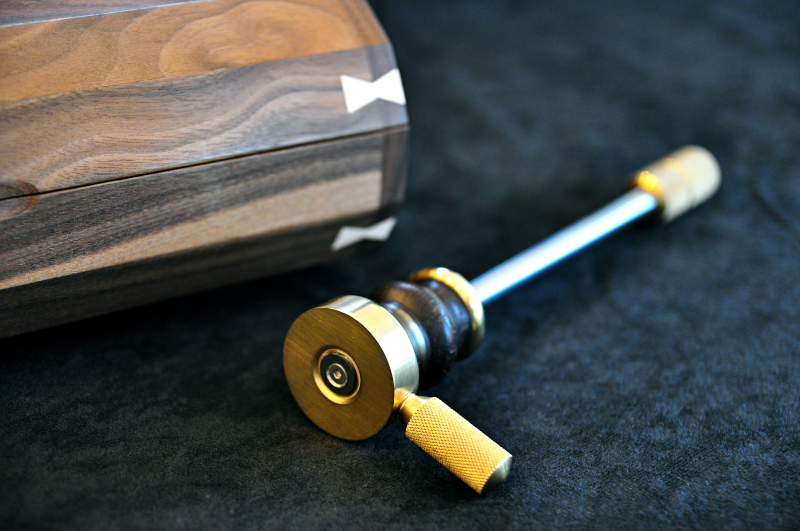
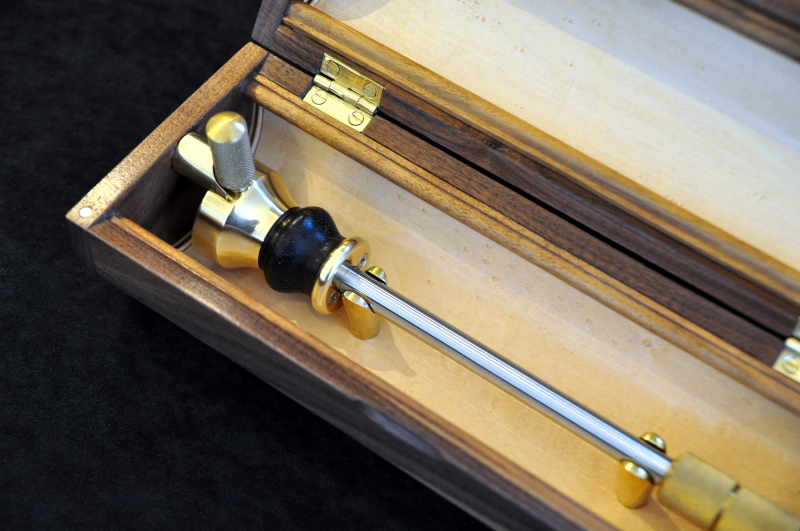
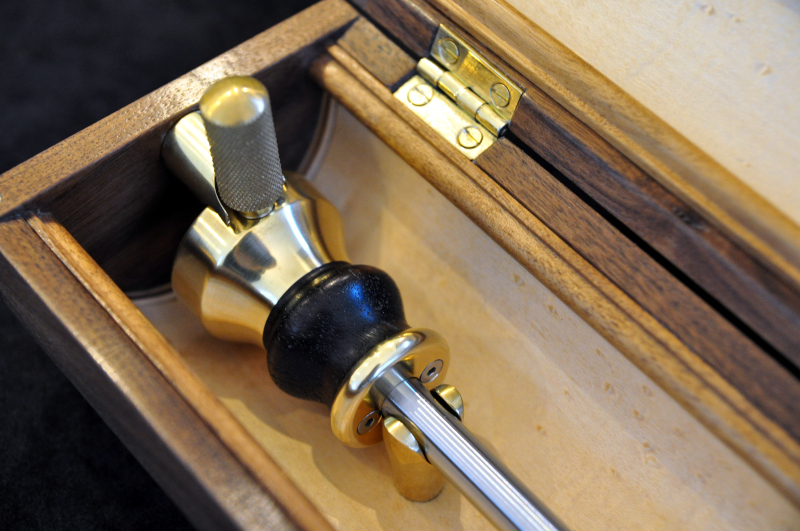
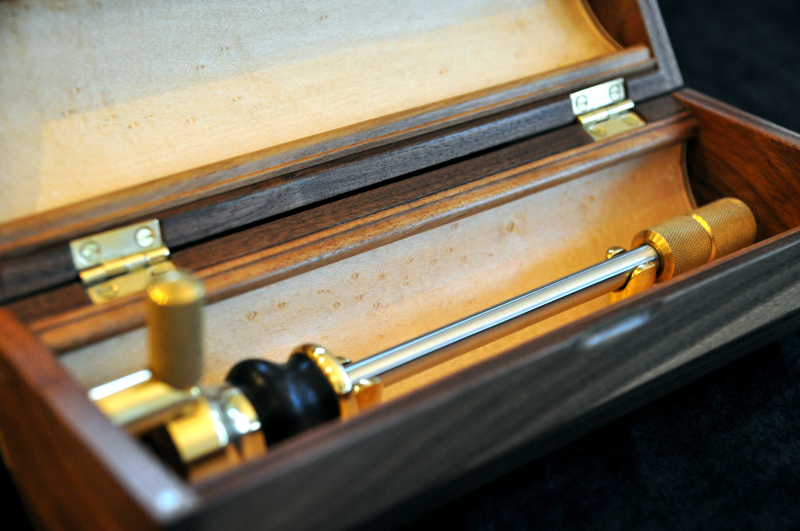
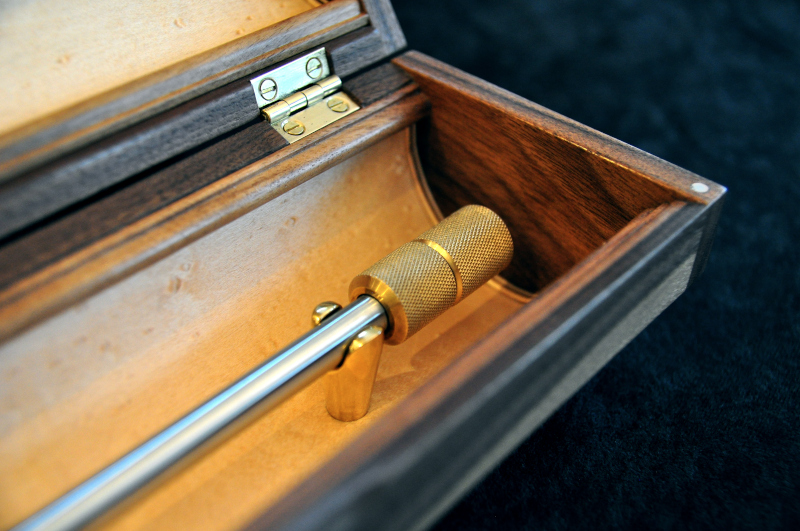
Finally got the box finished tonight, I think in the end the box took longer to make than the marking gauge.
Spent the past couple of days polishing and waxing it.
I've got a few more bits to tidy up and I've got to strip the marking gauge down to degrease it all then I'll take some photos of the entire piece which I'm hoping to do over the weekend.
Here's a quick snap I took on my phone.
I've also been working on a short video of the build process. I didn't have time to go into as much detail with this project so it jumps about a bit but hopefully I'll get that finished with the photos.
