Hattori-Hanzo
Established Member
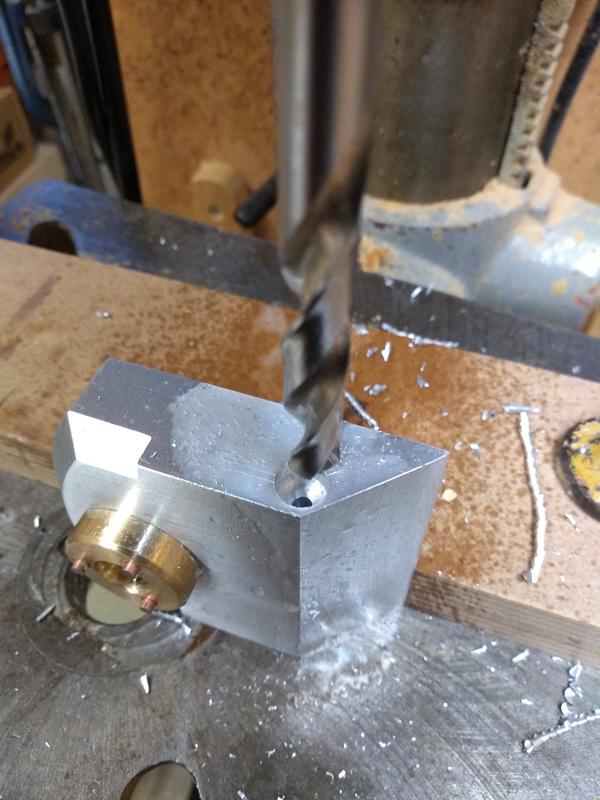
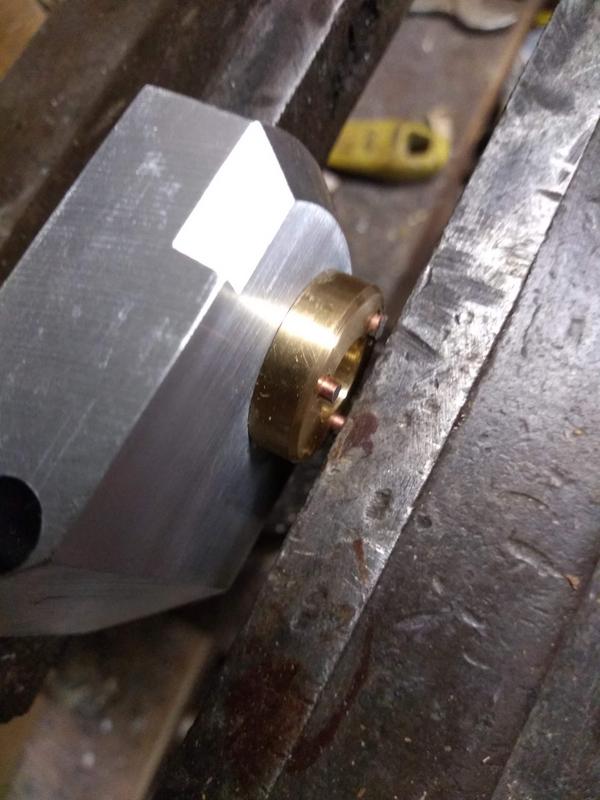
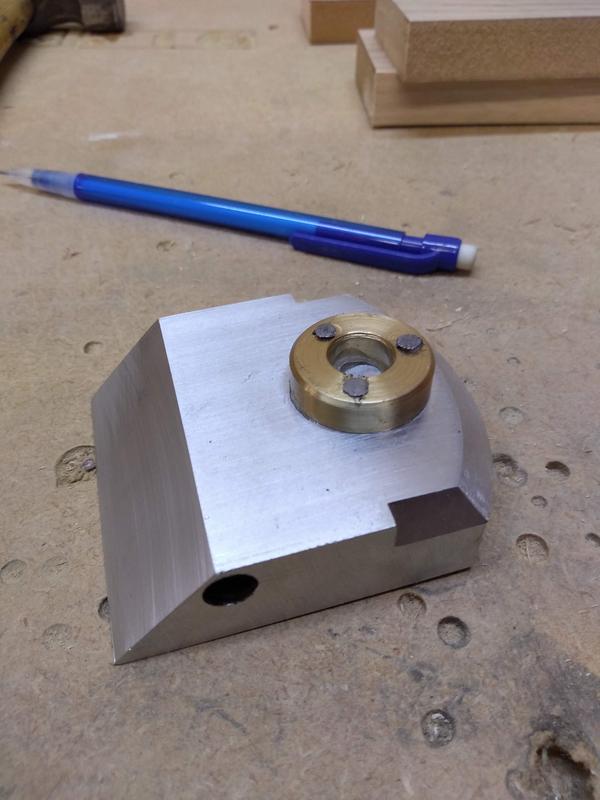
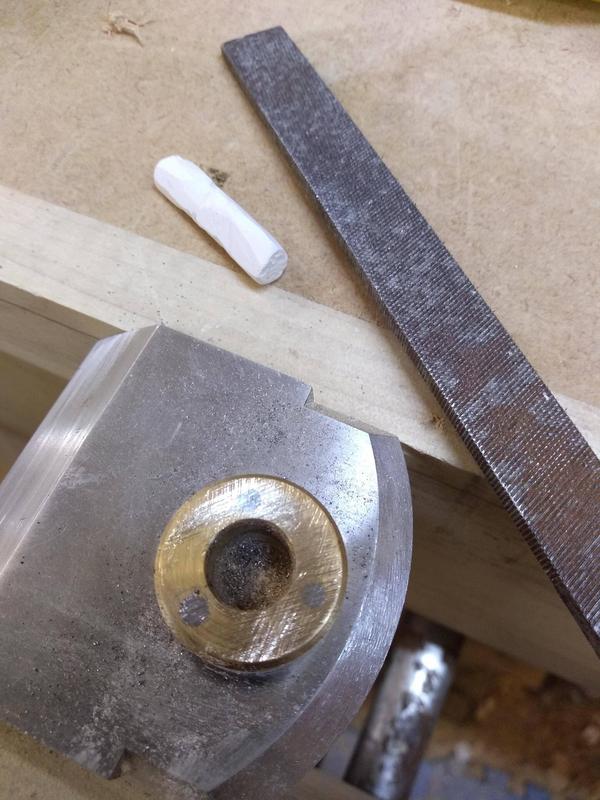
With the blade adjuster made I needed to mount it to the maple infill.
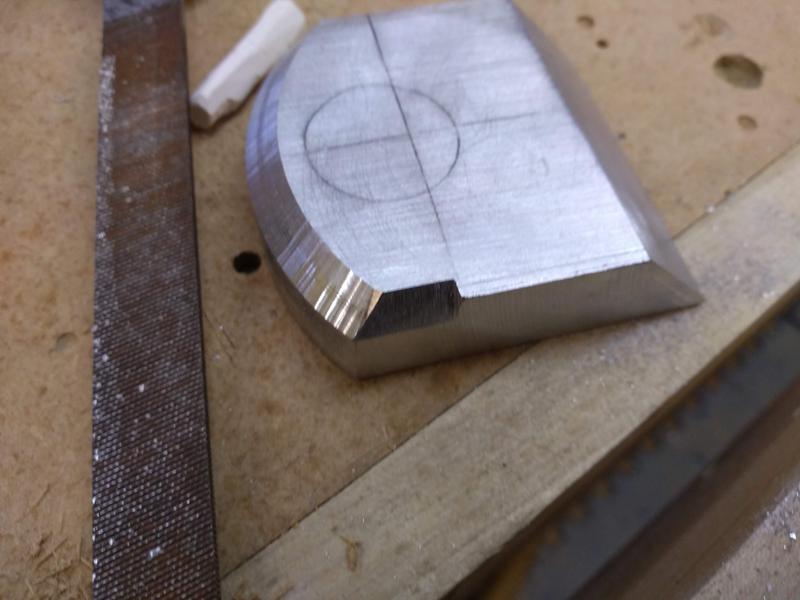
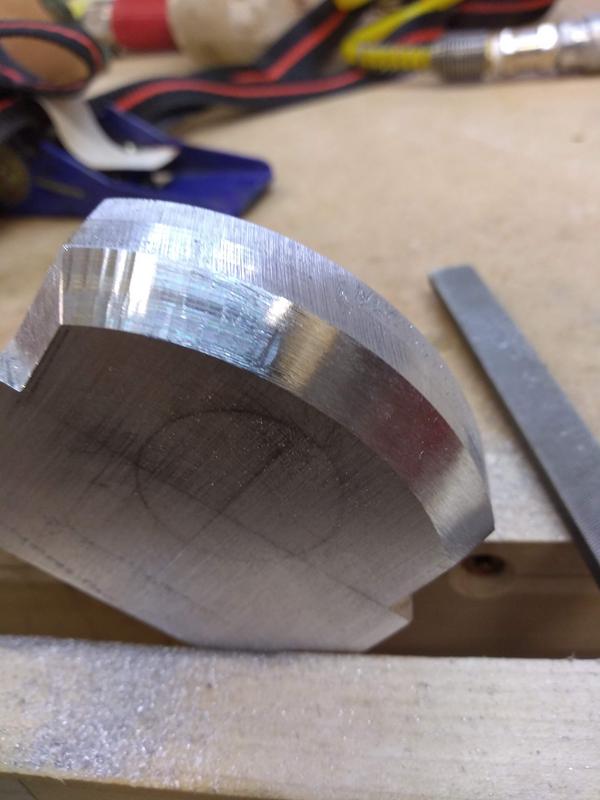
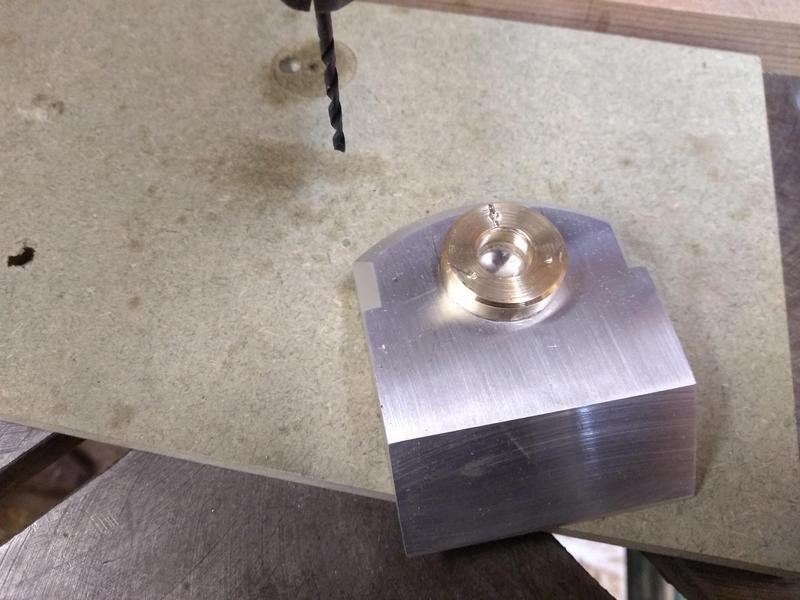
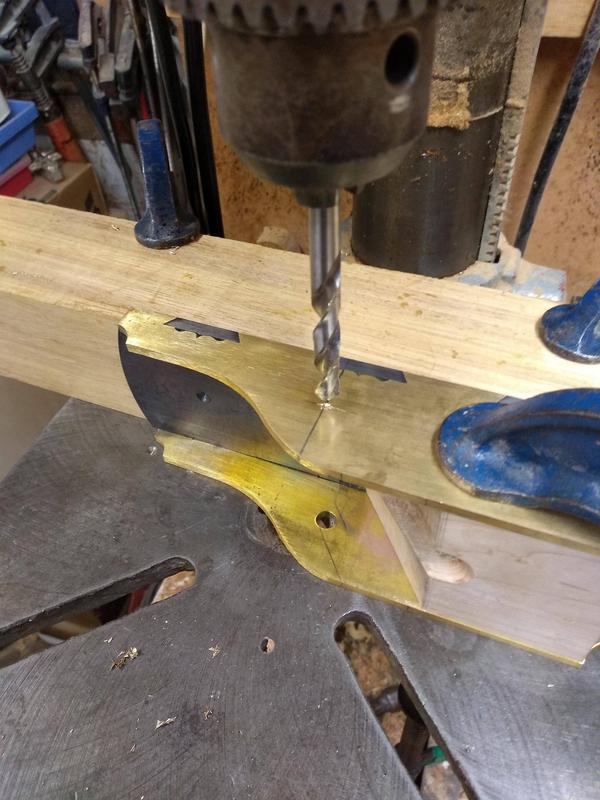
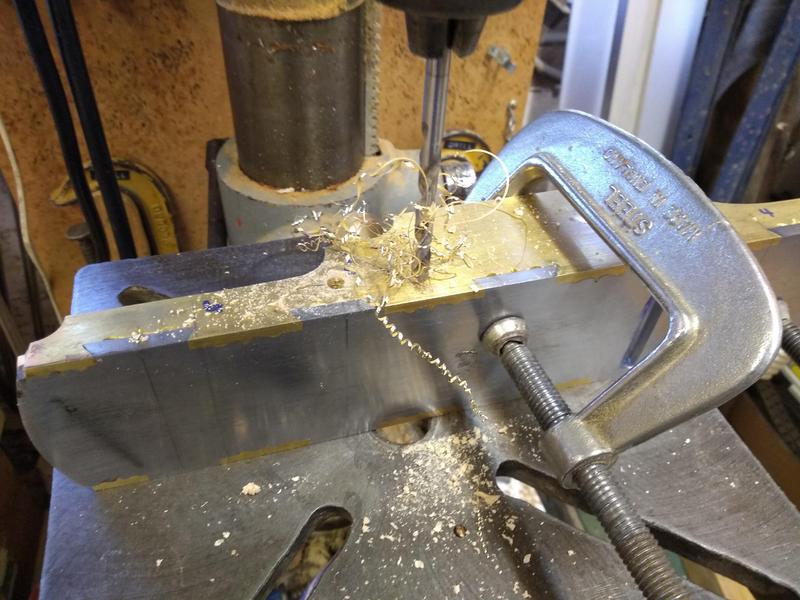
I started by marking out and drilling a 16mm hole for the bearing to seat in.
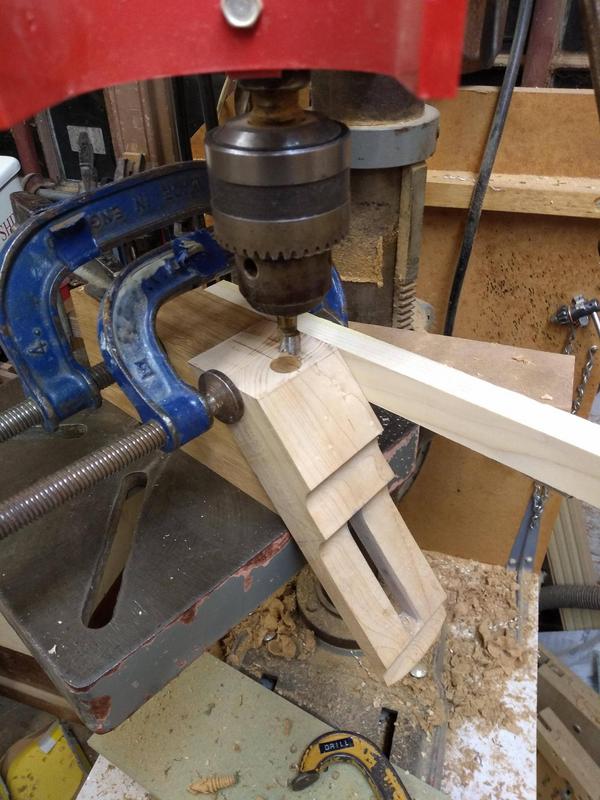
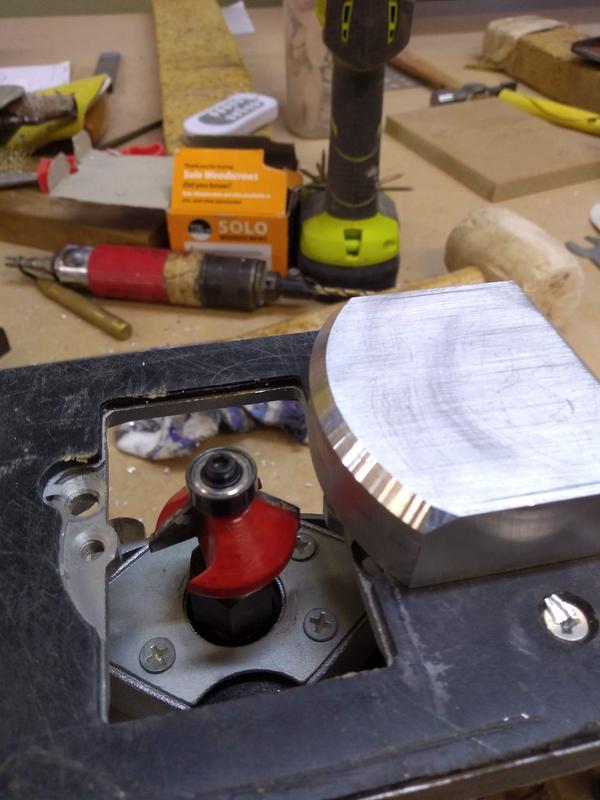
From there I used a router to cut away the majority of the waste where the adjuster will sit.
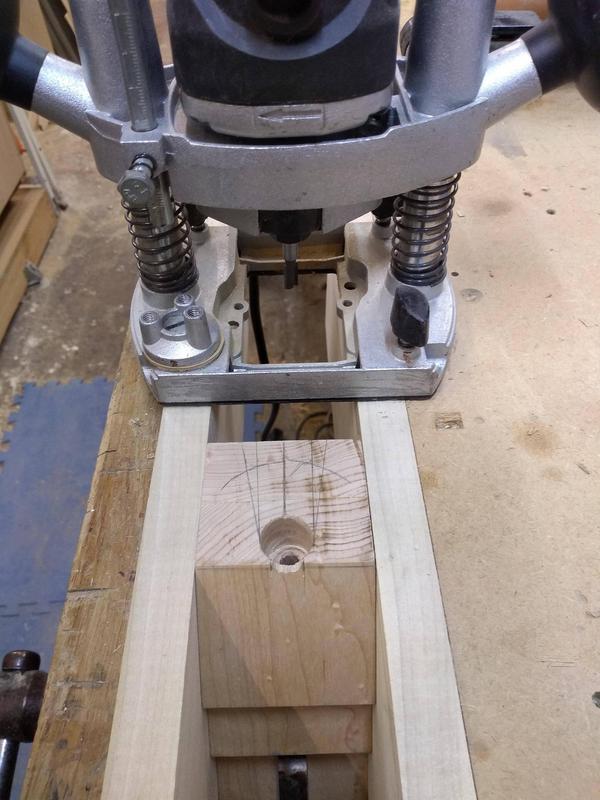
A quick test fit of the adjuster to make sure I had removed enough material.
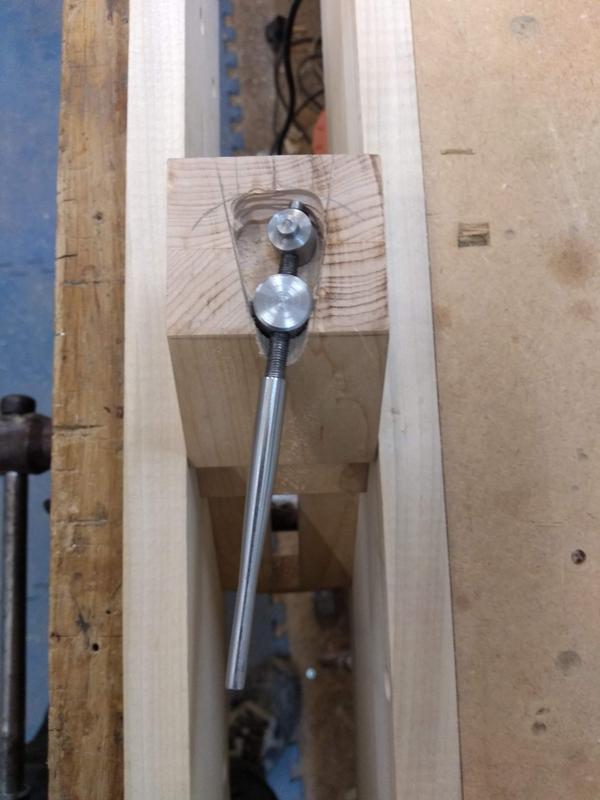
After that I used chisels and gouges to clean up the recess.
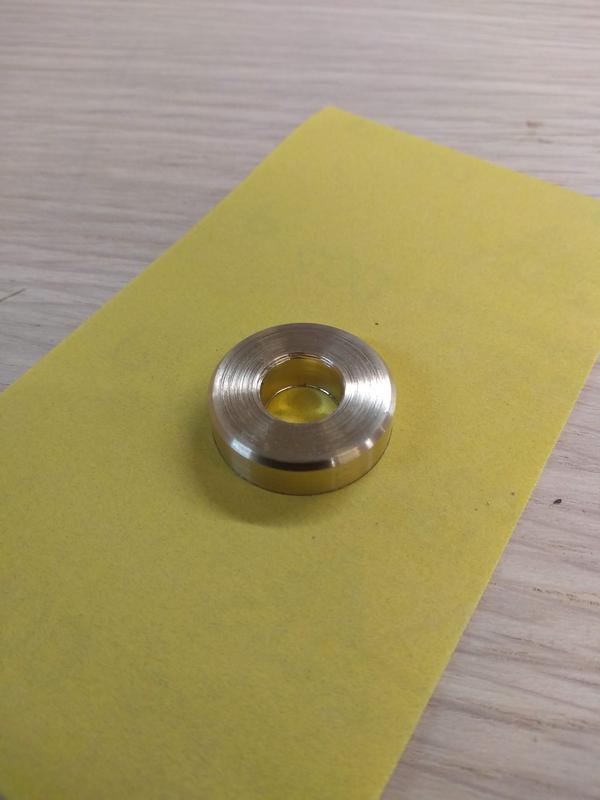
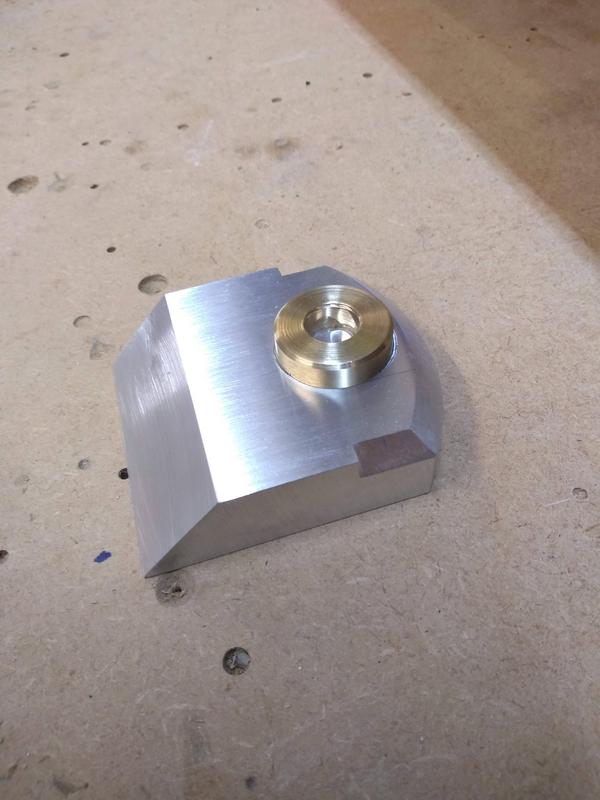
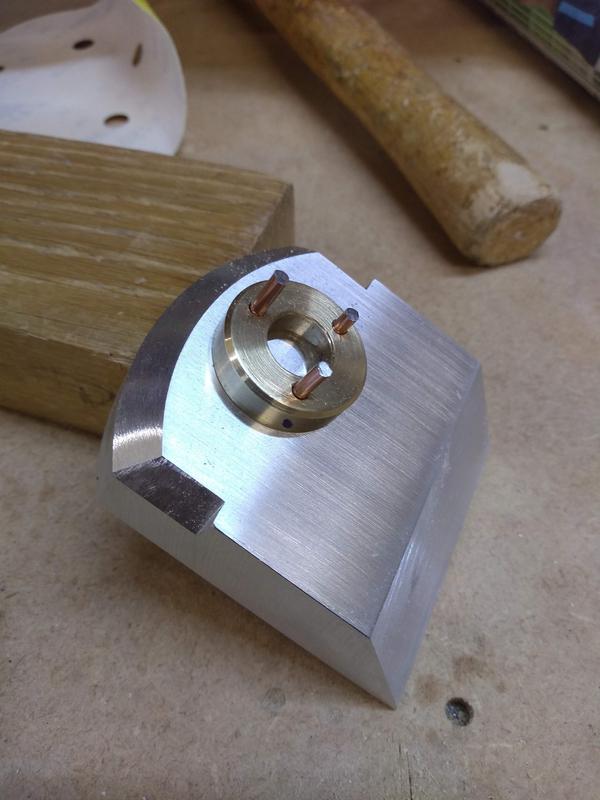
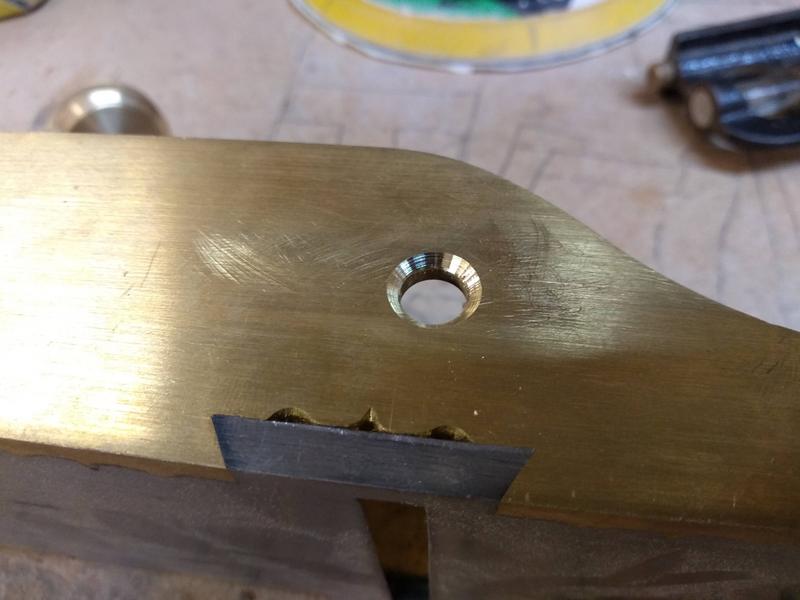
The bearing was a very tight fit in the hole but I also used a touch of epoxy to hold it in place.
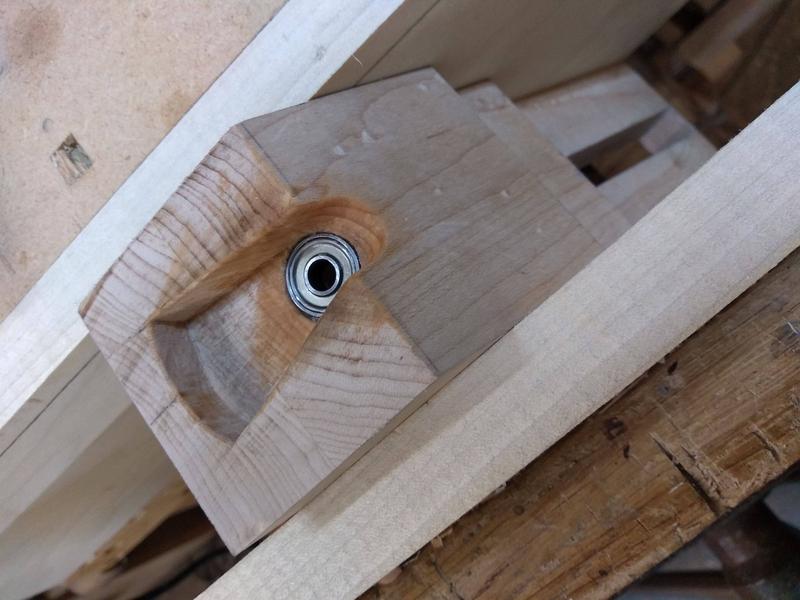
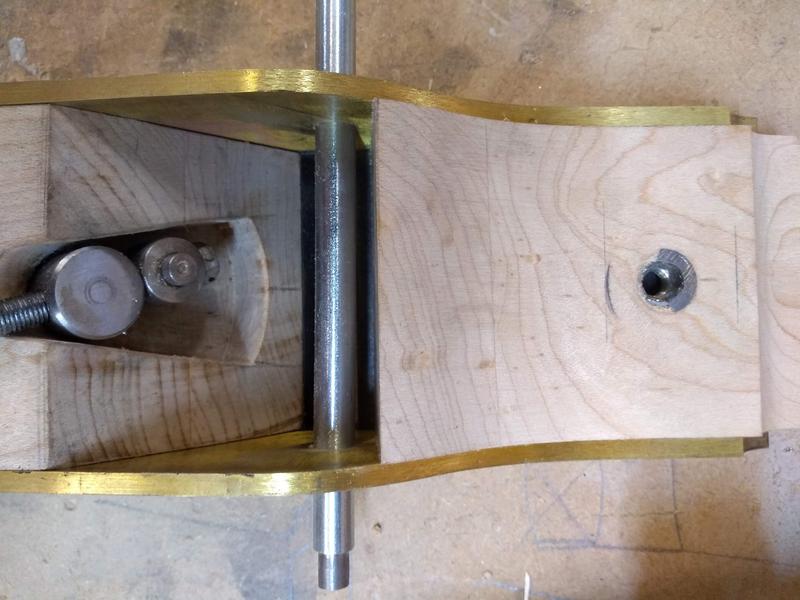
And finally with the adjuster fitted.
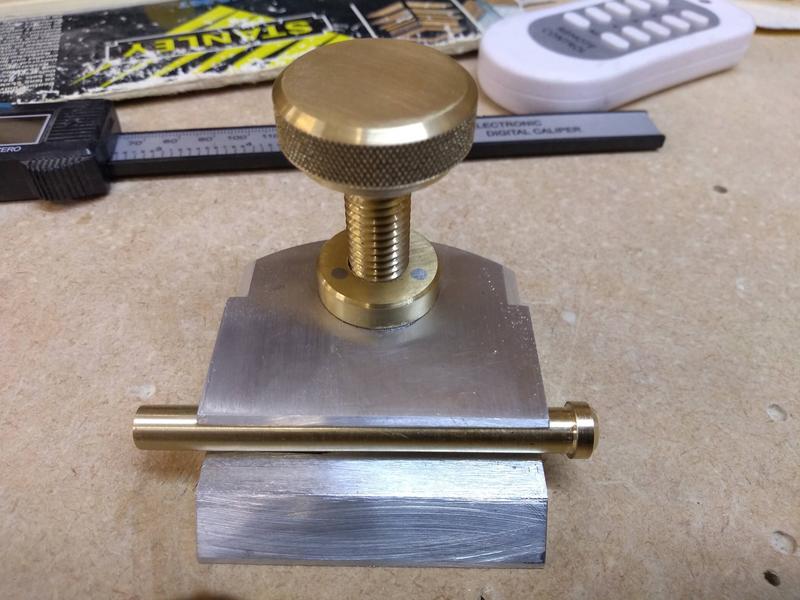
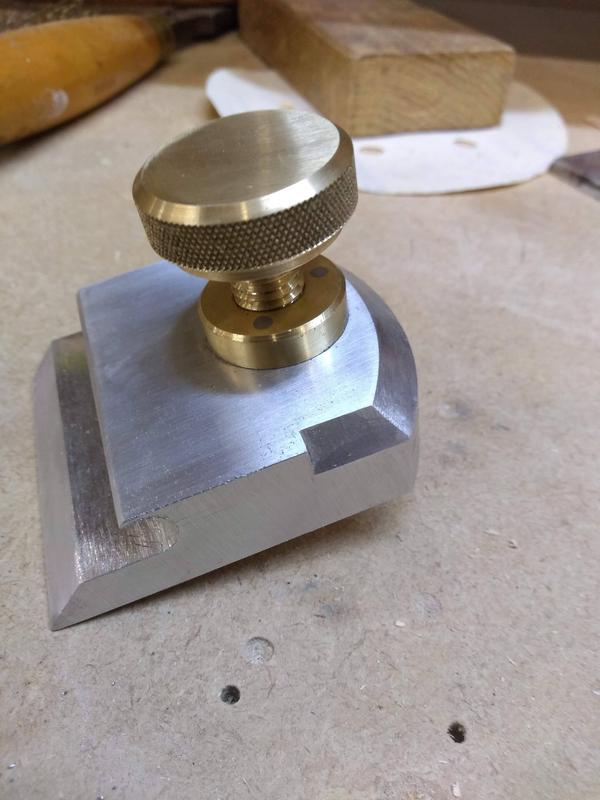
The pivot pin is held still by the bearing, turning the adjuster moves the blade pin up and down to increase or decrease depth of cut.
Lateral adjustment is done by moving the shaft left or right which moves the blade in the opposite direction.
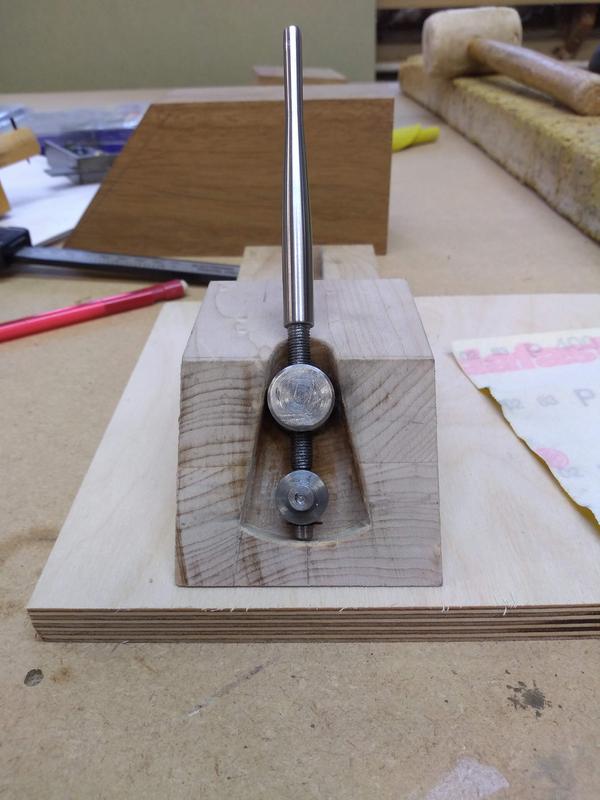
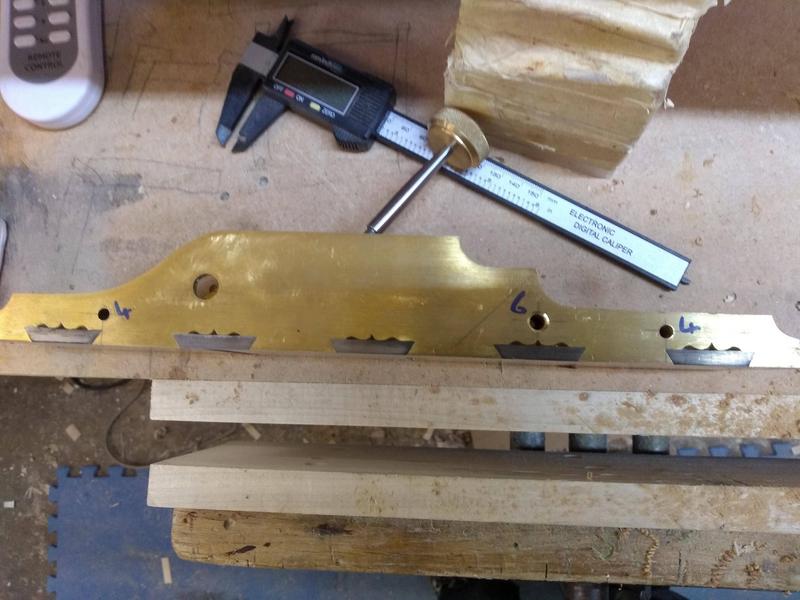
Now the adjuster mechanism is made and fitted I could measure how long the blade needs to be.
I cut the blade and drilled holes for the blade pin to sit through.
I also partially ground the bevel. I did not fully grind the bevel, doing this Helps to reduce the chance of the cutting edge warping when heat treating the blade.
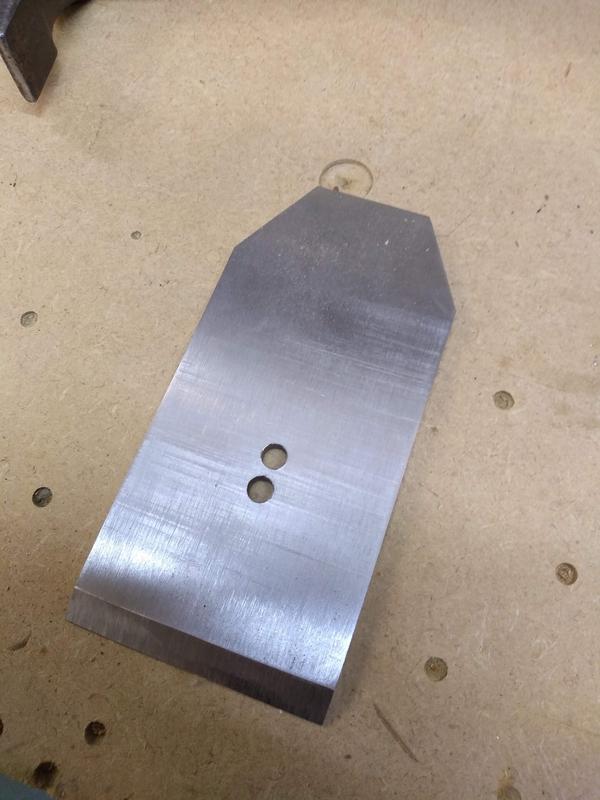
I was toying with the idea of making a bean can forge to use with my blow torch to heat the blade but decided to go for the easier option of using one of our wood burners instead.
I placed a fire brick on the bottom and loaded it up with pellets.
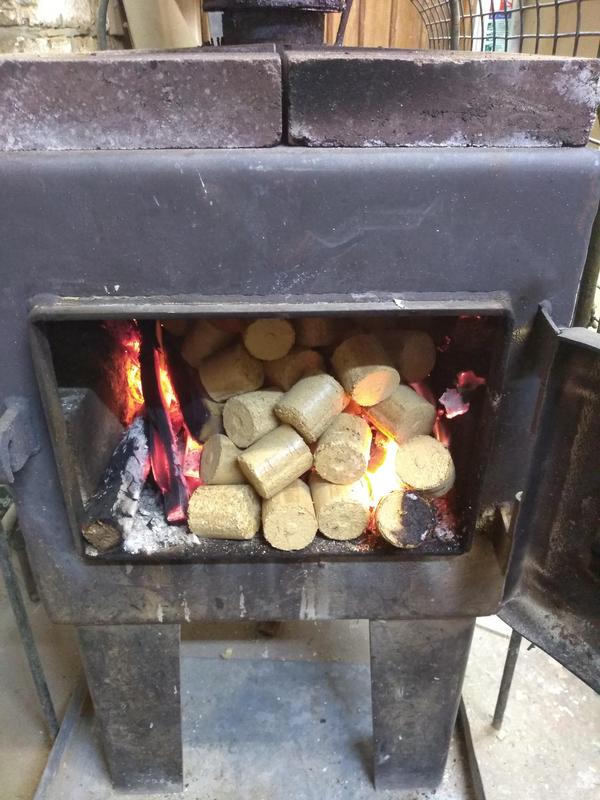
I'm not sure what temperature it got up to but it was damn hot!
I placed the blade and a large bolt inside.
The bolt is for preheating the oil before the blade gets quenched. Heating the oil can reduce the risk of warping and cracking the blade.
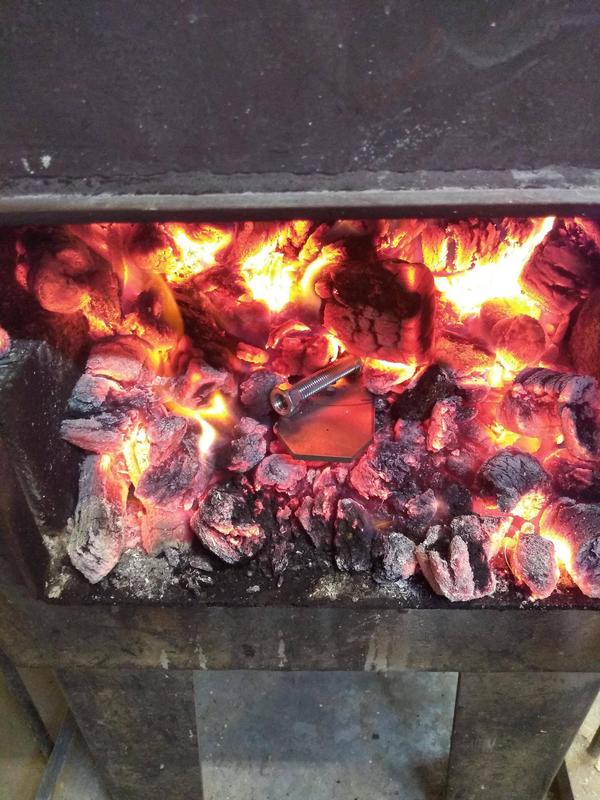
Once the bolt was cherry red I dropped it into the oil.
I then waited for the blade to go red before removing it from the burner and testing it with a magnet, if the magnet is not drawn to the steel its ready to quench.
If the blade still has some magnetism it needs to be heated further.
I plunged the blade in the oil and stood back, the flames were impressive.
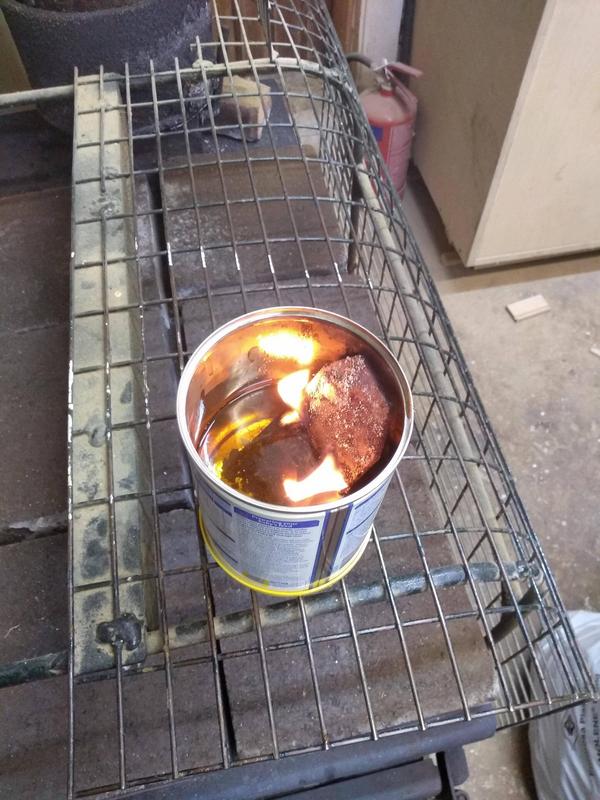
Once the blade had cooled I removed it from the oil. The blade has black scale from oxidation and the burning oil so I gave it a quick clean up with some 60 grit sand paper.
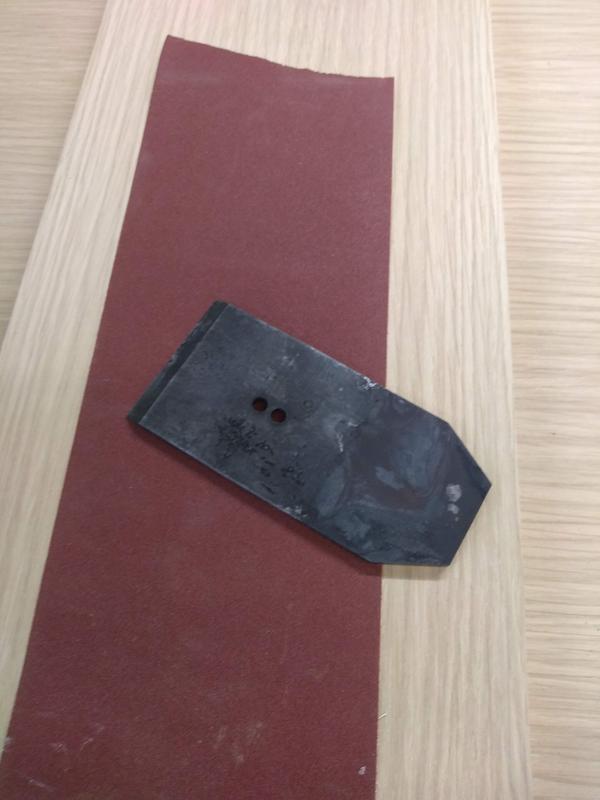
I then tempered the blade in my oven at home.
I tempered at 200c for 4 hours then left the blade to air cool back to room temperature.
When it came out of the oven it was a lovely golden colour.
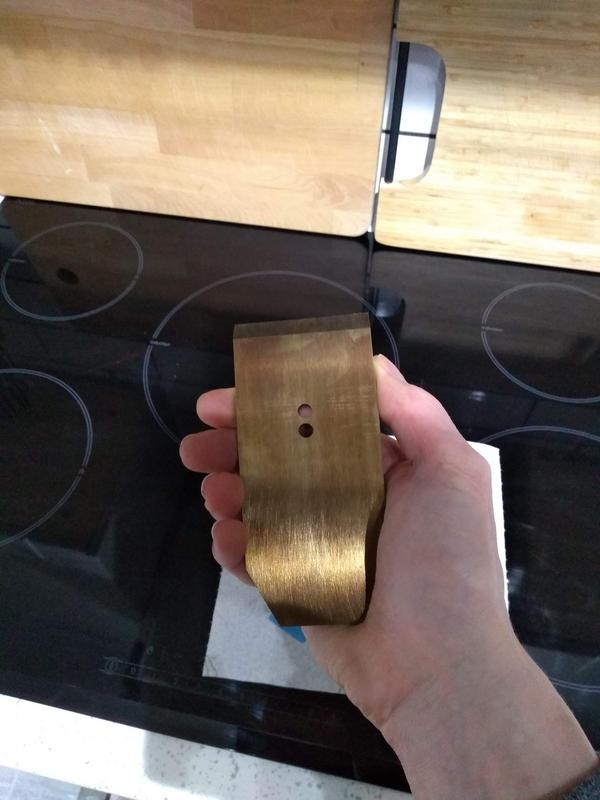
Back at the workshop I sanded the blade with some finer paper to remove the colouring and deep scratches.
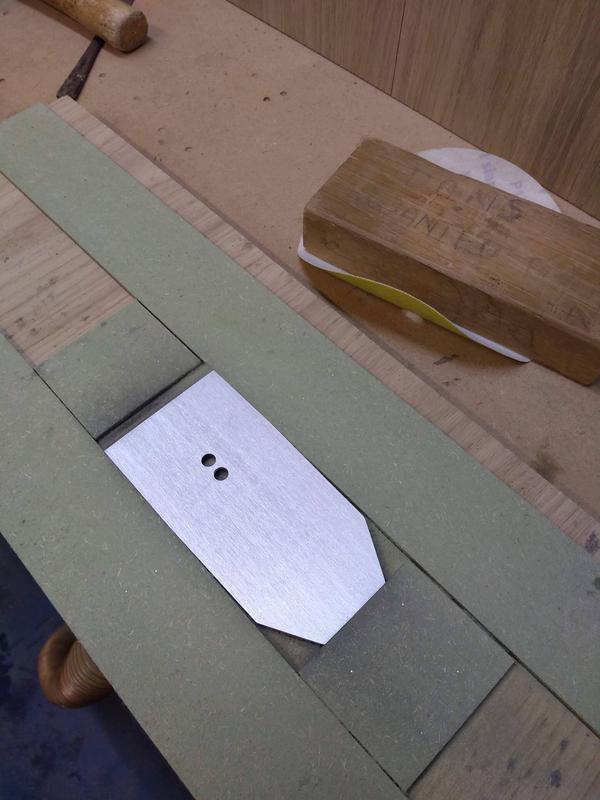
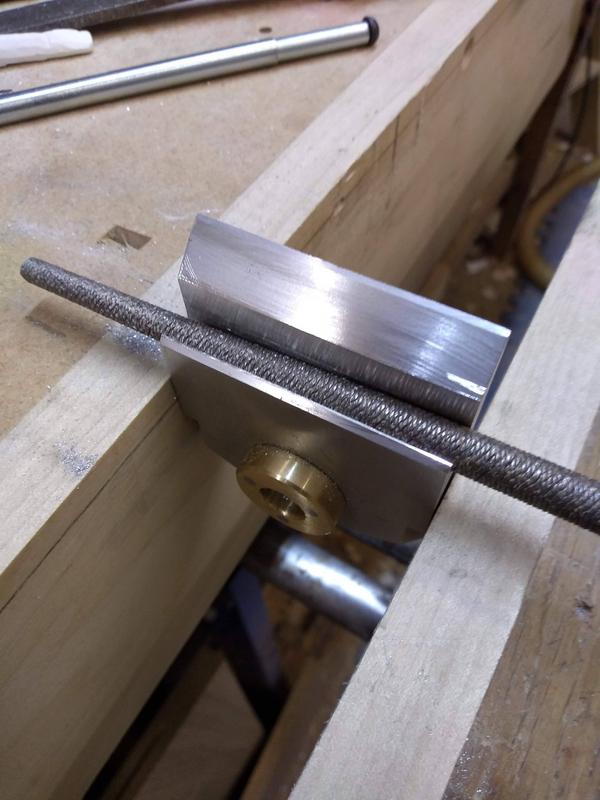
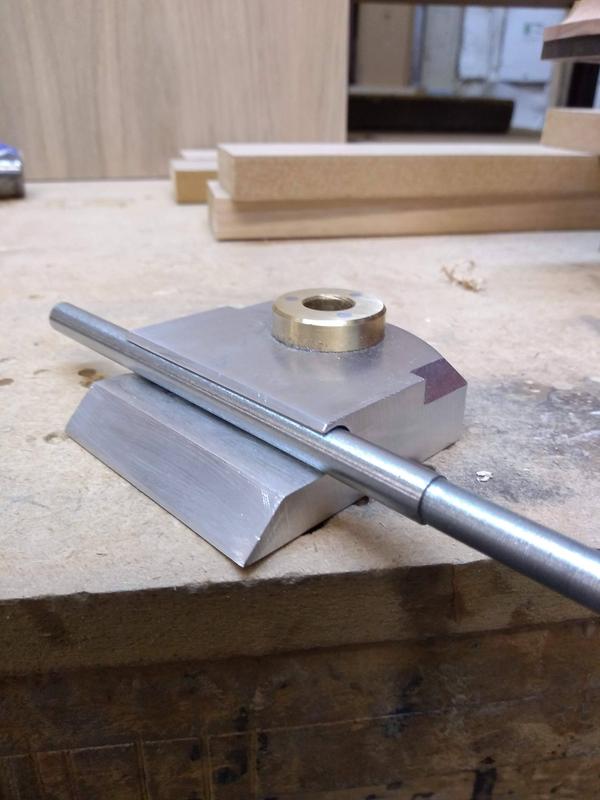
I tested the blade with a file to feel its hardness. If the blade is hardened properly the file should skid off the metal with a distinct metallic sound.
While the blade is definitely hard I'm not sure if it could be better. I'll have to wait and see how the final grind of the bevel goes and see how well it holds it's edge.
All that's left to do is grind the bevel fully then sharpen and hone the cutting edge. I'll do this once the plane is finished.
I have made the mouth of the plane wide enough to accept a 6mm thick blade but I couldn't find any 6mm tool steel at the time of ordering.
If it turns out my current blade didn't harden well I can either try hardening it again or get hold of a piece of 6mm tool steel and start again.
If any one has an off cut of 6mm 01 tool steel 120mm x 60mm I'd happily buy it from you.
A thicker blade is beneficial in single iron planes as it greatly reduce the chance of chatter in use.
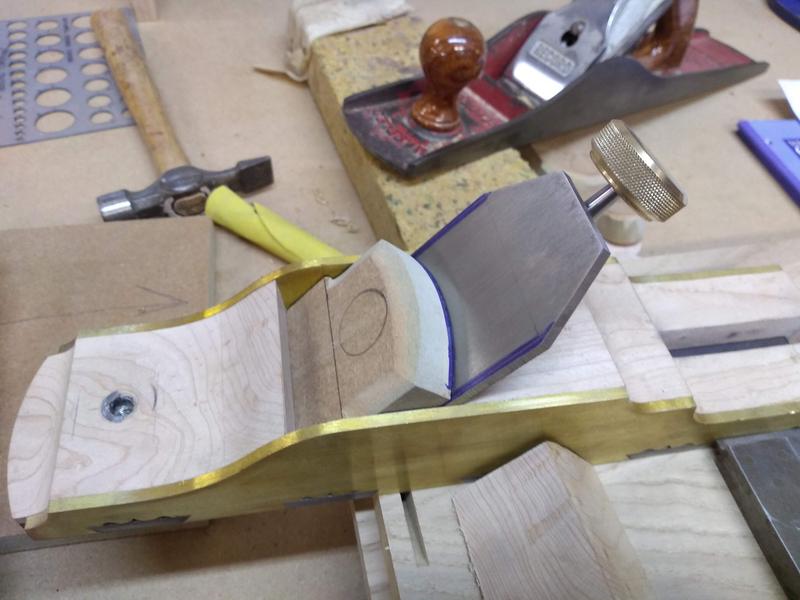
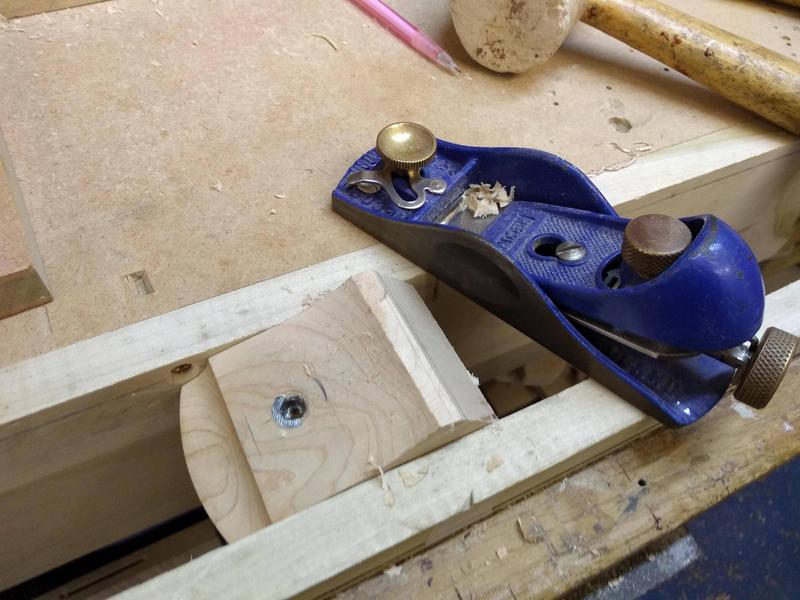
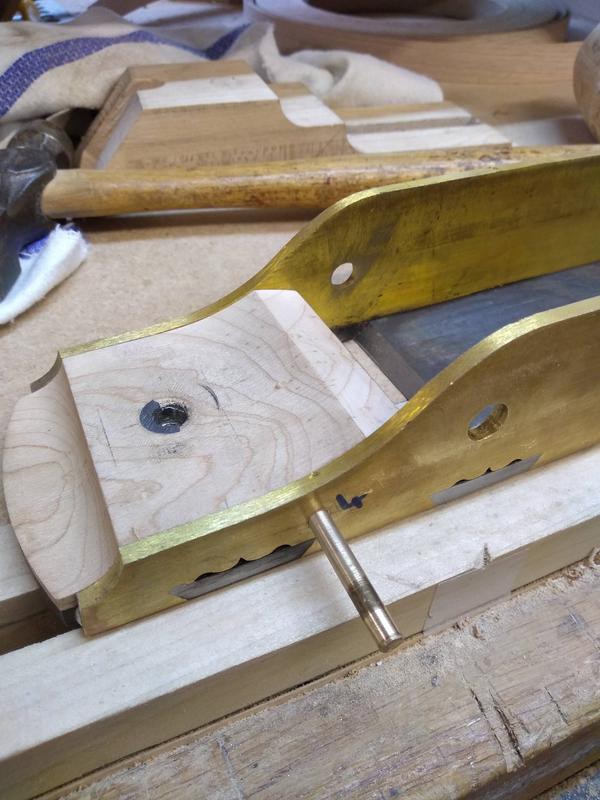
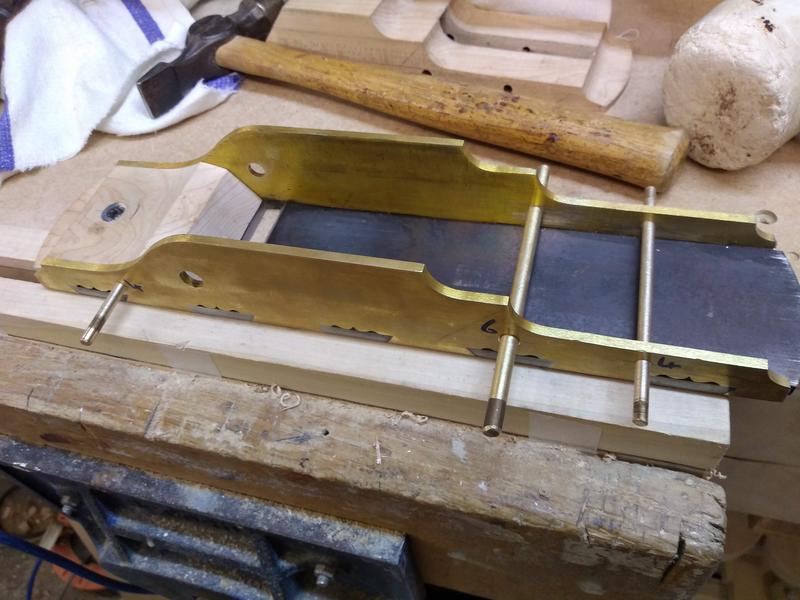
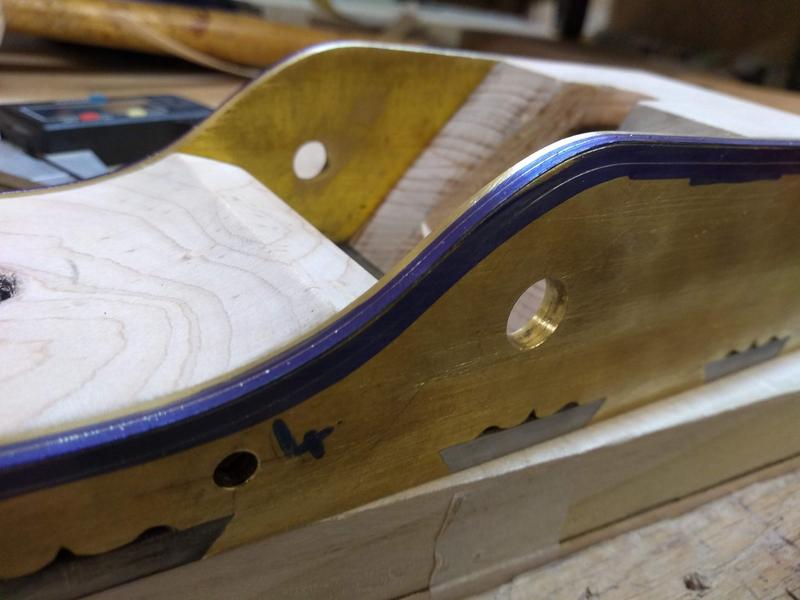
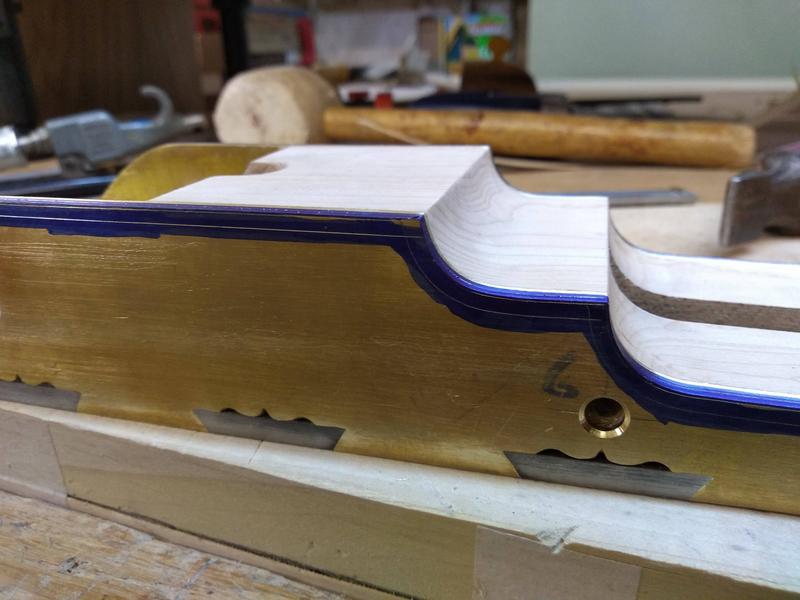
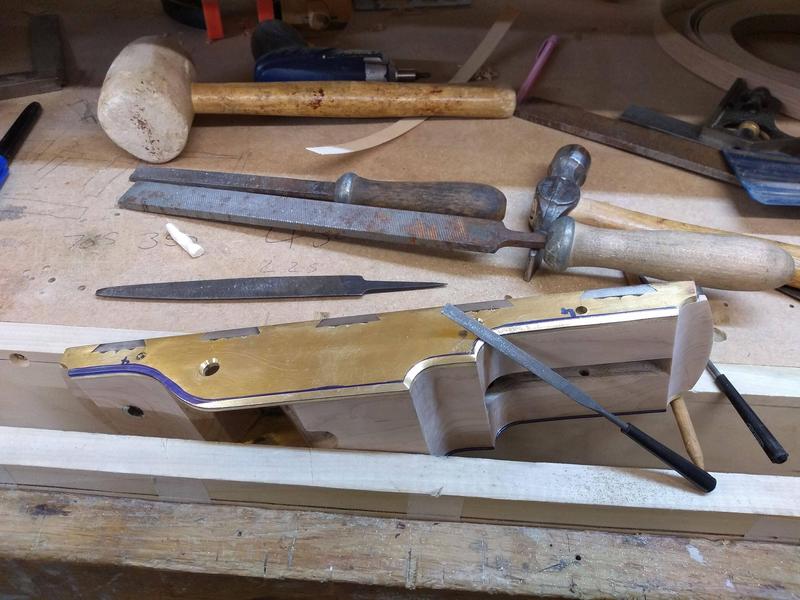
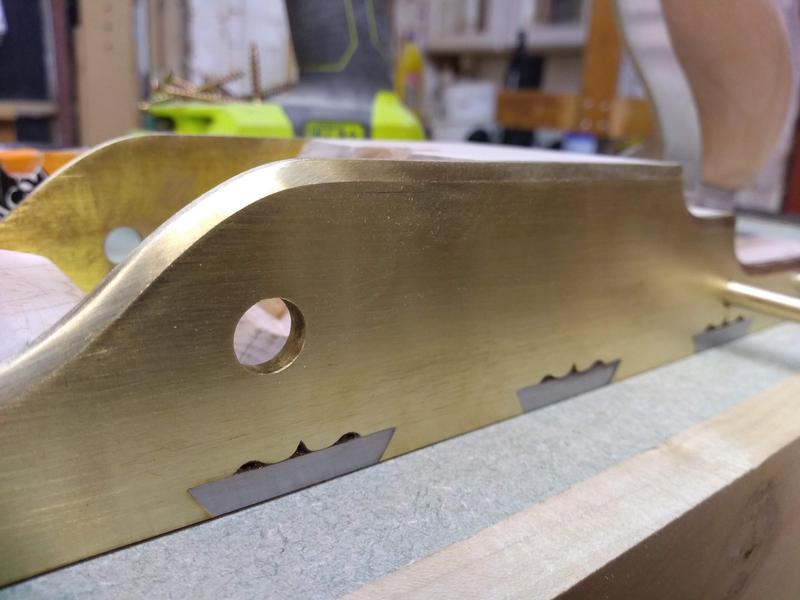
And finally the adjuster mechanism and maple infill inserted into the plane body.
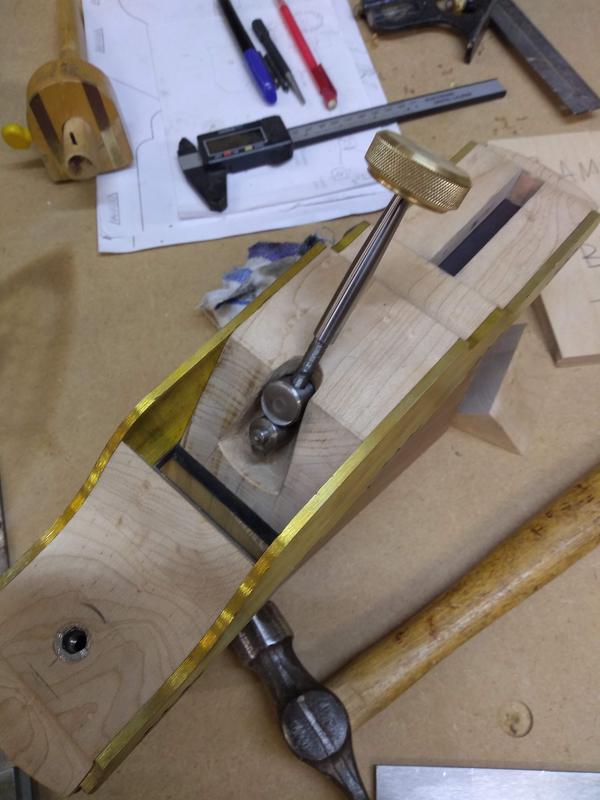
and the blade inserted.
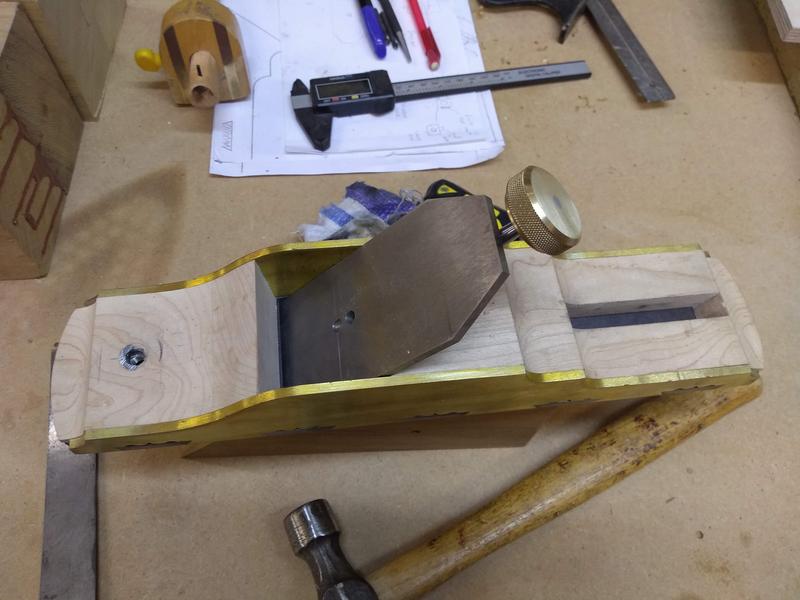
I'd say I'm roughly half way through the project at this stage. I've come a long way and learnt so much since it all started. I dread to think the hours I've put into this plane, maybe at the end i'll tally it up, if I'm feeling brave.
Thank you for all the comments and helpful information along the way, I hope you're not getting too bored of my ramblings just yet.
I started by marking out and drilling a 16mm hole for the bearing to seat in.

From there I used a router to cut away the majority of the waste where the adjuster will sit.

A quick test fit of the adjuster to make sure I had removed enough material.

After that I used chisels and gouges to clean up the recess.
The bearing was a very tight fit in the hole but I also used a touch of epoxy to hold it in place.

And finally with the adjuster fitted.
The pivot pin is held still by the bearing, turning the adjuster moves the blade pin up and down to increase or decrease depth of cut.
Lateral adjustment is done by moving the shaft left or right which moves the blade in the opposite direction.

Now the adjuster mechanism is made and fitted I could measure how long the blade needs to be.
I cut the blade and drilled holes for the blade pin to sit through.
I also partially ground the bevel. I did not fully grind the bevel, doing this Helps to reduce the chance of the cutting edge warping when heat treating the blade.

I was toying with the idea of making a bean can forge to use with my blow torch to heat the blade but decided to go for the easier option of using one of our wood burners instead.
I placed a fire brick on the bottom and loaded it up with pellets.

I'm not sure what temperature it got up to but it was damn hot!
I placed the blade and a large bolt inside.
The bolt is for preheating the oil before the blade gets quenched. Heating the oil can reduce the risk of warping and cracking the blade.

Once the bolt was cherry red I dropped it into the oil.
I then waited for the blade to go red before removing it from the burner and testing it with a magnet, if the magnet is not drawn to the steel its ready to quench.
If the blade still has some magnetism it needs to be heated further.
I plunged the blade in the oil and stood back, the flames were impressive.

Once the blade had cooled I removed it from the oil. The blade has black scale from oxidation and the burning oil so I gave it a quick clean up with some 60 grit sand paper.

I then tempered the blade in my oven at home.
I tempered at 200c for 4 hours then left the blade to air cool back to room temperature.
When it came out of the oven it was a lovely golden colour.

Back at the workshop I sanded the blade with some finer paper to remove the colouring and deep scratches.

I tested the blade with a file to feel its hardness. If the blade is hardened properly the file should skid off the metal with a distinct metallic sound.
While the blade is definitely hard I'm not sure if it could be better. I'll have to wait and see how the final grind of the bevel goes and see how well it holds it's edge.
All that's left to do is grind the bevel fully then sharpen and hone the cutting edge. I'll do this once the plane is finished.
I have made the mouth of the plane wide enough to accept a 6mm thick blade but I couldn't find any 6mm tool steel at the time of ordering.
If it turns out my current blade didn't harden well I can either try hardening it again or get hold of a piece of 6mm tool steel and start again.
If any one has an off cut of 6mm 01 tool steel 120mm x 60mm I'd happily buy it from you.
A thicker blade is beneficial in single iron planes as it greatly reduce the chance of chatter in use.
And finally the adjuster mechanism and maple infill inserted into the plane body.

and the blade inserted.

I'd say I'm roughly half way through the project at this stage. I've come a long way and learnt so much since it all started. I dread to think the hours I've put into this plane, maybe at the end i'll tally it up, if I'm feeling brave.
Thank you for all the comments and helpful information along the way, I hope you're not getting too bored of my ramblings just yet.


