Making a brass infill plane (Hattori Hanzo, DP)

UKworkshop.co.uk

Help Support UKworkshop.co.uk:

This site may earn a commission from merchant affiliate links, including eBay, Amazon, and others.
With the blade adjuster made I needed to mount it to the maple infill.

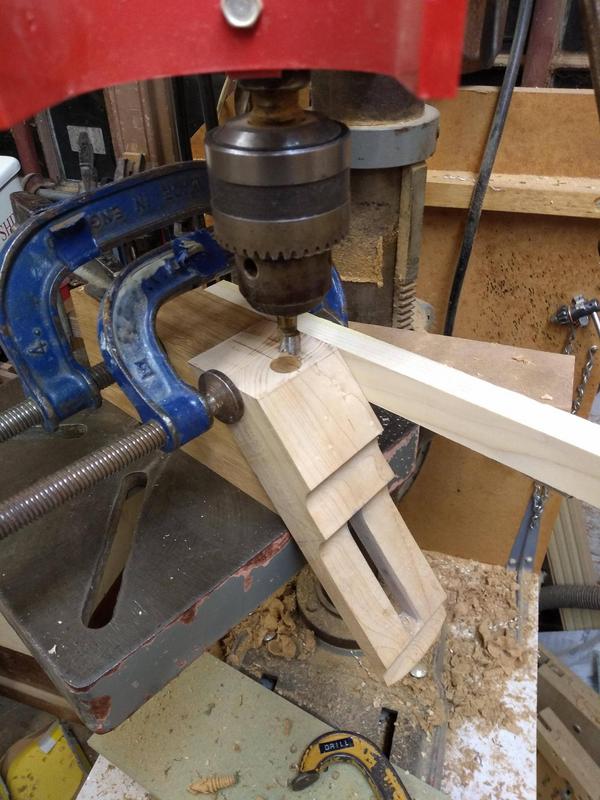
I started by marking out and drilling a 16mm hole for the bearing to seat in.
jzguMlY.jpg


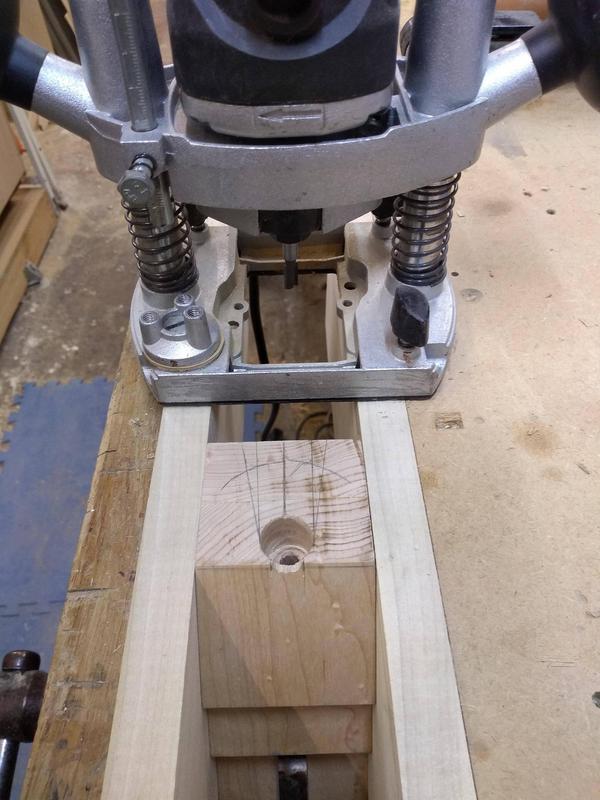
From there I used a router to cut away the majority of the waste where the adjuster will sit.
ObniFBQ.jpg


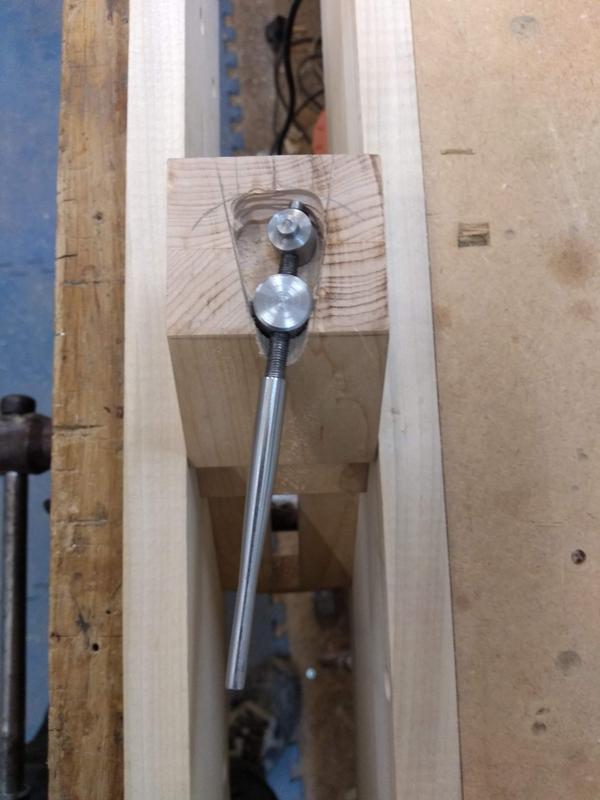
A quick test fit of the adjuster to make sure I had removed enough material.
ExQhiuu.jpg


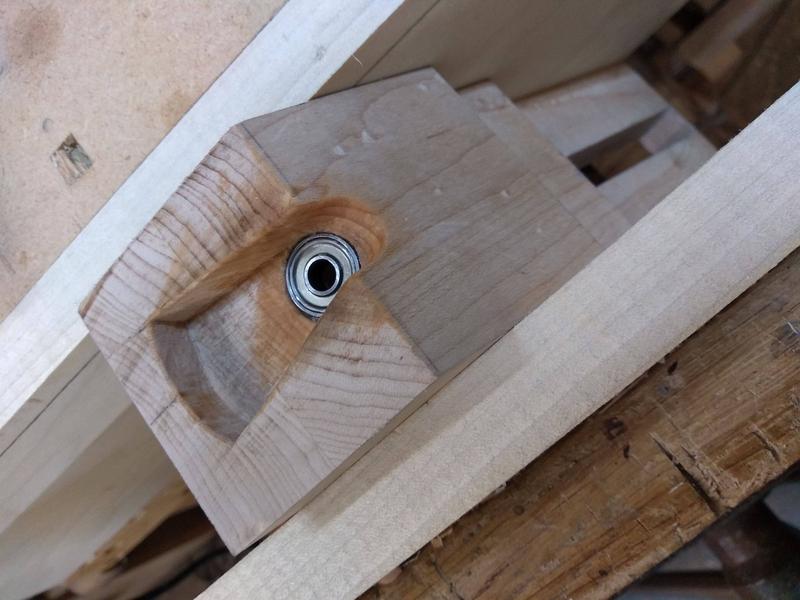
After that I used chisels and gouges to clean up the recess.
The bearing was a very tight fit in the hole but I also used a touch of epoxy to hold it in place.
dzM1Jny.jpg


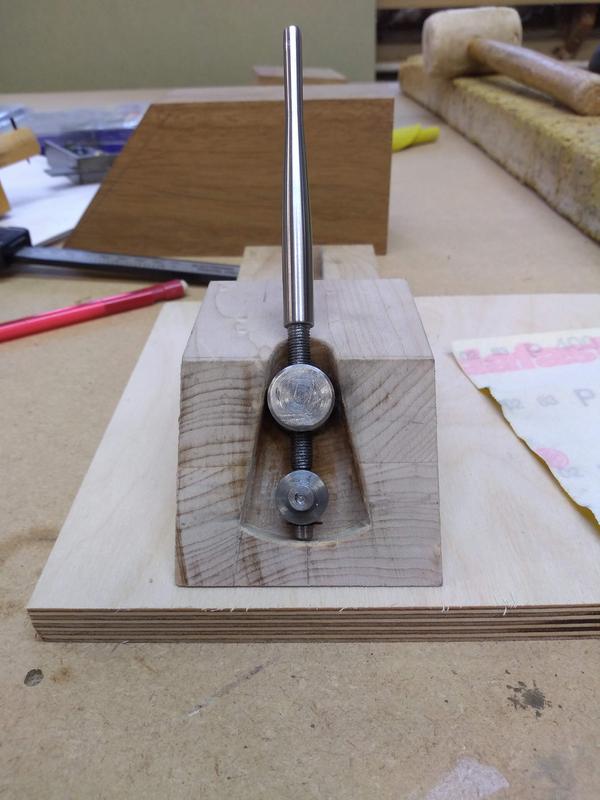
And finally with the adjuster fitted.
The pivot pin is held still by the bearing, turning the adjuster moves the blade pin up and down to increase or decrease depth of cut.
Lateral adjustment is done by moving the shaft left or right which moves the blade in the opposite direction.
QsEox0d.jpg


Now the adjuster mechanism is made and fitted I could measure how long the blade needs to be.
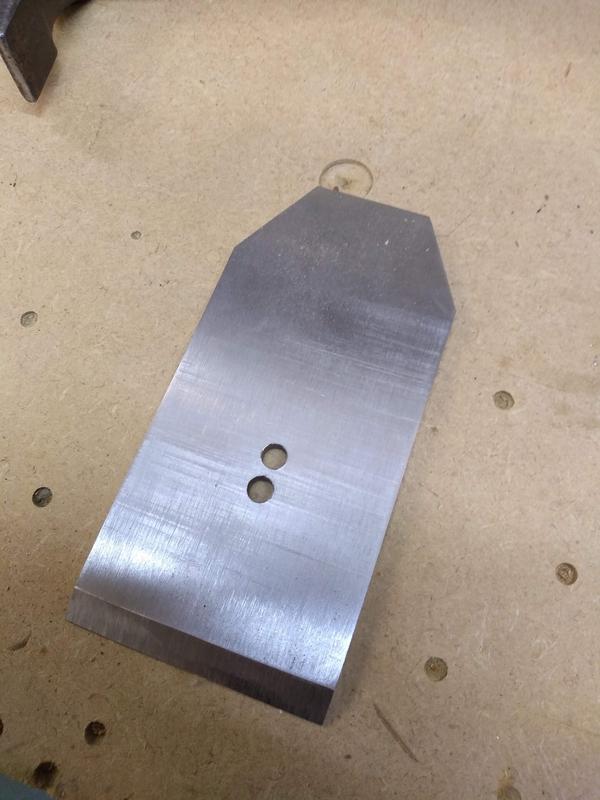
I cut the blade and drilled holes for the blade pin to sit through.
I also partially ground the bevel. I did not fully grind the bevel, doing this Helps to reduce the chance of the cutting edge warping when heat treating the blade.
dkSQvUJ.jpg


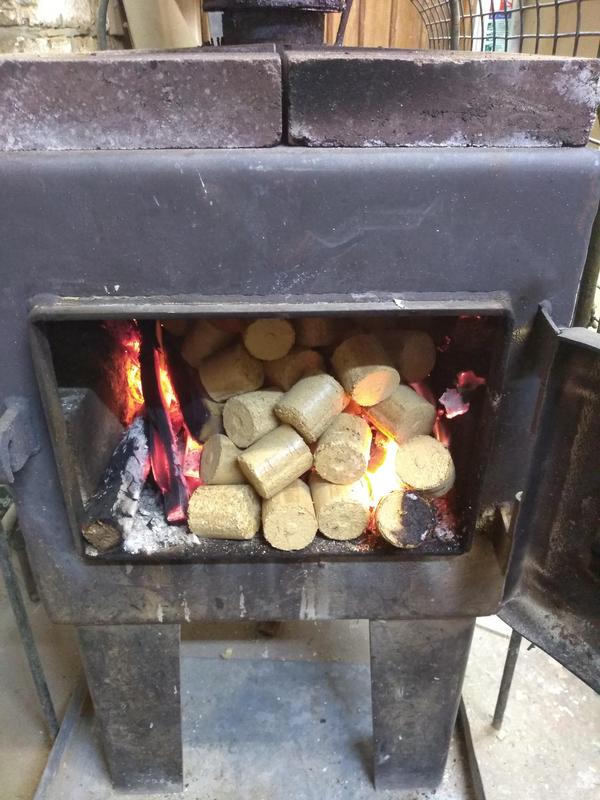
I was toying with the idea of making a bean can forge to use with my blow torch to heat the blade but decided to go for the easier option of using one of our wood burners instead.

I placed a fire brick on the bottom and loaded it up with pellets.
dPSIi2Z.jpg


I'm not sure what temperature it got up to but it was damn hot!
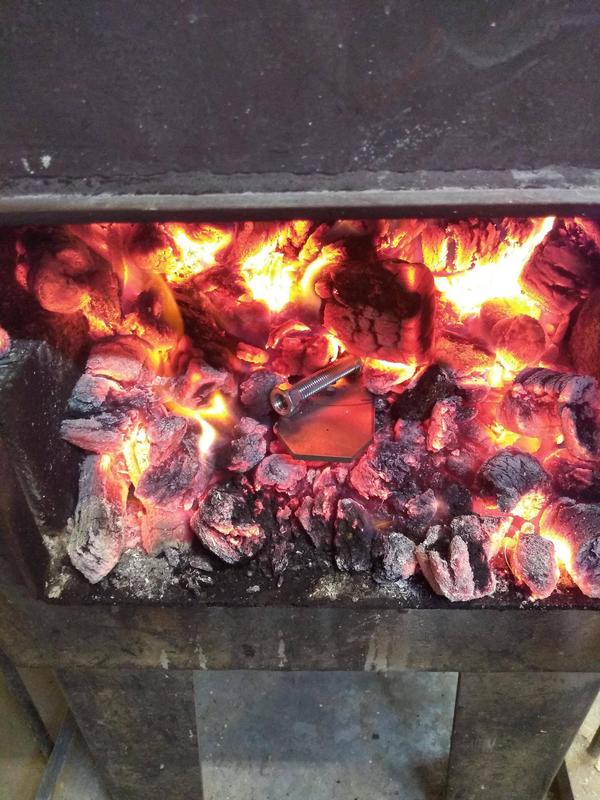
I placed the blade and a large bolt inside.
The bolt is for preheating the oil before the blade gets quenched. Heating the oil can reduce the risk of warping and cracking the blade.
OmVEpvL.jpg


Once the bolt was cherry red I dropped it into the oil.
I then waited for the blade to go red before removing it from the burner and testing it with a magnet, if the magnet is not drawn to the steel its ready to quench.
If the blade still has some magnetism it needs to be heated further.

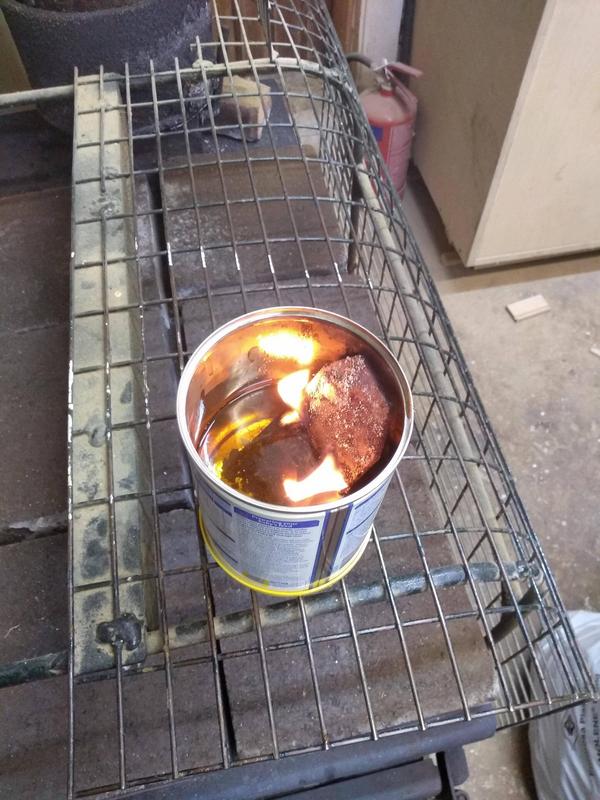
I plunged the blade in the oil and stood back, the flames were impressive.
gfP8iLf.jpg


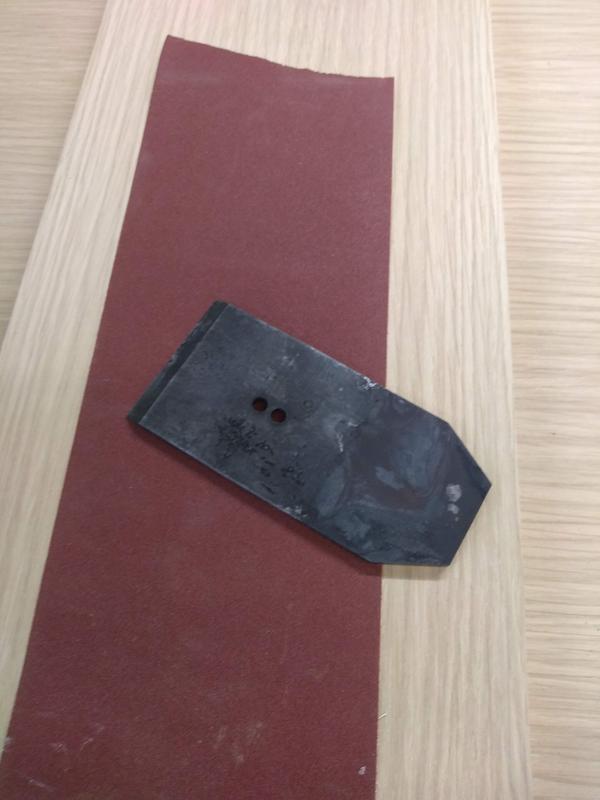
Once the blade had cooled I removed it from the oil. The blade has black scale from oxidation and the burning oil so I gave it a quick clean up with some 60 grit sand paper.
V9i7GKA.jpg


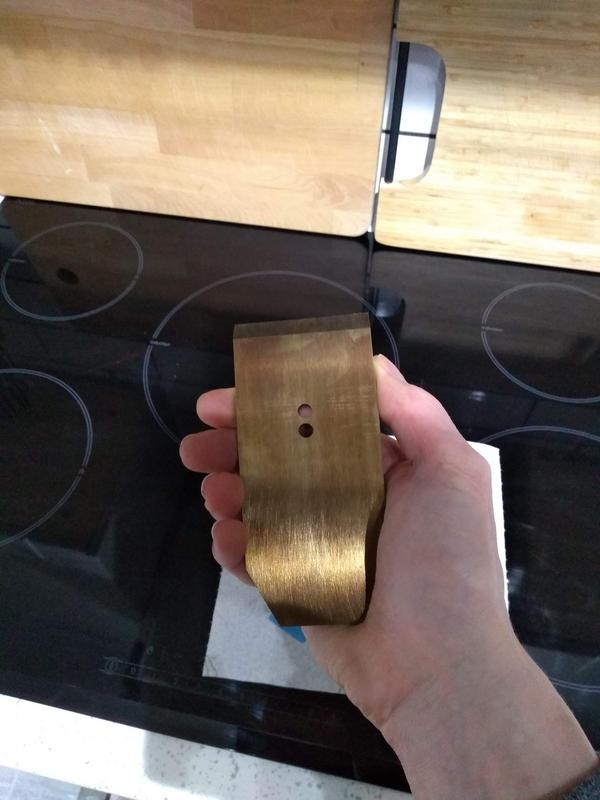
I then tempered the blade in my oven at home.
I tempered at 200c for 4 hours then left the blade to air cool back to room temperature.
When it came out of the oven it was a lovely golden colour.
be27pEG.jpg


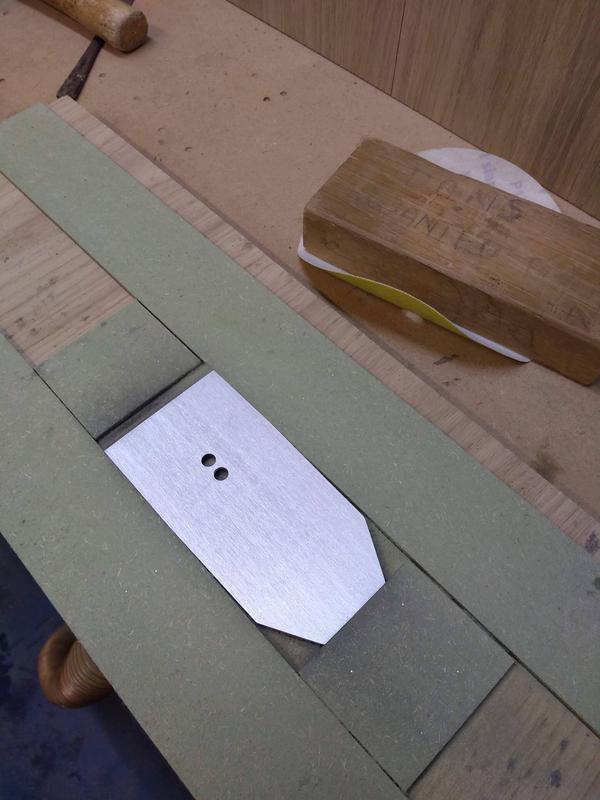
Back at the workshop I sanded the blade with some finer paper to remove the colouring and deep scratches.
renrnfS.jpg


I tested the blade with a file to feel its hardness. If the blade is hardened properly the file should skid off the metal with a distinct metallic sound.
While the blade is definitely hard I'm not sure if it could be better. I'll have to wait and see how the final grind of the bevel goes and see how well it holds it's edge.

All that's left to do is grind the bevel fully then sharpen and hone the cutting edge. I'll do this once the plane is finished.

I have made the mouth of the plane wide enough to accept a 6mm thick blade but I couldn't find any 6mm tool steel at the time of ordering.
If it turns out my current blade didn't harden well I can either try hardening it again or get hold of a piece of 6mm tool steel and start again.

If any one has an off cut of 6mm 01 tool steel 120mm x 60mm I'd happily buy it from you.

A thicker blade is beneficial in single iron planes as it greatly reduce the chance of chatter in use.


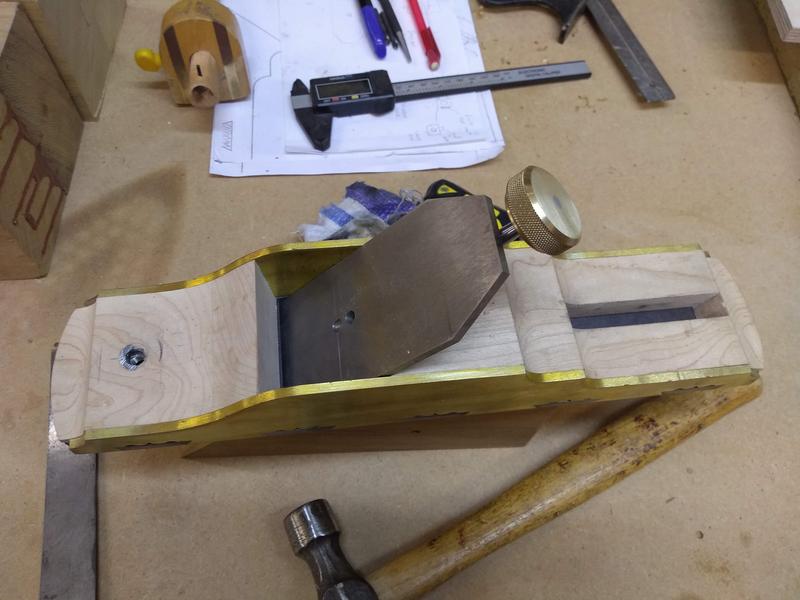
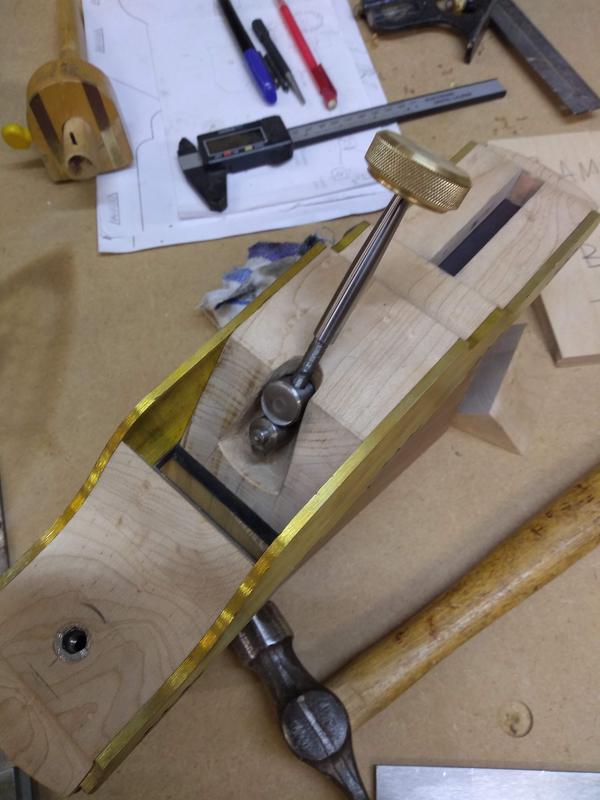
And finally the adjuster mechanism and maple infill inserted into the plane body.
gefnf7r.jpg


and the blade inserted.

DOt9nFV.jpg


I'd say I'm roughly half way through the project at this stage. I've come a long way and learnt so much since it all started. I dread to think the hours I've put into this plane, maybe at the end i'll tally it up, if I'm feeling brave.
Thank you for all the comments and helpful information along the way, I hope you're not getting too bored of my ramblings just yet.
 
Great read. Not heard about the magnetism.
When you are tempering a good piece of advice I received on here was to fill a foil tray with sand and put it in the bottom of the oven. It acts as a heatsink and raises the oven Temps above normal. Mine came out blue using it.
You also have a pm btw.
Fascinating build.
Thanks for sharing.
Cheers
Chris
 
I think we've been sandbagged a bit at the start here! this is really wonderful work!
 
Thanks for the comments guys I really appreciate them.

Thank you for the tip BM I shall try to remember that one for the future. Do you put the blade into the sand or just above it in the oven?

D_W thanks for your comment. Indeed this is my first metal work project of this level.

I've done some basic metal work over the years. Not that I'd even call it real metal work, resizing bolts, filing escutcheons etc, Very basic stuff that I've needed to modify for other work pieces.
I've never worked with sheet brass or steel before, even turning the brass round bar was all new to me.
I've also only used the engineering lathe a few times prior to this, again for basic machining of aluminium tube mainly just parting it off to length.

I have really wanted to make my own metal plane for many years but always put it off as something I just couldn't do, no training or understanding of metal.
Then maybe a year or so ago I started to research it again and the process seemed familiar so maybe I could do it.
I've made a few wooden planes in the past so understand the very basics, It was just taking that first step.
A lot of the hand skills are transferable from woodwork (which I've done a fair amount of) to metal so that's helped a lot as well I think.

I've done nothing in metal on the same level and detail as this plane, I never in a million years expected it to come out as well as it is, not for a first attempt.

I am taking my time with it though and trying not to rush at any stage, while there are tedious parts I'm really enjoying it, makes a nice change from woodwork and I keep telling myself it will take as long as it takes.

The late evening's aren't going down to well with the Mrs though! :eek:
 
Bm101":x7kb02jy said:
Great read. Not heard about the magnetism.
When you are tempering a good piece of advice I received on here was to fill a foil tray with sand and put it in the bottom of the oven. It acts as a heatsink and raises the oven Temps above normal. Mine came out blue using it.
You also have a pm btw.
Fascinating build.
Thanks for sharing.
Cheers
Chris

I've also heard of using bronze powder to put the iron in, after coming out of the tempering oven, for a gradual cooling to room temperature. I have worked with an old guy years back, that used a double wrap of heat treat foil, to prevent decarbing during the high temp part of the process and a toaster oven (kitchen appliance), set as 300 degrees F, and his tools had excellent life, equal to any far more tevhnical approaches.

All tool steel manufacturers have heat treat guides free for the asking, if you contact them.
 
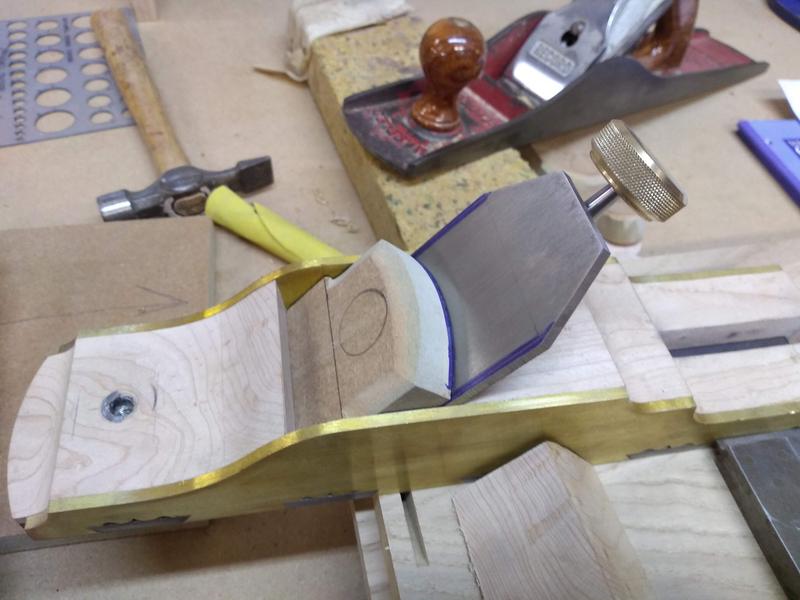
With the blade fitted I can work on the lever cap.

The lever cap mounts on top of the blade and locks it in position. I'm also going to try extending the lever cap towards the front of the blade to act as a cap iron "chip breaker" as well.

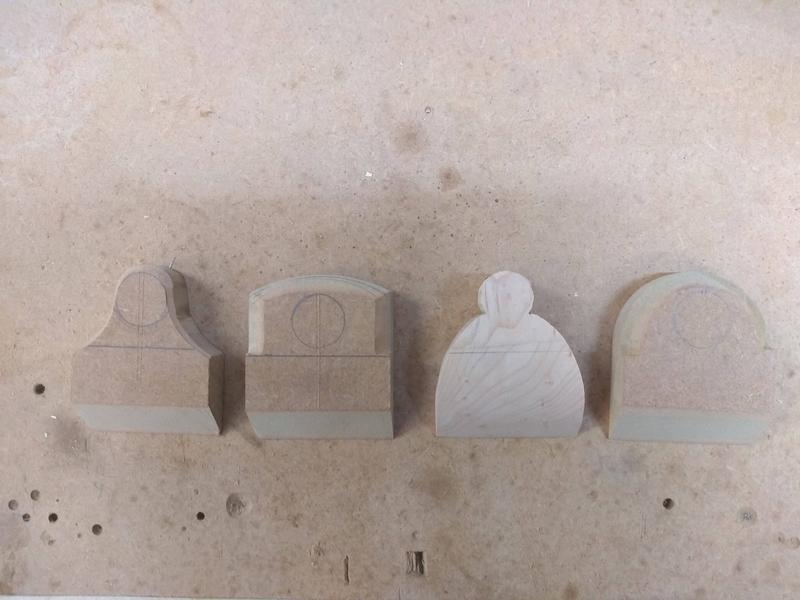
First I made some mock up lever caps of different designs.

LssQOFQ.jpg


and settled on this one.

0nN20Aw.jpg


Ideally I'd like to have made the lever cap out of brass but I couldn't find a piece thick enough.
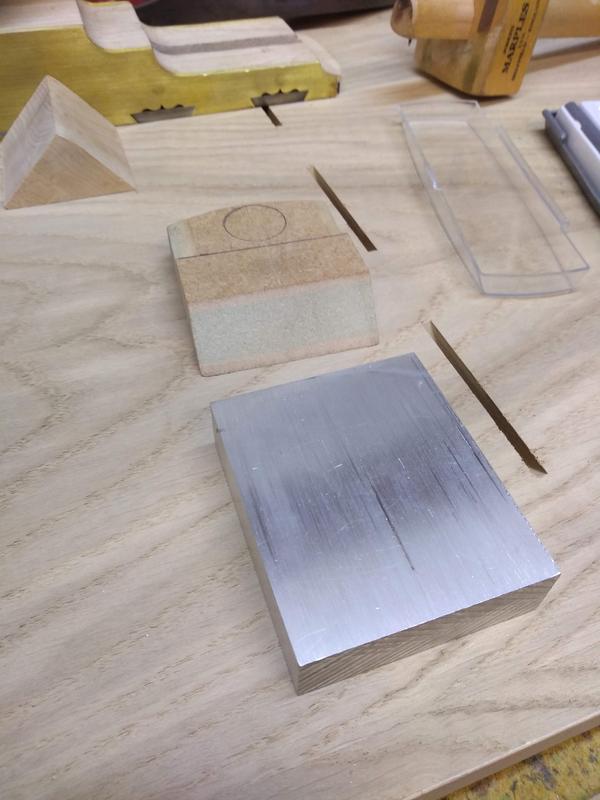
Aluminium was easily available in the sizes I needed and at a fraction of the cost of brass so I went with that.
I could have used steel but wasn't brave enough to trying working it at this thickness.

A90EdvR.jpg


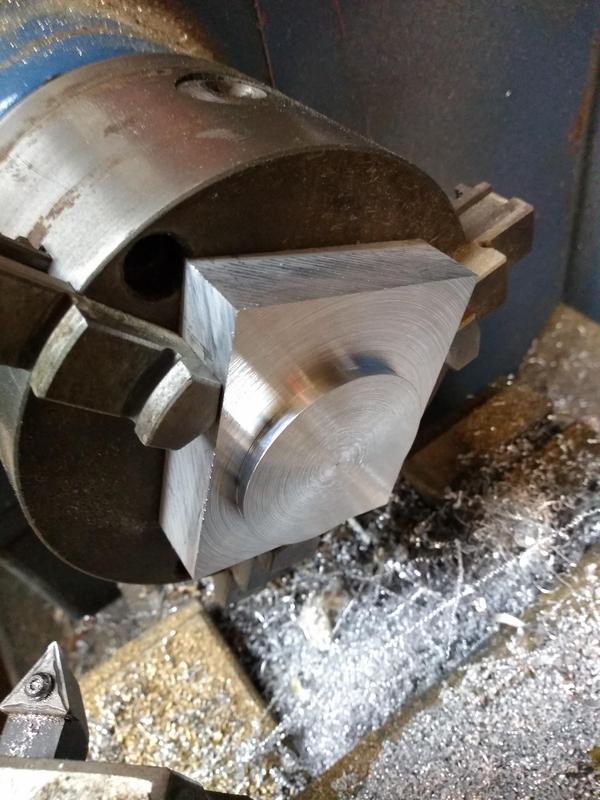
The piece of aluminium I bought turned out to be too thick.
We don't have a milling machine so instead I mounted the aluminium in the lathe and used it to reduce it's thickness to 18mm
Not sure if this is a common practice but it seemed to work well.
Of course I could have cut and filed it by hand but that would have taken some time.

F0uXspx.jpg


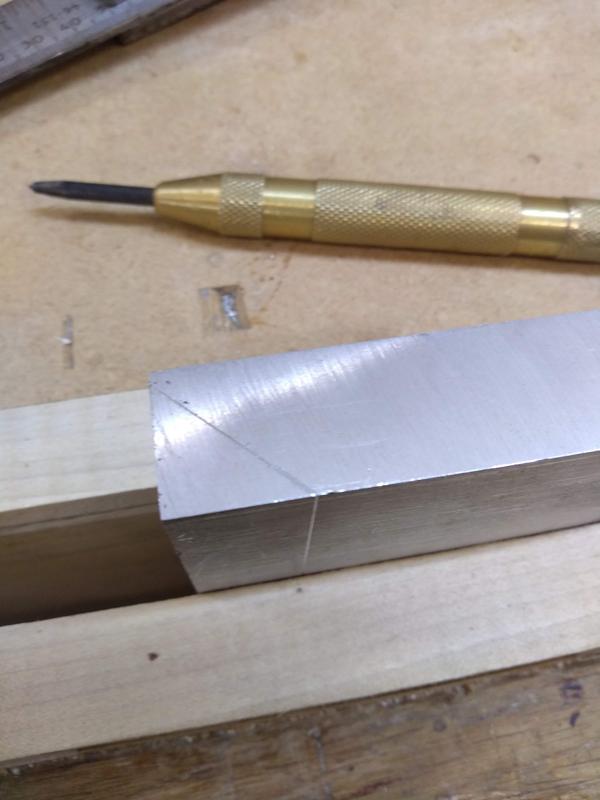
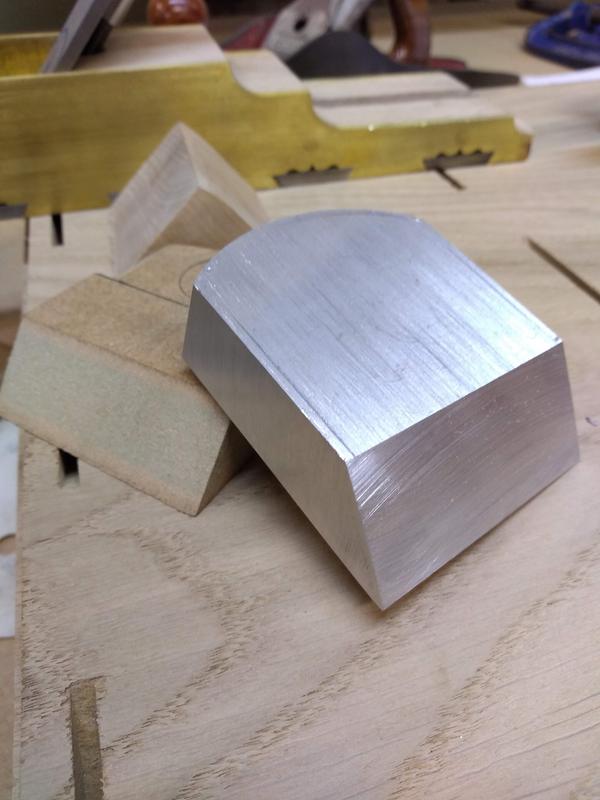
Next I marked out the bevel and curved end. The bevel has to be steep enough to clear the throat so as not to interfere with ejecting shavings but also not so steep that the tip would be fragile.

y0195VQ.jpg


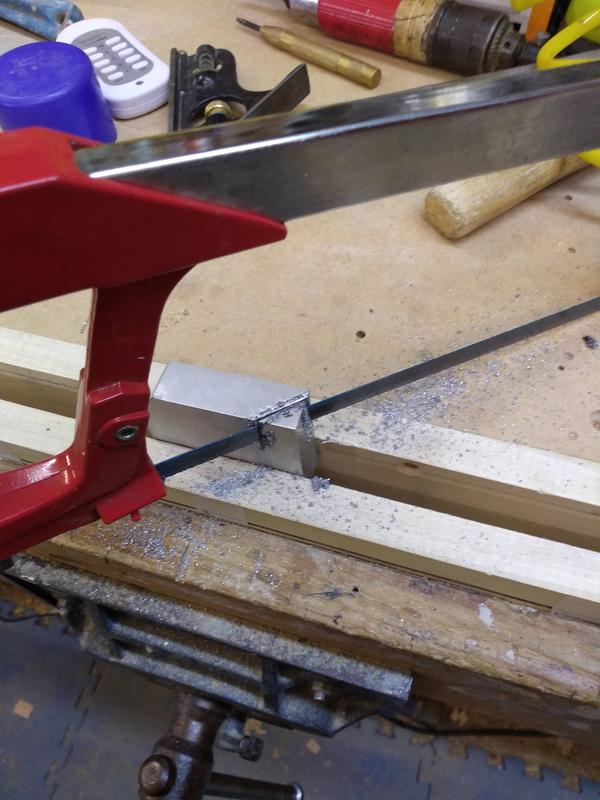
I cut the bevel and curve with a hacksaw.

PM3EcYl.jpg


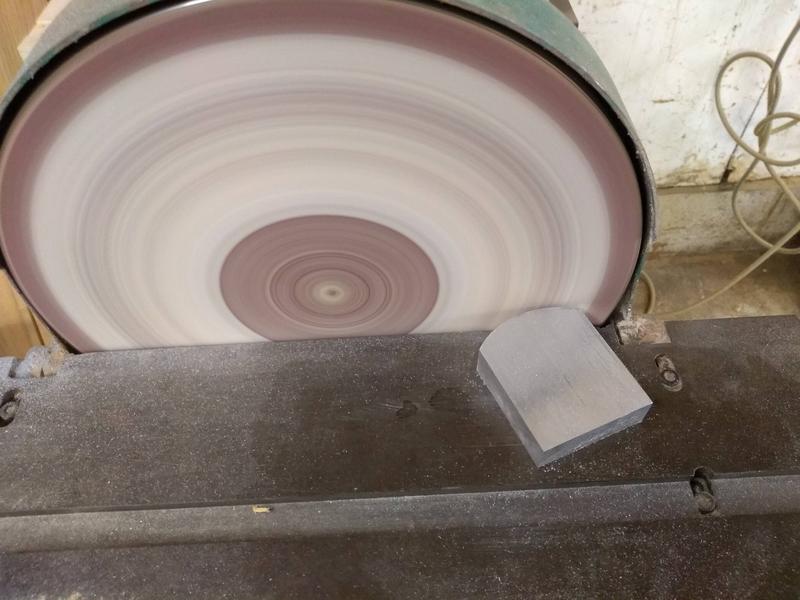
Then used a disc sander to clean up the rough edges.

SvqwaEe.jpg


And the initial shape is done.

eec6mvf.jpg


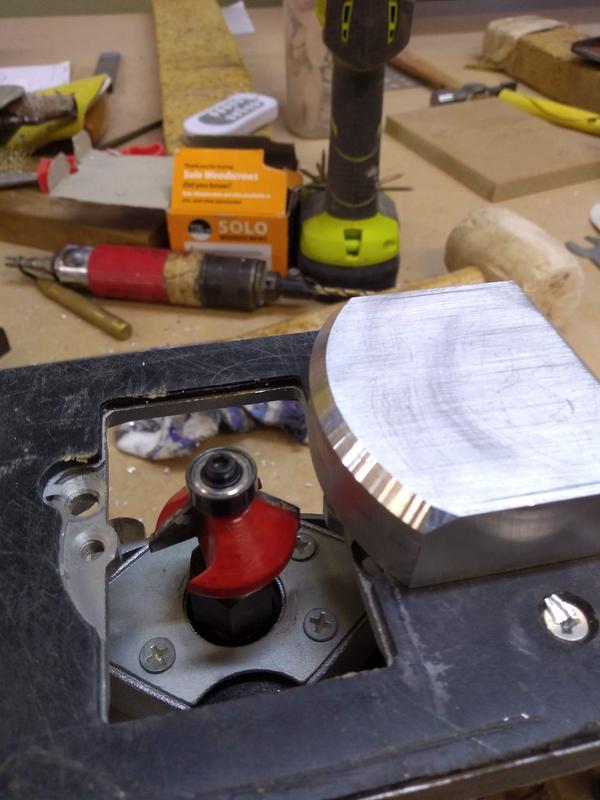
Next I used a router and 45 degree cutter to put a bevel on the curve.

8xCxIT3.jpg


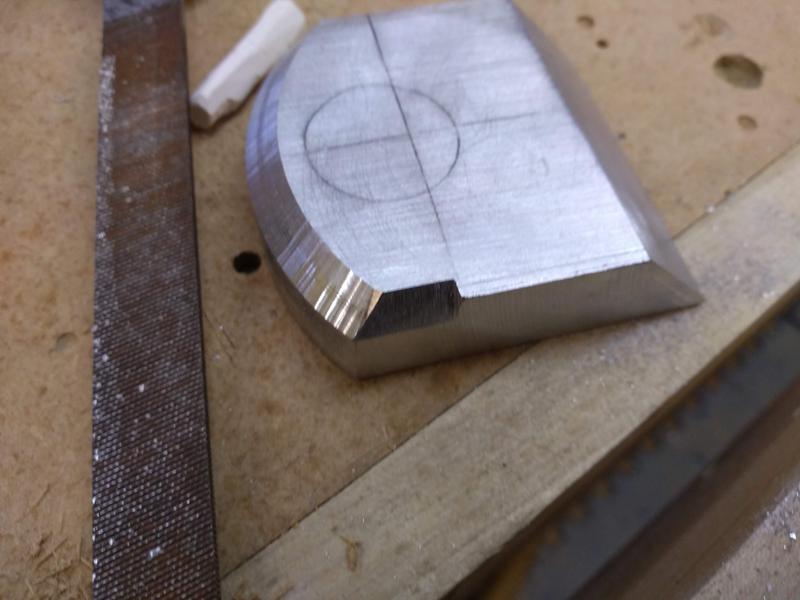
Then returned the bevel part way down the sides with a hand file.

CIg3RhE.jpg


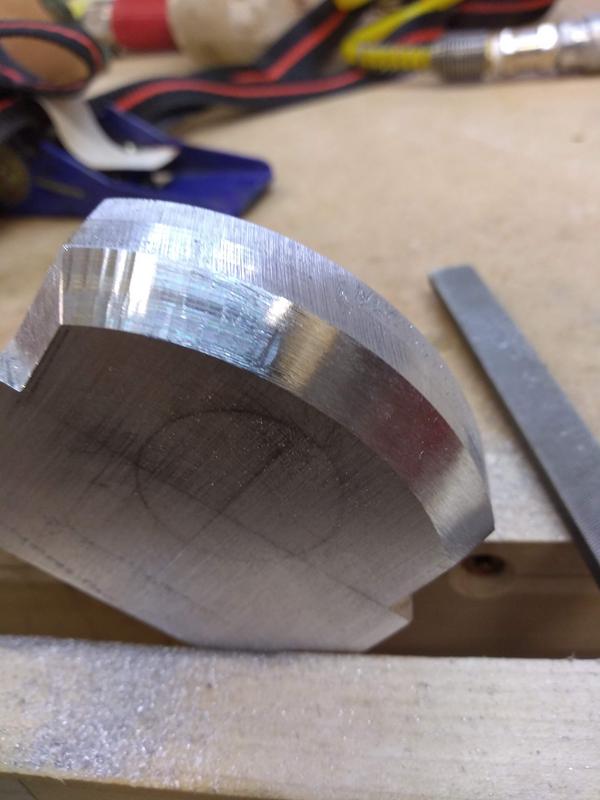
The router and disc sander left a lot of machine marks which I draw filed away.

2C05JO6.jpg


I then gave it an initial sanding to remove any deep scratches that were left.

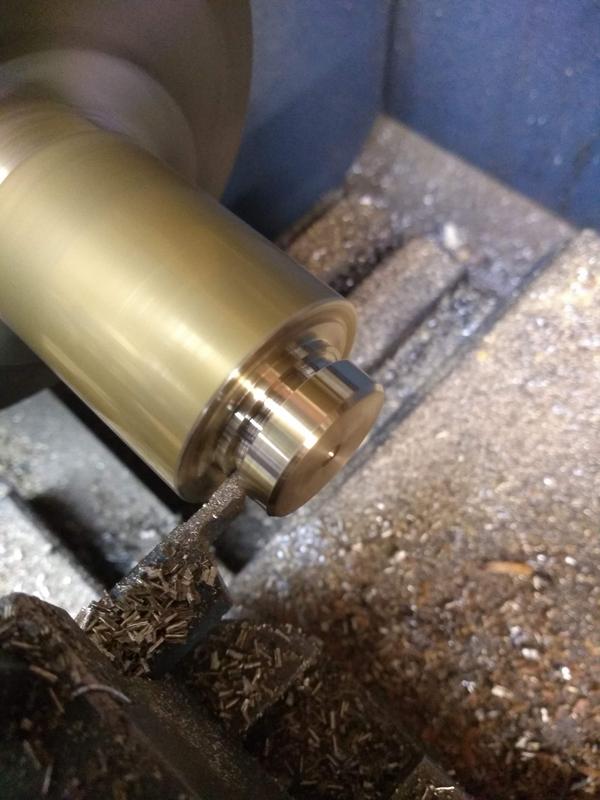
Back on the lathe I turned a 22mm collar out of brass.

AyyRSUN.jpg


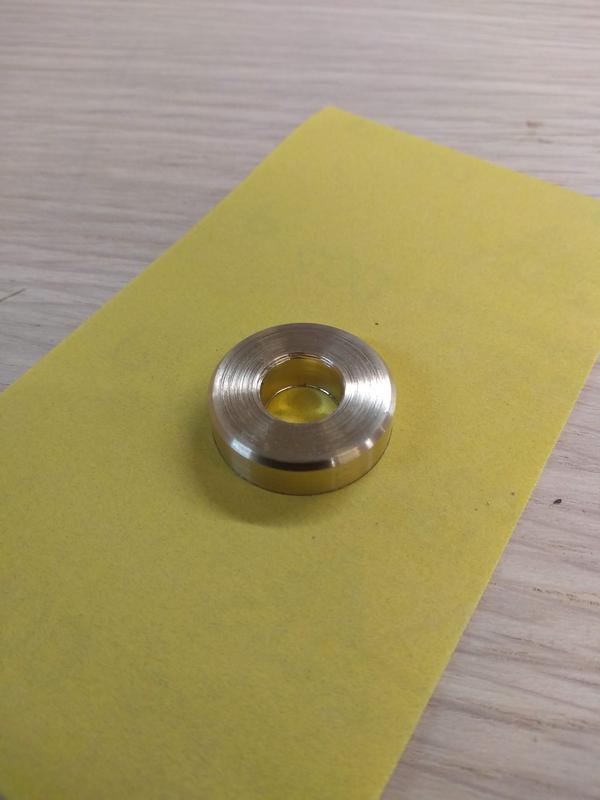
And drilled a 10.7mm hole through it.

QkXdyKx.jpg


I'm adding the brass collar to the lever cap to give the thumb screw a little more metal to thread into.
I think it also adds to the aesthetics of the lever cap.

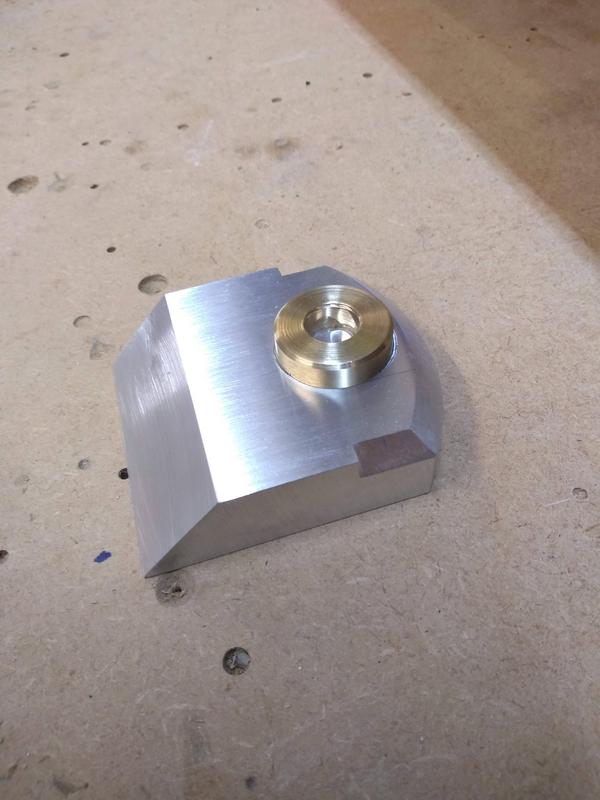
I centre the collar on the lever cap and temporarily fix it in place with super glue.

CiR99gr.jpg


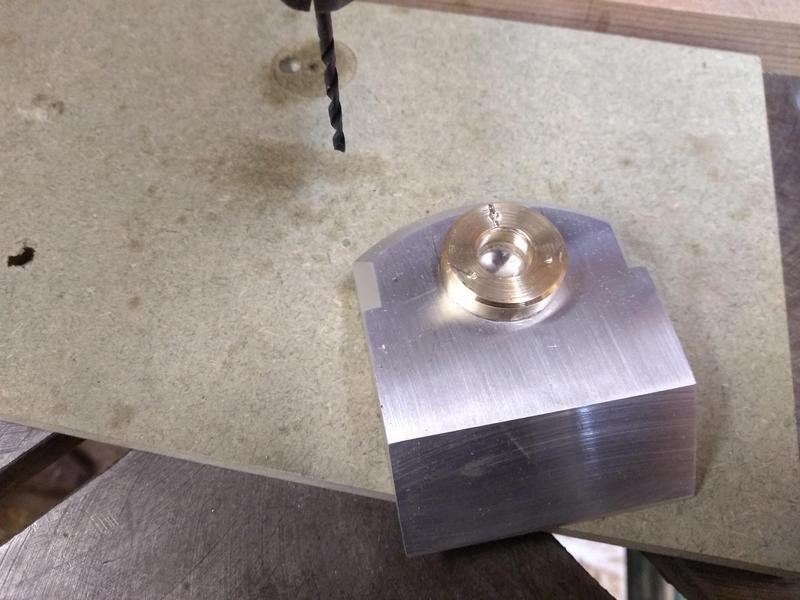
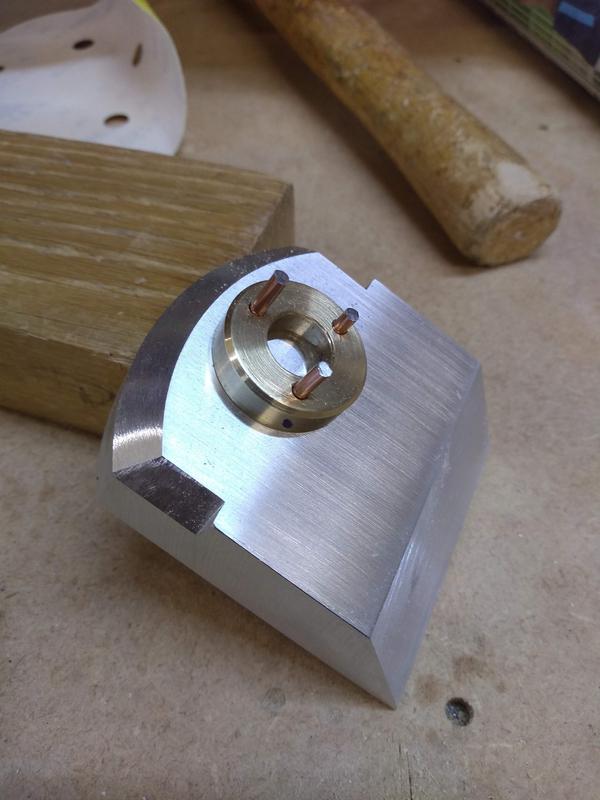
I centre punch and drill three 2mm holes through the brass and aluminium and add a very slight counter sink to the holes.

gAJpTLK.jpg


I then insert three steel pins to hold the collar in place.

OqifHqg.jpg


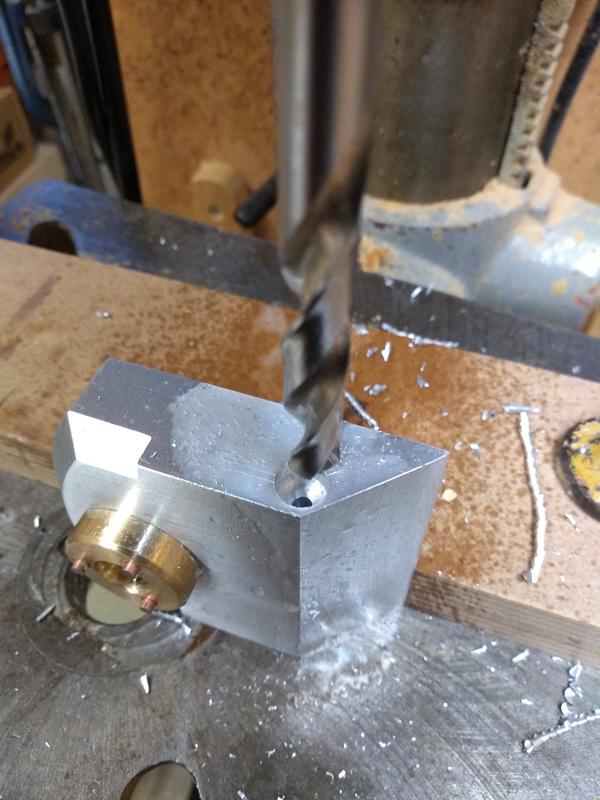
Next I mark out and drill an 8mm hole through the lever cap. This hole will provide the pivot point to secure the blade once in place.

LYiYkEz.jpg


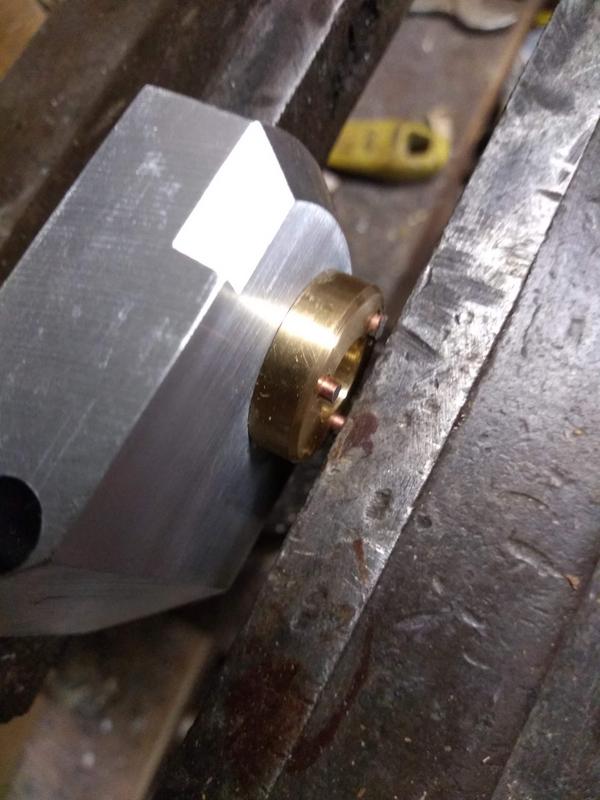
Next I cut down and crush the steel pins into the counter sunk holes using an engineers vice.

duyL6SB.jpg


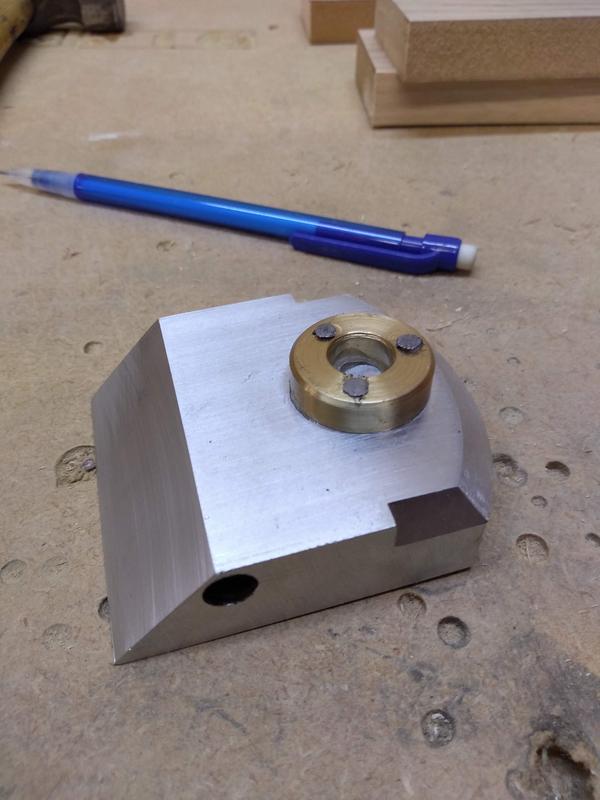
The steel pins have mushroomed into the holes, this secured the collar tightly in place.

5xpVIdF.jpg


I then filed away the surplus metal.

PukRzqF.jpg


Then cut and filed a straight slot to the through hole. This will enable the lever cap to be fitted and removed from the plane.

sIfHHAL.jpg


I test fit a piece of 8mm rod to make sure the slot isn't too tight.

2UzTEp7.jpg


I might have to adjust the length of the lever cap later down the line but I wont know until its fitted to the plane and the blade is inserted.

More to do yet but time is up for another day.
 
There's a good crop of ingenious metalworking techniques in this post on its own! Keep it coming.
 
I was sad when I saw you weren't making a brass lever cap but actually the aluminium one is going to be lovely. Agree with Andy lots of good metalworking and woodworking here. Best regards Mark
 
Bm101":3cp6y7hi said:
.......When you are tempering a good piece of advice I received on here was to fill a foil tray with sand and put it in the bottom of the oven. It acts as a heatsink and raises the oven Temps above normal........

I don't want to be picky, Chris, but a heatsink can't raise the temperature in an oven above normal. What it does is slow the heating up and the cooling down processes. A heatsink put into an oven set at, say, 240C, will never get above 240C itself.
 
Thanks for the support guys.

I was disappointed not to make it in brass too, at the time I just couldn't find an affordable piece in the size I needed. I could have bought I larger chunk for a lot more money but if it all went pear shaped it would be a massive waste.
Apart from the brass sides this project hadn't cost much but time, I didn't want to spend a load of money as I honestly didn't know how it was going to turn out.

Looking at it now I actually like the contrast of the brass and aluminium and I can always try to make a brass one in the future if I find a bit.
 
MikeG.":3hj23wne said:
Bm101":3hj23wne said:
.......When you are tempering a good piece of advice I received on here was to fill a foil tray with sand and put it in the bottom of the oven. It acts as a heatsink and raises the oven Temps above normal........

I don't want to be picky, Chris, but a heatsink can't raise the temperature in an oven above normal. What it does is slow the heating up and the cooling down processes. A heatsink put into an oven set at, say, 240C, will never get above 240C itself.


Don't forget an oven regulates the temprature by keeping the power to the element on for longer or shorter times, so the oven temperature is higher than the food/blade.

Pete
 
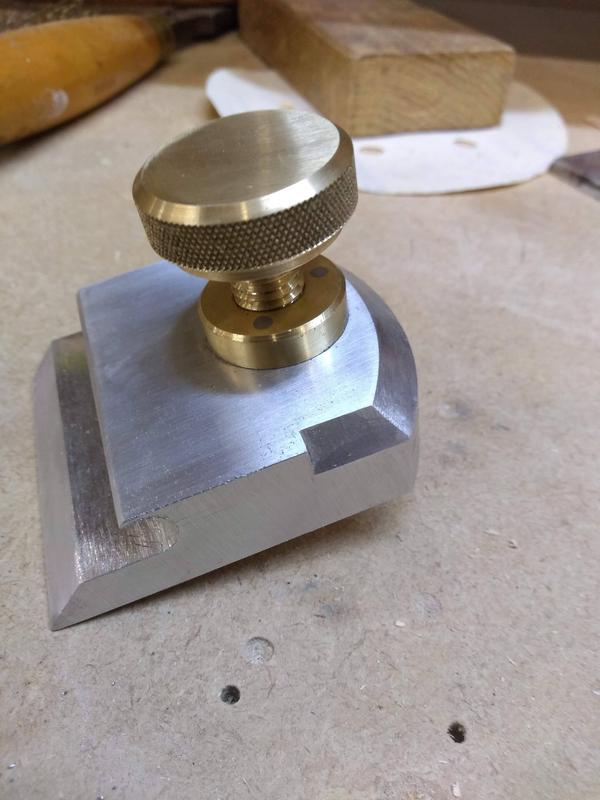
Beginning this evening on the lathe again, I started making the lever cap thumb screw.
Much like the tote I want the thumb screw to be larger than normal and a feature.
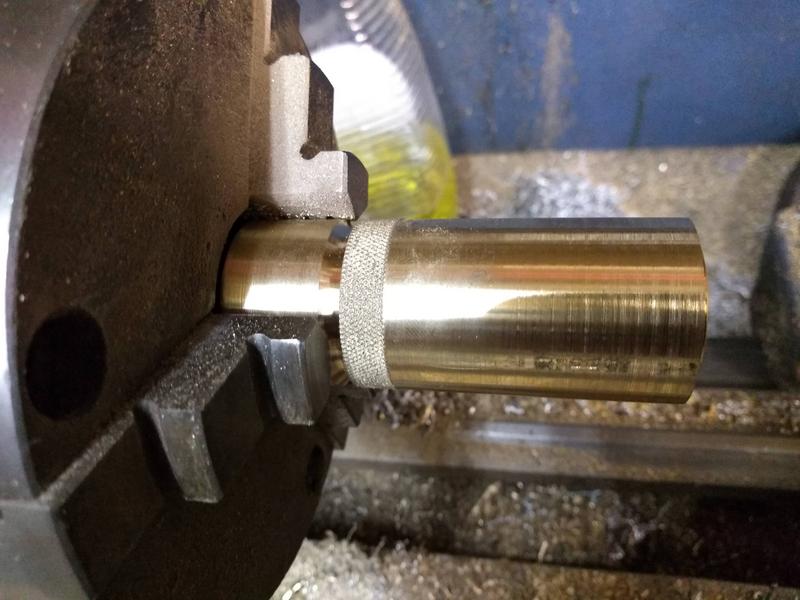
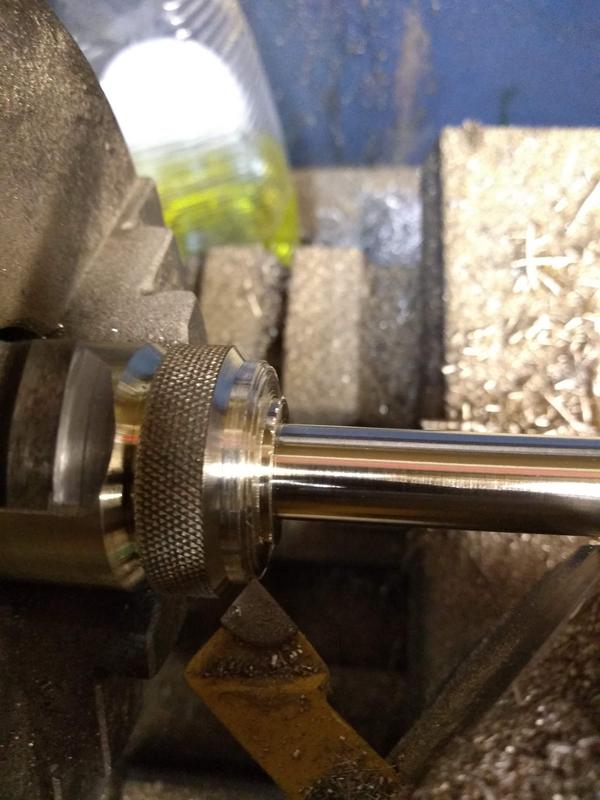
I machined a piece of brass down to 30mm and added a knurl.
I have to say machining brass on the lathe is a lot nicer than steel.

qr3nwWZ.jpg


Next I machined the shaft down to 12mm and added bevels and shoulders to the top and bottom of the wheel.

ZCOXJr1.jpg


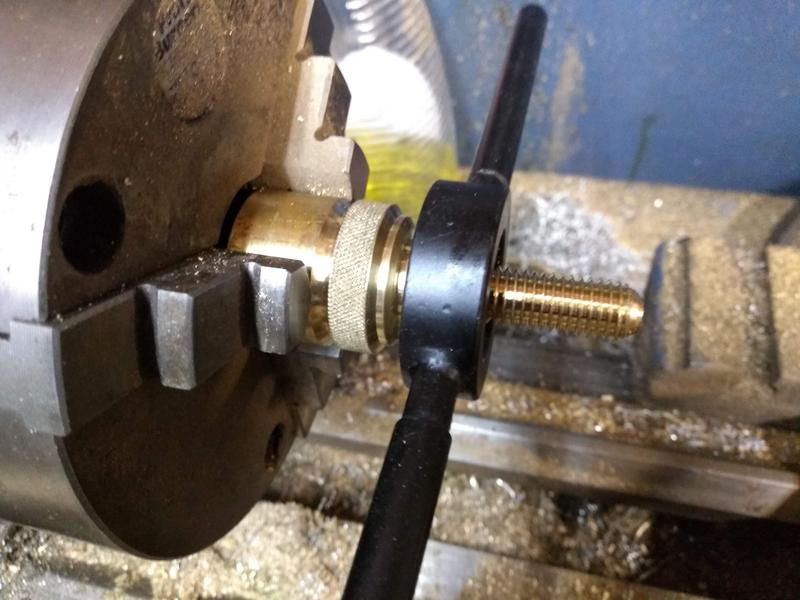
I cut a thread on the shaft using a 12mm die. I used the tail stock of the lathe to hold the die square to the shaft, doing this helps make sure the thread is straight.
After the thread is cut I gave the thumb screw a light sand and parted it off.

BgUt9Qt.jpg


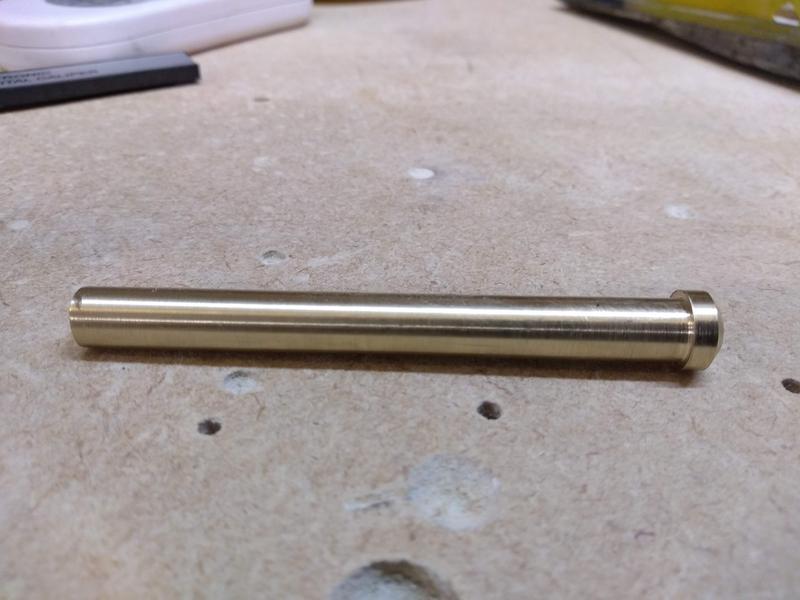
Next I made the pivot rod.
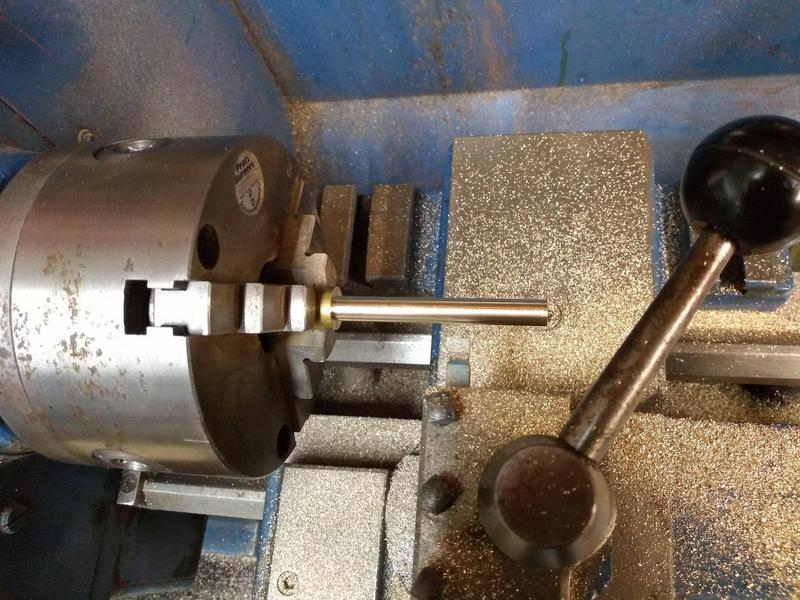
I started by machining a piece of brass down to just over 8mm. I wanted the rod to be a tight push fit into the lever cap through hole.
this stage took a bit of time to get right as the fit had to be perfect. To tight and it wont go on, too lose and there will be too much play in the lever cap.

6vpZoqW.jpg


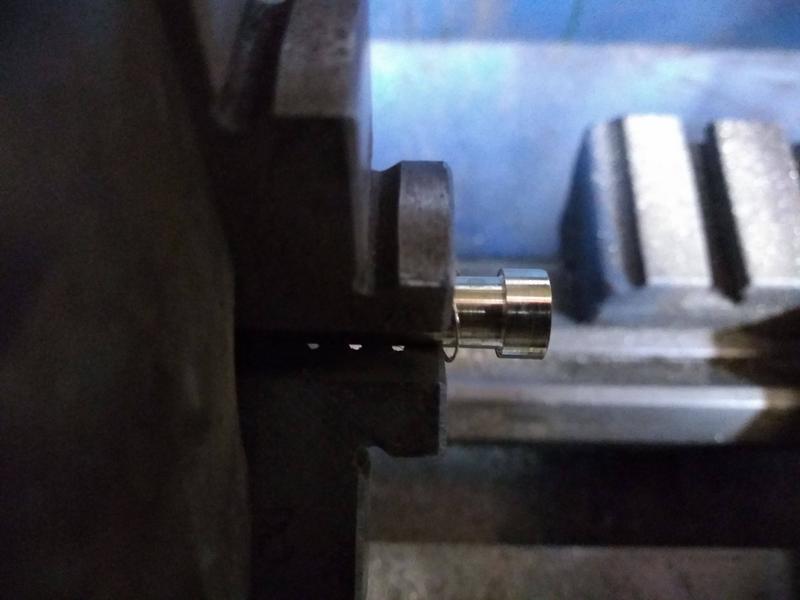
I then machined the other end of the rod to 10.3mm and put a 2mm bevel on the outside.

qfdHKCz.jpg


And here is the finished brass pivot rod. The 10.3mm end will get hammered into a corresponding 10mm hole in the plane body to fix it in place.

s4GQ4Qq.jpg


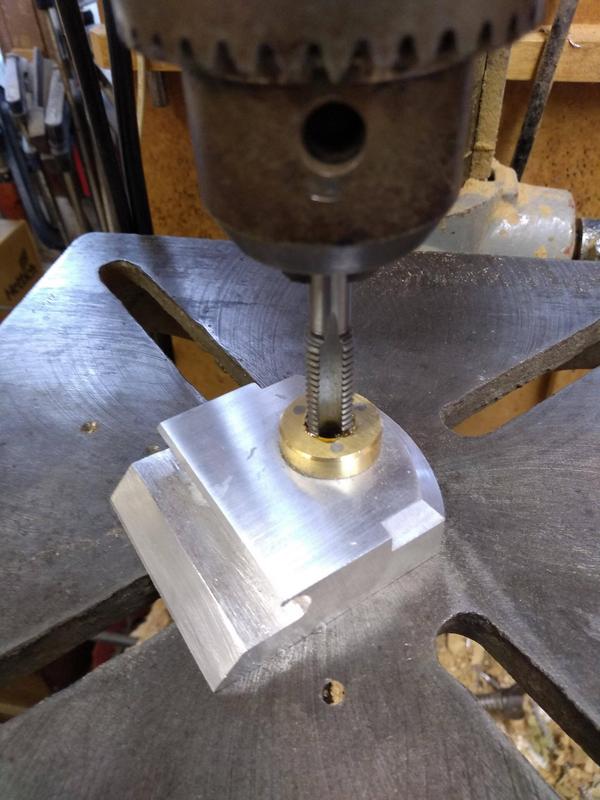
Next I drilled a 10.7mm hole through the aluminium and set up a 12mm tap in the pillar drill.
I started the thread using the pillar drill to ensure it was cutting square.

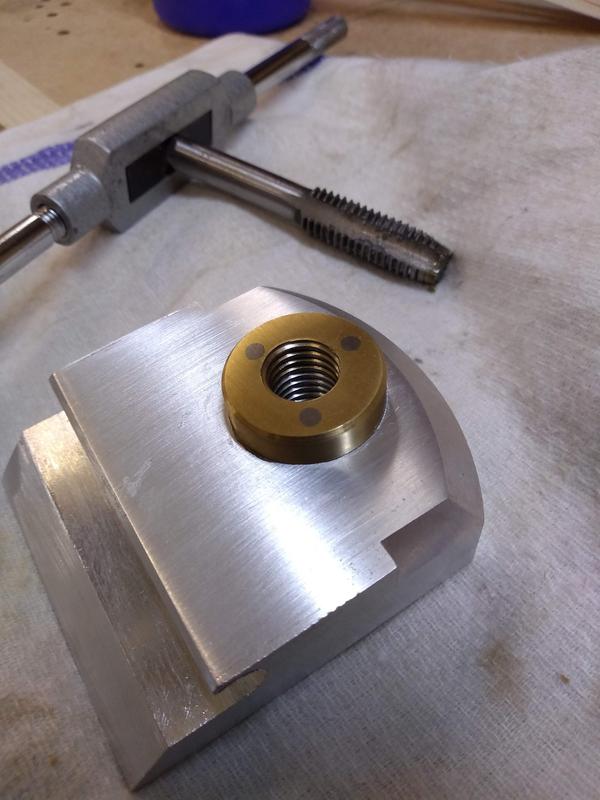
JecKBkk.jpg


Then finished off the thread by hand.

iXqFTsc.jpg


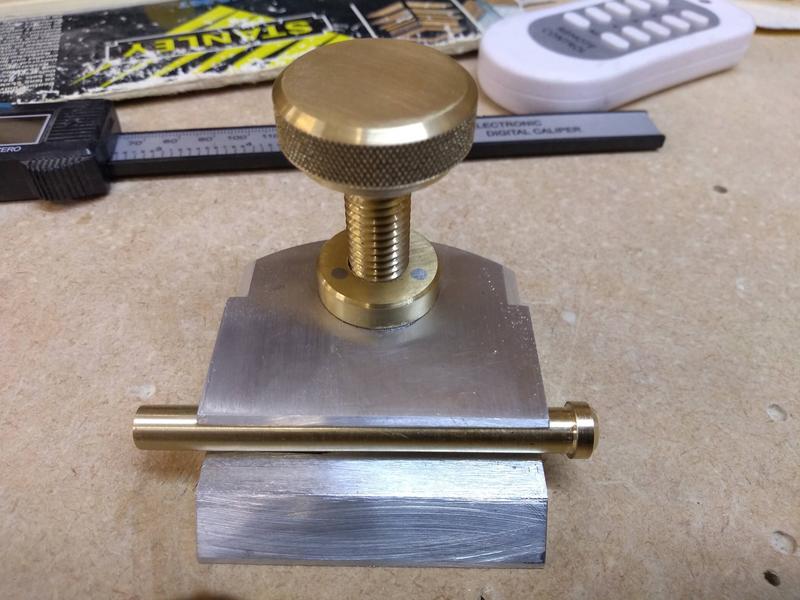
And here is the finished lever cap, thumb screw and pivot rod. I still have to sand them to finishing grit and polish but that will come later.

Thankfully the pivot rod was a perfect fit onto the lever cap, it was worth taking the extra time getting this right.

xhEDYpV.jpg


I'm pleased with how the lever cap turned out. Like I mentioned earlier I may still have to shorten it's length slightly but I can do that once the pivot rod is fixed to the plane and I've got a measurement to go to.

BeffVkj.jpg


That's another few evenings down. Time really is running away with this project but I'm still really enjoying it.
 
Thanks for the comment and support thetyreman :)

It's been a lot of hard work so far but I'm still really enjoying it.
 
I can't be the only one on here who has thought I was making a reasonable job of making something, took some close-up photos, posted them online, then looked at them and saw lots of slips and errors.

I'm looking at this thread on a 21" monitor at the moment, feeling somewhat outclassed!
 
With regards to the oven tempering with a heat sink, apologies for misremembering what was good advice when I was given it. Rather than clog up this excellent build wip I have asked a question with regards to it here.
oven-tempering-using-a-heatsink-t120533.html

Apologies Hattori for the slight derail. Progress on this plane is a real joy to watch. I really don't want to get in the way with silly questions.

Looking forward to the next update. Beats having an advent calendar!
Regards
Chris
 
Honestly guys I cant thank you enough for the comments and support I really do appreciate them.

No worries with the other questions either Bm it's all part of the learning and I appreciate the help and tips.
 
With the lever cap made I can drill the holes for the lever cap pivot rod.

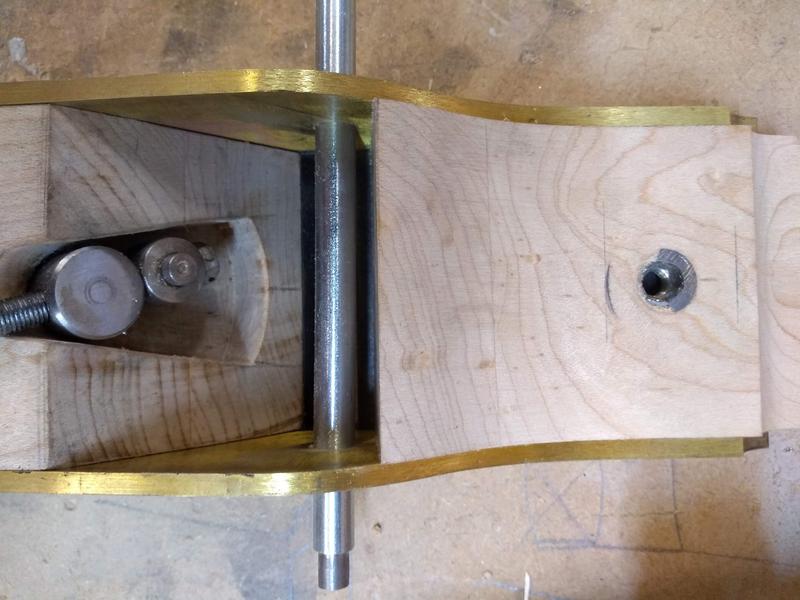
I marked out and drilled an 8mm hole through the body of the plane.

nFnNtKn.jpg


I test fitted the steel rod and could see that the front part of the infill needs reducing so as not to obstruct the throat of the plane.

JSRHySE.jpg


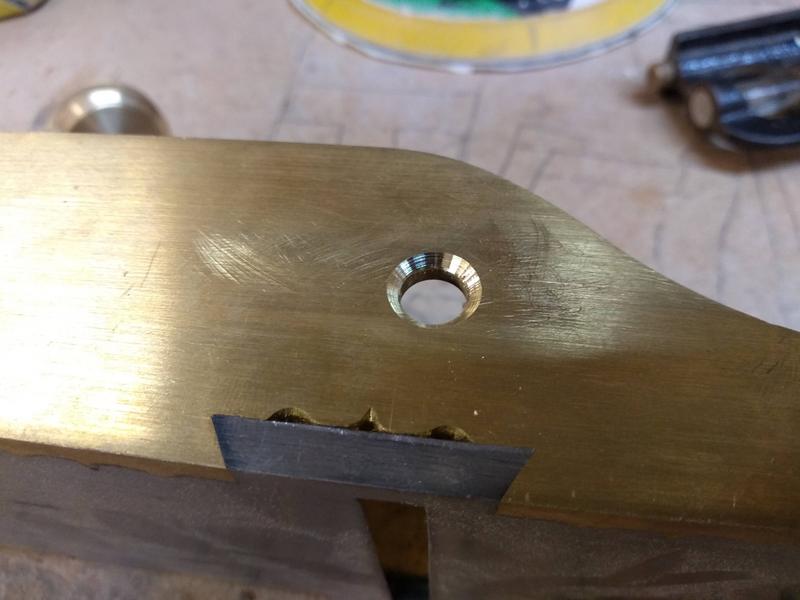
Next I counter sunk the 8mm hole on the right hand side of the plane and enlarged the left hand hole to 10mm

FBPUPbW.jpg


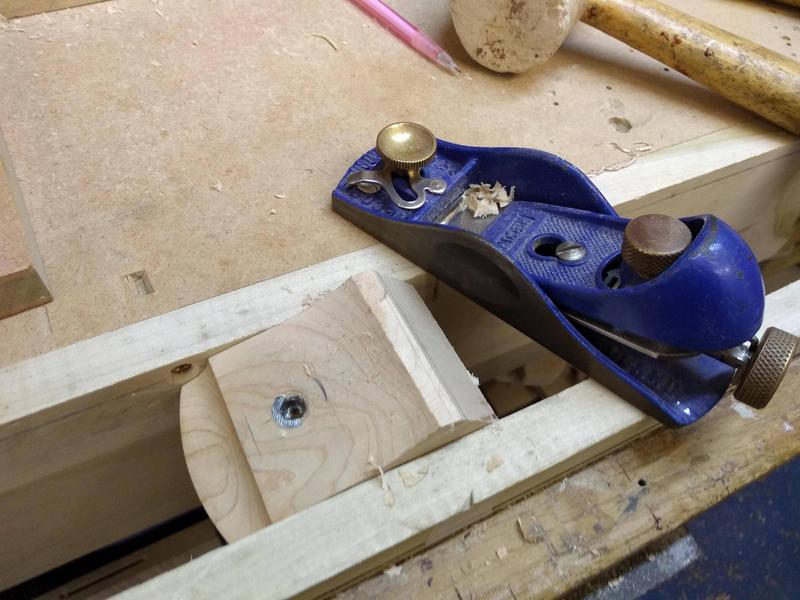
I then marked out and reduced the front infill using a block plane, approaching from both sides to avoid break out.
Maple is a beautiful wood to work.

dTDrt2i.jpg


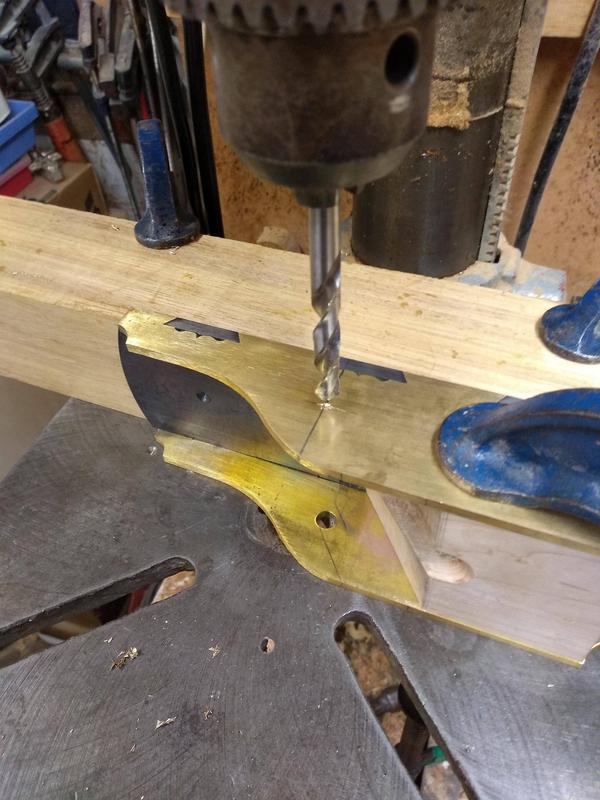
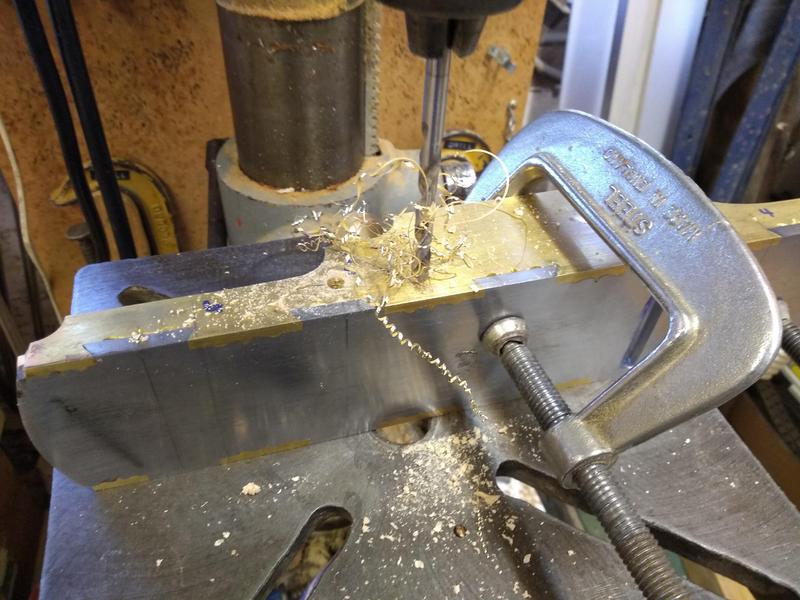
With that done I could drill the three remaining holes needed to secure the front infill in place and the rear infill plus tote.
I marked out the holes and drilled them on the pillar drill.

oLWxRpD.jpg


I'll use 4mm brass rod for the front infill and rear of the tote then 6mm brass rod for the front of the tote.
(just noticed the sole of the plane looks terribly warped in this picture but don't worry it's just the distortion from the camera lens...phew!)

9bdzPTR.jpg


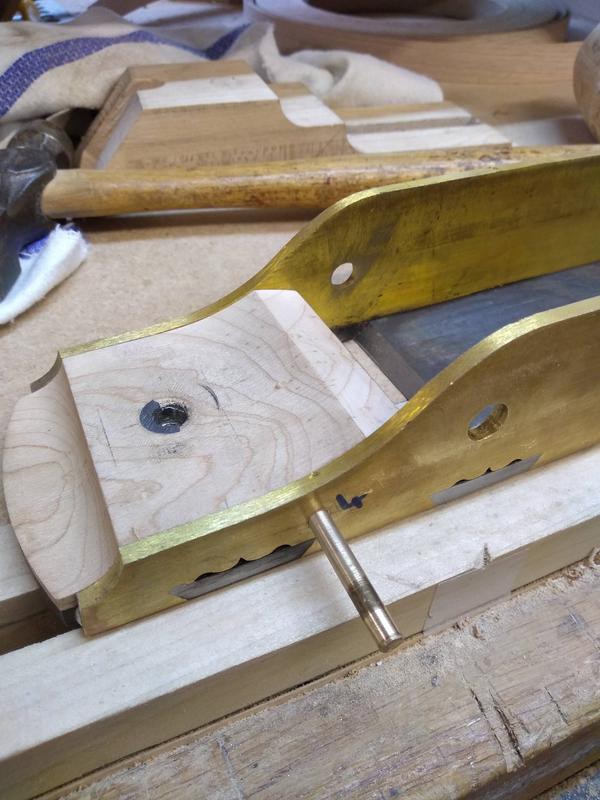
Here is the front infill and rod test fitted.

Pvk7PwD.jpg


And the two rear rods test fitted.

sesKbKi.jpg


I drilled the two rear holes with the maple infill fitted but with out the tote in place. Once the holes where drilled I then inserted the tote and marked the holes, I then offset the holes very slightly so when the rods are finally fitted they draw the tote downwards tightly onto the sole of the plane. It's the same principle as wooden draw boring.
Unfortunately I forgot to take pictures of this.

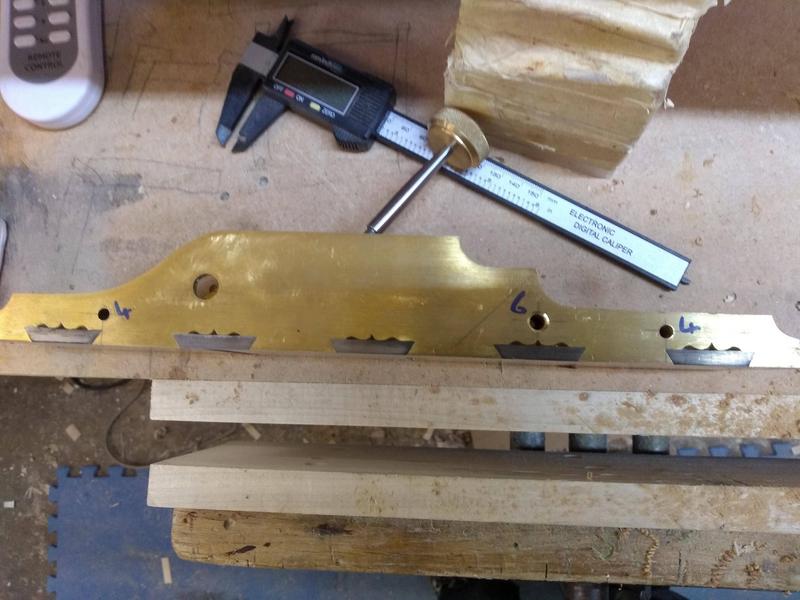
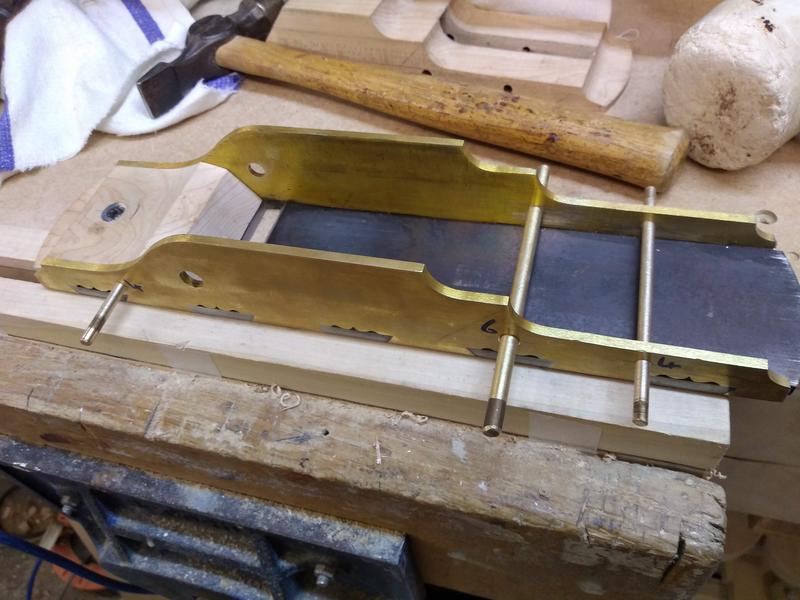
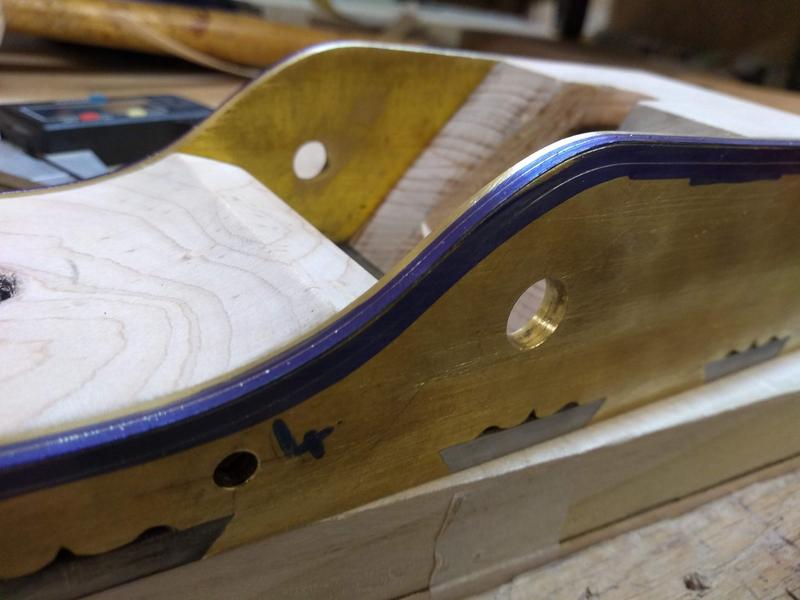
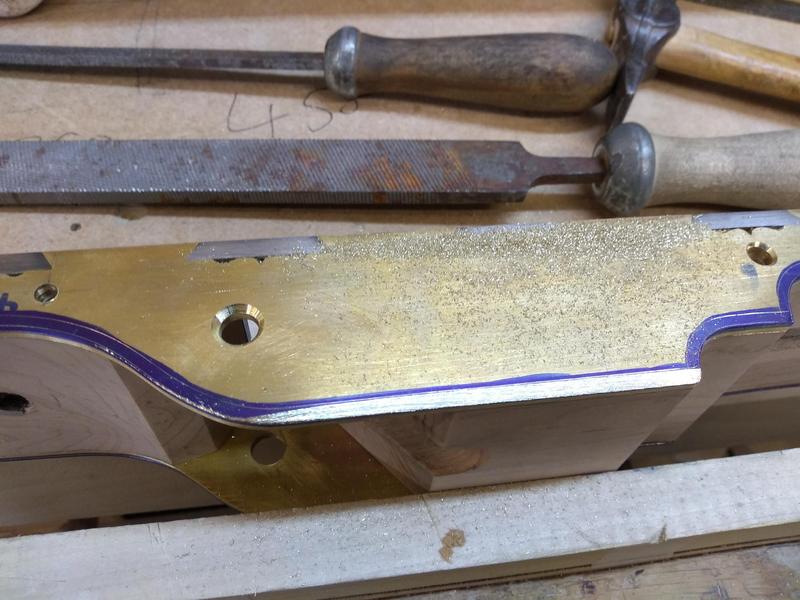
Next I marked out the taper on the edges of the plane body. I used a vernier gauge and blue marker to help show the lines.

QXLtLnw.jpg


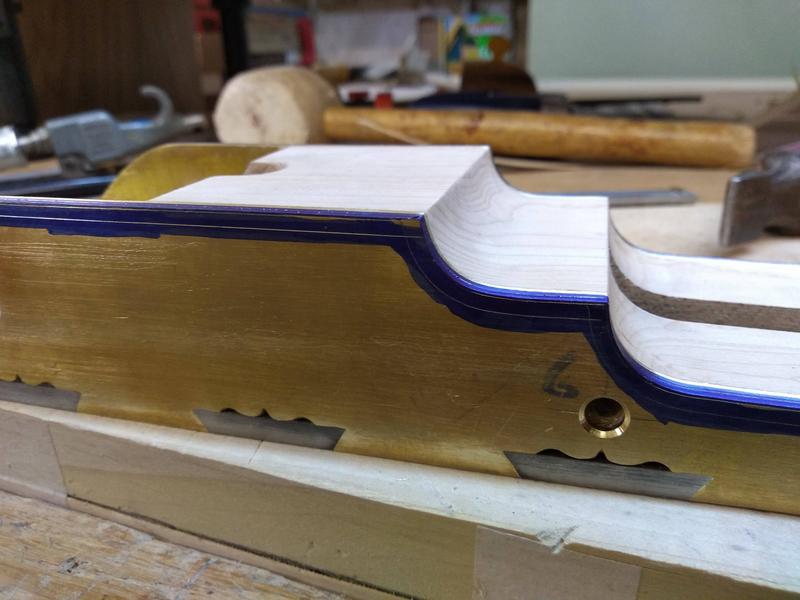
The taper is 2mm onto the edge and 5mm onto the face. Here are the curves marked out.

sAadFHD.jpg


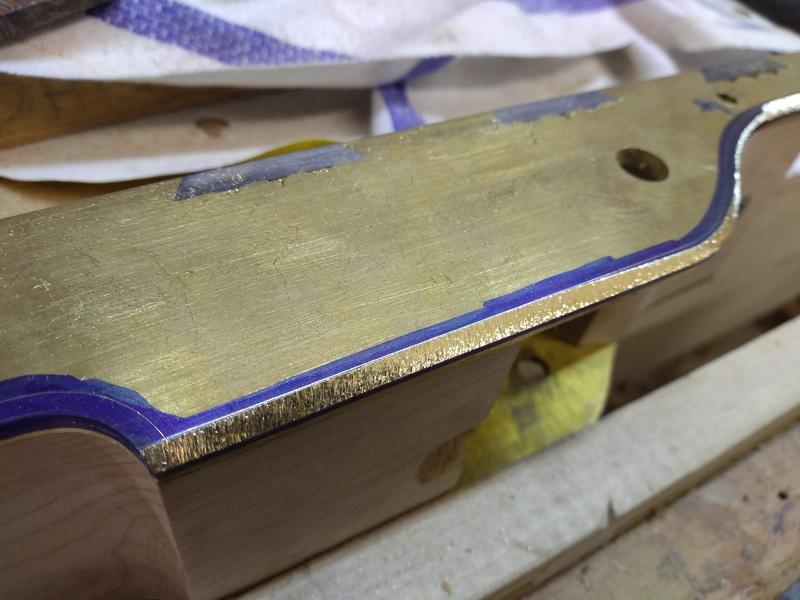
I initially filed with a course file to remove the majority of the waste, being very careful not to file past my lines.
The curves where particularly tricky to file.

6Ba4EO3.jpg


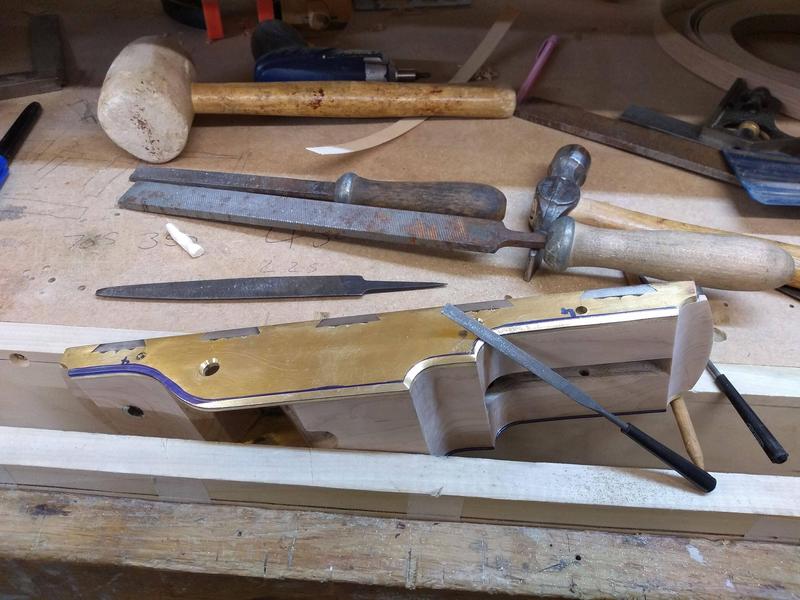
I then went back over the taper draw filing with a finer file.

eL6K8Hf.jpg


I used a combination of needle files for the curves.

Zz3uIpg.jpg


After both sides where done I gave them a light sanding

ipnFW3L.jpg


Another long stage, this part took a good few evenings to complete.
The initial waste removal is fairly straight forward but fine finishing takes a lot of time and patience. Cutting down to the scribe line and getting sharp corner transitions was very difficult.
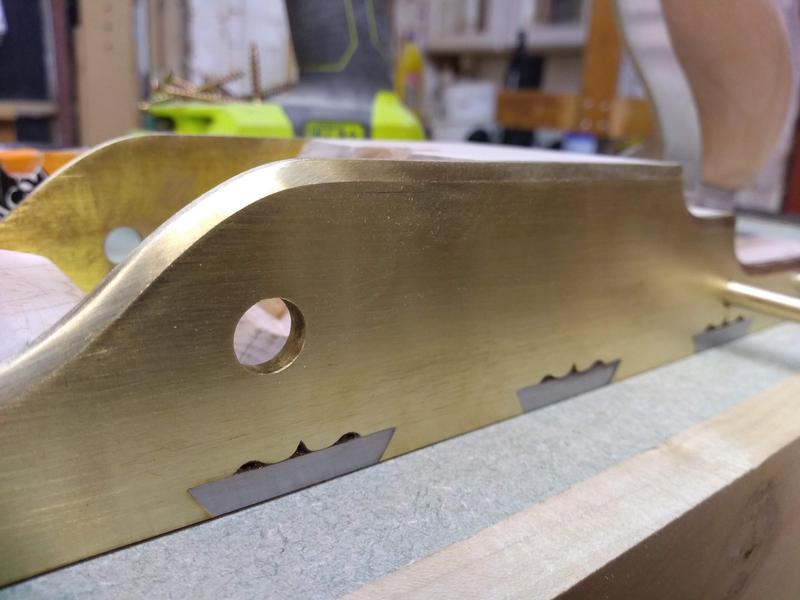
I'm pretty happy with the finished taper, it really finishes off the sides nicely.
 
Only trouble with this wonderful build is that it takes so long to scroll down to the bottom of the page to see the latest.
Hats off to a true craftsperson.
Also great to see the clever design and make choices you arrive at along the way - I wouldn't do it all the same, but then my finish and fit would be well below the level you're achieving, and you're doing it with basic tools.
 
Back
Top