Les Paul build - update fingerboard inlays

UKworkshop.co.uk

Help Support UKworkshop.co.uk:

This site may earn a commission from merchant affiliate links, including eBay, Amazon, and others.
Cheers Setch..

So I could repair a broken headstock myself?
Next time the Missus walks into my guitar stand, because she's trying to save money by not switching on the light, it won't cost me a bomb for a glue-up!


:D
 
Ironballs":3iv7ki0z said:
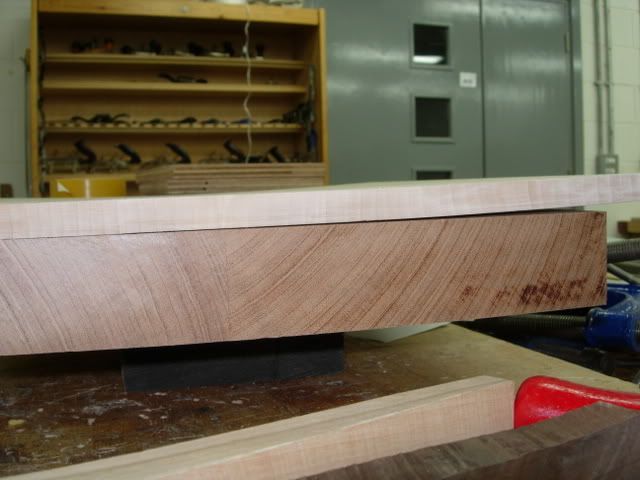
Picked up my boards from the store and remembered why I normally lug it all to and from home. This place must have minus humidity and an average temp of 40C, so 6 months conditioning in a warm dry part of my house yields no movement, 2 weeks in the 7th circle of hell gives me a C-shaped maple top. An expensive C shaped maple top. Not happy.

aae9198e.jpg

We have a similar problem in our college workshops. The heating's on 24/7 and the radiators are often on full blast when I get in on a Thursday morning, whatever the weather! :shock: My 3" brown oak went from 17% down to 10% in a matter of weeks! Another guy bought some American Black Walnut, which was reading less than 5% not long ago! :shock: :?
 
ByronBlack":3m2ttc0e said:
To shape the bodies, it's best to make a template out of easier to work with material, say something like 12mm ply, or mdf etc.. once you have this template completed, all you need to do is rough out your shape on the bandsaw, attach the template and use a guided bearing to flush-trim the body to the template. It's a lot quicker and more accurate than trying to get all the curves sanded by hand.

The only problem I can see with this is that, unless I'm mistaken, you cannot buy bearing-guided cutters with an edge longer than about 2", maybe 2½"... That is, of course, assuming you're working with ex. 3" stock? :shock: :)

Some of the radii would be too tight for the ring fence on a spindle moulder. What if you had two bearing-guided cutters; one with a top bearing, the other on the bottom and used them in turn?
 
Olly - You can get 75mm bearing cutters, but they cost a fortune. But you only need a 25-50mm one, once you have gone round once, you just makes another cut using the freshly cut surface as you guide for the bearing, so you can use any length you like. I personally have a trend 50mm x 19mm template cutter and that works a treat.

Setch, are you still using Rustins for your finishing?
 
The last one I finished was done in Rustins, but it's been a loooooong time since I finished one. I had to go and get a day job, and that really knobbled my productivity :(

49_sanding_pickuprings1.jpg
 
It's nice to see a clear maple top for a change! That has a lovely finish on it. My next one will use rustins - did you spray or brush this one?
 
Nice work Setch and feel free to weigh in with hints, tips and advice. Never built one before so it's learn as I go.

BB seeing as I went to the trouble of making my ply template and as I do have a template bit I may try routing the next one, do you get any scorching of the timber?

Re the debate on woods and effect on tone, there was quite a bit of opinion early on in this thread. I can only offer up what I have read elsewhere and have no practical experience, but logic should dictate that a dense timber well glued together should be clearer than a lighter timber. Don't know. Obviously massively altered by your pick ups, strings and wiring/electronics.

Olly, we've been in this workshop for 3 years now and job one each week is seeing how much your timber has moved and whether you've left enough material to correct it. Doing the cherry table last year drove me nuts, I had to glue the carcass up on a warm day next to a 7ft high panel radiator, teaches you a lot about working quickly :shock:
 
IB - wood choice most definitely has an effect on tone, it's been proving a many times, here's a good article/essay that explains the reasons why:

http://www.jetguitars.com/treatise.html

As for scorching - if you have a sharp cutter, and your not taking off a lot of a material at once, you should be ok. The only thing to be careful off is coming around the horn - as the grain is in the wrong direction, but take your time and you should have no problems. I've done 5 bodies now using this method and so far it's been pretty easy.
 
The trick with routing bodies is to always imagine how a crack will propogate if the cutter splits out grain rather than cutting it cleanly. If you always start at the widest points of the body, and rpute towards the narrowest, you'll be OK - but this will require doing a number of climbig cuts, so take care!

Another good tip is to clean up your work area before routing the horns - that way you'll be able to find, and reattach any bits which get torn off. DAMHIK!

That said, if I had access to a large bandsaw and bobbin sander, I think that's how I'd shape my bodies, I've had too many nasty bits of tearout with routers, especially on the endgrain of the butt, and they're a real PITA to fix.

Byron, all my guitars have been sprayed. The Rustins is very forgiving as a sprayed finish, and tolerant of extreme heat and cold which would preclude spraying nitro.
 
Think I might rout and then sand around the horn to be safe. Following the trials of Seaco in the general section who's trying to sort out a small spray booth with explosion proof fan. Haven't decided on finish yet so this may sway me - still leaning towards Behlens though
 
I am a frustrated man!

Lost a week due to the skiing (no great hardship and as it happens the class was cancelled due to snow), then was ill briefly so missed last week, this week is half term but I thought I'd catch up by routing out all my various cavities in the ash body. Went to my tool bag tonight, dug out the router bits, got the body and then realised that I'd left all my templates at the college. Arse and buggeration.

Instead spent the evening tidying the garage and sorting out the blade on old Record ebay purchase - well, half sorted out, should have put it on the wheel first to save my thumbs and get the primary bevel in.

So frustrated at the slow progress and my Slash top hat and curly wig will have to stay in the cupboard a bit longer yet :(
 
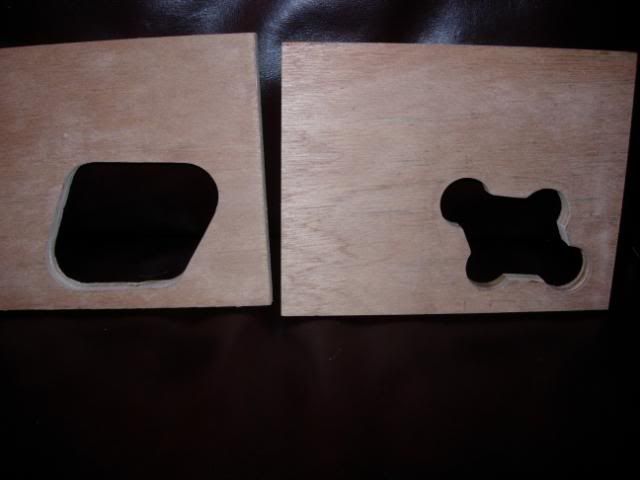
Okay, nipped into the college to get my router templates and picked up body number 2. The switch template still needs finishing off, but the pickup and main wiring cavity templates are done, took quite a while to knock these up in stupid thickness ply.

lp29.jpg


lp30.jpg


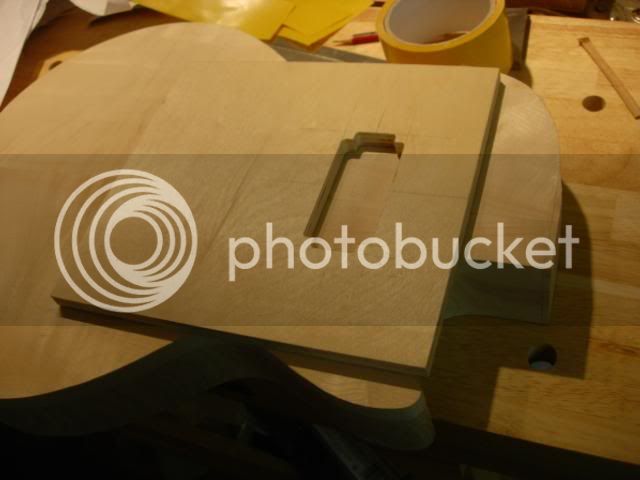
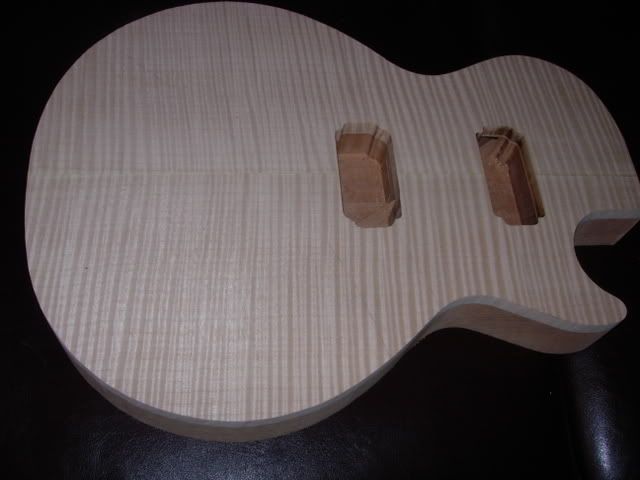
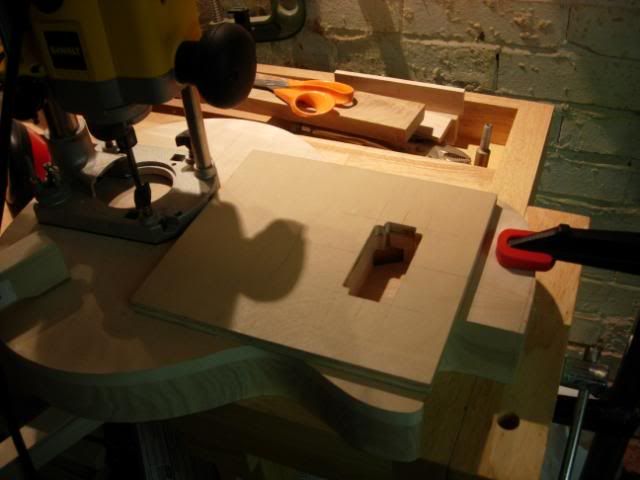
Good old double sided tape from B&Q was liberally attached to the bottom of the pickup template and lined up with the markings on the body. The majority of the waste was taken out with a bigger Tornado template bit and then the finishing of the sides and corners was done with a straight flute. Still took quite a while though and now have routers hand

lp31.jpg


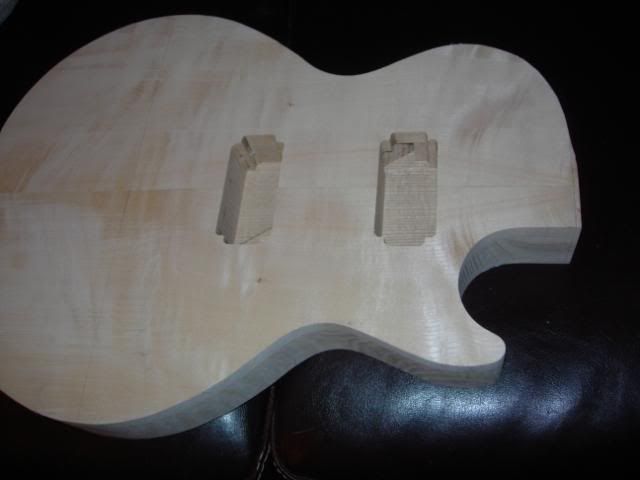
Did both pickup cavities before I carved the body so that I had nice flat surfaces to work on and will also rout all of the cavities on the back pre-carving so that again the body can be laid flat. A satisfying job and one that makes all the time creating the jigs worthwhile. Also pleased to see that all the cavities lined up with the pre-routed channel for the wiring I put in before the top was glued on. Will do the remainder of the routing on body 1 before moving onto cutting out the shape on body 2 - in fact may do the routing before cutting out the shape

lp32.jpg


lp33.jpg


Ordered my adhesive copper foil for shielding the cavities today, apparently the same stuff that you attach to plant pots to ward off slugs
 
Are you sure you need to isolate/shield lps ?
i thought the point (one of the points) of the humbucker was the noise blocking differential setup.
a strat, yes, but a lp ?
 
stef, you most definitely need to shield all electronics regardless of pickups (perhaps you can get away with it with EMG style actives), but regular humbuckers will still create a load of noise at high/mid gain if not shielded.
 
The man is right, humbuckers do cut down on the noise/interference as the name implies, but not all and a little shielding will do no harm. Plus it looks cool and that's more important :wink:

Another evening routing in the garage, will get some pics when the camera has some charge. Decided to rout the mahogany body before cutting out the shape as it was a little easier, all went well except for the point when routing the bridge pickup and the template shifted slightly. Thankfully not much and I spotted it, but it is a little uneven compared to the other
 
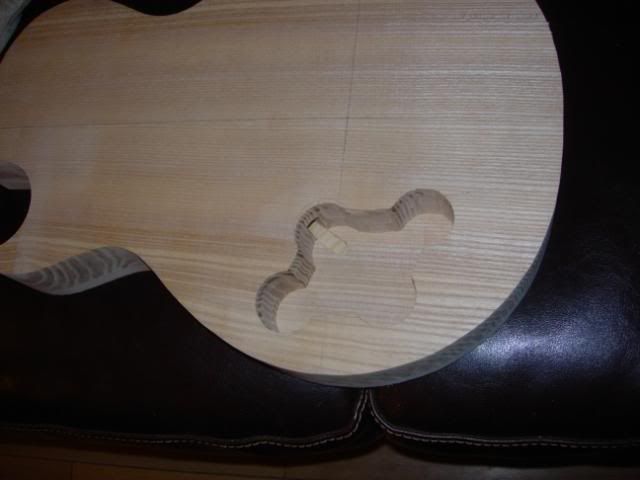
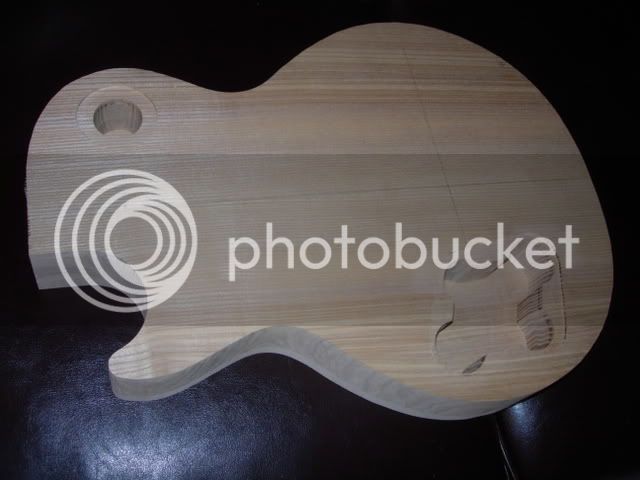
Okay, finished the cavity routing on the back for the ash body, this included the lip around the edge for the cover plates, came out pretty well.

lp34.jpg


Then cut out the shape on the mahogany body, decided to go for bandsaw and bobbin sander as I had the tools at my disposal and I knew it worked. Just needs a finish/smoothing sand around the edge now. Flame maple beginning to stand out now.

lp35.jpg


Have been uhmming and ahhing about the next step for ages now, I can't decide whether to drill the control knob holes now whilst everything is flat or do the carving first, so that I don't risk tear out of the holes. I also don't know if the holes should be perpendicular to the body or the carve on the top. Have asked the luthiers on mylespaulforum and will see what advice they have, but would also appreciate any of your views.

Had an experimental carve on some waste with the Clifton spokeshave and the thumb plane, I learned 2 things. One blade position is very important to avoid tearout and two, this is going to a looong time
 
if you want to speed the carving process - hog most of the waste using a router, carving the various depths at each step - then use your planes and sand paper to smooth out the transitions. I would drill after the carve.
 
Drill them now, carving won't affect their position, and they don't need to be parallel to the surface after the carve. That way, if it's not carved, drill bit's less likely to skip/slip on a flat surface.

Edit: Actually, scratch that, I just checked my Epi les paul - the pots are parallel to the carved surface. Best way to do that - drill the holes perpendicular to the flat top, slightly larger than the diameter of the pot shaft, then counterbore from behind, like this:

http://home.asparagine.net/ant/blog/?page_id=30 <-- Halfway down the page.
 
Thanks chaps, had a trip into Leeds today to have a look at a few real LPs and they all have the knobs perpendicular to the carve, it's only a light angle but an angle all the same. Some of the cheaper copies didn't and a couple had clearance issues.

The advice from the mylespaul guys (with pictures!) was to drill the final angle with a forstner in the cavity and match the angle with that drilled through from the front.

It's not going to be light this guitar, 8.5lbs at the minute with some wood to be routed and carved away, but a neck and hardware to be added.

Going to make the cavity covers from wood, so bandsawed some thin slices last week in preparation. Predictable they curved straight away but they may settle and I also have enough thickness in them to straighten out. Should look better than plastic hopefully
 
I wouldn't use solid wood covers any less than 1/4", and even then only if it's very stiff and stable. I tend to think wooden covers look best when grain matched, otherwise I think they can look a bit amateurish. Best case, you cut them from the body blank and then tweak positioning to get a perfect match:

65_back_closeup.jpg
 
Back
Top