Les Paul build - update fingerboard inlays

UKworkshop.co.uk

Help Support UKworkshop.co.uk:

This site may earn a commission from merchant affiliate links, including eBay, Amazon, and others.
Personally I have never heard an all maple les paul or all mahogany telecaster. As a luthier I am very familiar with received wisdom about tone woods and time again have seen and heard it turned on its head. I most probably am tone deaf :lol: hey whadui know?

I do want to revise my idea about this mahogany though. Whether it is your lighting or not but these latest pics almost present it as African due to the figuring and colour...
 
Pete Howlett":m4ax1ycb said:
Personally I have never heard an all maple les paul or all mahogany telecaster. As a luthier I am very familiar with received wisdom about tone woods and time again have seen and heard it turned on its head. I most probably am tone deaf :lol: hey whadui know?

You don't need an all maple Les Paul specifically, any maple and mahogany guitar will show the wide range of tonal difference, heck even my walnut guitar here that I have with me sounds a great deal of difference to maple guitar that I owned, and I doubt I like millions imagine this difference.

If it were the case that wood choice had no bearing on tone like you say, why aren't all guitars made with the cheapest possible option? The reason is because musicians and luthiers alike pick the woods to suit their requirements, whether it be a tight snappy middley sound from the harder woods such as maple, to the darker tones of the mahogany's and such like.

But, hey, each to their own personal beliefs and experiences, :)

(sorry for taking this thread off-subject, I'll shut up about wood choices now :)
 
Here is an interesting article... I take your point Byron and maybe it is different for electric guitars but I remain to be convinced - the pickups are soooo important as is the amp. That's why I am dubious about the tonewood debate.
 
It will be interesting if the practice body gets as far as being made into a complete guitar as it's an ash body with a sycamore top. If I build it with the same electronics will it sound the same....

Any road, it's evening class tomorrow night so further butchery awaits
 
Pete Howlett":31nuiwof said:
Here is an interesting article... I take your point Byron and maybe it is different for electric guitars but I remain to be convinced - the pickups are soooo important as is the amp. That's why I am dubious about the tonewood debate.

I'm not disagreeing on your last points Pete, your absolutely 100%, the electrics and amp are obviously the main drivers of the sound, thats a given, but thats not to say that that sound isn't shaped by the wood of the guitar.

That article, interesting as it is doesn't actually prove or offer any proof at all that woods have tonally different shapes.
 
Not a great deal of progress tonight, planed up the sycamore top for the ash body and P/T'd the flame maple top for the other, that was a real heart in mouth job as I was expecting world class tearout. In the end it wasn't too bad, what was bad was having to plane off 7mm of flame maple. What a waste. I'll get a pic of the tops up soon.

Finished off my neck radius jigs and also made the pick up template. Lots of pondering and staring at tops tonight. Then when I got home there was a little package from Stewmac waiting, a binding router bit and their little jig for doing it. Also in there was an ebony fingerboard which looks ****ing awesome.

Would still like to rout the wiring channels before I put the top on but am thinking about how to maintain the accuracy/lining up
 
Rout channel in the body, glue on cap and then use a bottom flush trim router to rout through the cap. Carve top next. I hope you got the bearing cutter for your binding... There is another way you might want to try on your test piece - the PRS 'scrapped' binding method. Dan Erlewine shows how this is done in Stewmac's online tips section.
 
Pete Howlett":2o5je85i said:
There is another way you might want to try on your test piece - the PRS 'scrapped' binding method. Dan Erlewine shows how this is done in Stewmac's online tips section.

Thats an excellent article, and I believe part of a bigger one where he goes from start to end on how to finish using dyes/stains and a clear finish. I'll be doing that exact method (scraping binding) on my current Yew/Maple guitar.

here's the link: http://www.stewmac.com/freeinfo/Finishing/Colors,_stains/a-blueguitar.html

Damian - If your ebony fingerboard isn't uniformly black, (you can somteimes get lighter streaks in them) Stew Mac and others sell a ebony stain that'll give you a nice uniform blackness.
 
Why is Titebond 3 frowned upon, particularly as further on it is suggested that the glue should have low creep. As I understand it Titebond 3 has much less creep than titebond 1. Just interested great project.
 
Okay, it's with a deep sense of shame that I realise it's October since I update this and November since I laid fingers on guitar parts.

Any road, have done a little more work though I still seem to be at the stage where a lot of effort goes in for little change - so do don't go expecting Waka or Nibbo-esque levels of progress!

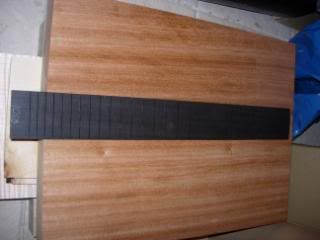
Can't take credit for creating this, decided that for a first time me doing the fingerboard might be a bad idea, so bought this ebony one in from StewMac. Very nice it is too.

lp16.jpg


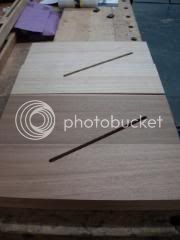
As you will have seen earlier on I did a lot of vascillating about whether to rout the wiring conduit before glueing the top on, I finally did after realising that my ply template needed some re-shaping. Took quite a while as I had to draw out the diagram onto the body and then clamp up for the routing - twice. Why did I decide to do a practice body at the same time..........

Anyway, that was a week of great progress, two routed grooves in a piece of timber. Gibson must be sh***ing themselves

lp17.jpg


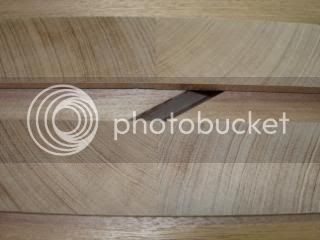
To make sure that I ended up with the routed channel in the right place when I glued the top on, I referenced the body edges on the centre line at each end so I knew what my starting points were. This meant I had to trim a bit off, this little piece was the result, only showing cause it shows I should have a nice strong glue joint in there. Need to feel smug about something
lp18.jpg


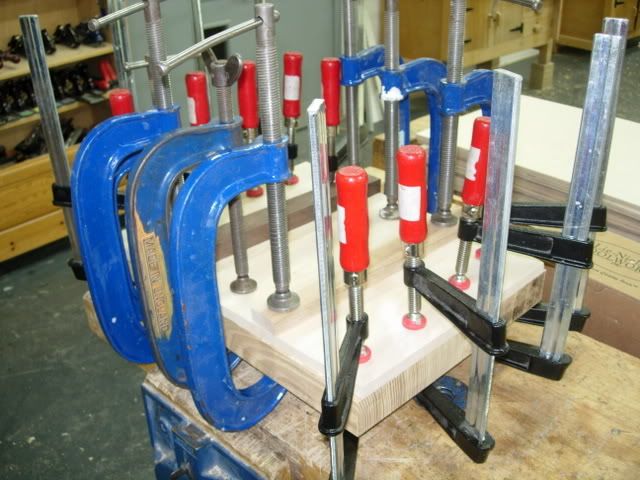
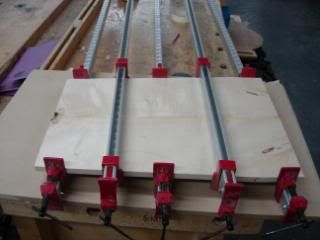
Next up and tonights progress was glueing the tops up, a job I had to get right as it's very prominent. Practice body is some slightly figured sycamore, real body is flaming expensive flame maple. Employed the planing together in the vice technique as suggested by the ever helpful Mr BB for the maple. It wasn't happening for the sycamore though, so made use of the industrial sized planer in the class shop and had a superb fit in a few minutes. Always get a sweat on with a glue up, even when straight forward like this one, made sure I got the clamping right to even out the forces. These clamps aren't too strong, but then you don't want to apply a huge force when glueing a thin top for risk of distortion.
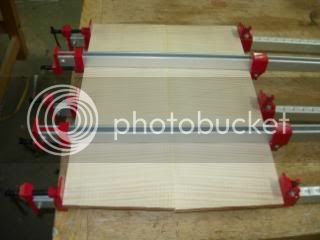
lp19.jpg


lp20.jpg


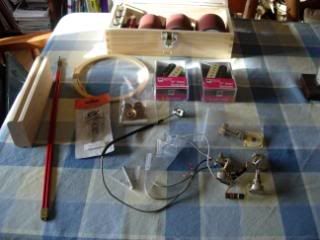
Lastly, I picked up a few things recently, couple of pickups from a guitar shop over in Halifax, loom, pots and switch from a guy in the UK, truss rod, knobs (which don't fit!), radius sanding block, binding and truss rod routing bit from StewMac - though not sure about the colour on the binding, bit too dark maybe. Lastly there should be a tornado router bit in there which will be used to rout out various cavities.

lp21.jpg


Realised I haven't taken any pictures of the pickup and pot cavity rout templates, will get those on. Swines took quite a while to make so they best work. Should be attaching the top to the body next week so progress should start to pick up
 
SH1s, going for a reasonably authentic look, feel and sound to the 58 LP. Hopefully...

Top was glued to practice/ash body this week, other one gets glued next week and then there should be some cutting and routing
 
Just noticed when I opened this thread up there was an advert at the bottom with an Angus Young-esque SG in it, how cool was that! Forum magic

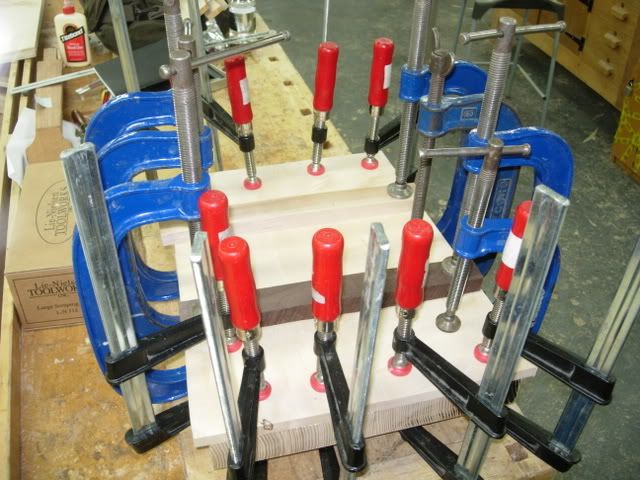
Right then, progress, still feels like it's going slowly but should be entering a period of a bit more pace. Last week I cleaned up all of the boards post top glue up and cut and planed down the tops to fit the bodies with the least overlap. Took a bit of a while but wanted to get it all right, had a trial clamp up to work out the clamp placings and shaped a couple of high pointed cross pieces to apply pressure in the middle. Pretty much used every clamp in the shop and must have really peed off the day students as it was still clamped up this week :D

So, here a couple of pics of the hedgehogs I made

883b2cf7.jpg


ffa64f9f.jpg


Had to move it out of the way before I left, could only just lift it.

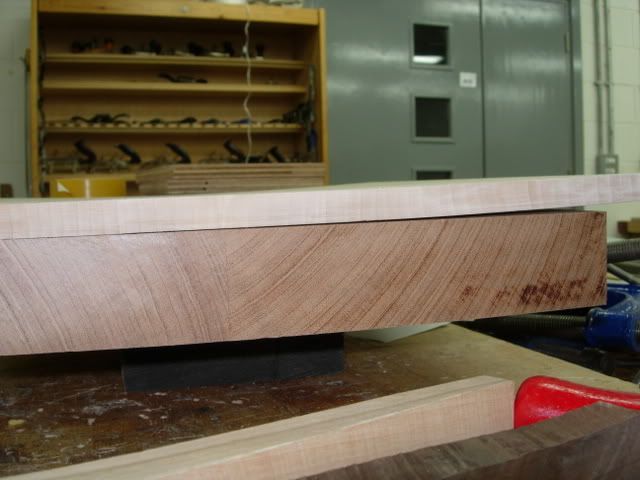
This week was glue up of the mahogany and maple geetar, last week being the ash and sycamore. Picked up my boards from the store and remembered why I normally lug it all to and from home. This place must have minus humidity and an average temp of 40C, so 6 months conditioning in a warm dry part of my house yields no movement, 2 weeks in the 7th circle of hell gives me a C-shaped maple top. An expensive C shaped maple top. Not happy.

aae9198e.jpg


Decided it would move back under clamping so curbed the swearing and set about deciding on best grain orientation and dealing with some small pieces of tearout on the surface and how to hide. Arrived at a solution that gave good orientation and lost the tearout in the neck tenon and under the pickups.

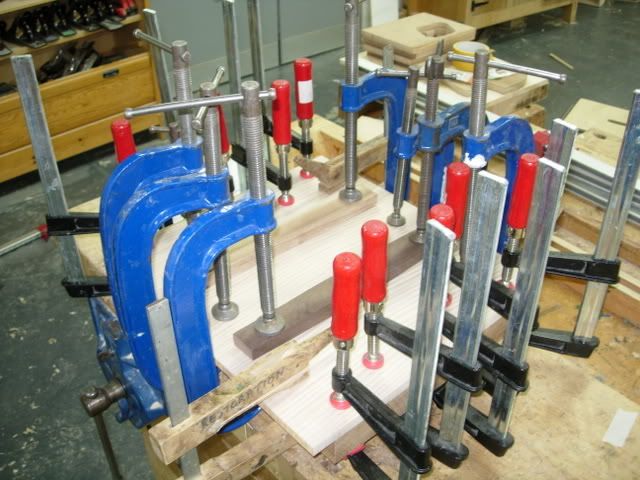
Found some kemmsia clamps so an even more impressive hedgehog this week

ba5f8bfa.jpg


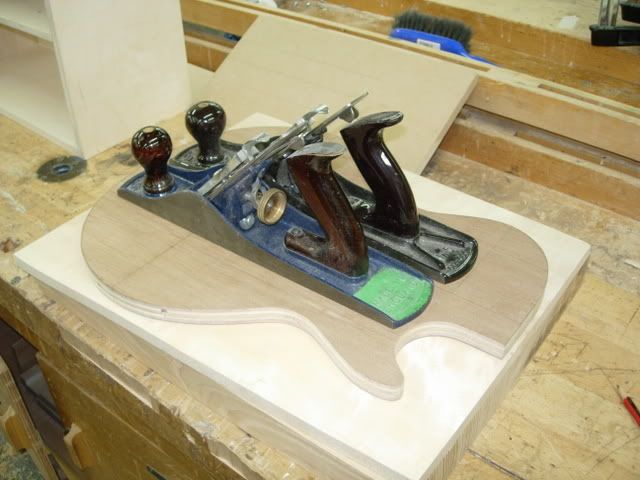
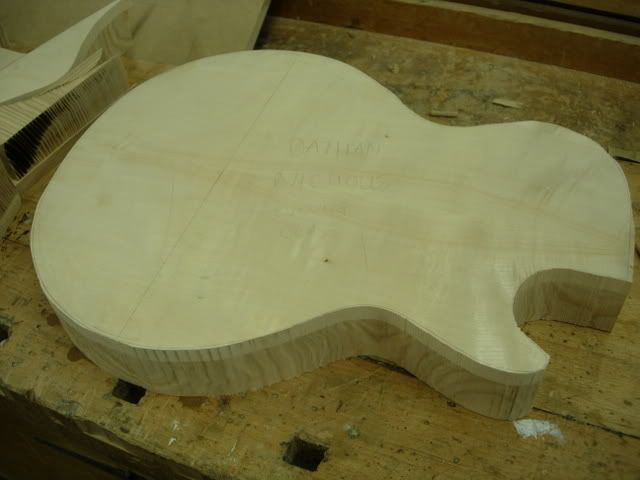
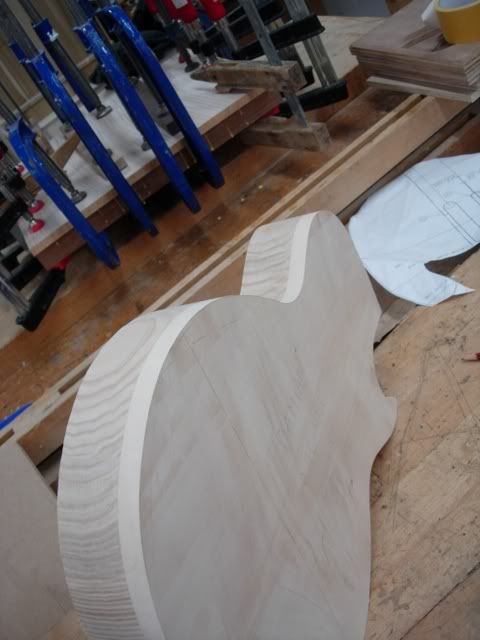
Back to body number 1 and marked out the final shape using the template, found a use for the shop planes at last

2dadbeed.jpg


The off to the bandsaw which unusually wasn't blunt, screechy and smoky. Something wrong here, maybe they haven't introduced the day students to it yet.

Pleasant few minutes cutting out the rough shape

03dc5302.jpg


The off to the bobbin sander to take the sides down to just above finished shape, the last bit will be done by hand. Really am spoilt with this sander, huge cast iron table, very big oscillating bobbin and a 3ft wide disc sander at the other end. First guitar shaped object produced and looking quite good too, ash is looking quite nice

d5d0a2ad.jpg


Won't be much progress over the next fortnight as it's skiing next week, will do the hand sanding at home and may start the carving of the top. Actually I won't start the carving thinking about it, I want to rout the cavities first and a flat top would be preferred for this
 
Looks as if it will be a nice guitar. I play the things, not make 'em, so I have a question IronB...

I am fully aware of the effect certain timbers have on the acoustic properties of hollow-bodied guitars. Even when the guitar is a Gibson L5, with pick-ups etc.

I realise a book-matched spruce top looks good on either type of guitar, but does it really matter what timber you use to make a solid, from the point of view of acoustics?

:)
 
The wood you use will make a difference, though it's pretty difficult to quantify or predict exactly how, except in pretty broad strokes.

Denser, harder woods will tend towards brightness, whilst softer, less dense timbers tend towards mid/bass tones. Obviously, pickups and amp give you massive potential to shape the sound you get, but the body still provides the anchor to which your vibrating string is attached, and as such influence the overtones and harmonics of the note, which give the instrument it's basic voice.

Iron' - good call on the maple top. That amount of movement is very common, and provided it clamps flat isn't a problem. Almost all of the guitars I have built have had some degree of cupping in the top capm and it's never caused a problem.
 
Cheers Setch..

So I might borrow my mate's Strat then!

God! I spend enough on woodwork. I thought I'd finished buying guitars!


:D
 
Welcome to the board Setch. Are you the 'Setch' from projectguitar forum?

Nice work so far Damian. A small tip, although probably a little late. To shape the bodies, it's best to make a template out of easier to work with material, say something like 12mm ply, or mdf etc.. once you have this template completed, all you need to do is rough out your shape on the bandsaw, attach the template and use a guided bearing to flush-trim the body to the template. It's a lot quicker and more accurate than trying to get all the curves sanded by hand.

Nice work so far. I wouldn't worry about the cap. My recent maple/yew guitar had a fairly large cup in it's cap, but once glued it's been perfectly fine.
 
Welcome to the board Setch. Are you the 'Setch' from projectguitar forum?

The very same. I've been lurking here for a while - great forum, and obviously a ton of talent knocking about. Nice to have a chance to weigh in on a subject I know a little about!

For the posters who don't know me from PG, I've built a few guitars, and run a blog about repairing, modding and building guitars:

http://home.asparagine.net/ant/blog/
 
Back
Top