Quite a while ago some of you may remember me looking for advice on my kitchen build here. Also advice on spraying was looked for here.
Based on the good advice received we ended up with something completely different as first planned. Also the spraying went great, very happy with the outcome. It took a bit of fiddling to get it right, at first on the finish coat I was getting a bit of slight orange peel or flecking but once I got the mix right it went great. Thanks to everyone in both threads for that.
Well I've finally got some thing to show.
Right hand side layout.
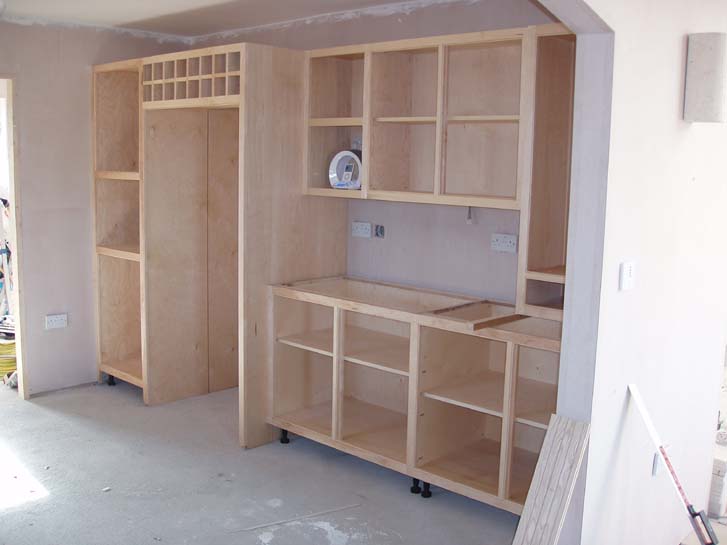
Left Hand Side 1
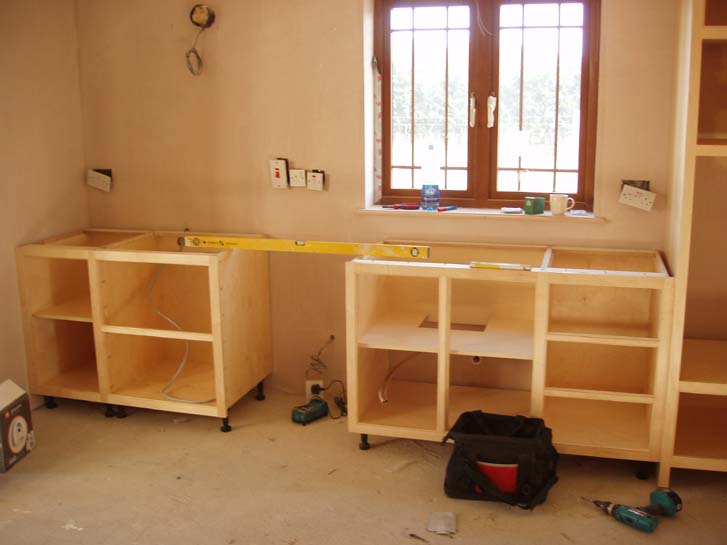
Left Hand Side 2
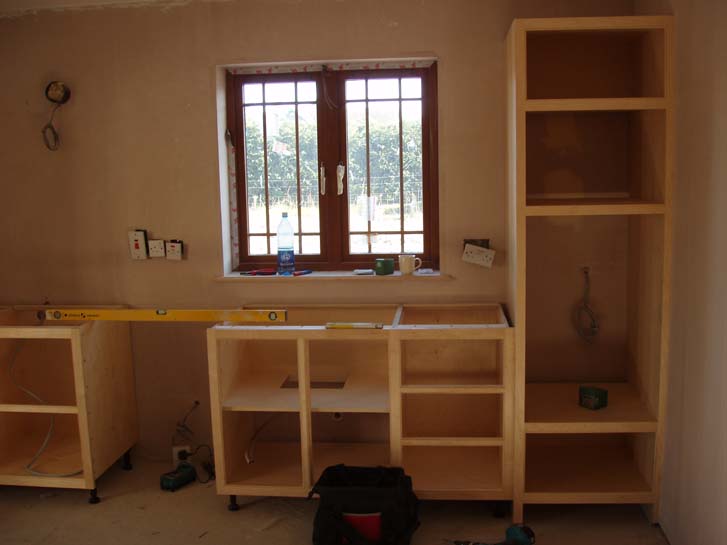
Drawer Unit
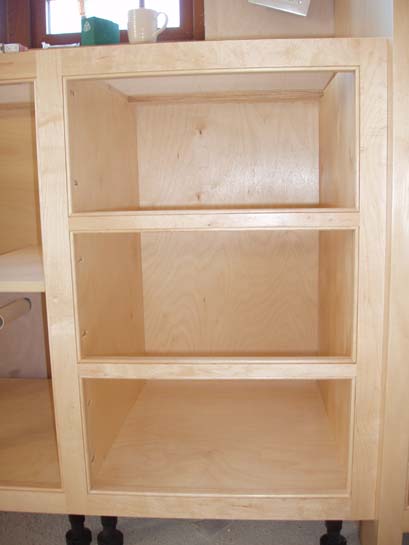
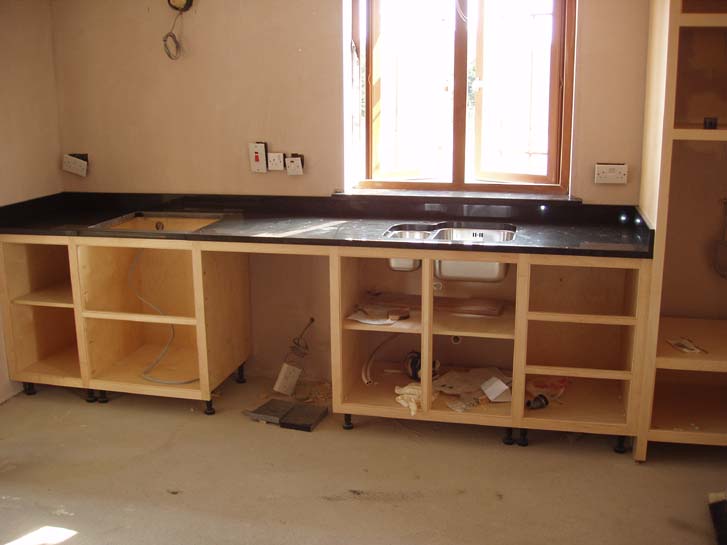
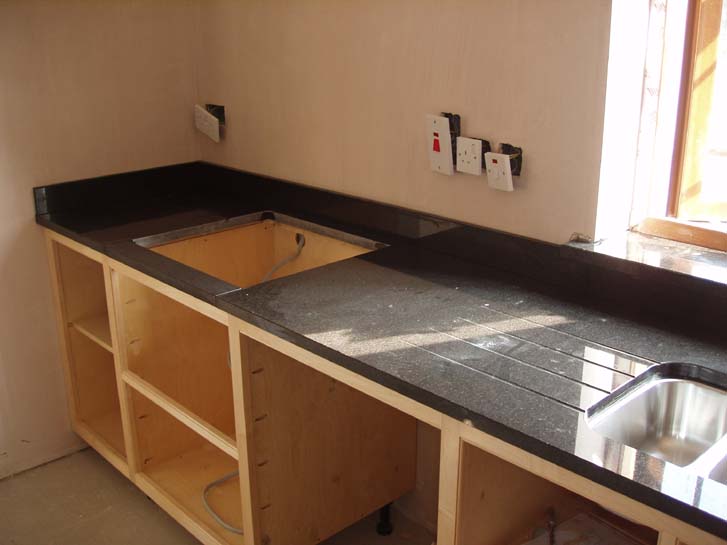
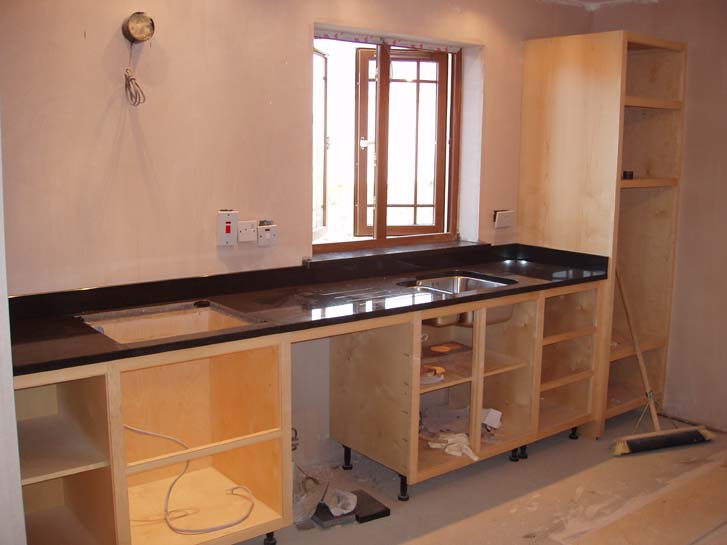
Sink Unit
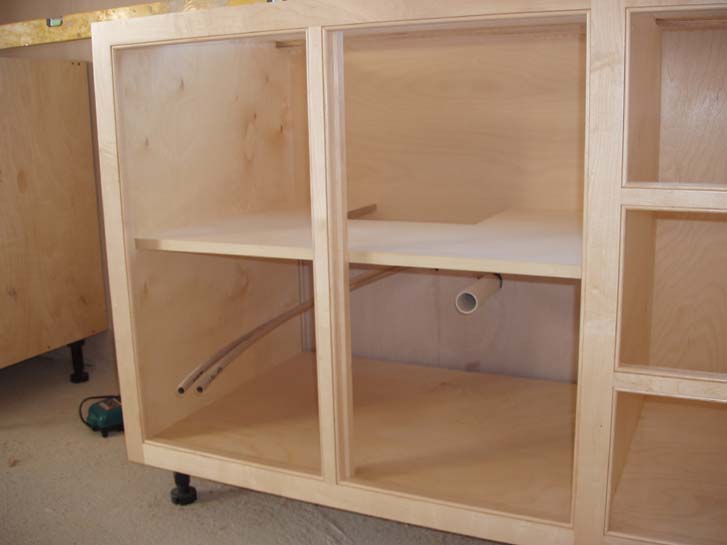
Hob & Pot Drawers
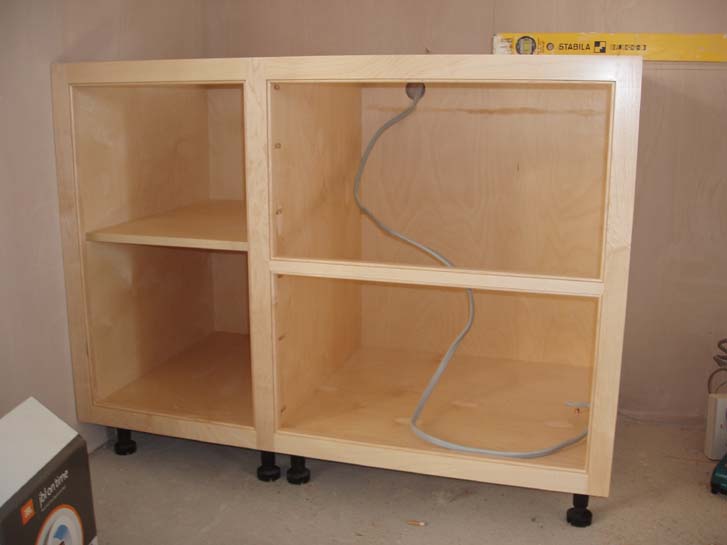
Double Unit x 2
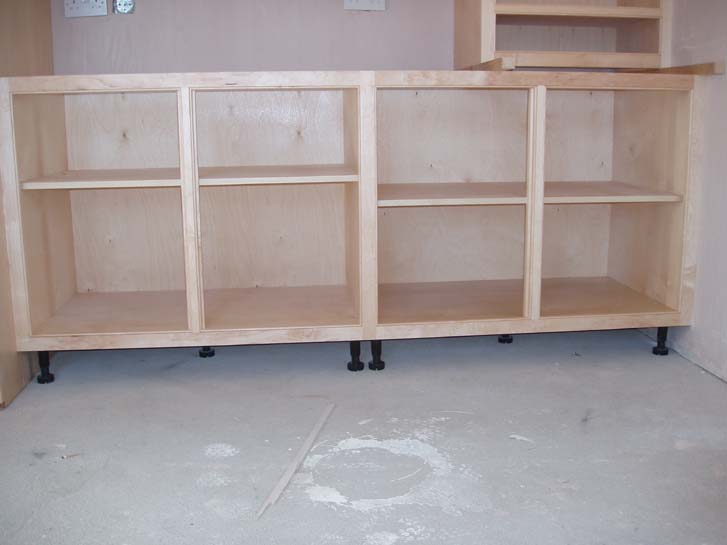
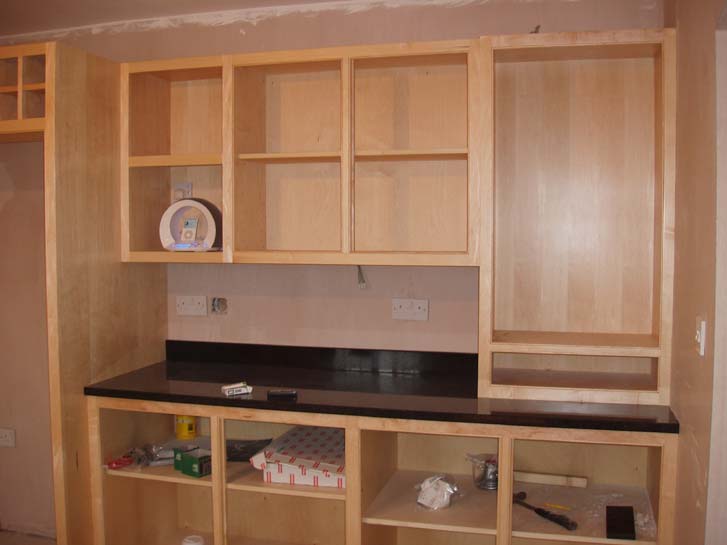
Open Shelves
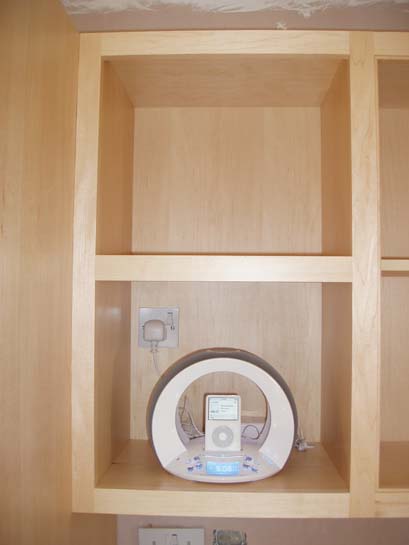
Double Unit
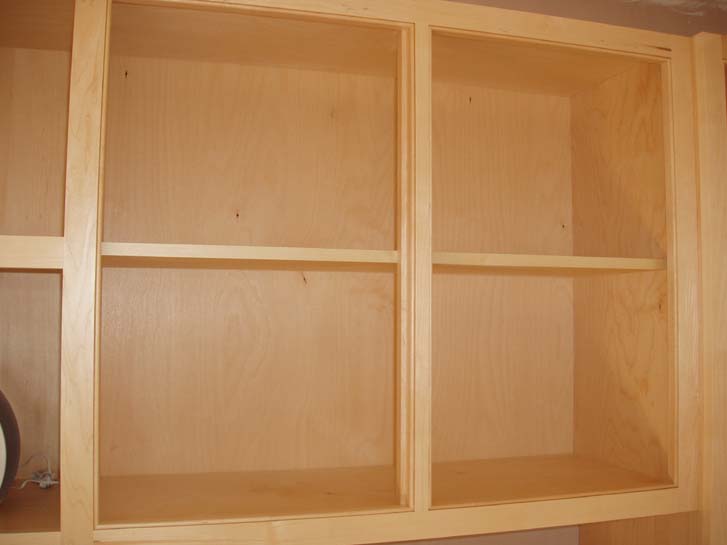
Glass Display & Drawer
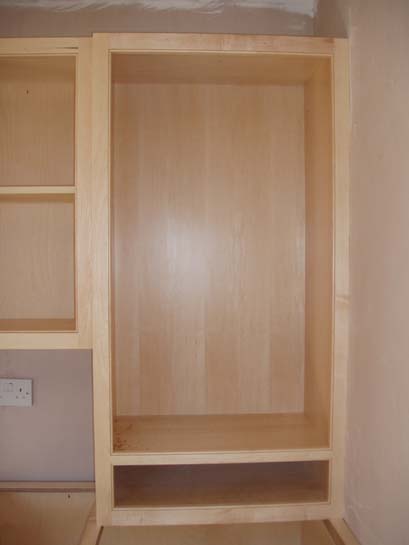
Fridge & Coffee Maker
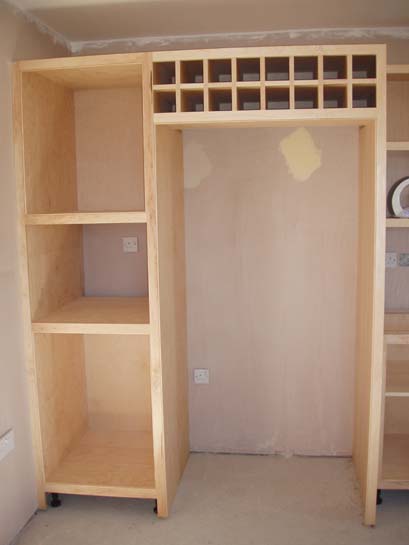
Wine Rack
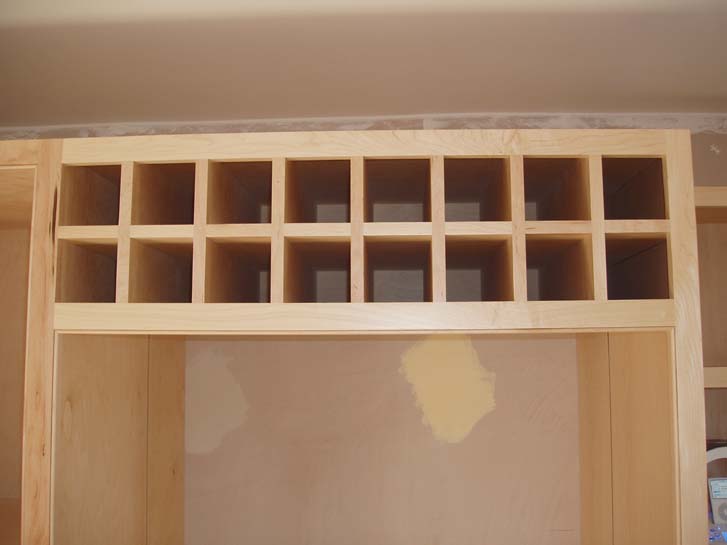
The gap is for the dishwasher. Carcases are birch ply, seen carcases veneer mdf and face frames solid maple. Thats it for now. Going to look at some worktops tomorrow but unfortunately there won't be any updates for a while as plumbing second fix and tiling are calling.
Glad to hear what you think.
Neil.
Based on the good advice received we ended up with something completely different as first planned. Also the spraying went great, very happy with the outcome. It took a bit of fiddling to get it right, at first on the finish coat I was getting a bit of slight orange peel or flecking but once I got the mix right it went great. Thanks to everyone in both threads for that.
Well I've finally got some thing to show.
Right hand side layout.

Left Hand Side 1

Left Hand Side 2

Drawer Unit

Sink Unit

Hob & Pot Drawers

Double Unit x 2

Open Shelves

Double Unit

Glass Display & Drawer

Fridge & Coffee Maker

Wine Rack

The gap is for the dishwasher. Carcases are birch ply, seen carcases veneer mdf and face frames solid maple. Thats it for now. Going to look at some worktops tomorrow but unfortunately there won't be any updates for a while as plumbing second fix and tiling are calling.
Glad to hear what you think.
Neil.


