Kitchen dresser

UKworkshop.co.uk

Help Support UKworkshop.co.uk:

This site may earn a commission from merchant affiliate links, including eBay, Amazon, and others.
Status
Not open for further replies.
Excellent build Mike, like the way that you have included the bits that went wrong too, and the bits that you hadn't planned out before hand, and the way you dealt with them. Great inspiration for us beginners.
 
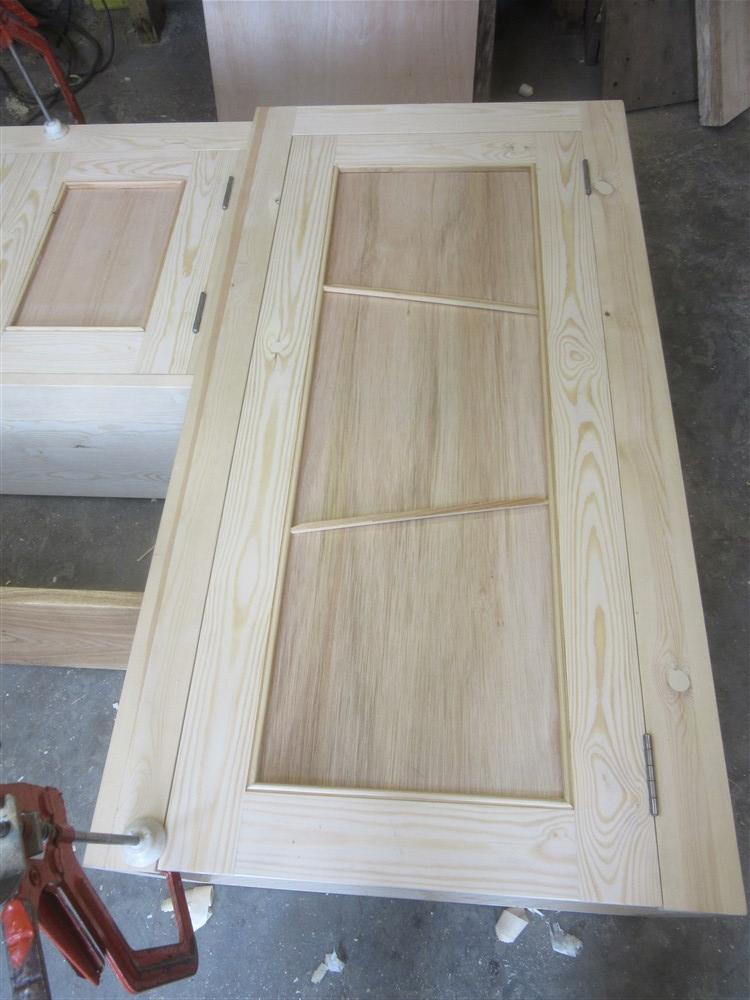
I mitred the little panel trim mouldings and glued them into place:

EIioCnr.jpg


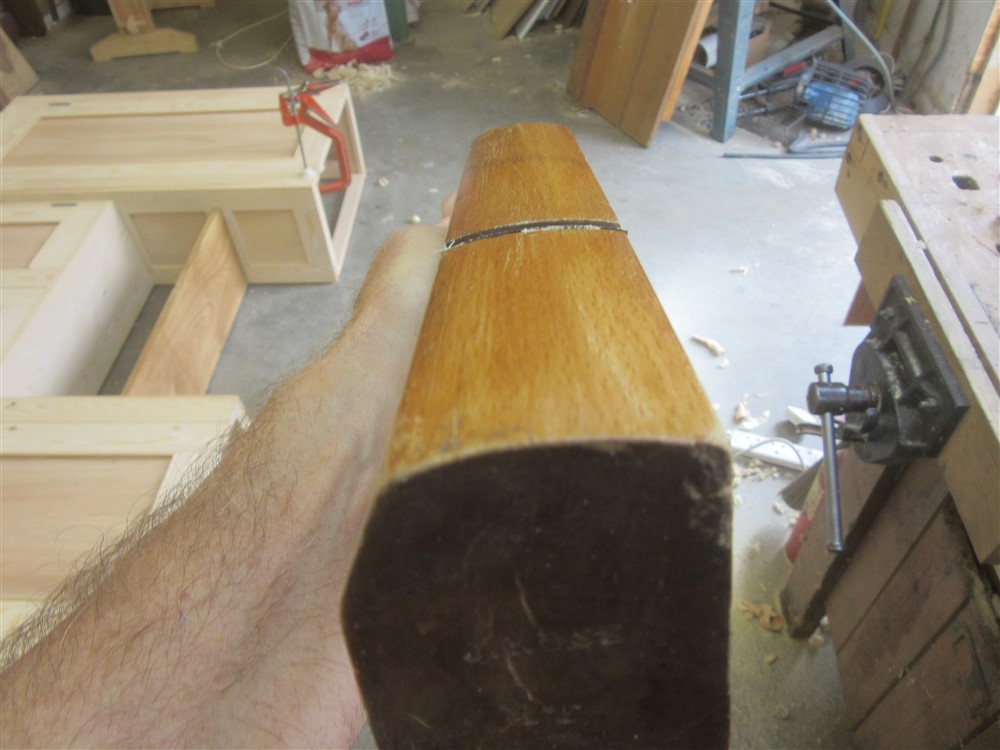
The rest of this post is about something I've not done before. I wanted a cornice for the top of the unit, and not having a spindle moulder my only option (other than phone a friend) was to hand plane the pieces. A friend had given me a hollowing plane (I guess a boat builder might call it a backing out plane, maybe) last year, but I'd never used it:

6q9DeX0.jpg


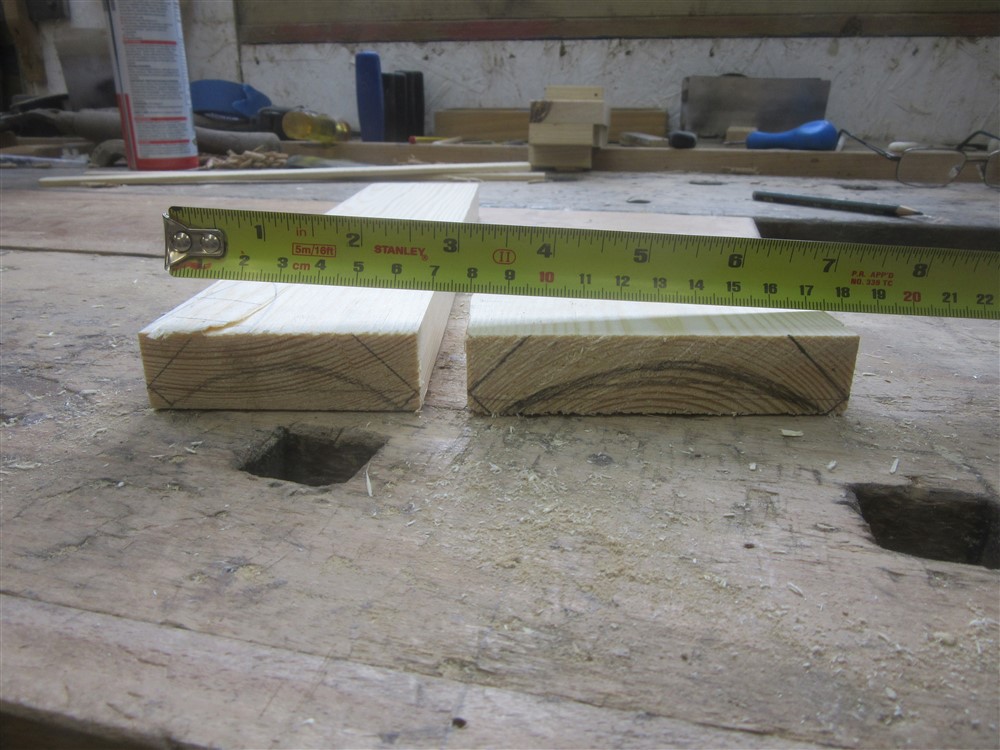
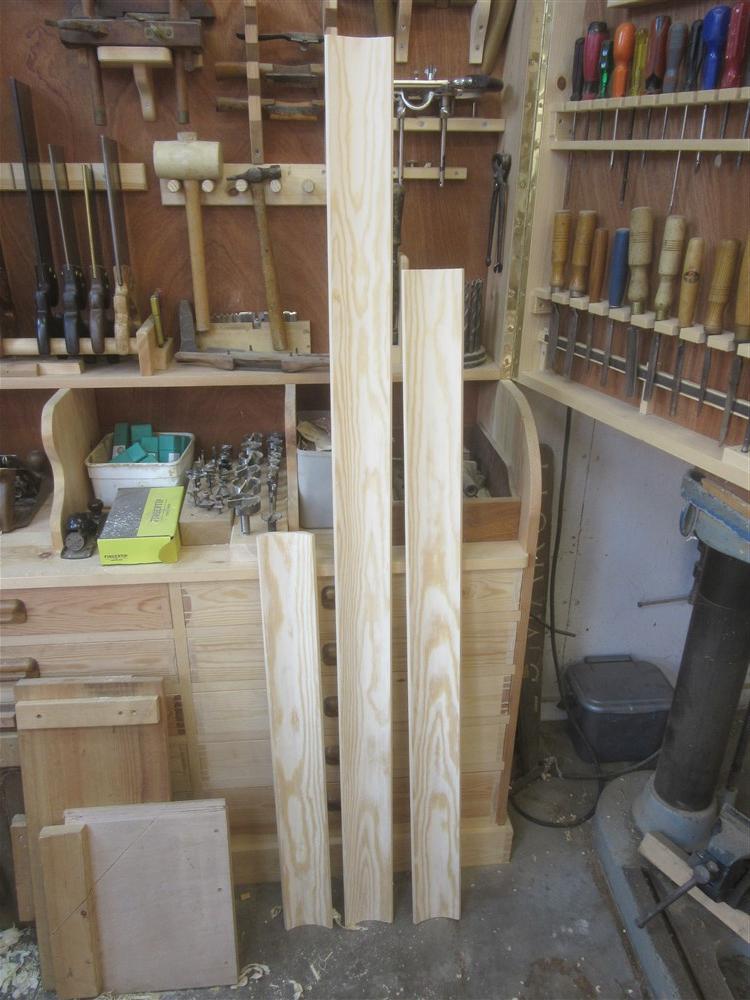
This is a rough idea of what I was aiming at (the one on the right):

lvTxnzp.jpg


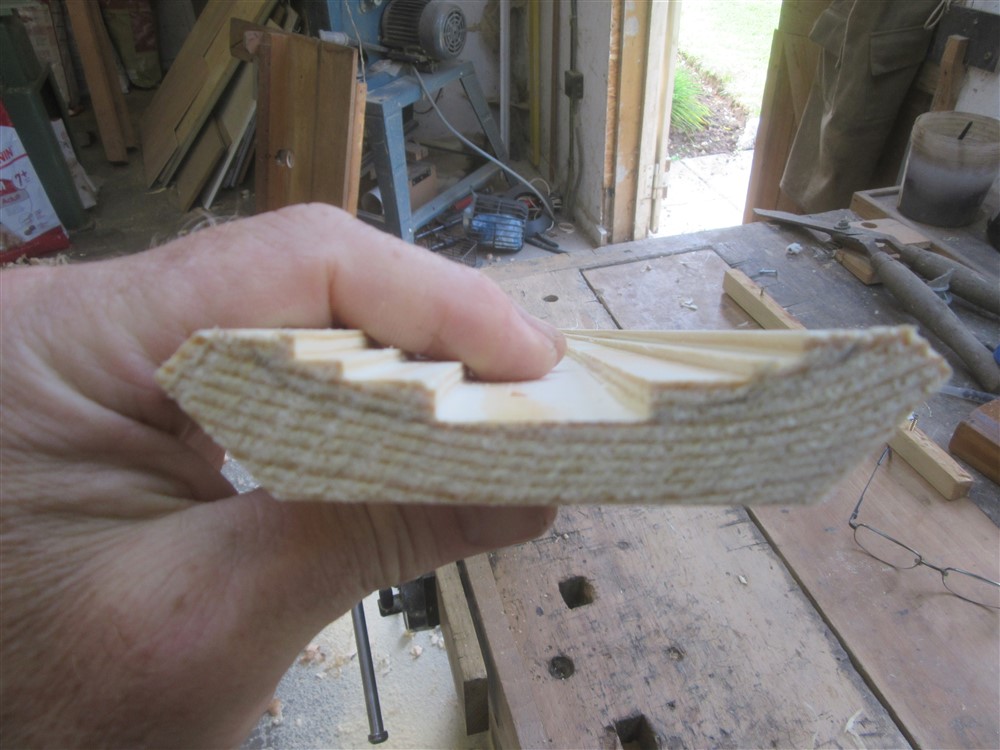
Sharpening it was easy (blade seemed a little soft), but a few experiments on scraps quickly showed me that it isn't easily "steerable". You can hack off quite a lot of wood in the wrong place in something of a hurry. I soon worked out that running it in grooves was the best way. So, this is what I did on the router table:

iVHbnLn.jpg


So that's a couple of chamfers, not quite meeting, along the edges, and a series of straight grooves run along the length of the face.

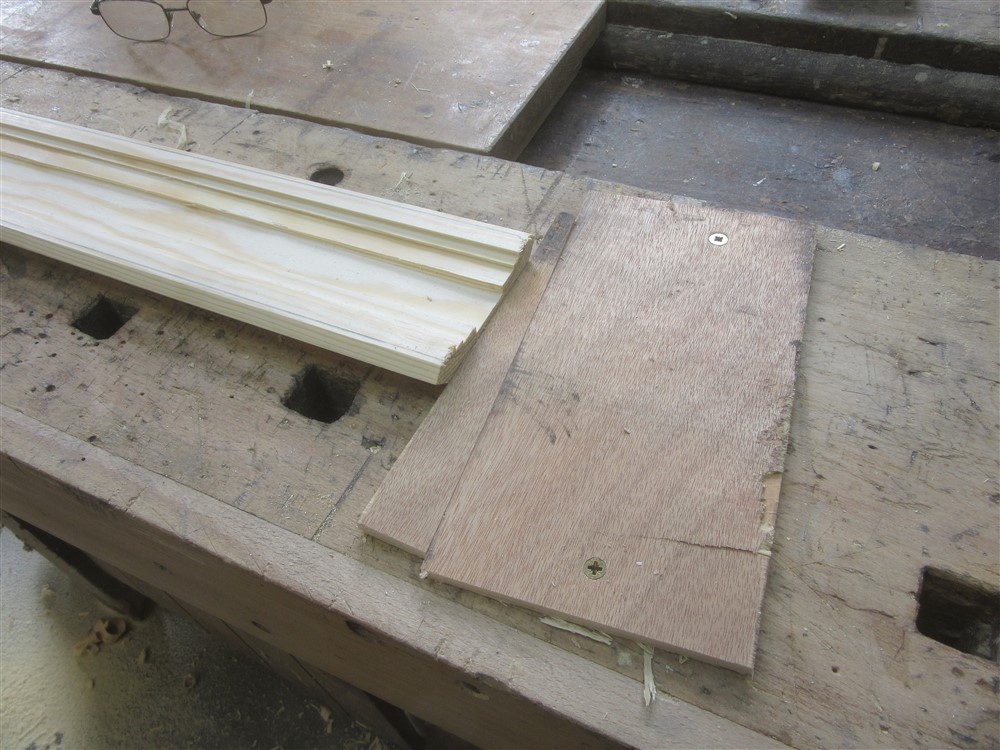
Workholding, without a tail vice, involved a wedge and a screwed down back stop:

75WKn7l.jpg


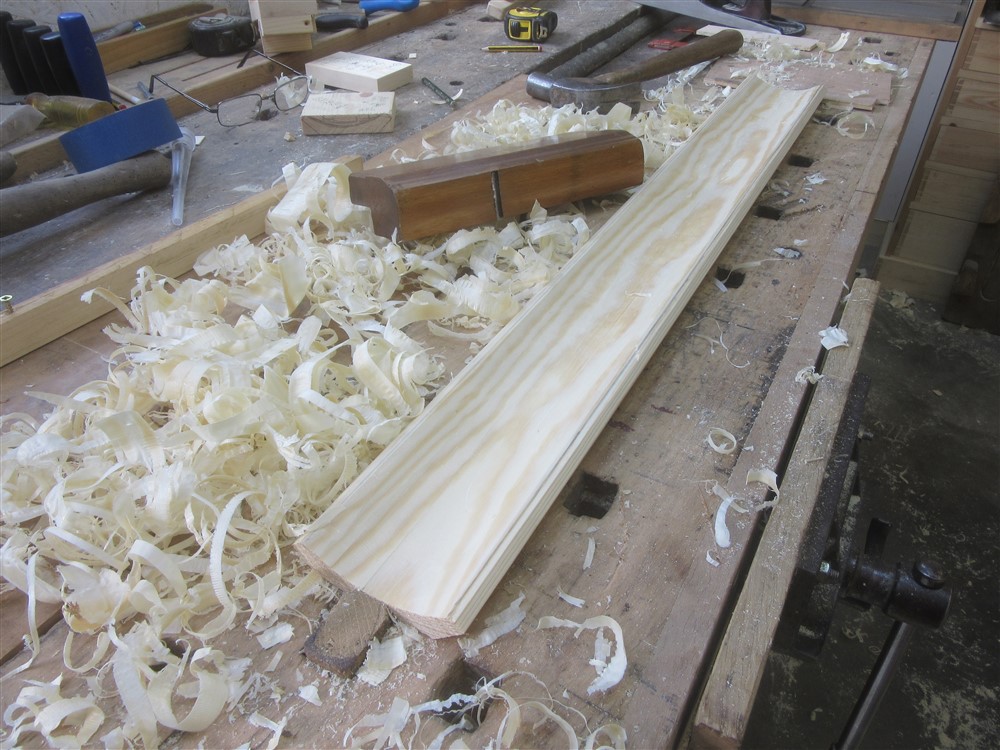
It took quite a while to get to grips with the plane settings. It went from not cutting at all to gouging out chunks with the tiniest of taps, but in the end, I got the hang of it:

7kfubaZ.jpg


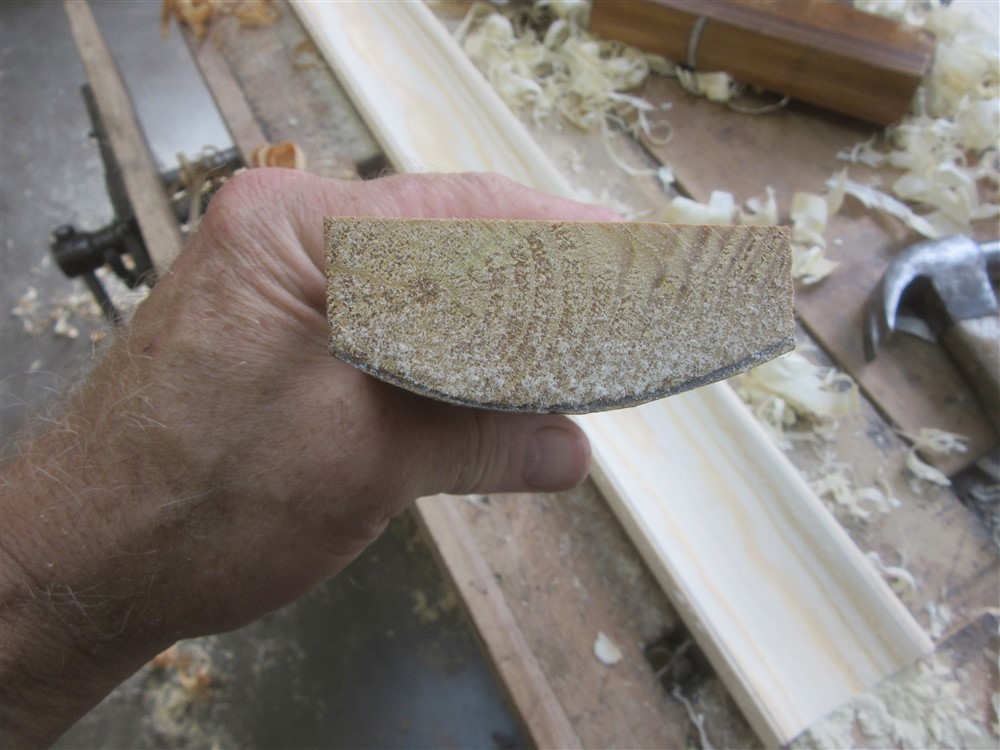
I found it useful to smooth off the worst of the edge marks with 40 grit paper on a quick sanding block:

We9JXen.jpg


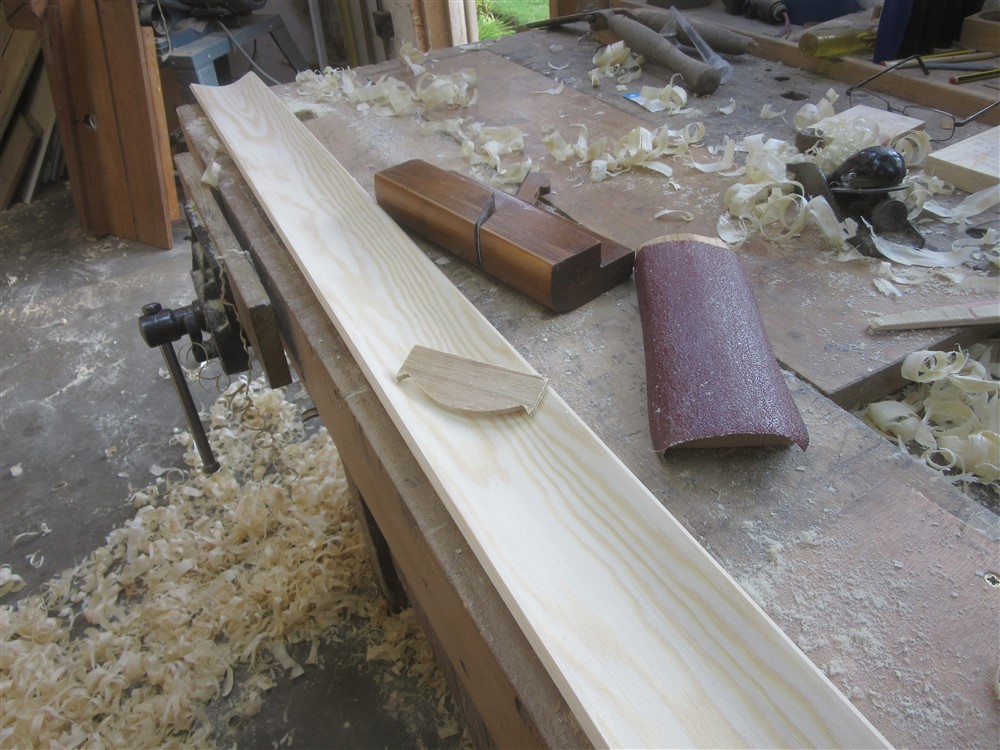
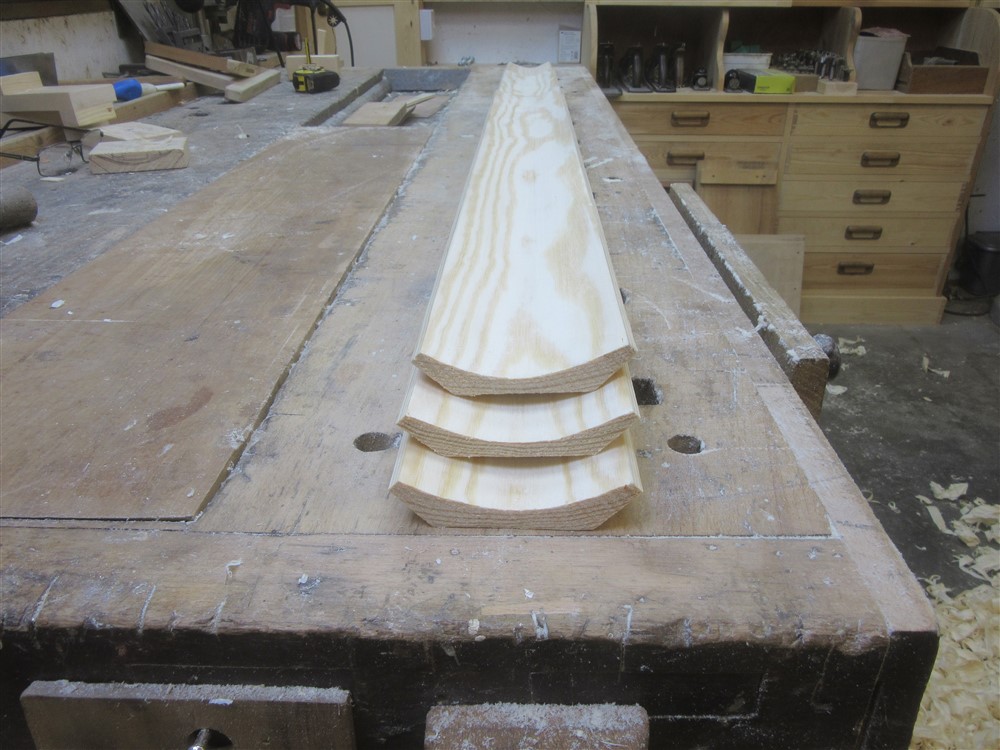
Then back to the plane for a final shaping, check with a little ply template, and sand with 100 grit, before finishing the chamfers on the planer.

rNK9nTD.jpg


27pdbJw.jpg


AMup1X9.jpg


4gKOyqE.jpg


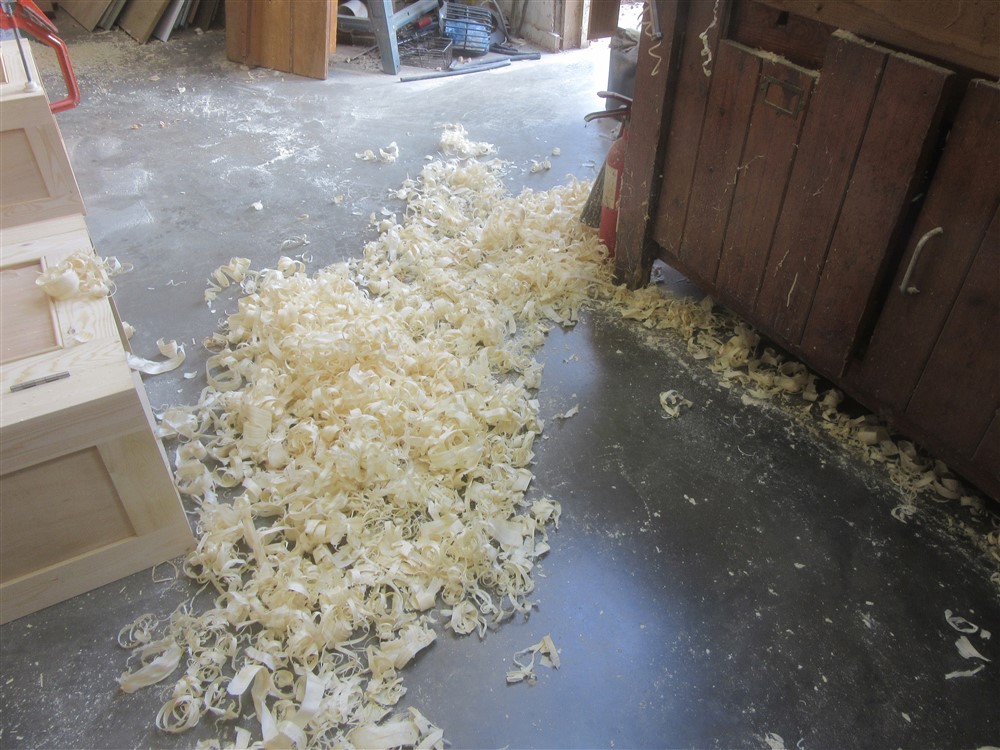
There's a way to while away a couple of hours. What, 10 minutes on a spindle moulder, maybe? And I fully expect to have to do some adjustments when I start mitre-ing (how do you spell that?) these bits together sometime in the next few days. That was sweaty work today, but despite a couple of bashed knuckles I am fairly pleased to have acquired a new technique.
 
Nice work! Sometimes an extra tool really does open up new possibilities...
 
I reckon a longer wider plane with a handle and maybe a fence would make this job pretty easy. I found myself using my fingers along the edge of the board as a fence (hence the bashed knuckles). More like a jack plane with a curved bottom.
 
The plane you are describing exists. One version is a gutter plane - I expect you know about old houses with wooden guttering.

DSC_5765.jpg


The other type was used by pattern makers who developed a design with detachable soles of various set radiuses, with an iron for each.

L_2808.jpg
 
Last edited:
That is nice work Mike. I must admit, I have a go at most things, but I would not have attempted to make that coving as I do not have a plane (or the skill) to do it. Top job. Adrian
 
The plane you are describing exists. One version is a gutter plane

That would be perfect. I know that boat builders had a similar plane, for "backing out" planks where they were laid on curving parts of the framework.

The other type was used by pattern makers who developed a design with detachable soles of various set radiuses, with an iron for each.

I imagine there is a sliding dovetail the length of the plane and soles.
 
I imagine there is a sliding dovetail the length of the plane and soles.

Simpler than that. Normally just two countersunk screws on each base, fitting either into a pair of holes in the wooden main body (as in the old "secret screw" method) or, more likely, into a pair of recessed metal keyhole plates.
 
Nice job Mike......Would not recommend doing this, but.....I remember years ago making a small piece of cornice by setting up a circular saw upside down and running the timber over the blade at 80°, taking off a few mm at a time and finishing with sandpaper, it worked and got me out of a situation.
Today I would use the spindle moulder with a 100mm head, but still after making mountains of the stuff that spinning 100mm head makes me more nervous than it did on the circular saw set up.
 
Very nice Mike, and beautiful timber to work with, and of course the other problem with the spindle moulder is getting the cutters or having them made. The last pair of large ones I had made to a profile I required were very expensive. I once did what Jonathan S did over my tablesaw not something I want to try again!
 
The table saw method is a good technique because by varying the angle of approach you can change the width and depth ratio of the cove. How I do it is to clamp two pieces of 4x2 at the required angle (this is the technical bit) to your table saw you need a line from the centre of your saw at the angle and then clamp the 4x2 equal distance either side of the centre line the total width between the 4x2 is the width of your stock. Then slowly wind up the blade a couple of mm at a time and run the stock over the blade and keep going until the desired depth of cove is achieved.
The closer the angle to the line of the saw the deeper and narrower the cove and the greater the angle the shallower and wider the cove.
If you are good at geometry you can take the diameter of the saw and the height and Chord exposed and the work out precisely the angle you need to approach the saw for any given cove.
 
I did use the saw method for raising the door panels of my kitchen.
It worked very well. Patience and due safety diligence were neccesary,
but I felt quite safe doing it.
I had it set up that, whatever happened, niether my hands, or the rest of me,
could touch the blade.
 
Status
Not open for further replies.

Latest posts

Back
Top