SkinnyB
Established Member
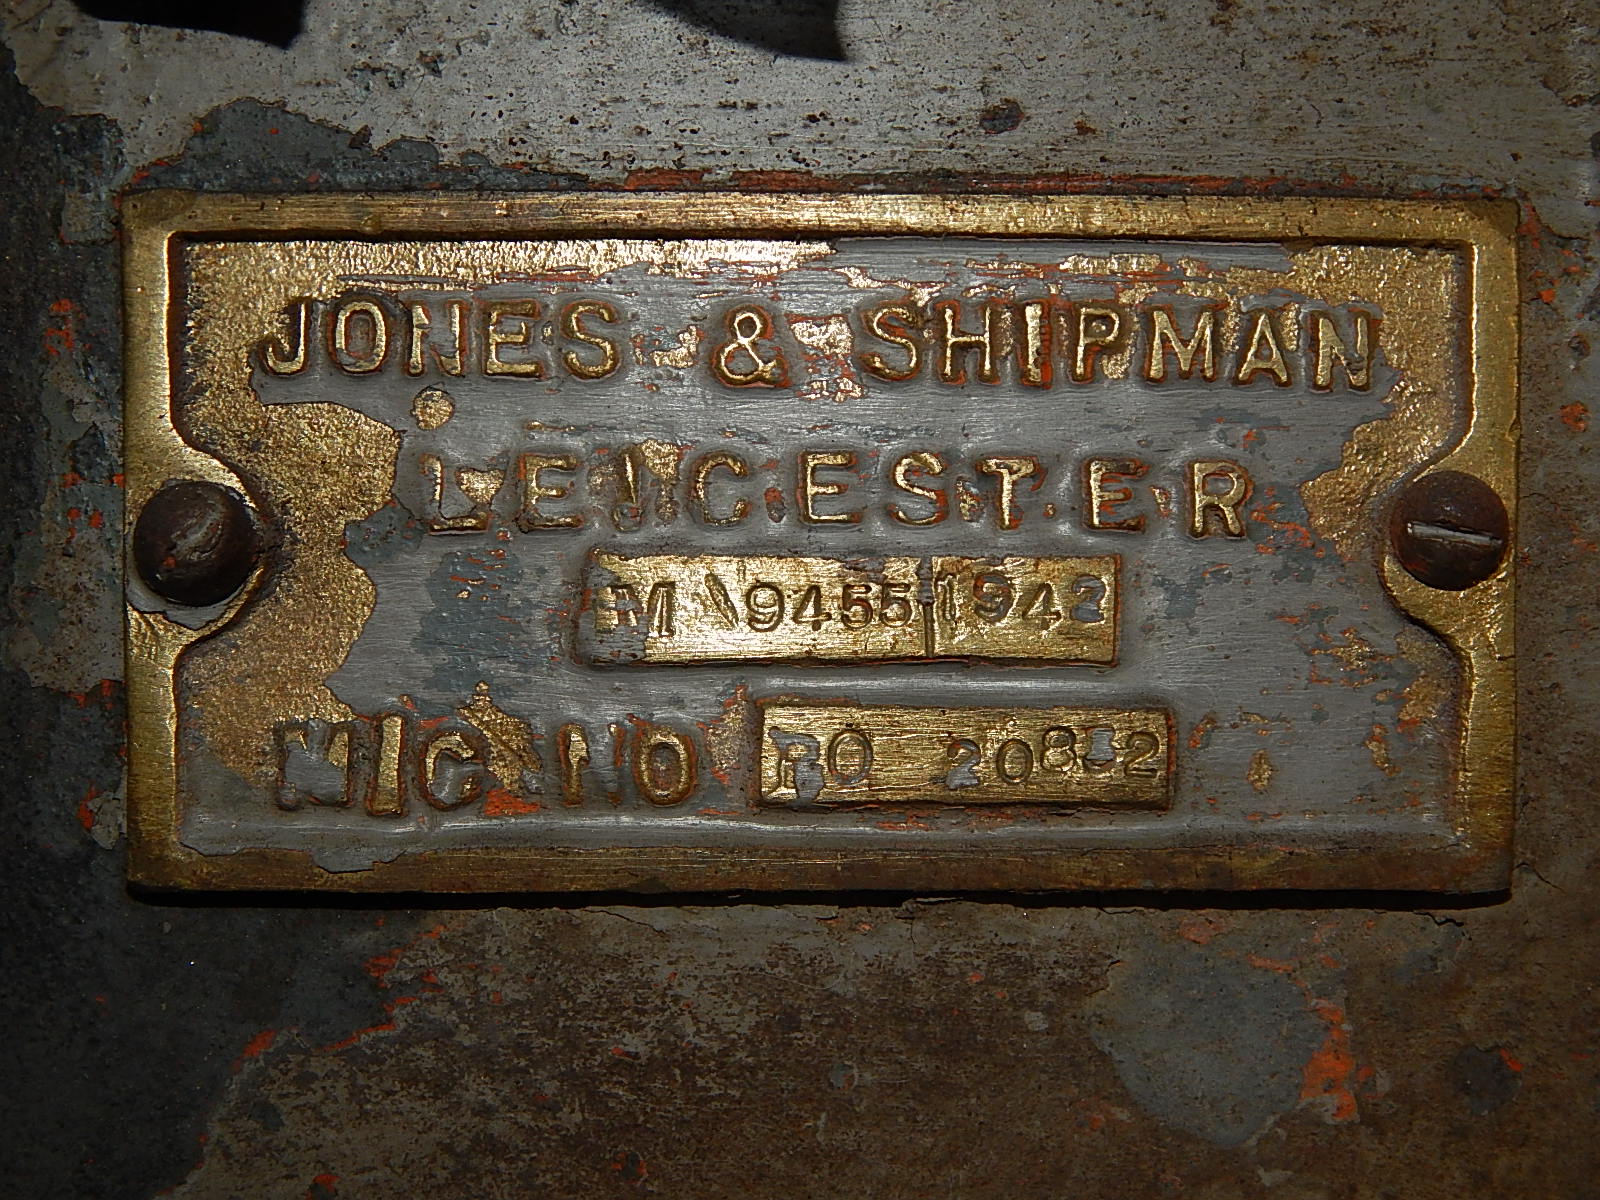
I have really been looking forward to getting around to cleaning this machine up. Had a bit of time so have made a start on it.
Follows on from this thread:
anyone-know-about-a-a-jones-shipman-drilling-machines-t115828.html
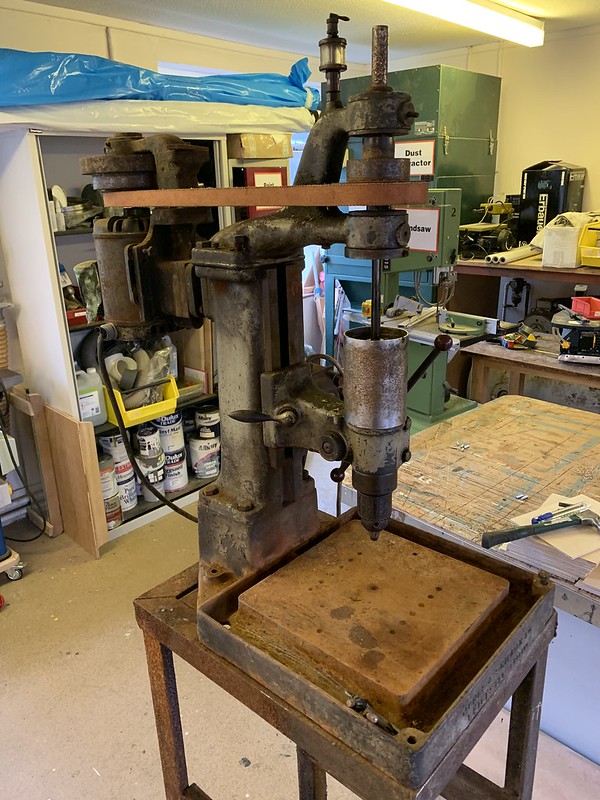 IMG_3391 by jamie skinner, on Flickr
Started by taking the motor off. Bit awkward as it is held by a bearing at the top as well as the motor base bolts and kind of all slots in together. Not really noticing this I undid the 4 motor mount bolts first and then looked upwards at the bearing cover above.
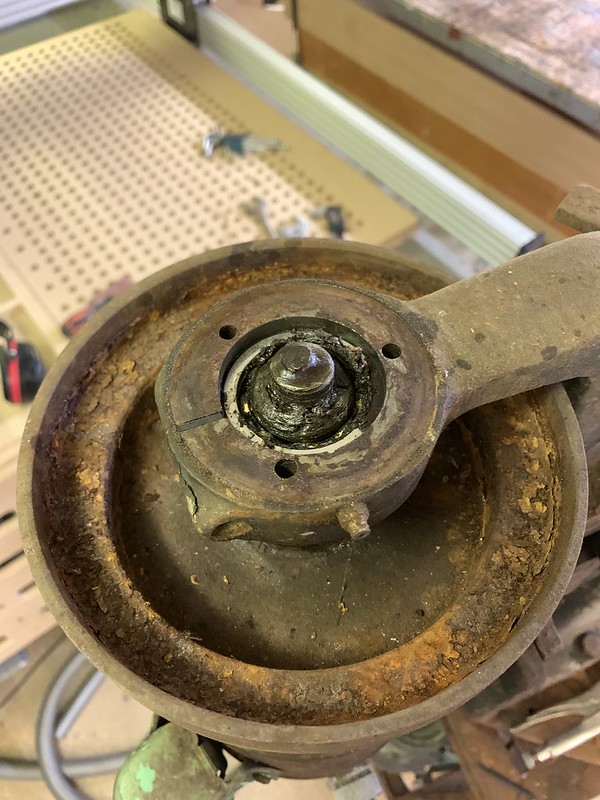 Jones and Shipman drill restoration by jamie skinner, on Flickr
Gave it a little wiggle and whole motor dropped... (standing on a stool at the time) Luckily I didn't fall with the shock weight of it and didn't drop it either.
This is the stepped pulley attached to the motor. Seems that at some point someone may have used some pulley pullers and broke the casting.
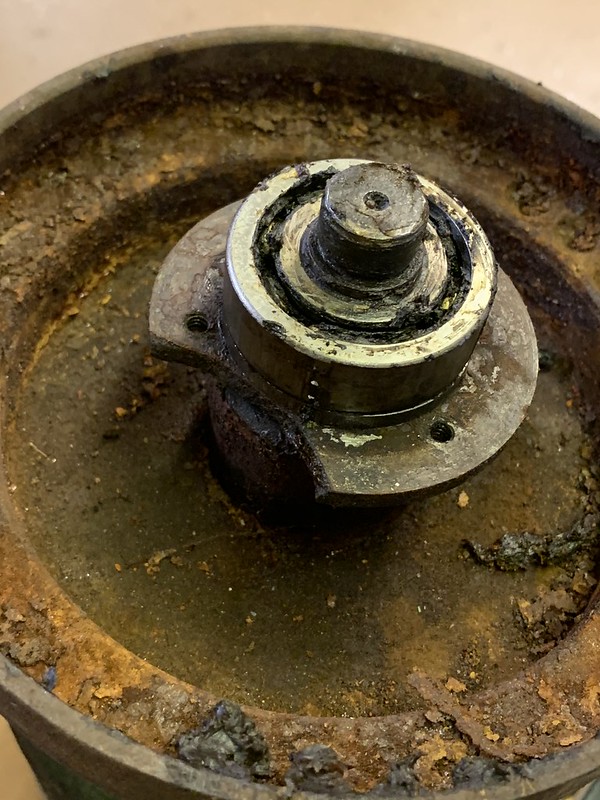 Jones and Shipman drill restoration by jamie skinner, on Flickr
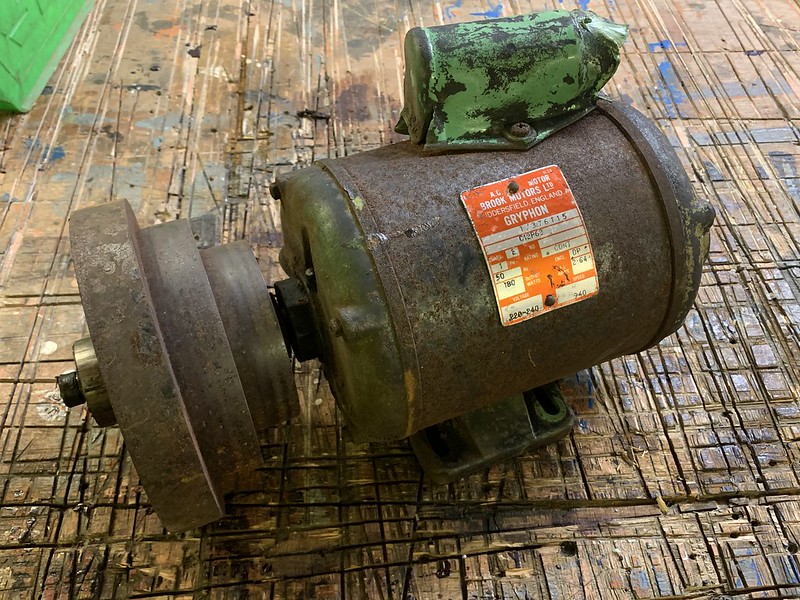 Jones and Shipman drill restoration by jamie skinner, on Flickr
The bearing came off very easily so I guess they succeeded in the end. Time for the pulley to come off.
 Jones and Shipman drill restoration by jamie skinner, on Flickr
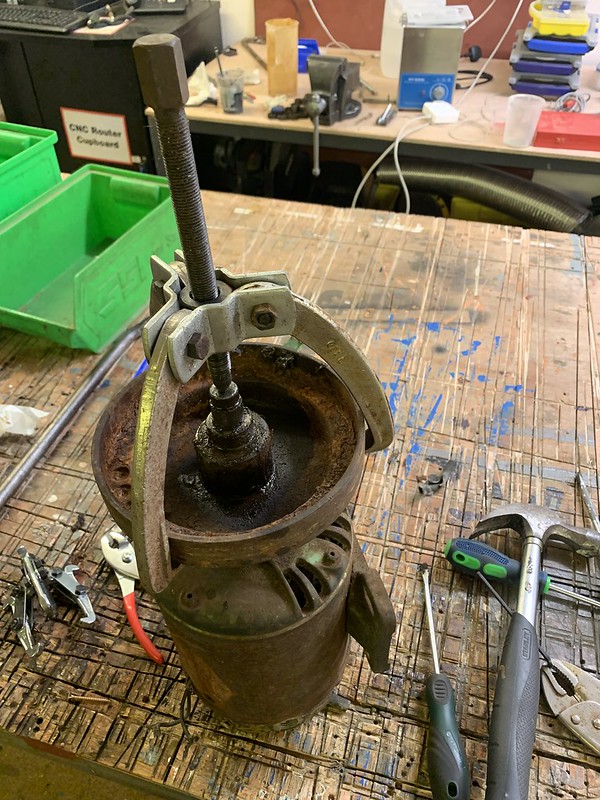
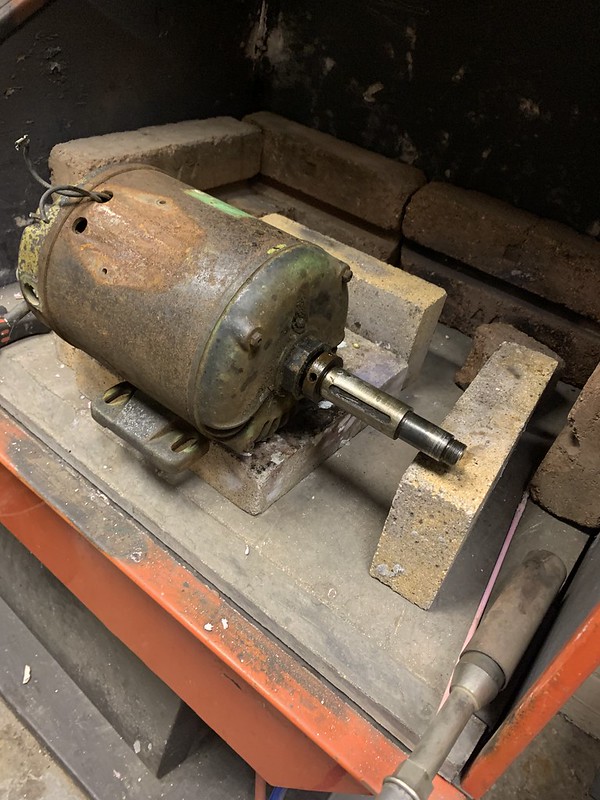
This shaft!! Will it come off! Removed the three grub screws, filled and left overnight with penetrant. tried heating. Tried to wedged it off either side. Stumped on this one as ideally I would like to to get into that motor.
 Jones and Shipman drill restoration by jamie skinner, on Flickr
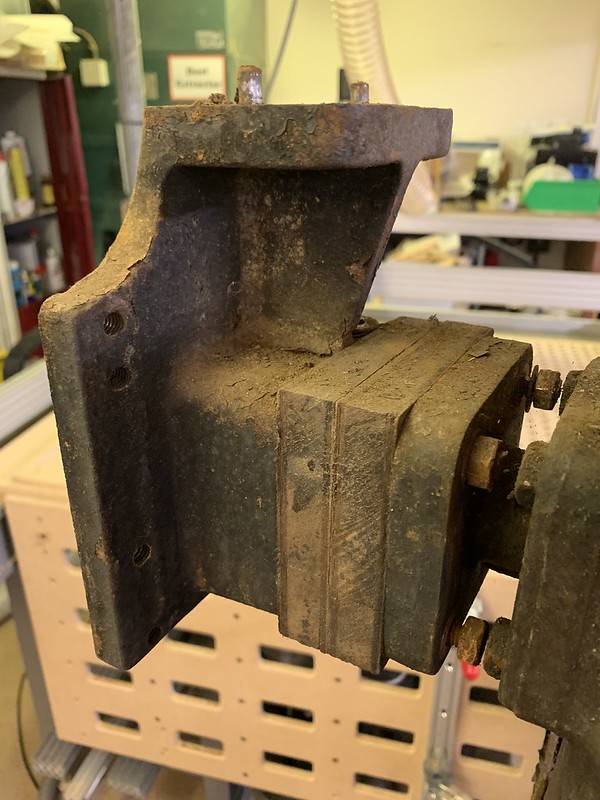
Another fix here. A couple of layers of MDF to mount the motor further back. I later found the motor adjuster had seized quite badly hence this fix.
 Jones and Shipman drill restoration by jamie skinner, on Flickr
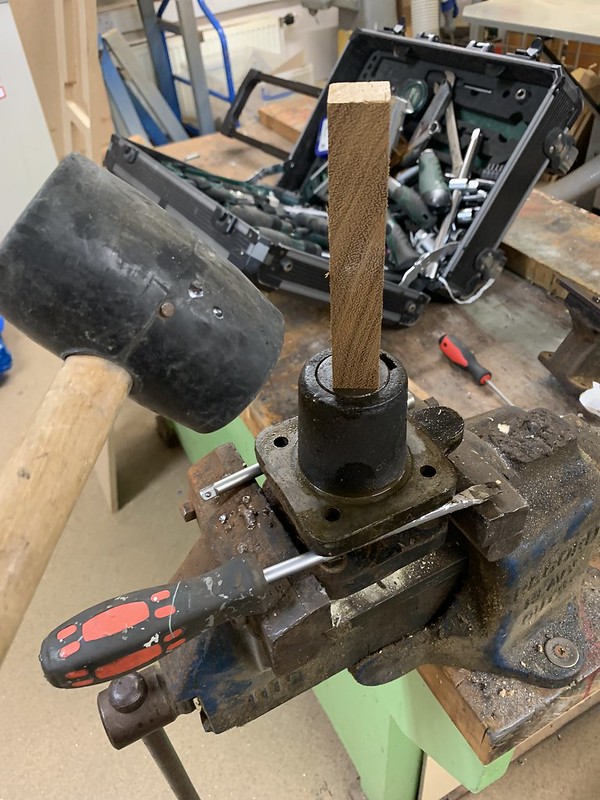
This part is to adjust the motor back and fourth. Couple of taps of the mallet and it popped out. Just very rusty.
 Jones and Shipman drill restoration by jamie skinner, on Flickr
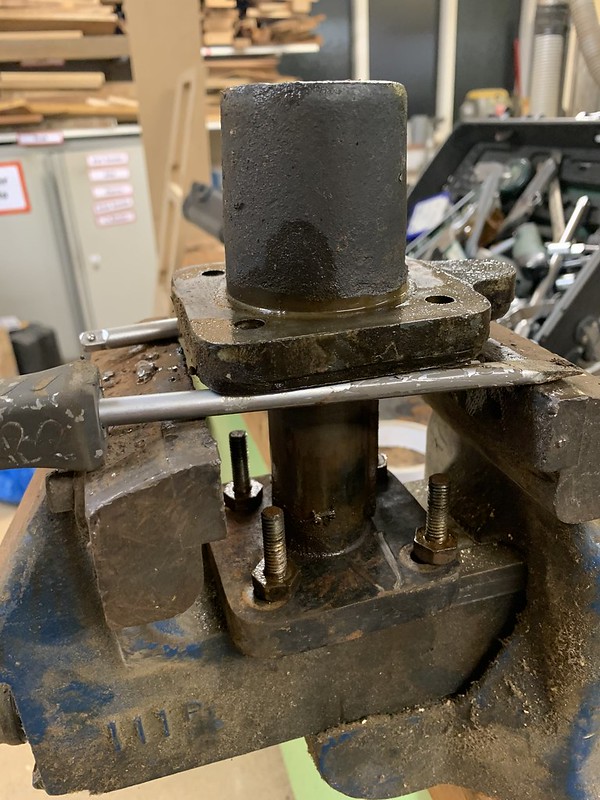 Jones and Shipman drill restoration by jamie skinner, on Flickr
Electronics
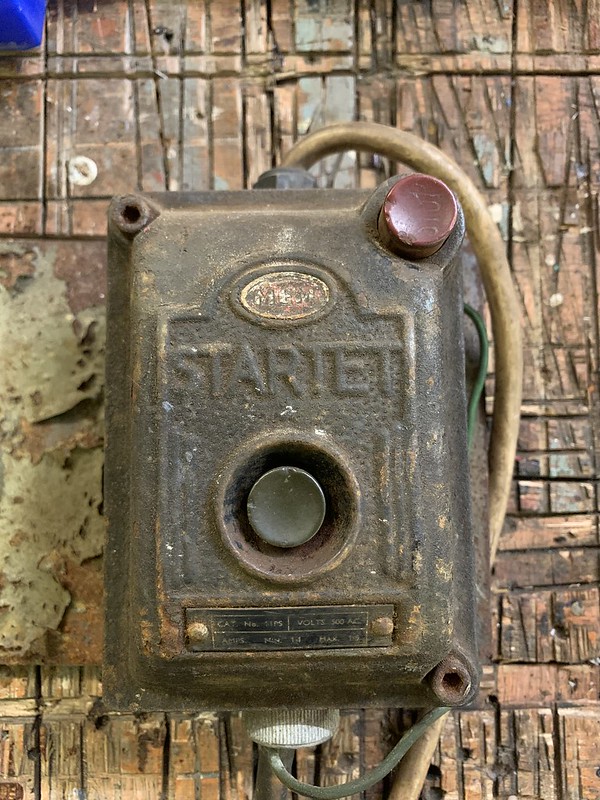 Jones and Shipman drill restoration by jamie skinner, on Flickr
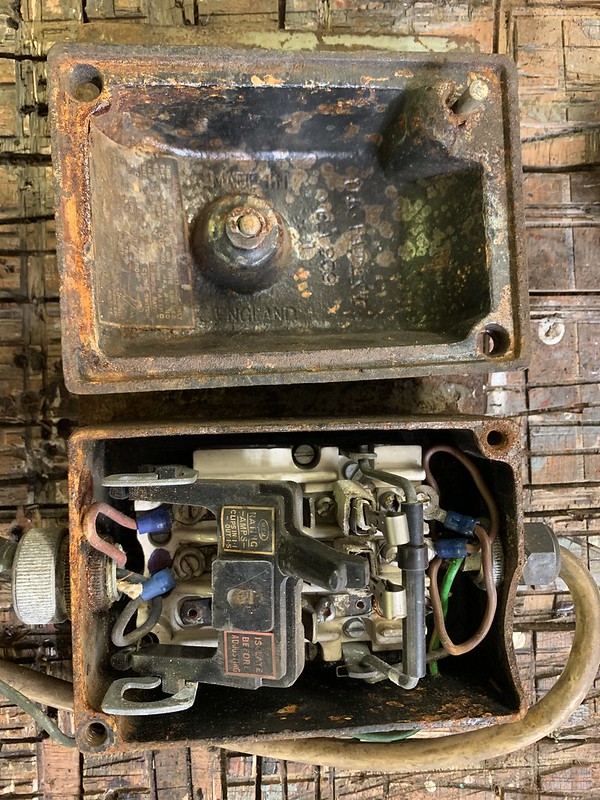 Jones and Shipman drill restoration by jamie skinner, on Flickr
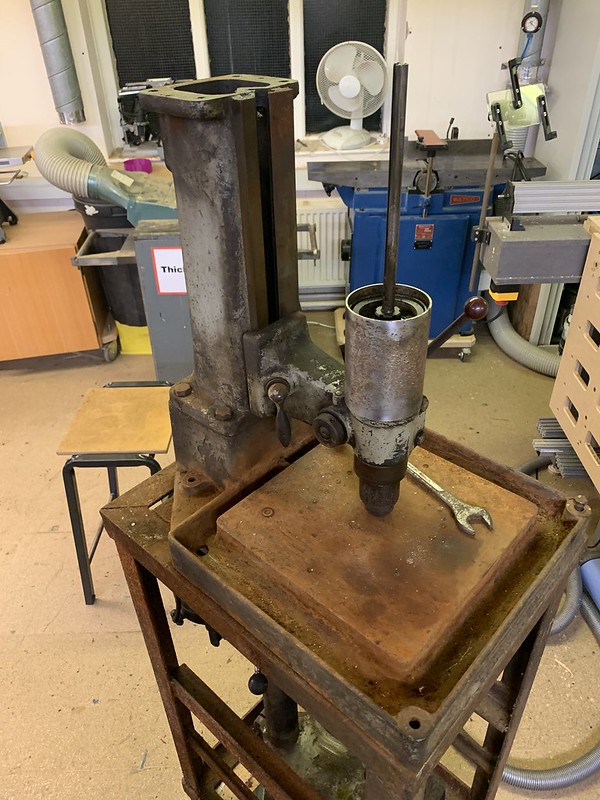
Only this far through so far...
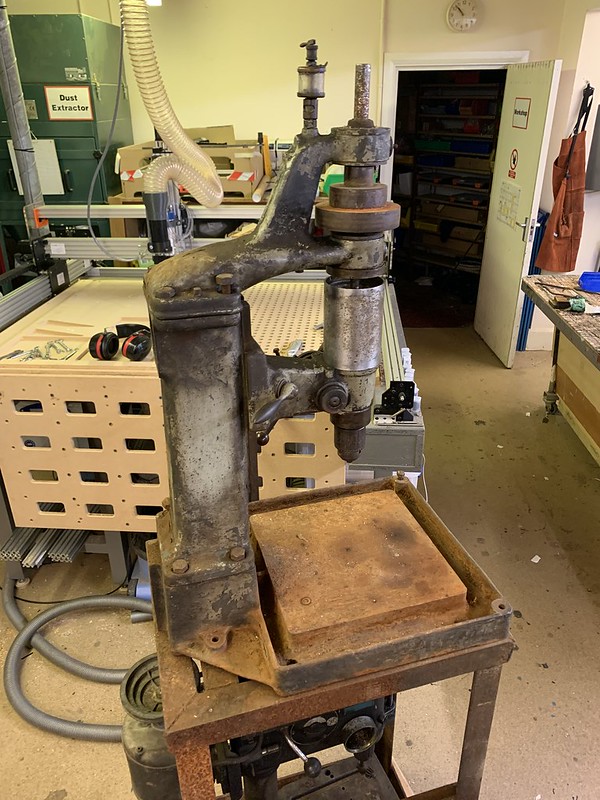 Jones and Shipman drill restoration by jamie skinner, on Flickr
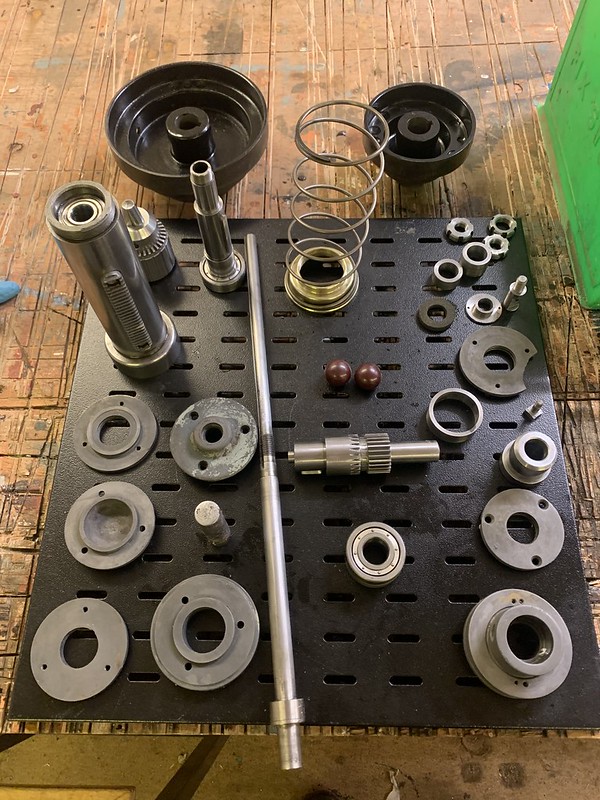
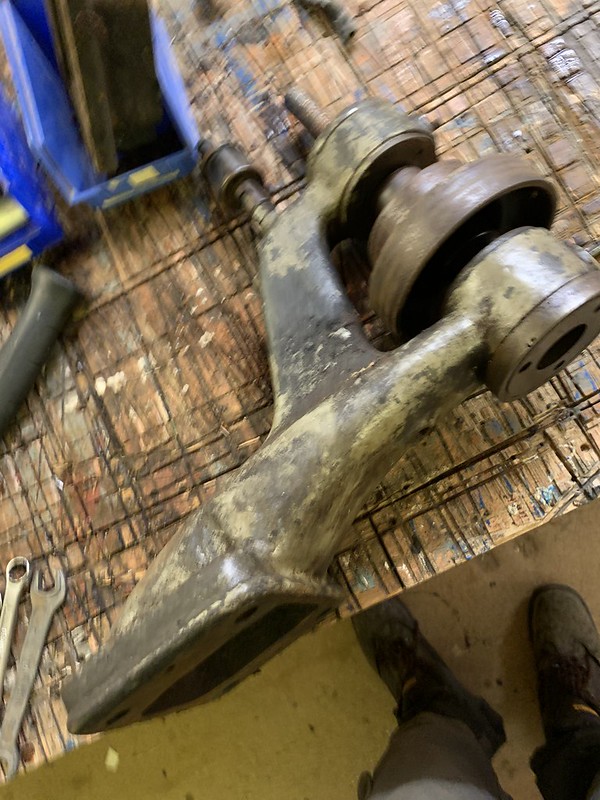
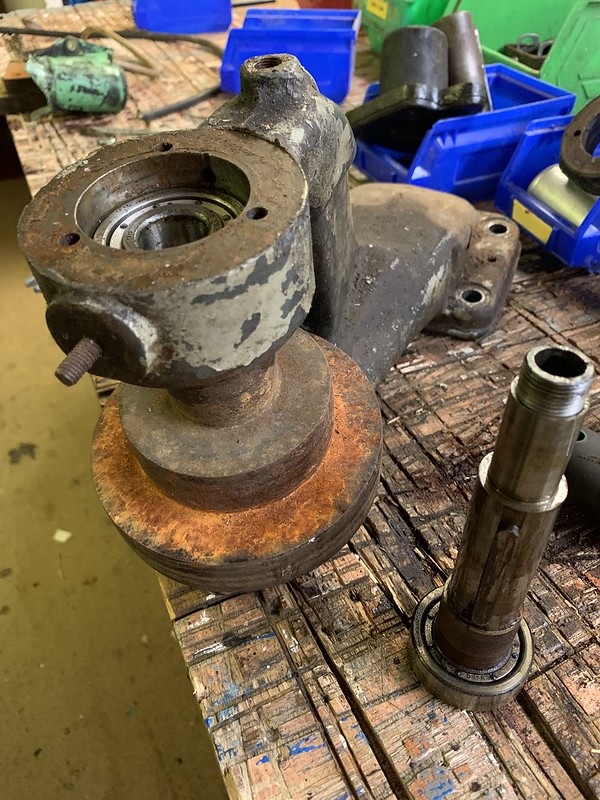
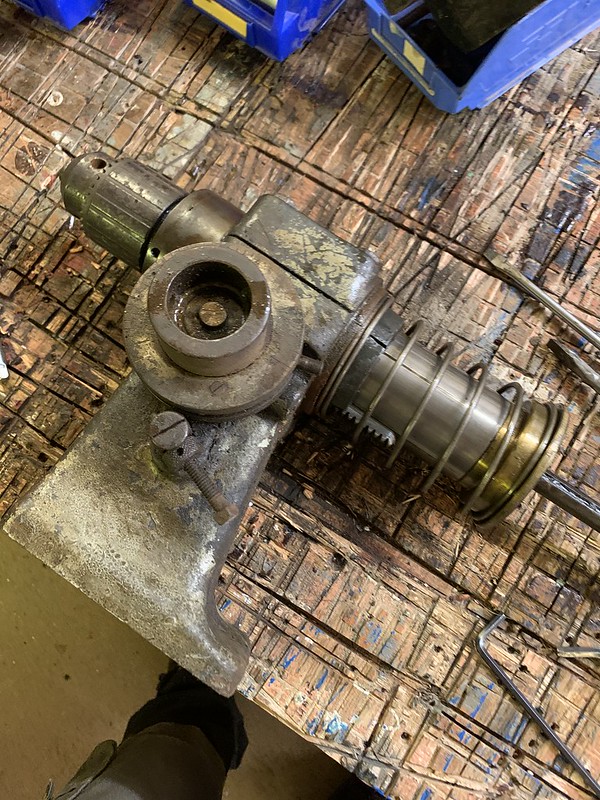
4 bolts and 2 alignment pins to adjust to undo this top part.
 Jones and Shipman drill restoration by jamie skinner, on Flickr
 Jones and Shipman drill restoration by jamie skinner, on Flickr
 Jones and Shipman drill restoration by jamie skinner, on Flickr
 Jones and Shipman drill restoration by jamie skinner, on Flickr
 Jones and Shipman drill restoration by jamie skinner, on Flickr
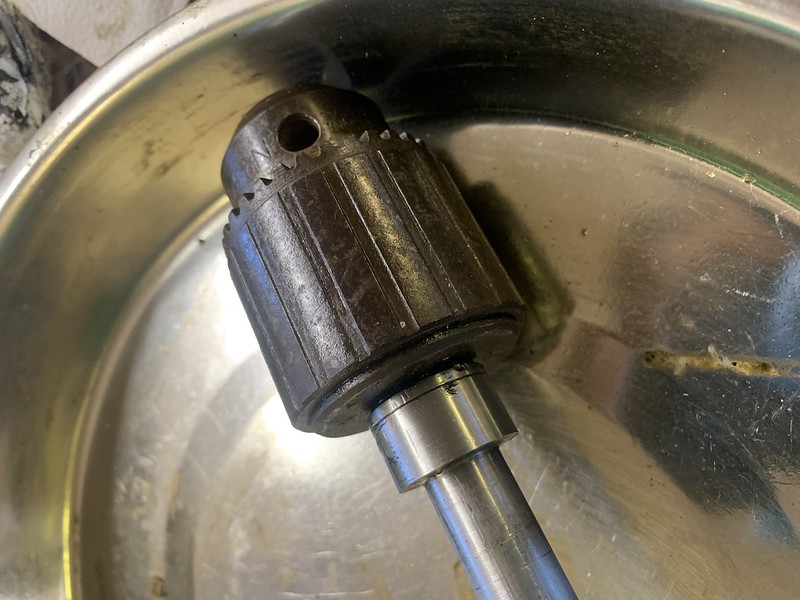
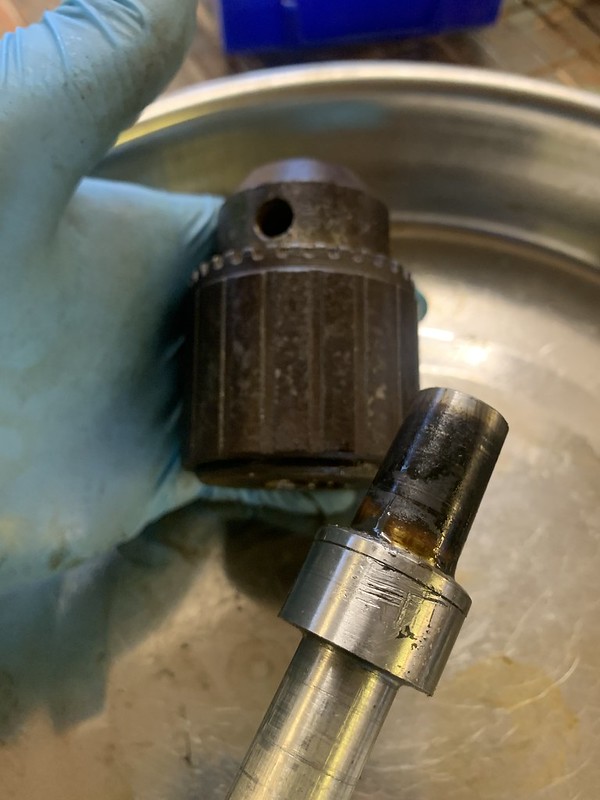
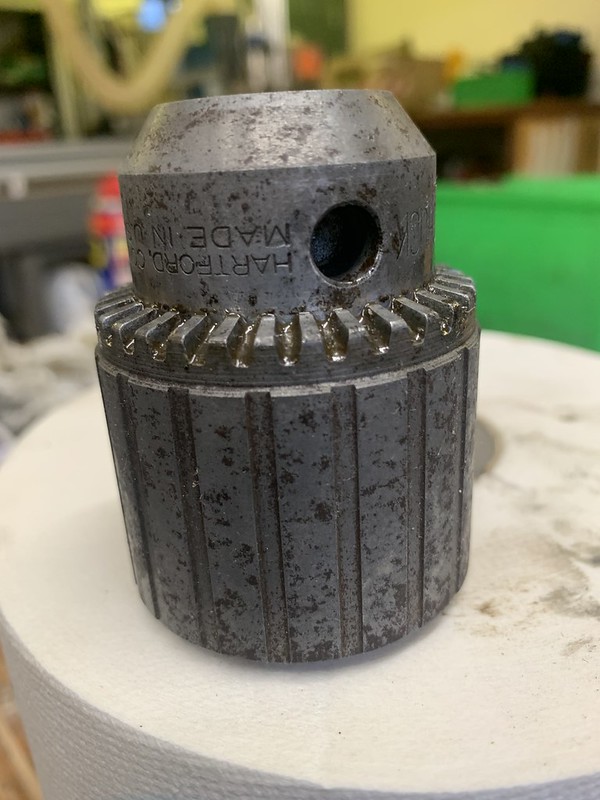
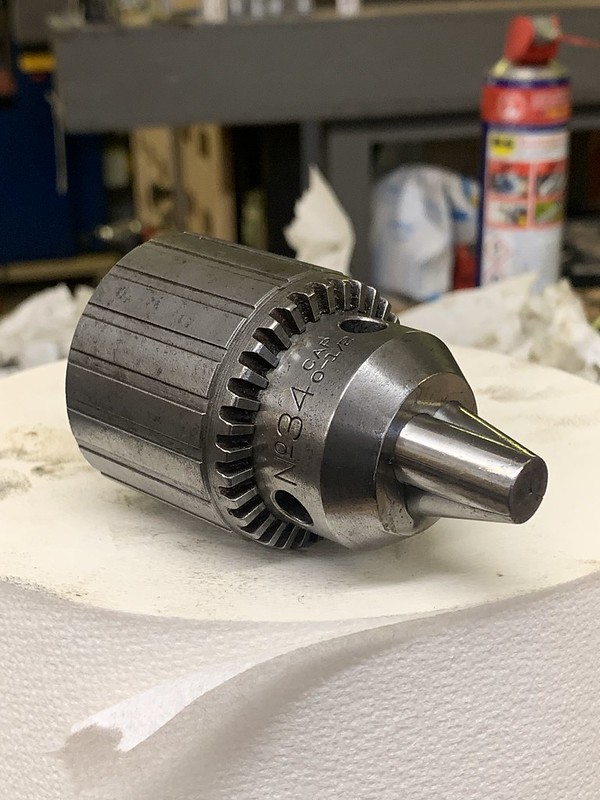
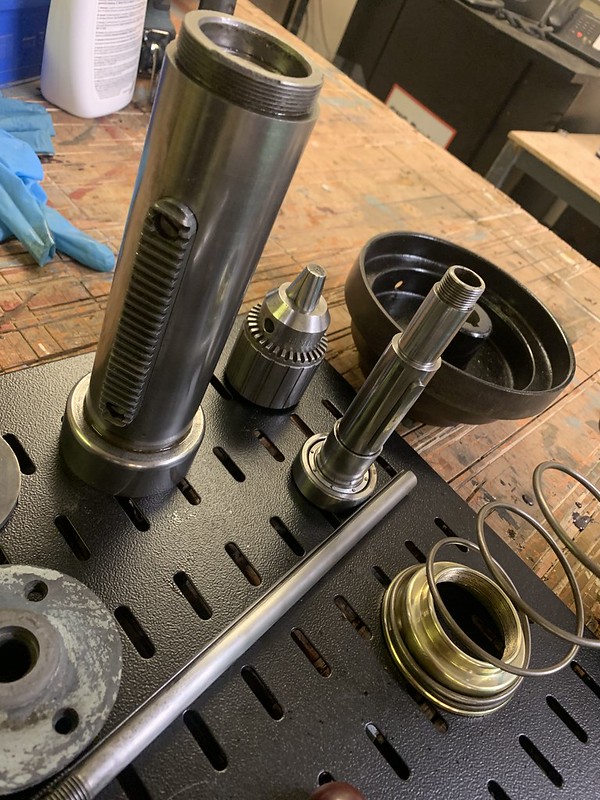
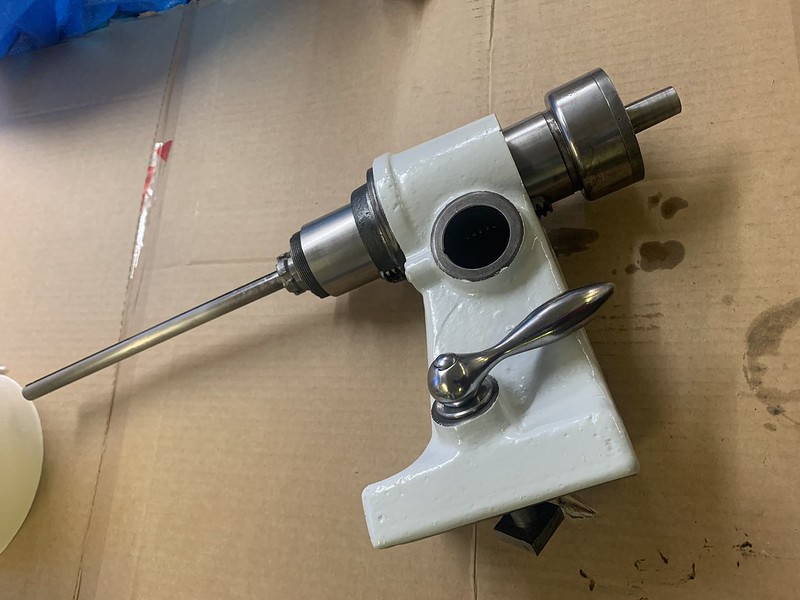
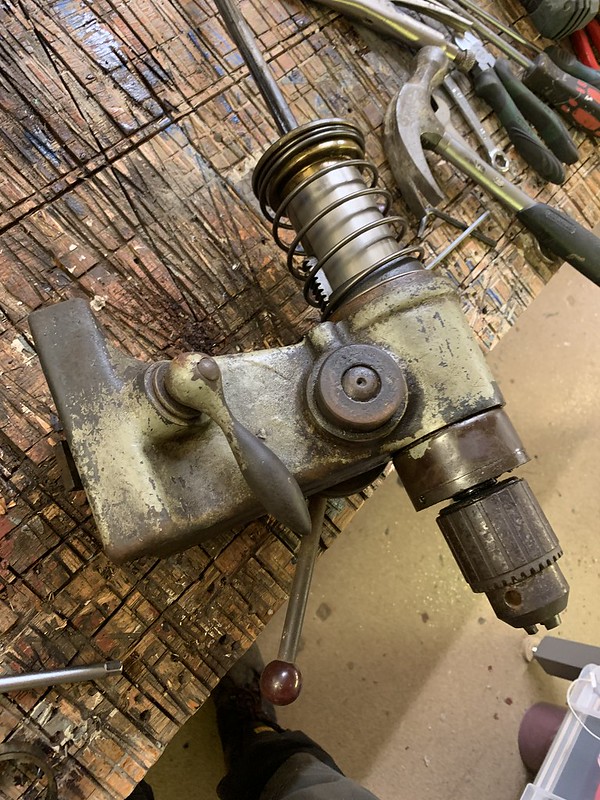
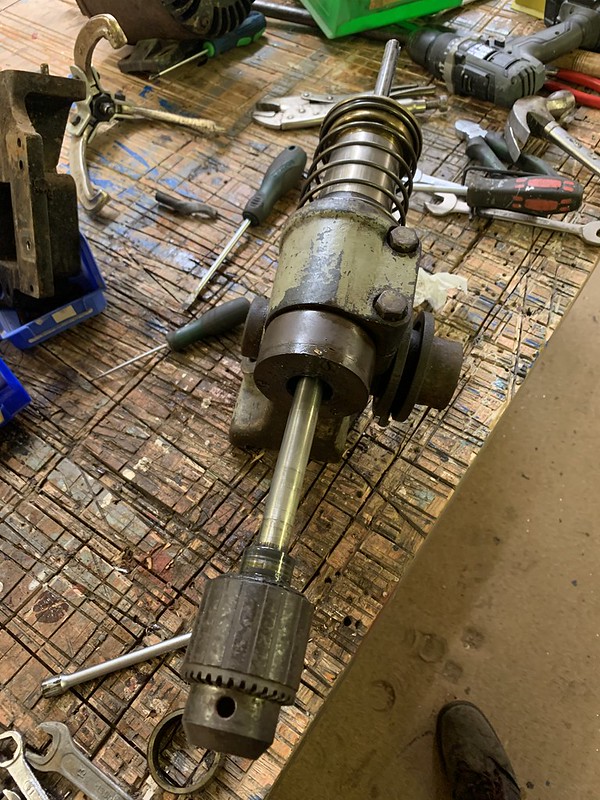
One long shaft for the chuck.
 Jones and Shipman drill restoration by jamie skinner, on Flickr
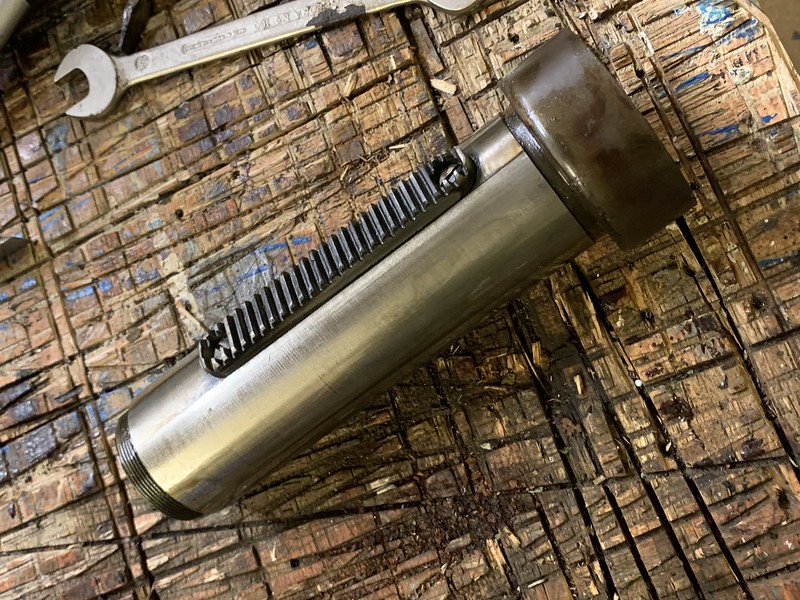
Very well oiled this part. Looks new.
 Jones and Shipman drill restoration by jamie skinner, on Flickr
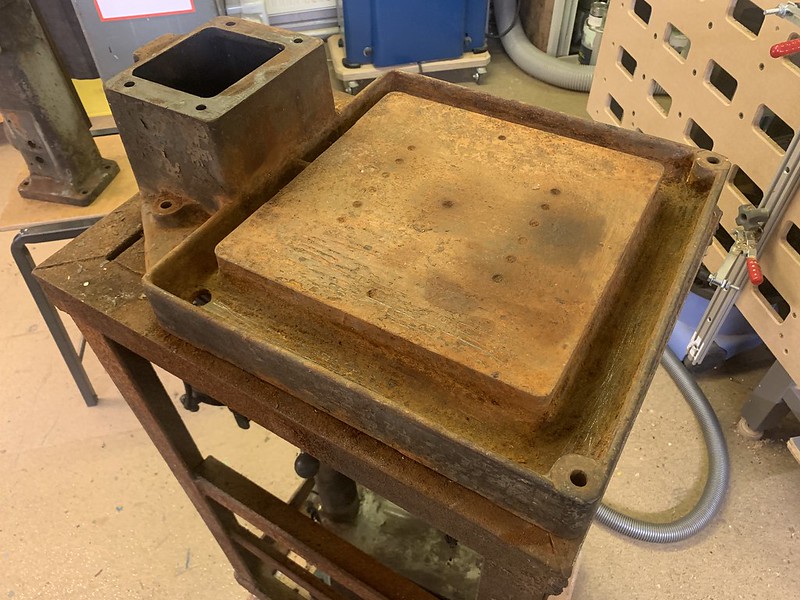
Tacking the base and the other cast parts.
 Jones and Shipman drill restoration by jamie skinner, on Flickr
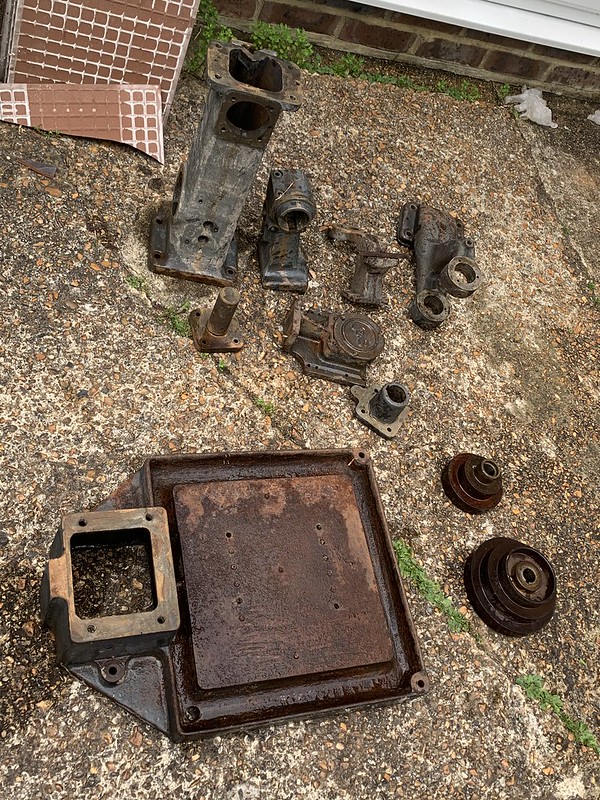
First I am going to pressure wash them and use some degreaser.
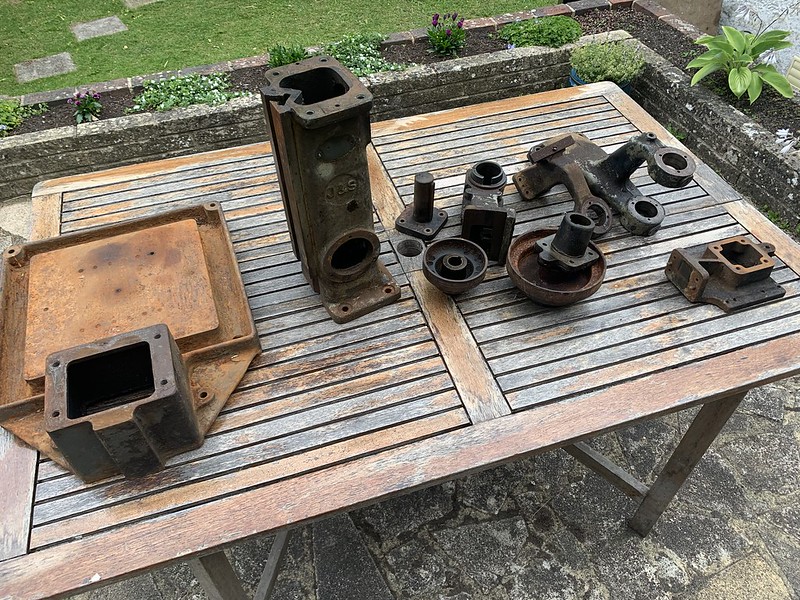 Jones and Shipman drill restoration by jamie skinner, on Flickr
Starting to see some original paint work.
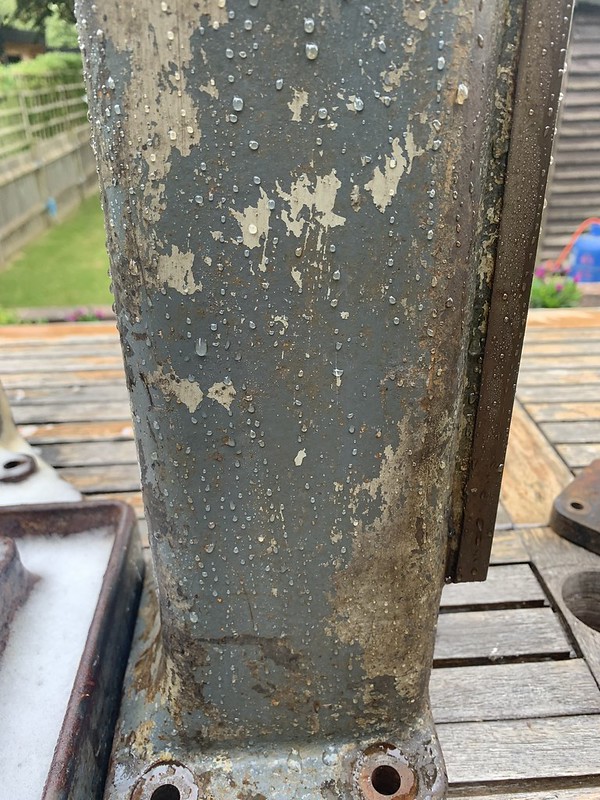 Jones and Shipman drill restoration by jamie skinner, on Flickr
Removing the old paint.
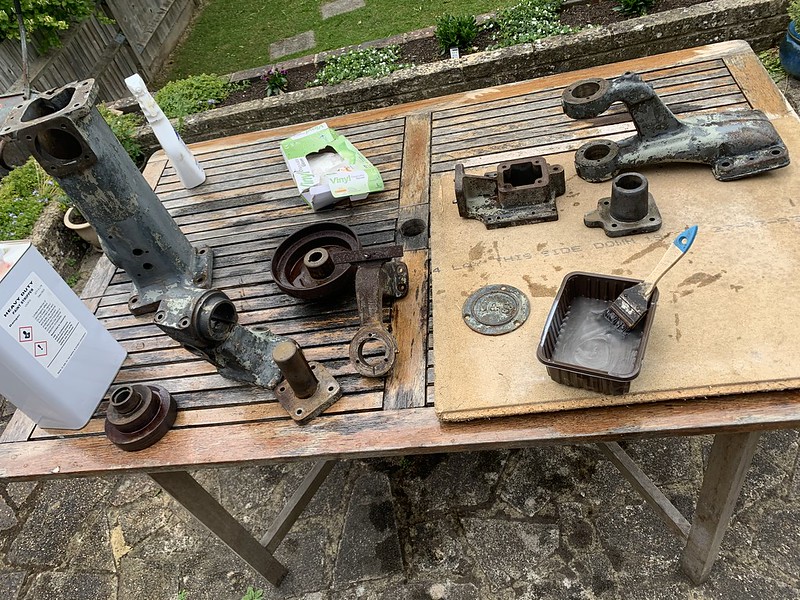 Jones and Shipman drill restoration by jamie skinner, on Flickr
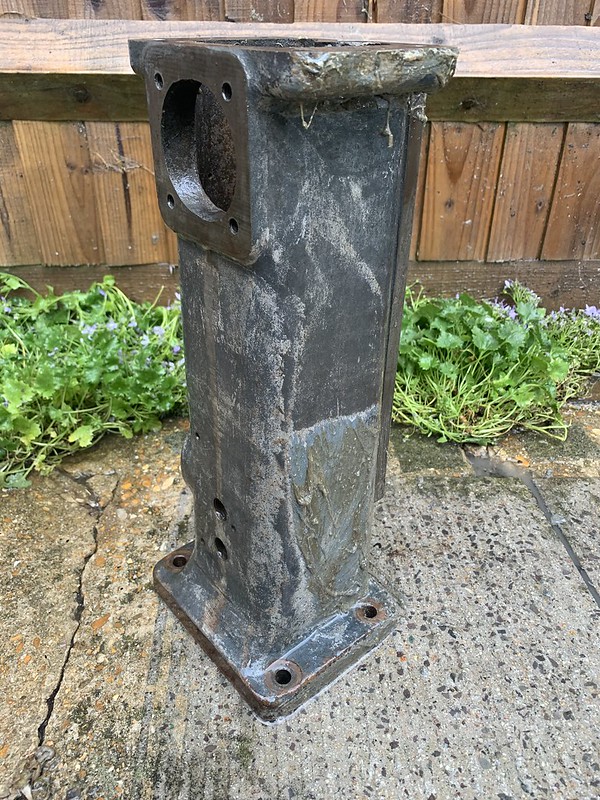 Jones and Shipman drill restoration by jamie skinner, on Flickr
Leaving too dry.
 Jones and Shipman drill restoration by jamie skinner, on Flickr
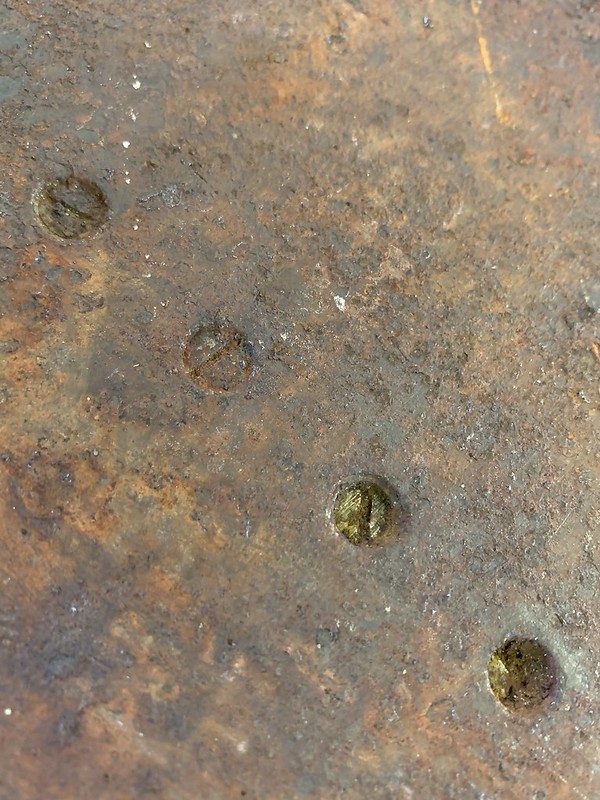
Can now see what those dimples were in the base. They are screws inserted into threads in the base. I presume for mounting work holding options. These screws act as bungs and are in place for when the machine was using coolant.
 Jones and Shipman drill restoration by jamie skinner, on Flickr
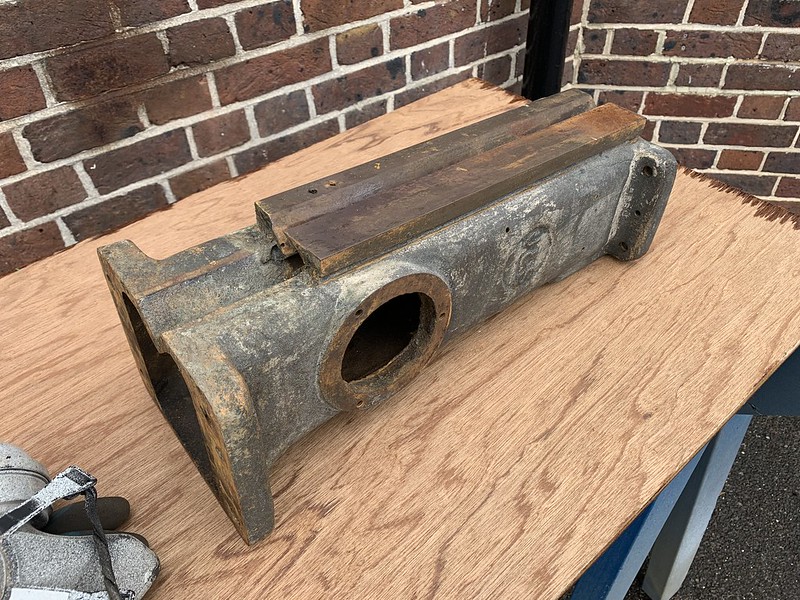
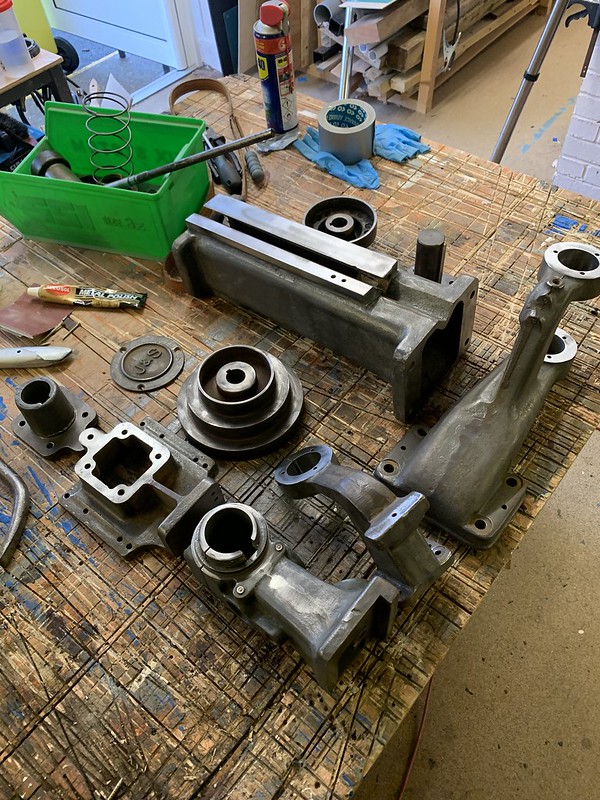
Hitting the parts with a wire wheel. I find the removing as much of the old paint chemically really get into the crevices where a wire wheel would not. This is also the area which is most likely thick with dirt and grease etc. I can then go in quickly with a small wire wheel on a Dremel to ready for painting.
 Jones and Shipman drill restoration by jamie skinner, on Flickr
 Jones and Shipman drill restoration by jamie skinner, on Flickr
Tacking the rusty coolant 'moat'
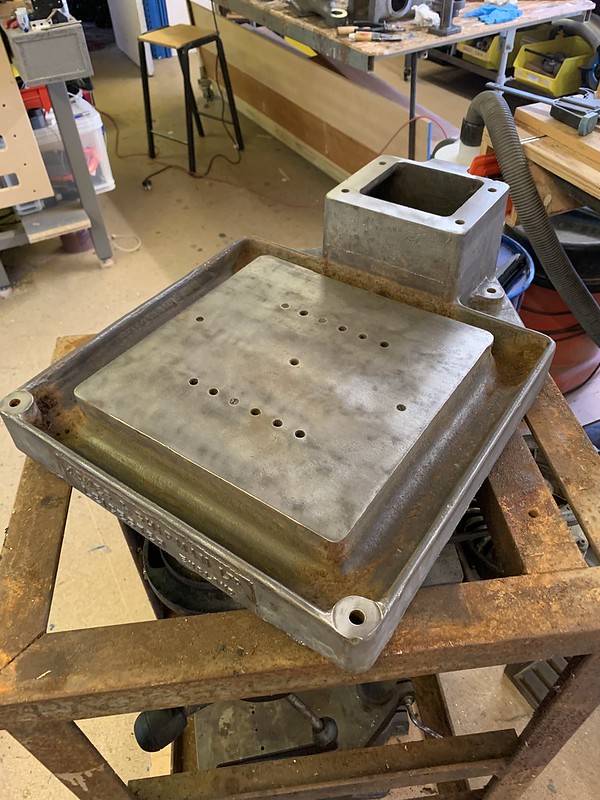 Jones and Shipman drill restoration by jamie skinner, on Flickr
First of all I duck taped the underside of the drainage hole and then applied hot glue to seal the hole further.
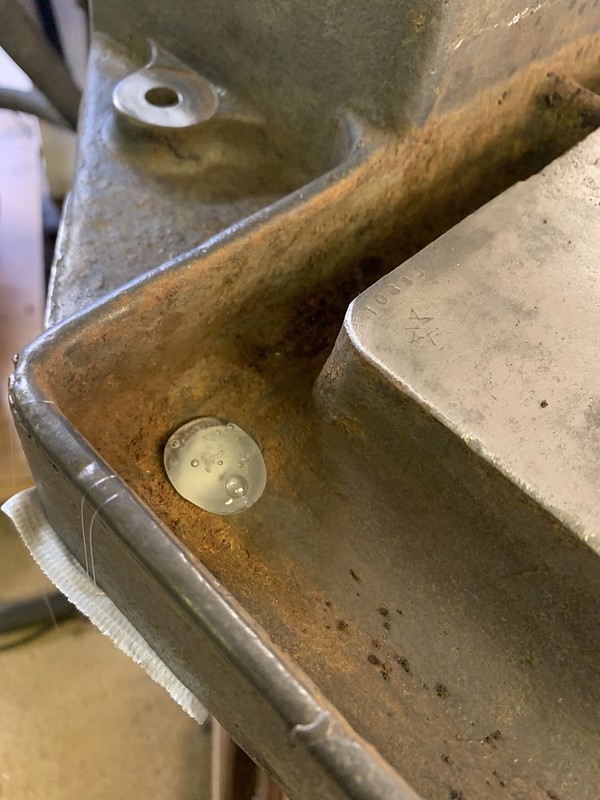 Jones and Shipman drill restoration by jamie skinner, on Flickr
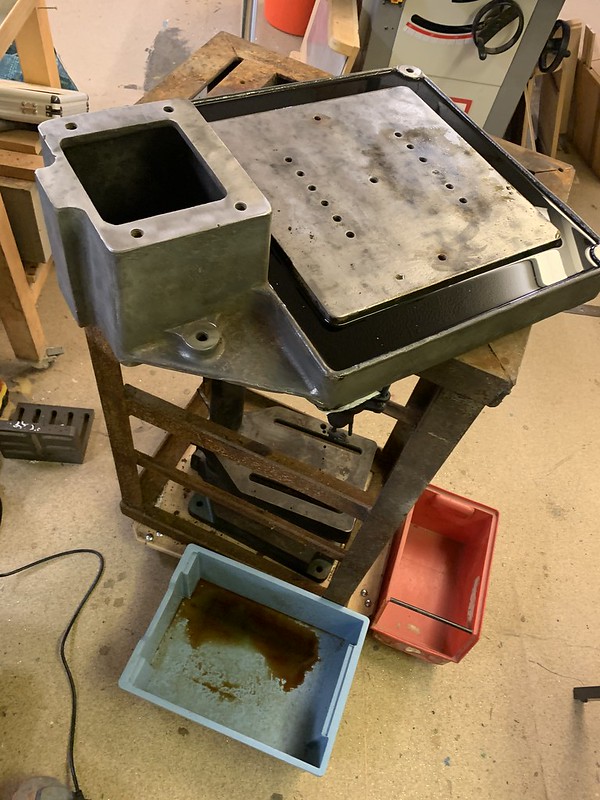
Now I am going to fill with Evapo-rust.
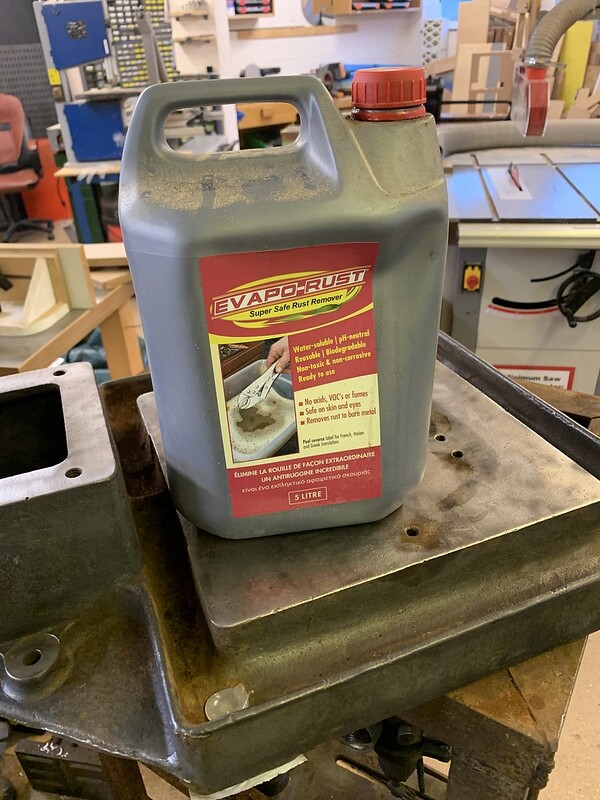 Jones and Shipman drill restoration by jamie skinner, on Flickr
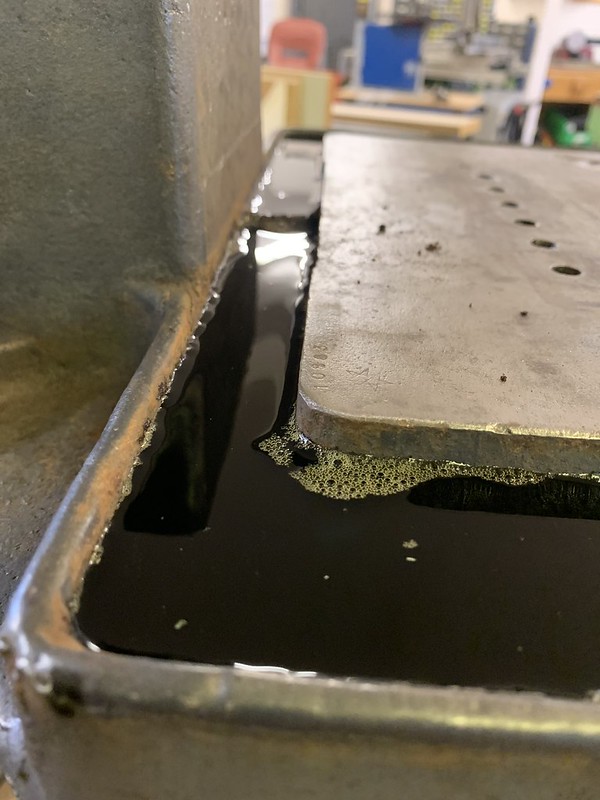 Jones and Shipman drill restoration by jamie skinner, on Flickr
Glad I left a container underneath just in case.
 Jones and Shipman drill restoration by jamie skinner, on Flickr
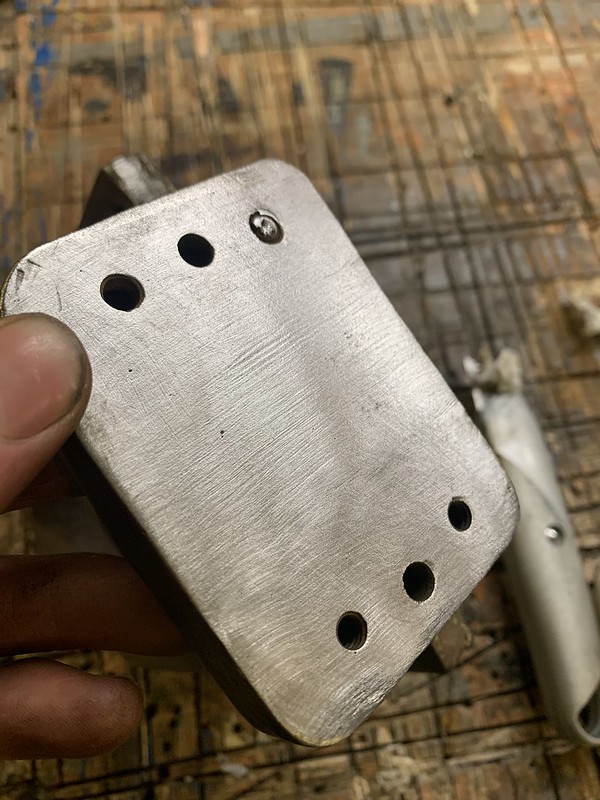
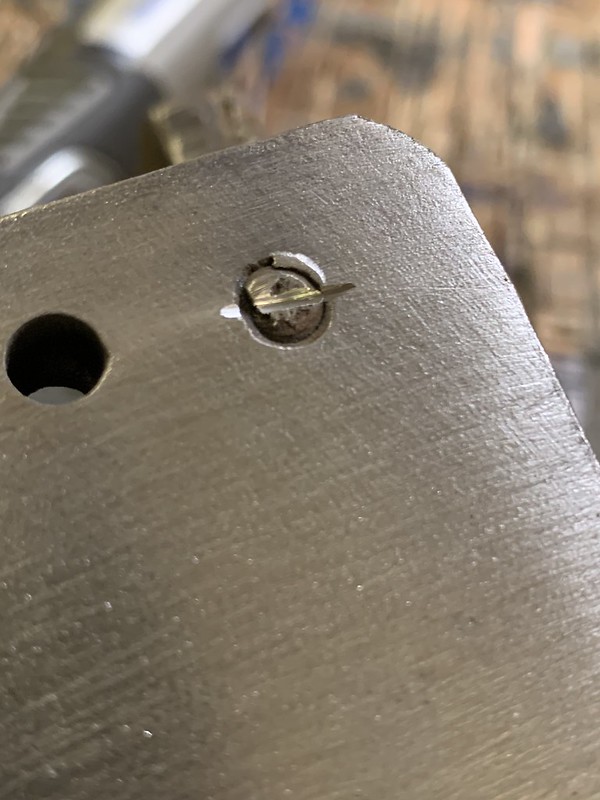
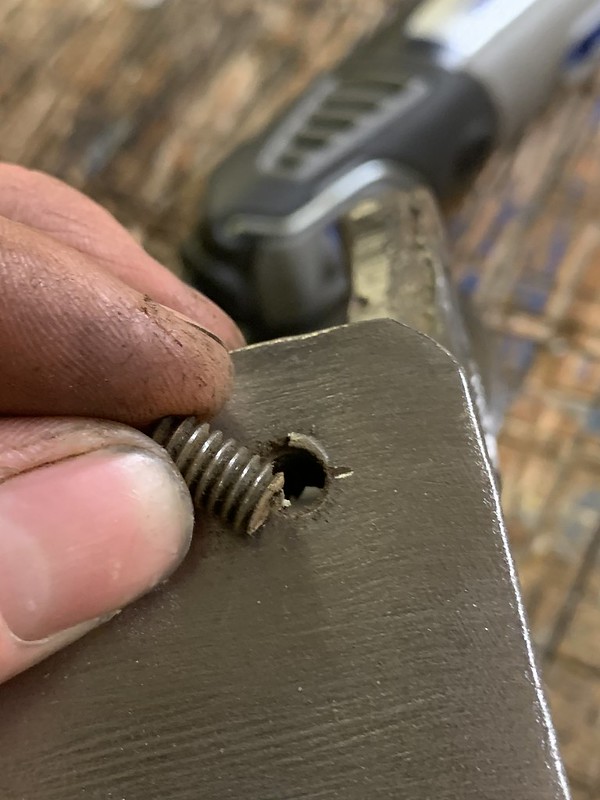
A screw had been broken off so I used a cut off wheel to make a small slot and unscrewed it.
 Jones and Shipman drill restoration by jamie skinner, on Flickr
 Jones and Shipman drill restoration by jamie skinner, on Flickr
 Jones and Shipman drill restoration by jamie skinner, on Flickr
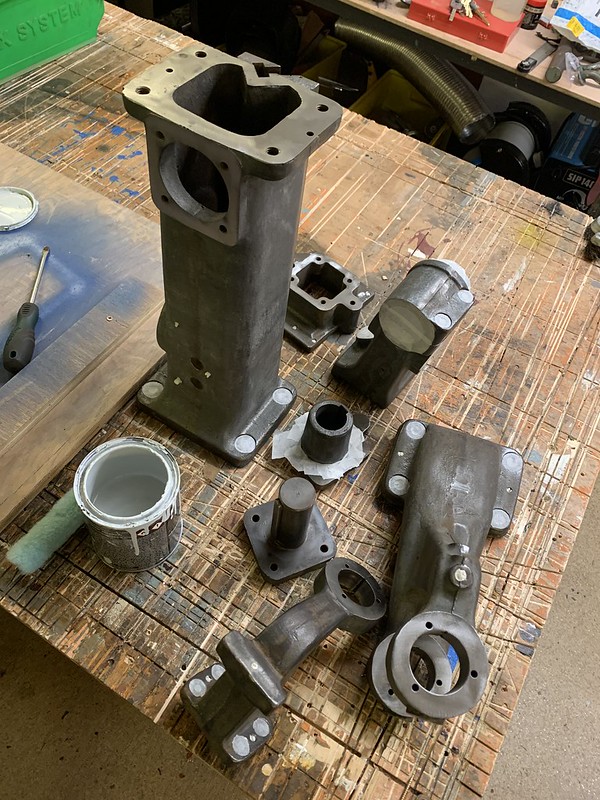
Starting to mask off the parts to be painted.
 Jones and Shipman drill restoration by jamie skinner, on Flickr
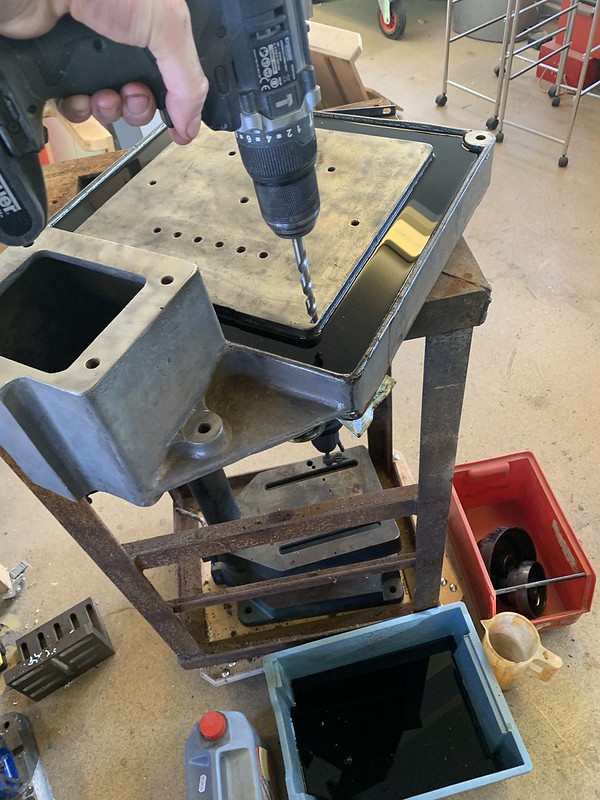
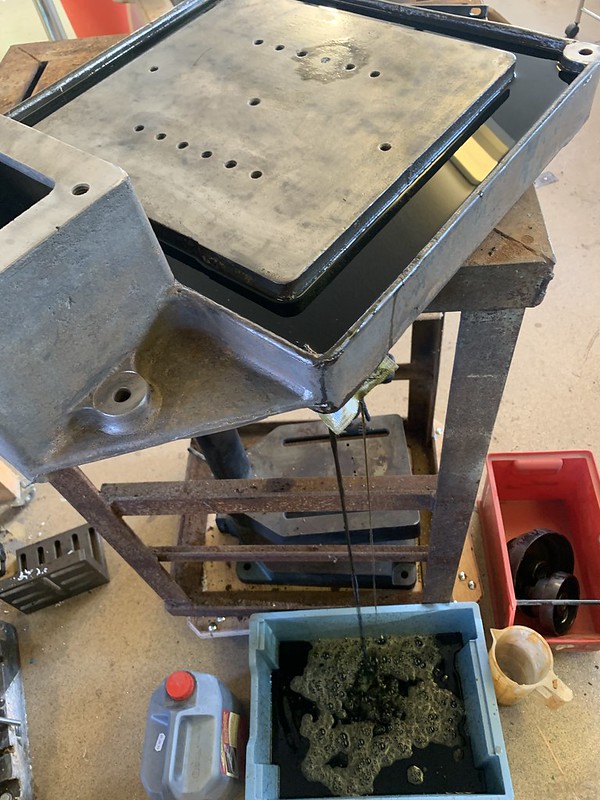
Back to the base. I used a drill to remove the glue and started to drain the moat.
 Jones and Shipman drill restoration by jamie skinner, on Flickr
 Jones and Shipman drill restoration by jamie skinner, on Flickr
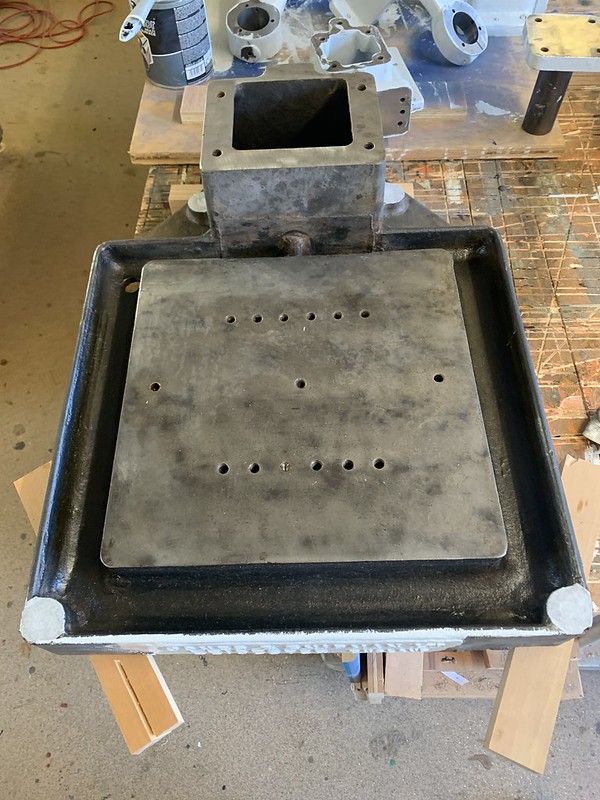
Much Better!
 Jones and Shipman drill restoration by jamie skinner, on Flickr
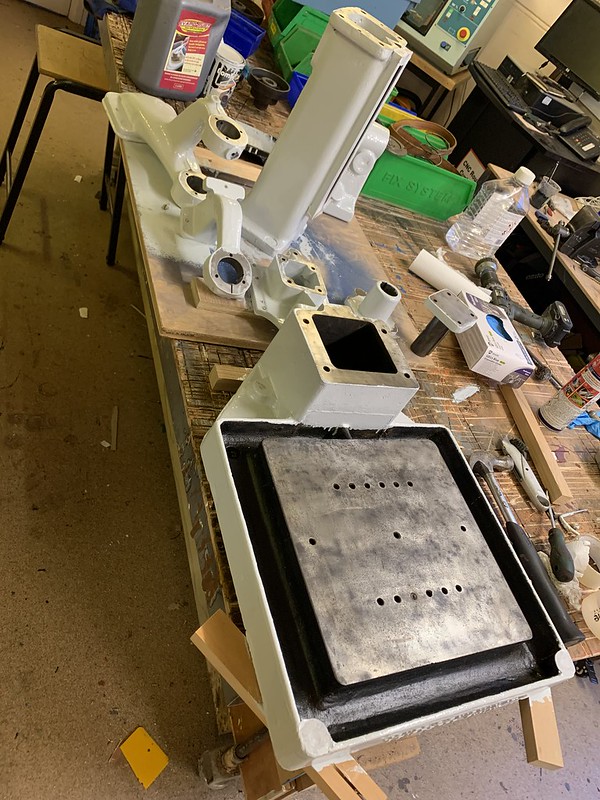
Started on some paint work. Again I'm favouring the black and white look.
 Jones and Shipman drill restoration by jamie skinner, on Flickr
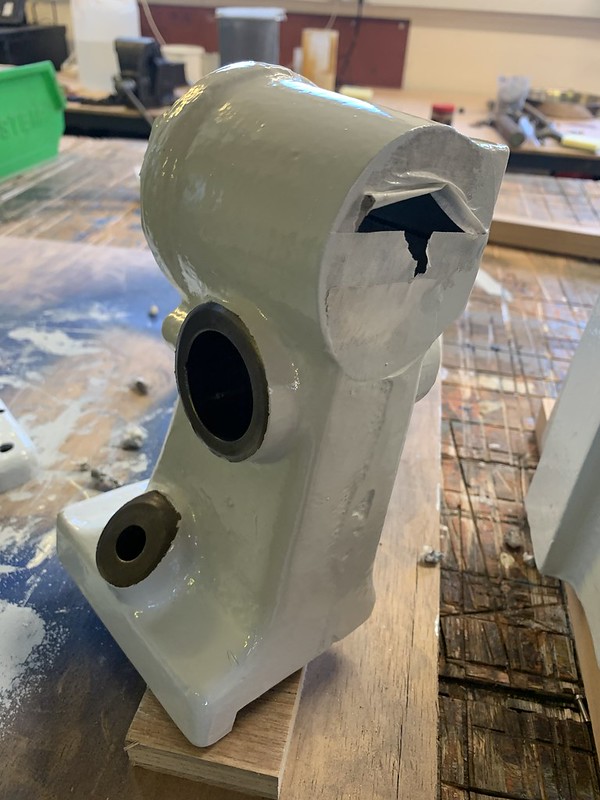
Brushed on Combi Colour.
 Jones and Shipman drill restoration by jamie skinner, on Flickr
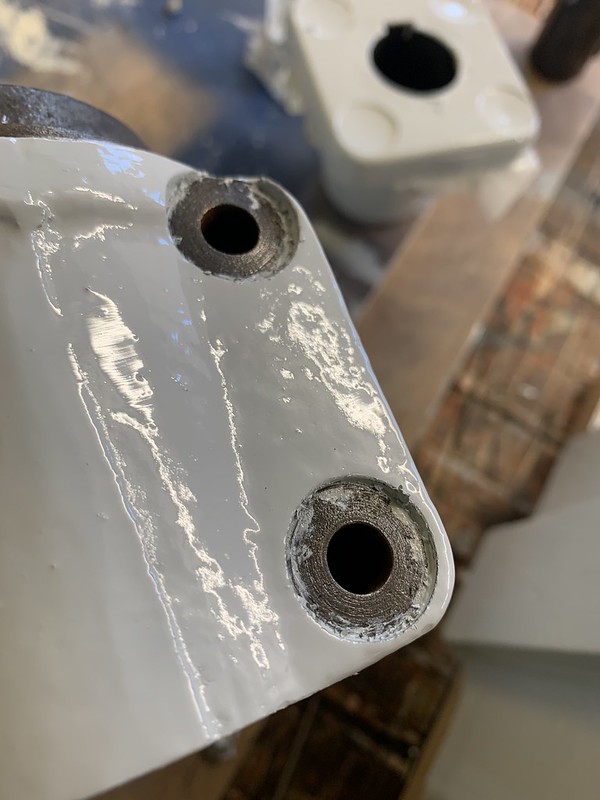
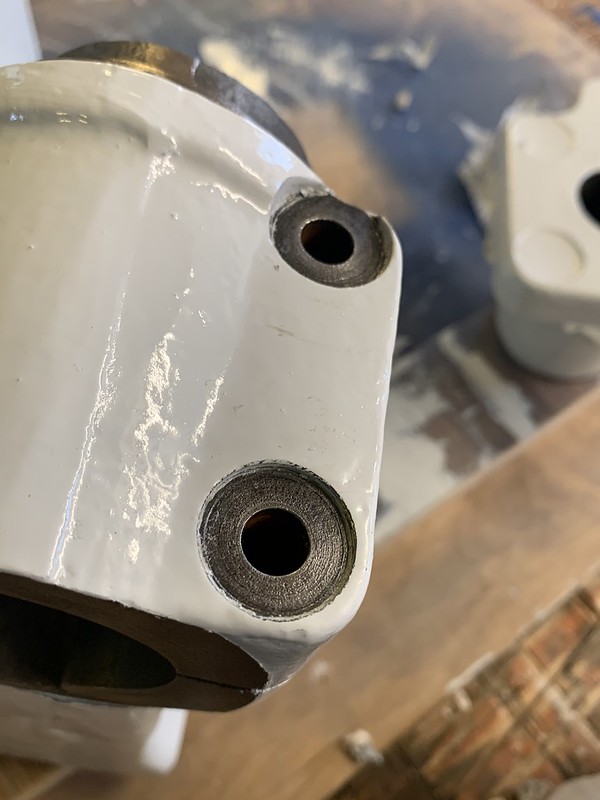
Should get myself some fancier tape. Bled a little so cleaned up with spirits as it stayed soft under the tape.
 Jones and Shipman drill restoration by jamie skinner, on Flickr
 Jones and Shipman drill restoration by jamie skinner, on Flickr
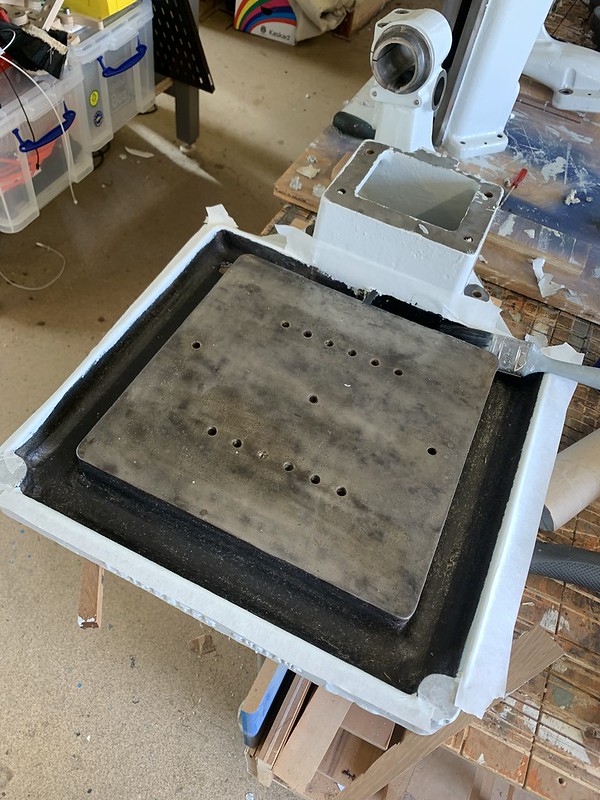
Masked off the Moat ready for painting. I was going to leave this bare metal but then I got white paint in it so...
 Jones and Shipman drill restoration by jamie skinner, on Flickr
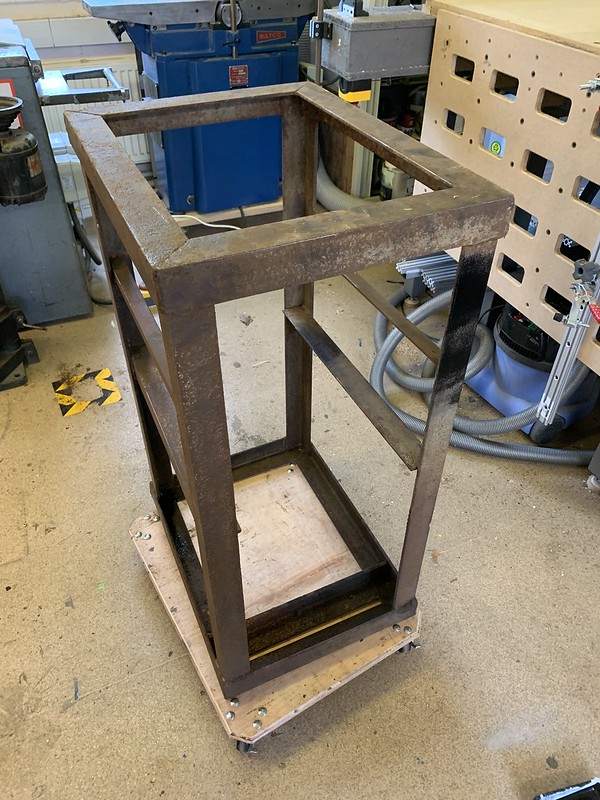
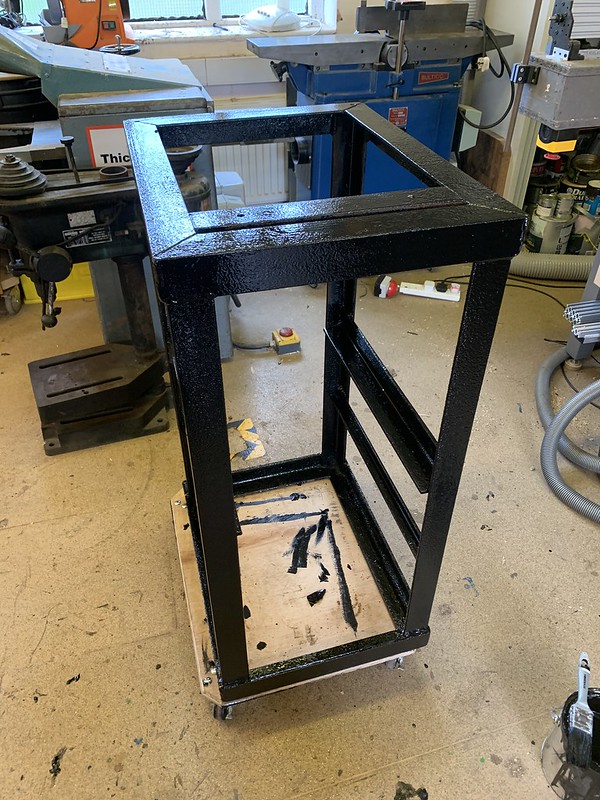
The drill came on this sturdy rusty base which I will use for now. Quickly went over the outside with a wire wheel.
 Jones and Shipman drill restoration by jamie skinner, on Flickr
 Jones and Shipman drill restoration by jamie skinner, on Flickr
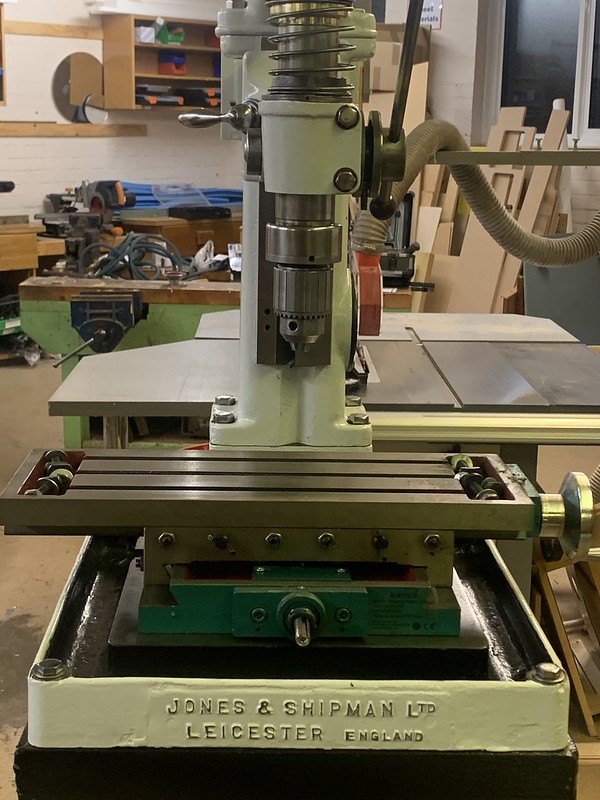
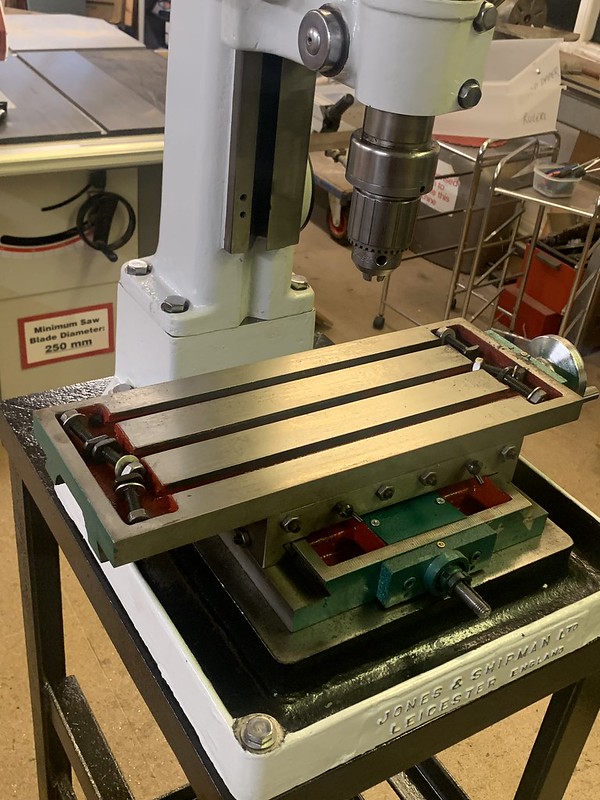
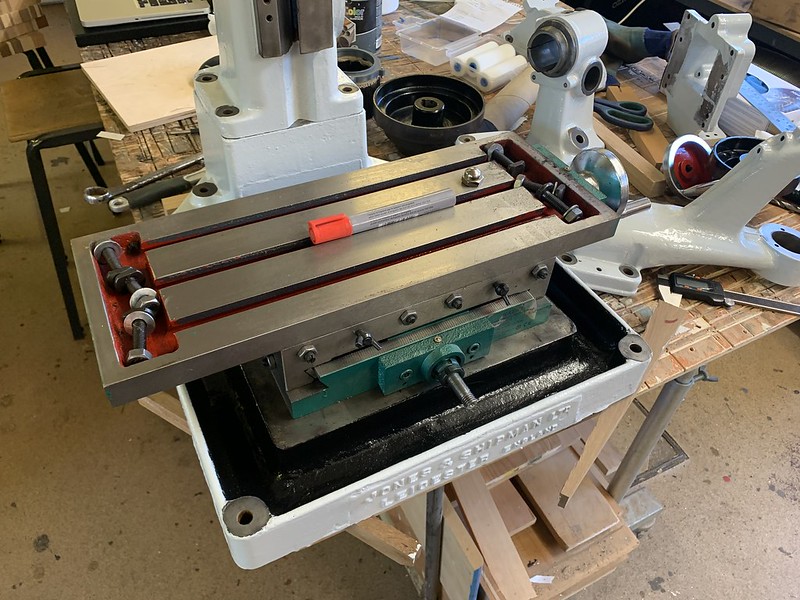
I want to use this drill a precision drilling drill. I got myself a cheap XY table to mount on top. Hopefully with a vice it should still give me some z height to work with.
 Jones and Shipman drill restoration by jamie skinner, on Flickr
Mounting location.
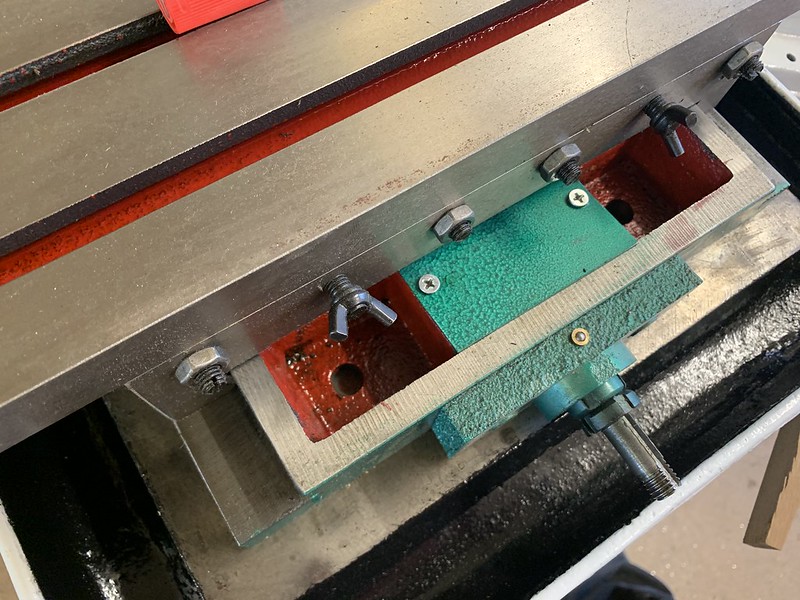 Jones and Shipman drill restoration by jamie skinner, on Flickr
Got the base on the big drill press.
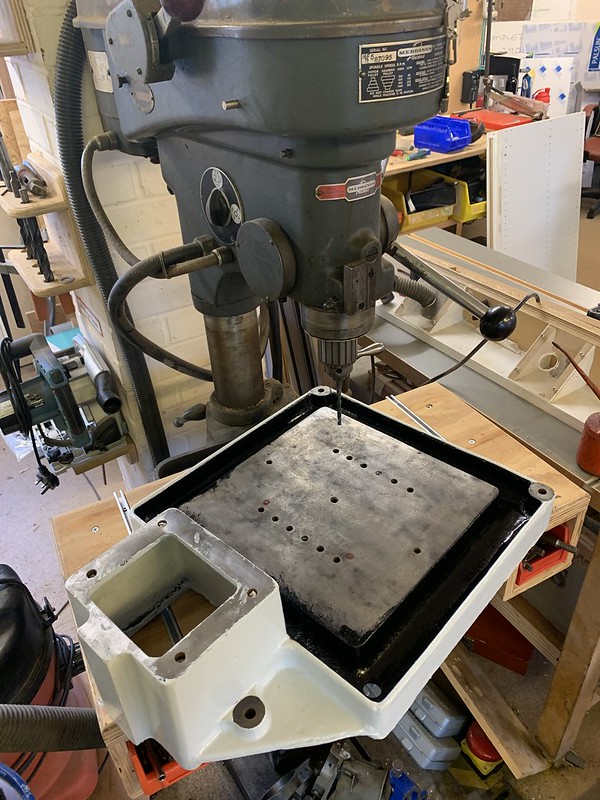 Jones and Shipman drill restoration by jamie skinner, on Flickr
Tapped
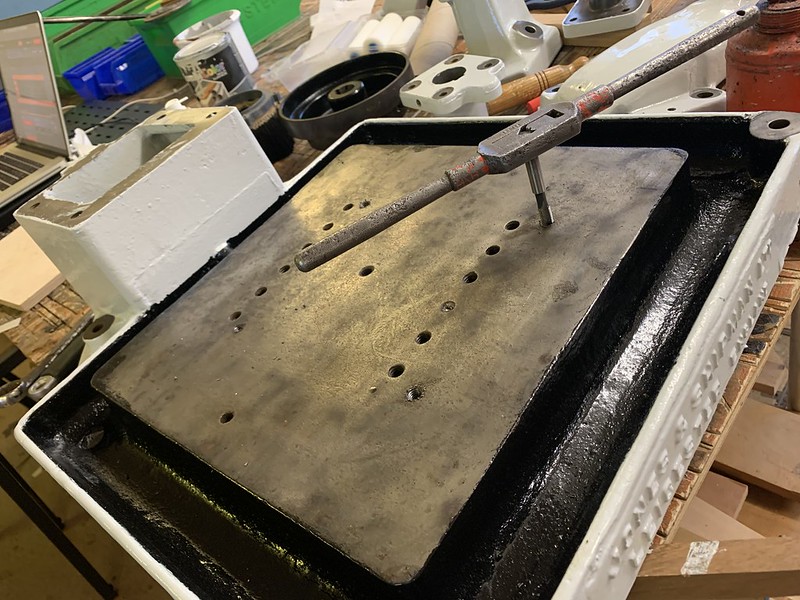 Jones and Shipman drill restoration by jamie skinner, on Flickr
One pesky screw would not budge from either side. Penetrant applied over a week and still no good. I drilled it out to 5mm (I tried tapping to an m6 bolt to it but stripped the head on that bolt too) taking my time to get it in the middle. I then got a larger drill and with it running slow speed rammed it into the top. The drill grabbed the screw and twisted it out the bottom of the base.
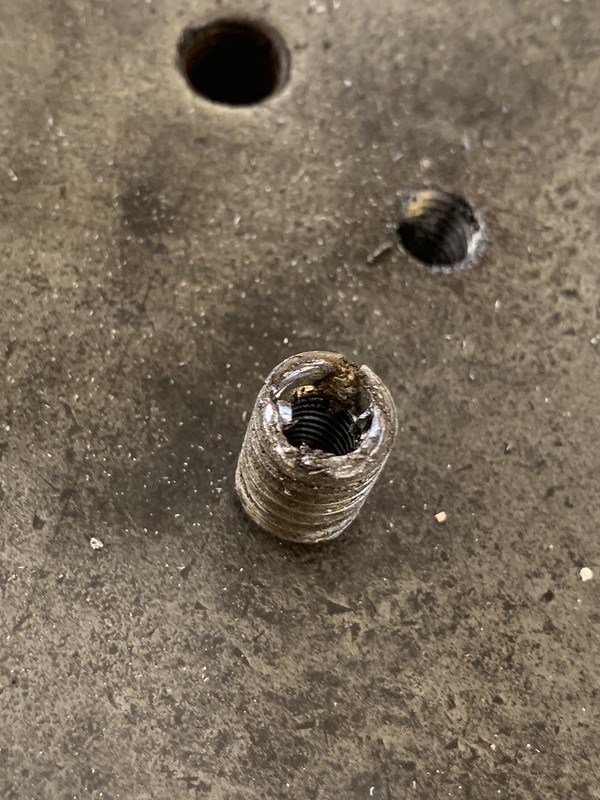 Jones and Shipman drill restoration by jamie skinner, on Flickr
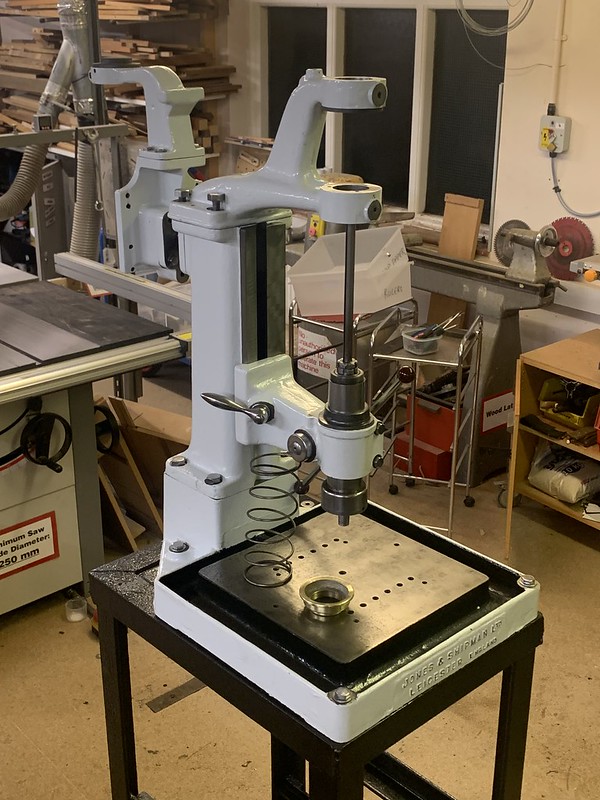
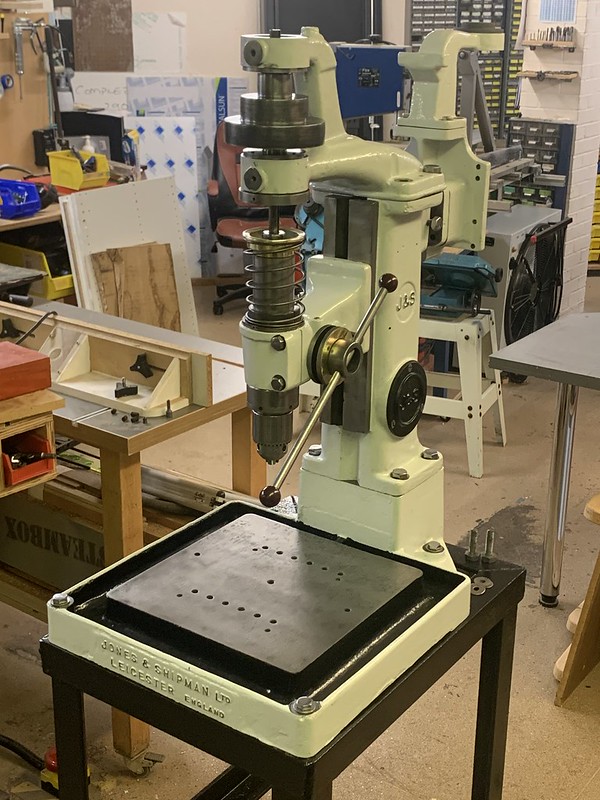
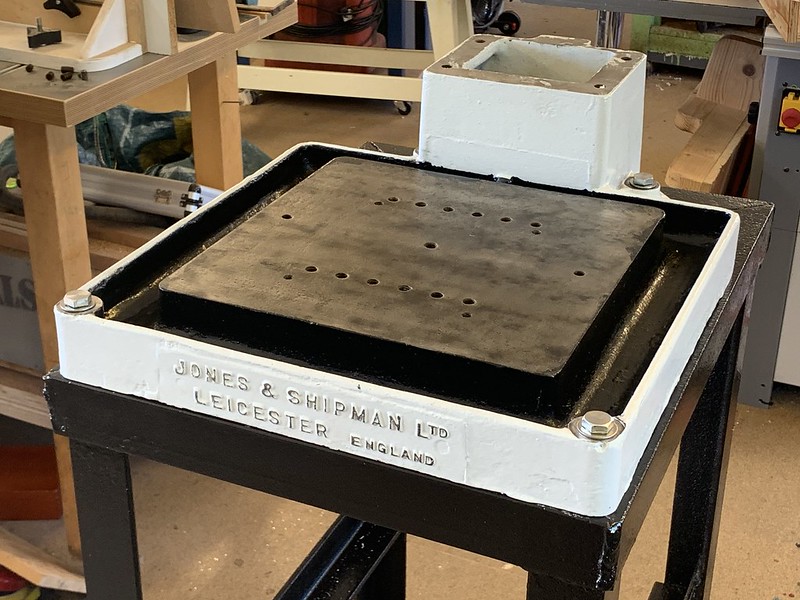
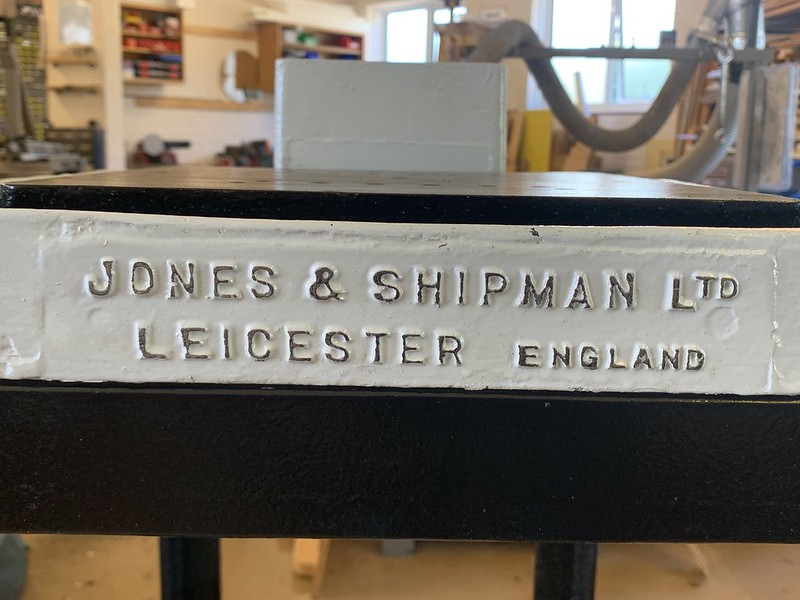
I wasn't to sure if/how well this would work but I ground off the paint on the letters then clear coated. I like it. Could have been a little less heavy handed with the clear coat though...
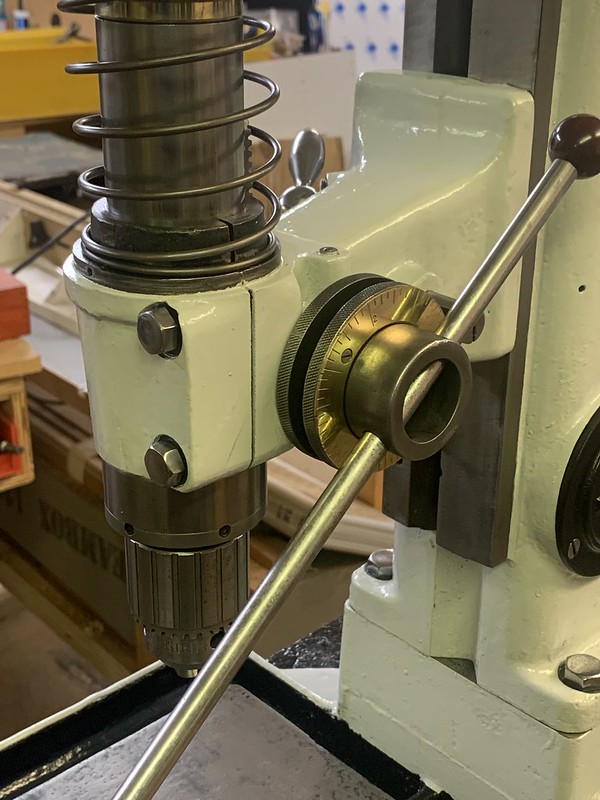
Got the top mounted to the base too.
 Jones and Shipman drill restoration by jamie skinner, on Flickr
 Jones and Shipman drill restoration by jamie skinner, on Flickr
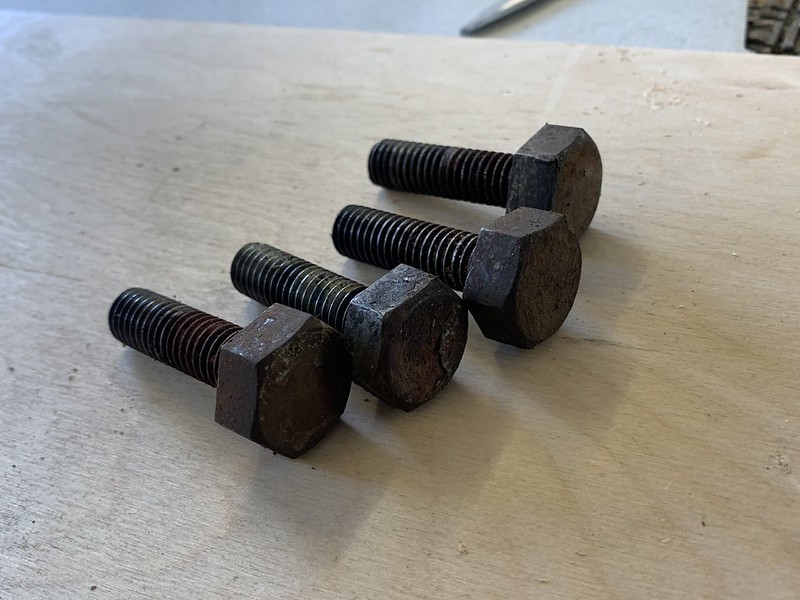
I got an ultrasonic cleaner recently and put it to the test on these bolts. My method needs some work but I got good results.
5mins degreaser.
5mins Phosphoric acid (removes the rust)
5mins Soapy water
If there was still rust after the acid it would go in again, as I am polishing the bolts head it was only the threads I was interested in getting clean. Some of the stubborn parts I removed with a small wire brush, maybe longer in the cleaner it would have gotten them.
 Jones and Shipman drill restoration by jamie skinner, on Flickr
 Jones and Shipman drill restoration by jamie skinner, on Flickr
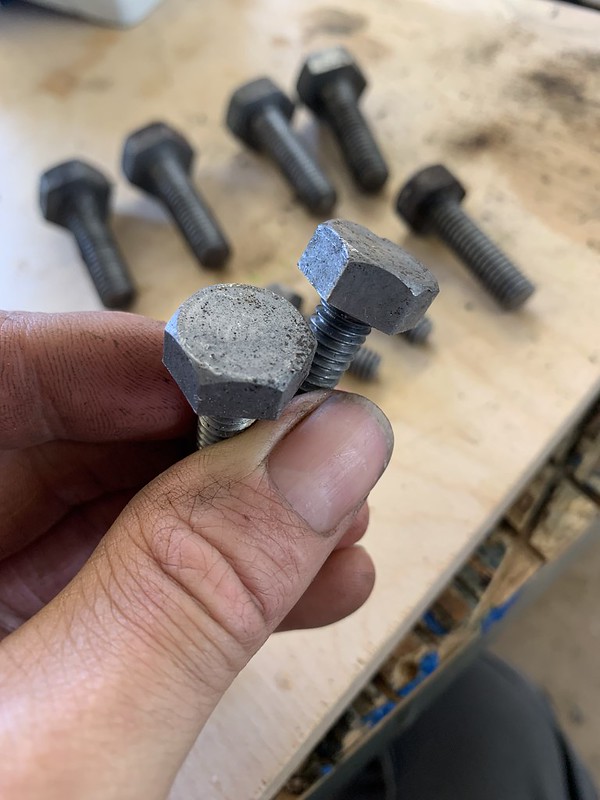
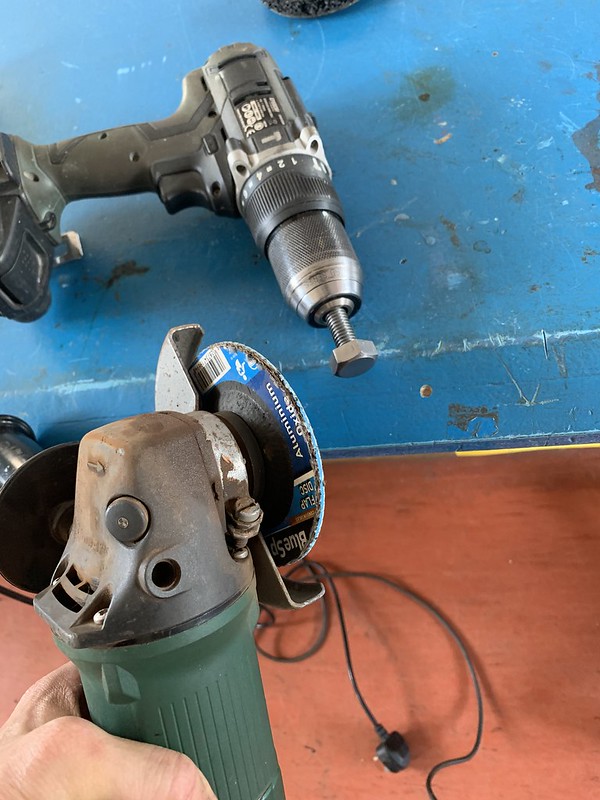
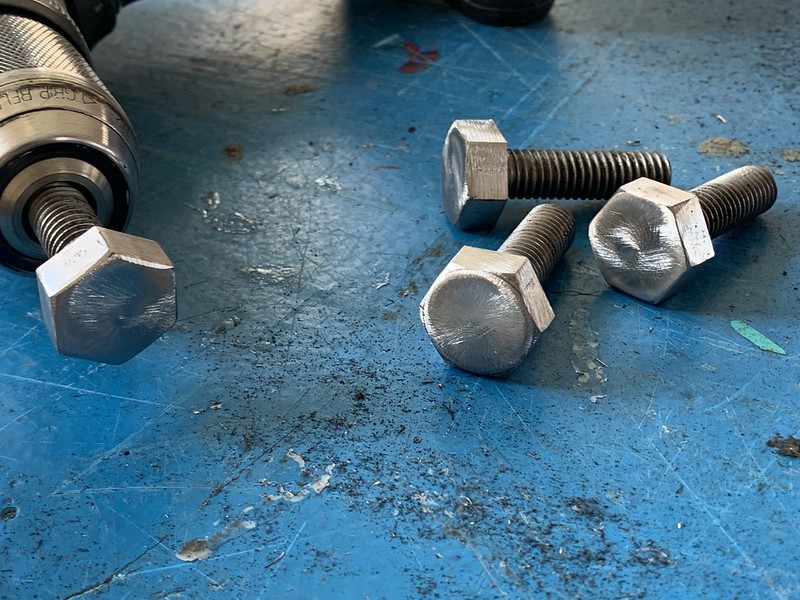
Polishing the Bolt heads. Is started with a 80g on the angle grinder. I had the intention of swapping to a finder grit but could I find any discs...
 Jones and Shipman drill restoration by jamie skinner, on Flickr
 Jones and Shipman drill restoration by jamie skinner, on Flickr
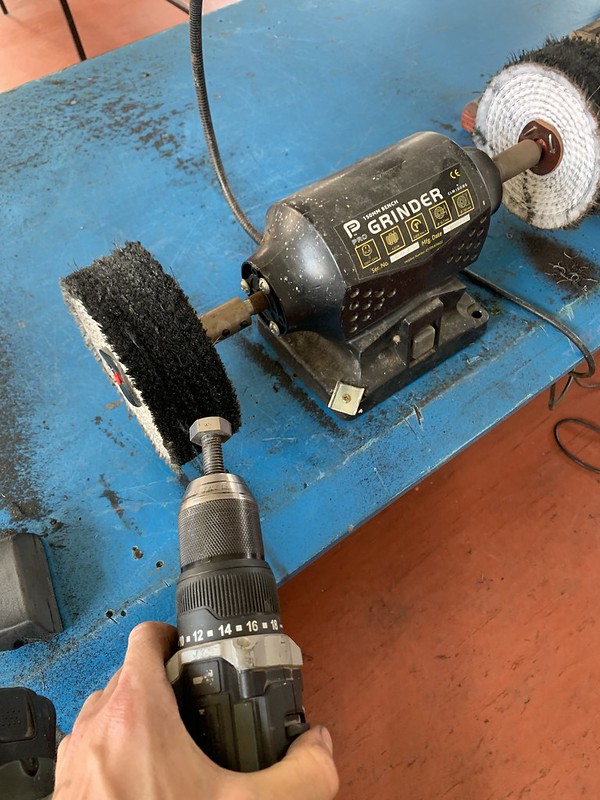
Then to the polisher.
 Jones and Shipman drill restoration by jamie skinner, on Flickr
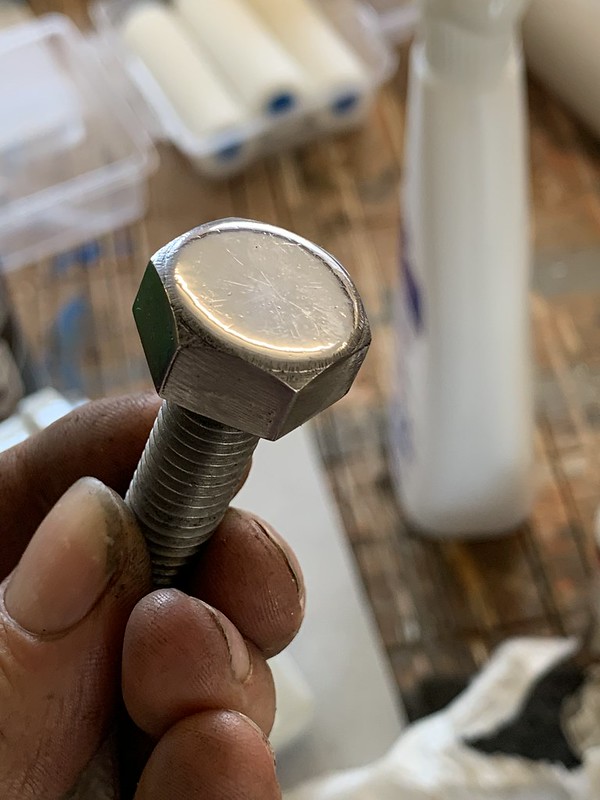
Could be better... Could be worse...
 Jones and Shipman drill restoration by jamie skinner, on Flickr
These came out nice.
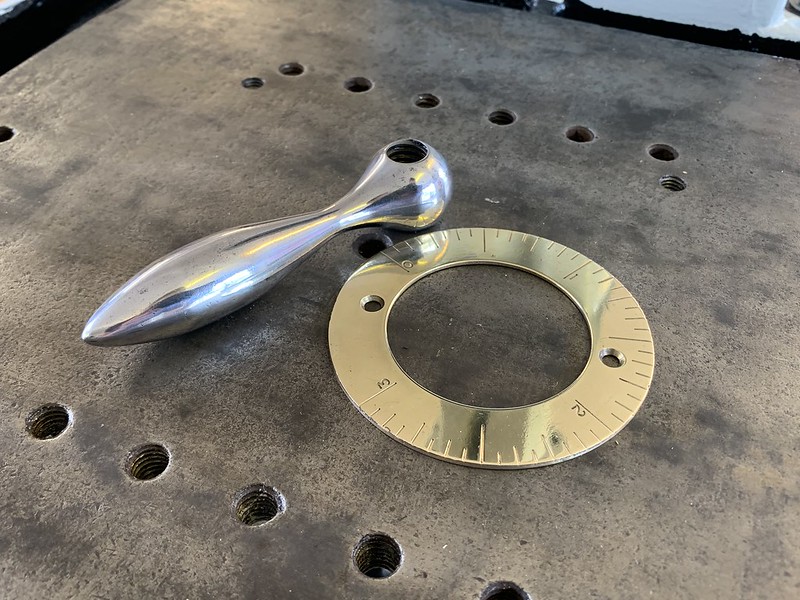 Jones and Shipman drill restoration by jamie skinner, on Flickr
Shiny old bolts to start bolting things back together.
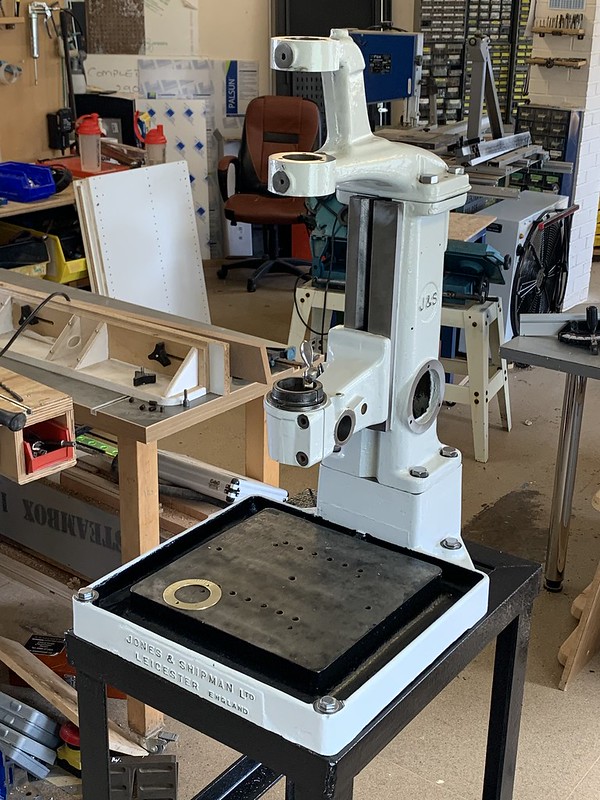 Jones and Shipman drill restoration by jamie skinner, on Flickr
Thats where I am at so far and hoping to pick it up again soon.
Thanks for Reading.
Follows on from this thread:
anyone-know-about-a-a-jones-shipman-drilling-machines-t115828.html
 IMG_3391 by jamie skinner, on Flickr
Started by taking the motor off. Bit awkward as it is held by a bearing at the top as well as the motor base bolts and kind of all slots in together. Not really noticing this I undid the 4 motor mount bolts first and then looked upwards at the bearing cover above.
 Jones and Shipman drill restoration by jamie skinner, on Flickr
Gave it a little wiggle and whole motor dropped... (standing on a stool at the time) Luckily I didn't fall with the shock weight of it and didn't drop it either.
This is the stepped pulley attached to the motor. Seems that at some point someone may have used some pulley pullers and broke the casting.
 Jones and Shipman drill restoration by jamie skinner, on Flickr
 Jones and Shipman drill restoration by jamie skinner, on Flickr
The bearing came off very easily so I guess they succeeded in the end. Time for the pulley to come off.
 Jones and Shipman drill restoration by jamie skinner, on Flickr
This shaft!! Will it come off! Removed the three grub screws, filled and left overnight with penetrant. tried heating. Tried to wedged it off either side. Stumped on this one as ideally I would like to to get into that motor.
 Jones and Shipman drill restoration by jamie skinner, on Flickr
Another fix here. A couple of layers of MDF to mount the motor further back. I later found the motor adjuster had seized quite badly hence this fix.
 Jones and Shipman drill restoration by jamie skinner, on Flickr
This part is to adjust the motor back and fourth. Couple of taps of the mallet and it popped out. Just very rusty.
 Jones and Shipman drill restoration by jamie skinner, on Flickr
 Jones and Shipman drill restoration by jamie skinner, on Flickr
Electronics
 Jones and Shipman drill restoration by jamie skinner, on Flickr
 Jones and Shipman drill restoration by jamie skinner, on Flickr
Only this far through so far...
 Jones and Shipman drill restoration by jamie skinner, on Flickr
4 bolts and 2 alignment pins to adjust to undo this top part.
 Jones and Shipman drill restoration by jamie skinner, on Flickr
 Jones and Shipman drill restoration by jamie skinner, on Flickr
 Jones and Shipman drill restoration by jamie skinner, on Flickr
 Jones and Shipman drill restoration by jamie skinner, on Flickr
 Jones and Shipman drill restoration by jamie skinner, on Flickr
One long shaft for the chuck.
 Jones and Shipman drill restoration by jamie skinner, on Flickr
Very well oiled this part. Looks new.
 Jones and Shipman drill restoration by jamie skinner, on Flickr
Tacking the base and the other cast parts.
 Jones and Shipman drill restoration by jamie skinner, on Flickr
First I am going to pressure wash them and use some degreaser.
 Jones and Shipman drill restoration by jamie skinner, on Flickr
Starting to see some original paint work.
 Jones and Shipman drill restoration by jamie skinner, on Flickr
Removing the old paint.
 Jones and Shipman drill restoration by jamie skinner, on Flickr
 Jones and Shipman drill restoration by jamie skinner, on Flickr
Leaving too dry.
 Jones and Shipman drill restoration by jamie skinner, on Flickr
Can now see what those dimples were in the base. They are screws inserted into threads in the base. I presume for mounting work holding options. These screws act as bungs and are in place for when the machine was using coolant.
 Jones and Shipman drill restoration by jamie skinner, on Flickr
Hitting the parts with a wire wheel. I find the removing as much of the old paint chemically really get into the crevices where a wire wheel would not. This is also the area which is most likely thick with dirt and grease etc. I can then go in quickly with a small wire wheel on a Dremel to ready for painting.
 Jones and Shipman drill restoration by jamie skinner, on Flickr
 Jones and Shipman drill restoration by jamie skinner, on Flickr
Tacking the rusty coolant 'moat'
 Jones and Shipman drill restoration by jamie skinner, on Flickr
First of all I duck taped the underside of the drainage hole and then applied hot glue to seal the hole further.
 Jones and Shipman drill restoration by jamie skinner, on Flickr
Now I am going to fill with Evapo-rust.
 Jones and Shipman drill restoration by jamie skinner, on Flickr
 Jones and Shipman drill restoration by jamie skinner, on Flickr
Glad I left a container underneath just in case.
 Jones and Shipman drill restoration by jamie skinner, on Flickr
A screw had been broken off so I used a cut off wheel to make a small slot and unscrewed it.
 Jones and Shipman drill restoration by jamie skinner, on Flickr
 Jones and Shipman drill restoration by jamie skinner, on Flickr
 Jones and Shipman drill restoration by jamie skinner, on Flickr
Starting to mask off the parts to be painted.
 Jones and Shipman drill restoration by jamie skinner, on Flickr
Back to the base. I used a drill to remove the glue and started to drain the moat.
 Jones and Shipman drill restoration by jamie skinner, on Flickr
 Jones and Shipman drill restoration by jamie skinner, on Flickr
Much Better!
 Jones and Shipman drill restoration by jamie skinner, on Flickr
Started on some paint work. Again I'm favouring the black and white look.
 Jones and Shipman drill restoration by jamie skinner, on Flickr
Brushed on Combi Colour.
 Jones and Shipman drill restoration by jamie skinner, on Flickr
Should get myself some fancier tape. Bled a little so cleaned up with spirits as it stayed soft under the tape.
 Jones and Shipman drill restoration by jamie skinner, on Flickr
 Jones and Shipman drill restoration by jamie skinner, on Flickr
Masked off the Moat ready for painting. I was going to leave this bare metal but then I got white paint in it so...
 Jones and Shipman drill restoration by jamie skinner, on Flickr
The drill came on this sturdy rusty base which I will use for now. Quickly went over the outside with a wire wheel.
 Jones and Shipman drill restoration by jamie skinner, on Flickr
 Jones and Shipman drill restoration by jamie skinner, on Flickr
I want to use this drill a precision drilling drill. I got myself a cheap XY table to mount on top. Hopefully with a vice it should still give me some z height to work with.
 Jones and Shipman drill restoration by jamie skinner, on Flickr
Mounting location.
 Jones and Shipman drill restoration by jamie skinner, on Flickr
Got the base on the big drill press.
 Jones and Shipman drill restoration by jamie skinner, on Flickr
Tapped
 Jones and Shipman drill restoration by jamie skinner, on Flickr
One pesky screw would not budge from either side. Penetrant applied over a week and still no good. I drilled it out to 5mm (I tried tapping to an m6 bolt to it but stripped the head on that bolt too) taking my time to get it in the middle. I then got a larger drill and with it running slow speed rammed it into the top. The drill grabbed the screw and twisted it out the bottom of the base.
 Jones and Shipman drill restoration by jamie skinner, on Flickr
I wasn't to sure if/how well this would work but I ground off the paint on the letters then clear coated. I like it. Could have been a little less heavy handed with the clear coat though...
Got the top mounted to the base too.
 Jones and Shipman drill restoration by jamie skinner, on Flickr
 Jones and Shipman drill restoration by jamie skinner, on Flickr
I got an ultrasonic cleaner recently and put it to the test on these bolts. My method needs some work but I got good results.
5mins degreaser.
5mins Phosphoric acid (removes the rust)
5mins Soapy water
If there was still rust after the acid it would go in again, as I am polishing the bolts head it was only the threads I was interested in getting clean. Some of the stubborn parts I removed with a small wire brush, maybe longer in the cleaner it would have gotten them.
 Jones and Shipman drill restoration by jamie skinner, on Flickr
 Jones and Shipman drill restoration by jamie skinner, on Flickr
Polishing the Bolt heads. Is started with a 80g on the angle grinder. I had the intention of swapping to a finder grit but could I find any discs...
 Jones and Shipman drill restoration by jamie skinner, on Flickr
 Jones and Shipman drill restoration by jamie skinner, on Flickr
Then to the polisher.
 Jones and Shipman drill restoration by jamie skinner, on Flickr
Could be better... Could be worse...
 Jones and Shipman drill restoration by jamie skinner, on Flickr
These came out nice.
 Jones and Shipman drill restoration by jamie skinner, on Flickr
Shiny old bolts to start bolting things back together.
 Jones and Shipman drill restoration by jamie skinner, on Flickr
Thats where I am at so far and hoping to pick it up again soon.
Thanks for Reading.


