jimi43
Established Member
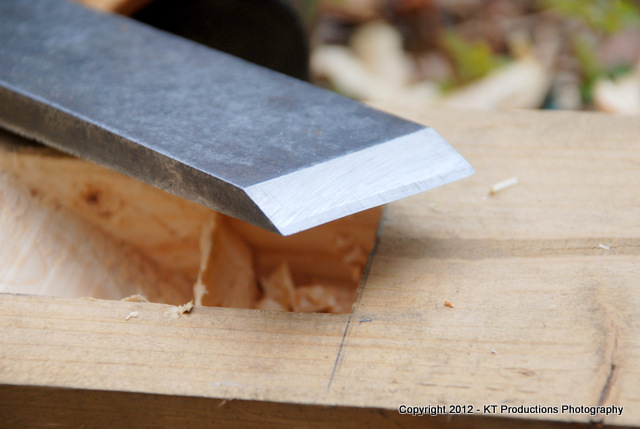
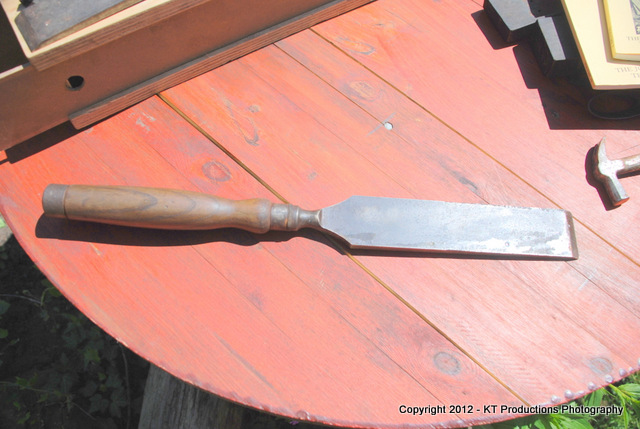
Followers of the bootfair thread will know that a couple of weeks ago - in the Summer (!)....I picked up, amongst other things....two huge firmer chisels. One was in great condition complete with handle....
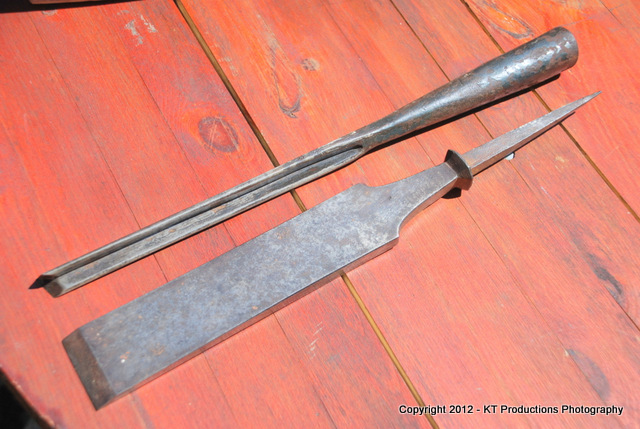
....the other slightly smaller but sans handle...
I thought it might be useful for our newer members to understand what is involved (at least with me)...in the sympathetic re-handling of vintage chisels...with a view to trying to make them seem as old as the steel itself.
Just one point to note...there are literally hundreds of ways of doing this...and certainly better turners out there....but I thought a step-by-step process with pictures might encourage others to try to bring these old beauties back to life...
I find it handy to draw a simple sketch of what I want to achieve...preferably to full scale...and with measurements taken at key points first....
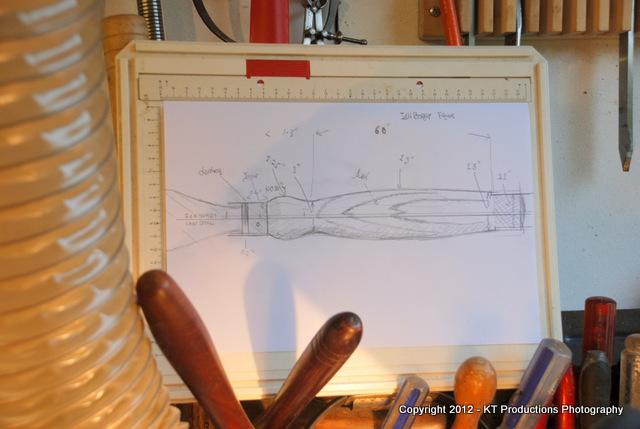
Sticking this behind the lathe allows you to refer to it occasionally to ensure the correct shape.
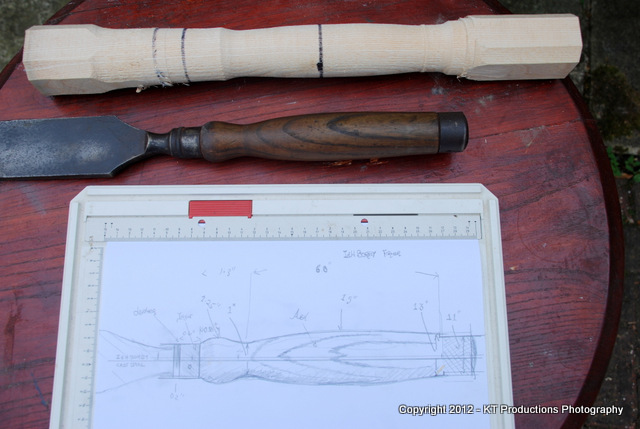
I won't go into turning detail at all here as it is assumed the reader knows how to do this bit and if not...there is a huge amount of information on the turning forum. After roughing out some nice ash...donated for the purpose by our friend Douglas...I transferred the key transitions to the stock from the handle I wished to copy....
After getting the shape roughly correct...I take off the rough surface...
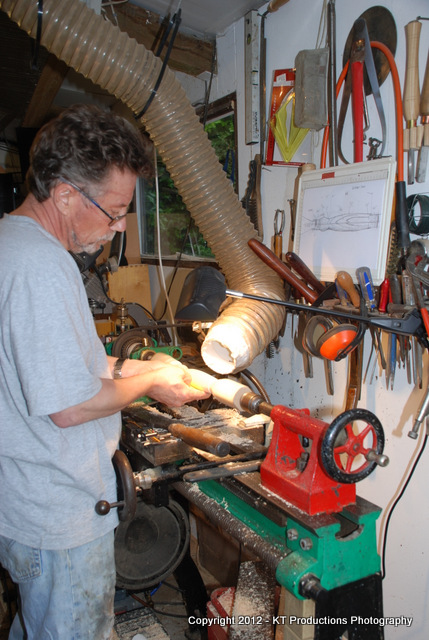
...and then offer up the original to compare...here we see there is still work to be done..it's too fat and the ferrule end is not quite the right bulb shape....
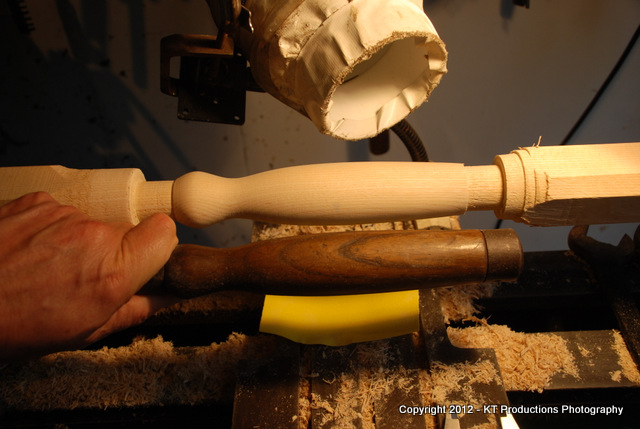
Once the shape is correct...the ferrule and steel cap ends left slightly oversized...I put some stain on the raw wood...
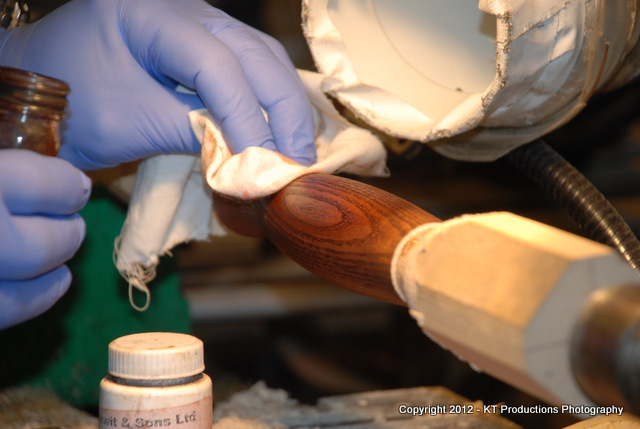
I mix my own using leather dye powders mixed in meths as a solvent. It soaks in well and is pretty stable with any finish....
Now for the bit that has been discussed on the HAND TOOLS forum before....how to fit the tang to the handle.
Well...there are those that just drill a big hole and epoxy it into place..some advocate burning it into place..(mmmm - something I don't think I would want to do) and the traditional method of using a taper bit...rather like a gouge bit but with a taper to match the tang.
I use a modern version of the latter. Measuring the largest dimension of the tang (in this case about 11mm)...I take a smaller bit...(10mm)...and drill the hole in the lathe by hand turning the stock slowly into the drill bit. I only go part way then swap to a smaller bit. Then just one more step down take me to about 20mm shy of the full depth...leaving a small length to bed the tip. More on the fitting in a moment.
Of course...if you are going to use a forced fit...you need to fit the ferrule first.
I don't have any steel ferrules (only brass) and I wanted to make this strong and the same as the original. I make this second point purely to indicate that you can find ferrule material anywhere if you search...even if you have to steal the kid's pogo stick!!!!
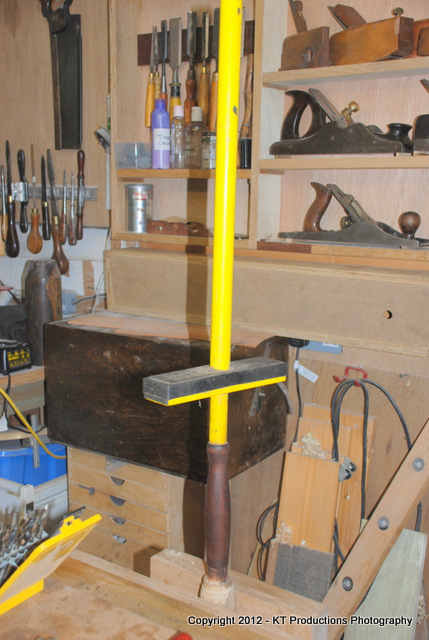
One end is exactly the right size for the ferrule and the other end is close enough to the size of the top ring. Ideal!!!
The test fit proved successful...
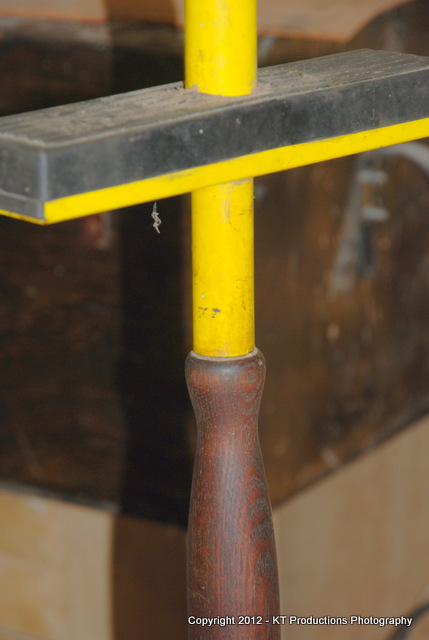
....the bouncy bits where the feet go making ideal handles for getting it off again!
So...roughly marking the length...and making sure nobody is about...I hacksawed it off above this line by a few inches....
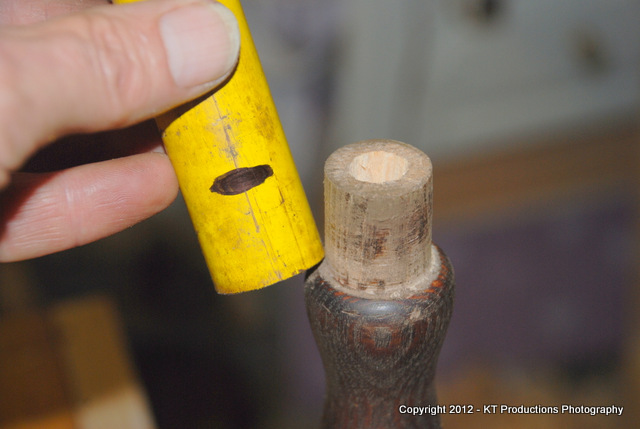
...to enable me to fit it into the lathe chuck.....and rubbing off the rather vivid paint...
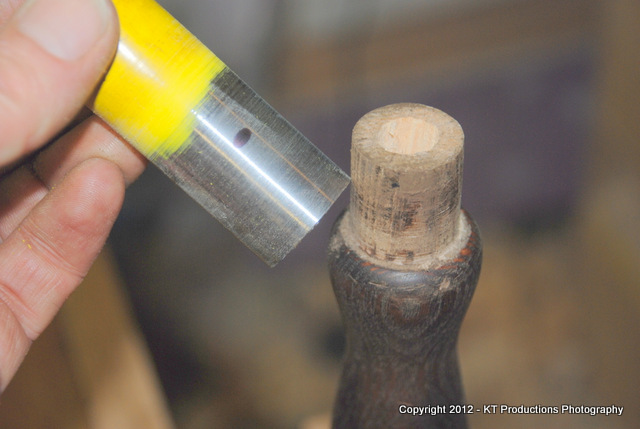
I cut it so the wood protruded...squared the end and then using the other bit as a drift...banged it firmly home...
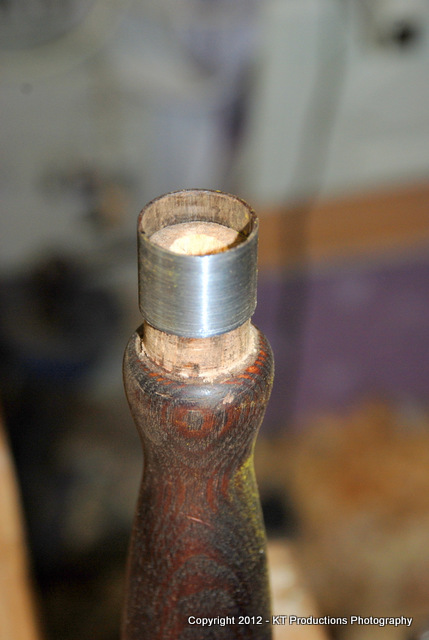
...rubbing the excess wood off flush using a disc sander...
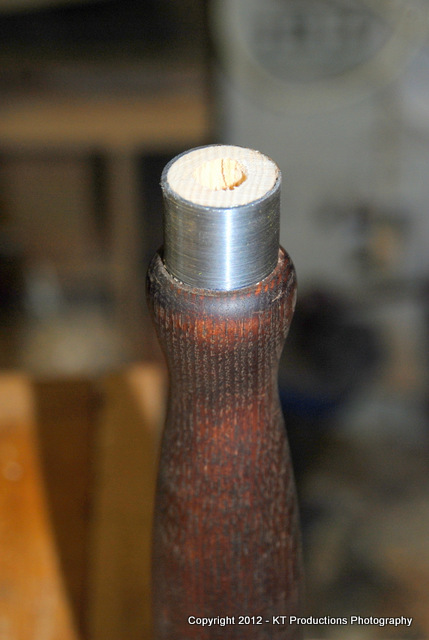
I cut a small piece of thick leather oversized...and cut a hole in it and forced it over the tang. Then putting the tang in the hole it is tapped firmly a couple of times on the bench.
After that...with a mole wrench on the steel (protected with some old card)...I turned the tang into the hole...cutting an exact taper....
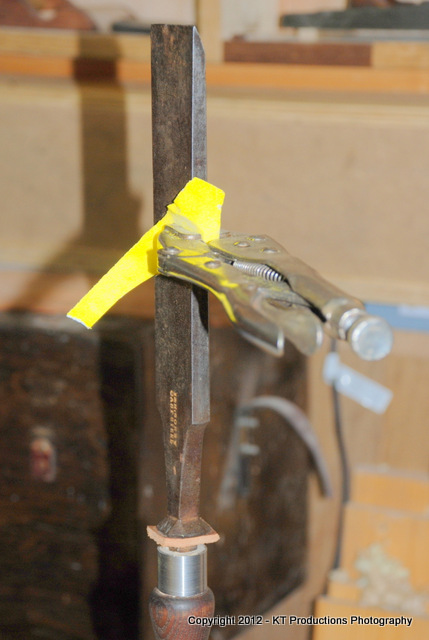
I repeated this a number of times until about this amount was protruding....
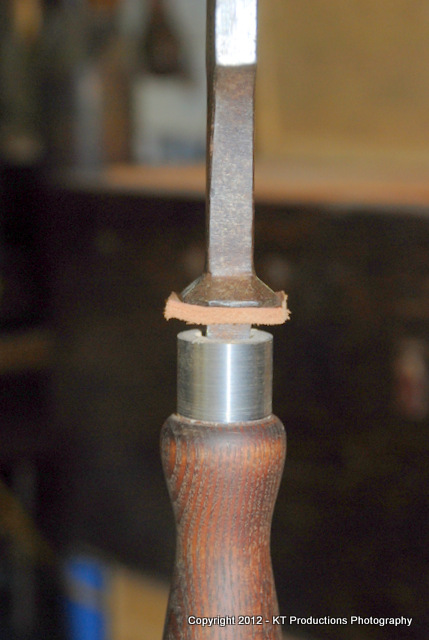
...then making sure all is aligned from each angle...I firmly banged it on the bench to force the tang firmly home.
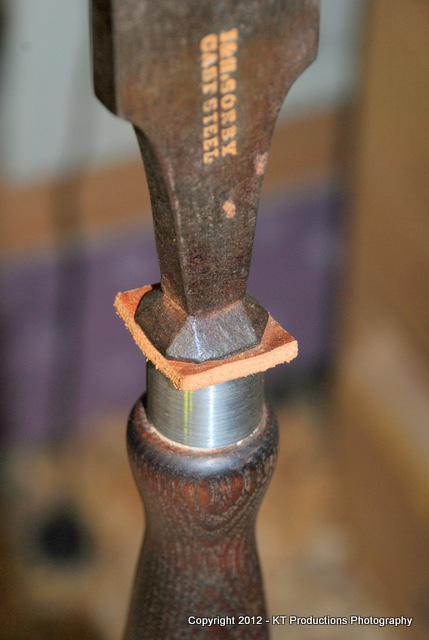
There is no way on Earth that this is coming out again any time soon!
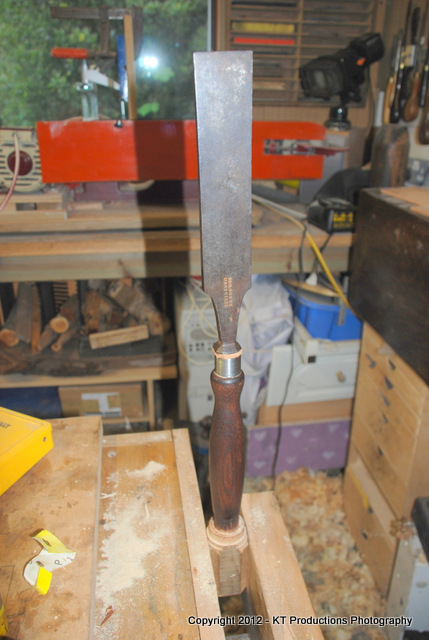
Notice how I have left the square stock on until the last minute...this greatly helps when putting it in the vise!!
I then trimmed the leather disc to size (roughly for now)....
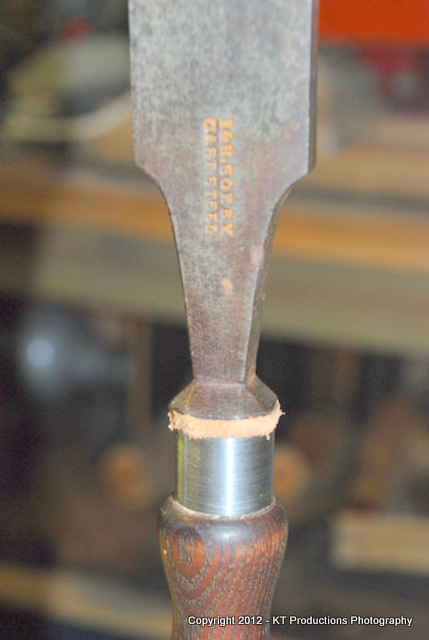
Cutting another ring the same way and drifting it on with the same stock..."ageing" the leather with more stain and rounding over the top a bit with a hammer finished the job...
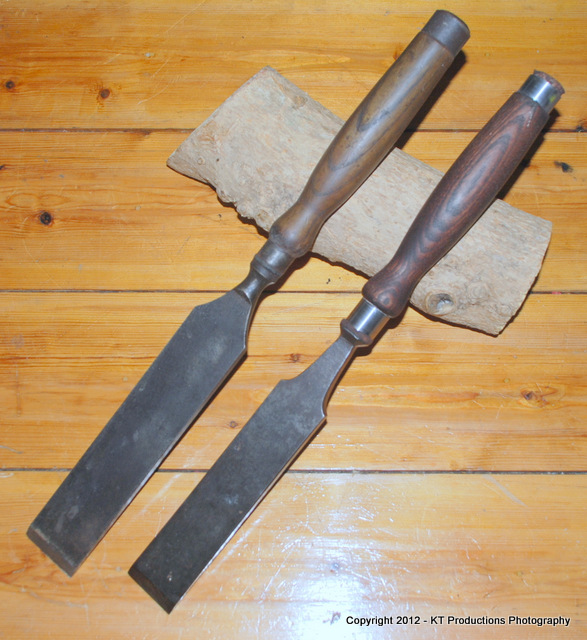
Not exactly the same...but then it is brand new...but a few dips in soil to dirty it up a bit...and leaving the raw steel to tarnish in the workshop for a few weeks...will sort that out!
I hope this simple job helps those who want to restore these wonderful tools of yesteryear and start using them....
Now...sharpening....
NAH...refer to any of the hundreds of threads around these parts for that bit!
Cheers
Jim

....the other slightly smaller but sans handle...

I thought it might be useful for our newer members to understand what is involved (at least with me)...in the sympathetic re-handling of vintage chisels...with a view to trying to make them seem as old as the steel itself.
Just one point to note...there are literally hundreds of ways of doing this...and certainly better turners out there....but I thought a step-by-step process with pictures might encourage others to try to bring these old beauties back to life...
I find it handy to draw a simple sketch of what I want to achieve...preferably to full scale...and with measurements taken at key points first....

Sticking this behind the lathe allows you to refer to it occasionally to ensure the correct shape.
I won't go into turning detail at all here as it is assumed the reader knows how to do this bit and if not...there is a huge amount of information on the turning forum. After roughing out some nice ash...donated for the purpose by our friend Douglas...I transferred the key transitions to the stock from the handle I wished to copy....

After getting the shape roughly correct...I take off the rough surface...

...and then offer up the original to compare...here we see there is still work to be done..it's too fat and the ferrule end is not quite the right bulb shape....

Once the shape is correct...the ferrule and steel cap ends left slightly oversized...I put some stain on the raw wood...

I mix my own using leather dye powders mixed in meths as a solvent. It soaks in well and is pretty stable with any finish....
Now for the bit that has been discussed on the HAND TOOLS forum before....how to fit the tang to the handle.
Well...there are those that just drill a big hole and epoxy it into place..some advocate burning it into place..(mmmm - something I don't think I would want to do) and the traditional method of using a taper bit...rather like a gouge bit but with a taper to match the tang.
I use a modern version of the latter. Measuring the largest dimension of the tang (in this case about 11mm)...I take a smaller bit...(10mm)...and drill the hole in the lathe by hand turning the stock slowly into the drill bit. I only go part way then swap to a smaller bit. Then just one more step down take me to about 20mm shy of the full depth...leaving a small length to bed the tip. More on the fitting in a moment.
Of course...if you are going to use a forced fit...you need to fit the ferrule first.
I don't have any steel ferrules (only brass) and I wanted to make this strong and the same as the original. I make this second point purely to indicate that you can find ferrule material anywhere if you search...even if you have to steal the kid's pogo stick!!!!

One end is exactly the right size for the ferrule and the other end is close enough to the size of the top ring. Ideal!!!
The test fit proved successful...

....the bouncy bits where the feet go making ideal handles for getting it off again!
So...roughly marking the length...and making sure nobody is about...I hacksawed it off above this line by a few inches....

...to enable me to fit it into the lathe chuck.....and rubbing off the rather vivid paint...

I cut it so the wood protruded...squared the end and then using the other bit as a drift...banged it firmly home...

...rubbing the excess wood off flush using a disc sander...

I cut a small piece of thick leather oversized...and cut a hole in it and forced it over the tang. Then putting the tang in the hole it is tapped firmly a couple of times on the bench.
After that...with a mole wrench on the steel (protected with some old card)...I turned the tang into the hole...cutting an exact taper....

I repeated this a number of times until about this amount was protruding....

...then making sure all is aligned from each angle...I firmly banged it on the bench to force the tang firmly home.

There is no way on Earth that this is coming out again any time soon!

Notice how I have left the square stock on until the last minute...this greatly helps when putting it in the vise!!
I then trimmed the leather disc to size (roughly for now)....

Cutting another ring the same way and drifting it on with the same stock..."ageing" the leather with more stain and rounding over the top a bit with a hammer finished the job...

Not exactly the same...but then it is brand new...but a few dips in soil to dirty it up a bit...and leaving the raw steel to tarnish in the workshop for a few weeks...will sort that out!
I hope this simple job helps those who want to restore these wonderful tools of yesteryear and start using them....
Now...sharpening....
NAH...refer to any of the hundreds of threads around these parts for that bit!
Cheers
Jim


