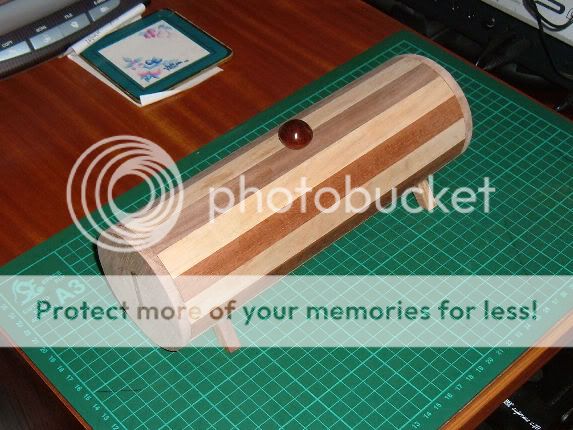
horizontal cylinderical box

UKworkshop.co.uk

Help Support UKworkshop.co.uk:

This site may earn a commission from merchant affiliate links, including eBay, Amazon, and others.

devonwoody

Established Member
Joined
11 Apr 2004
Messages
13,493
Reaction score
25
Location
Paignton Devon
Preview of box description

6w-11.jpg

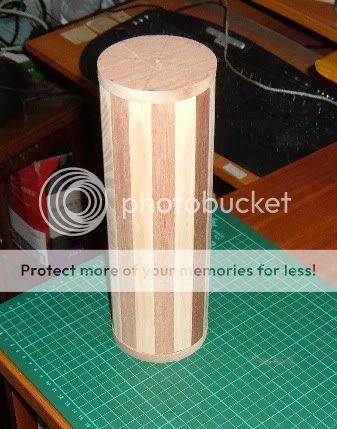
Another new design for me but no doubt there are others around.

Information on geometrical details was given me by members of the Australian forum.

(To create a cyclinder using 16 pieces of timber, divide 360 degrees by 16 and obtain the figure of 22.5%, half this amount and you need a cutting angle of 11.25% each side of strip. This I obtained using a protractor finding 11% and estimating the odd .25 figur, I then made a former which I set the tilt of blade.)

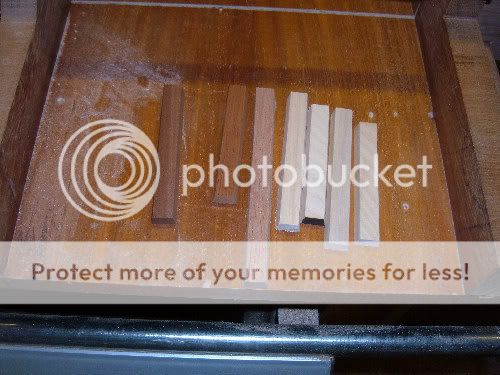
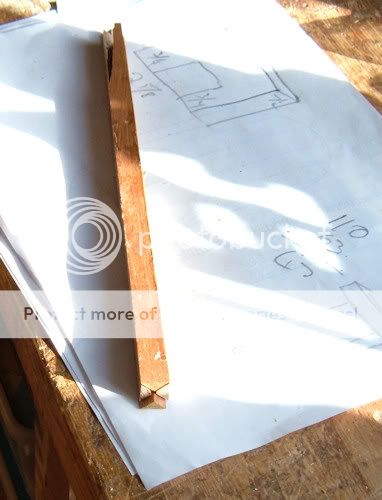
I found four pieces of contrasting coloured timber, (B.walnut, Meranti, Sapelle, and Br. Mahogany) plus American Ash for white.
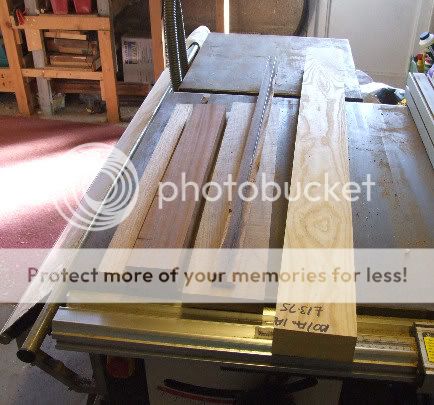

2w-15.jpg


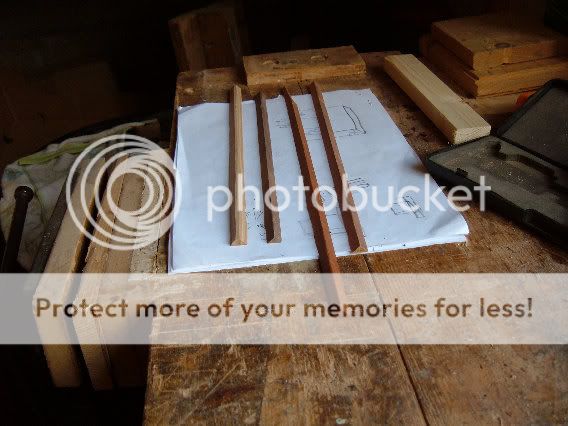
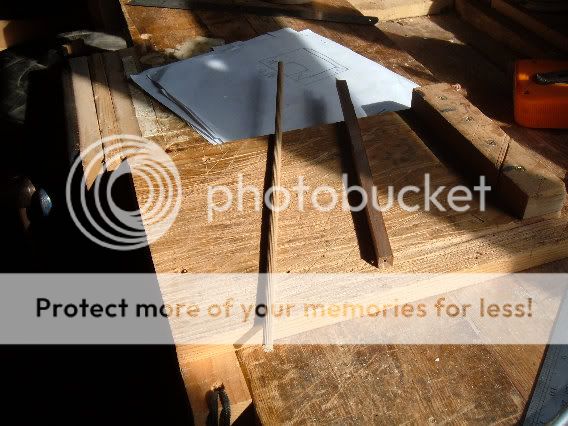
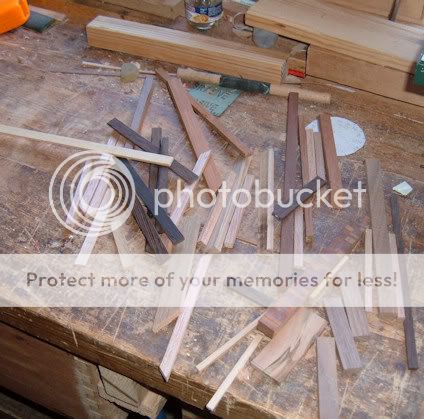
I prepared and reduced to strips in my usual fashion using the strip jig on the tablesaw.
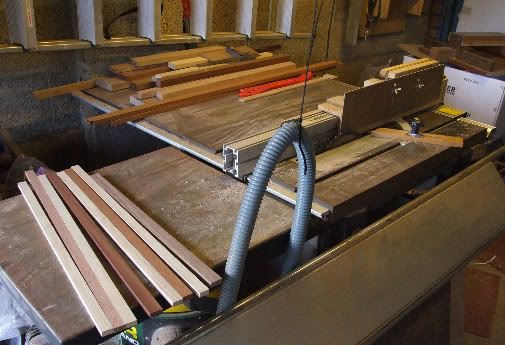
3w-13.jpg


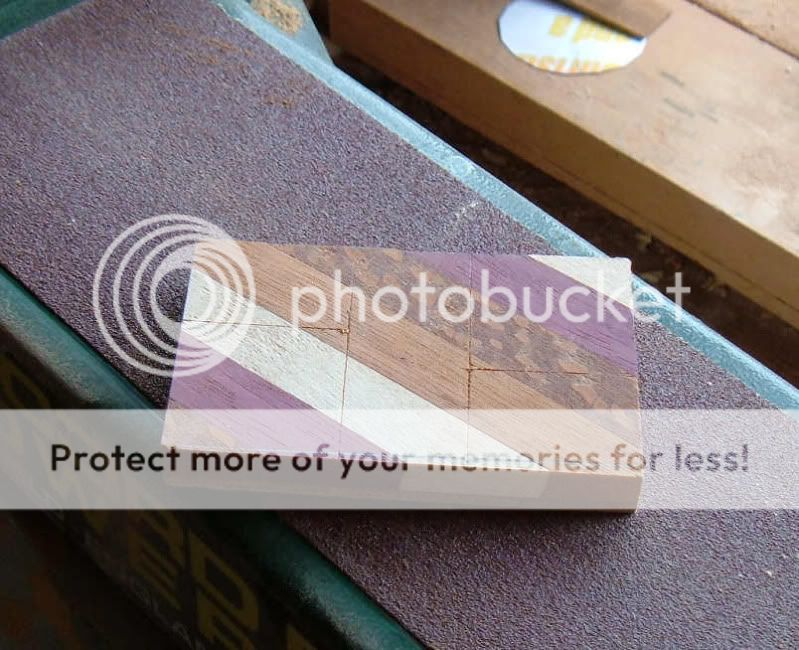
Set out on my flat board in colour choice.
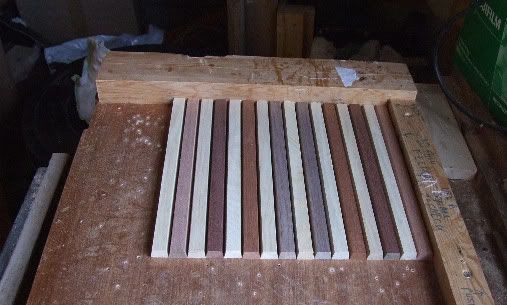
4w-12.jpg


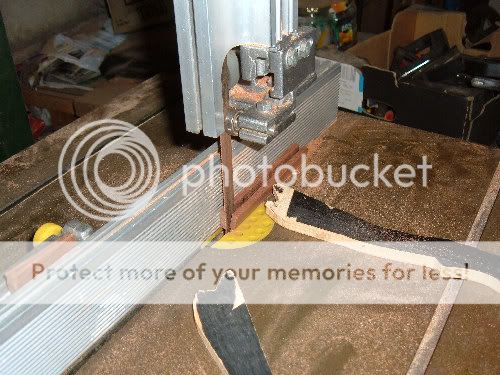
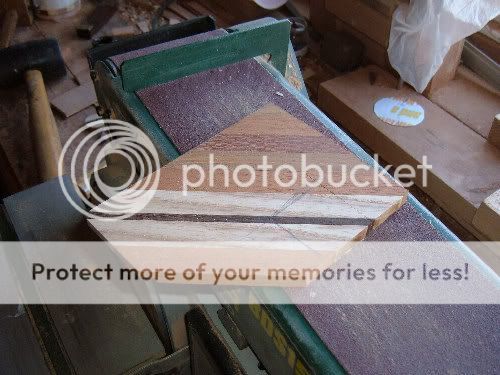
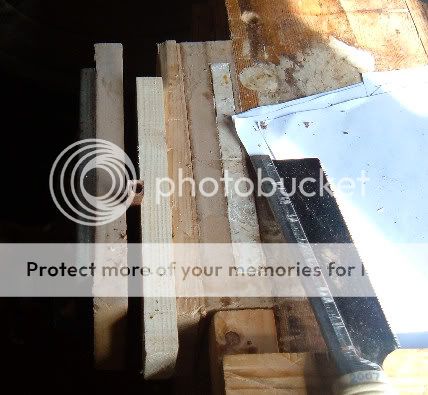
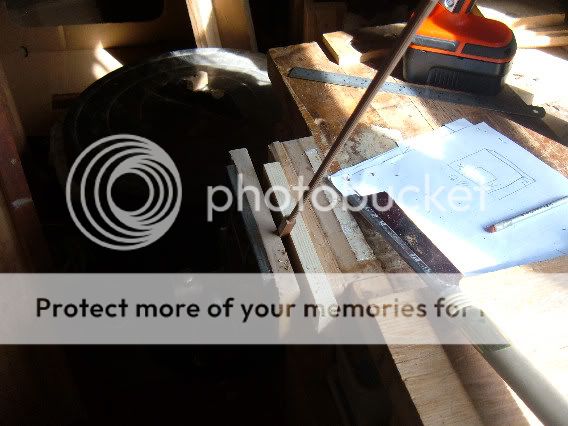
Put he 11.25% angle to each strip using the stripping jig again with the blade angle set this time.

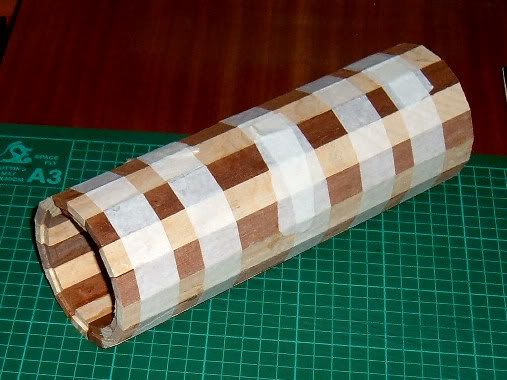
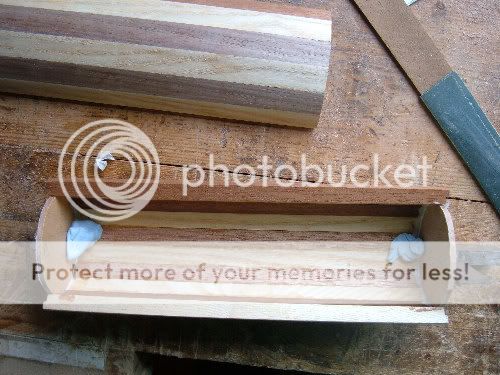
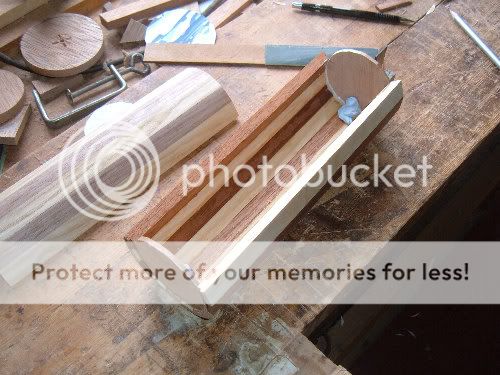
Placed on my flat board with masking tape under, this means when the tube is rolled up with glue on each edge. the tape holds while glue sets.
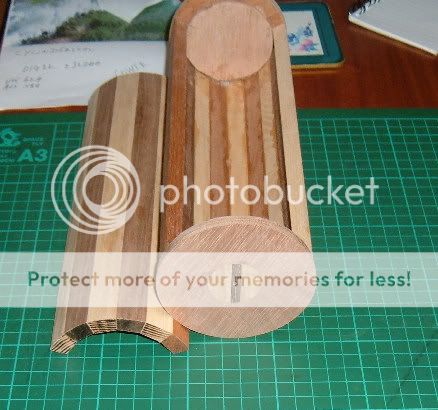
In addition I did not glue between sections 4 & 5 or 13 & 14 so that I would have a lid formed which is removable when tape is removed after the other glued sections have set.

A rebate was put on each end of strip to close up tube at a later date.
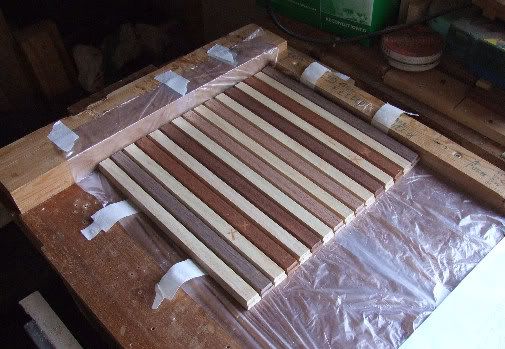
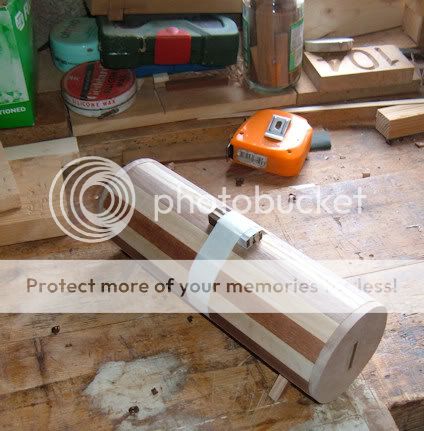
5w-13.jpg


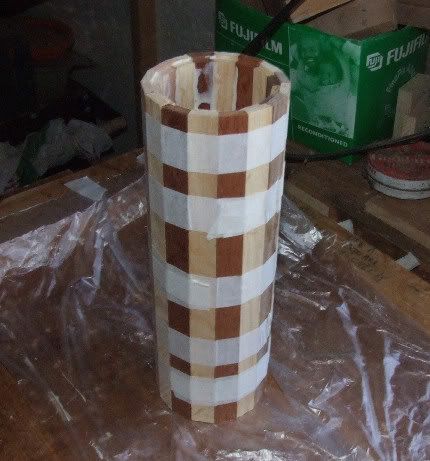
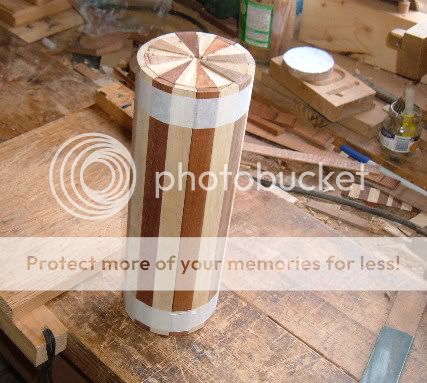
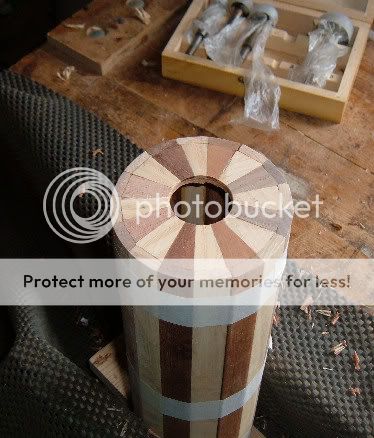
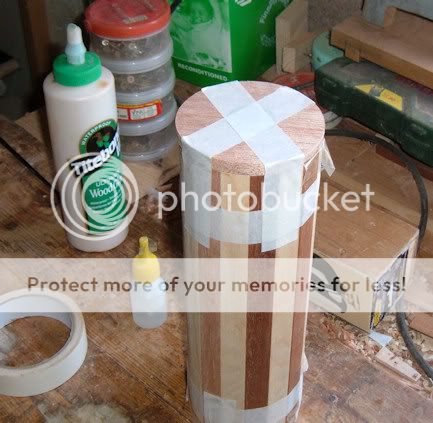
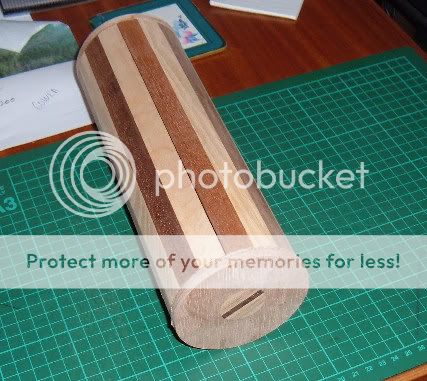
Tube glued and awaiting set

1w-14.jpg
 
Are you planning (planing?!) to make it truly round or leave is with a dodecahedral section?

I guess either way it will need some feet to stop it rolling.

I continue to be amazed by and impressed at your passion for box making almost (it would appear) to the exclusion of other wood projects.

Bob
 
9fingers":1iq2k567 said:
Are you planning (planing?!) to make it truly round or leave is with a dodecahedral section?

I guess either way it will need some feet to stop it rolling.

I continue to be amazed by and impressed at your passion for box making almost (it would appear) to the exclusion of other wood projects.

Bob

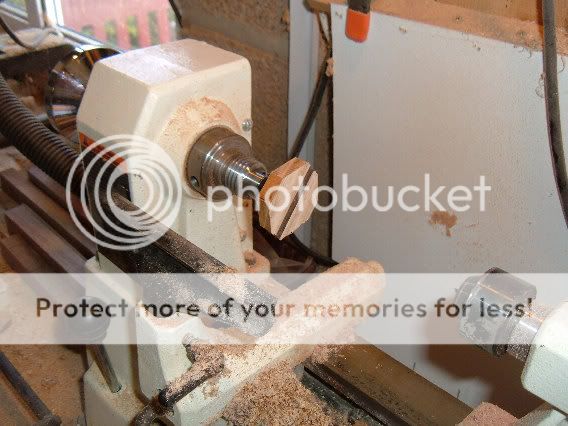
Bob, if I can get it mounted on my small Axminster lathe< I will try to make it circular, I do not have a chuck only the spur drive.
I would like it circular so could hand plane or sand but it could ruin the piece.
Regarding boxes, we have no room for new or replacement furniture and boxes take up small space and are easily given away, I gave away two more last weekend as gifts.
 
Looks very interesting, DW. Are you planning to enter a box for the competition? (Deadline for Design Brief submissions is coming up very soon! :wink:)
 
Should be relatively easy to mount by inserting end pieces with a top hat section. with the smaller 'diameter' cut to a dodecahedron to be a tight fit in the box.

You can then turn this between centres, one section at a time with lots of rubber bands on the rest to hold the bottom and lid tight together.

Marking out the dodecahedron is easy. Set compasses to half the internal diametral corner to corner dimension. Draw a circle. Starting anywhere on the circumference, mark arcs at the same radius along the circumference to give six equally spaced arcs.
Draw a line between any adjacent pair. Bisect this line using the compasses.
Where the bisecting line crosses the circumference, make another set of six arcs around the circumference and then you have 12 equally spaced corners for your dodecahedron.

Hope this helps

Bob
 
9 fingers thanks for your tip above re cutting those "D" 's :) I will give it a try.

Not entering the comp. because I cannot face any types of stress these days, but wish all competitors a good contest.

Progress to date.

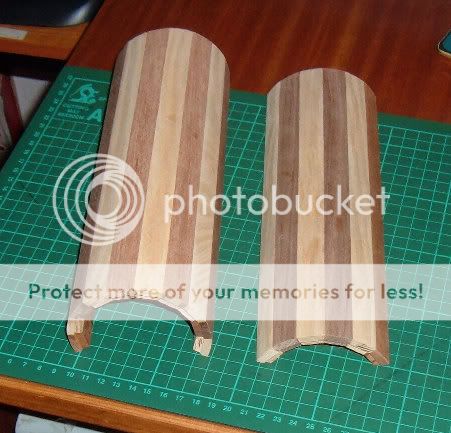
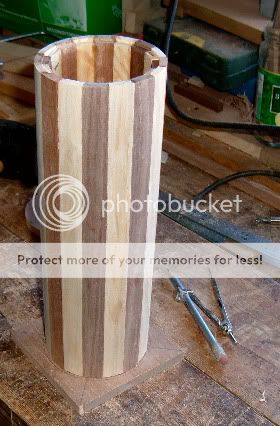
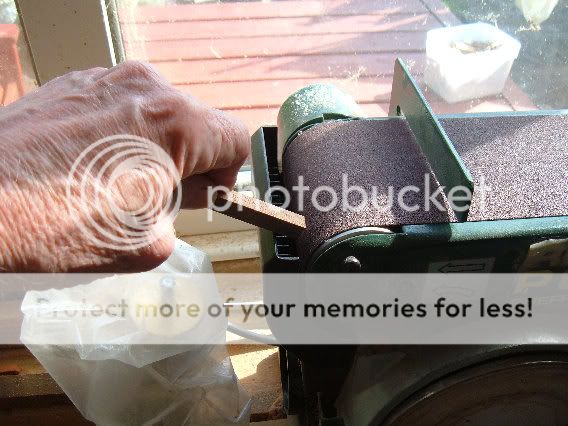
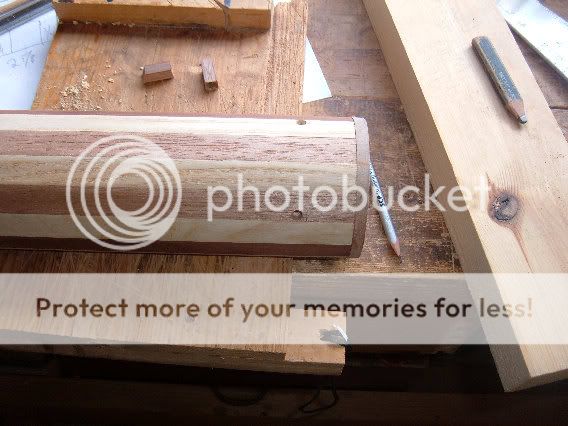
The tubes were put on my bench belt sander with a 60 grit and tidied up by hand with 320 W & D paper and I am very satisfied with the finished circumference.

9w-11.jpg


I have made some trial end caps using some scrap Br.Mahogany on my small lathe, but do not have a chuck. They fit well, but would prefer a harder species of timber. Also the D word above has not yet been tried.

7w-11.jpg


8w-10.jpg
 
Thinking of dropping the end caps and fitting a sunburst marquetry design and hopefully having flush ends.

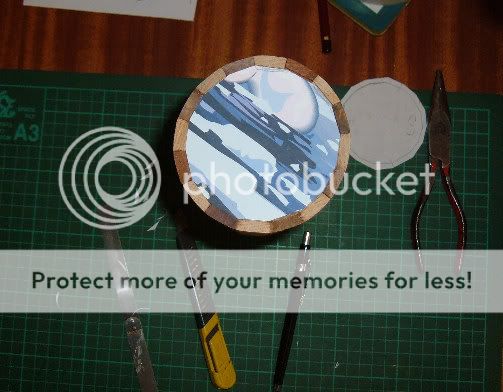
So made a paper template,

10w-10.jpg


managed to salvage the waste ends of strips (which are already machined)

11w-10.jpg


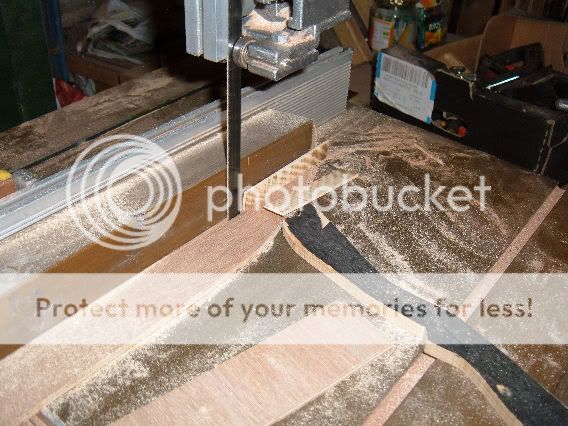
resawing those waste strips on the bandsaw so they are now around 2.5mm thick.

12w-11.jpg


Thinking I should have finished with 1 mm thickness :(

Never done any marquetry before so might be a few days before I am back :wink:
 
Thanks Wizer, that looks a very interesting link. Must put a chuck down on my to buy list before I get to old to use one.
(I did have a friend in the road with a lathe and chuck but he lost a thumb when turning and slipped into that bit of gear.)

Looking at that project I see he cut his box open using a bandsaw, I wonder how he got the circumference to match up after the cut, he should have lose some volume?
 
Decided I needed to have sunburst strips thinner, so made myself a zero clearance on the bandsaw, laid a piece of scrap on the table and run the blade partly through :)

19w-7.jpg


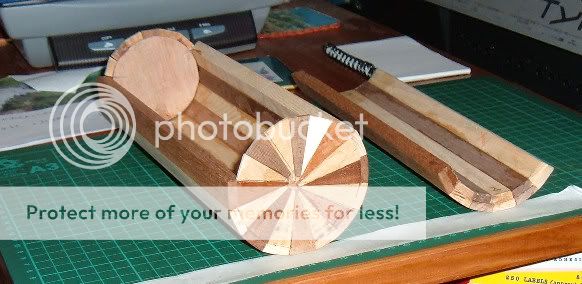
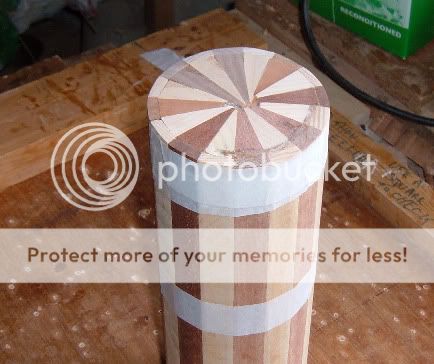
Glued on the sunburst strips to match the carcass, and when glue matures I will sand flat and then use a Forstener Bit to make the sun and turn a plug, Hopefully :wink:

20w-7.jpg


Nearly had a disaster the glue had crept and stuck the lid to carcass, fortunately I checked early evening and rushed out and got a chisel to the join and separated without damage.

21w-6.jpg
 
Sanded first sunburst end and used the Forstener bit to drill a 30mm hole for a contrast sun to be glued in.

22w-7.jpg


The Second end as ended in disaster, I have gone to heavy with the hand held sander on one side, lost the flush surface, and worn through the veneer.


23w-7.jpg


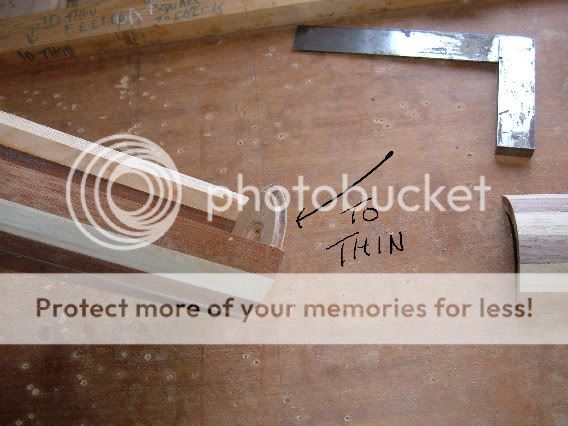
However it would have been tears in the end anyway because the outer edge of veneered sunburst which is exposed when the lid is removed is too thin. So the next version will have deeper rebates at end of tube to accommodate this problem.

24w-5.jpg


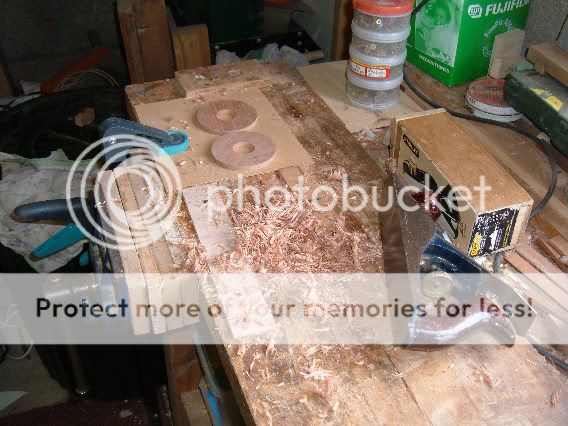
So have recovered the original end pieces, planed to a clean face. ( Screwed some stop blocks to my workbench to stop them sliding around when planning).

25w-6.jpg


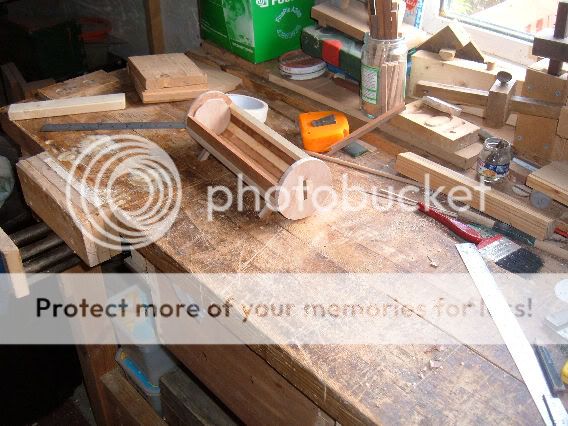
Put the end caps on and held in place with masking tape until glue sets.

26w-6.jpg
 
Went back out in the shed to get things back on track in the evening.

So found a bit of scrap and tried to turn a decorative piece for end caps.
The purple heart heated up and burst when turning, it also scorched whilst turning prior to the burst. (does purple heart turn if done slowly?)

27w-6.jpg


Got out another piece of scrap and this turned OK.

28w-4.jpg


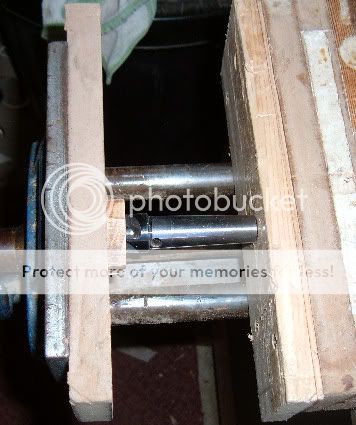
Found I could get a better attachment to the spur drive if I squeezed it up in the vice.

29w-4.jpg


Piece in the lathe ready for turning.

30w-4.jpg


Later Sunday evening with caps completed, and feeling happier now things are back on track.

31w-4.jpg


32w-4.jpg


Going to attempt some peg legs to fit to carcass later today, but expecting trouble again (thinking of 6mm diameters and I dont have a collet for the lathe) so might finish up with cradles for the base.
 
If I had a boss he would have called me into his office yesterday and wanted to know what progress I could show for 3 hours time spent yesterday.

Made some cradles, using the bandsaw, fitted a 1/4" blade that took time I said, tried to clean up the burn marks on the cradles that took time, lost its circular shape, so lost all the time spent.

The lady indoors wants her new oven fixed, I have materials laying around for a new bedhead, I have two water butts to set up, the garden to water because we are not getting our usual spring showers this year.


And I want to finish the box.

Oh and I have purchased four woodworking books (seconds) from our local mail order outlet.
 
Right then DW you need an action plan clearly outlining priorities and setting realistic targets. I want to see project risk assessments detailing impact on timescales, cost and customer satisfaction with fallback measures. Give consideration on how you are going to manage our expectations.

For the next week, I'll want daily progress statements with cost and performance indices on each project with revisions to the plan to get back on track.


Arrg! I can't carry on with this rubbish. I'm so glad I have retired from having to dish this stuff out to my staff. I've only got myself to manage now!!
Good luck

Bob
 
To true 9fingers, :) :) :)

The only problem it gets worse when you are your own boss.

And I have just spent an hour on the telephone whilst drinking my coffee and deaing with insurance companies etc. Paperwork in modern life even when retired is amazing these days.
 
Blimey its been 11 days since doing anymore work on the box, household duties again intervened.

So now going to try and fix 4 leg supports to under the carcass.

So got stripping again
4 timbers reduced to 11.6mm wide x 5.8 mm thick and put on the router table with the 45% bit.

It wasn't a very pleasant experience.

37w-2.jpg


Then glued as per picture.

36w-3.jpg


Will try and dodge household duties this weekend.
 
Made some legs.

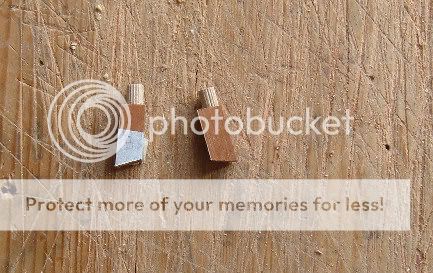
The 4 pieces of timber have cleaned up quite nicely, finished up around 10 mm square through the thicknesser. So found a piece of 6mm dowelling to make leg attachments through the carcass.

38w-4.jpg


Put a bit of curvature freehand at box end of each piece using the sander.

39w-4.jpg


Drilled a 6mm hole in leg for dowelling

40w-4.jpg


Dowel fitted.

41w-1.jpg


One pair of legs ready for box.

42w-1.jpg


Fitting legs to carcass.

Drilled 6mm holes freehand into carcass, (if doing again I would make a template to maintain perfect angles, but myself I am satisfied)

43w.jpg


Legs on and glued up after some fiddling (recutting leg angles)

44w.jpg


Found a knob that was kindly turned for me by a forum member in Sheffield some years ago, this is laying in position but needs to have some work to make a saddle fit.

45w.jpg


So I have now got around 3 boxes to clean up and apply a finish.
 
Decided I didn't like the appearance of knob for attaching to lid, so thought again.
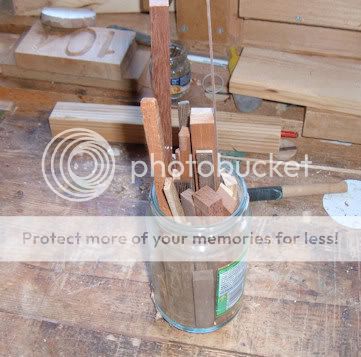
On my bench is a glass jam jar which accumulates short waste pieces of timber collected over quite a long period of time. (there are carboard boxes of longer stuff as well in the shed).

46w.jpg


Emptied out the jar and selected some very short pieces of Wenge and found a strip of Ash from a cardboard box all suitable for what I had in mind.

47w.jpg


Made up a new knob with some scary handholding on the sander. (held it against the moving belt at the radius ends). Glued on and held with masking tape.

48w.jpg


Well that leaves three boxes now to apply finish. ( I gave two away unfinished a couple of weeks ago, the recipients wanted to do it themselves)[/img]
 
Back
Top