scholar
Established Member
I promised a little while ago to post some details of my knock down home spray booth.
In my case, the considerations were: knockable down to flat pack, transportable, capable of taking an 8ft wide unit/door, well sealed as it is being used initially in smallish rooms that have been finished.
I looked far and wide for examples and guidance, and the best I found was here http://www.highlandwoodworking.com/knoc ... booth.aspx. My own design was rather different and more flexible, but this was very helpful and my construction follows the same principles.
I worked on the guidance that you should aim for 6,000 cfm on the fan - my experience so far, however, is that this is very generous as I only needed to run the fan at pretty much its lowest speed to maintain a good flow into the filter. At full speed, you can feel the breeze!
The major outlay was:
A (500mm) plate extractor fan http://www.eltafans.com/select-axial.php and controller - approx £300 all up
Some filter material http://cgi.ebay.co.uk/Paint-Spray-Booth ... 563711e449
One sheet of 18mm plywood and 3 sheets of 6mm
Some 21.5mm overflow pipe and connectors which form a frame for polythene which I have used for the front enclosure.
It is clear that you are confined to using water based finishes unless you can build a more sophisticated dedicated facility. I am not (yet) an expert on finishes and am still at the early stages on using the spray booth, but it has been well tested and works very well.
Here are some pictures to show the construction:
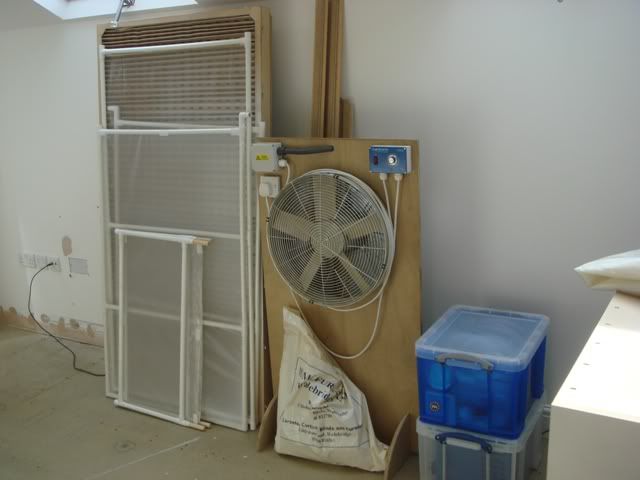
The component parts - the fan is clearly the bulkiest and heaviest item; this one is really plenty large enough for the job and you could go a bit smaller.
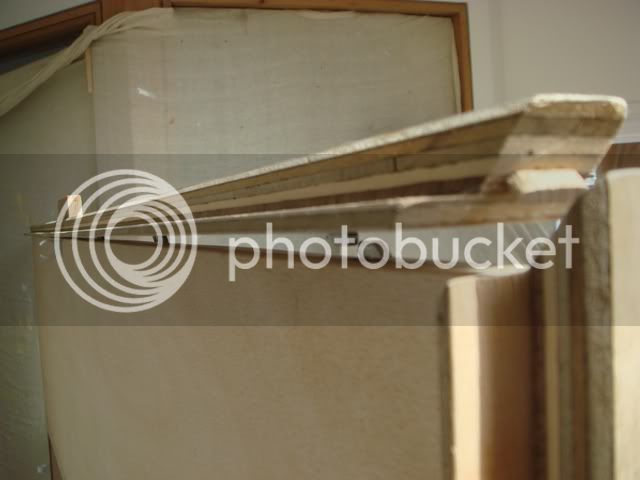
All the panels join together using Lamello Simplex plates; these work well once installed and fettled, but they proved to be one of the most time-consuming parts of the whole construction (they are set into the biscuit slot with Araldite, but you need to scrape out any excess adhesive before you can get the two plates to engage). Anyway, once done they are a good solution.
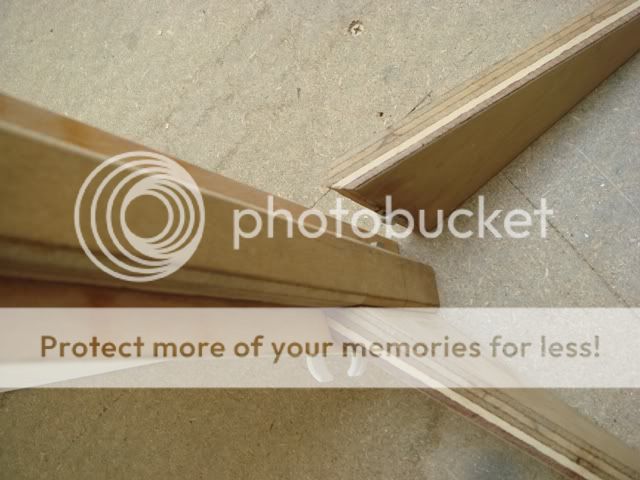
Some stabilisers for the front frame
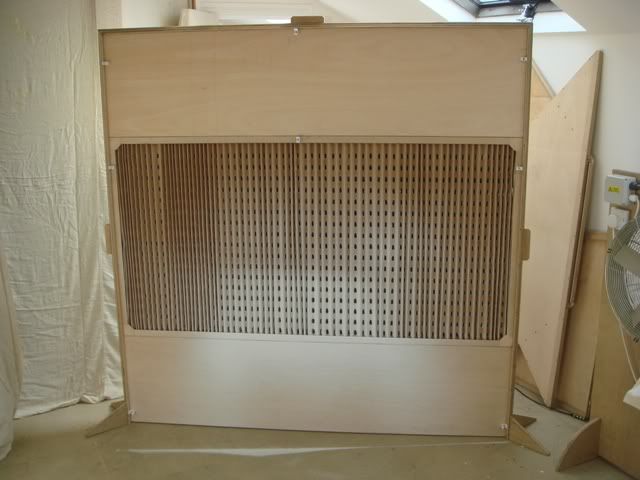
The front frame assembled - made up of the filter frame, top and bottom panels and side and top braces which lock it all together - the top panel is optional and can be left out for a lower enclosure (for which there are shorter side braces). The overall size including the top panel is approx 6' by 6'
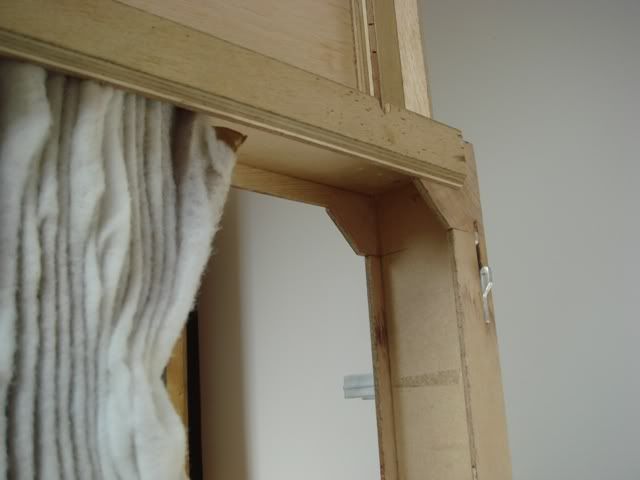
This shows the construction of the filter frame - the rear retaining strip at the top is removable so that the filter can be inserted/replaced (originally thought I could just wiggle the filter in, but it was not possible)
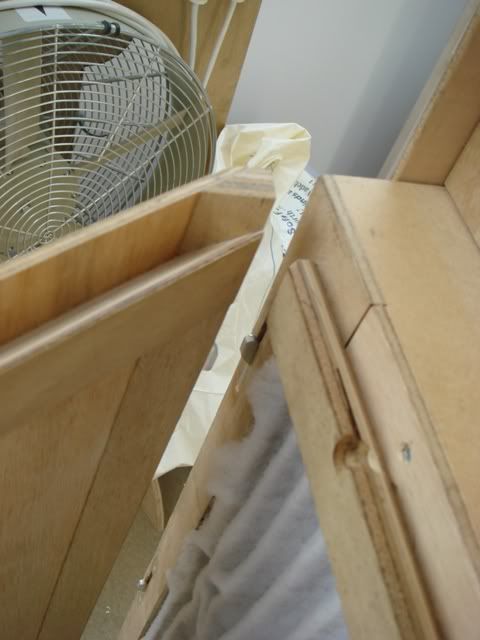
Adding the rear side panel to the rear
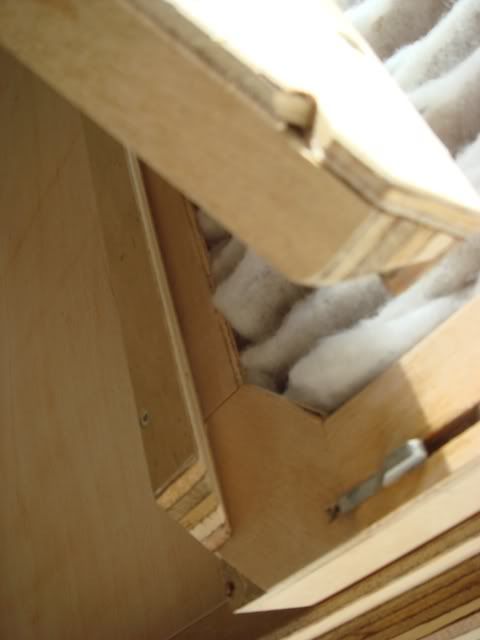
Adding the rear bottom panel - this and the top panel lock onto the side and front and fan panels with french cleats all round
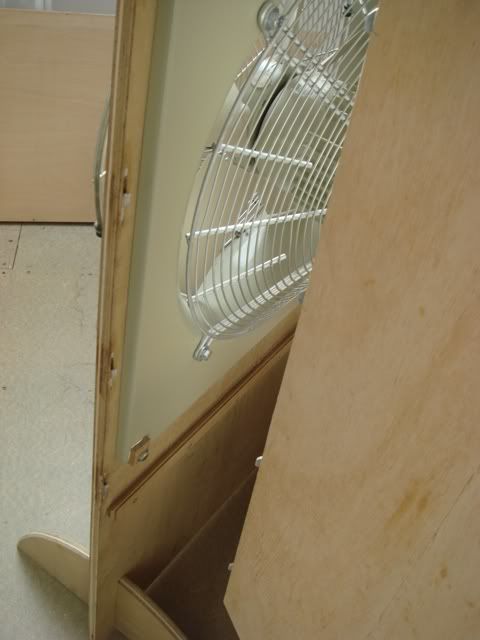
Locking onto the fan panel at the rear
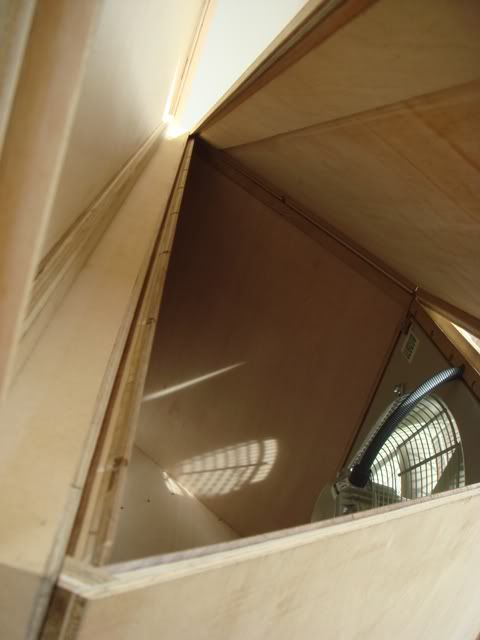
Adding the top panel which finishes off the fan box
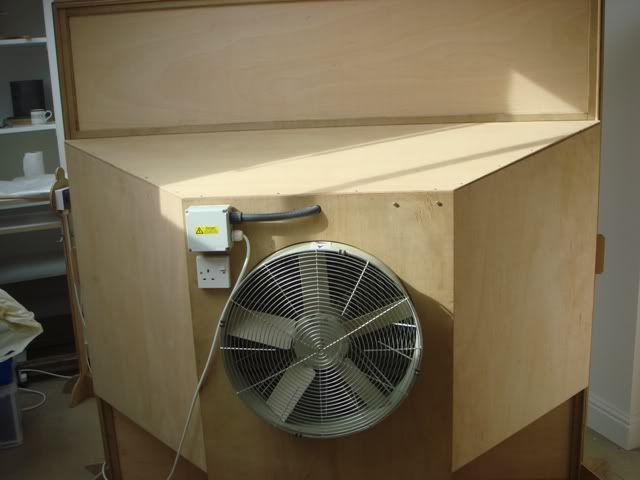
The completed fan enclosure - the way this is set up to operate is to have a supply of air from the front and a route for the exhaust to exit at the rear - in this particular situation it vents towards the open rooflight in the room behind. I have unhooked the fan controller which hooks onto a stand that I position at the front (the 3 pin socket you can see is just to store the plug and keep the lead all tidy)
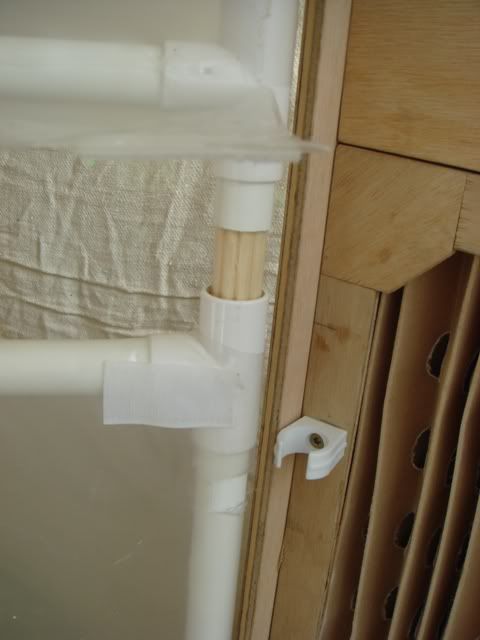
Finally, the front enclosure is made up of interconnecting frames of overflow pipe and fittings (Screwfix) and polythene hot glued to the frame - the separate panels are overlapped and secured with self-adhesive velcro pads. I made two alternative sets of corner pieces such that the enclosure can be splayed out as shown in the pictures or square on (with the top sloping up slightly to give a bit more headroom). Also, the upper side panel is left out if the top panel on the front frame is not used
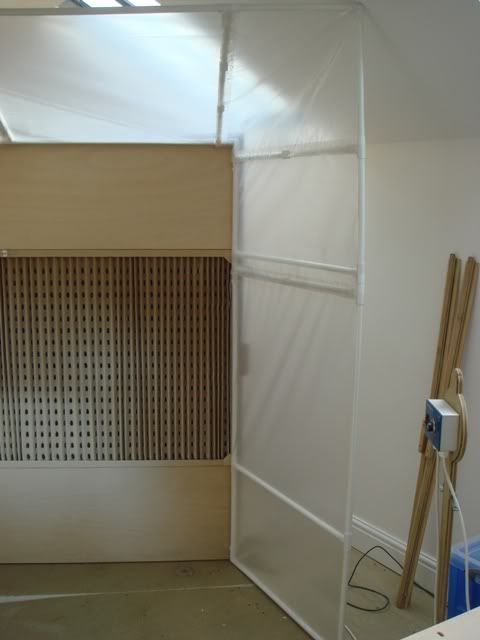
The fully assembled, full-size booth ready for use (subject to some floor covering)
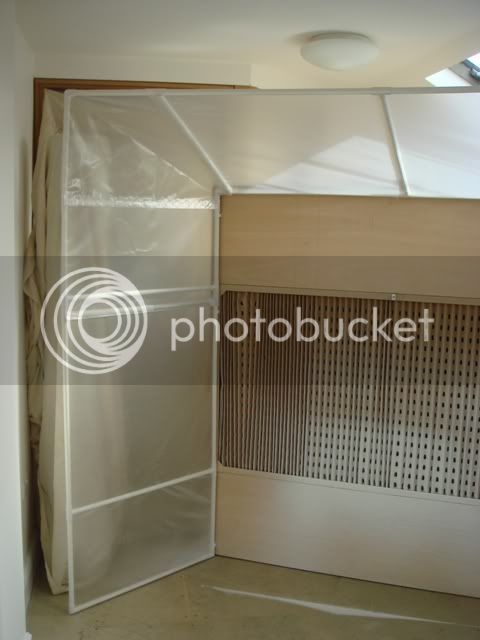
And again
I don't know if anyone finds this interesting, but it may be useful reference for anyone else contemplating something similar.
I have also made a number of knock-down spray tables and turntables etc - I will get some details of those sometime
Cheers
In my case, the considerations were: knockable down to flat pack, transportable, capable of taking an 8ft wide unit/door, well sealed as it is being used initially in smallish rooms that have been finished.
I looked far and wide for examples and guidance, and the best I found was here http://www.highlandwoodworking.com/knoc ... booth.aspx. My own design was rather different and more flexible, but this was very helpful and my construction follows the same principles.
I worked on the guidance that you should aim for 6,000 cfm on the fan - my experience so far, however, is that this is very generous as I only needed to run the fan at pretty much its lowest speed to maintain a good flow into the filter. At full speed, you can feel the breeze!
The major outlay was:
A (500mm) plate extractor fan http://www.eltafans.com/select-axial.php and controller - approx £300 all up
Some filter material http://cgi.ebay.co.uk/Paint-Spray-Booth ... 563711e449
One sheet of 18mm plywood and 3 sheets of 6mm
Some 21.5mm overflow pipe and connectors which form a frame for polythene which I have used for the front enclosure.
It is clear that you are confined to using water based finishes unless you can build a more sophisticated dedicated facility. I am not (yet) an expert on finishes and am still at the early stages on using the spray booth, but it has been well tested and works very well.
Here are some pictures to show the construction:

The component parts - the fan is clearly the bulkiest and heaviest item; this one is really plenty large enough for the job and you could go a bit smaller.

All the panels join together using Lamello Simplex plates; these work well once installed and fettled, but they proved to be one of the most time-consuming parts of the whole construction (they are set into the biscuit slot with Araldite, but you need to scrape out any excess adhesive before you can get the two plates to engage). Anyway, once done they are a good solution.

Some stabilisers for the front frame

The front frame assembled - made up of the filter frame, top and bottom panels and side and top braces which lock it all together - the top panel is optional and can be left out for a lower enclosure (for which there are shorter side braces). The overall size including the top panel is approx 6' by 6'

This shows the construction of the filter frame - the rear retaining strip at the top is removable so that the filter can be inserted/replaced (originally thought I could just wiggle the filter in, but it was not possible)

Adding the rear side panel to the rear

Adding the rear bottom panel - this and the top panel lock onto the side and front and fan panels with french cleats all round

Locking onto the fan panel at the rear

Adding the top panel which finishes off the fan box

The completed fan enclosure - the way this is set up to operate is to have a supply of air from the front and a route for the exhaust to exit at the rear - in this particular situation it vents towards the open rooflight in the room behind. I have unhooked the fan controller which hooks onto a stand that I position at the front (the 3 pin socket you can see is just to store the plug and keep the lead all tidy)

Finally, the front enclosure is made up of interconnecting frames of overflow pipe and fittings (Screwfix) and polythene hot glued to the frame - the separate panels are overlapped and secured with self-adhesive velcro pads. I made two alternative sets of corner pieces such that the enclosure can be splayed out as shown in the pictures or square on (with the top sloping up slightly to give a bit more headroom). Also, the upper side panel is left out if the top panel on the front frame is not used

The fully assembled, full-size booth ready for use (subject to some floor covering)

And again
I don't know if anyone finds this interesting, but it may be useful reference for anyone else contemplating something similar.
I have also made a number of knock-down spray tables and turntables etc - I will get some details of those sometime
Cheers


