Some time ago I mentioned that I had taken advantage of a clearance sale on a kit variant of one of HNT Gordon’s block planes (http://www.hntgordon.com.au/).
Well, I finally got round to putting it together over the past couple of days – so here’s a brief review of the kit and the results.
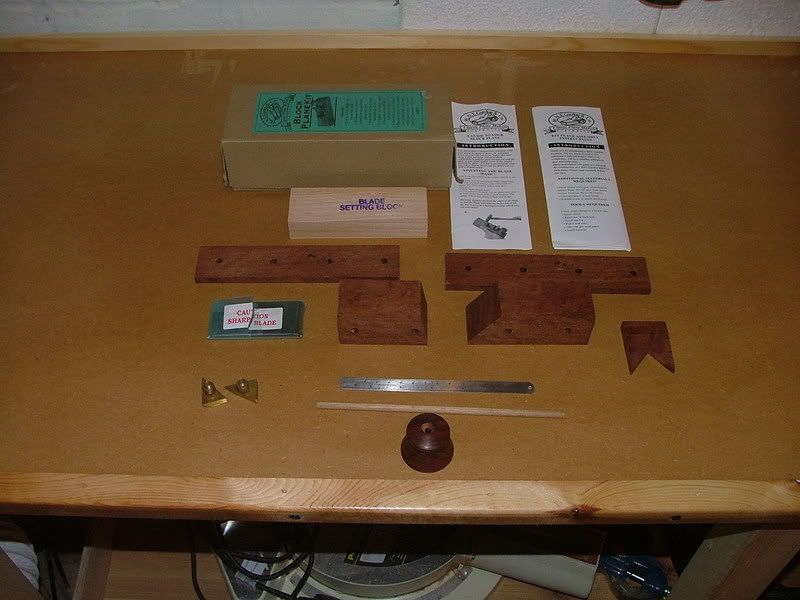
Here’s a picture of the kit. This one’s in ironwood – and it’s certainly a pretty heavy wood. It’s pretty simple: 2 cheek pieces, with the front and back of the body to go between them, a blade, a wedge, and 2 brass ‘abutments’ and screws to fix them. In addition, there’s a small handle to be fixed on the back, and what looks like a piece of ramin dowelling, that I very nearly threw away… This would have been a mistake!!
The instructions also mentioned the ‘green screw locking compound’ that should have been included but wasn’t. I used a proprietary thread locking gunk from Axminster, and would not hold this omission against HNT Gordon, as I have the feeling that this kit had been opened/used as a demo at the shop, so that’s fair enough.
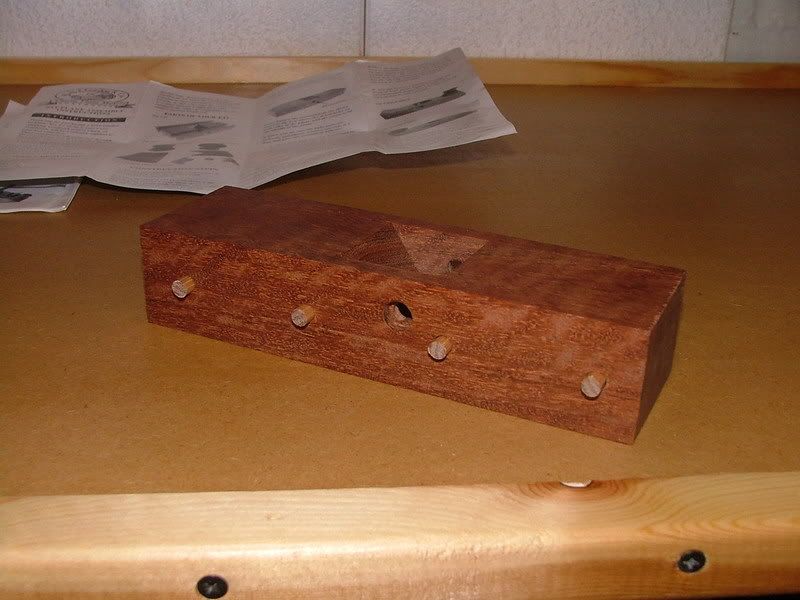
The instructions, as the parts list suggests, are pretty straightforward. The dowel is cut into eight equal length parts, and used to register all the bits together. Here’s a picture of my first test fitting. The pieces all went together easily, and registration was pretty good. At this point I noticed that the bits had all been cut from the same blank, so the grain matches nicely. The advice is to not insert the dowels all the way in when glueing up, but to leave proud as shown, so that the finished plane has as good a surface as possible.
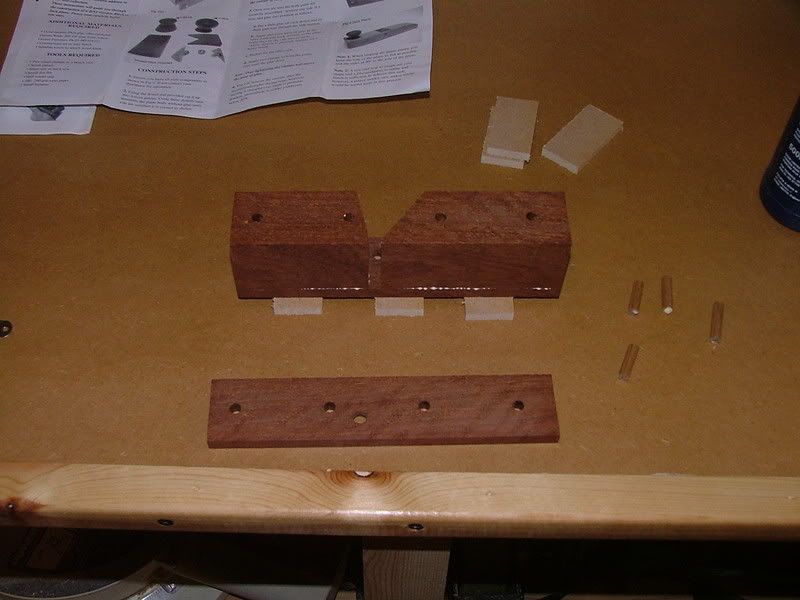
This next picture shows the glue up commencing: I cut the bits of ¼” MDF so as to leave the dowels proud on that bottom cheek, laid the cheek on them, and glued up using titebond yellow. This is a fairly oily looking wood, so I wiped down with acetone first.
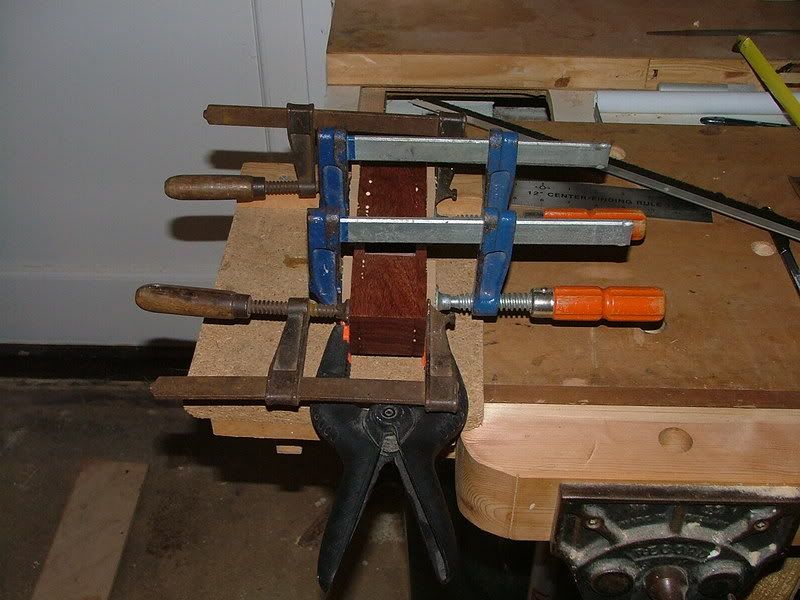
With the second cheek on, the MDF comes into play as packing for the clamps. The instructions recommend using 2, which seemed a bit light to me. As shown, I ended up with 5 on the plane, to ensure a good lock right along the body. At this point, after about half an hour’s work, I left it to set overnight.
This is what it looked like the next day: now it was time to clean up glue lines and the dowels, and begin shaping.
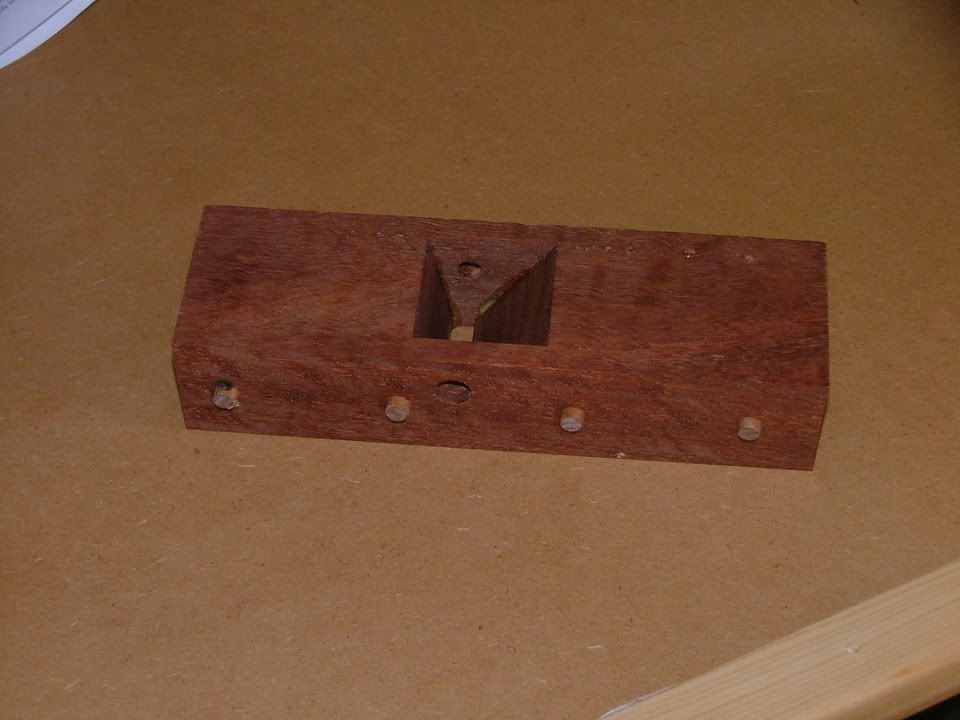
This picture shows the quality of the glue line, reflecting the accuracy of cut of the supplied pieces: I’ve just sliced off the front 1/8 inch or so to start shaping, and it was as difficult to spot the glue line in reality as it is in the picture. Note also the matching grain, as mentioned above.
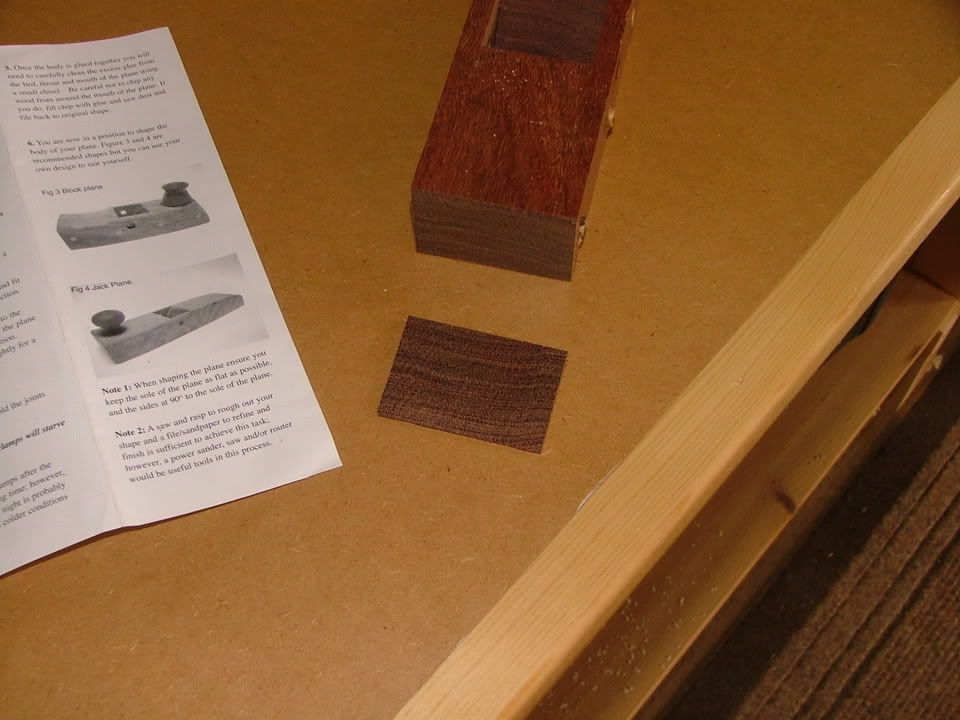
This is about an hour later: the dowels were cut and then planed flush, and rough shaping started with rasps, files, belt sander and cork sanding blocks. I worked up from rasp to 240 grit wherever I was altering the shape.
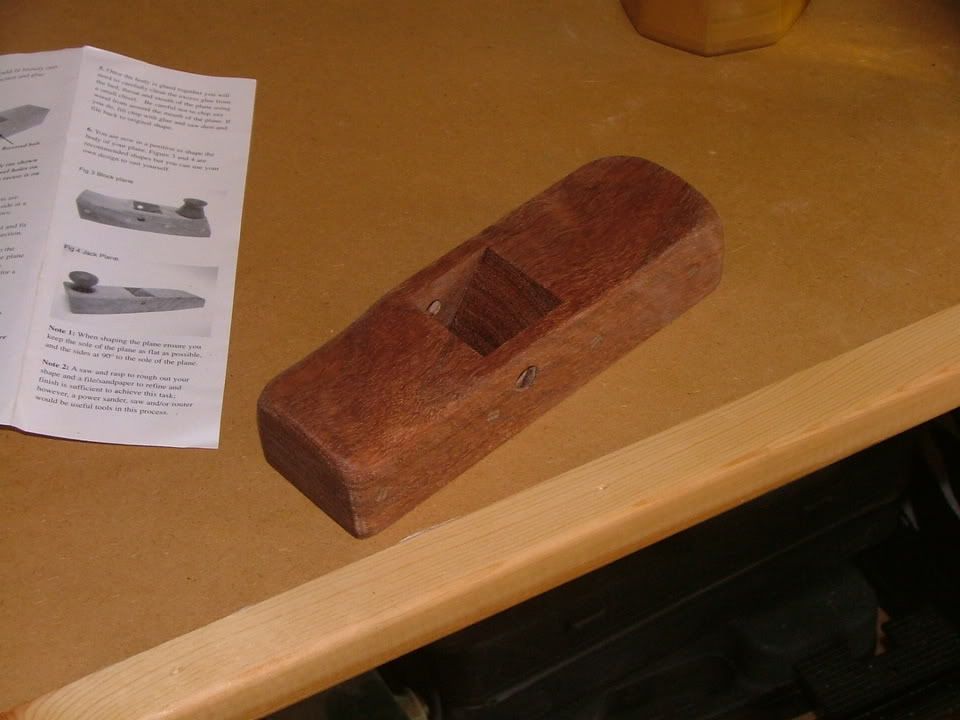
Another view at the same stage: As you can see, I stayed pretty conservative with my shaping – I figure that I can always take more off, but the reverse will be harder… All I really wanted was a shape that was easy in my hands: I don’t particularly like the look of the rear knob, and intend to leave it off unless it proves vitally necessary in use.
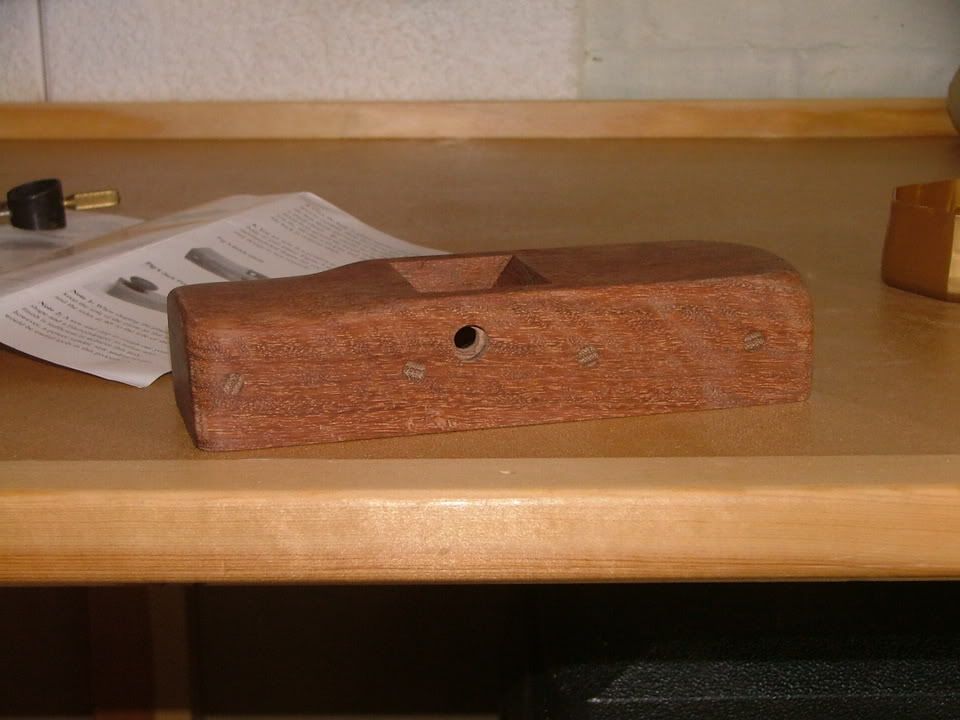
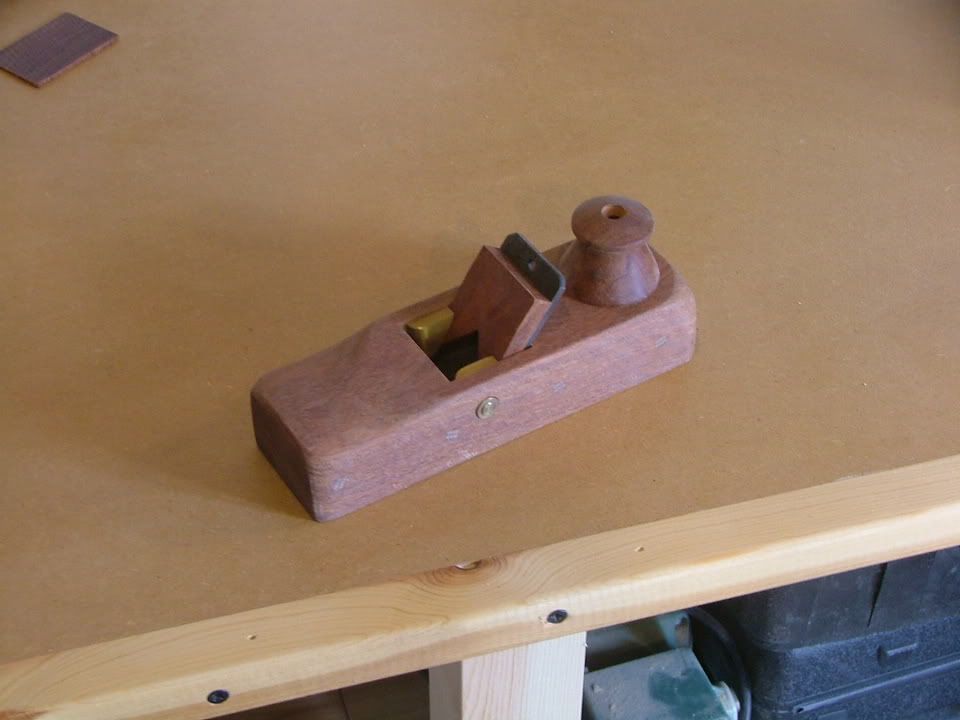
This next shot shows all the bits mocked up – see what I mean about the knob? Bit of an ‘afterthought’, aesthetically. If you do one of these, resist the almost overpowering urge to do this mock up stage: the brass abutments, once screwed in, are almost impossible to get out (Doh!!) There’s nothing to grab hold of and turn…
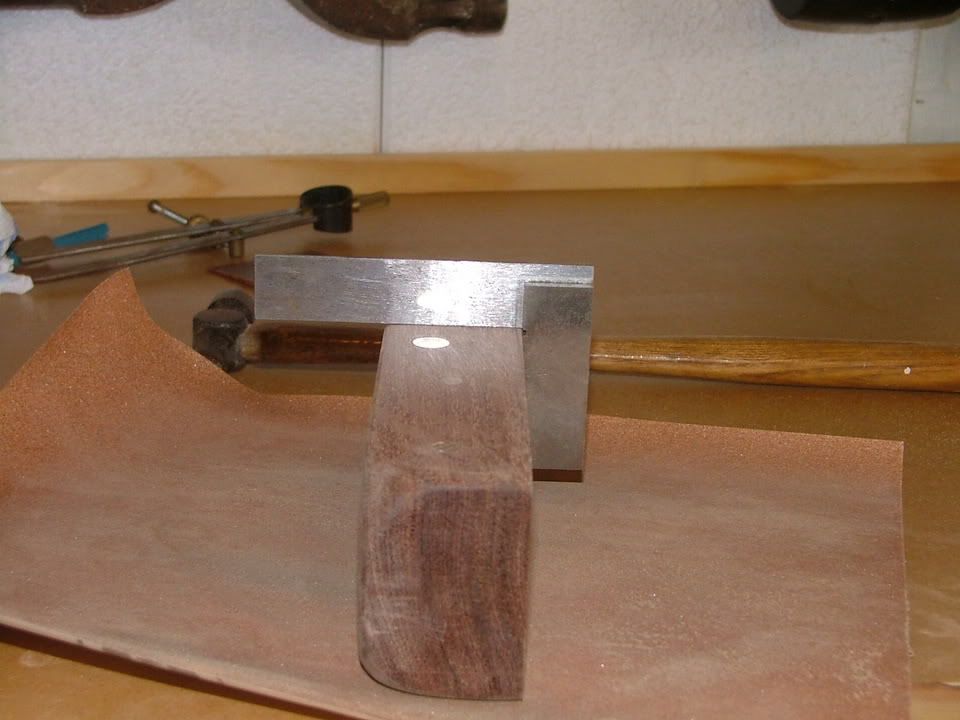
This shot shows me checking for square after filing down the brass wear. I assembled the abutments with a dab of the screw locking stuff, let them set, and then had the most nervous bit of the whole operation, which was filing and sanding the brasswear flush with the side. This is necessary if you wish to do any shooting with the plane (and it’s rather a nice heft and size for that operation, IMHO), and of course, it’s also necessary that the side stays as true as possible to the sole for the same purpose. I used a file to get as close as I dared to the wood surface, and then 180 and 240 grit paper to bring it down flush:
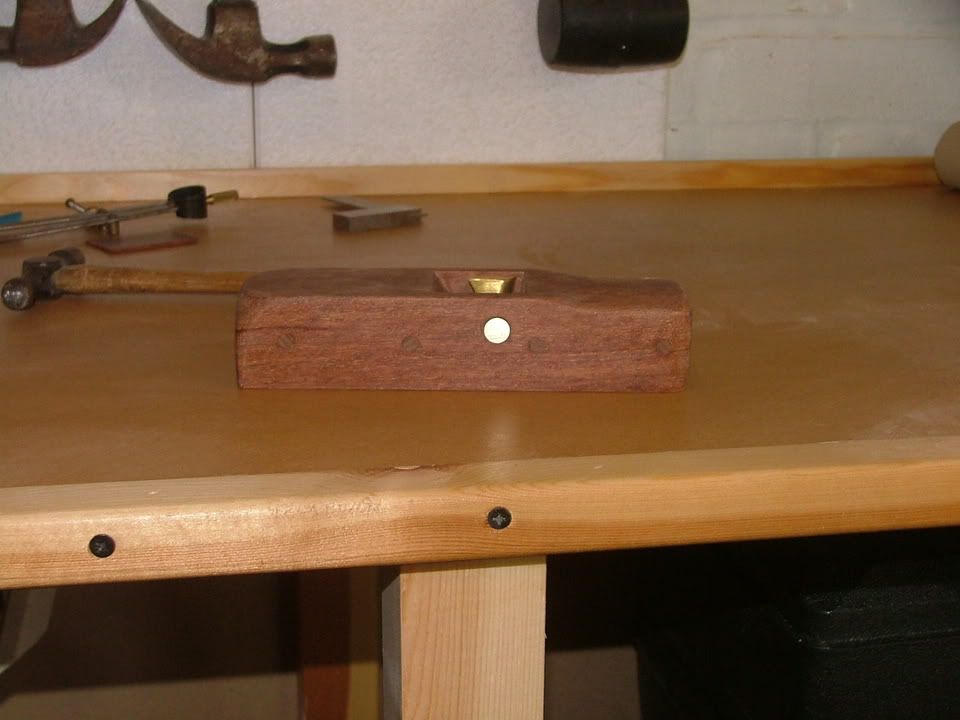
Here’s the entire body, acetoned to remove dust after a complete 240 grit finishing hand sand:
10 minutes later –first shavings from some pine! (Ooops – yup, forgot to mention, this followed about 10 minutes of careful fitting of the wedge and blade. The wedge is test fitted with the blade in place: the beauty of the brass abutments is that they swivel independently, so the wedge fitting does not require immense precision: gentle sanding on either side until it fits is sufficient.)
It also followed flattening the sole. For anyone unfamiliar, this should be done with sandpaper on a flat surface, and the blade and wedge fitted and tensioned, so as to duplicate the bending stress that the body will experience in use (otherwise it will be flattened, and then when you put the blade in and wedge it home, it will no longer be flat). Take care not to put the blade all the way home, or both it and your sandpaper will look pretty sad.
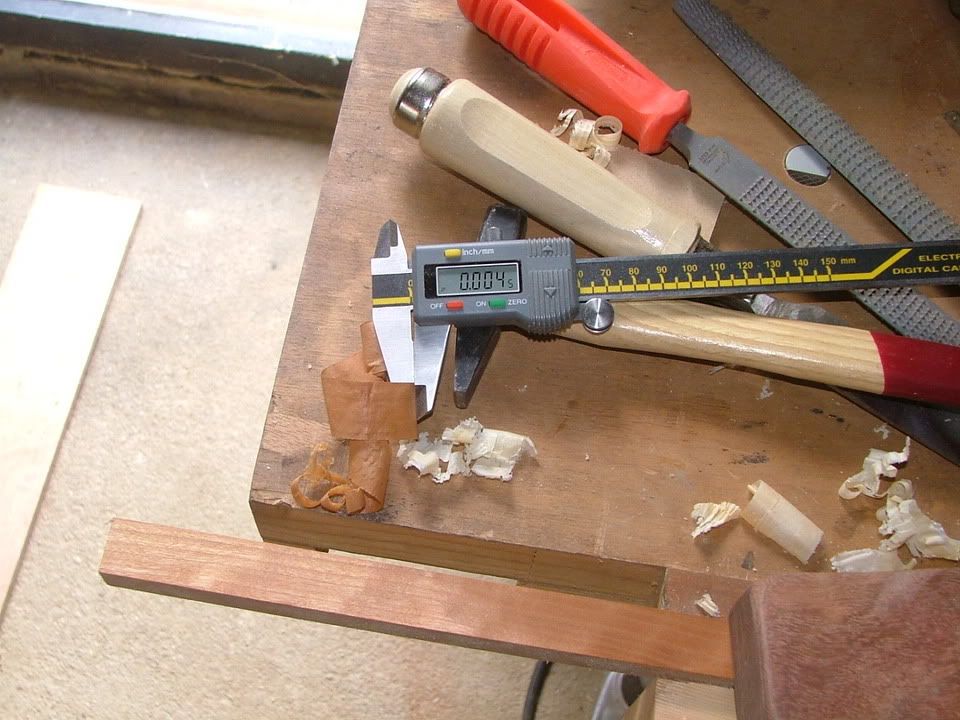
This shot shows a test shaving on some cherry: 4 thou, and a mirror finish on the piece. For a first cut, with a hastily free-hand sharpened blade (‘cos I was in a hurry to play with the new toy…), I’m pretty happy with this.
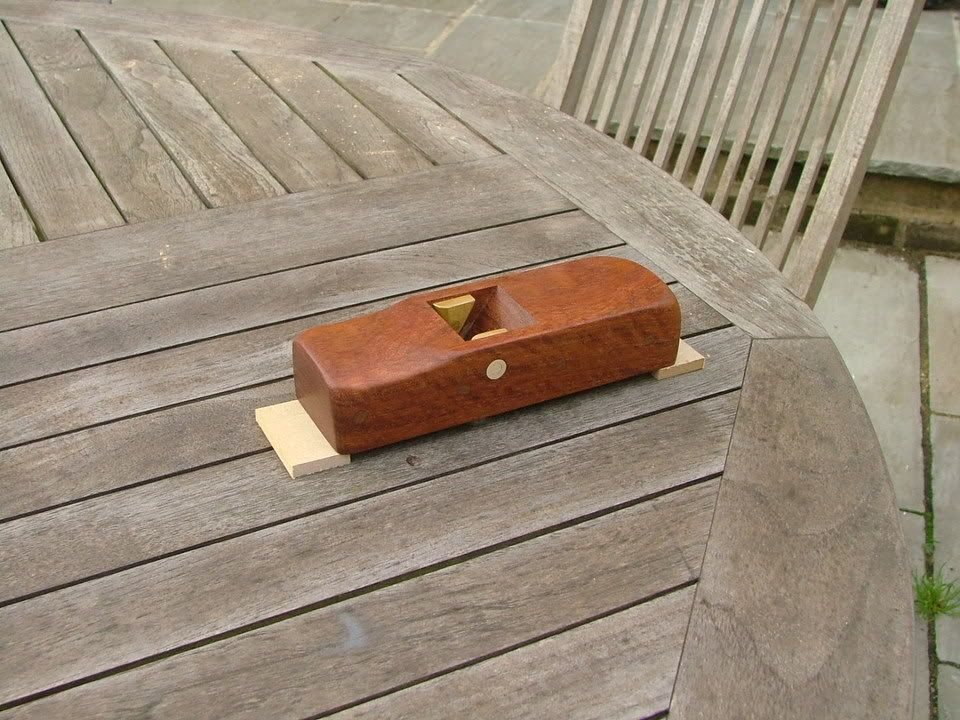
Final shot – here’s the finished body with its first coat of Danish oil, drying outside. I’m going to give it as much as it’ll take, and possibly then some blond shellac on top, just because I like the look of dark woods finished this way.
Thoughts and observations: this is a great intro to plane making for anyone who wants to try it without a huge outlay. If you are interested enough to have read about/ be thinking about trying making a woodie, you’ve probably got the skills for this kit. I used little more than clamps, glue, and assorted rasping/sanding kit. I was impressed with the care that had gone into prepping the components. On the downside, the dowels chipped in a couple of areas, despite the care I took to leave them a bit proud. If doing it again, I’d make sure I aligned them all in a known direction, and be more careful with my sanding/planing them flush. (FWIW, I used superglue and sanding dust to hide these blemishes.) The blades are bedded steeply in these planes: for the first time in my experience, I've noticed that each shaving is noticably hot when it curls onto my arm - it gives a great finish, but requires quite a positive push on the wood. Some might not like this, but it suits my size and weight. Thx for looking, hope people found it interesting.
Well, I finally got round to putting it together over the past couple of days – so here’s a brief review of the kit and the results.
Here’s a picture of the kit. This one’s in ironwood – and it’s certainly a pretty heavy wood. It’s pretty simple: 2 cheek pieces, with the front and back of the body to go between them, a blade, a wedge, and 2 brass ‘abutments’ and screws to fix them. In addition, there’s a small handle to be fixed on the back, and what looks like a piece of ramin dowelling, that I very nearly threw away… This would have been a mistake!!

The instructions also mentioned the ‘green screw locking compound’ that should have been included but wasn’t. I used a proprietary thread locking gunk from Axminster, and would not hold this omission against HNT Gordon, as I have the feeling that this kit had been opened/used as a demo at the shop, so that’s fair enough.
The instructions, as the parts list suggests, are pretty straightforward. The dowel is cut into eight equal length parts, and used to register all the bits together. Here’s a picture of my first test fitting. The pieces all went together easily, and registration was pretty good. At this point I noticed that the bits had all been cut from the same blank, so the grain matches nicely. The advice is to not insert the dowels all the way in when glueing up, but to leave proud as shown, so that the finished plane has as good a surface as possible.

This next picture shows the glue up commencing: I cut the bits of ¼” MDF so as to leave the dowels proud on that bottom cheek, laid the cheek on them, and glued up using titebond yellow. This is a fairly oily looking wood, so I wiped down with acetone first.

With the second cheek on, the MDF comes into play as packing for the clamps. The instructions recommend using 2, which seemed a bit light to me. As shown, I ended up with 5 on the plane, to ensure a good lock right along the body. At this point, after about half an hour’s work, I left it to set overnight.

This is what it looked like the next day: now it was time to clean up glue lines and the dowels, and begin shaping.

This picture shows the quality of the glue line, reflecting the accuracy of cut of the supplied pieces: I’ve just sliced off the front 1/8 inch or so to start shaping, and it was as difficult to spot the glue line in reality as it is in the picture. Note also the matching grain, as mentioned above.

This is about an hour later: the dowels were cut and then planed flush, and rough shaping started with rasps, files, belt sander and cork sanding blocks. I worked up from rasp to 240 grit wherever I was altering the shape.

Another view at the same stage: As you can see, I stayed pretty conservative with my shaping – I figure that I can always take more off, but the reverse will be harder… All I really wanted was a shape that was easy in my hands: I don’t particularly like the look of the rear knob, and intend to leave it off unless it proves vitally necessary in use.

This next shot shows all the bits mocked up – see what I mean about the knob? Bit of an ‘afterthought’, aesthetically. If you do one of these, resist the almost overpowering urge to do this mock up stage: the brass abutments, once screwed in, are almost impossible to get out (Doh!!) There’s nothing to grab hold of and turn…

This shot shows me checking for square after filing down the brass wear. I assembled the abutments with a dab of the screw locking stuff, let them set, and then had the most nervous bit of the whole operation, which was filing and sanding the brasswear flush with the side. This is necessary if you wish to do any shooting with the plane (and it’s rather a nice heft and size for that operation, IMHO), and of course, it’s also necessary that the side stays as true as possible to the sole for the same purpose. I used a file to get as close as I dared to the wood surface, and then 180 and 240 grit paper to bring it down flush:

Here’s the entire body, acetoned to remove dust after a complete 240 grit finishing hand sand:

10 minutes later –first shavings from some pine! (Ooops – yup, forgot to mention, this followed about 10 minutes of careful fitting of the wedge and blade. The wedge is test fitted with the blade in place: the beauty of the brass abutments is that they swivel independently, so the wedge fitting does not require immense precision: gentle sanding on either side until it fits is sufficient.)
It also followed flattening the sole. For anyone unfamiliar, this should be done with sandpaper on a flat surface, and the blade and wedge fitted and tensioned, so as to duplicate the bending stress that the body will experience in use (otherwise it will be flattened, and then when you put the blade in and wedge it home, it will no longer be flat). Take care not to put the blade all the way home, or both it and your sandpaper will look pretty sad.
This shot shows a test shaving on some cherry: 4 thou, and a mirror finish on the piece. For a first cut, with a hastily free-hand sharpened blade (‘cos I was in a hurry to play with the new toy…), I’m pretty happy with this.

Final shot – here’s the finished body with its first coat of Danish oil, drying outside. I’m going to give it as much as it’ll take, and possibly then some blond shellac on top, just because I like the look of dark woods finished this way.

Thoughts and observations: this is a great intro to plane making for anyone who wants to try it without a huge outlay. If you are interested enough to have read about/ be thinking about trying making a woodie, you’ve probably got the skills for this kit. I used little more than clamps, glue, and assorted rasping/sanding kit. I was impressed with the care that had gone into prepping the components. On the downside, the dowels chipped in a couple of areas, despite the care I took to leave them a bit proud. If doing it again, I’d make sure I aligned them all in a known direction, and be more careful with my sanding/planing them flush. (FWIW, I used superglue and sanding dust to hide these blemishes.) The blades are bedded steeply in these planes: for the first time in my experience, I've noticed that each shaving is noticably hot when it curls onto my arm - it gives a great finish, but requires quite a positive push on the wood. Some might not like this, but it suits my size and weight. Thx for looking, hope people found it interesting.


