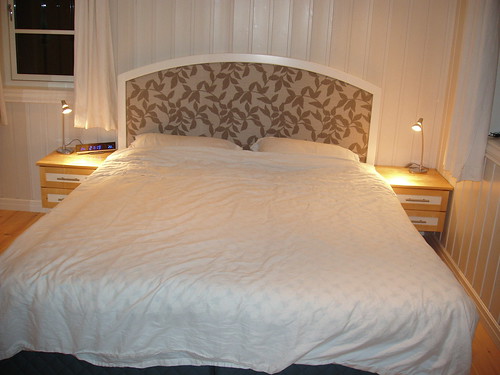
Headboard - bedside tables finally finished !

UKworkshop.co.uk

Help Support UKworkshop.co.uk:

This site may earn a commission from merchant affiliate links, including eBay, Amazon, and others.

Krysstel

Established Member
Joined
28 Oct 2008
Messages
633
Reaction score
2
Location
Norway
Following on from the rubik's cube workbench https://www.ukworkshop.co.uk/forums/viewtopic.php?t=31130.

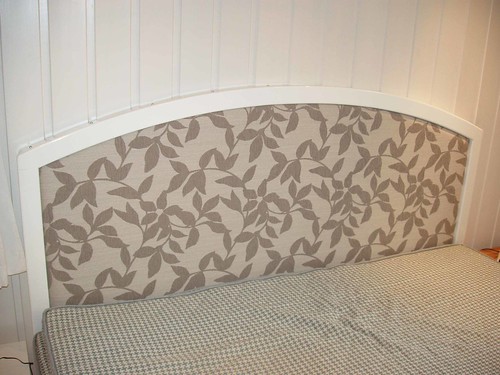
The brief was; covered in same material as 2 existing chairs, white painted surround (I wanted to do it in berch and danish oil but was out voted !) with curved top, no visible screws.

This is what I came up with :-
3439501056_b036d42b28.jpg

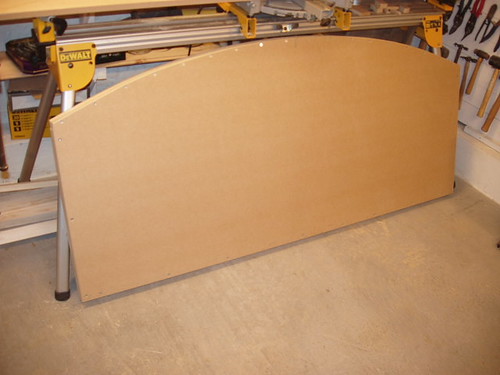
I printed out a full size paper template of the curved top and used it to mark the outline on 19mm MDF. The rough curve was then cut out with a jig saw and a framework of 36x48 softwood screwed and glued around the perimeter. Around the curved top I used 23x48 weakened with cross cuts every 10cm. Using a hand held router the edge was trimmed down and rounded over. Here's the finished head board :-
3439469300_69ac18e82d.jpg

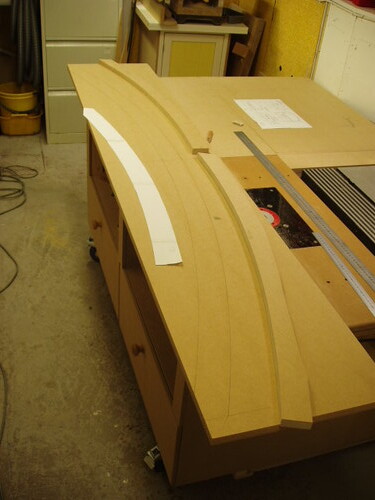
Using the rough offcut from the headboard I made two MDF templates from the paper template; one of the outside curve and one of the inside curve. These were finished using a bobbin sanding drum in my pillar drill.
Next I marked out what would be the top part of the surround, also in 19mm MDF:-
3439466774_61d321d084.jpg

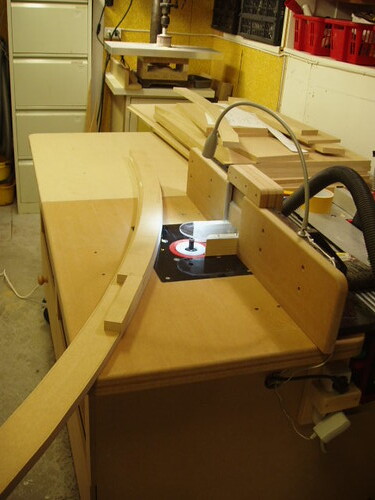
After rough cutting out with a jig saw the MDF templates were used to trim the curves in the router table :-
3439468714_feb4fe568e.jpg

The surround will have a curved top in 12mm MDF glued into a 6mm deep trench. I made the top in 2 pieces joined in the middle with a biscuit, and used the curve templates to cut the trench using a hand held router and a template-trim cutter. I had to weaken the top pieces with cross cuts to bend them to the curve. Here's the finished top part of the surround with the curved tops ready for glue....
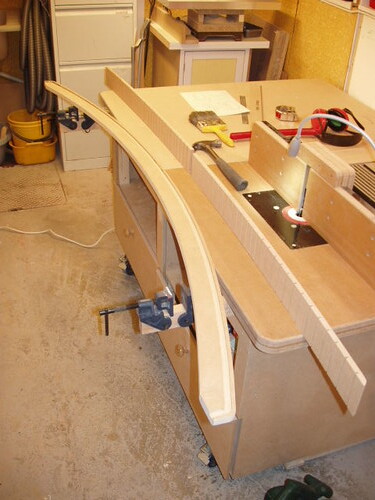
3438655865_22bdb6f1de.jpg

...... and lots of clamps (bobbin sander in pillar drill in the background)
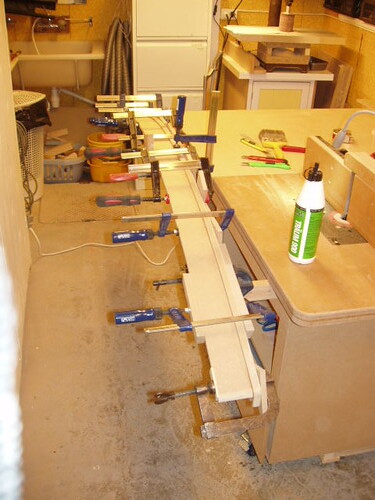
3439467714_8cb52fe8da.jpg


Next up is the sides of the surround - same construction method as the curved top, but hopefully a lot easier to make..................
 
I'm a bit confused on the construction so far, but please do keep the pictures and write-up coming, as I'm sure I'll learn probably learn something. :wink:
 
By the total lack of feedback I think everyone was confused !
Thankyou for showing interest. :)

Only a simple project but one I need to get out of the way to keep things sweet indoors ! I also thought maybe other hobbyist would be interested in something "DIY"

The idea is a padded headboard, covered in the same grey material as two chairs in the same room, with a floating surround painted eggshell white. I originally wanted to make the surround in birch but in hindsight I'm glad I didn't - the construction would have been a nightmare !
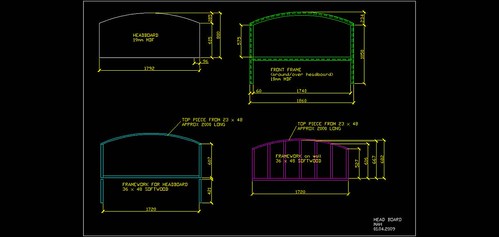
The headboard in the first picture (white colour in the drawing) has a framework of 2"x2" (blue colour in the drawing) on the back and will be covered in 2cm foam rubber with the material rapped around the tops/sides/bottom and stapled to the back of the 2x2 framework - nothing revolutionary.
On the wall in the bedroom I'll screw another 2x2 framework approx 450mm up from the floor (purple colour in the drawing) which the headboard will sit over and be screwed to from the top/sides/bottom with 8cm countersunk screws.
The surround (green colour in the drawing) I'm making in 4 pieces - the top curved portion, 2 sides and a cross piece under the headboard. Each part of the surround has a front in 19mm MDF and a side in 12mm MDF - trenched and glued together. When assembled this construction forms an elongated "A" form which fits over the headboard to cover all the mounting screws and the 2x2 framework. I'll attach the surround to the headboard with some round head brass screws through the sides.

The real challenge so far has been the curved surround. You can see in the last 2 pictures what I had to do to form the top. The other real headache is assembling the 4 parts as a stable construction which will stand moving from the workshop to the bedromm without the joints cracking. I've come up with a method I hope will work and I'll post some more detailed closeups over the weekend - since at least one person is curious !

Don't know if this is any clearer but it's the best I can do with words !

When the headboard is finished I planning 2 wall mounted bedside tables. They'll be eggshell painted MDF construction with birch tops and 2 drawers with birch fronts and sides. Maybe slightly more interesting. WIP will probably follow.

Edit - refrences to drawing added in the text.
 
Oh I see now :D I just couldn't visualise how it was going to look, but now you've said it'll be upholstered, all makes sense :wink:
 
By popular demand, here's the next phase.
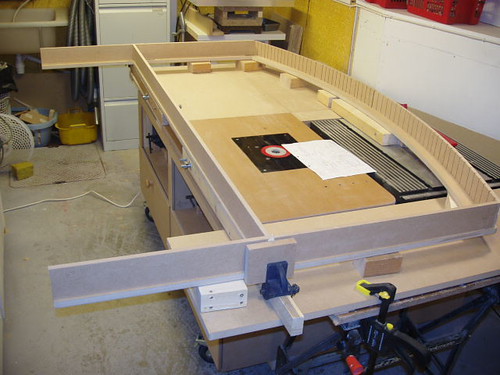
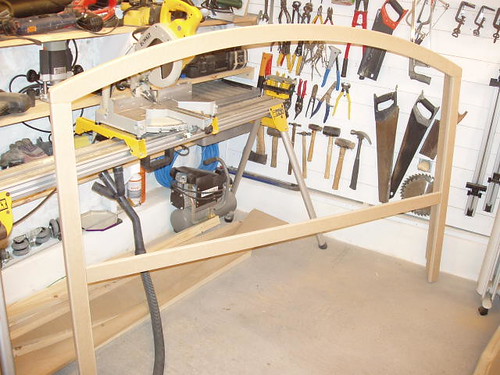
Managed to complete all the parts for the surround yesterday. Here's the whole thing trial fitted together on the bench.
3456487855_8fe5505352.jpg

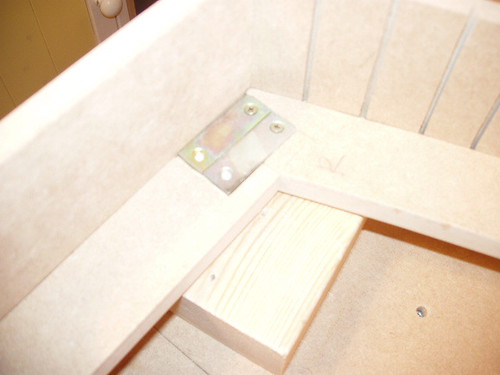
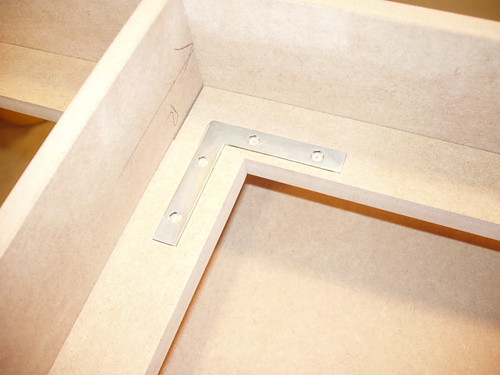
Closeups of how I jointed the top corners and the middle section to the sides. Although not clear in the pictures; the metal plates are recessed in. There's also a small biscuit joining each part.
3457303560_62238d828f.jpg

3456485649_ba7b55c363.jpg

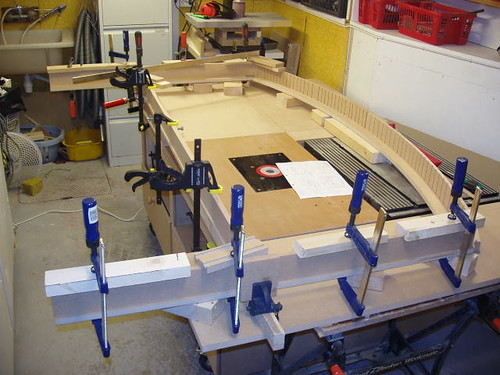
And the whole assembly glued and clamped overnight.
3457304732_1c16991464.jpg


Sunday morning and the framework ready for trial mounting on the bedroom wall. Very happy with how solid it turned out; I was afraid all the joints would crack as soon as I moved it.
3456487207_bbbc45e8c9.jpg

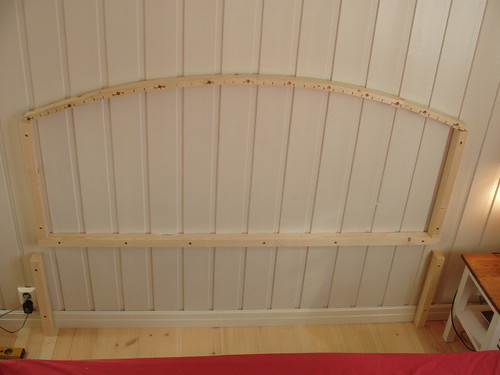
First job was to construct the mounting frame on the bedroom wall
3456486409_535ebdbda4.jpg

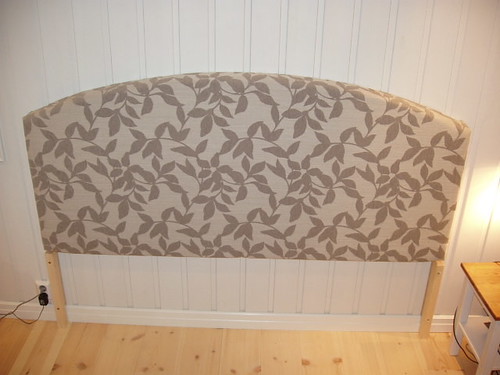
Followed by the headboard itself after covering with 2cm foam rubber and the grey material.
3457304038_f4b2fe5008.jpg

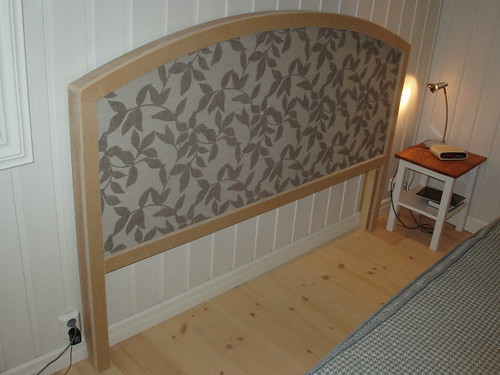
Finally a trial fit of the framework.
Looks great IMO !!
3456487659_4ffea597cc.jpg


All that's left now is a smear of filler over the joints and white eggshell paint.
 
Finished.
2 coats of Liberon sanding sealer.
2 coats water based primer.
2 coats medium gloss eggshell white oil based.
And 2 hairline cracks at the joins between the top and the sides :evil:
3477555948_26fbe5a460.jpg


Will be moving straight on to the bedside tables. Can't promise any hand cut dovetails, but there will be some real wood - and some MDF !
Anyone interested in a WIP, or shall I not bother ?
 
Looking great, I bet your pleased with your efforts! :wink:

And yes, it'll be good to see the bedside tables being made. Doesn't have to be handcut dovetails! (Look what I've started now :roll: :lol: ). Put in 110% effort and you'll be 100% happy with the finished project.
 
Thanks for the kind response. :)
OK, will do a WIP for the bedside tables but first I need to finish a new jig I need to make them ........
 
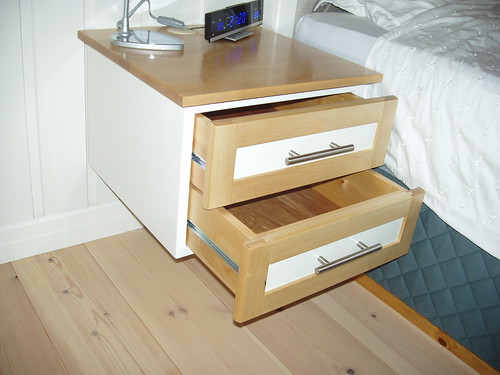
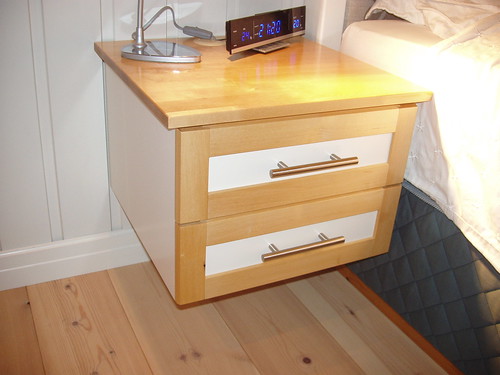
After 4 months of major work on the house and holidays etc I finally got these bedside tables finished :oops:
Nothing very complicated but I think they turned out nice.
Carcasses in 19mm MDF finished with sanding sealed edges, 3 coats of water-based primer and 2 coats of off-whte oil-based top coat.
Drawer fronts in birch finished with danish oil + MDF :shock: painted same grey colour as the room walls although it looks white in the pictures.
Drawers in 16mm birch shelving material picked up cheap at Bauhaus (our version of B&Q) + 6mm ply. Finished with tung oil.
Tops in 22mm birch finished with 3 coats of danish oil + black bison wax.
I don't as yet have a p/t so all the materials were bought ready dimensioned.

3855507958_19da0b11bc.jpg

3855507826_8be76fb170.jpg

3854717485_f487c489b5.jpg
 
Really lovely bit of work. You've obviously got the hang of painting MDF down to a fine art.

What type of fixings did you use to give them that hover affect?
 
The hover affect was part of the brief. They had to be as easy as possible to vacuum clean under, ie; no legs and no trailing electrical cables :D
Initially I'd intended to just screw them to the wall but they ended up so heavy that I would have had problems getting them level before sinking the screws. The obvious was a french cleat but the carcasses were already glued together. Solved it with an overlapping cleat screwed to the wall that the carcass just hangs from. There's no complete back on the carcasses, only a 10cm wide battern at the top so this solution worked fine. To make sure they stayed on the wall I sunk two screws through the original mounting holes afterwards and mounted the drawers in-situ.
The cables penerate the tops through one of these cable outlets
 
If I understand rightly that sounds very clever.

Whats the possibility of falling out of bed landing on it and taking the wall down? :lol:
 
Well the walls are wooden (wooden house !) so I think it's more likely the MDF cleats would give first :D
 

Latest posts

Back
Top