Guitar Build (needs reparing already LOL)

UKworkshop.co.uk

Help Support UKworkshop.co.uk:

This site may earn a commission from merchant affiliate links, including eBay, Amazon, and others.

LuptonM

Established Member
Joined
2 Sep 2010
Messages
460
Reaction score
0
Location
Callington
This is what I had done b4
P1060013.jpg


I'll post more images tomorrow maybe

I hope to repair my rookie mistake tomorrow (described below), if I can withstand the cold (my workshop is the outside, literally!!!!- I just have a tool storage area)

I went to Bob's (9fingers) workshop today and he got my neck wood cut on his pretty neat table saw. The orientation of the bits of wood is important when gluing as u want alternating top and bottom faces glued together (top and bottom faces being the faces of the wood b4 it was cut). I didn't really think about how I would distinguish the faces when I took the wood away but it was pretty easy as only one vertical face had been planed for reference of the table saw

Getting the axminster plate to work was a bit of a bummer but we (well Bob) managed to get it to work. The first problem was that the trend bush had its holes too deeply countersunk (the trend bush couldn't be tightly held in place) so Bob removed some metal off the holes in the axminster base so that the screws didn't bottom out. Since the screws went deeper into the base , the bosch bayonet guide bush mechanism had to be removed. Bob also made a replica of his own aligning mechanism (its basically a cone on a stick) on the the metal work lathe. Axminster should provide a Bob with every base

Bob actually has pretty much the same router as me. Weirdly the both of the bosch bushes (the one I bought that doesn't fit and the one originally was supplied with the router) fitted his router- possibly a manufacturing fault in my router!!!!

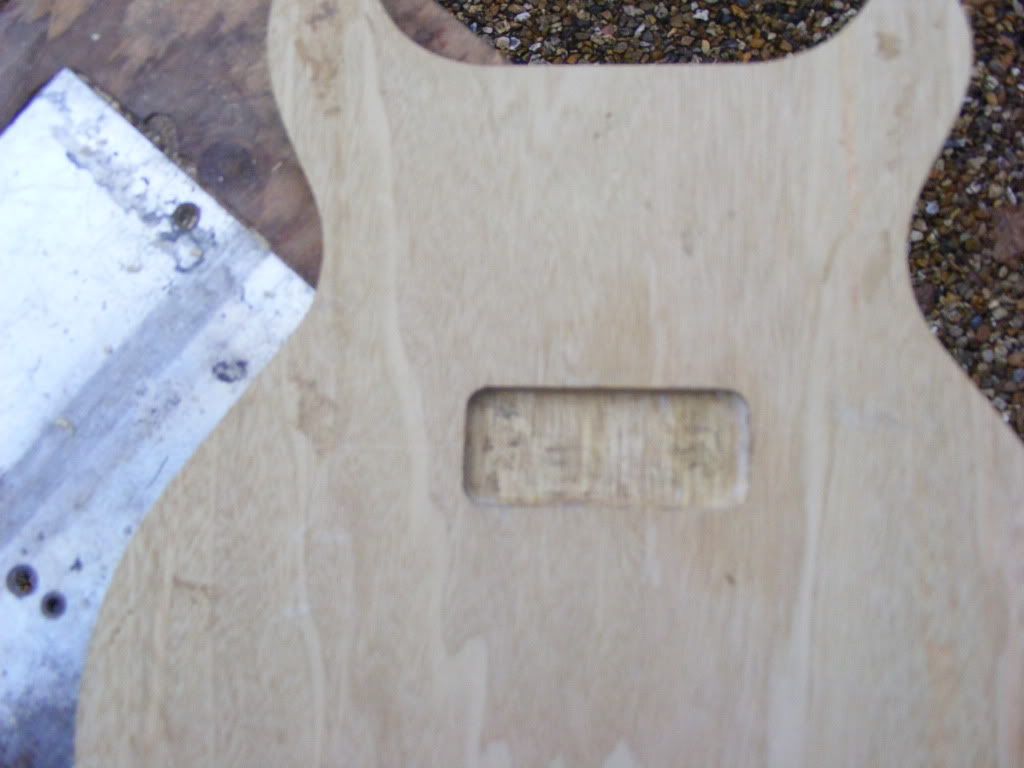
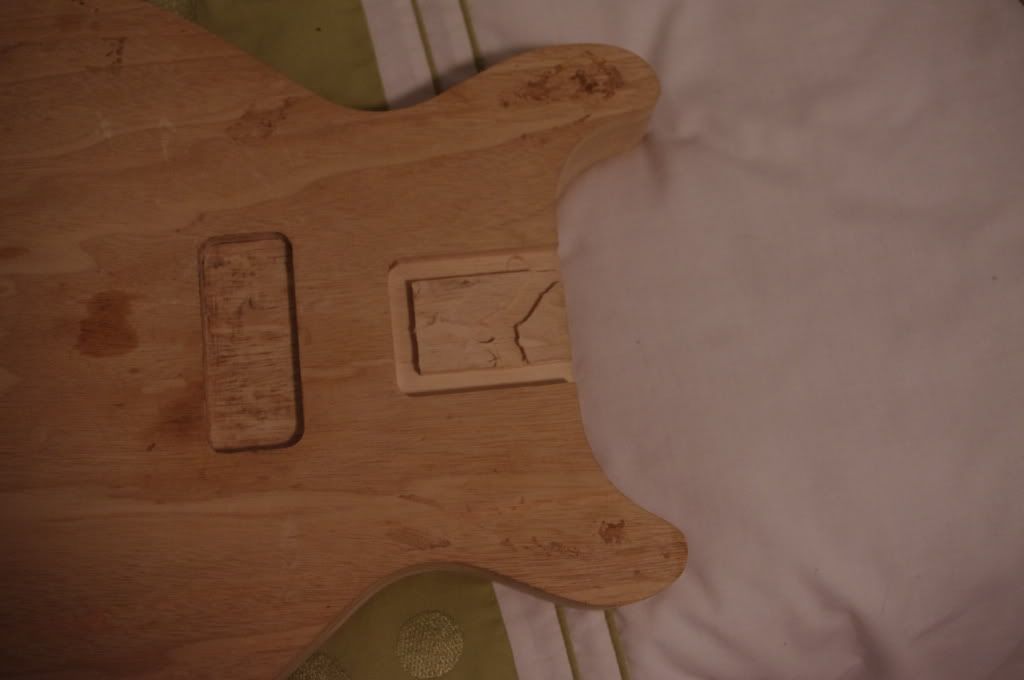
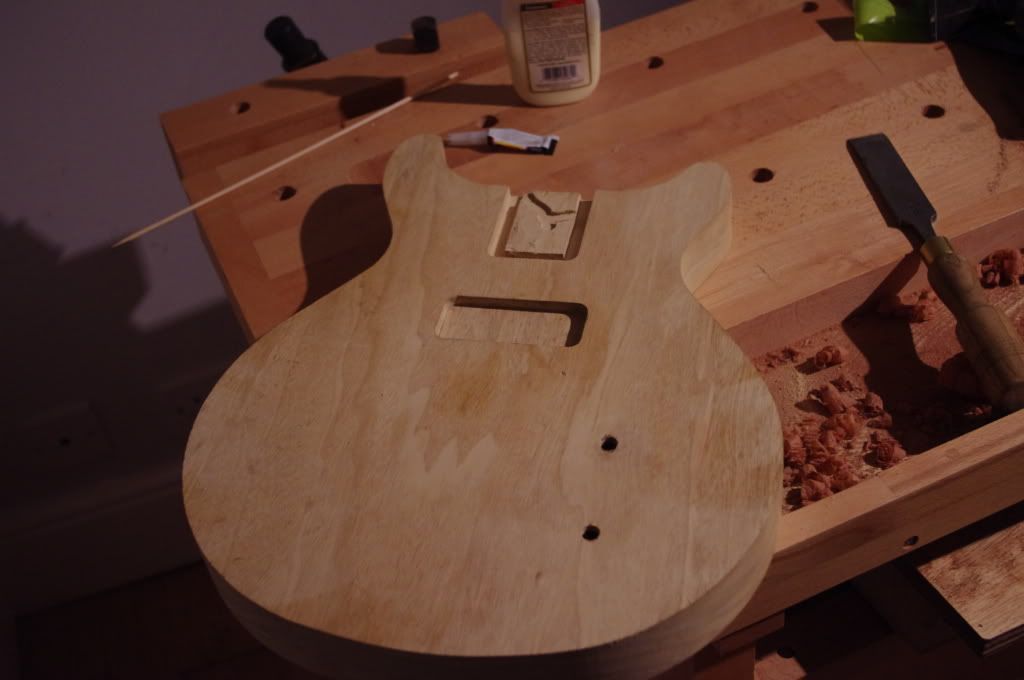
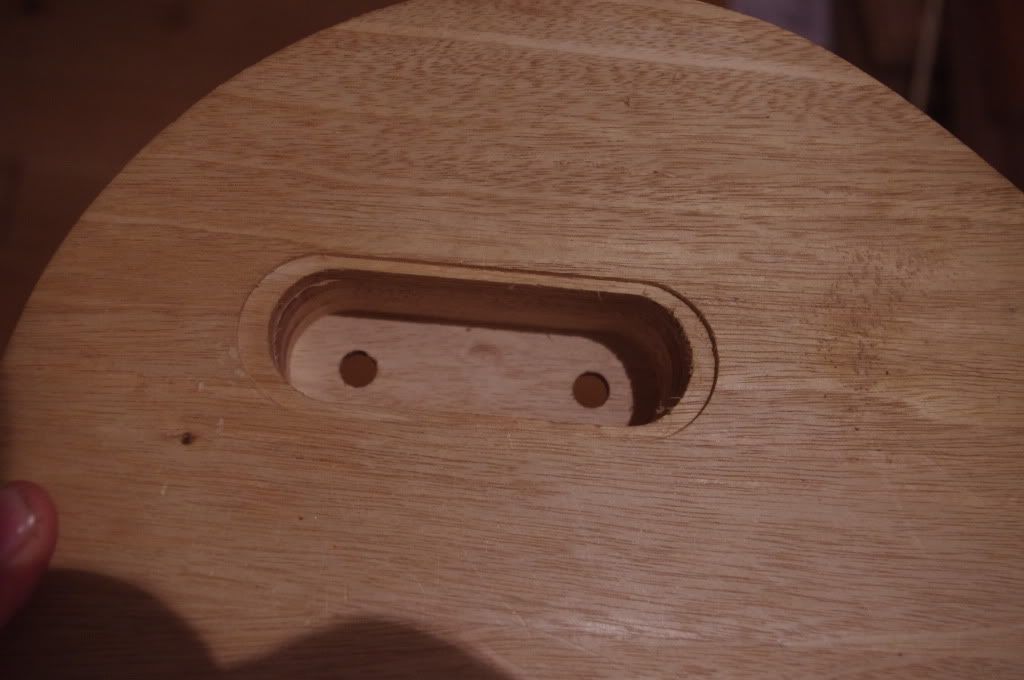
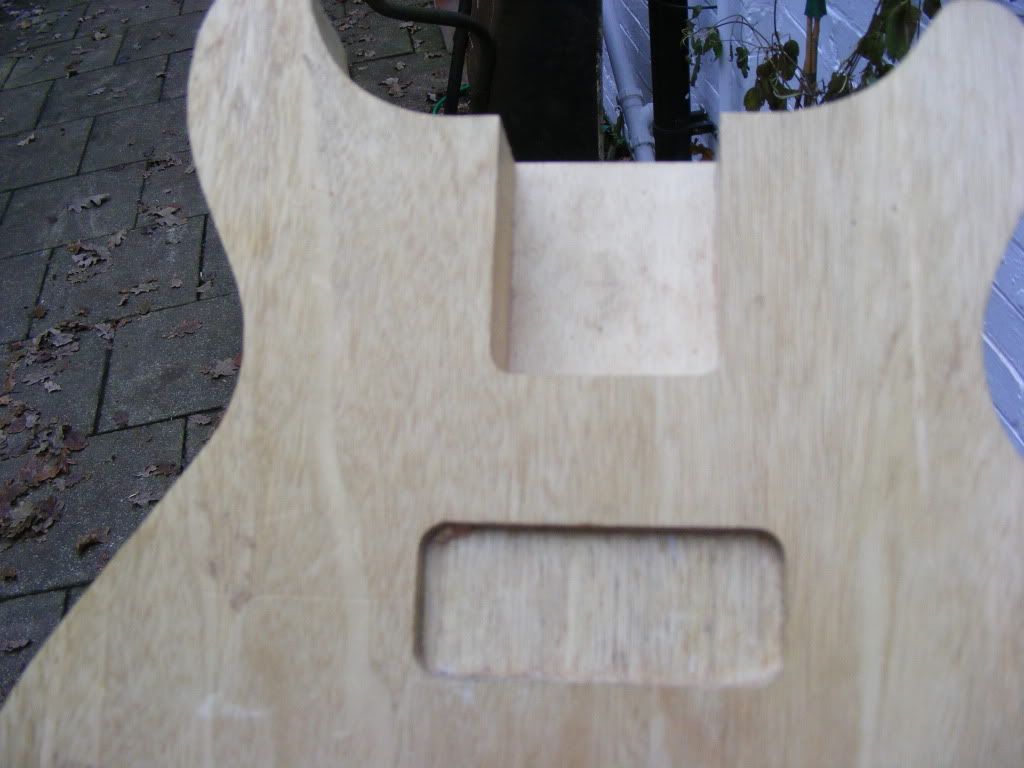
Oh so here comes my rookie mistake. I had written the depths of the p90 pickup cavity on my template but had got the inner and outer depths confused the wrong way round!!! So basically I've routed the outer pick-up part too deep. Its basically a rectangle with rounded corners. What I propose to fix this is to route the bottom clean with fostner boring marks, and then cut and sand a rectangular piece to fit- I know the radius of the corners since I designed the template in CAD. This repair won't matter too much as I am to paint it with nitrocellulose which will cover up any grain mis-alignment
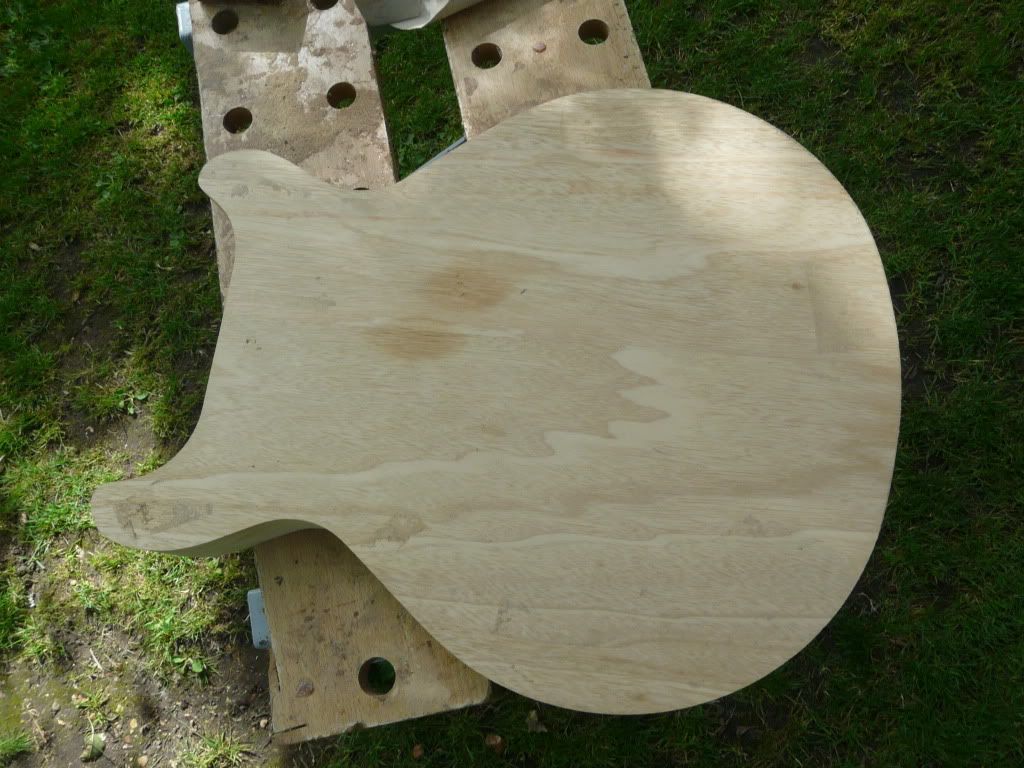
 
I've repaired the p90 pickup slot -not exactly the best repair in history (srry for the image quality- my brothers not home so I can't knick his camera)

U will only be able to see the repair in the pickup cavity. the repair piece has a pretty tight fit, but its a little tricky to get the corners right. The glues still drying in the pic below- u can see a little squeeze out.
DSCF8701.jpg


The only other thing that has been routed it the electronics cavity plate recess
DSCF8702.jpg
 
I haven't really done anymore to it yet as I've been building a shooting board while I wait for a slightly longer 3/8" router bit

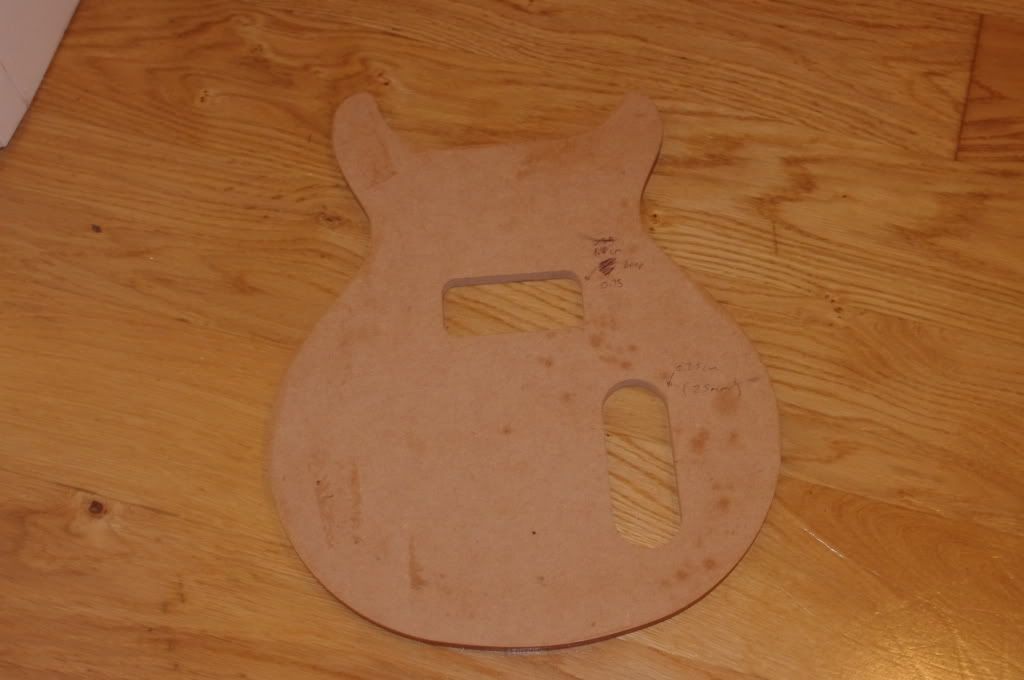
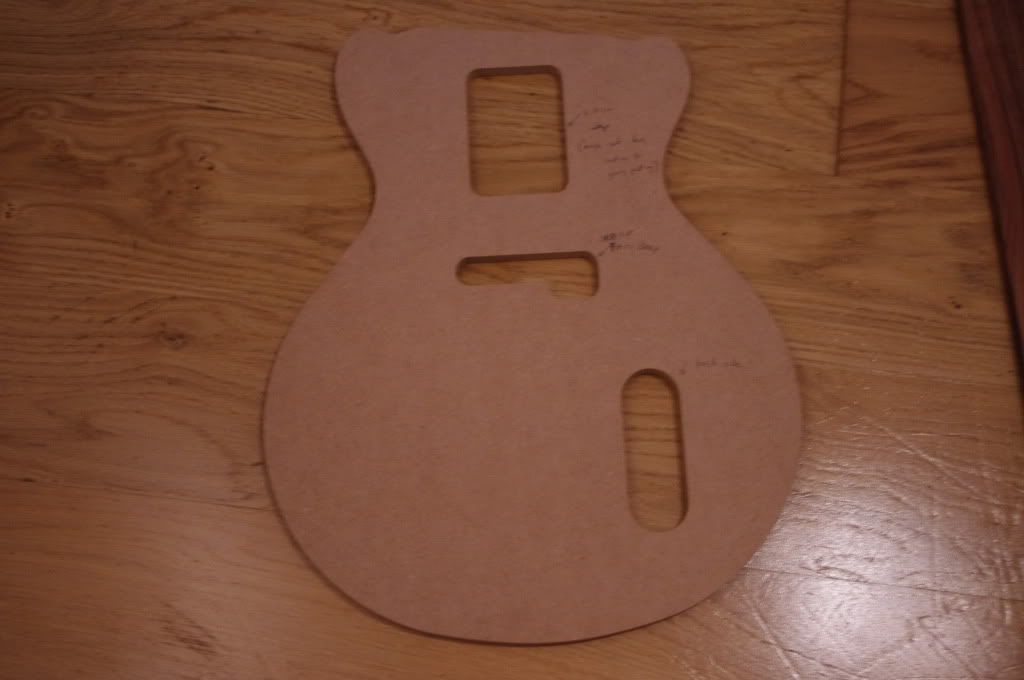
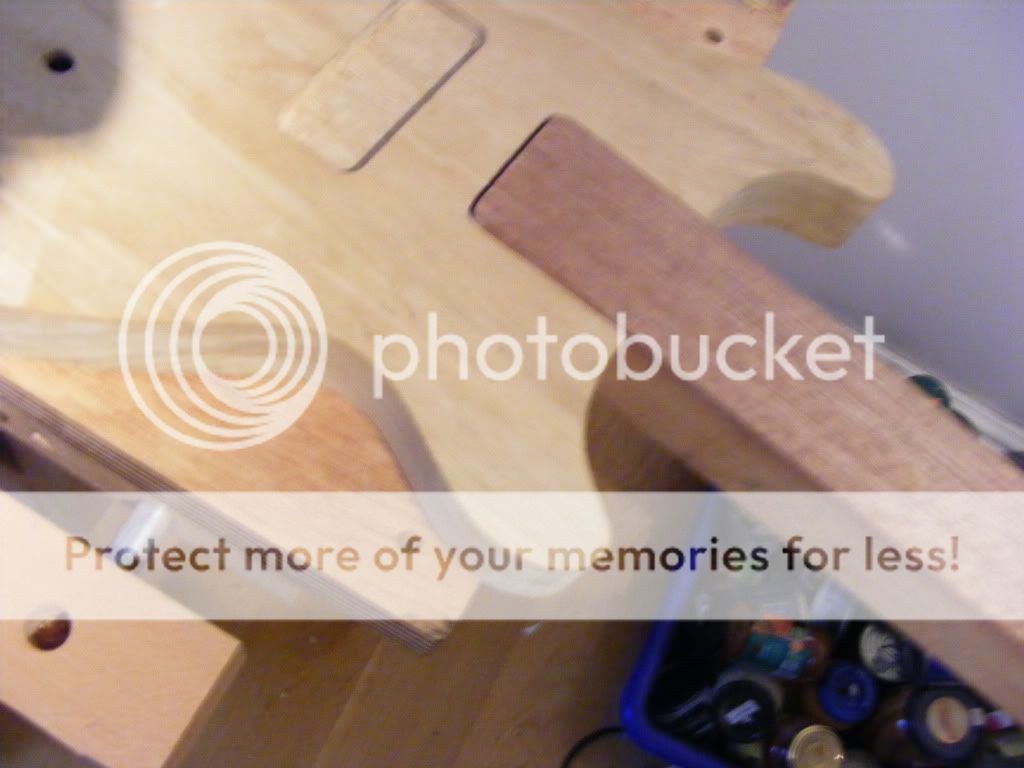
Here are some pics of my templates I am using for the body (u can see where I've been using carpet tape to hold them onto the body)

IMGP2348.jpg

IMGP2346.jpg


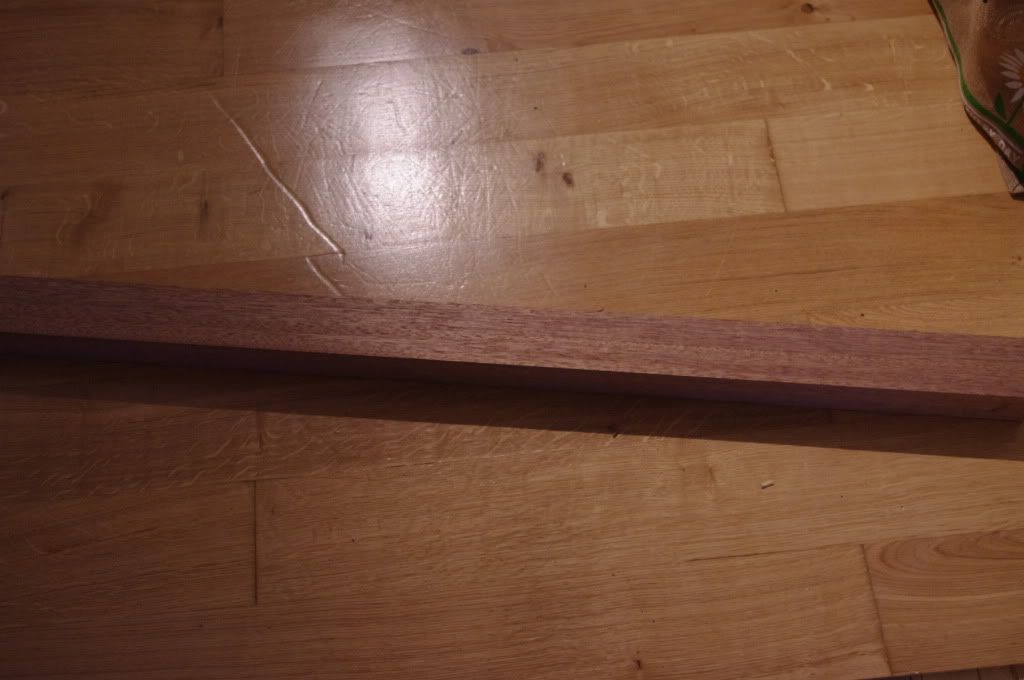
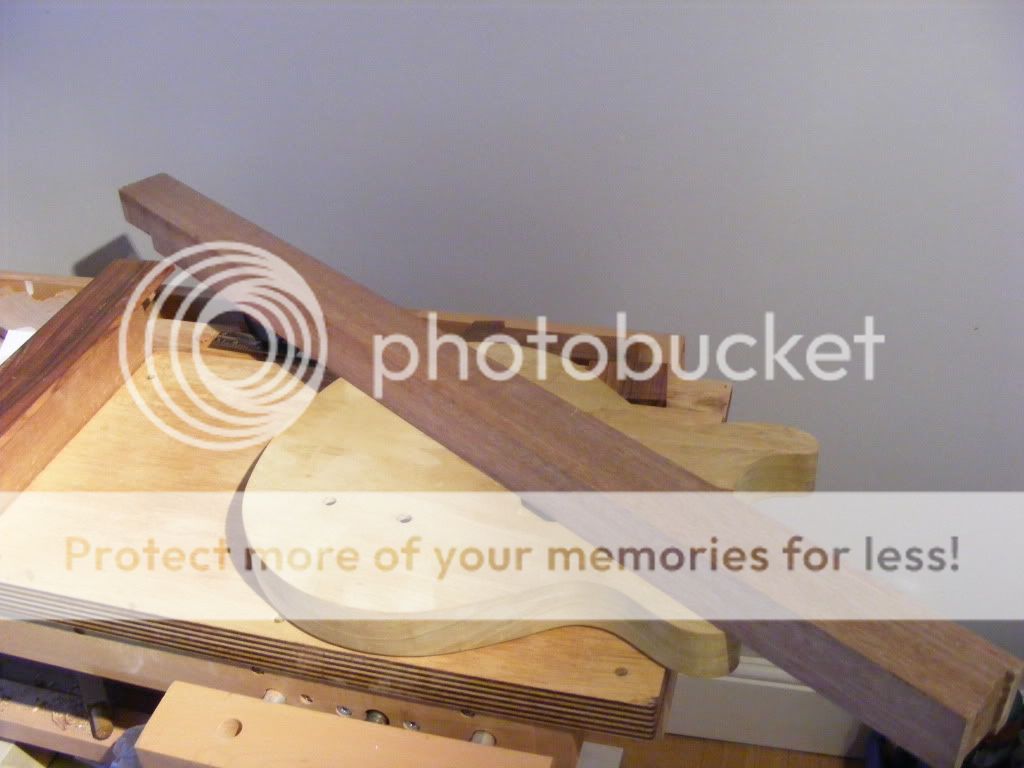
The neck blank- glued up nicely
IMGP2351.jpg


close up of the glue lines in the laminated blank- u can kind of see where some glue got smudged in the grain (white bits)

IMGP2352.jpg


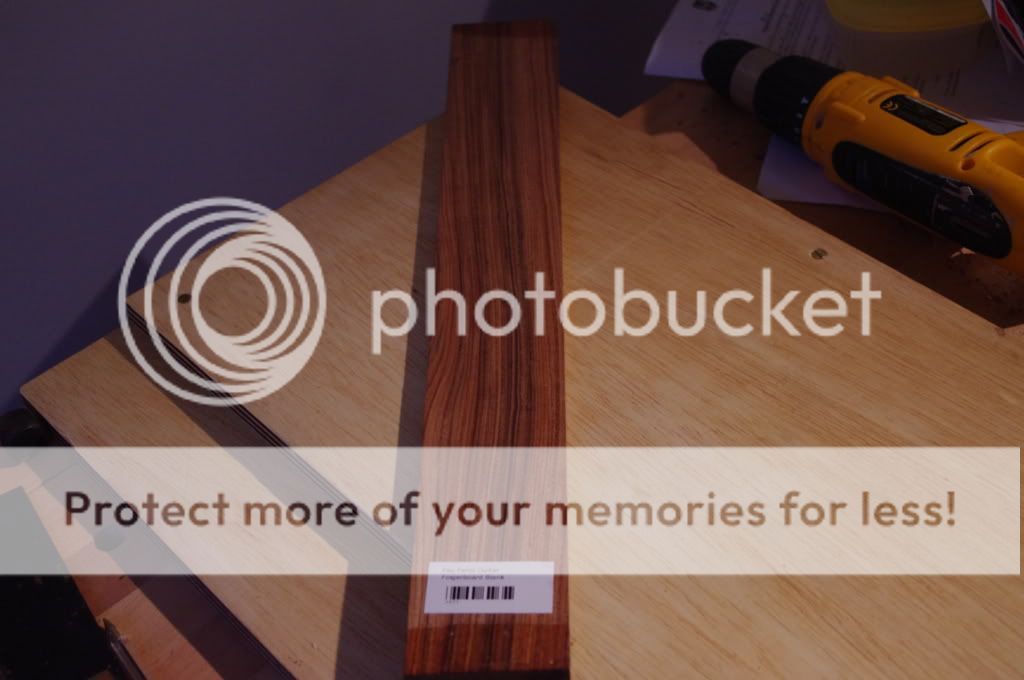
Fretboard wood I will be using (Pau Ferro)

IMGP2350.jpg
 
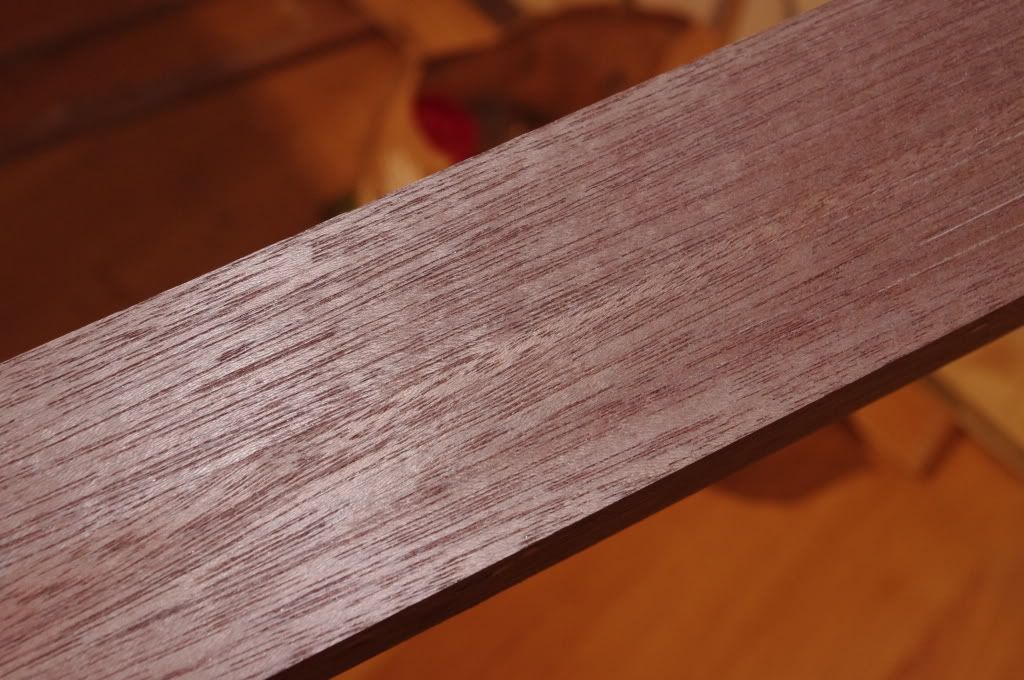
First barrier to overcome- TEAROUT!!!!!!

My fingerboard tears out like nothing I've experienced before. The back side came pretty rough sawn so I was trying to smooth in ready for cutting the fret slots.Good job (I think) that I have a LA plane. I'll just change the cutting angle and see what happens
 
So I've done a little more routing. Still need that longer bit for the middle part of the pup route. Once that is routed, I'll radius the corners and finish routing the neck pocket and then I'll drill the jack socket (25mm). The body will be finished then

WRT to routing the body, I use my router with the guide bush to remove enough material such that I can switch to a bearing router bit. I haven't finished routing the neck pocket since I don't won't it interfering with the bearing on the round-over bit later

Personally I like to fit the neck tenon to the pocket

IMGP2364.jpg


IMGP2363.jpg


I know it looks a bit messy with rementants of carpet tape on the body and glue in the repaired pickup route but I'll clean it up before finishing (if I ever get there)
 
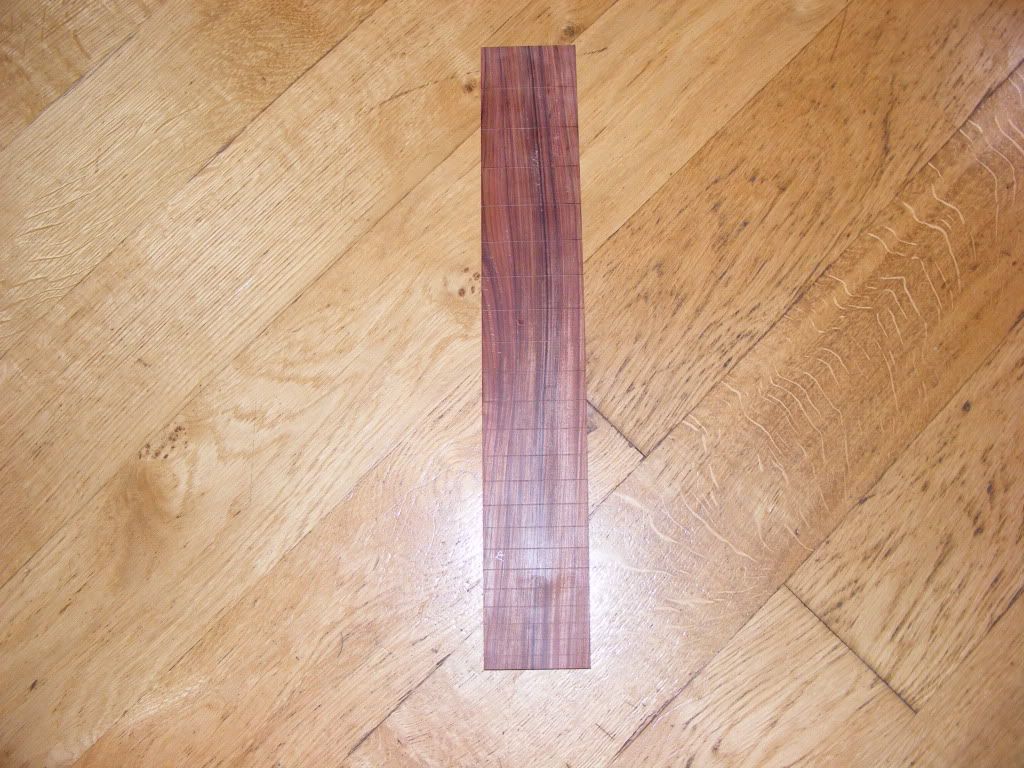
Fret slots cut. I cleaned the ends up with a couple of gentle passes with the plane, taking off very little material- really just to square it up

The fret slots are not cut to there final depth. This is better done later after radius, inorder to minimise to over cutting the depth of the slots.

DSCF8706.jpg


I'll now square the board up, using the shooting board. This will aid marking the taper of the fretboard. Only one side really needs to be square up.
 
LuptonM - I cannot see all your stuff as you are posting your pictures too large?

Scale them down suitable for Forums.

Rod
 
Would that be the pictures in the second post? I am hosting them from image shack since I couldn't access photobucket at the time. I'll try and transfer them to photobucket as the ones in photobucket seem to self size#

EDIT: I've transferred them to photobucket and all the pictures should fit the width of the page now (at least they do in firefox). I am a pretty lowlsy photographer. I preferentially nick my brothers camera when he's not looking (the better looking photos) and I only nick my sisters camera if I have to (not very good indoors and pictures seem washed out in comparison)


The way I am planing out on marking out the fretboard is as followed

-use a wheel marking gauge (hinted to parents for christmas) to mark a centre down the length (using the square side of the fretboard)
-use a flat leg divider (hinted at parents as well) to mark two points either side of the line at both ends of the fretboard to ensure symmetry about the centre line. Check proposed fretboard widths with callipers, Join dots at each end with a pencil or a marking knife.
-Cut most of waste with coping saw
-Plane to lines
-Measure with digital callipers on the way and adjust necessarily

Hopefully the new router bit I've ordered will come before christmas otherwise I can't really do much else. Perhaps I can figure out how to use the record no44 I got off ebay since I propose to use that as my method of creating the truss rod slot
 
I use Imageshack - when you upload your pics choose the 640x480 (for message boards) under the upload options.

I take photos in RAW and they are enormous, so using Adobe Photoshop I also resize the image smaller to something like 7" x 5" and then "Save for Web".

Rod
 
Yes thanks - much better and quicker to download when you live out in the sticks with a slow broadband connection. :)

Rod
 
wow I am very impressed.. that is something I wanted to have a go at in the new year as I play guitar.. I wanted to make a squire like shape.. ie the fender model.. anyway I was worried about doing the frets... as you get them wrong and its by by guitar.. ie for sound. I also want to make the body out of ONE piece of alder... not two or one thats been cut and glued together.. although its really hard getting ahold of that size.. anyway keep me posted and everyone else.. I cant wait to see what this comes out as!!!! and keep up the good work.
 
I am really hoping my router bit will come tomorrow

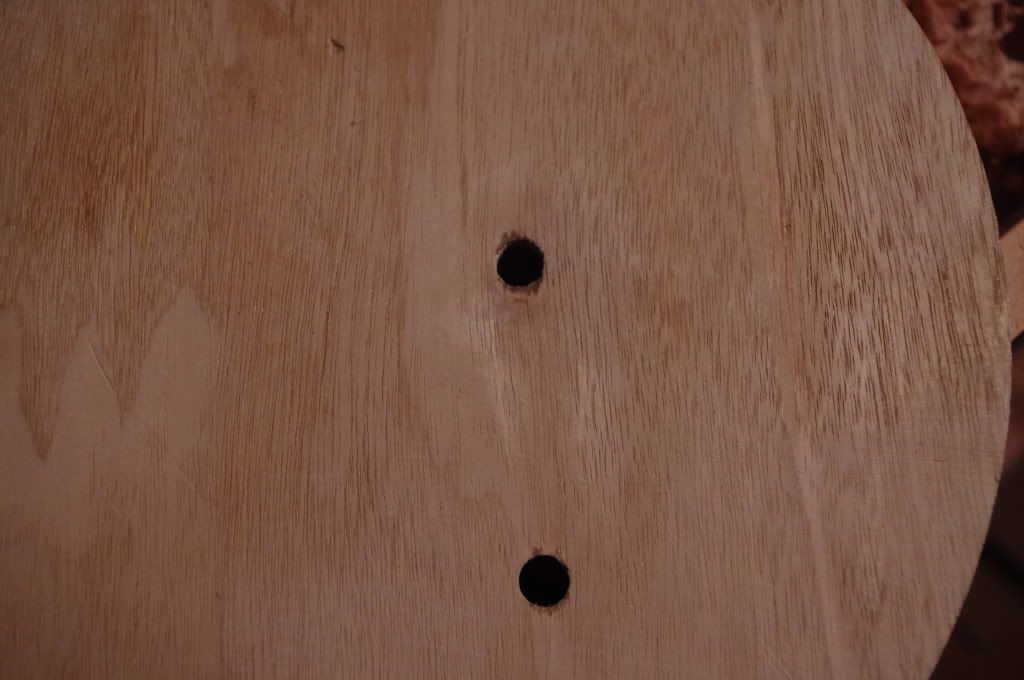
I've been sat down thinking of things to do while I wait for bits to come. The only thing I could think of was drilling the holes in the electronics cavity for the 3/8" CTS potentiometers.

I now realise my method while hypothetically a good idea is actually a bad idea, Basically I made a template to go down into the electronics cavity with the holes drilled in the right place, as in to act as a drilling guide. However my template fit so well it got stuck down there :shock:
I managed to drill the holes but the problem was getting the damn thing out- basically I had to rip the little template I had made apart while it was sitting in the cavity without actually damaging the cavity its self. This was fairly easy since the template got stuck just above the bottom but was no easy task

In hindsight the holes are best drilled from the top. When drilling I put some mdf below my body to prevent 'blow out' from the drill bit but I still got some. I tried to fix the 'blow out with some saw dust and glue but it looks quite unsightly - good job I am painting it (even though it would be hidden under the control knobs anyway

IMGP2366.jpg

IMGP2367.jpg

IMGP2369.jpg


the woods quite soft so it seems to pickup a few dents which I'll try and steam out later
 
I got bored waiting for my router bit to come so I first rounded the back with a roundover bit on a makeshift router table

DSCF8717.jpg


Then I routed out the rest of the mortise
DSCF8716.jpg


This way I can at least get started on the neck

The first thing I did to the neck was to plane it to the width of the neck pocket ((wasn't wide enough for a 1 piece headstock anyway). I maybe took a little bit too much off here as its not as tight as I'd like but its still quite a tight fit

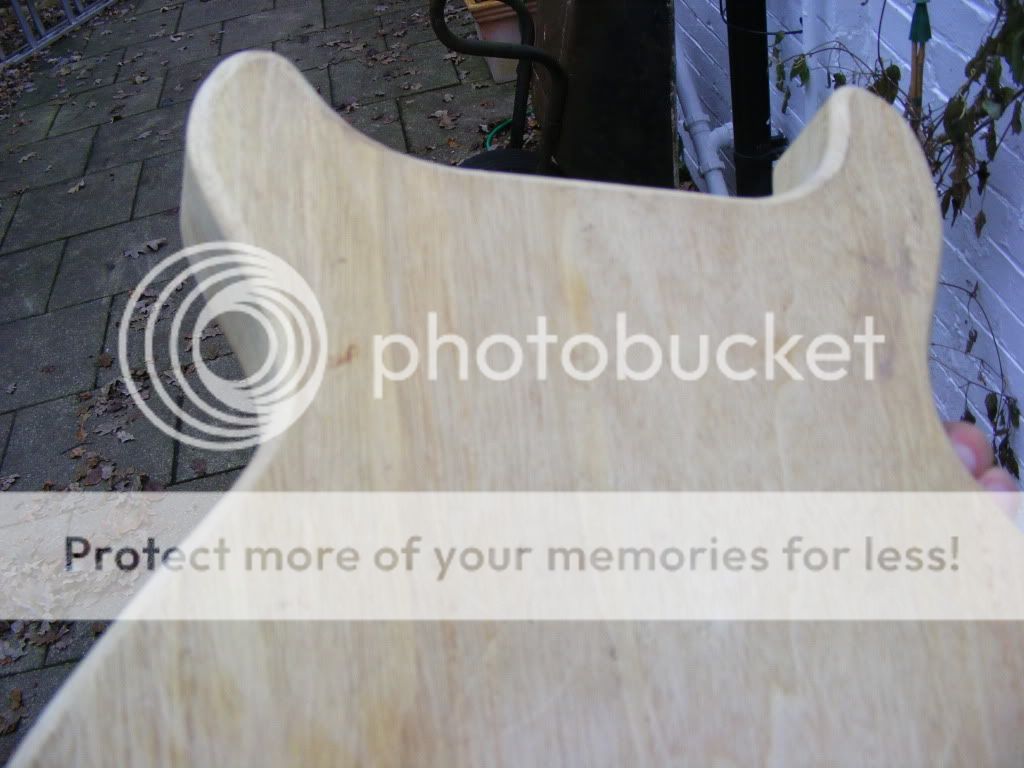
Then I marked out the 3 degrees neck angle on the tenon and where the body would meet the heel. I then cut a line where the heel meets the body as this made it easier when I sawed most of the depth off the tenon. I then cleaned up the cut with sandpaper and by planing across the grain of the tenon with a block plane. I also had to try to round off the corner off the tenon. So far the fit looks like this

DSCF8725.jpg


Its a little hard to take a picture here as the neck is much longer than it needs to be so I have to hold it with one hand

DSCF8722.jpg


I'll have to start removing material off the rest of the neck before I can get the tenon fit any better
 
I've been doing some work on the fretboard. Was hoping that my router bit would come but hasn't yet.

After squaring it up on my shooting board, I just marked some lines for the taper and cut/sanded to them, finishing with a hand plane to final dimensions. Unfortunately tear out seemed to a really big problem when planing it in its new tapered form where planing it the sides had not been much of a problem. I've managed to sand out most of the tearout but there will probably be a little left on the sides but I'll see if I can mask that later by using wire wool to polish the tear out area and filling with a little superglue.

The final dimensions of the fret board are roughly 42.85mm at the nut and 57.7mm at the end. I was aiming for 42.91mm at the nut but I had to reduce the width at the end (and thus at the nut) such that it was slightly less than the width of my neck tenon

The final dimensions of the fretboard should be 42.91 and 57.8mm if anyone wants them for reference

Anyway I've installed some MOP dots using a 6mm brad-point and am now currently radiusing the fretboard (which I don't particularly enjoy)- set up pictured below

IMGP2455.jpg


If u have a large workshop with a largish belt sander u can do this pendulum style (video below of some-guy doing it)
http://www.youtube.com/watch?v=i_TrjG2gTq4
 
impressed... cant wait to see what it will be like as a finished product... I am still concerned about the frets. having them sit in and spaced 100% sounds very very tricky.

good luck.. and I eagerly await the next update!
 
I kind of cheated. I bought one of these templates from Stew Mac (http://www.stewmac.com/shop/Fretting_su ... lates.html) and installed the pin that came with it in a saw mitre. I don't trust my sawing skills nor my pencil marking

For getting the frets in, I am planing on using one of these (http://www.stewmac.com/shop/Fretting_su ... _Caul.html) in a cheap drill press. The only problem is that the drill press is rubbish and the drill press table will even get pushed down by even the force of normal drilling (I'll just have to use one hand to push the table up). Another way is to cut a bit of a radius sanding block and use that in a clamp. I had a go in a bit of scrap with a hammer and it didn't turn out satisfactory (probably requires skill)

You also have to bend the fret-wire to a slightly greater radius than the fretboard- they are many plans on the net to make a device that will help u do this. My Jescar fret-wire came pre radiused from http://www.tonetechluthiersupplies.co.uk/ so there is no need for me to make one

I am kind of dreading cutting the neck out though -I will have to drill it out!!!! The neck and fretboard have to be the hardest parts. I am going back to uni quite soon but hopefully the fretboard may nearly be finished by then and work will resume in about 9 weeks time
 
Fretboard finally radiused
One of my mop dots looks slightly off. I drew diagonals across the individual trapeziums to find the centre but somehow I still mucked up.
IMGP2457.jpg


When doing this you really have to check where u put your finger pressure

Its also surprising how cluttered my workbench has become!!! I swear the the tool well just becomes overflowed with rubbish...
Now what's an easy way of getting that carpet tape off my bench (???)

I think I might install the side dots if a 2mm normal drill bit is ok to use for this- prefer bradpoint but hard to find in this size
 
A twist drill is fine, just mark them first with a bradawl so it doesn't wander.
 

Latest posts

Back
Top