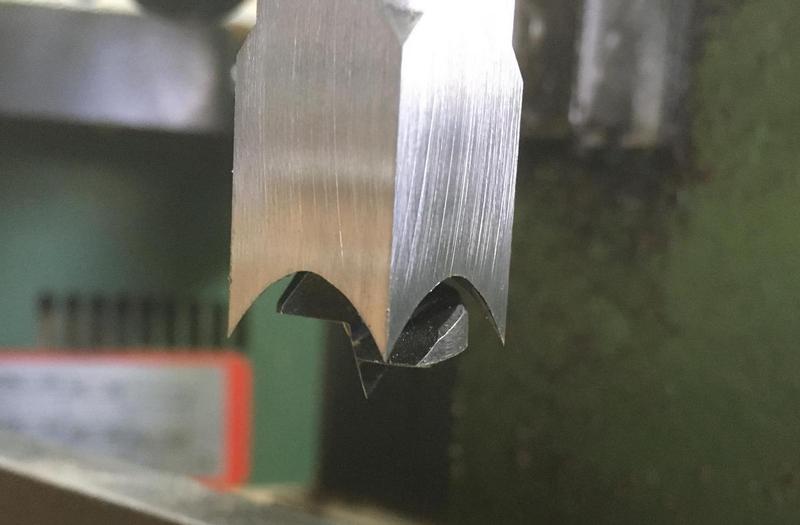
To add to Trevanion above, the actual coin you use depends rather on the chisel and the stock: You need a bigger gap for softwoods, smaller for hardwoods ans smaller chisels. Some tuning (choice of coin) may be required.
1. Fit the chisel, using the coin to give you a gap;
2. Snug-up the auger to the chisel and tighten the chuck;
3. Loosen off the chisel, push it up fully home (remove the coin) and re-tighten,
And voila! You should have just the right spacing. I kept a 2p piece tied onto my morticer with a bit of fishing line. For my setup it worked well (mostly softwood, but for hardwoods I did have to go thinner.
It's not just for clearance either - the chips have to travel up smoothly, and out of the slot(s) in the chisel part of the tool. That gap provides the clearance for that to work. It's worth checking inside the chisel, that the transition between the conical part at the bottom and the straighter part is smooth and there isn't a sharp lip/arris from poor machining, either on that cone inside, or the edges of the chip ejection slot. If necessary fettle with a diamond needle file or similar, but mind those four points! (DAMHIKT). The better it works, the cooler the machine runs and the longer it stays sharp.
Sharpness is very important, chisel particularly. Those Axminster sharpening kits* are really good. You can also touch up the auger with a needle file as needed, but you need the auger to cut slightly outside the sides of the square of the chisel, too - that's correct and doesn't mean the auger is oversize. A very slight taper on the chisel is also correct, so it doesn't get pushed off line but descends in a straight line into the stock.
Remembering all this makes me realise I was a twit to sell mine...
E.
*To get the best from the conical hone in the kit, I used Trefolex cutting compound with it, which worked well. It actually cuts, like a jobber drill bit, so don't use abrasive paste - you'll blunt it.


