OPJ
Established Member
A couple of years ago, I decided I'd like to get rid our current, dull house signs and replace them with some lovely looking wooden woods - and try my hand at a bit of letter-carving at the same time. So, I purchased an excellent book by Chris Pye and another one titled Making Wood Signs, did some reading and decided to look for some carving chisels. About eighteen months ago, I went against some better advice from the forum and opted for a set of cheap chisels from Rutlands.
Taking them out of the box, it goes without saying that I wasn't terribly impressed with the quality of this set! They even feel quite cheap and lightweight in your hand... But, I persevered and gave them a chance (after a good couple of hours sharpening and honing!)
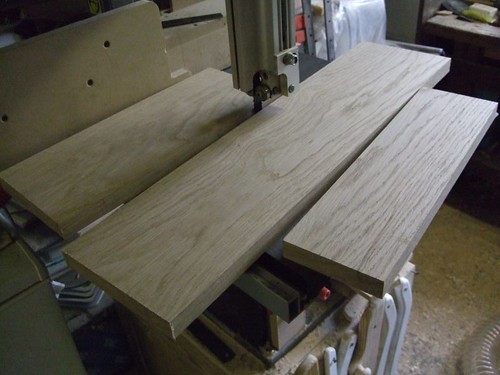
Here are the offucts of English Oak planed up:
I looked at our existing signs and stuck with a similar design and style. I also took a tip from an old issue of Good Wood in printing out an outline of the letters, full-size, and using that almost as a template. It would save time drawing each one out individually, anyway! :wink:
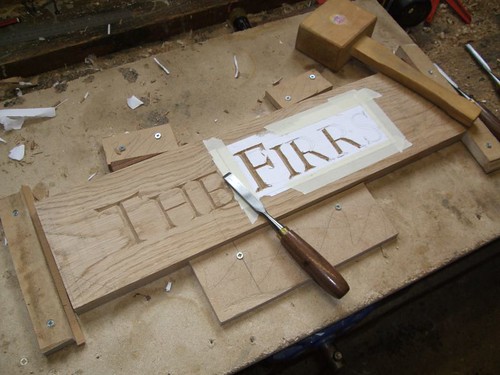
While running the timber through my thicknesser, I noticed the two shorter boards had some minor splits appearing about one-third deep. I've kept the smaller of the three signs as it seems to be okay. After applying finish to the other one though, as it dried, the split became quite worse, so I had to machine a replacement.
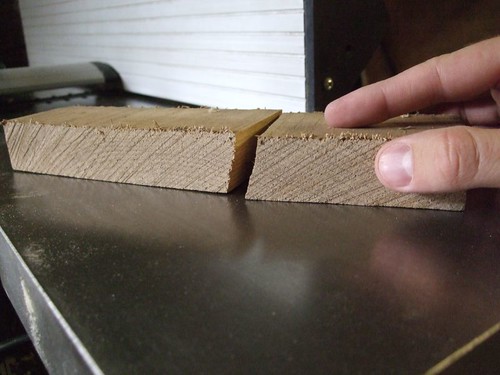
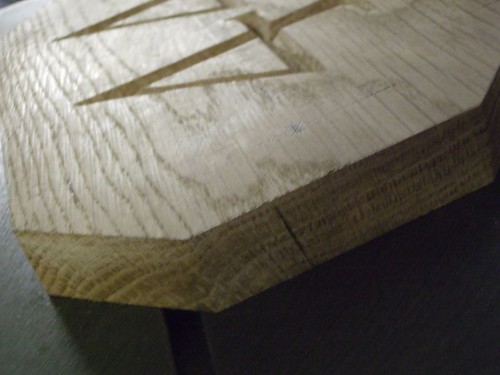
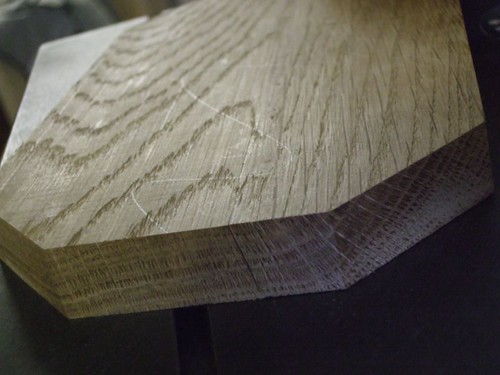
Still, it made for a good practice piece on the mouldings as well!
I spent a good amount of time studying Chris Pye's book and techniques. In the end, I realised there wasn't an awful lot to it but my twelve-piece set was lacking a fishtail gouge - so, the serifs weren't quite all that they could've been. I'm still pleased with the results, but I won't be making the istake of buying cheap hand tools ever again! :shock: I'm pleased with the results I've achieved considering, although I think I chopped them a little bit deeper than the 60º Chris seems to recommend...
Here are some shots of the three signs before applying a finish. The corners were knocked off on the mitre saw before all edges were cleaned up with a smoothing plane. After that, I added a simple ovolo mould to the two larger signs and a 10mm wide chamfer to the smaller, which will be visible outside our front gate. I also tried a cove mould on the 'scrap' piece but I much prefer the ovolo.
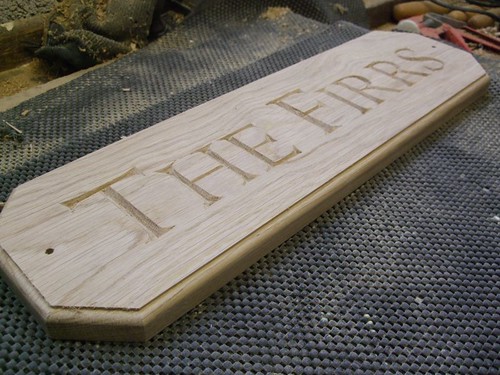
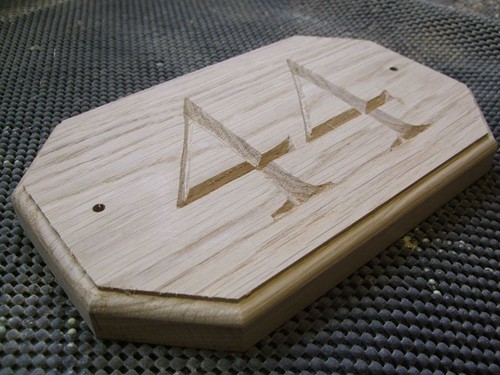
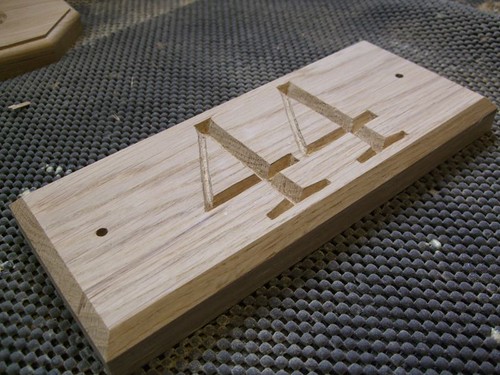
And now for the finished work, after three coats of Rustin's Yacht Varnish. The letter-painting idea also came from Good Wood. There's a bit of yellowing though, so I do wonder if I'd have been better off oiling/varnishing first...?
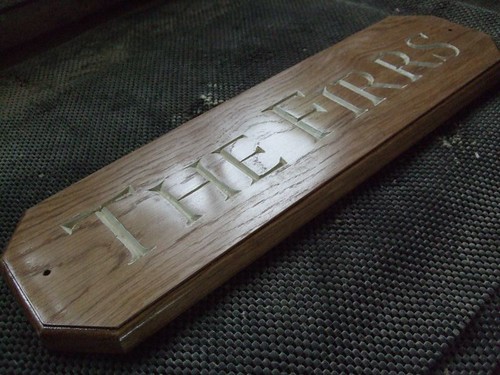
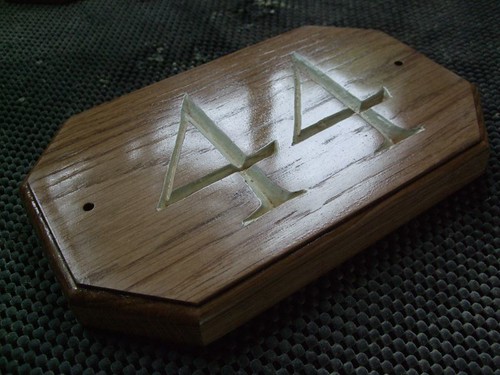
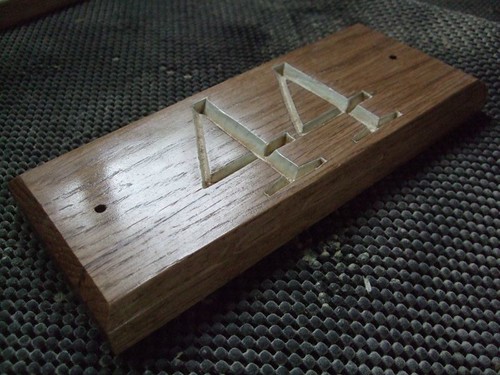
I diluted the Yacht Varnish in hope that it would reduce the gloss finish... And I think it has... I also spilled a load of it over my bench, so I wanted to preserve what I could!! I chose this finish over an oil finish because it should require less maintenance. I haven't gotten around to fitting them yet with all the other DIY stuff I've been doing but these photo's should improve once they're out of my dark workshop!
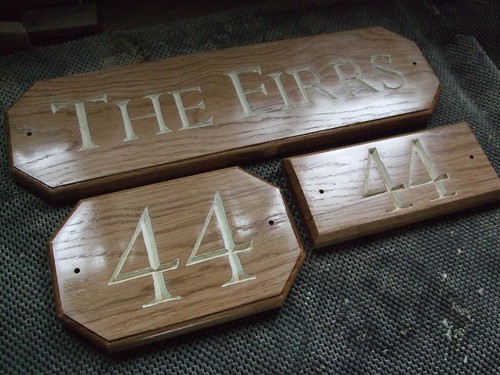
With some better quality chisels to hand, this is definitely something I'd like to try again - I'm hoping the gloss-finish will catch the attention of local passers-by, if you know what I mean...!! :wink: 8)
Thanks for looking.
Letter carving's not nearly as difficult as it looks. I was able to knock out one of the number signs in less than one hour with a bit of practice! If you get the chance and can find the time, give it a go!!
Taking them out of the box, it goes without saying that I wasn't terribly impressed with the quality of this set! They even feel quite cheap and lightweight in your hand... But, I persevered and gave them a chance (after a good couple of hours sharpening and honing!)
Here are the offucts of English Oak planed up:

I looked at our existing signs and stuck with a similar design and style. I also took a tip from an old issue of Good Wood in printing out an outline of the letters, full-size, and using that almost as a template. It would save time drawing each one out individually, anyway! :wink:

While running the timber through my thicknesser, I noticed the two shorter boards had some minor splits appearing about one-third deep. I've kept the smaller of the three signs as it seems to be okay. After applying finish to the other one though, as it dried, the split became quite worse, so I had to machine a replacement.


Still, it made for a good practice piece on the mouldings as well!
I spent a good amount of time studying Chris Pye's book and techniques. In the end, I realised there wasn't an awful lot to it but my twelve-piece set was lacking a fishtail gouge - so, the serifs weren't quite all that they could've been. I'm still pleased with the results, but I won't be making the istake of buying cheap hand tools ever again! :shock: I'm pleased with the results I've achieved considering, although I think I chopped them a little bit deeper than the 60º Chris seems to recommend...
Here are some shots of the three signs before applying a finish. The corners were knocked off on the mitre saw before all edges were cleaned up with a smoothing plane. After that, I added a simple ovolo mould to the two larger signs and a 10mm wide chamfer to the smaller, which will be visible outside our front gate. I also tried a cove mould on the 'scrap' piece but I much prefer the ovolo.


And now for the finished work, after three coats of Rustin's Yacht Varnish. The letter-painting idea also came from Good Wood. There's a bit of yellowing though, so I do wonder if I'd have been better off oiling/varnishing first...?


I diluted the Yacht Varnish in hope that it would reduce the gloss finish... And I think it has... I also spilled a load of it over my bench, so I wanted to preserve what I could!!

With some better quality chisels to hand, this is definitely something I'd like to try again - I'm hoping the gloss-finish will catch the attention of local passers-by, if you know what I mean...!! :wink: 8)
Thanks for looking.
Letter carving's not nearly as difficult as it looks. I was able to knock out one of the number signs in less than one hour with a bit of practice! If you get the chance and can find the time, give it a go!!


