Hello all,
Here are some final pictures of my shoe polish box.
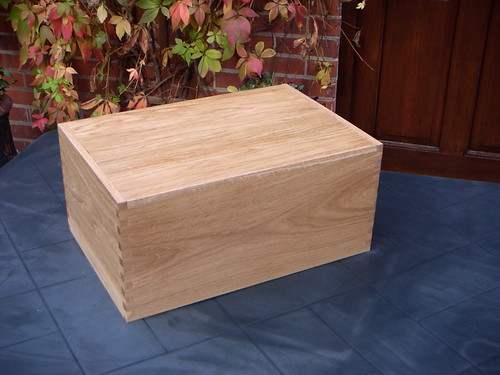
I finished the box after a final sanding with a couple of coats of Danish Oil and thereafter a buffing with some clear wax polish.
Here are some pictures of the inside, and showing the removable tray.
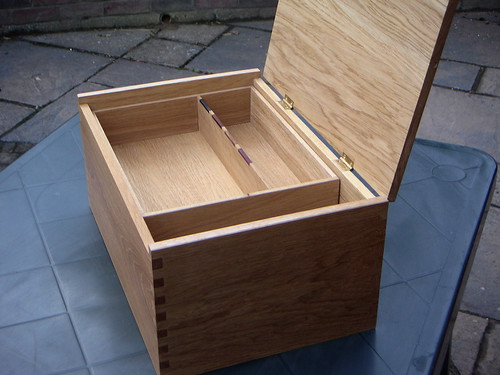
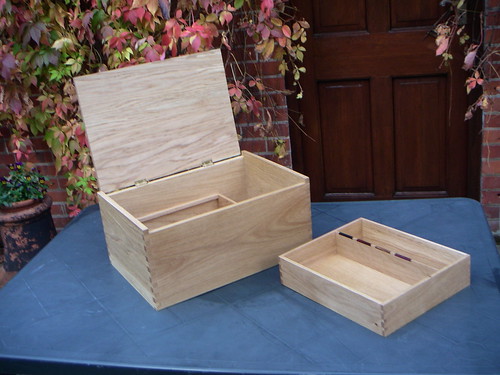
Here you can see how the shoe polish brushes fit in the top tray. The small inlayed tabs of ebony, cocobolo, brown oak and purpleheart represent the different colour polishes.
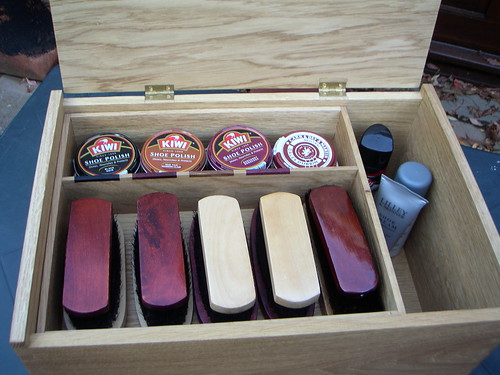
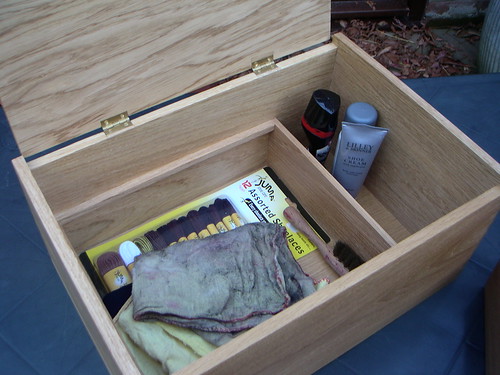
Here you can see how the lower part of the box under the inner tray acts as a storage area for spare laces, dusters etc. The compartment to the right holds bottles and other polishes/creams.
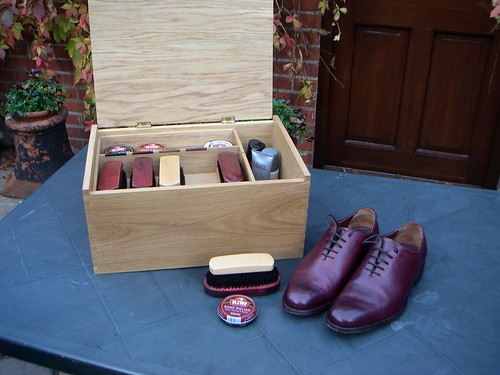
Finally a picture of the first shoes to receive a polish from the box!
I have enjoyed making this project and I am very happy with the final outcome. Friends and relatives can't quite believe that I could have made something so good. :shock:
I hate to think how many hours I spent on this project and the times I reworked elements or practised a technique before tackling matters. I was determined not to compromise despite my initial failings.
I had trouble with the lid which cupped badly and had to be scrapped. I also found choosing and fitting the hinges difficult. I also made a botch of one of the corners of the box, my joint was slightly out, although I repaired this quite nicely using some wafers I cut on the bandsaw.
I am looking forward to starting a new project now, still in the beginners section I fancy - I have a lot to learn about this rewarding hobby of ours.
Thankyou for looking at my pictures all comments welcome.
Good luck to fellow competitors as well.
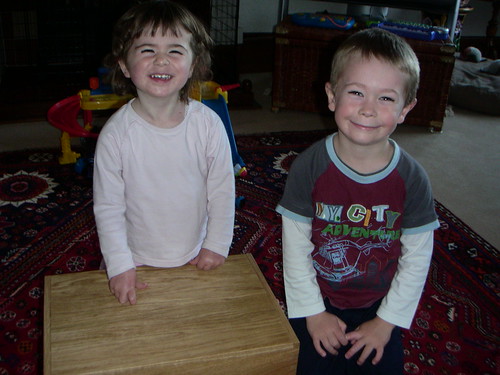
One final picture of the children putting their dirty fingers all over my lovely box.
Cheers, Esc. (Tony)
Here are some final pictures of my shoe polish box.

I finished the box after a final sanding with a couple of coats of Danish Oil and thereafter a buffing with some clear wax polish.
Here are some pictures of the inside, and showing the removable tray.


Here you can see how the shoe polish brushes fit in the top tray. The small inlayed tabs of ebony, cocobolo, brown oak and purpleheart represent the different colour polishes.

Here you can see how the lower part of the box under the inner tray acts as a storage area for spare laces, dusters etc. The compartment to the right holds bottles and other polishes/creams.

Finally a picture of the first shoes to receive a polish from the box!

I have enjoyed making this project and I am very happy with the final outcome. Friends and relatives can't quite believe that I could have made something so good. :shock:
I hate to think how many hours I spent on this project and the times I reworked elements or practised a technique before tackling matters. I was determined not to compromise despite my initial failings.
I had trouble with the lid which cupped badly and had to be scrapped. I also found choosing and fitting the hinges difficult. I also made a botch of one of the corners of the box, my joint was slightly out, although I repaired this quite nicely using some wafers I cut on the bandsaw.
I am looking forward to starting a new project now, still in the beginners section I fancy - I have a lot to learn about this rewarding hobby of ours.
Thankyou for looking at my pictures all comments welcome.
Good luck to fellow competitors as well.
One final picture of the children putting their dirty fingers all over my lovely box.
Cheers, Esc. (Tony)


