dt wip

UKworkshop.co.uk

Help Support UKworkshop.co.uk:

This site may earn a commission from merchant affiliate links, including eBay, Amazon, and others.

devonwoody

Established Member
Joined
11 Apr 2004
Messages
13,493
Reaction score
25
Location
Paignton Devon
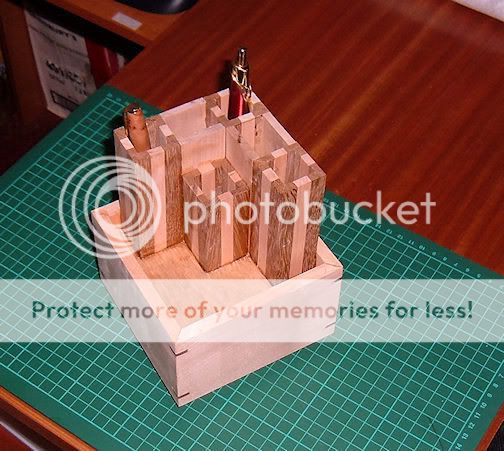
Started my new ? I don't think it would be classed as a box.

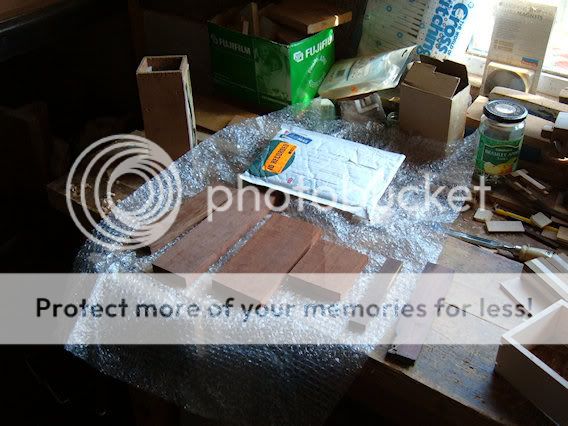
Went through the offcuts and found this piece of Br.Mahogany 1mtr by 100mm by 5 mm thick. It has been lying around for perhaps 3 years, and was the waste piece from a 25mm thick board off the bandsaw when doing that blade review for you know who.
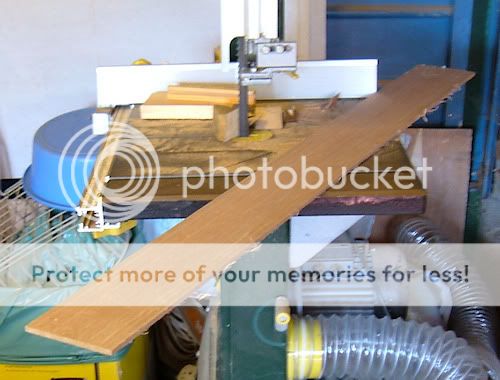
1w-2.jpg


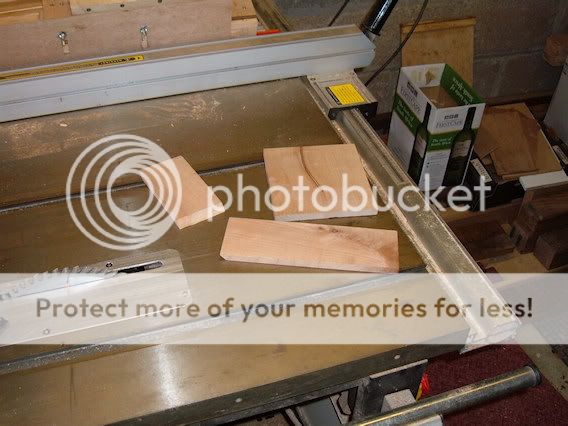
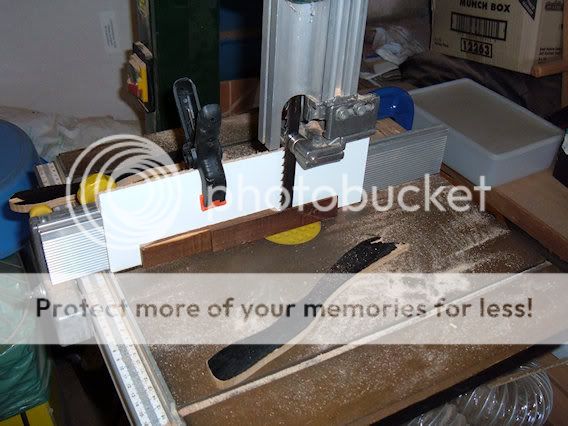
So put it through the table saw to reduce width and recut twice at the same fence setting so that both pieces were the same width.
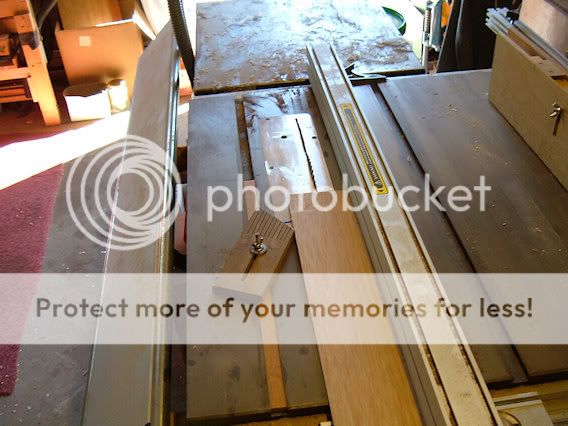
2w-3.jpg


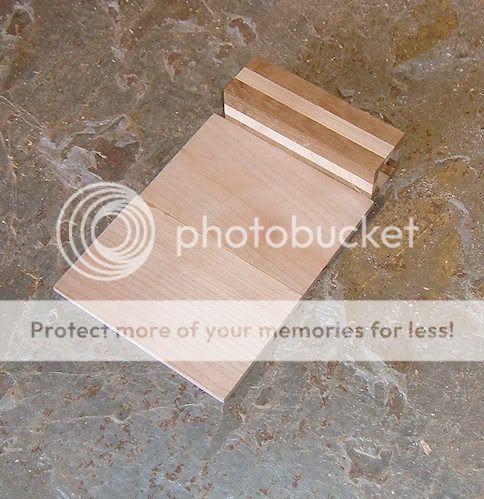
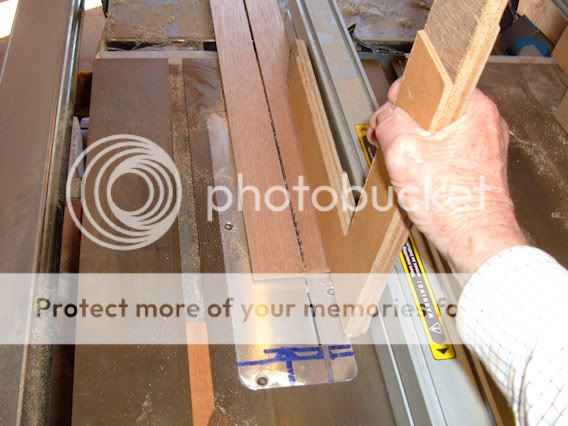
Held it down with this. (its only 5mm thick)
3w-3.jpg


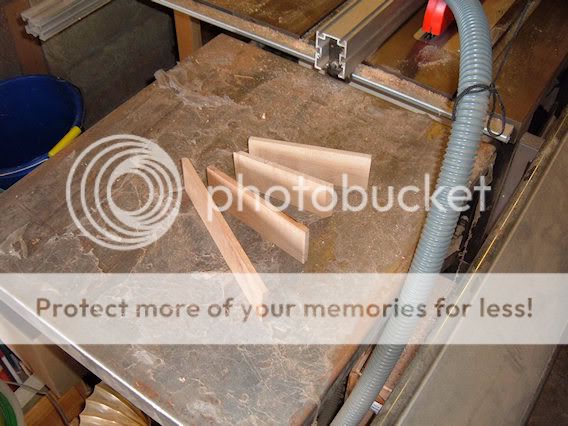
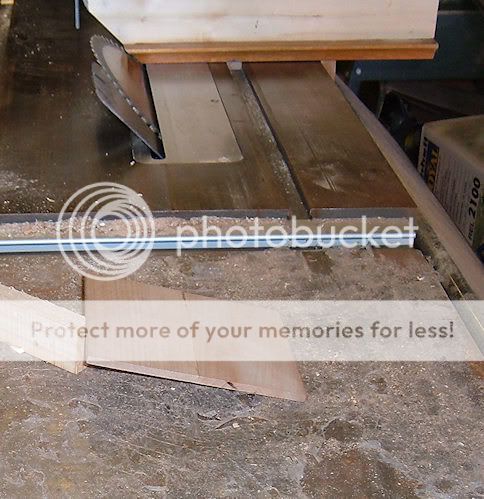
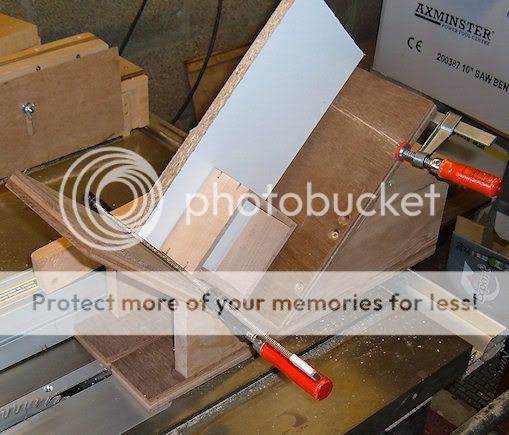
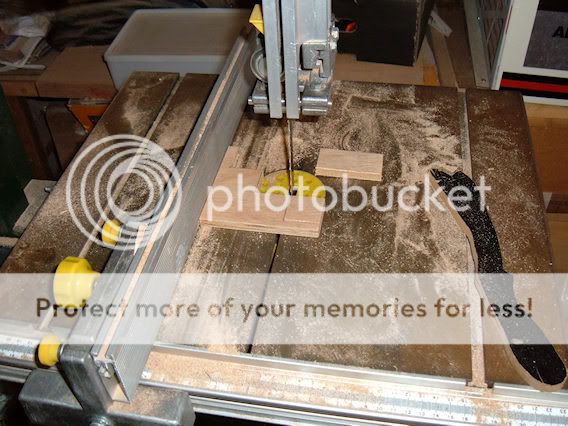
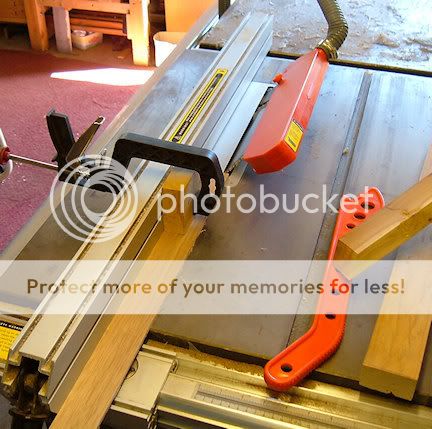
Then put it through the tablesaw again but with the blade set to 45% and held down with this temporary clamp and block.
4w-2.jpg


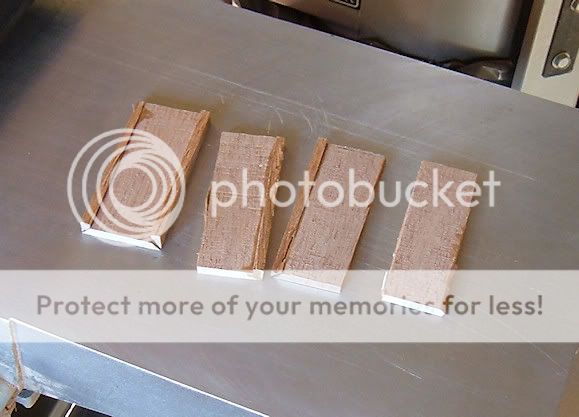
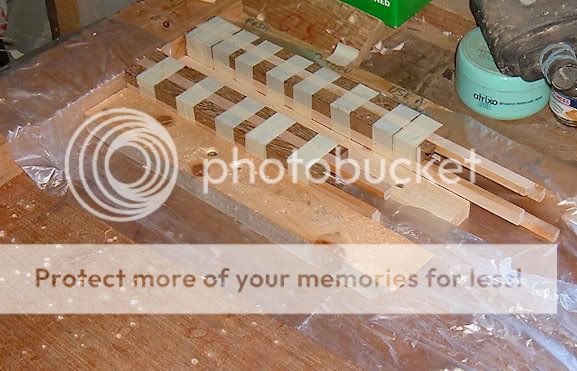
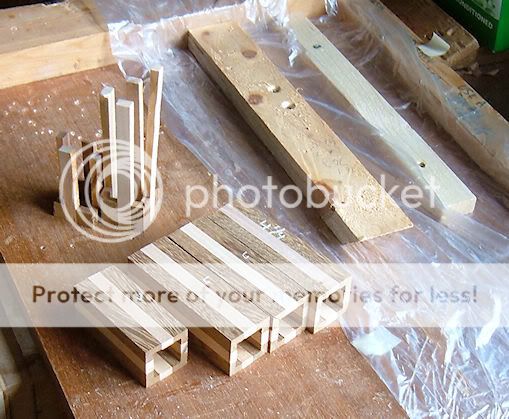
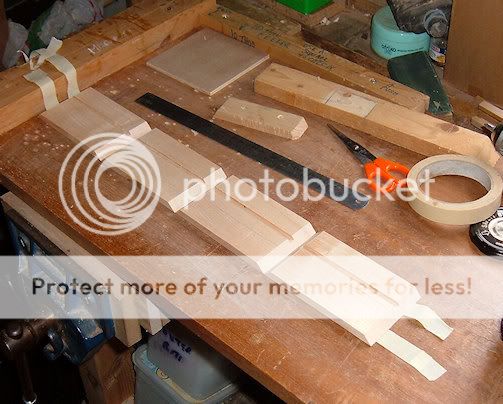
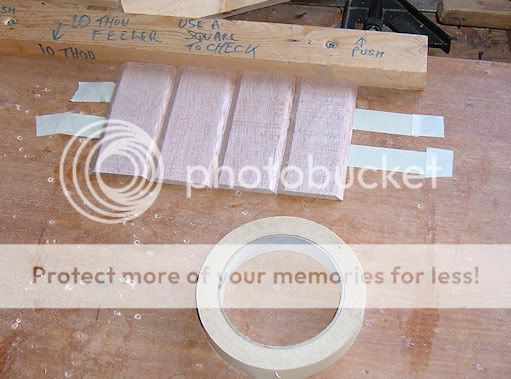
Hand cut to 100mm lengths and set up ready for gluing. I have found it pays to hold the masking tape down with a small piece of masking tape each end whilst preparing to glue and fold up to stop the tape winding back on its self.
5w-2.jpg


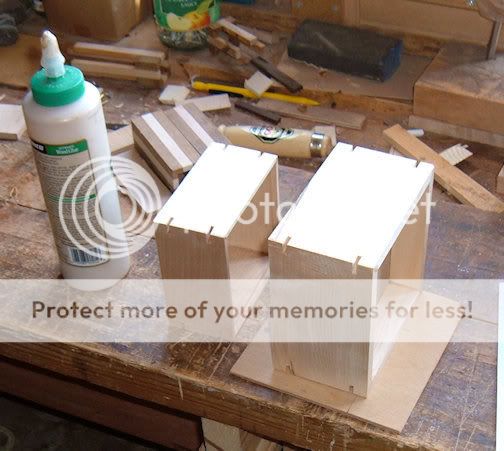
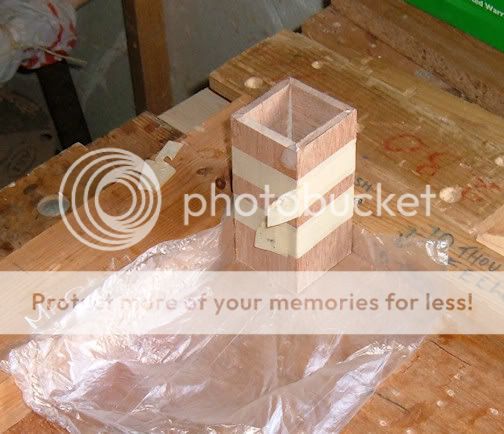
First part glued up and three more to go.
6w-1.jpg
 
Troublesome day, first I dropped the bread cutting knife (breakfast time) then the jam spoon fell out of my hand and I got raspberry jam over my trousers, the slice of bread and jam fell out of my hand and landed upside down, other things happened but not coming to mind as I type.
So I went out to the workshop and decided that the first timber piece glued up was a failure (out of square owing to the piece slumping whilst awaiting glue to set). So I smashed down on it with my clenched fist and the glue must be good because the joins did not break apart but the wood split away from the glue line. So its true when they say the adhesive is stronger than timber.

7w-7.jpg


So located some more offcuts, iroko and sycamore, and prepared and cut timber as per the first piece yesterday, and I have finished up 10mm short on the width of each piece.

8w-8.jpg


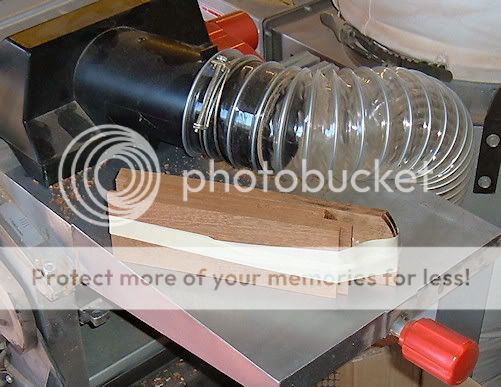
Even the new timbers didn't finish up even measurements across their widths so I taped them up and put them through the thicknesser.

9w-7.jpg


The Australians say their ladies are having a bad hair day when things are not running smoothly but I don’t know what expression to use in this instance but pipper

So fortunately I like contrasting effects on my timber projects so that piece of sycamore is going to come in handy but even that has not got a straight edge.

The temperature is over 30c in the workshop so calling it a day.

At least the sun is still shinning and the flowers look good, anyone beat that for colour.

gardenflowers.jpg
 
I must confess I went back in the workshop in the evening because I heard the lady talking about shopping today.:rolleyes:

So I glued up some pieces as per picture below and thought I have spent all day and only got back to this position that had been obtained 24 hours earlier. I have got a lot more timber prepared though.


11w.jpg
 
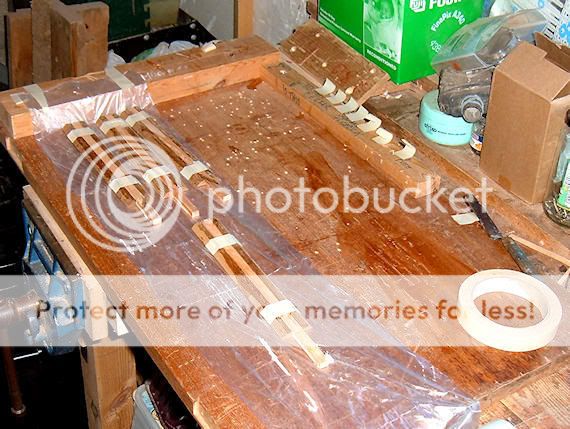
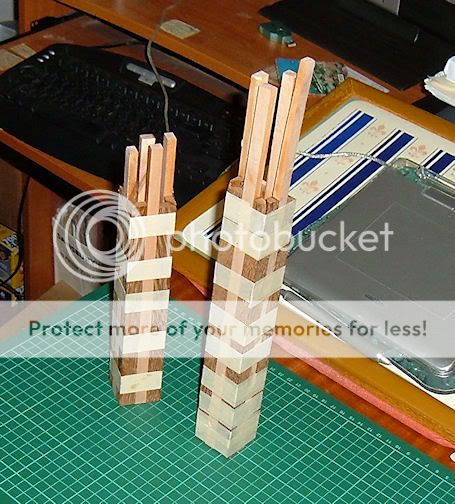
I have now got two sets glued up and they are reasonably true this time.

12w.jpg


after glue had set picture.

13w.jpg


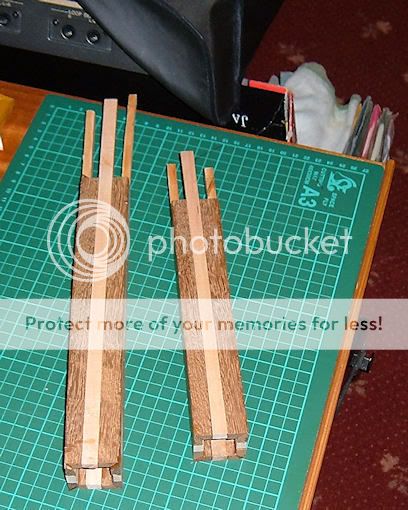
Bindings off and they will hopefully clean up when put through the thicknesser and they will be thinned down a bit.

14w.jpg


If I was doing this operation again I would prepare timber to thicker dimensions and after gluing up thin down that way instead of using 7mm thick timber.

I am going to try and reduce thickness of each section down to 3mm :roll:
 
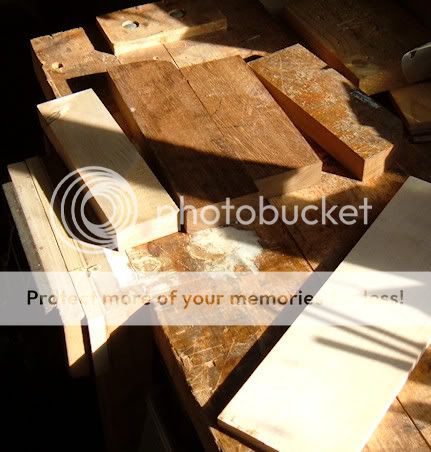
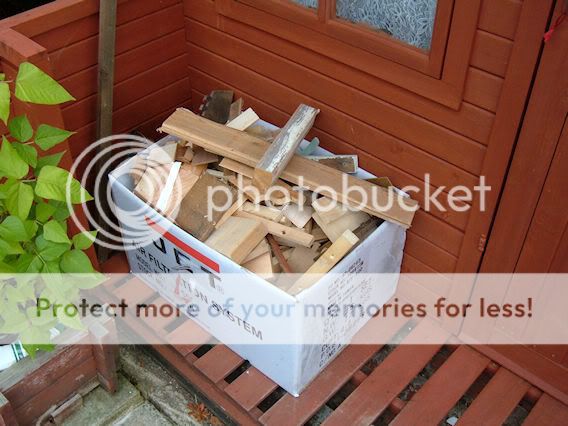
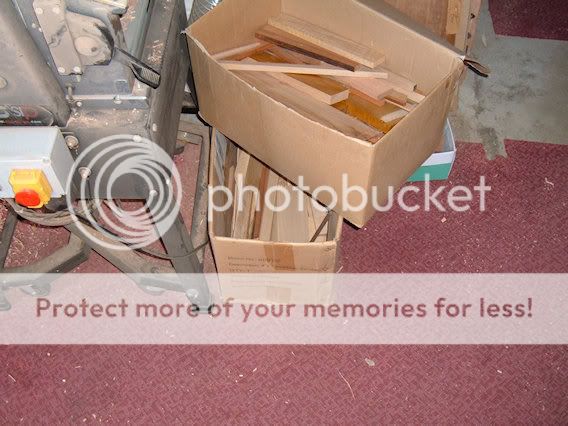
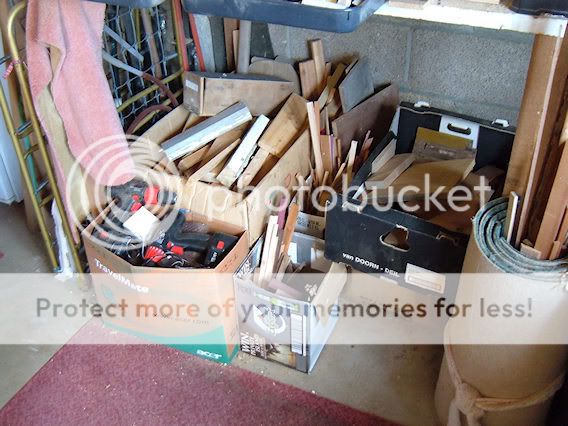
Project delayed owing to workspace congestion, I had to empty, select and dispose and retain timber from scrap boxes because I was bumping into scrap containers all over the shop.
Managed to part with a couple of cubic feet.
15w.jpg


Cleaned up the two laminated sections however in the thicknesser and reduced to four pieces, random sized to length.

16w.jpg


Found a nice scrap piece of sycamore that was 22mm thick and this was resawn and produced two pieces cleaned up at 9.4mm.

17w.jpg


This section might start to give a clue to the eventual use of this workpiece, yes it’s the start of a box, made in my usual fashion, mitred corners and glued up as per the knowledge gained on one of those Australian trips.

19w.jpg


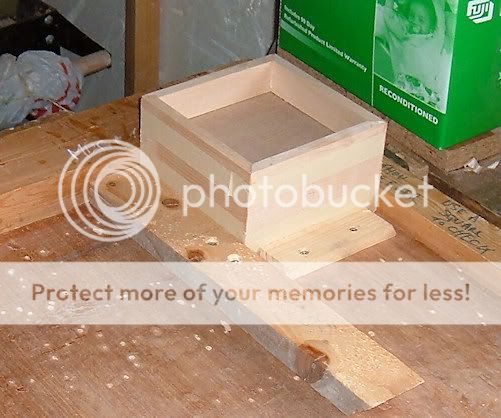
Carcass glued up and now making a decision whether to fit a drawer to the front or insert a container section under.

20w.jpg
 
Decided to try and fit another box inside of top piece, (perhaps a drawer next time)

So my pieces of scrap sycamore are rapidly decreasing, found these three pieces.

21w.jpg


Ripped them to 75 mm widths.

22w.jpg


Thicknessed them to around 7mm even the 6" lengths, fed them through the thicknesser one after the other on the same track (I leave a 3mm batten peramently at the inside of the thicknesser to stop any small pieces jamming at the side plate)
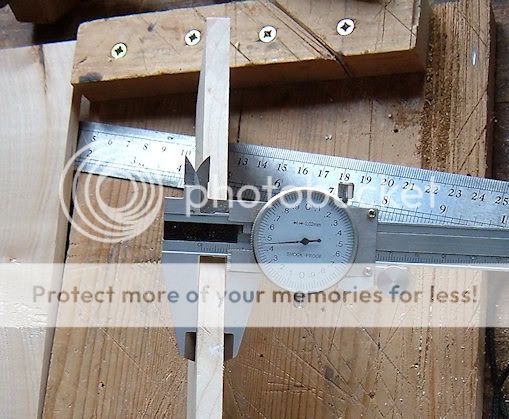
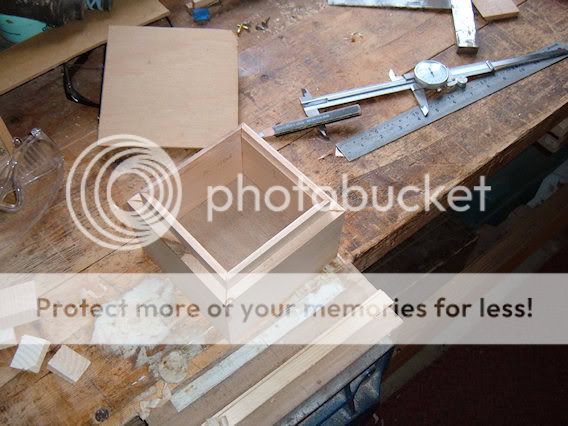
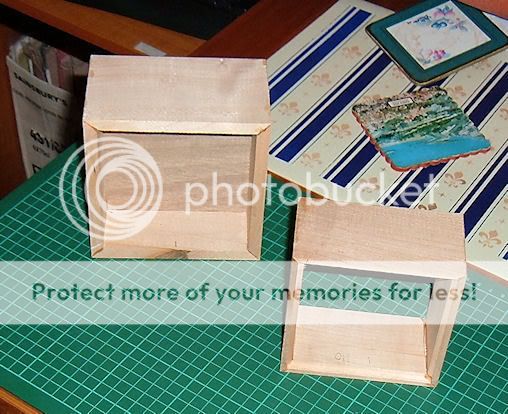
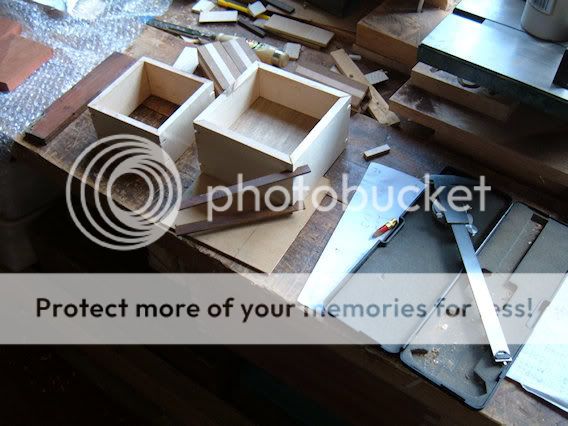
Then put one mitre corner to each piece, measured the inside of the box with calipers and all four dimensions came withing 110 to 110.4mm, so put the stop block set at 110mm and then with a few recuts got a dry fit as per this picture.

23w.jpg


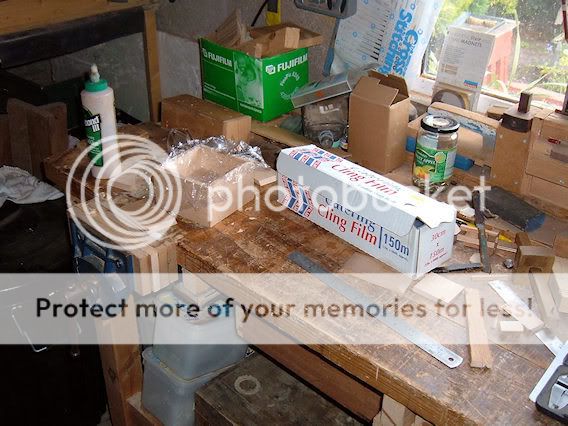
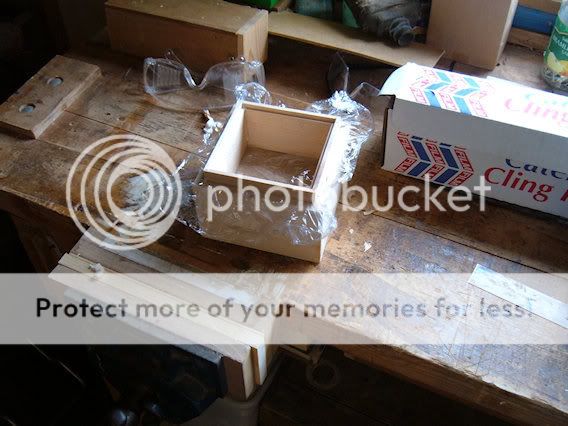
Lined the inside with cling film to stop any adhesive wandering where not wanted.

24w.jpg


And glued insitu

25w-1.jpg


Waited a couple of hours (in stress) wondering if the lower box would pull out, and it did.

26w-1.jpg
.

However I might fit a widget so that it can be pushed out at a later date in case atmospherics effect its very close fit.
 
Looking through my scrap pieces I came across this waste piece of sycamore, at least 4 years old, and its perfect, it will make 4 sides with less than 3mm of waste at the final cut. I remember saying to myself why hang on to this bit.

27w-1.jpg


28w-1.jpg


Decided to put corner splines on each piece, this item could get a lot of handling over the years. so used a jig I made last year as per pic.

29w-1.jpg


And machined up these.

30w-1.jpg


Over the last 12 months Australian forum members have sent me samples of Australian hardwood for use on my boxes and I am pleased to show gifts from Woodborer, and Jackson of Bundeberg.

31w-1.jpg


I put this piece to the bandsaw and cut a 3.2mm thick slice and then divided it in two.

32w-1.jpg


Glued into position thus.

33w-1.jpg


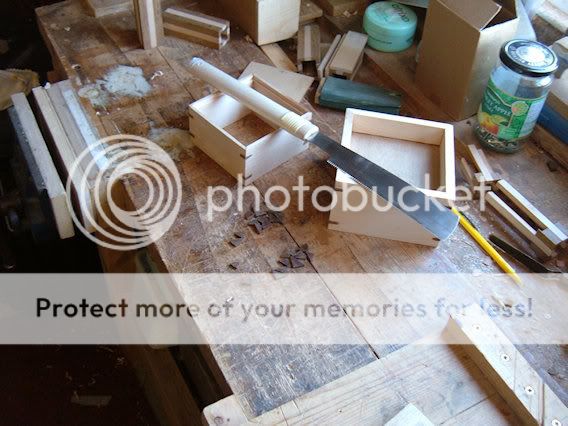
And when the glue had set I used a japanese saw without any set to cut flush with the boxes.

34w-1.jpg


I digress, I have found some more scrap boxes so my stock of hardwood scraps will continue for some time.

35w.jpg


36w.jpg


Back to the job in hand, I cut a supporting piece for the tubes (square)

37w.jpg


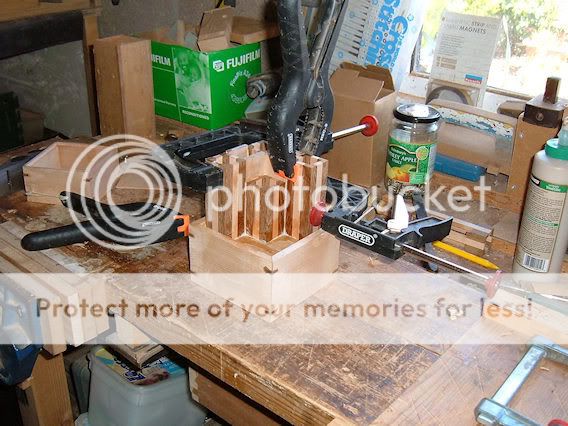
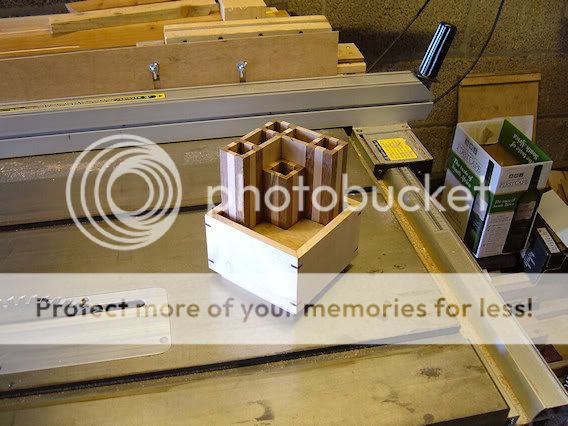
And glued all the storage holders in place as per this picture.

38w.jpg


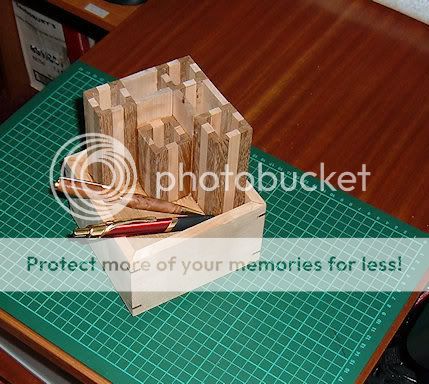
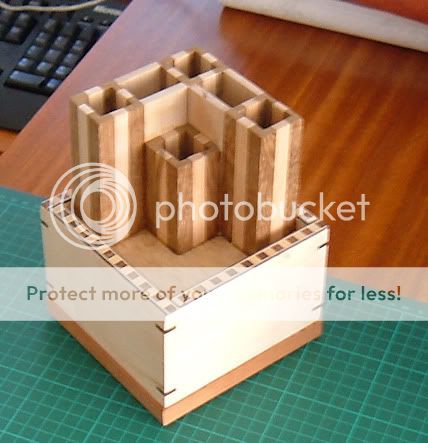
It will now become evident that this is to become a pen holder with storage below, (There might be a secret compartment created by the lower box)
 
Aha, now we see it! :D

Looking very nice indeed, especially with all those contrasting timbers.
 
Great work and thank you for all the pictures i really like your work and after seeing your boxes i might just get the inspiration to have a go myself, following the pics makes it seem quite easy (i am sure it isnt)
 
Out of the clamps.

39w.jpg


A couple of Australian pen gifts , Neil of Ubeaut and Woodborer of Victoria.

41w.jpg


A trial run in their cases.

40w.jpg


I am thinking of adding a beading around top edge using some Red Gum and also beading/bottom edge to base that might hide the second box.

A velvet lining to the table top must soften the raw top.

This project takes me back 60 years when I had a mecanno set and after making the usual set pieces we then started making those Heath Robinson contraptions but I was always told I wasn't to bend any pieces.

If anyone wants to let me have a handmade pen or pencil for the stand I naturally would cover expenses.
 
A little more fiddling yesterday.
The decorative beading was a gift from Lynx, (haven't seen him around lately in UKworkshop))

Also a beading added to lower box, (this could be made a sealed compartment with a fitting screw or bolt to secure by inserting in the short turret and then disguised with a piece of velvet/felt dropped on top)

42w.jpg


I am getting the feeling to cease any more work on this item apart from a clean up and my usual shellac and wax polish to be completed at a later time when perhaps I might have some more items to wax .

Hope you liked that one, and goodbye my friends. :)
 

Latest posts

Back
Top