Drop leaf table Finished at last!

UKworkshop.co.uk

Help Support UKworkshop.co.uk:

This site may earn a commission from merchant affiliate links, including eBay, Amazon, and others.

mailee

Established Member
Joined
26 Jun 2005
Messages
5,502
Reaction score
4
Location
grimsby Humberside
I finally got some more work done on the Beech dinning table this week. I got the MDF cut to shape and the Beech joints added for the hinges. I then started to veneer the top.
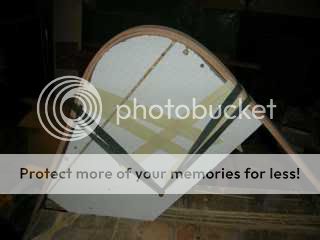
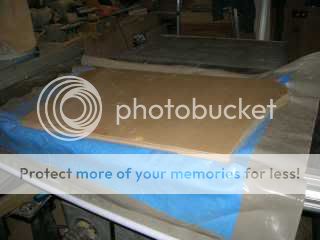
This is the centre section in the vacuum bag.
Jinvacuum.jpg

After about an hour I removed it but did find a little bleed through of the glue on one of the joints.
Kcentresection.jpg

After another session in the bag the leaves were removed.

Loneend.jpg

I did find a little more bleed through on the veneer as can be seen in this pic but also a sliver of veneer got caught and torn off as I removed it from the bag. I have replaced the sliver in this shot.

Ntouchin.jpg

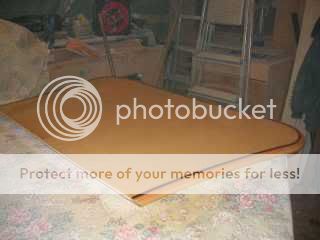
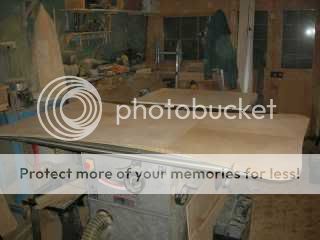
Finally I trimmed the edges and tested the fit of the tops.
Mveneercomplete.jpg

Next on the agenda is to lip the edges with Mahogany and Beech but that will have to wait until next week now.
 
Yes I do intend to round the edge. I will laminate some Mahogany first and then some Beech to give the impression of a Mahogany inlay around the edge......If it works. :roll:
 
Hmm,yes, thanks Olly, I think I will need it. I think a practice piece is in order before I commit to the joint on the tops. Still I like a challenge. :roll:
 
Just remember two things and you won't go far wrong with your practice joint - the centre point of the radius is at the centre of the hinge pin (not where the hinge meets the underside of the top!), which means the cove and ovolo profiles should be very slightly more than a 'quarter-circle'. It also helps if you have an actual 'pair' of cutters, rather than two that look close enough... :wink: :)
 
Been busy again in the shop. I have managed to start the lipping around the edge of the table top although it is slow going at this stage. After steaming the pieces I bent them on a former.
PBendingformer.jpg

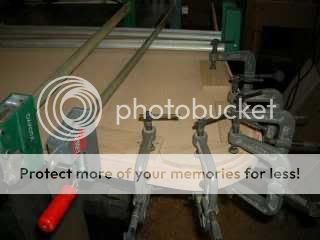
When they had cooled I then glued them to the table top. I definitely need more clamps though.
Qclamps.jpg

After a couple of days I had the Mahogany lipping/inlay finished.
RMahoganylipping.jpg

I managed to finish the lipping on the centre section ready for rounding over.
SBeechlipping.jpg

Now that brings me to a question. After getting what I thought was Mahogany on the top it appears it is somewhat lighter in colour and I suspect it is Iroko by mistake! :roll: I now need to stain this darker to match the colour of the inlay in the legs. Is there any way to do this without the stain leeching into the beech at either side? I do hope so. :roll:
 
I managed to stain the inlay without it leeching into the lighter wood, big thanks to Johnnyd for that one. He suggested I paint sanding sealer up to the darker wood with an artists brush to seal it. It worked as you can see.
Ustained.jpg

I am now one happy bunny and continuing to lip the rest of the table top. Will keep you posted. :D
 
I have got around to laquering the table top at last. I spent most of the weekend cleaning the workshop in preparation for this. This afternoon I put the laquer on all three parts.
The centre section.
Wlaqueredcentresection.jpg

The left leaf.
Wlaqueredleftleaf.jpg

and the right leaf.
Xlaqueredrightleaf.jpg

As you can see from the drips below I put plenty on ready for the flatting and polish.
YHVLP.jpg

Now I will leave it to harden before doing anything else on them. I already made the mistake of touching it to see if it was dry....Doh! :roll:
 
Mailee. I'm impressed with how tidy (and tight) those joints are. From experience I know how difficult it can be to get a curved lipping on. Well done.
Can't wait to see this finished.
Cheers.
Adam
 
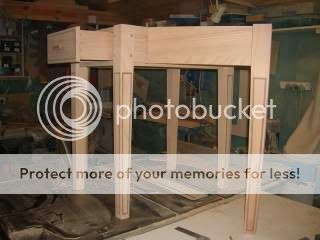
I can't keep you in suspense Sir, here is the frame to go with it. This was taken before I put a finish on it, looks a little darker now to match the top.
rightside-1.jpg

I got the table top flatted today ready for polishing tomorrow, will post more pics when that is done. :wink:
 
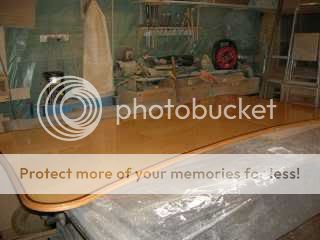
Well I did manage to flat down the tops and get them polished. I think it looks ok now it is finally polished.
Zfinalpolish.jpg

Zbnicelustre.jpg

It should be hard enough to use in a couple of days which is lucky as I am waiting for the hinges to be delivered for the leaves. I also cut some buttons and attached the centre section to the frame. It will have to come back off again yet but I had to have a look with it fitted.
Zacentresectionfitted.jpg
 
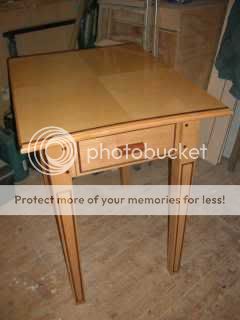
Finally it is finished. Didn't have too much trouble with the rule joint and although not perfect it is acceptable.
Zhrulejoint.jpg

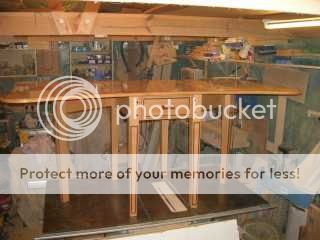
Here are the pictures of the finished article before I got my son to help me remove it from the top of the table saw.
Zdfinishedopen.jpg

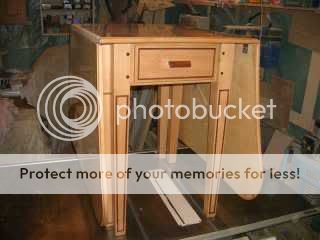
And with the leaves closed it looks like this.

Zefinishedclosed.jpg

Here is a shot of the blocks the extension legs rest on.
Zglegplacings.jpg

Just a final polish and a couple of touch ins now and it will be ready to deliver. I am pleased with the result after all the hard work. :D
 
That looks fantastic........someone is going to be really happy with that, and you should be proud. Take a decent photo for us, won't you!

Mike
 

Latest posts

Back
Top