Aled Dafis
Established Member
Hi there.
If you cast your minds back to the secret santa thread a couple of months ago, you might remember that I made our resident professional planemaker (Philly), a shoulder plane, and many of you fine chaps said nice things about it, and showed interest in finding out how I'd gone about putting it together.
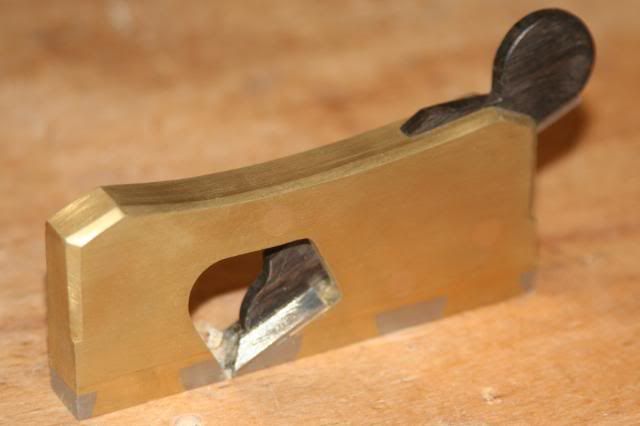
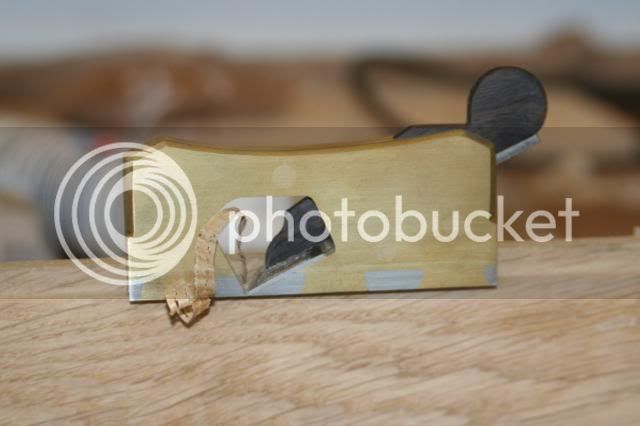
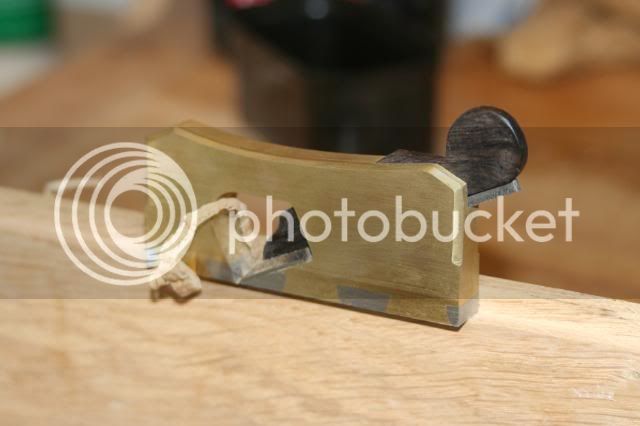
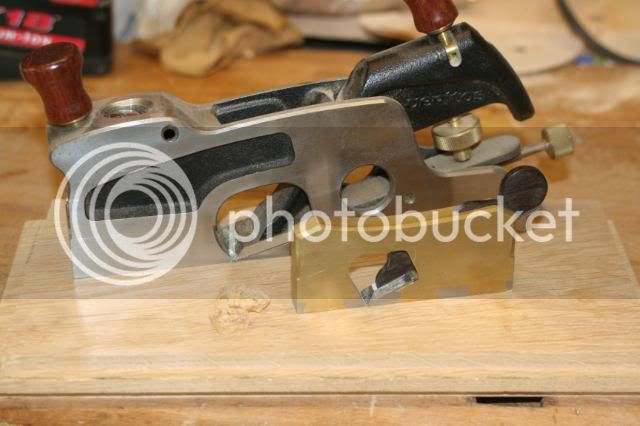
Here's Philly's plane.
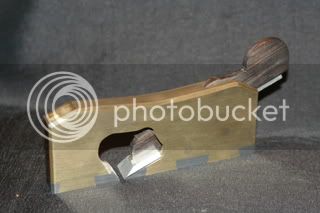
To be honest, the plane in question was made in a bit of a rush, so I didn't get around to taking any WIP pics, but I was quite pleased with the outcome, and came pretty close to sending Philly just a box of shavings. In the end I gave in, and sent the plane, but promising myself that I'd make another - this time to keep!!
So here goes.
I started the project by drawing the plane on ProDesktop - a cheap and nasty 3D CAD package that's found in most schools (yes, for my sins I am a teacher). I then went about exporting 2D drawings from the 3D model, and importing them into 2D Design - this time, a cheap and fairly useful CAD package found in all schools. The reason I imported the drawings into 2D design, is that this programme can be used to control a 2D / 3D milling machine, which I used to cut my blanks from 4mm Brass sheet.
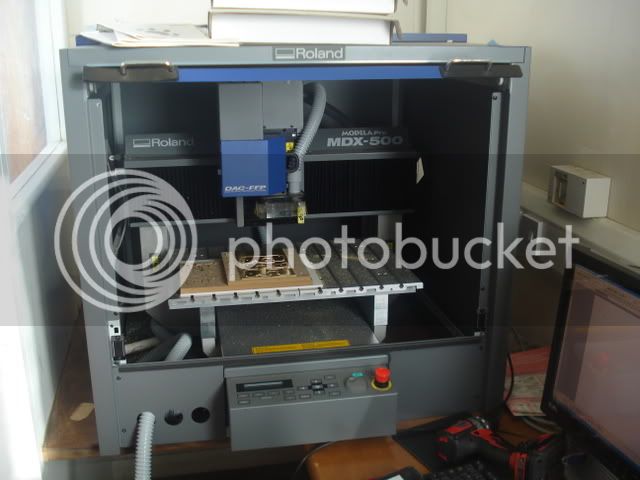
Here's a pic of the milling machine. It's designed primarily for machining soft materials such as wood and plastics, but given enough care it will cut brass. However, it's painfully slow, taking only 0.1mm per pass. The whole milling procedure for this tiny plane took over an hour and a half.
The brass sheet was held in place using double sided tape, and to prove that it was plenty strong enough, have a look at what happened to the brass when I tried to peel it off the MDF sacrificial bed. :shock: :shock: The brass is around 10mm wide by 4mm thich at the point it bent!!
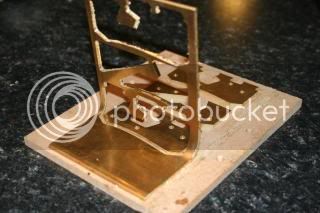
Here's what it looked like once I took it off the milling machine.
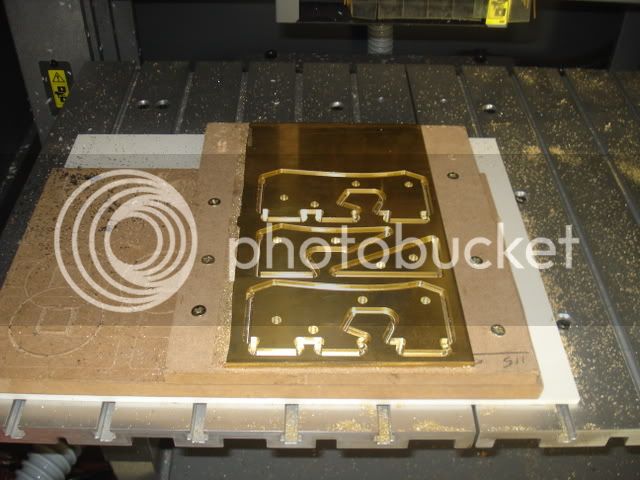
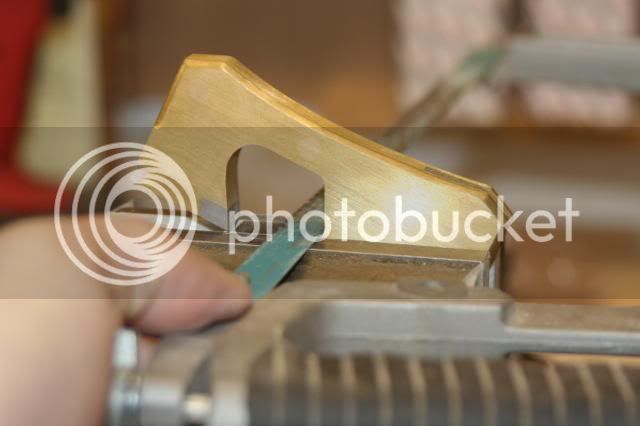
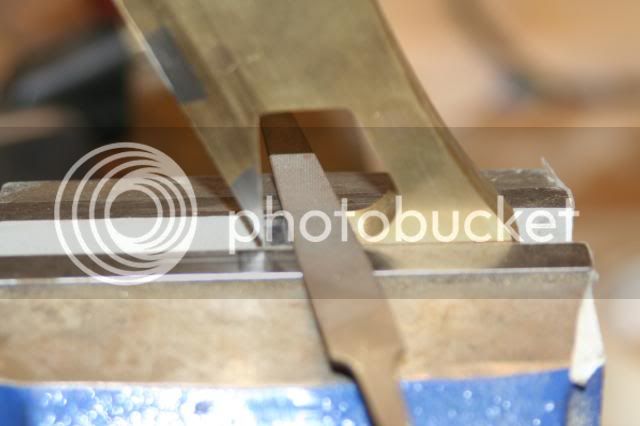
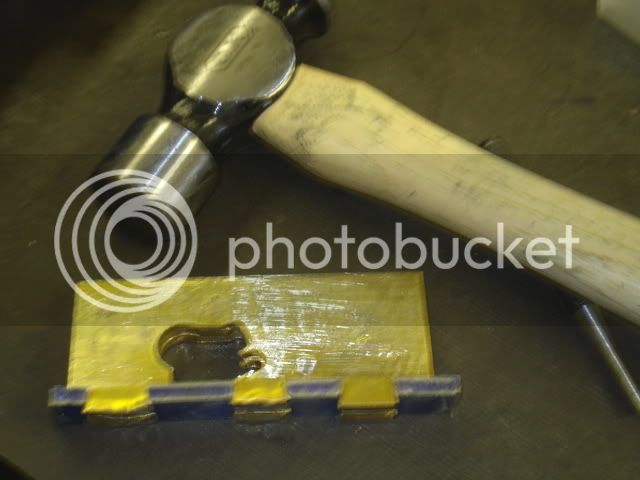
The corners of the dovetails needed a bit of filing to remove the small radius at their roots, and of course to provide the necessary clearance for the "double dovetail". The steel sole was machined on a traditional milling machine, it's a bit of a hassle to set the rotating vise to the correct angle for milling the pins - and even more of a hassle to re-set it to bang on square, so I just milled the pins square and then filed the angle by hand, which took no more than 45mins tops. They're not perfect, but the peining would soon sort out any issues. There are very few problems in the metalworking world, that a Ball Pein hammer wont fix.
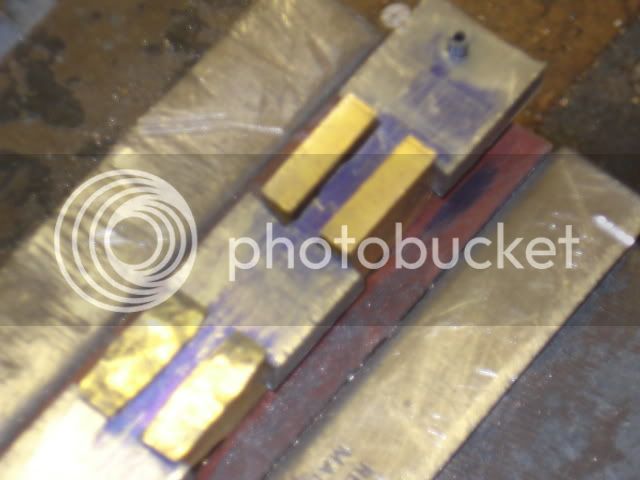
I wish I had better pics of the peining stage, but all the pics I took using the school's camera turned out very blurred indeed.
As with my previous plane build I started to become excited at this stage, and forgot to take any pics of cleaning up the dovetails, and cutting the mouth. It was howeve a fairly straightforward process of filing away the excess metal and then bringing everything nice and flush on the linisher - the benefit of making such a small plane is that it fits easily on the bed of the linisher, a blessing that I'll not have on my next plane.
I'll take some pics tomorrow of how I went about cutting the mouth, and of the finished plane - I thought that I had some, but I seem to have misplaced them, or even worse have deleted them from the camera. Which begs the question, what else have I also deleted? :x
Cheers
Aled
If you cast your minds back to the secret santa thread a couple of months ago, you might remember that I made our resident professional planemaker (Philly), a shoulder plane, and many of you fine chaps said nice things about it, and showed interest in finding out how I'd gone about putting it together.
Here's Philly's plane.

To be honest, the plane in question was made in a bit of a rush, so I didn't get around to taking any WIP pics, but I was quite pleased with the outcome, and came pretty close to sending Philly just a box of shavings. In the end I gave in, and sent the plane, but promising myself that I'd make another - this time to keep!!
So here goes.
I started the project by drawing the plane on ProDesktop - a cheap and nasty 3D CAD package that's found in most schools (yes, for my sins I am a teacher). I then went about exporting 2D drawings from the 3D model, and importing them into 2D Design - this time, a cheap and fairly useful CAD package found in all schools. The reason I imported the drawings into 2D design, is that this programme can be used to control a 2D / 3D milling machine, which I used to cut my blanks from 4mm Brass sheet.
Here's a pic of the milling machine. It's designed primarily for machining soft materials such as wood and plastics, but given enough care it will cut brass. However, it's painfully slow, taking only 0.1mm per pass. The whole milling procedure for this tiny plane took over an hour and a half.

The brass sheet was held in place using double sided tape, and to prove that it was plenty strong enough, have a look at what happened to the brass when I tried to peel it off the MDF sacrificial bed. :shock: :shock: The brass is around 10mm wide by 4mm thich at the point it bent!!

Here's what it looked like once I took it off the milling machine.

The corners of the dovetails needed a bit of filing to remove the small radius at their roots, and of course to provide the necessary clearance for the "double dovetail". The steel sole was machined on a traditional milling machine, it's a bit of a hassle to set the rotating vise to the correct angle for milling the pins - and even more of a hassle to re-set it to bang on square, so I just milled the pins square and then filed the angle by hand, which took no more than 45mins tops. They're not perfect, but the peining would soon sort out any issues. There are very few problems in the metalworking world, that a Ball Pein hammer wont fix.

I wish I had better pics of the peining stage, but all the pics I took using the school's camera turned out very blurred indeed.
As with my previous plane build I started to become excited at this stage, and forgot to take any pics of cleaning up the dovetails, and cutting the mouth. It was howeve a fairly straightforward process of filing away the excess metal and then bringing everything nice and flush on the linisher - the benefit of making such a small plane is that it fits easily on the bed of the linisher, a blessing that I'll not have on my next plane.
I'll take some pics tomorrow of how I went about cutting the mouth, and of the finished plane - I thought that I had some, but I seem to have misplaced them, or even worse have deleted them from the camera. Which begs the question, what else have I also deleted? :x
Cheers
Aled


