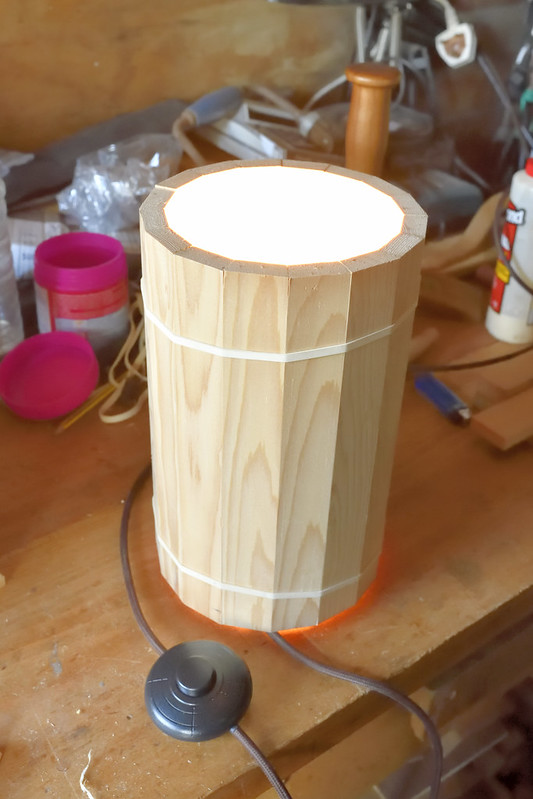
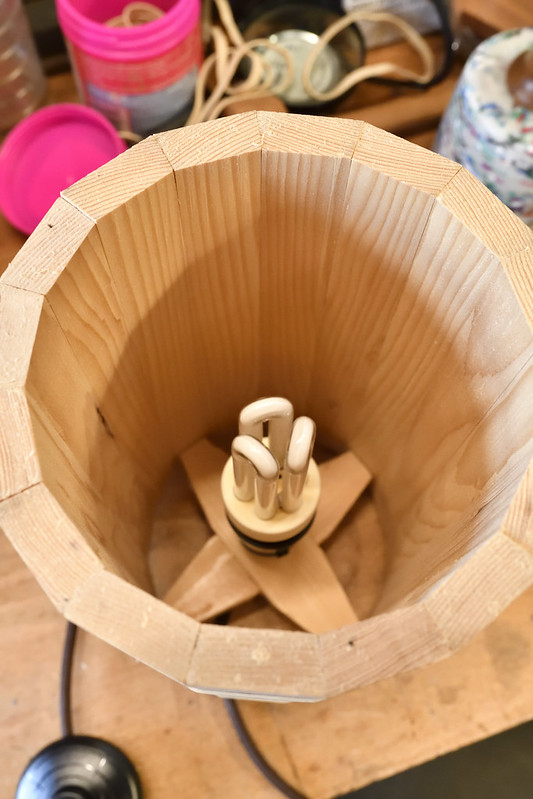
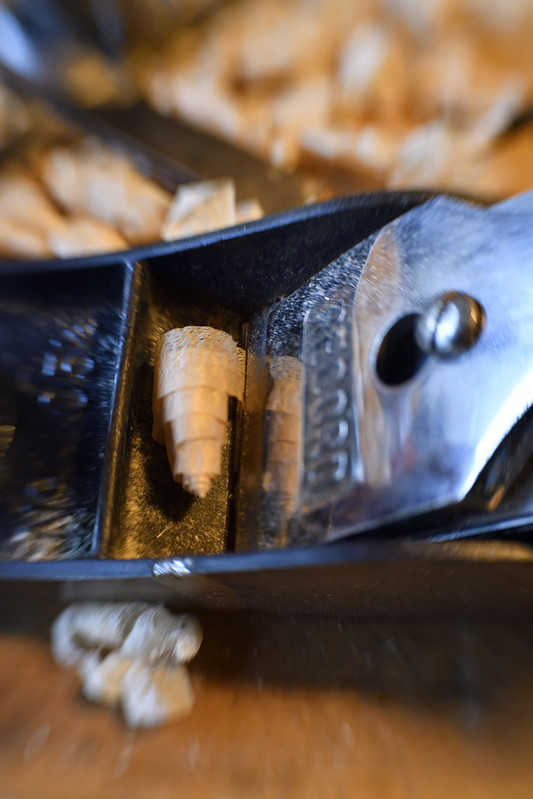
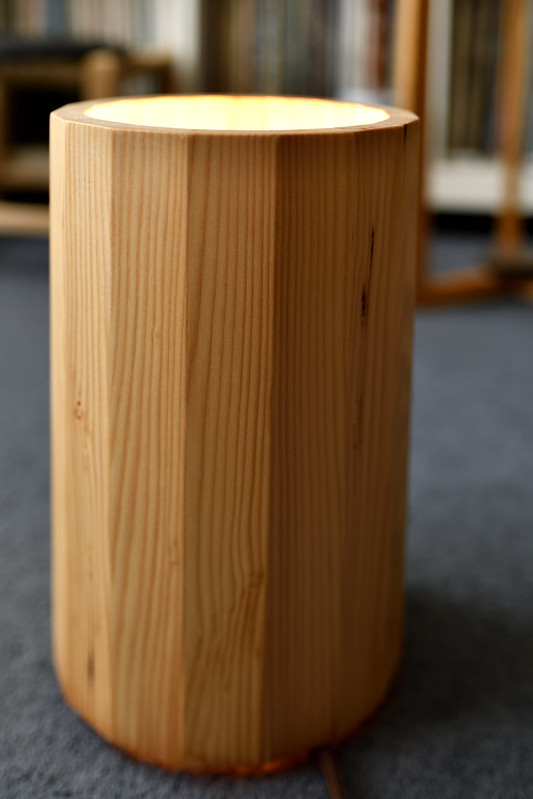
Coopered uplighter

UKworkshop.co.uk

Help Support UKworkshop.co.uk:

This site may earn a commission from merchant affiliate links, including eBay, Amazon, and others.

Racers

Established Member
Joined
22 Apr 2005
Messages
9,172
Reaction score
136
That's a very impressive level of fit along those pieces - you must be feeling better, I hope!
 
Much better thanks, still getting tired quickly.

I can't tell you have many times I adjusted all 32 faces.

Pete
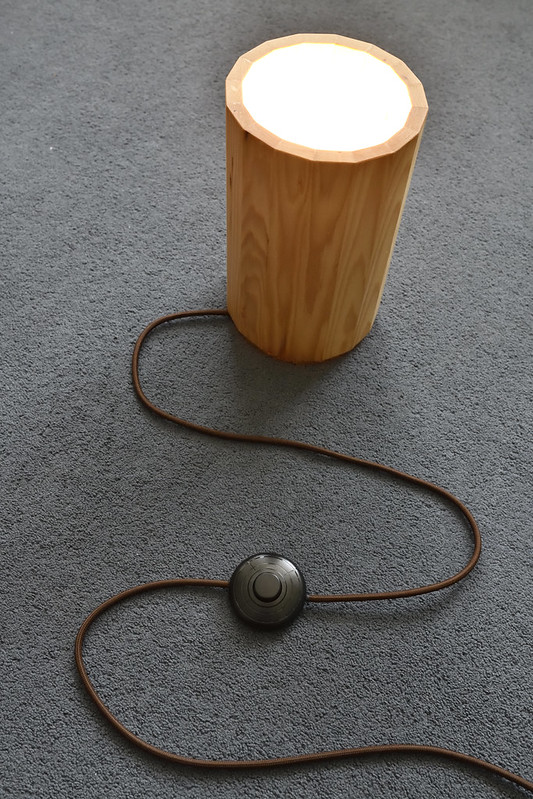
 
very nice!

How will you clamp it together? Seems like releasable cable ties might be useful here, but maybe you have more elegant techniques.
 
I originally thought of using my band clamps but they do distort the shape as one corner is formed by the clamp body.
Masking tape might be o/k but its a lot of segments to attach to the tape accurately , the elastic bands seem to work well and I have quite a few.

I am not looking forward to it!

Pete
 
Pete Maddex":3nf9ftjf said:
Much better thanks, still getting tired quickly.

Excellent. Be aware of this bug biting back at you. It doesn't give up easily. Give in to the tiredness.

I can't tell you have many times I adjusted all 32 faces.

I'm pretty sure I'd have got it somewhere near, then glued up in two halves separately. Once they were dry I'd do all the remaining adjustment at the junction of those two halves, rather than trying to get it perfect all the way around the whole shape each time. Are you leaving this faceted, or are you going to round it?
 
Hi Mike

I have had a good few early nights!

I did think of doig that but the base would have difficult to install.

I am thinking of leaving the facets, they took me long enought to do afer all.

After this a hardwood one, bog oak might be nice, or teak I hve lost of both!

Pete
 
I've been doing this sort of thing recently but on a much smaller scale, the wall thickness being only 5mm. Having got all the staves fitting together reasonably, I then laid them down on a flat surface, outside uppermost and with adjacent edges just touching. I then joined them all together with 2 bands of masking tape. Leave a couple of inches of surplus tape on one end for the closing joint. I turned the whole lot over and filled the V gaps with glue. The 2 outer staves were then brought together to form the cylinder with the surplus masking tape used to close the final joint. It worked very well. Try it with a dry run first though.
Brian
 
Pete Maddex":1myef138 said:
I originally thought of using my band clamps but they do distort the shape as one corner is formed by the clamp body.
Masking tape might be o/k but its a lot of segments to attach to the tape accurately , the elastic bands seem to work well and I have quite a few.

I am not looking forward to it!

Pete

Hi Pete try using a couple of bike inner tubes
 
I use old bike inner tubes for gluing round shapes. Bike shops have lots of old punctured onesCut and you have a band about 6 ft long which you wrap round the item. With care you can trap the end of the first wrap with the second and at the end tuck the loose end under one of the previous wraps. The more wraps/tighter you pull the band the more pressure. You can also push a wedge or 2 in if you need more pressure in a certain place
Can you put a small locating spline like a biscuit in each face to stop it slipping while you are holding it together and clamping. Definitely a 2 person job
Nice edge joints
Ian
 
Thanks chaps some useful clamping methods there.
I did think of big jubilee clips you can get the clips and lengths of band.

Pete
 
Glad to hear you're on the mend Pete.

I'm assuming you'll be leveling of the top and bottom. What's the strategy there? I could see planing being fraught with oops moments breaking out a corner. That's what I would do and end up getting it right eventually... but much too much too short.
 
Thanks Nelsun

I was intending to glue it upside down leaving the top virtually level and sanding any imperfections then a small bevel should sort the bottom out.

Pete
 
Nice job. And no wonder Douggie Fir's becoming such a fashionable timber, it looks absolutely perfect for that project!

Speedy recovery!
 
Thanks Chaps.

I might be making a couple more to go behind my speakers, probably in a hardwood this time.

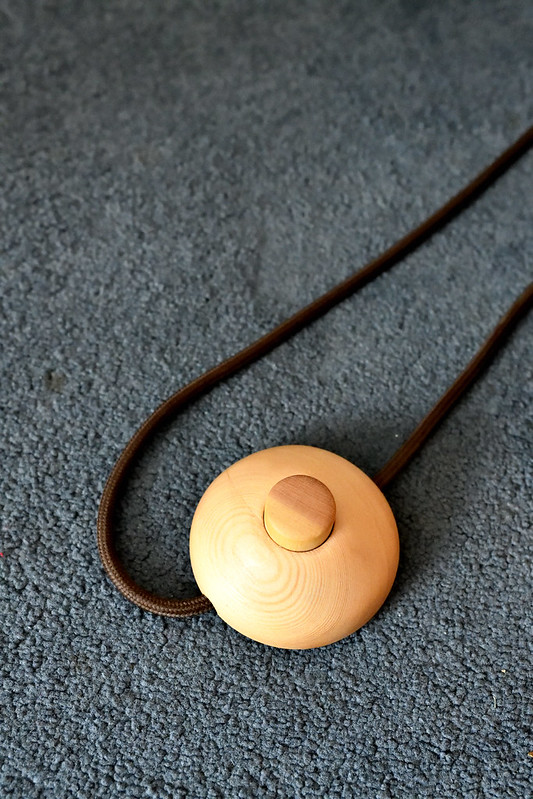
I made a wooden knob and cover for the switch just to finish things off.

Uplighter switch by Pete Maddex, on Flickr

Pete
 
Back
Top